Wildcard Week
Assignments
Soft Robotics
Soft Robotics is the specific subfield of robotics dealing with constructing robots from highly compliant materials, similar to those found in living organisms.Soft robotics draws heavily from the way in which living organisms move and adapt to their surroundings. In contrast to robots built from rigid materials, soft robots allow for increased flexibility and adaptability for accomplishing tasks, as well as improved safety when working around humans.These characteristics allow for its potential use in the fields of medicine and manufacturing.
So in this week I have desided to make a soft Robotic gripper that I got inspiration from this video...
How it works
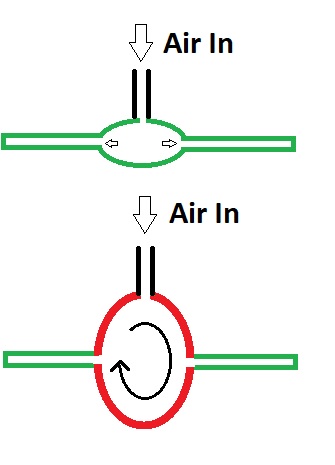
These robots are made with in build air cavities in them.
The cavities will swell up when air is pumped throught the air in.
and the whole body bends. The cavies can be desined according the the required shape and size that5 we need to move/bend the body.
So lets get started...Designing
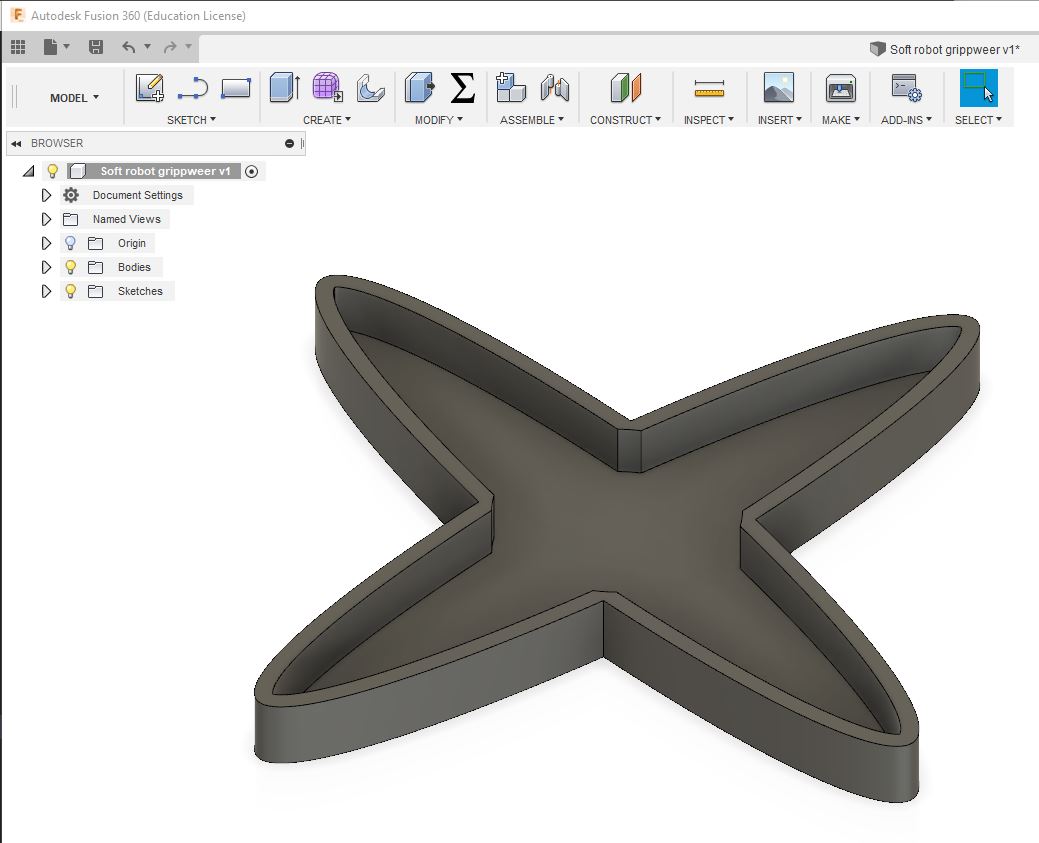
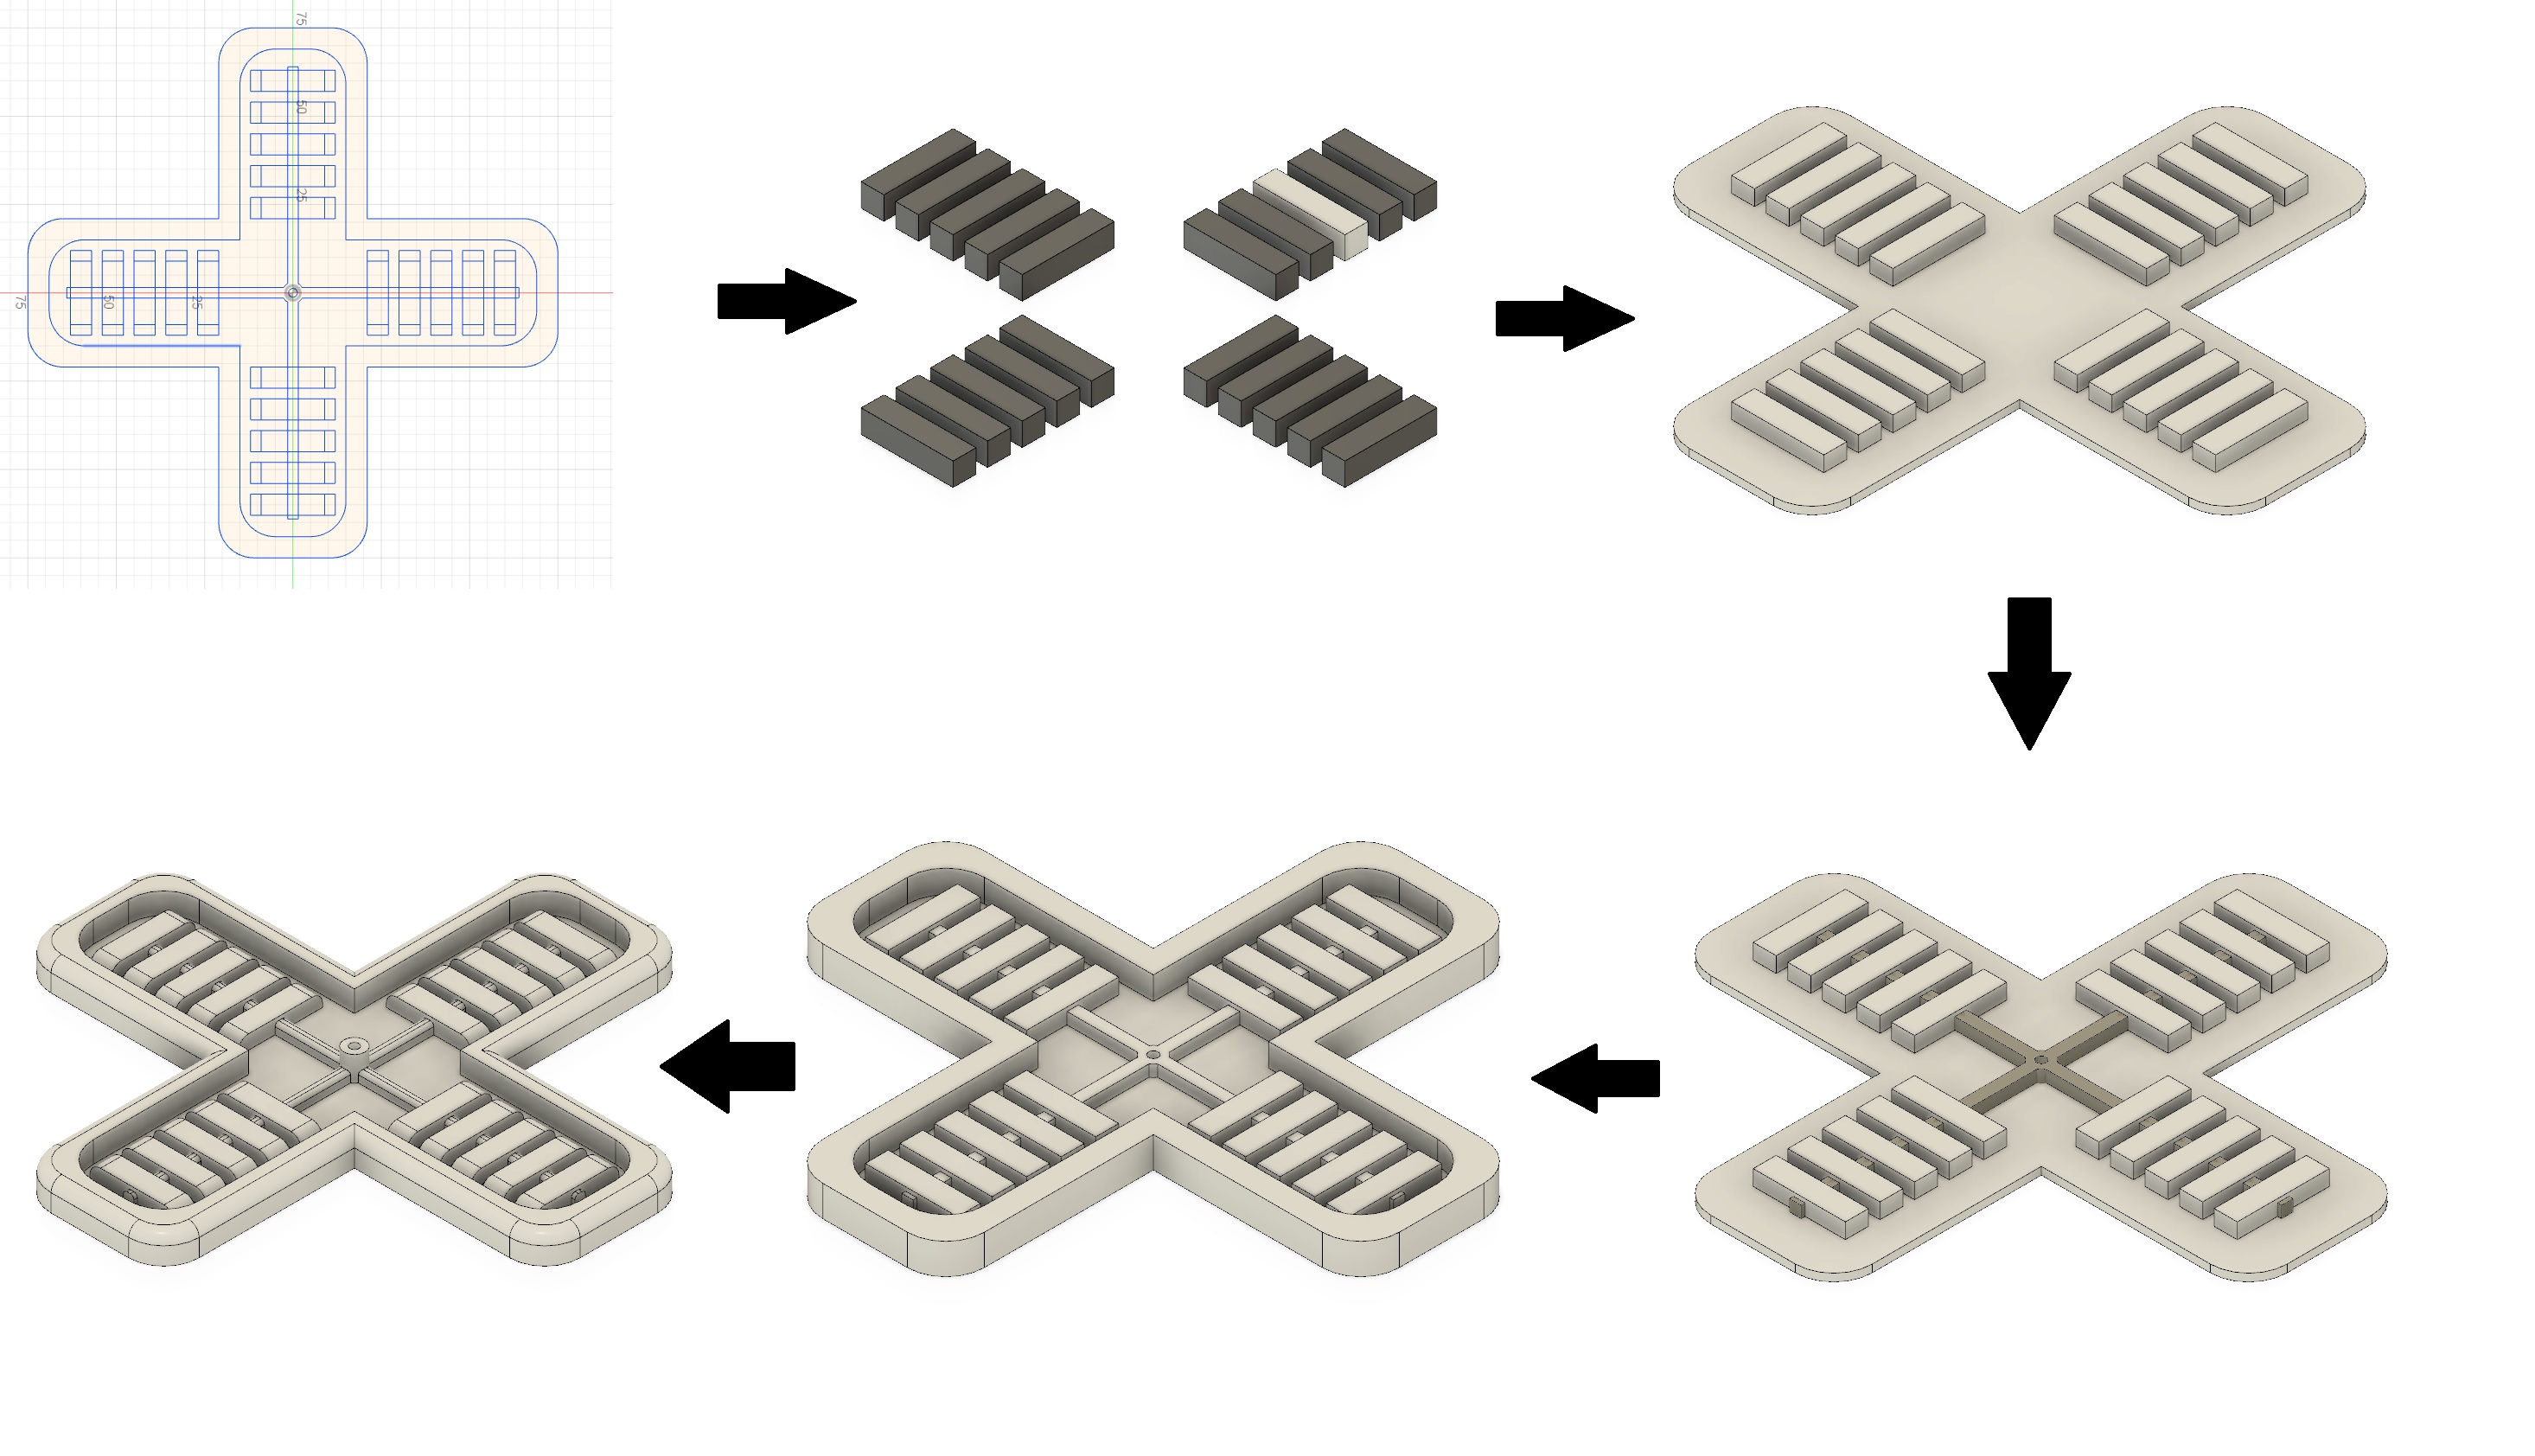
So I have desided to make 4-Jaw gripper. For that I need to design the mold. In here I designed a negetive mold. Beacuse I am going to use molding resin to make the gripper. So I started with the basic sketch on fusion 360.
The sketch just only the contains the outer shell of the mold that shapes the gripper. I extrude the whole structure and it looked like this..
Now I design the air cavities that inflates while air is pumped to it...
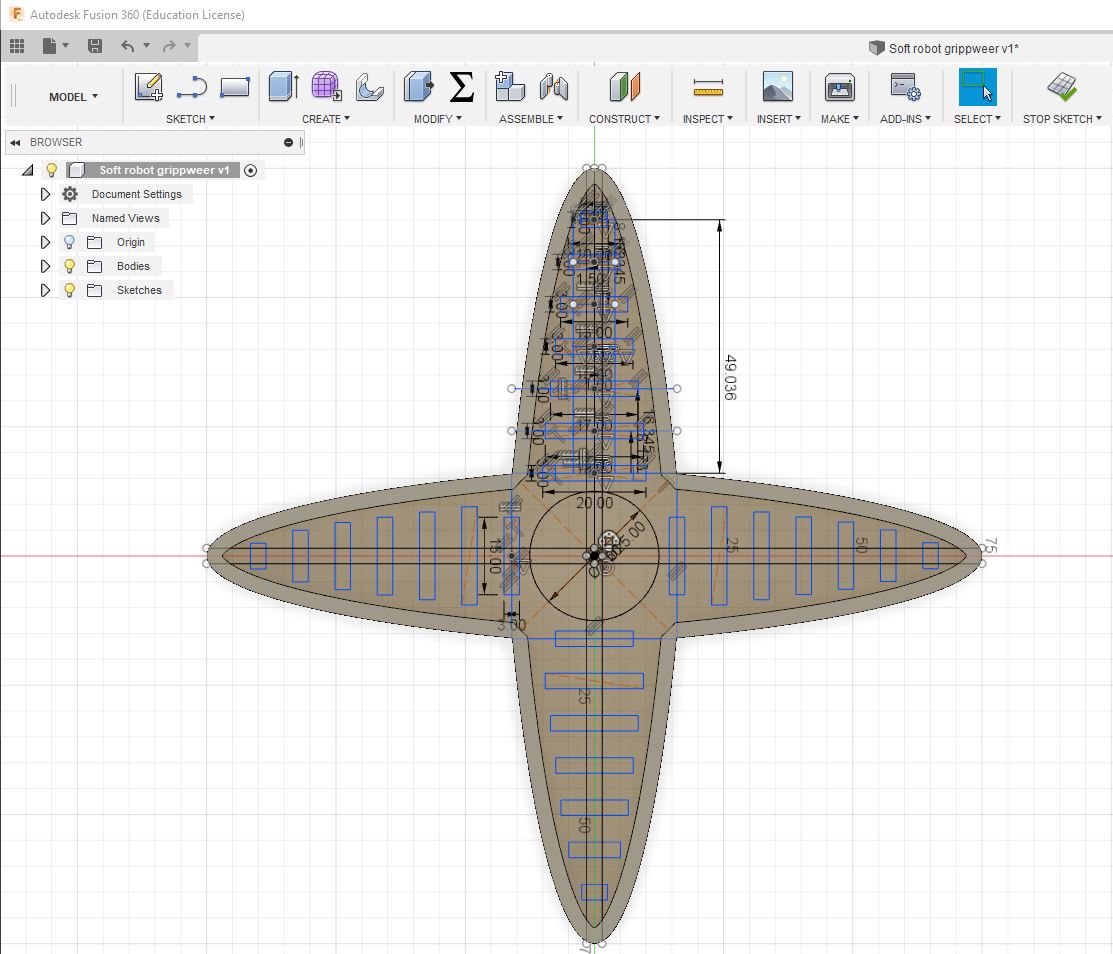
Now I extrude the path and gave fillet on the edge..
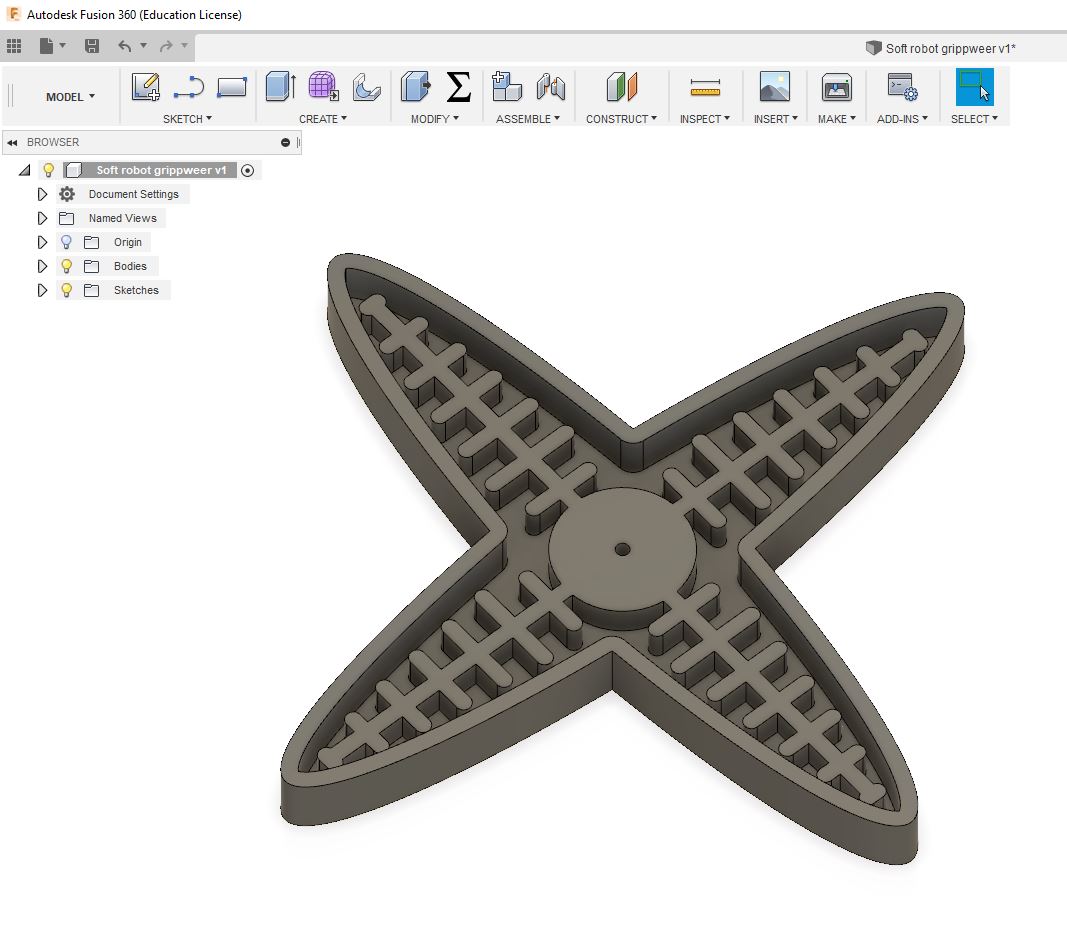
Now need to make actual mold...
Laser Cutting
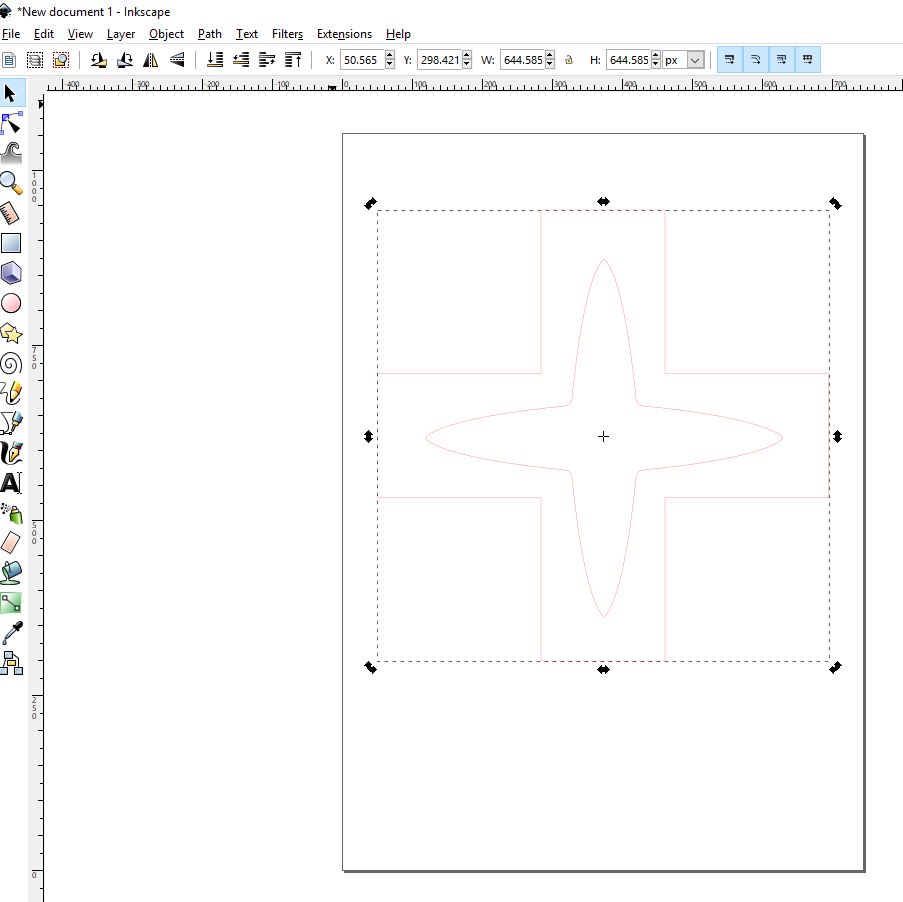
I have desided to make the mold the easy and fast way. I have used CNC milling to make the mold in the Week 10. So Now I used laser cutting to make teh mold quick. For that I export dxf from fusion and edit it on inkscape.
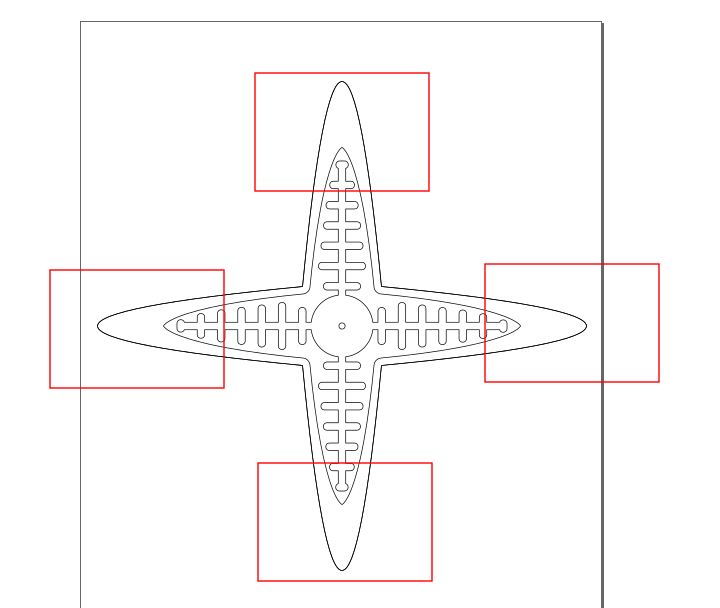
But there was a problem. The edges are more elongated then they are originally designed. So I adjusted the external layout to a new one..
Now I need to cut out the air cavities.

Now all I need a base. So I ungroupped the first design and put on as a seperate image.

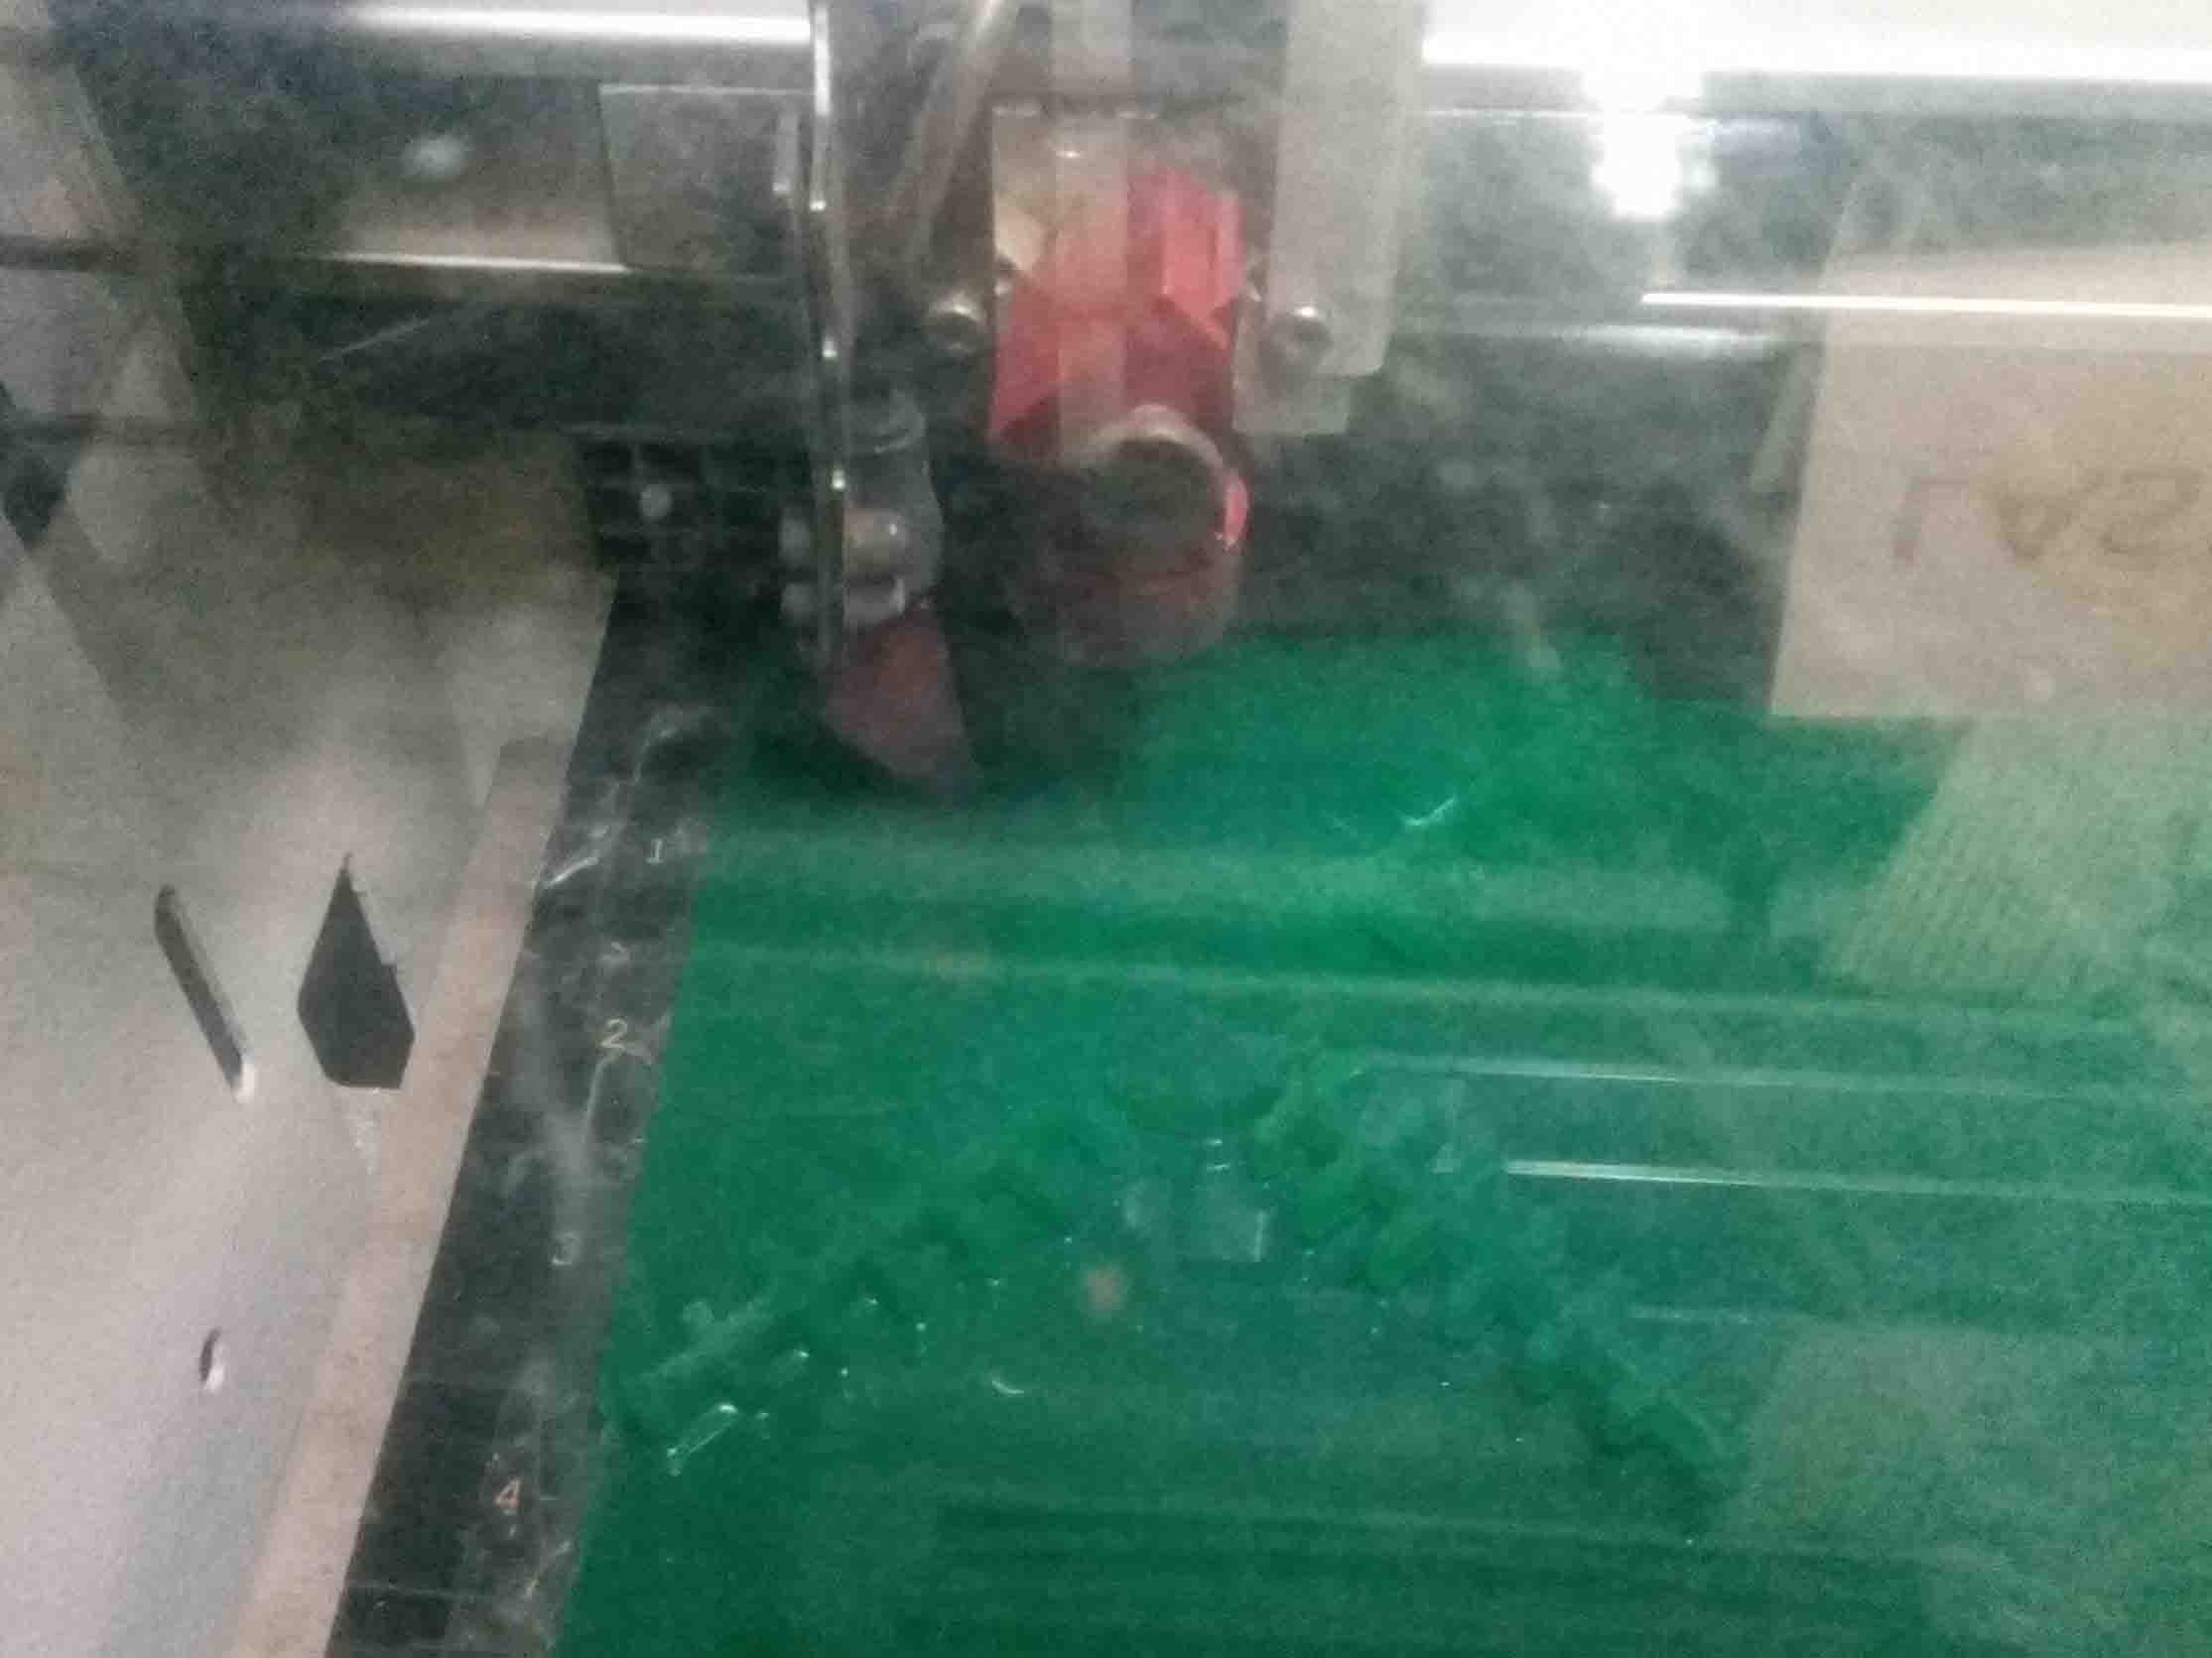
Now we need to cut out each parts..
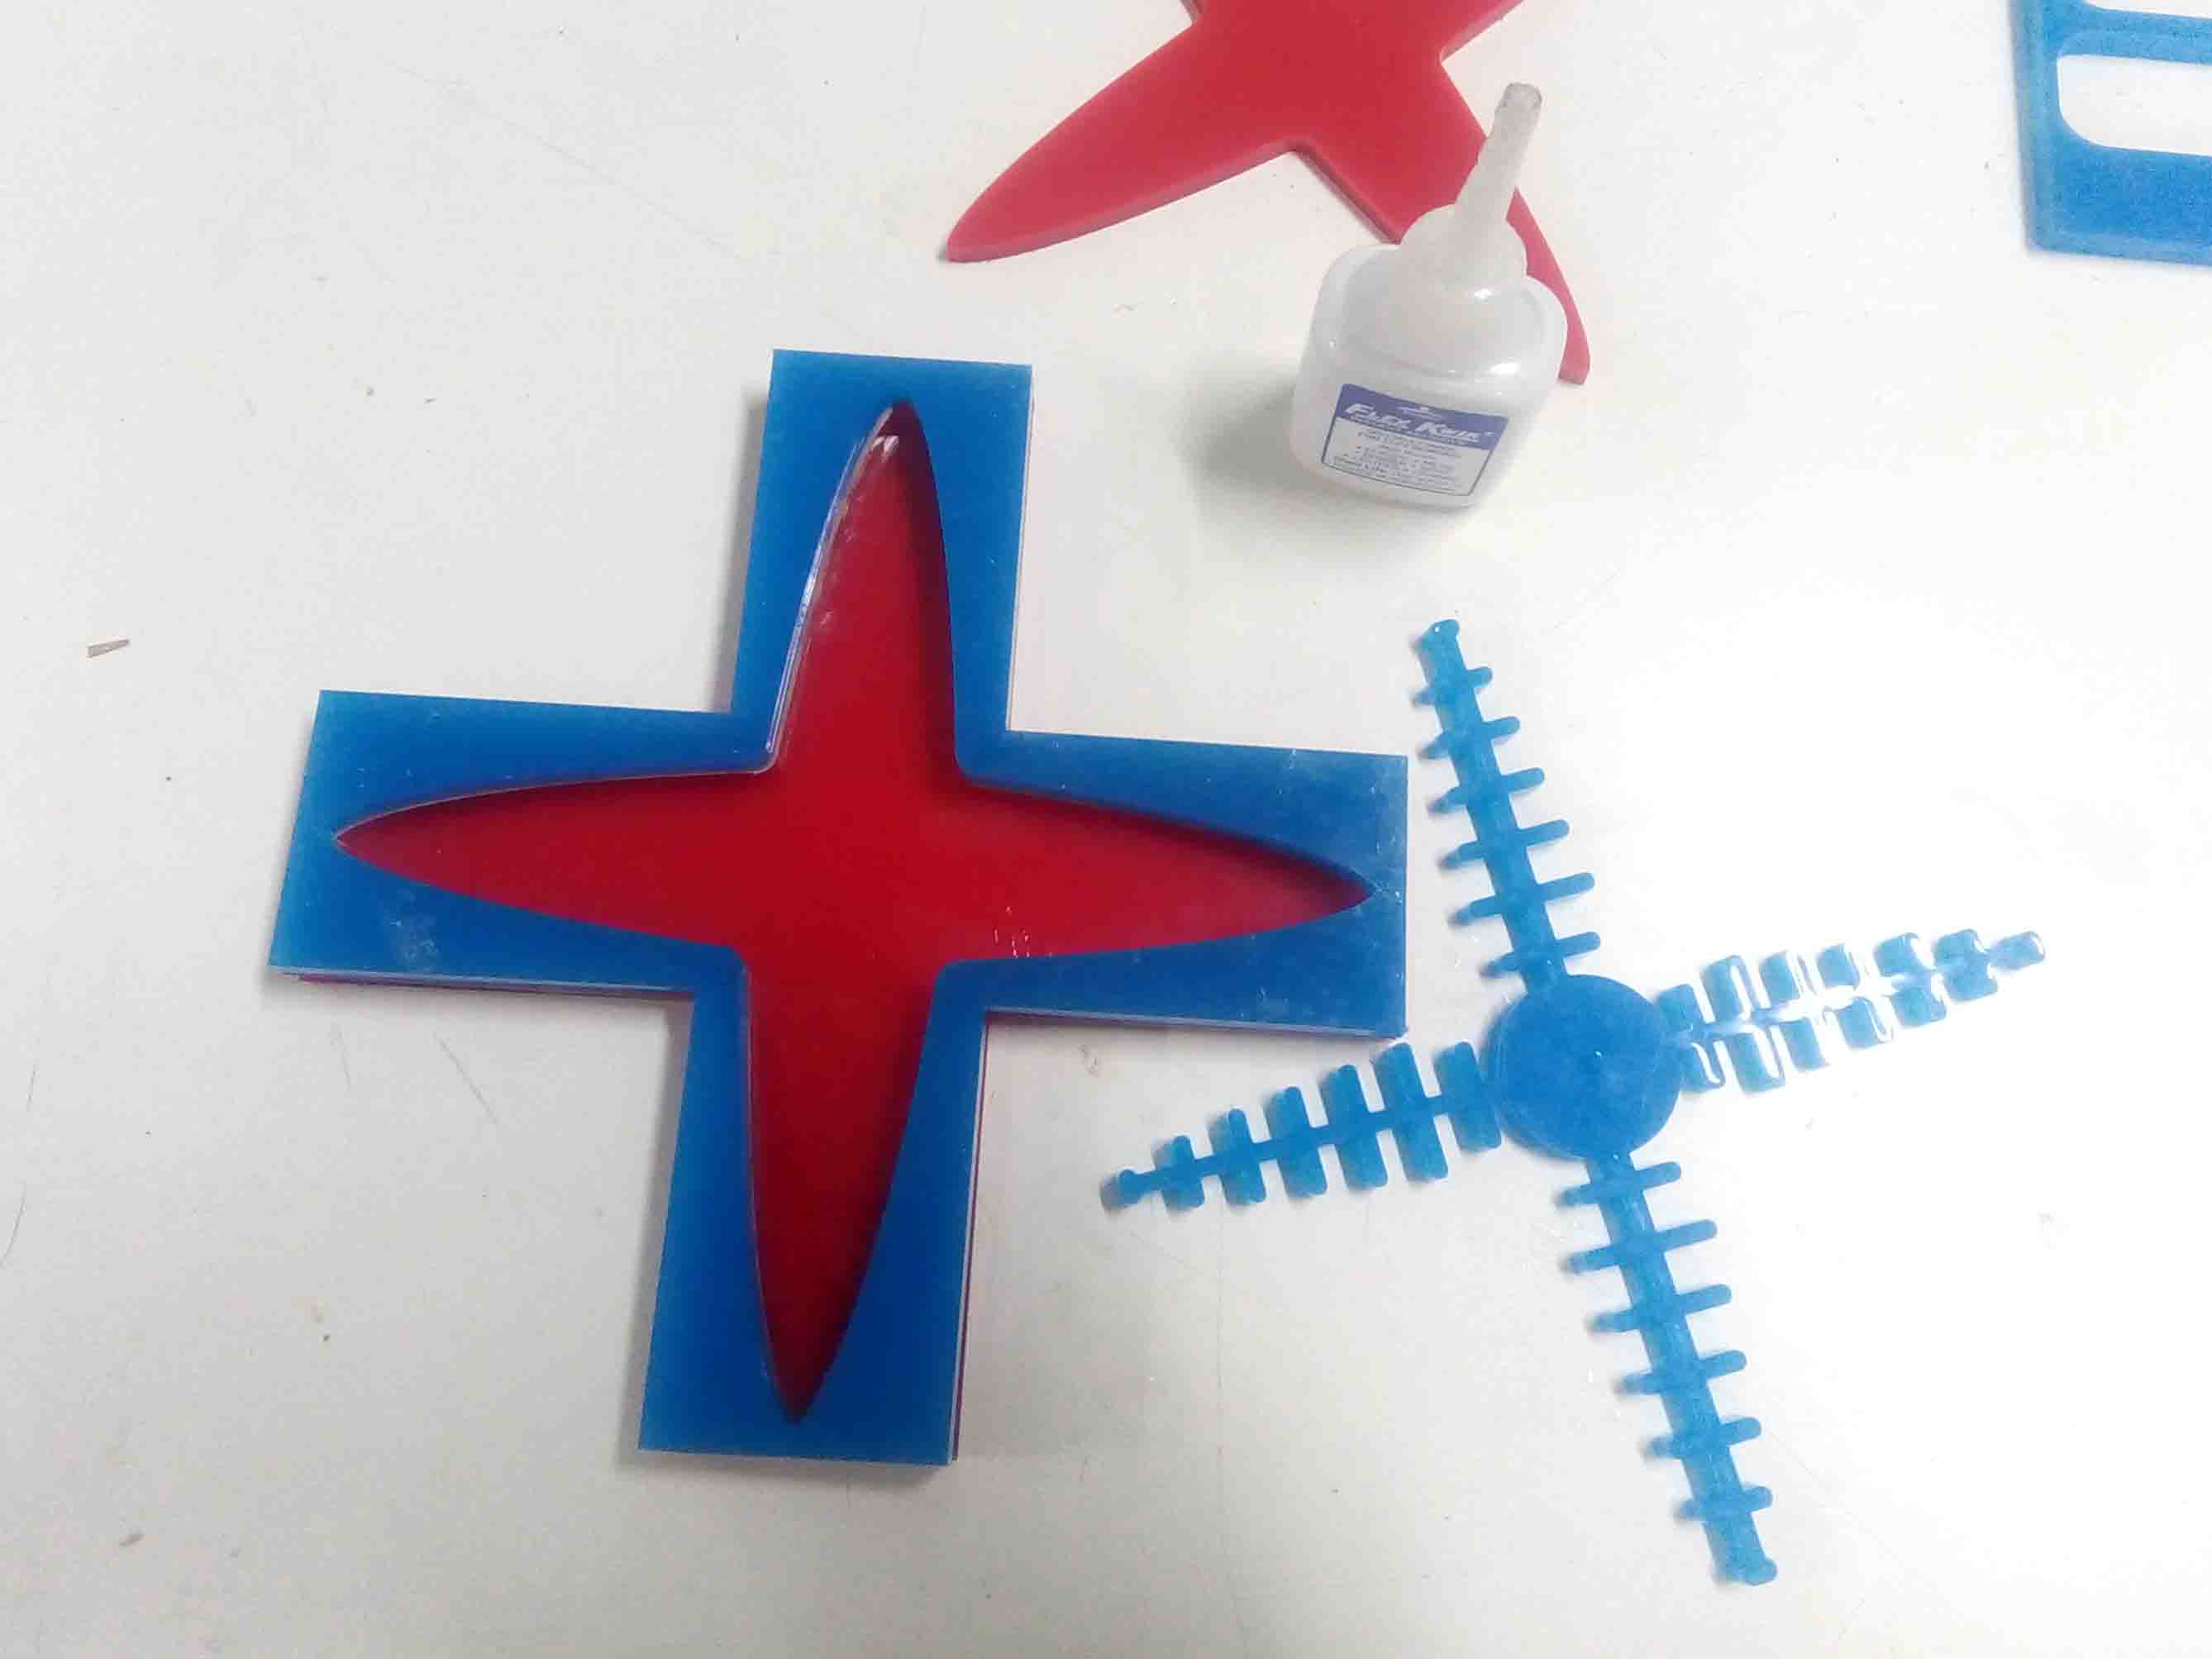
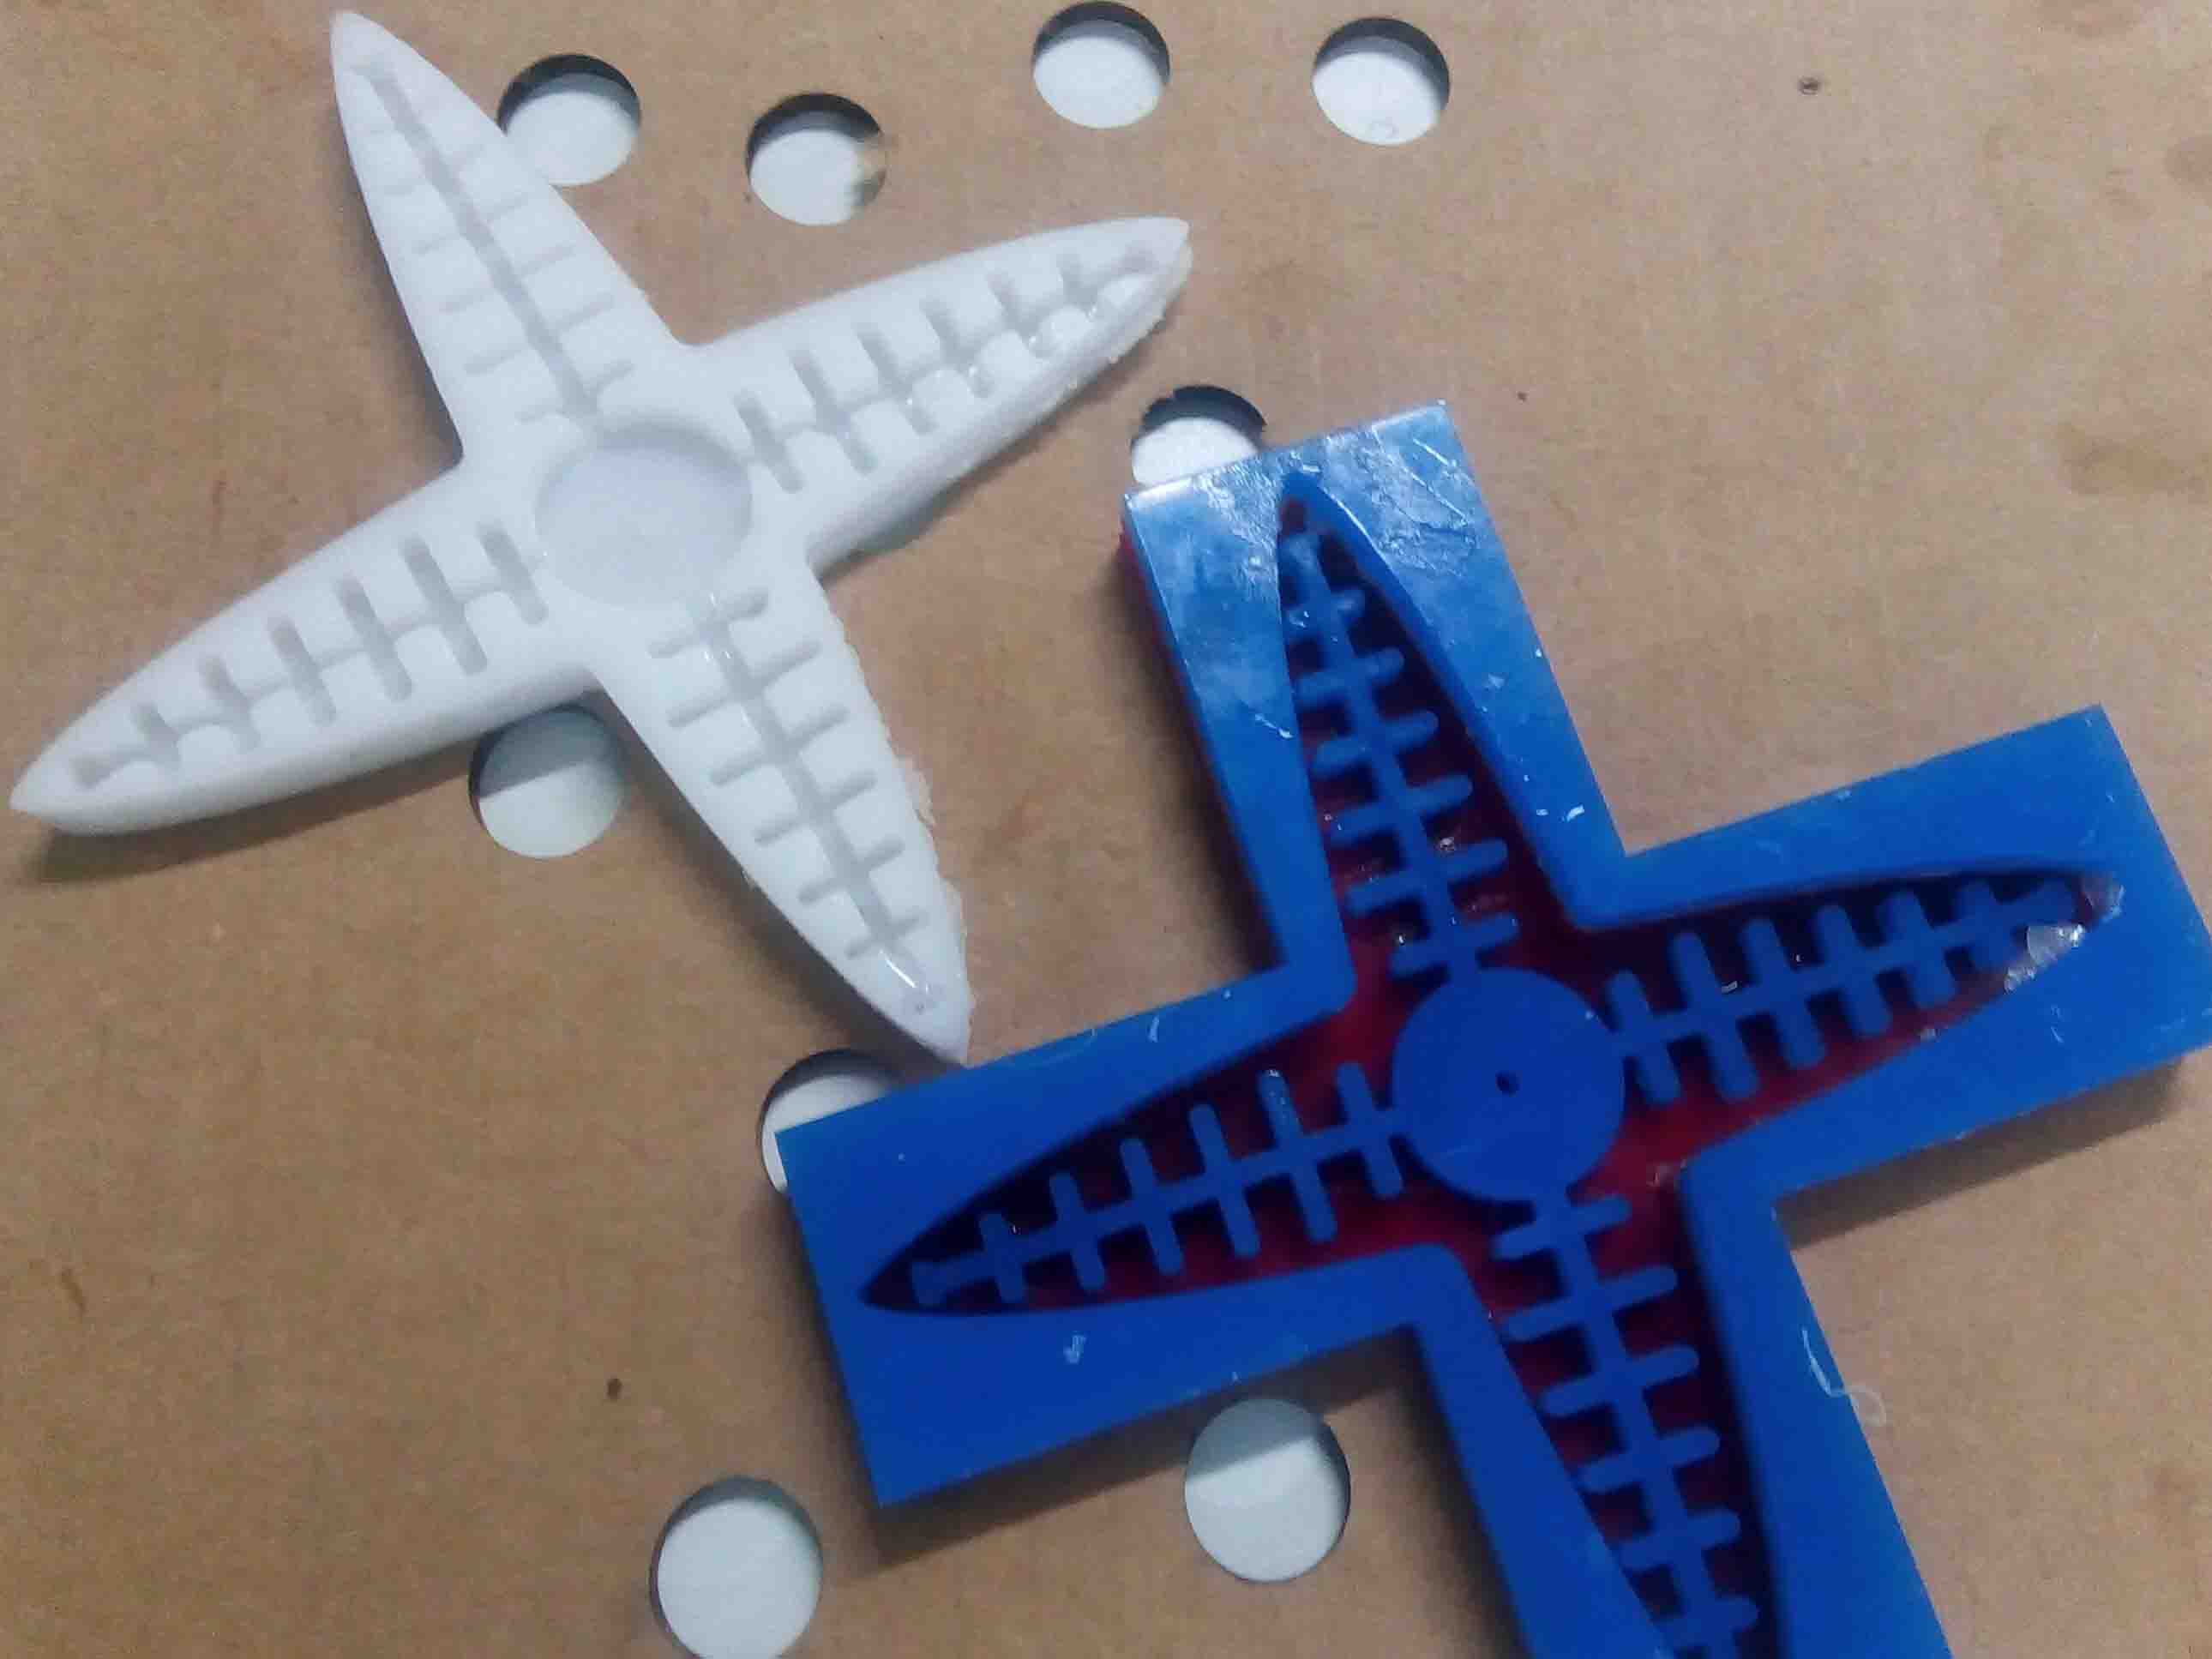
Here are the pieces. I glue them to gether with flexquick super glue
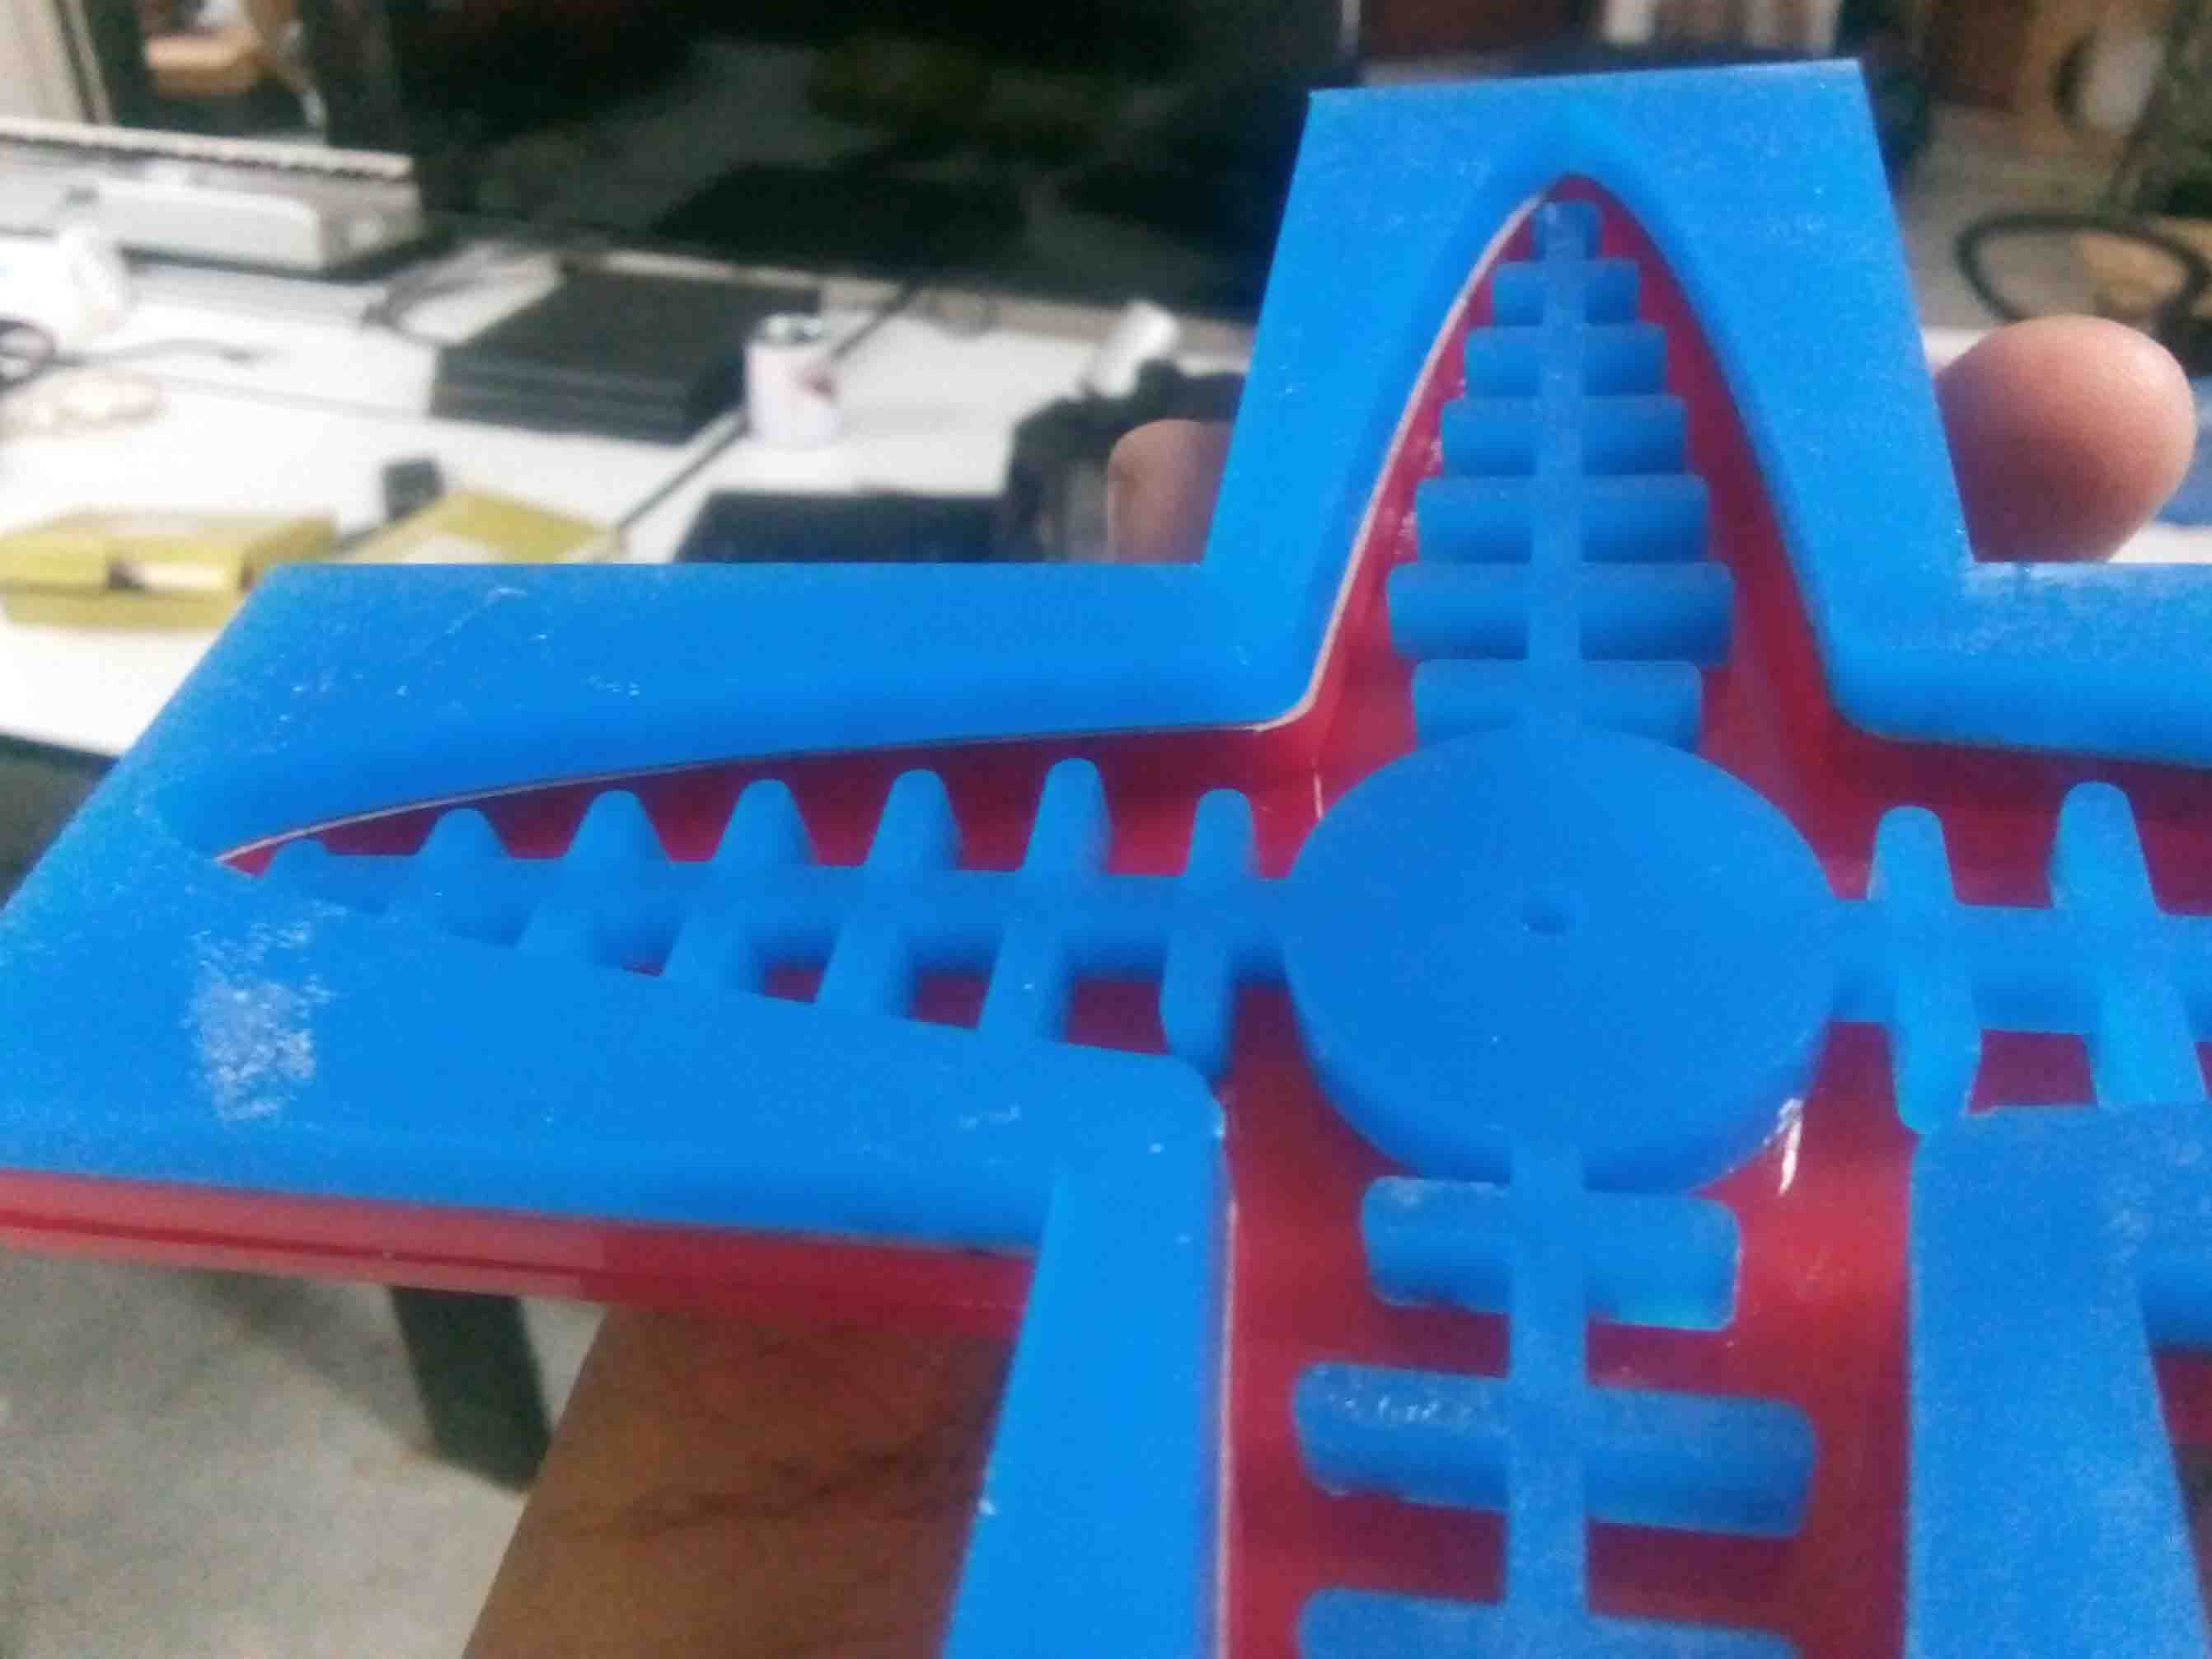
Here is the finished mold..
Now lets cast...
Making the Part...
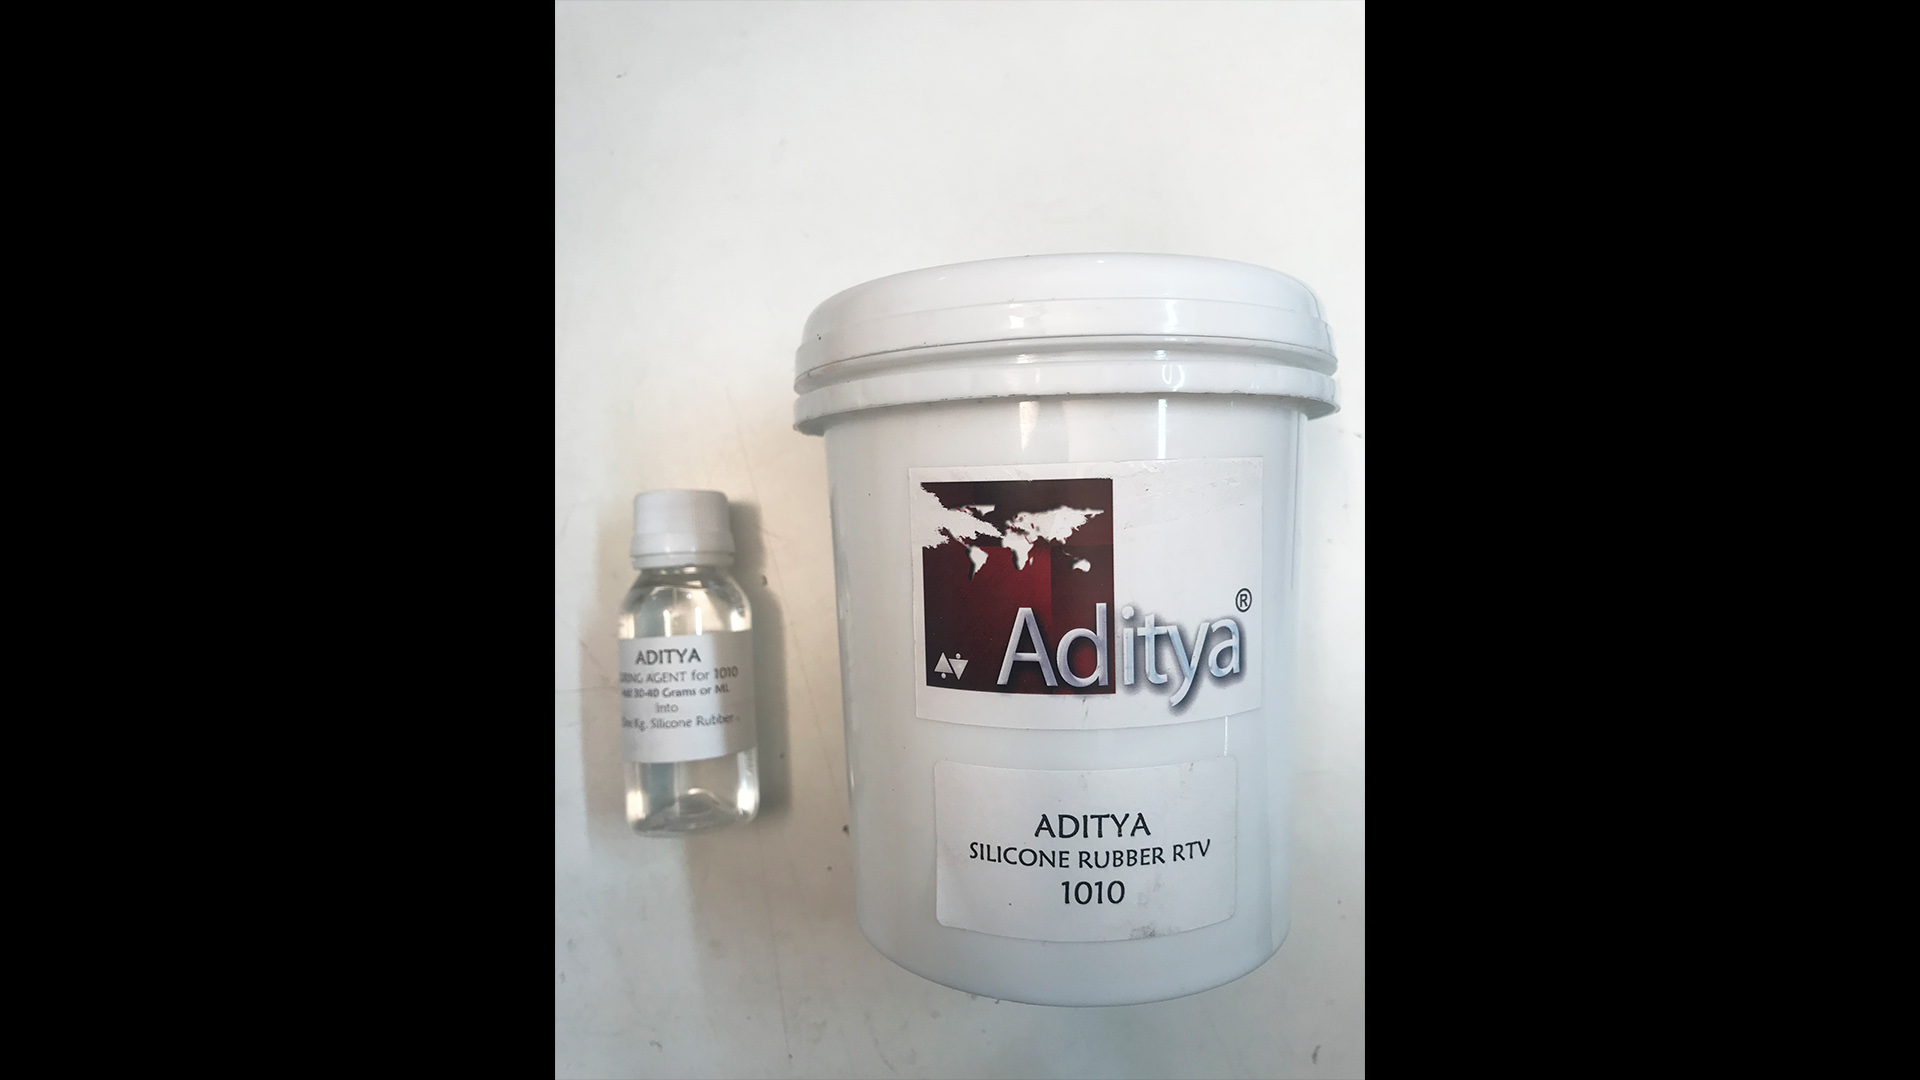
Now we have the mold. For casting I am ggoing to use a silicon rubber molding agent. Because the gripper should inflate when air is given. Here In our lab we use "Aditya Slicon Rubber RTV"
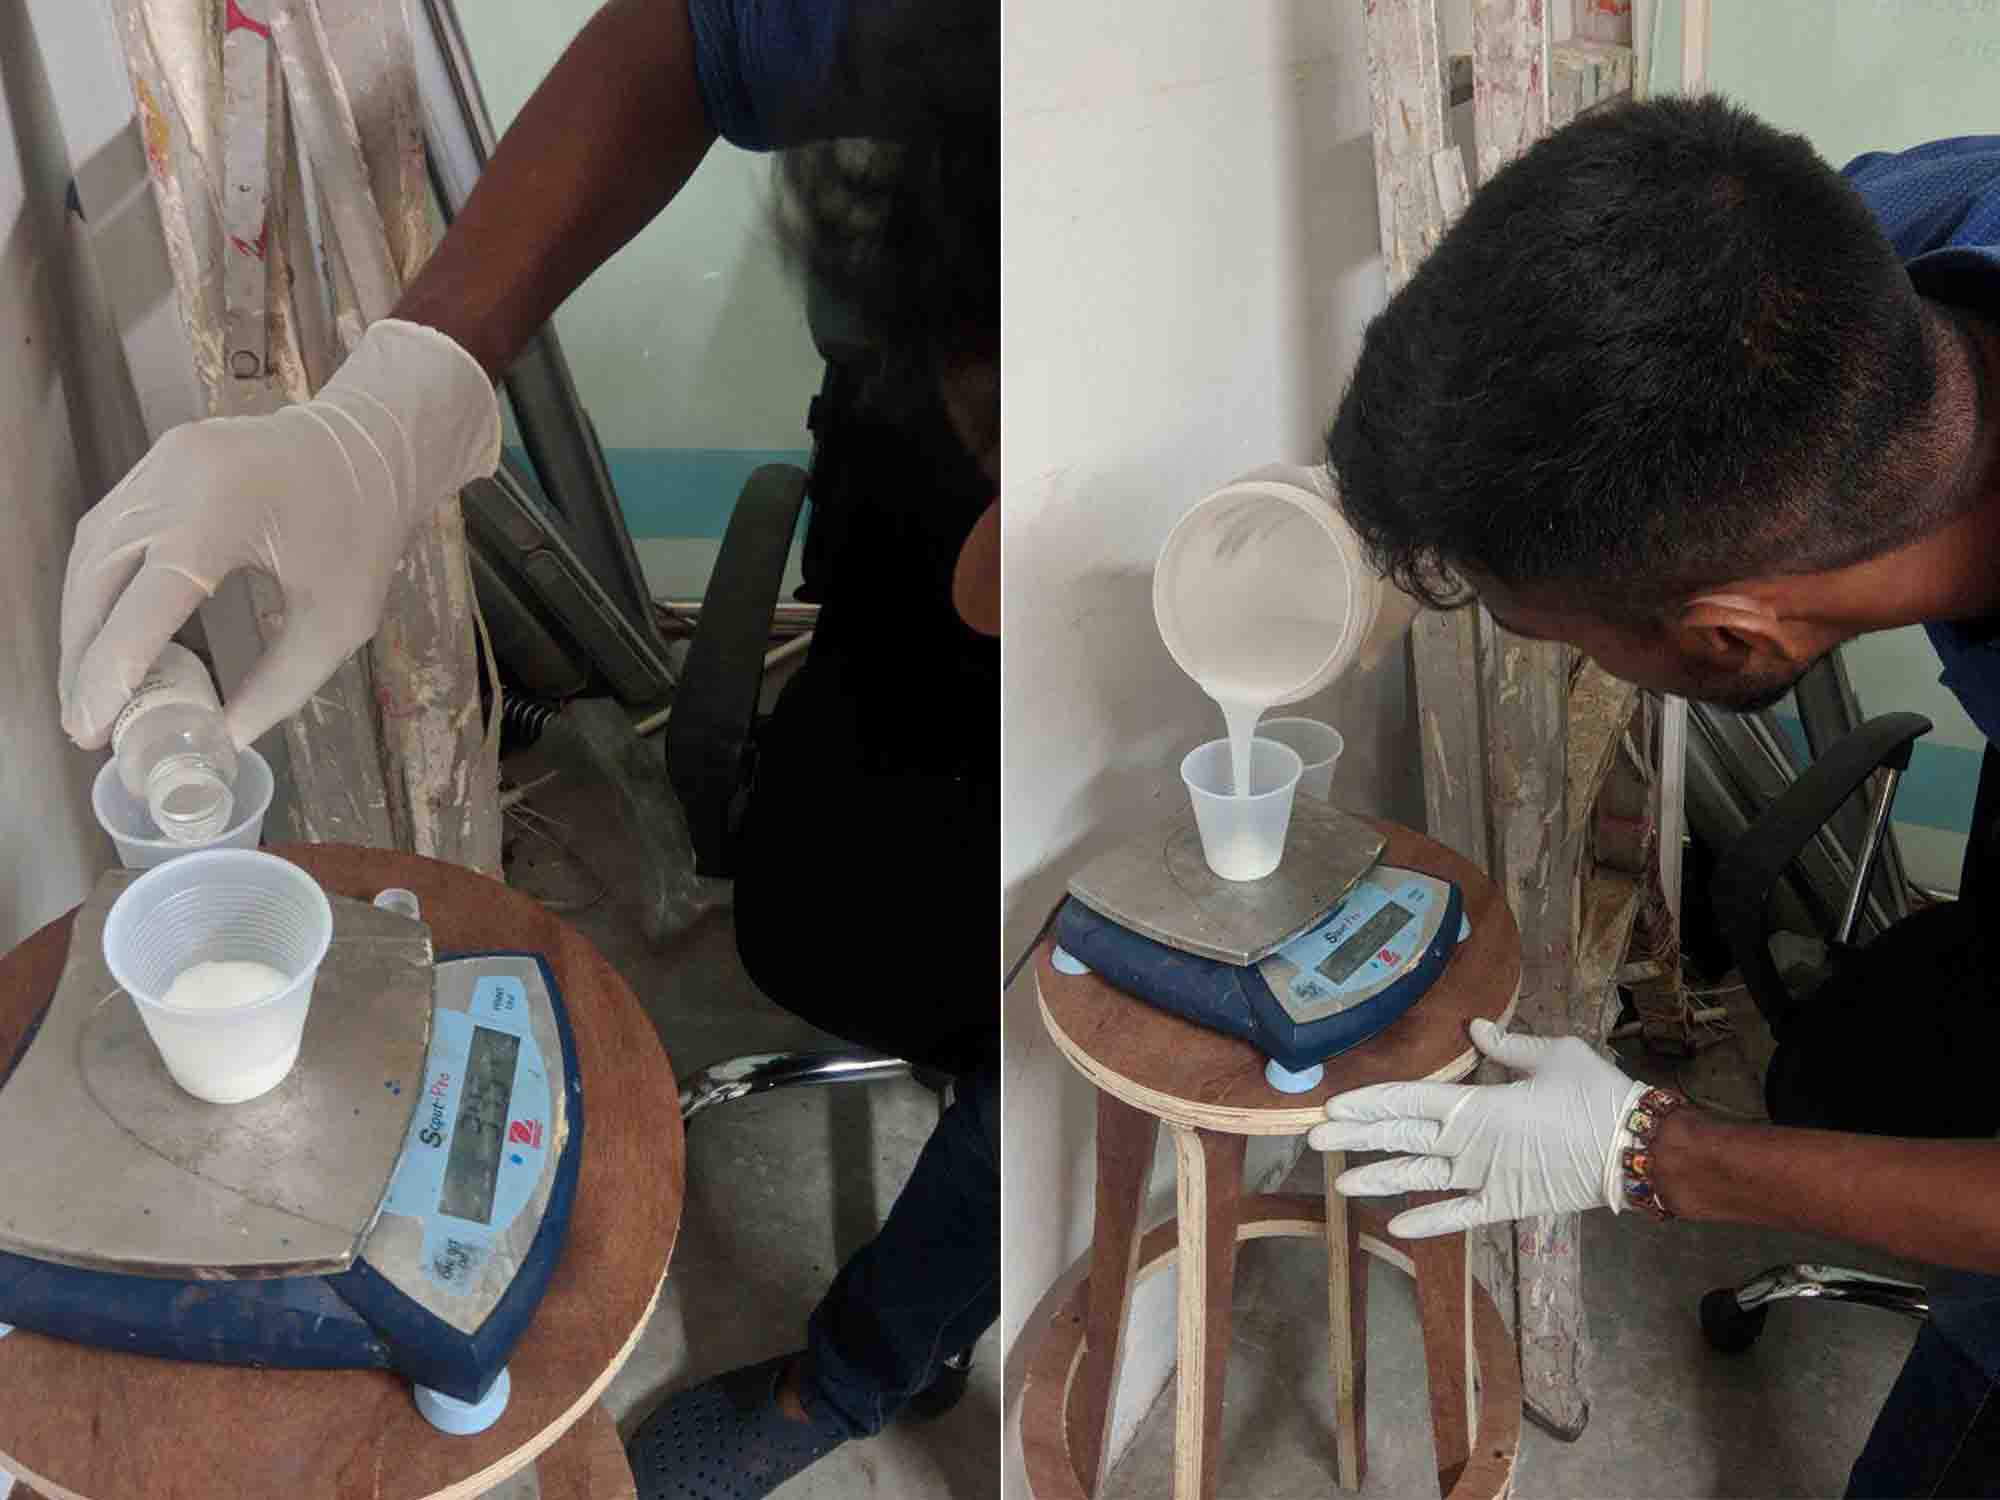
I mixed part A and Part B according with their prportion using a weighing machine.
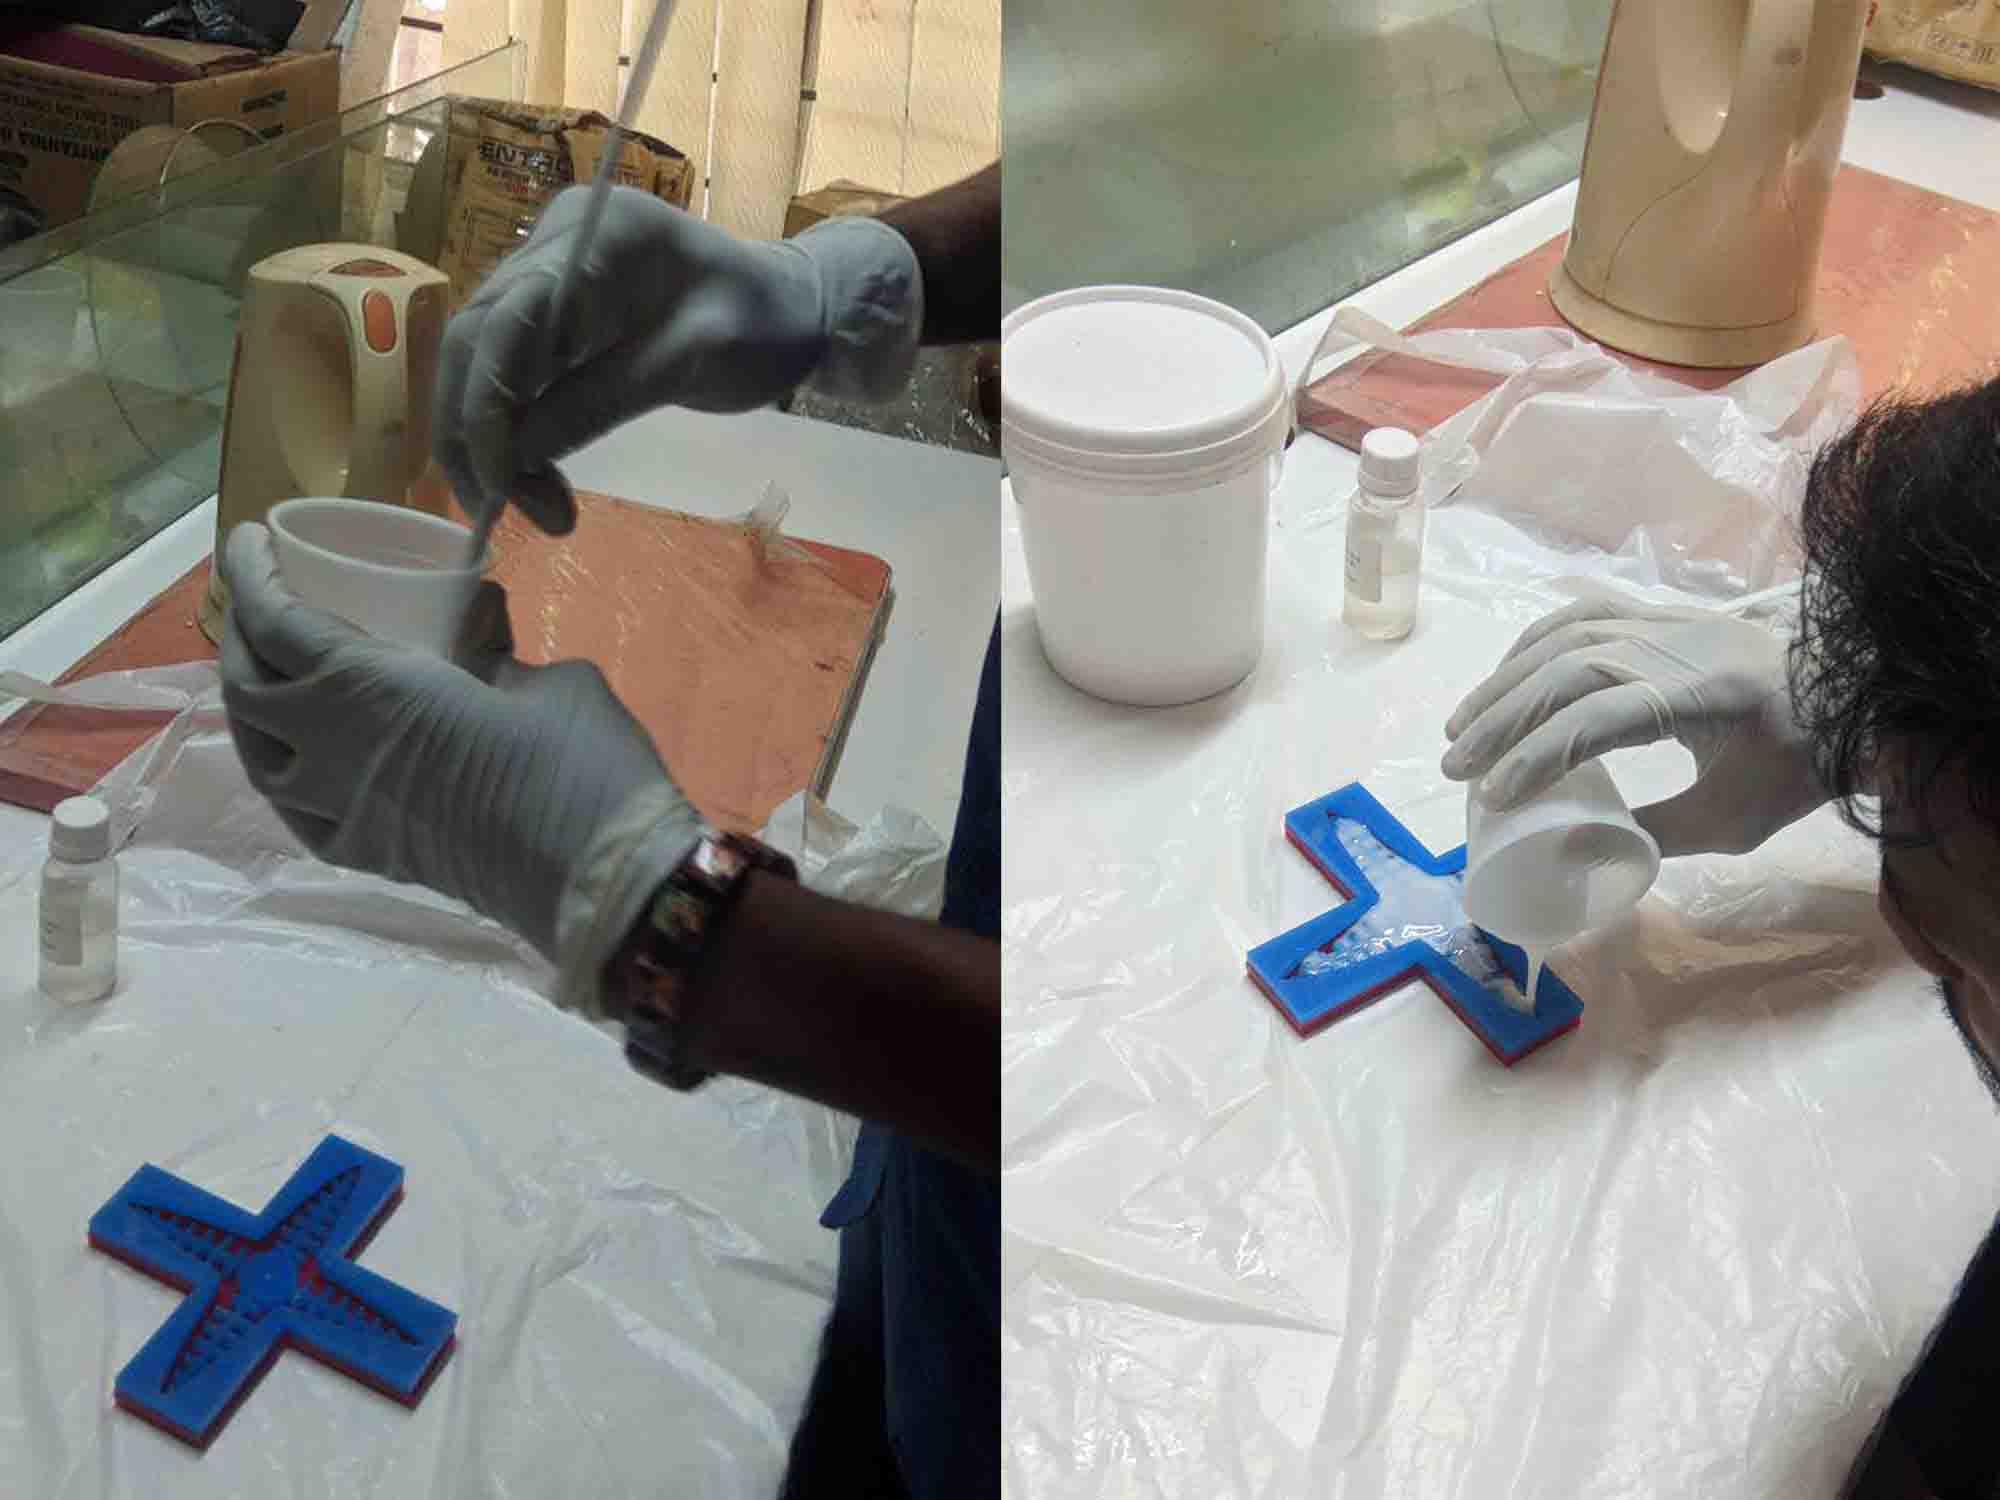
I mixed the using a acrylic rod and pour into the mold...
Now let the mold to dry for about 4 hours...
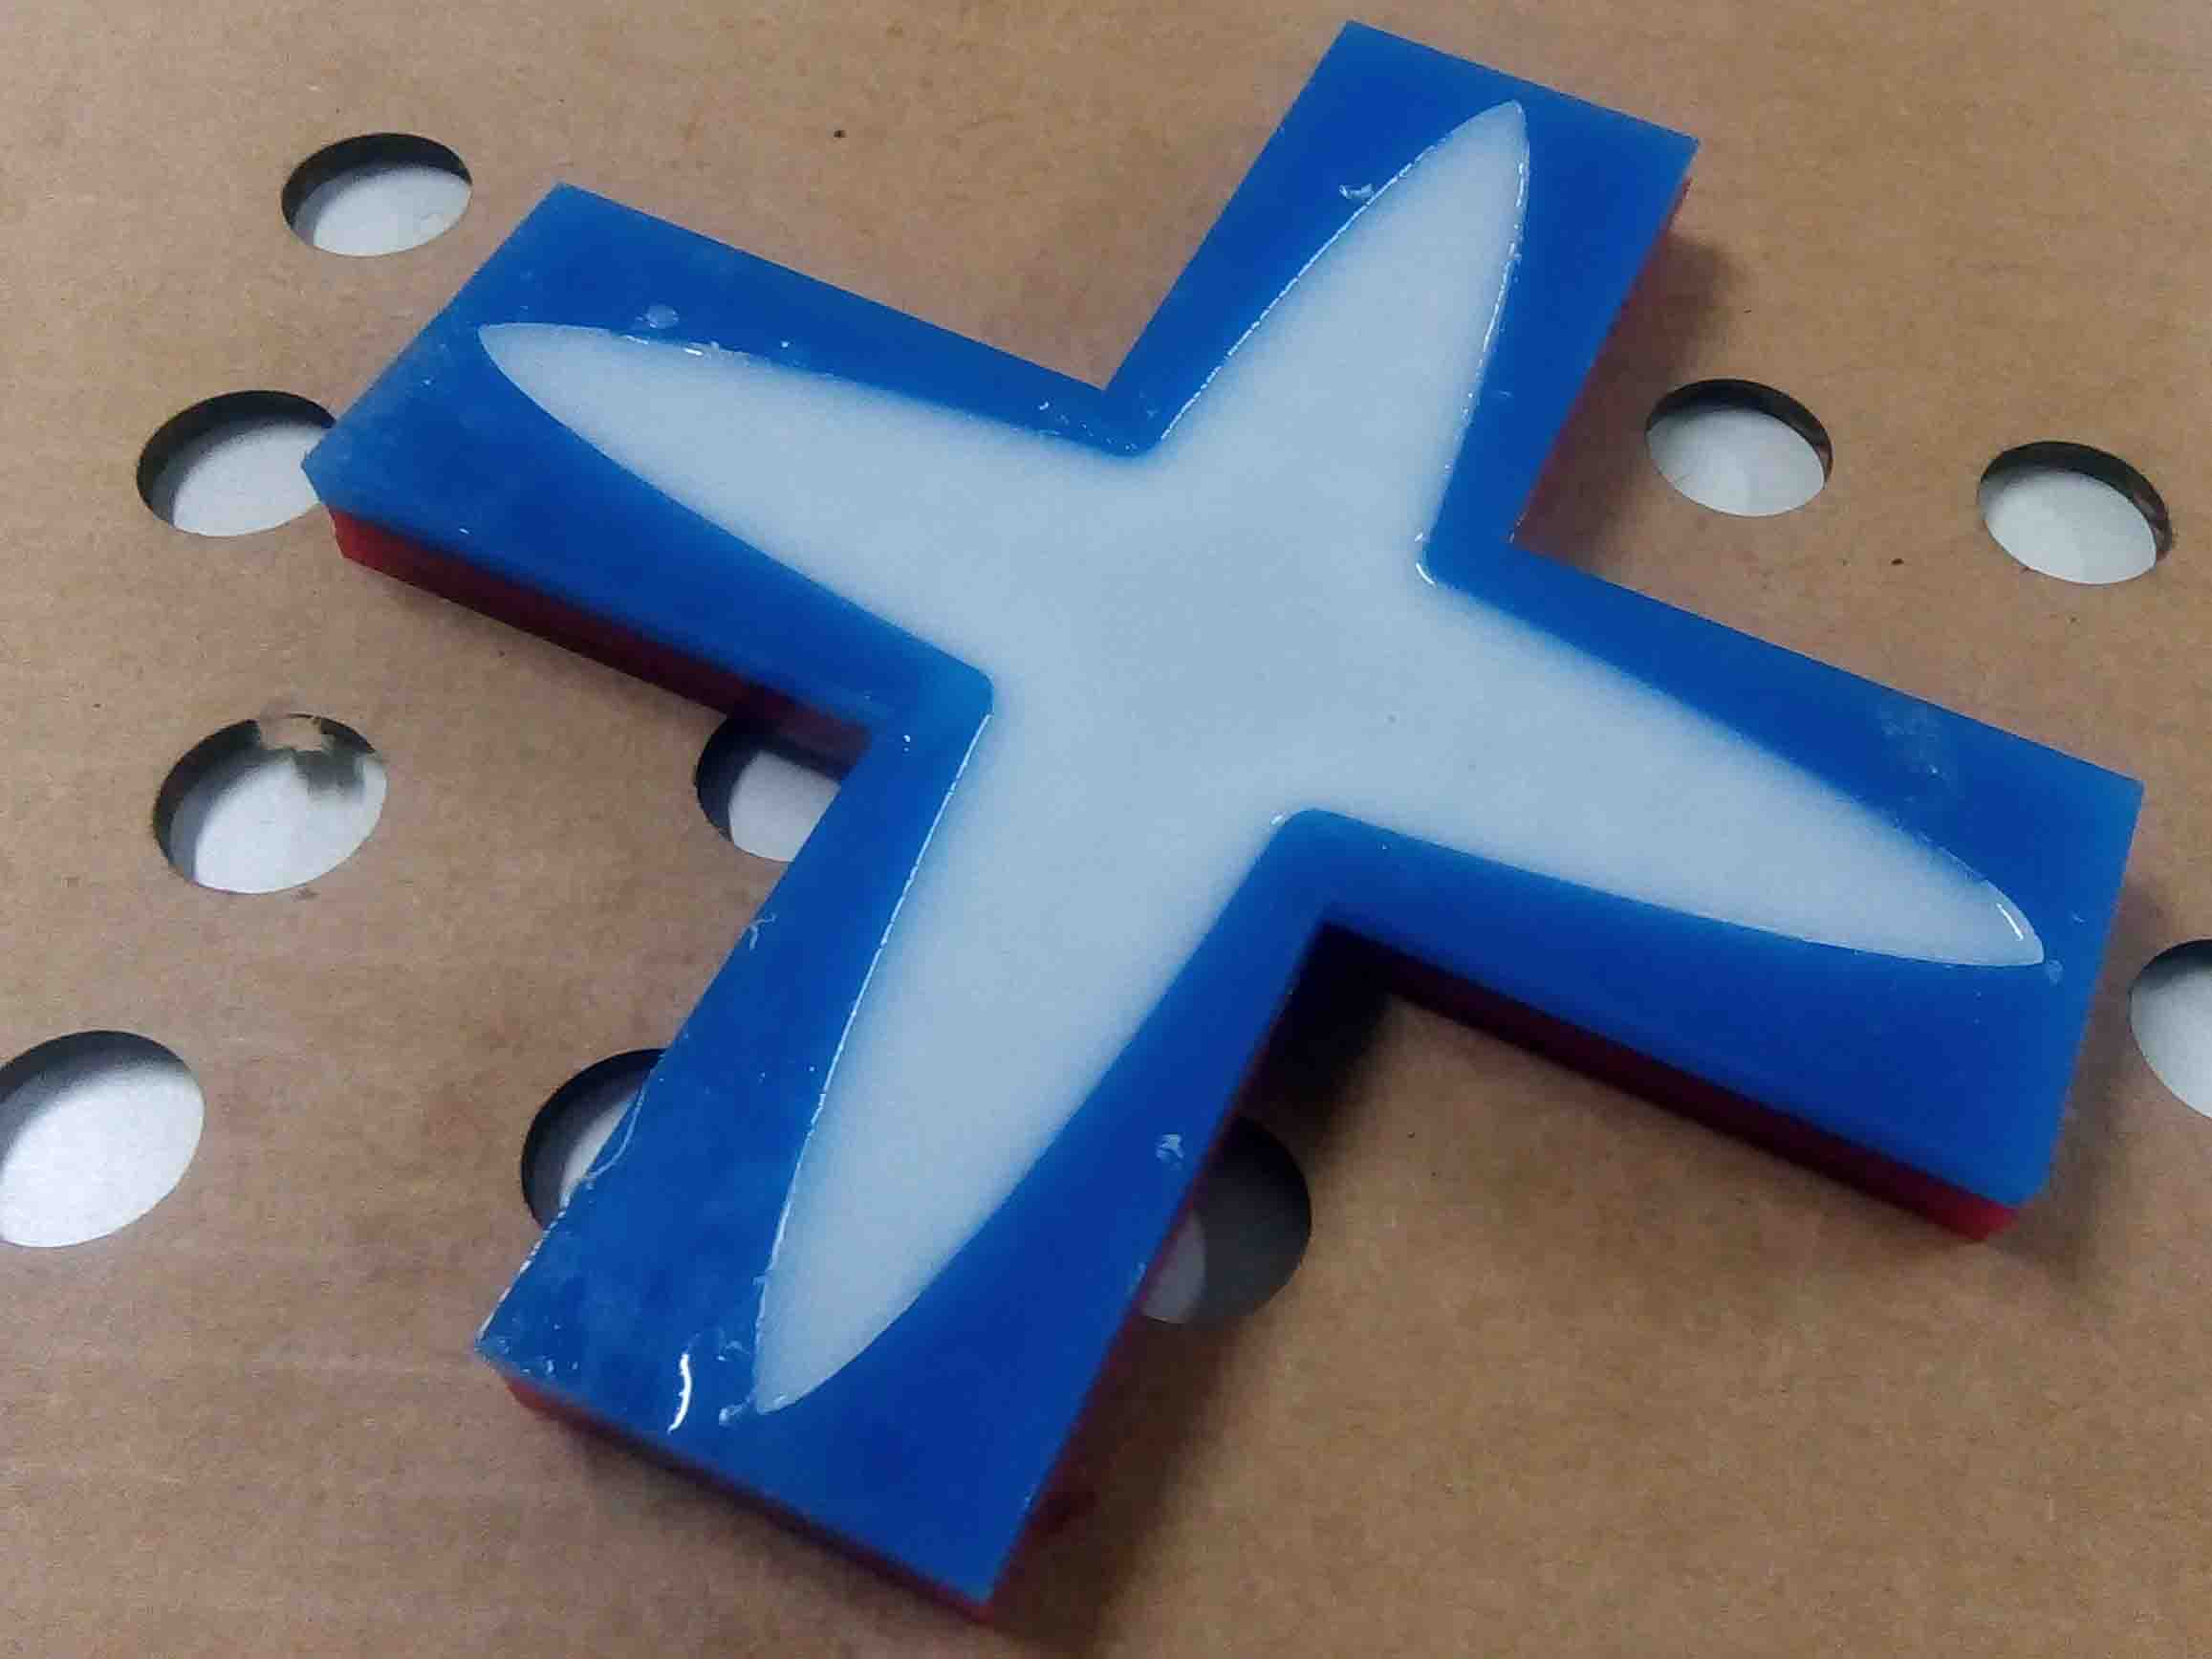
Now seperate the cast from the mold
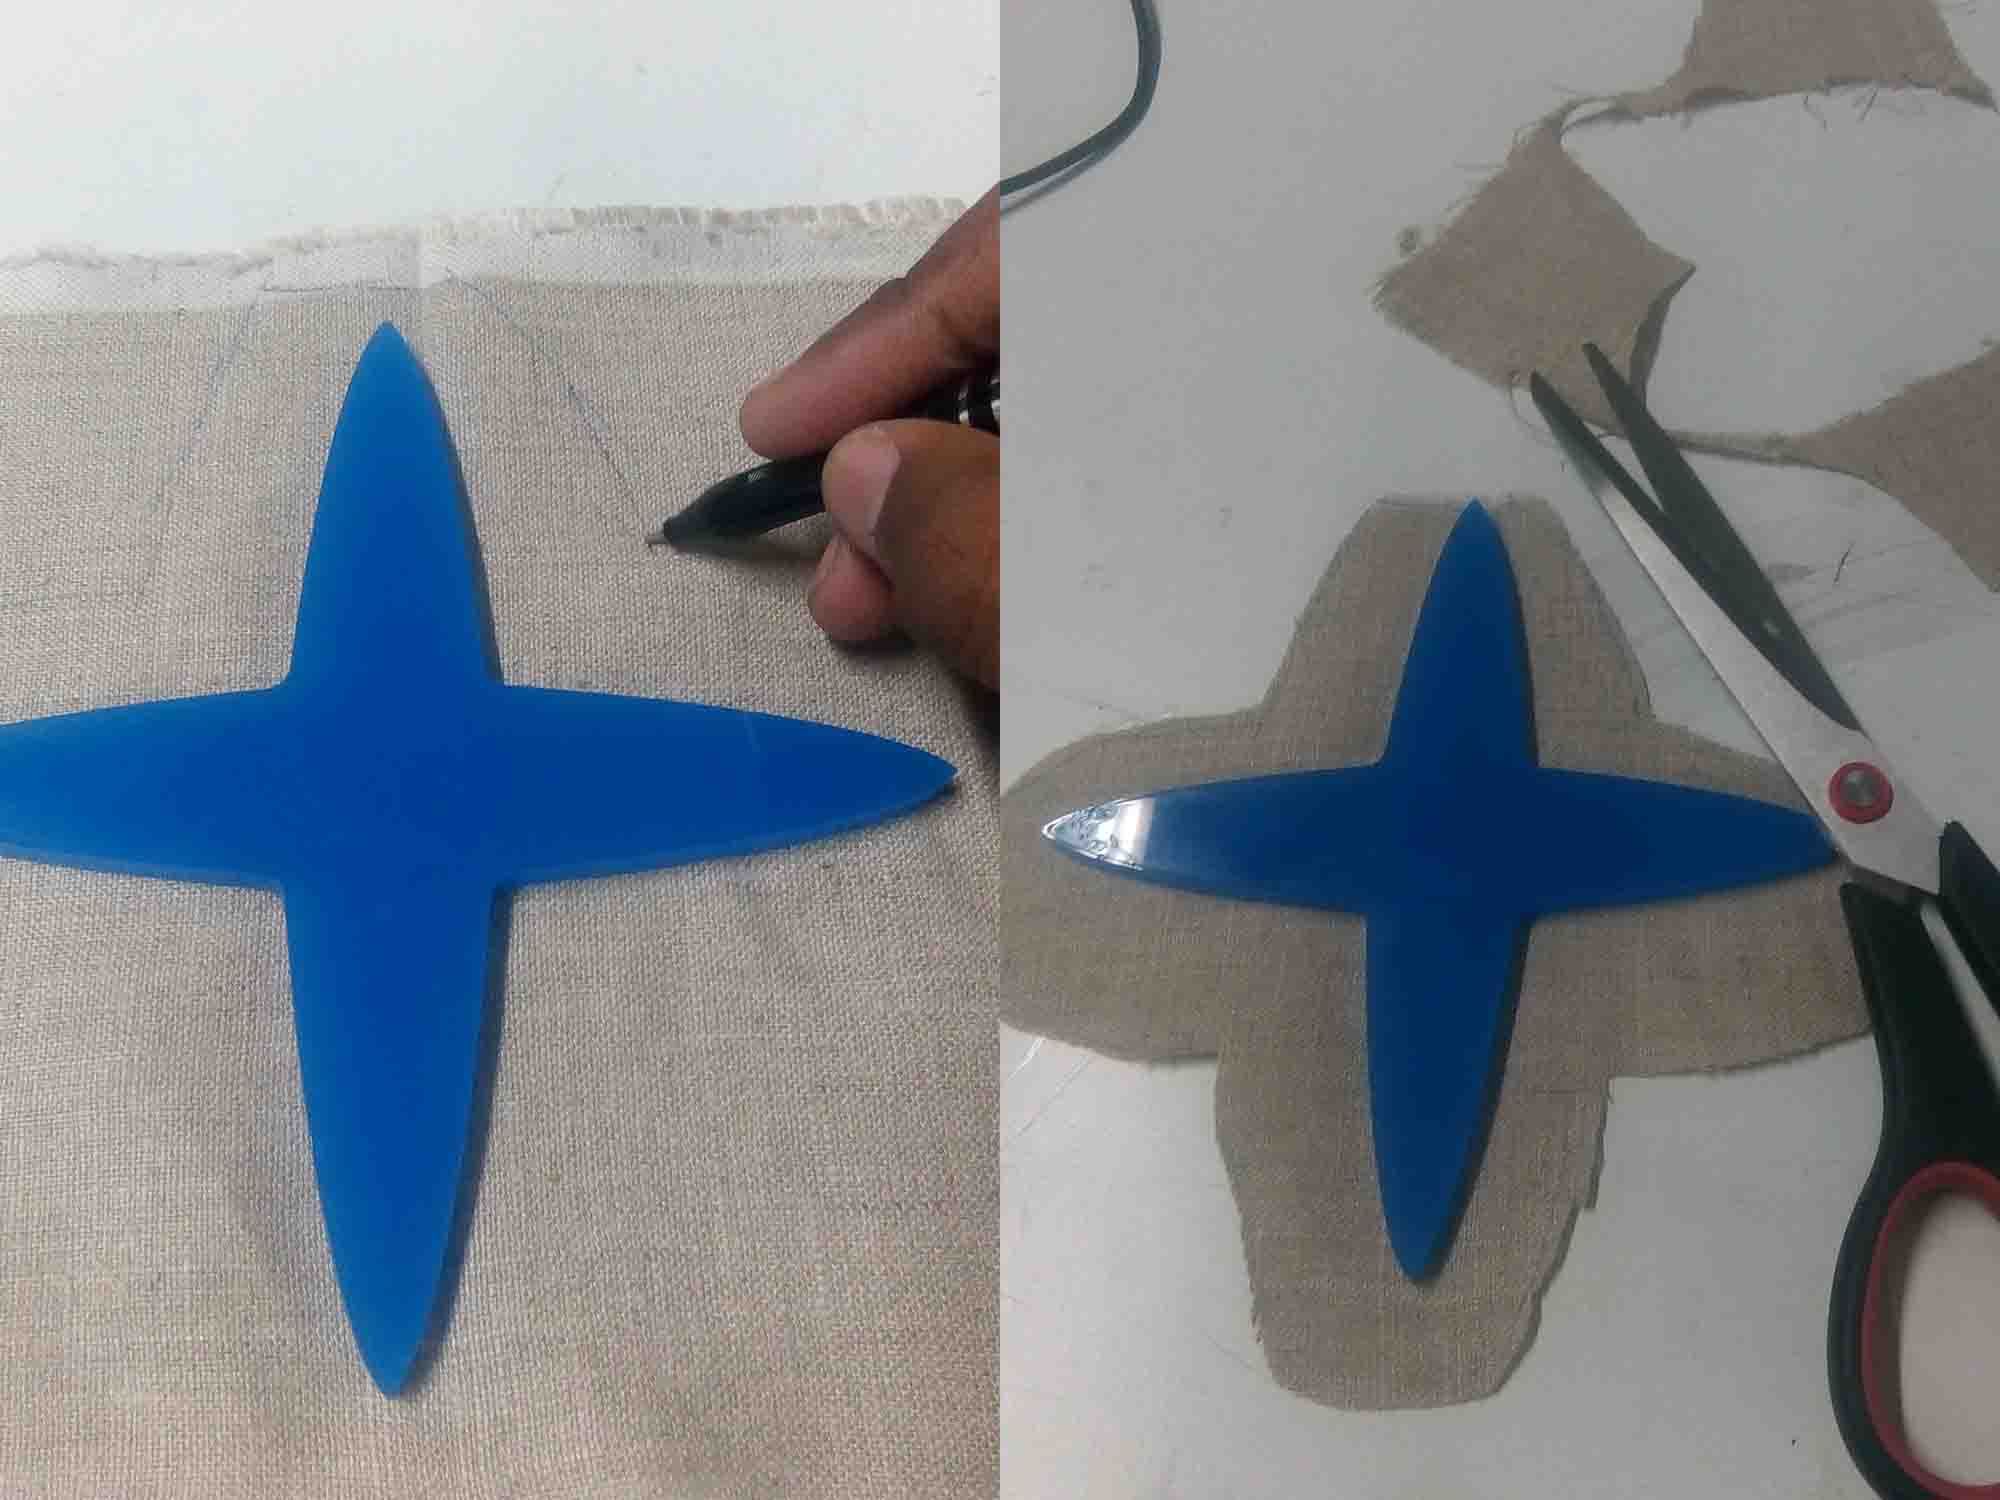
Now we need to add the gripping layer to close the structure. For that I take a piece of linen cloth

Now take the piece that cut out using laser in the mold making and make an outline on the cloth using a pen. Cut the cloth with scissors.
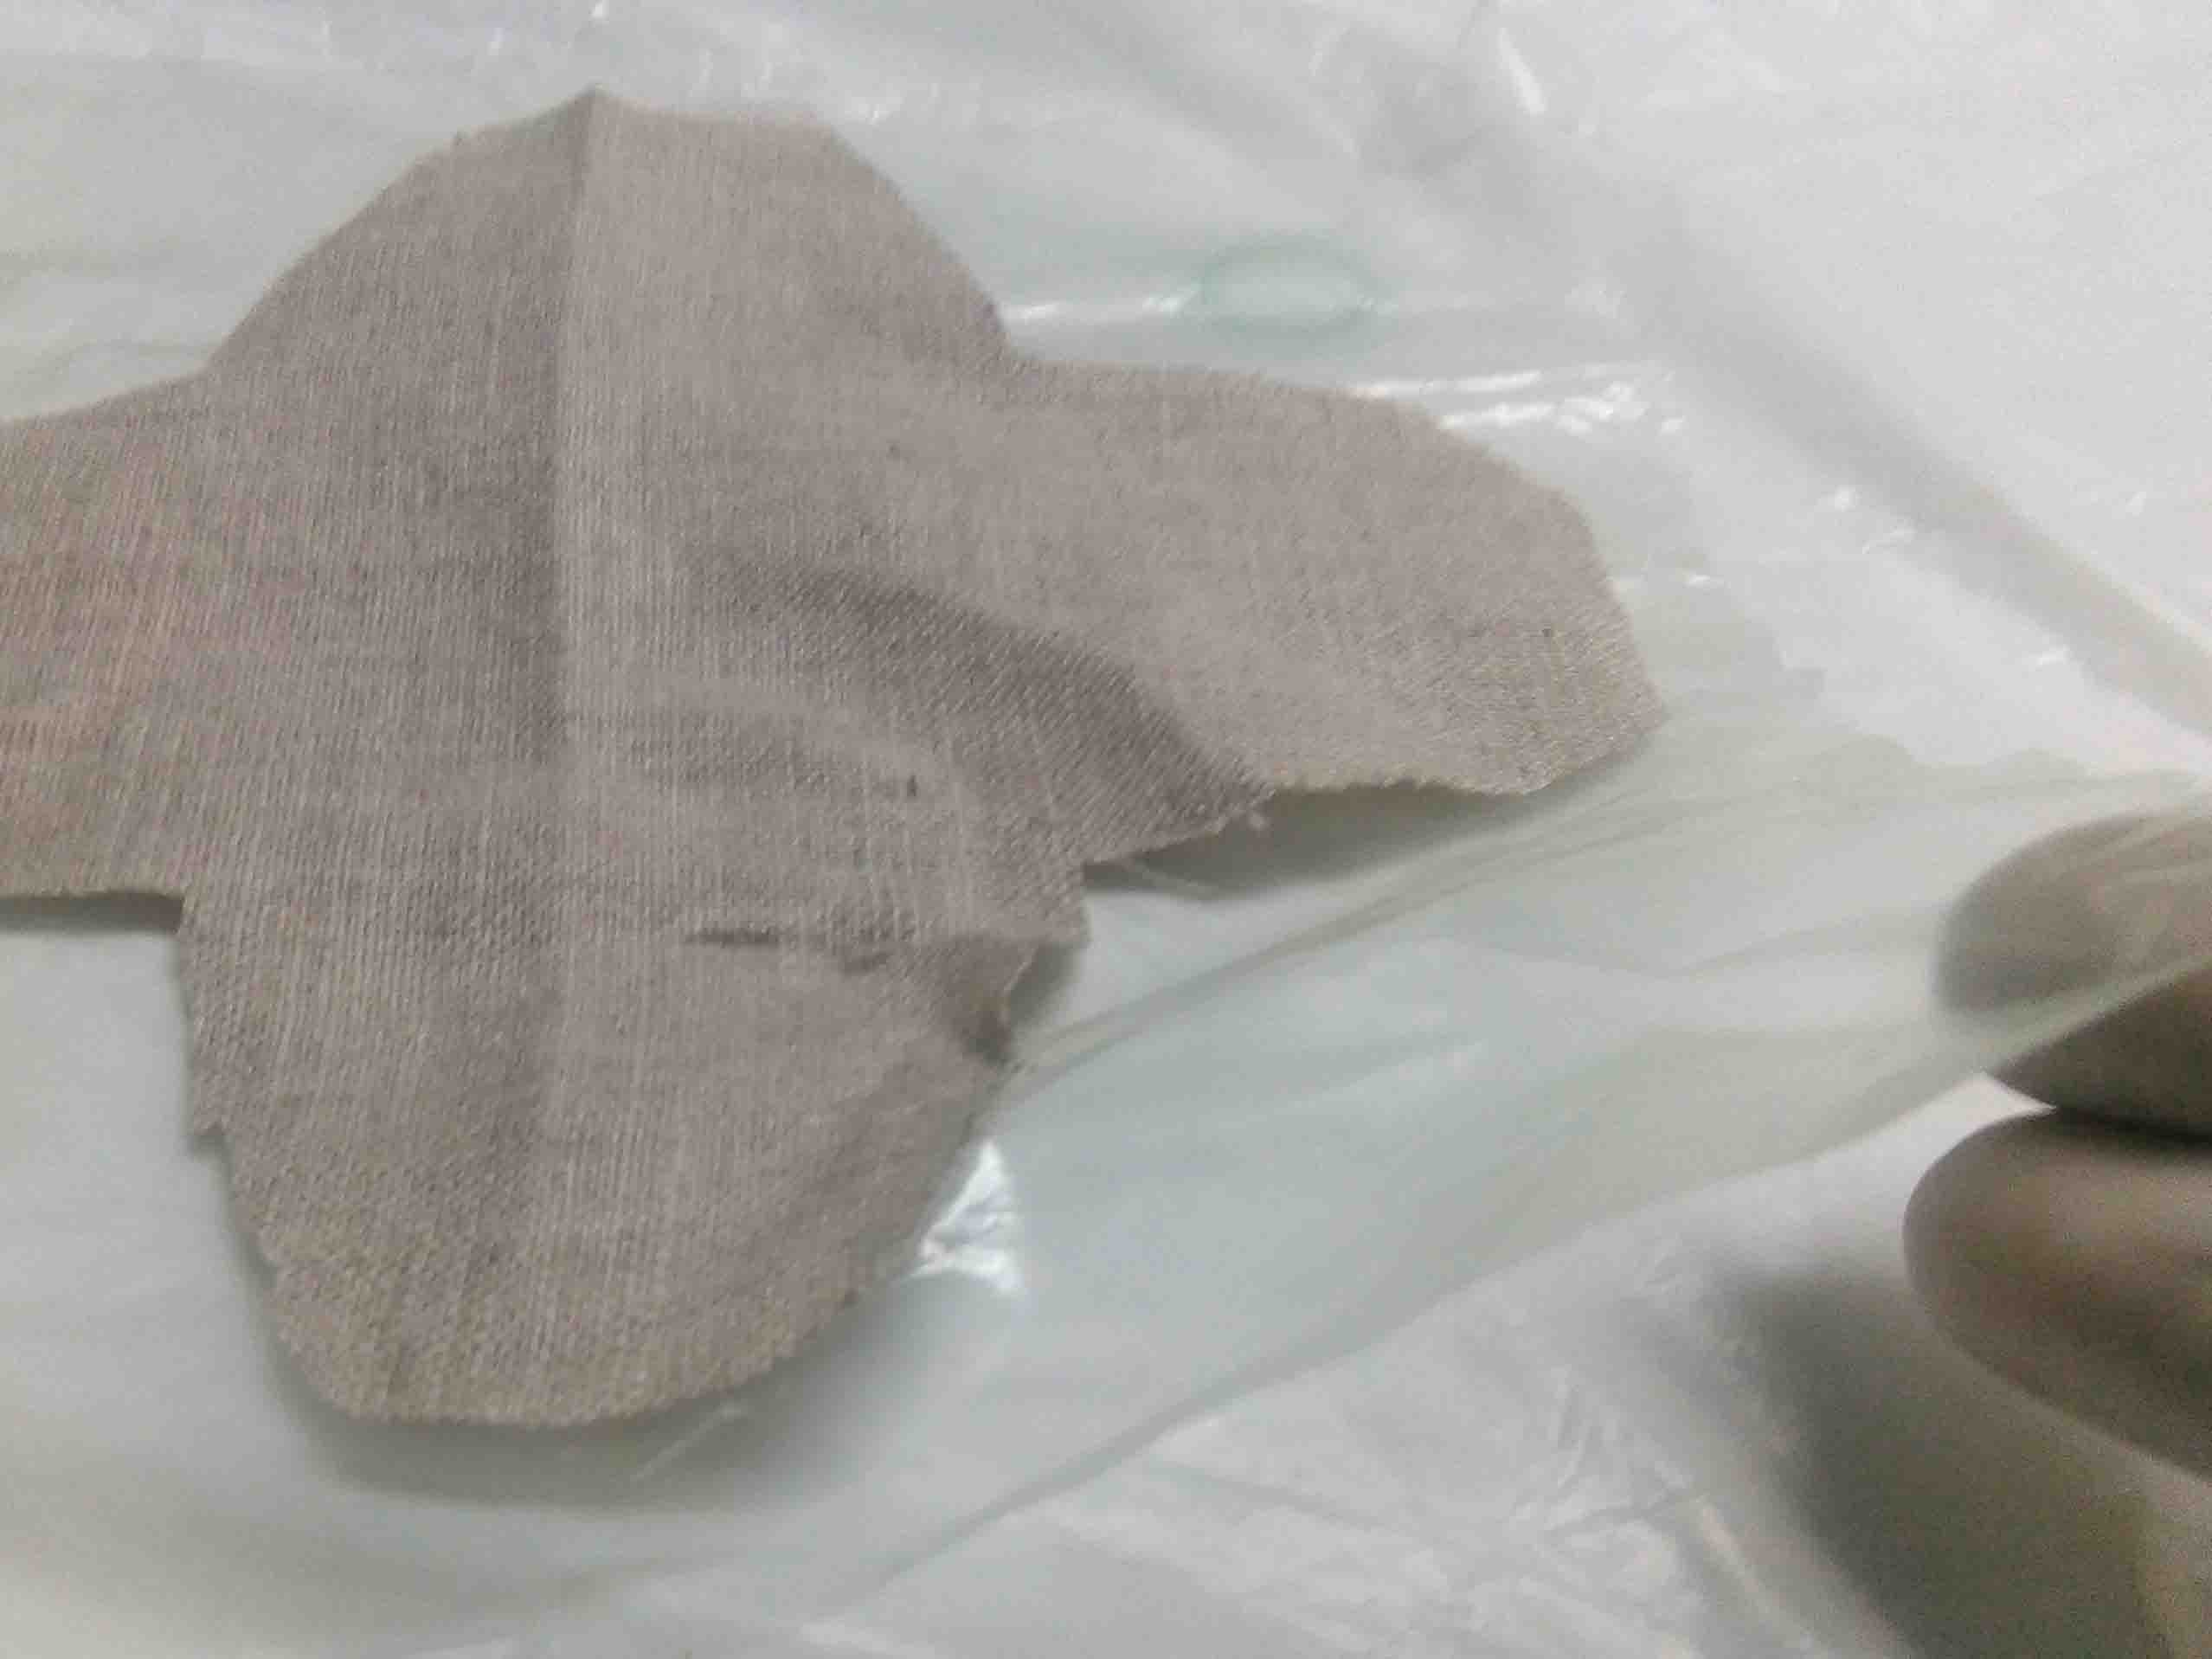
Place the cloth on a breathable plastic sheet
Now layout a layer of resin on plastic then stick the cloth on to it. After that level the resin using a spatulla.
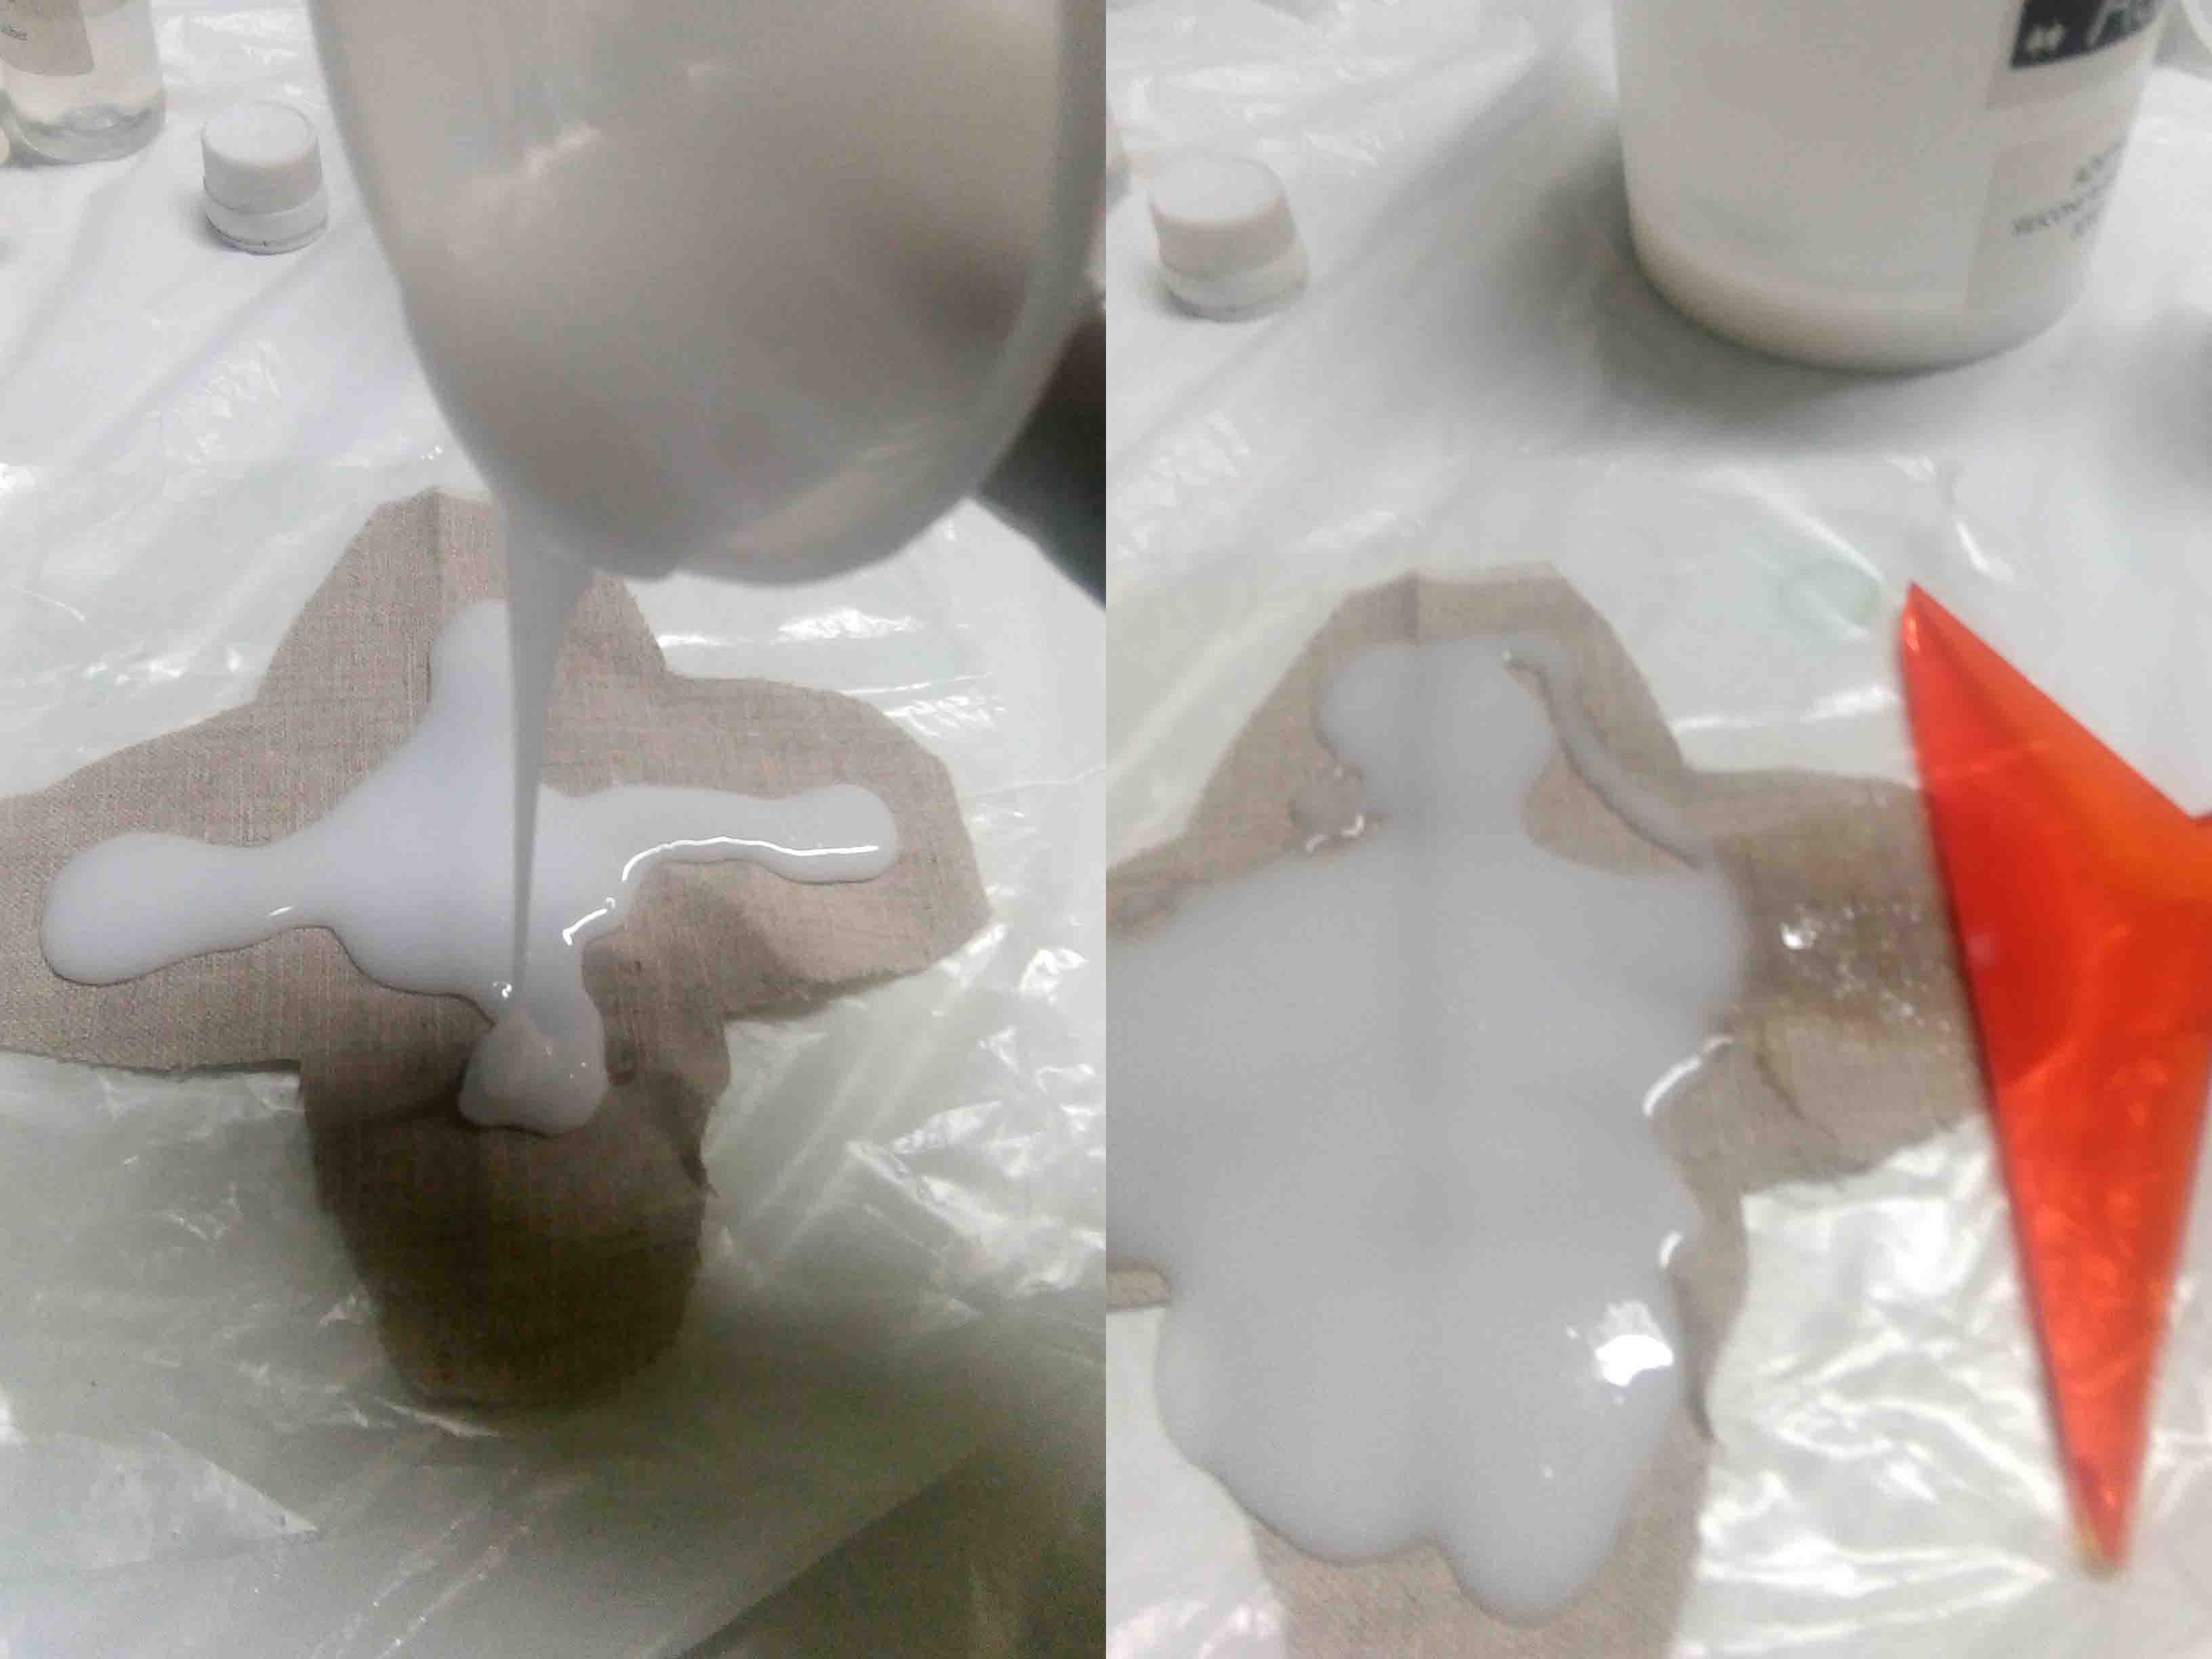
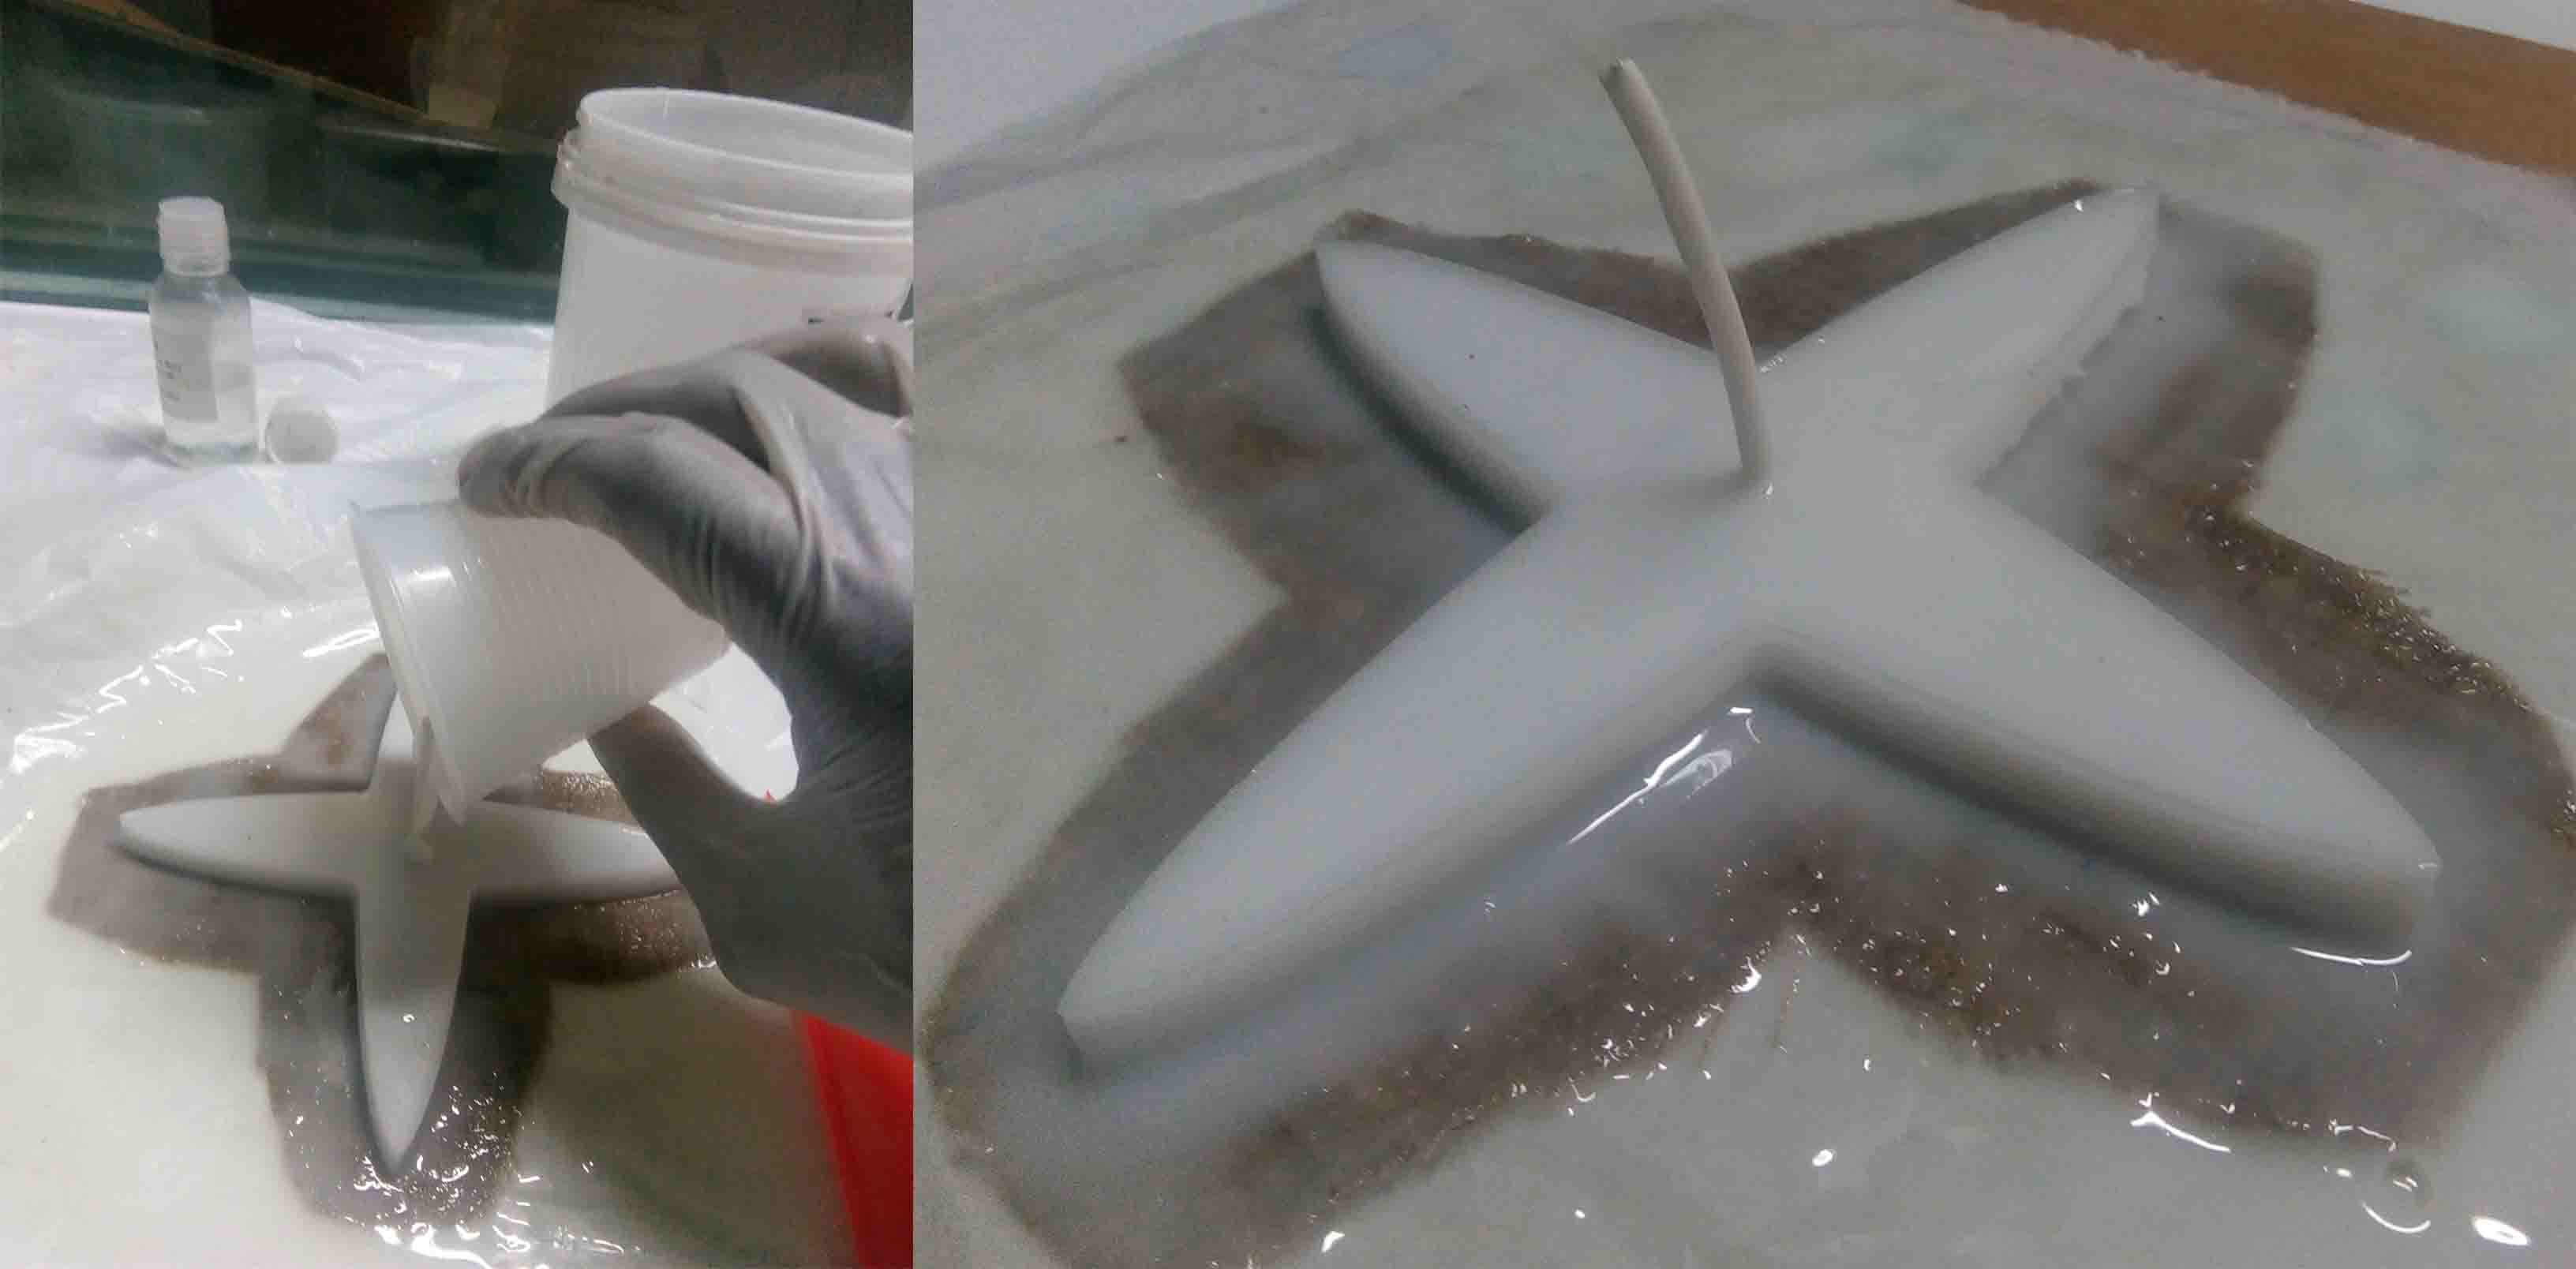
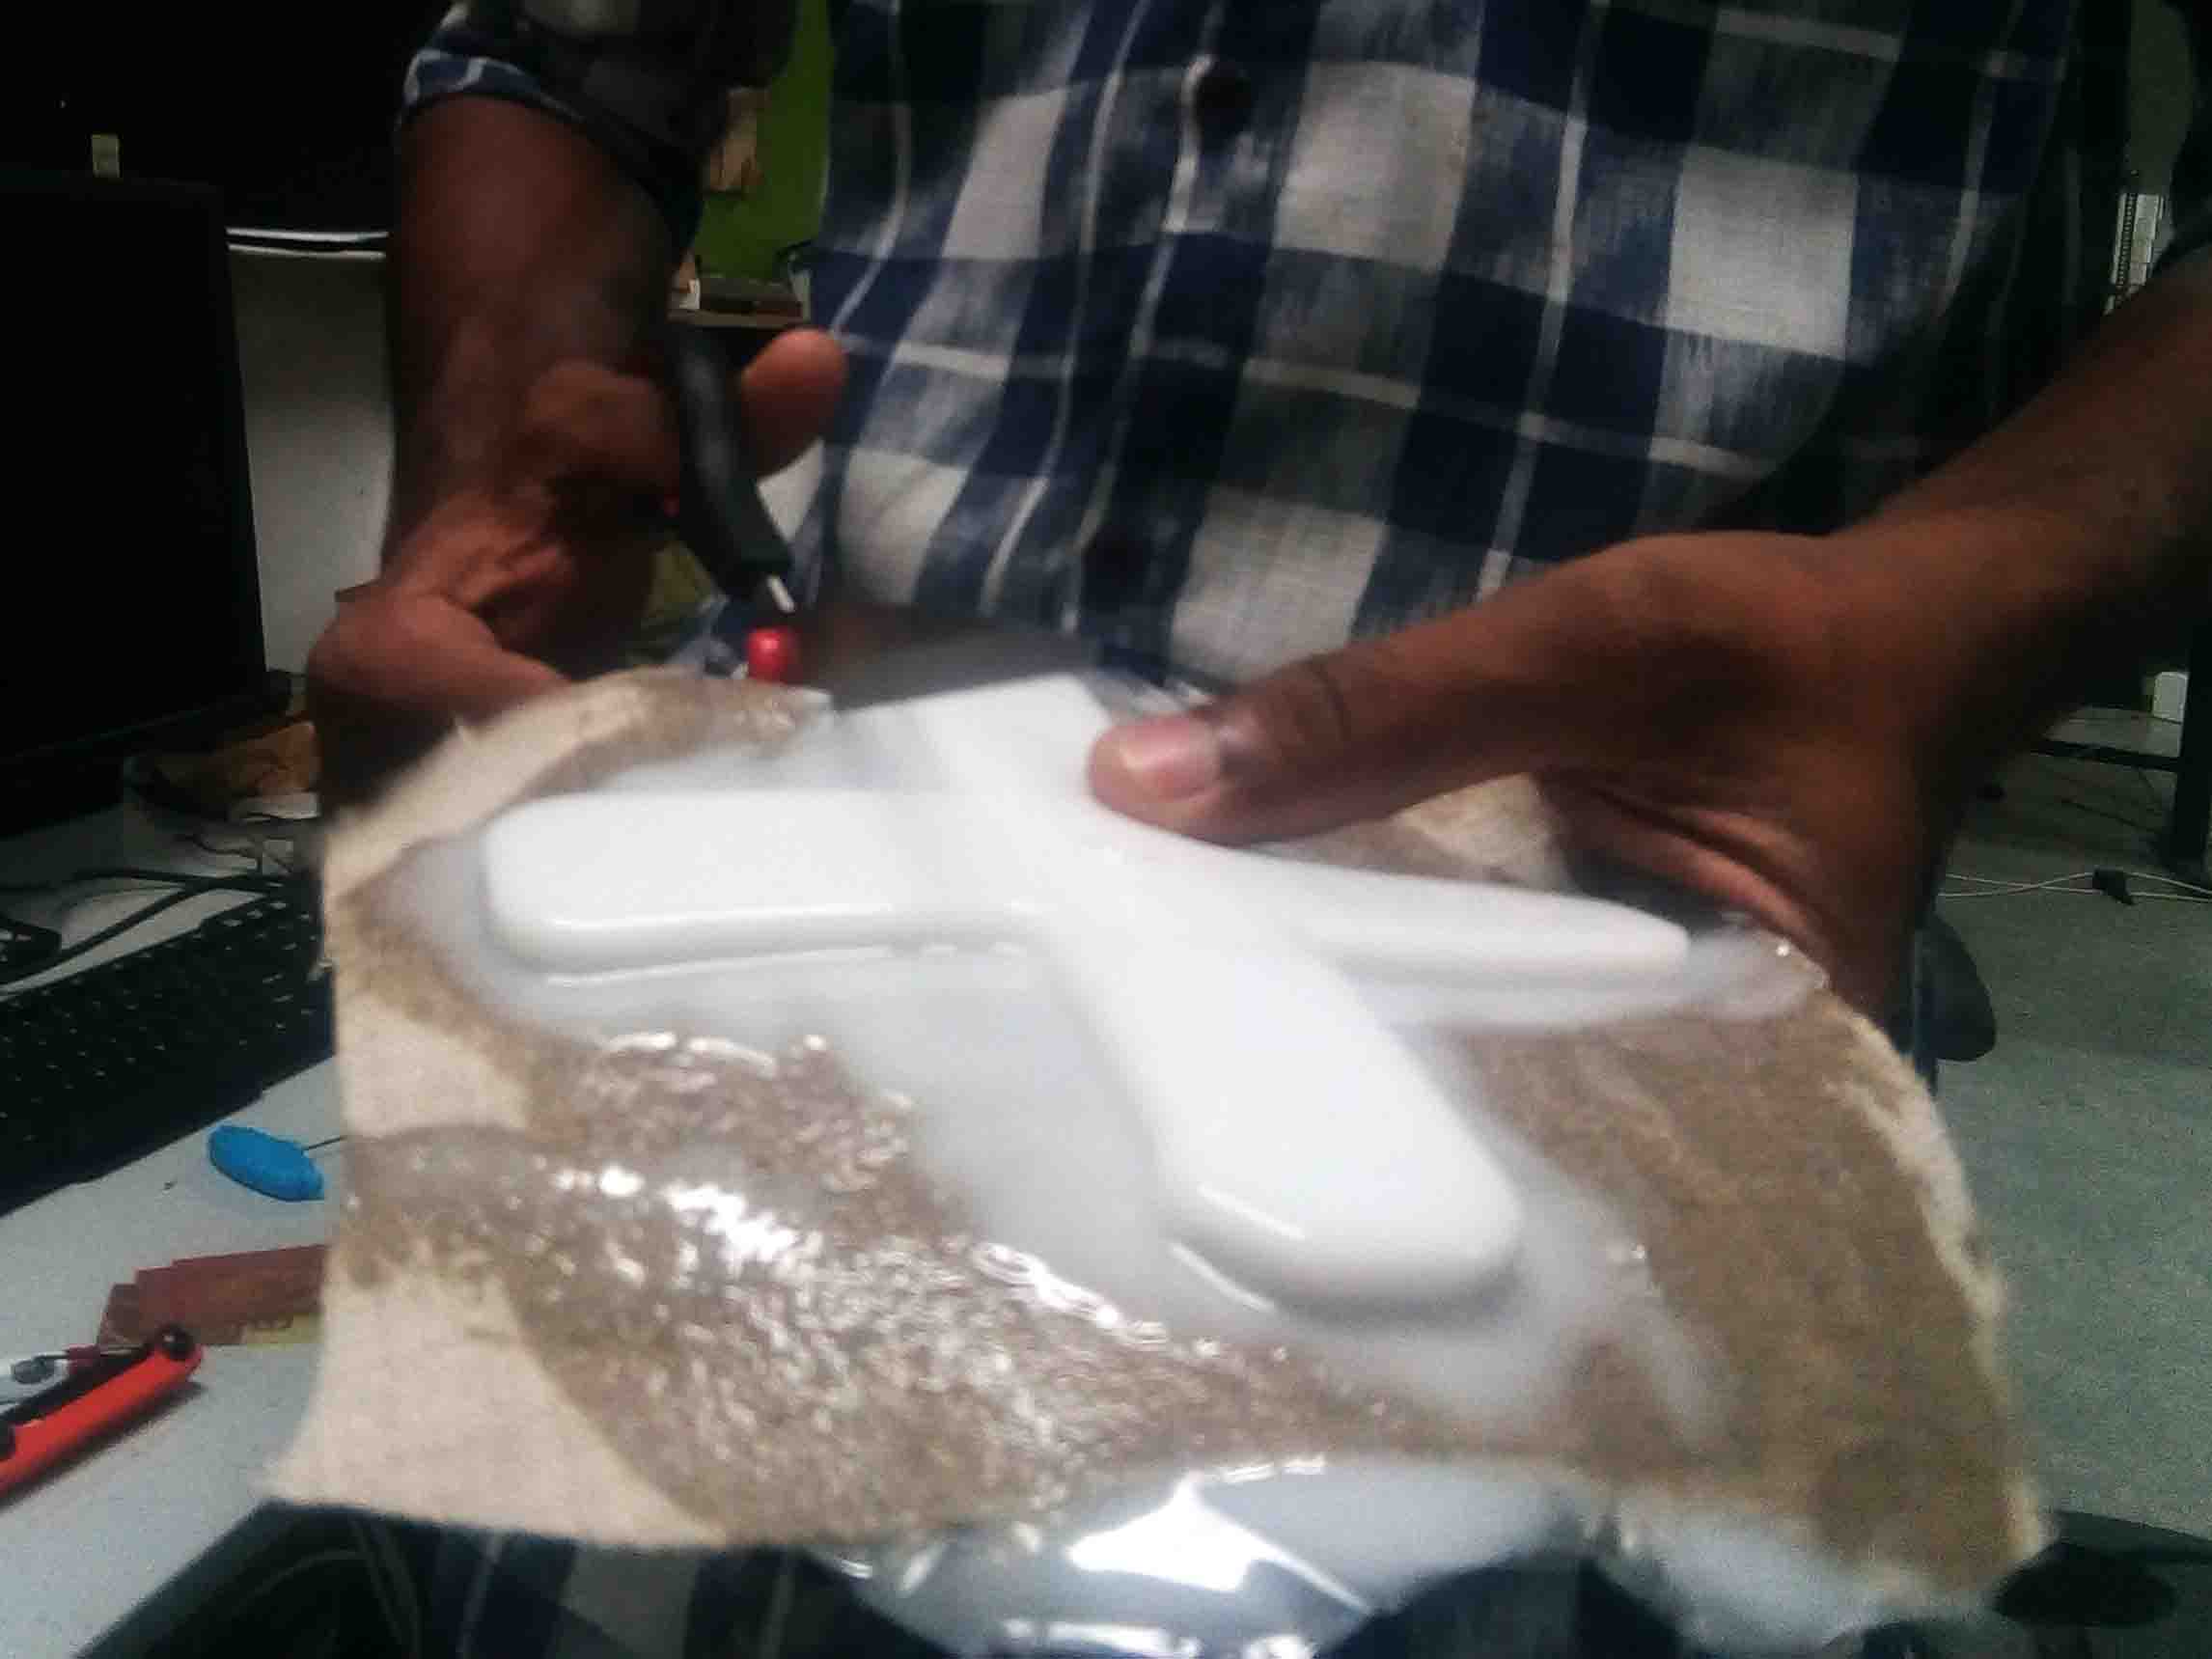
Now put the upper part of the gripper onto the cloth and pour more silicon
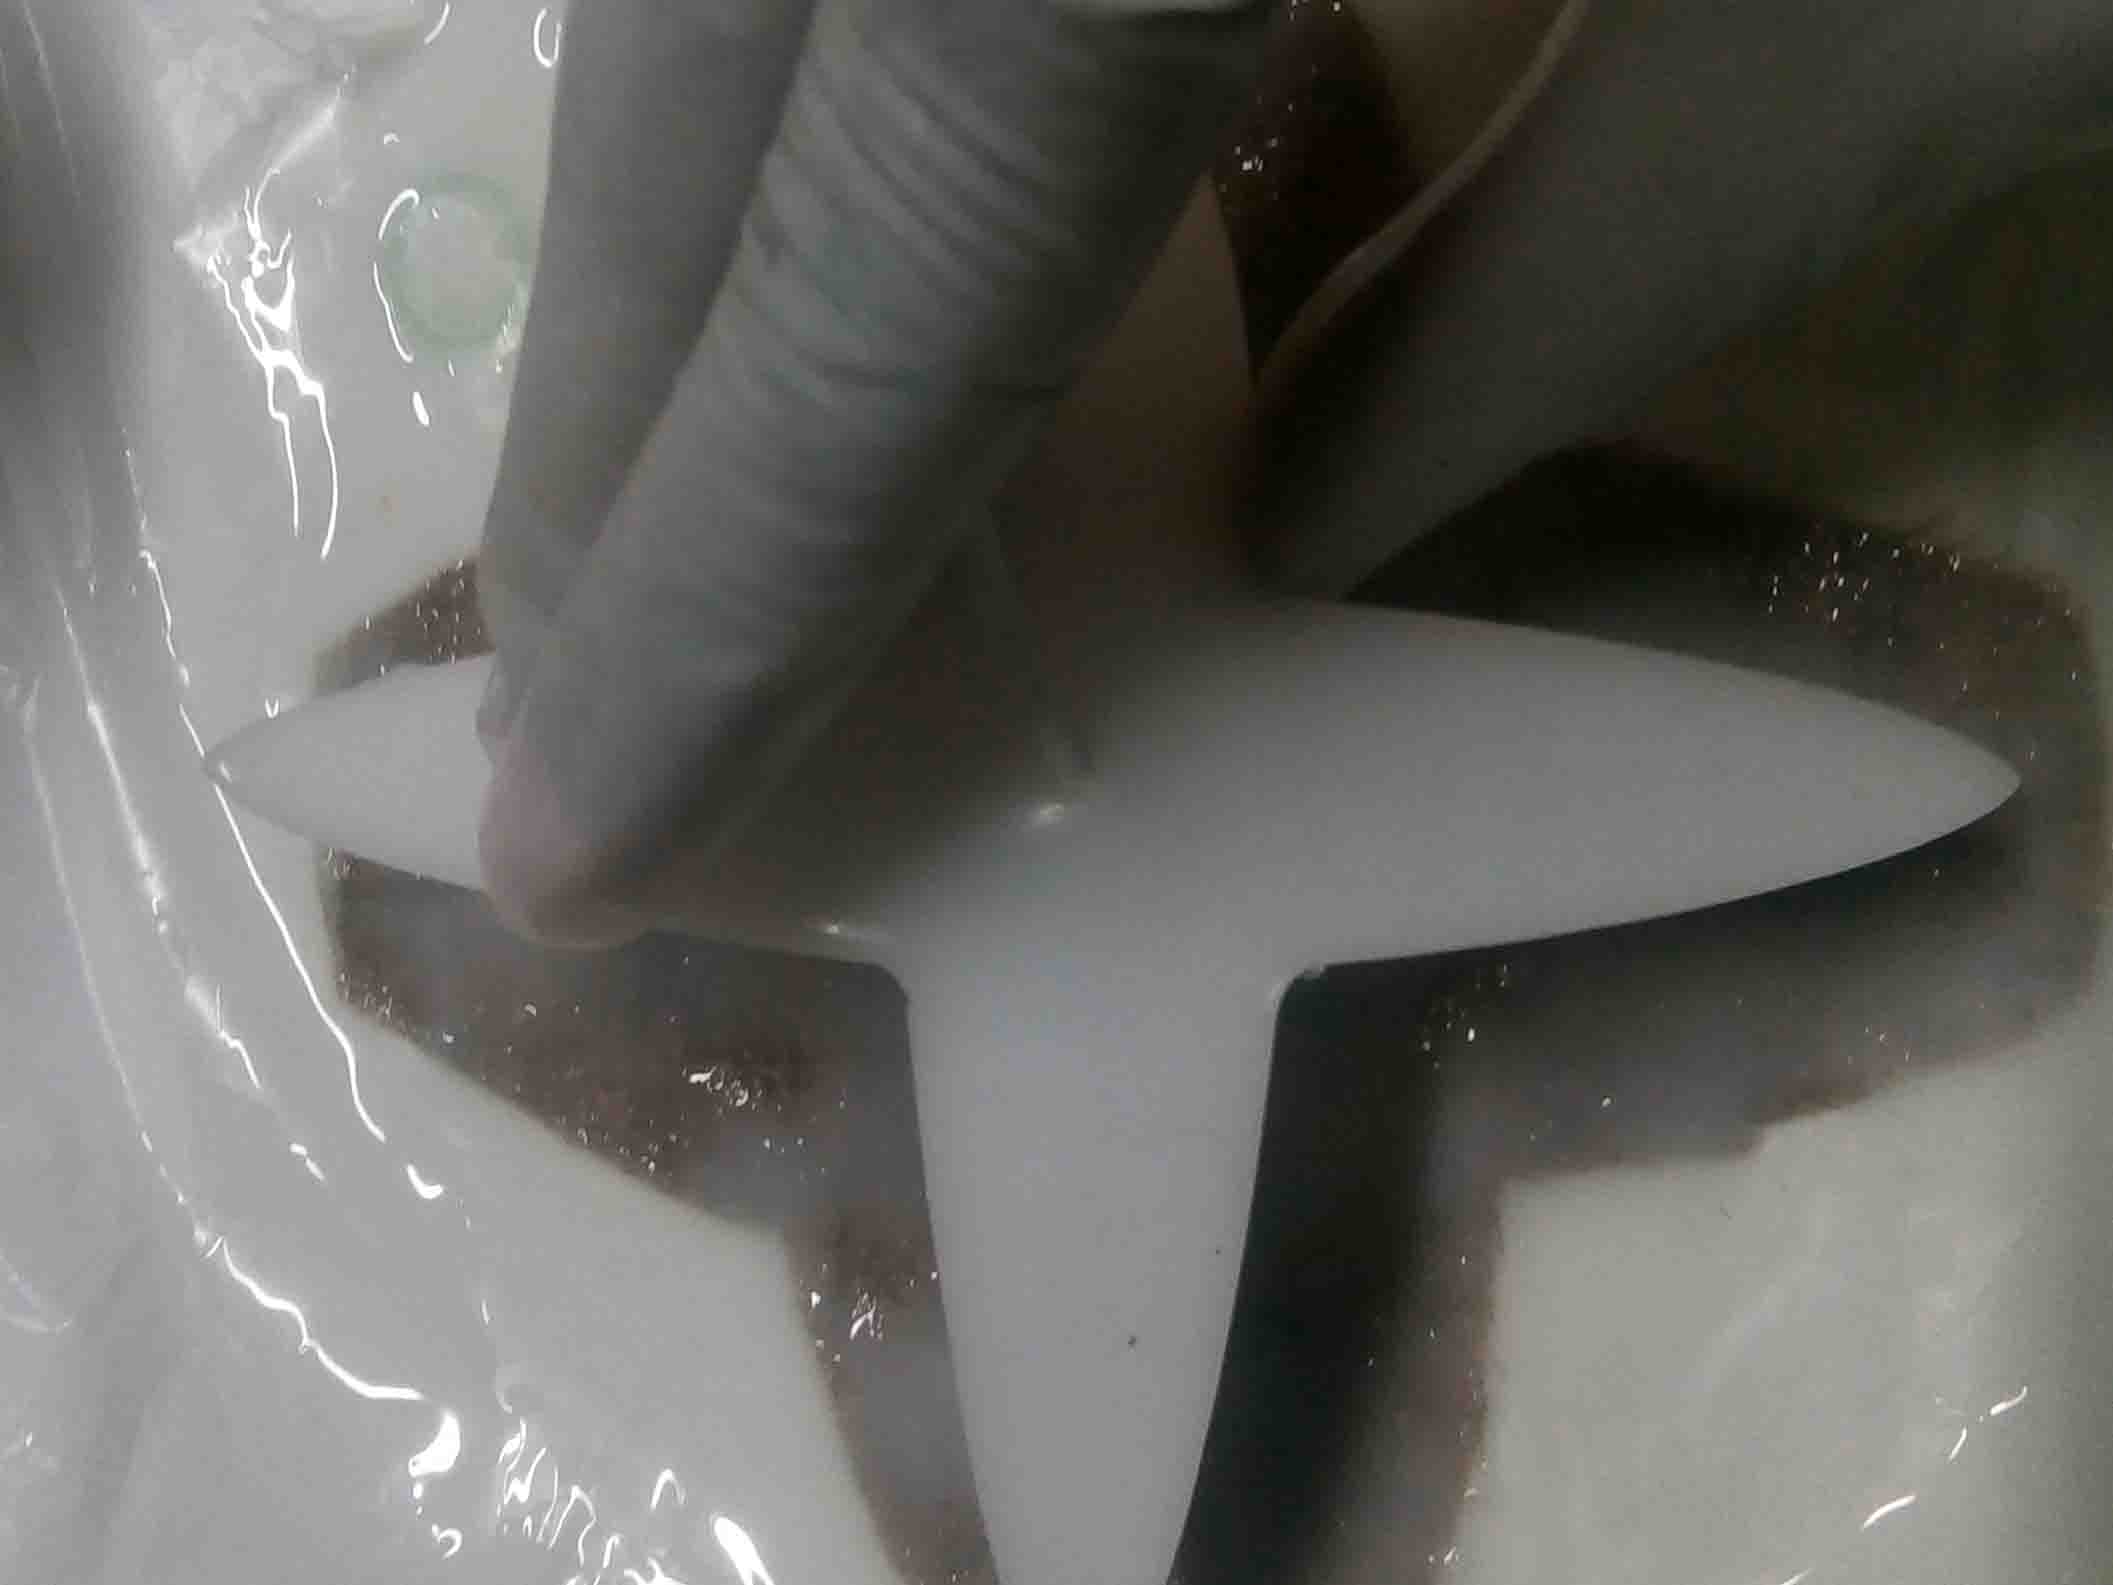
Now put a hose through the hole and cover it with silicon..
After curing I cut the excess materials.
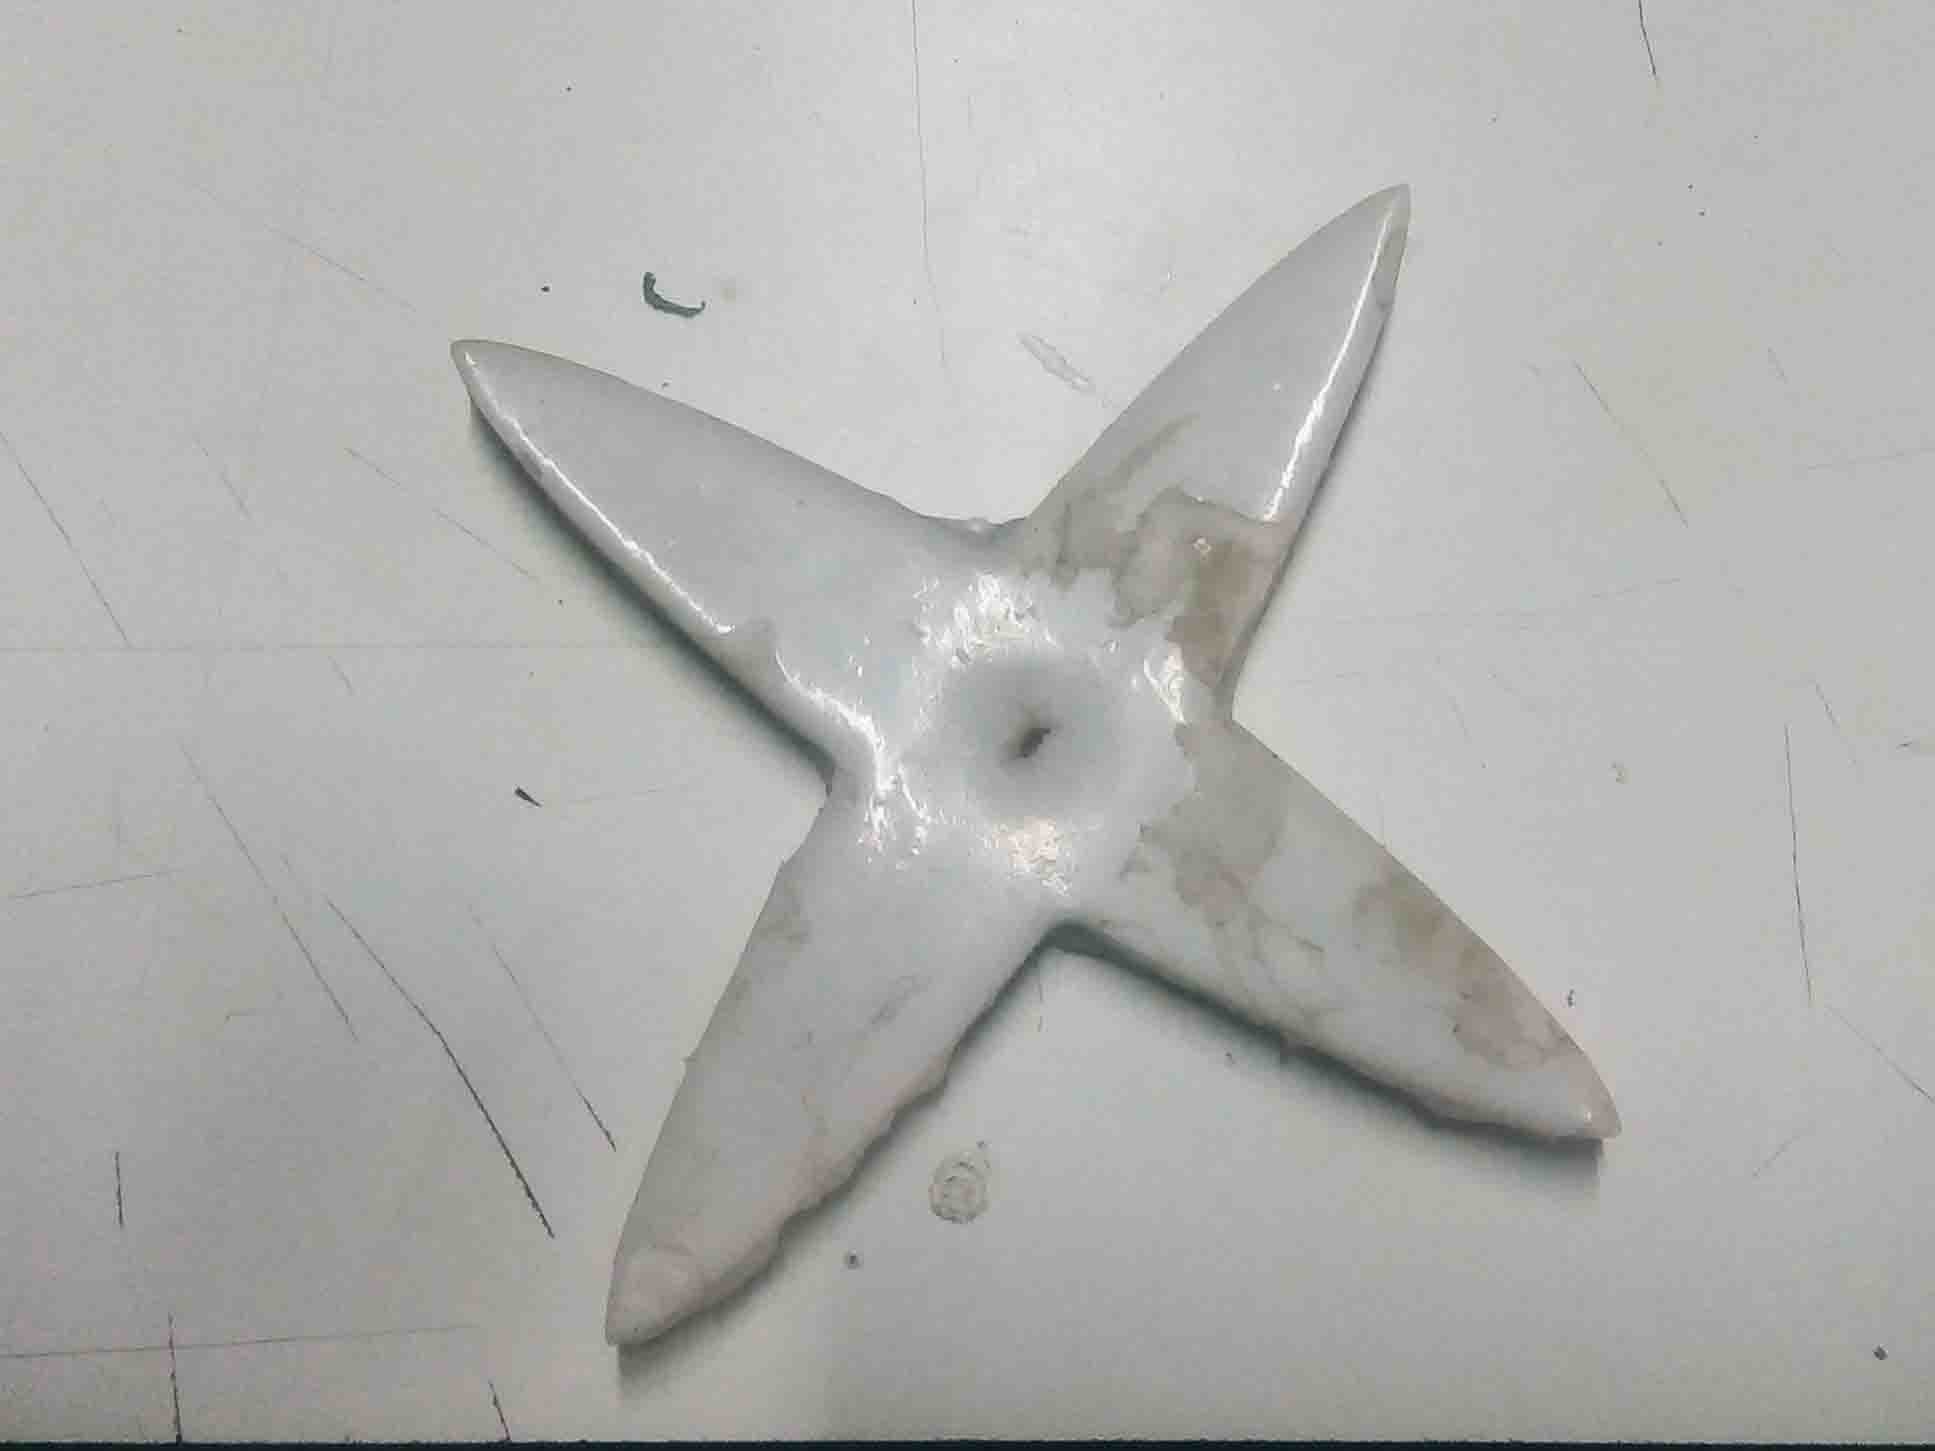
It didn't work because of the unbalanced material filling on he top. So I tried the same model once more. this time with less silicon on the top.
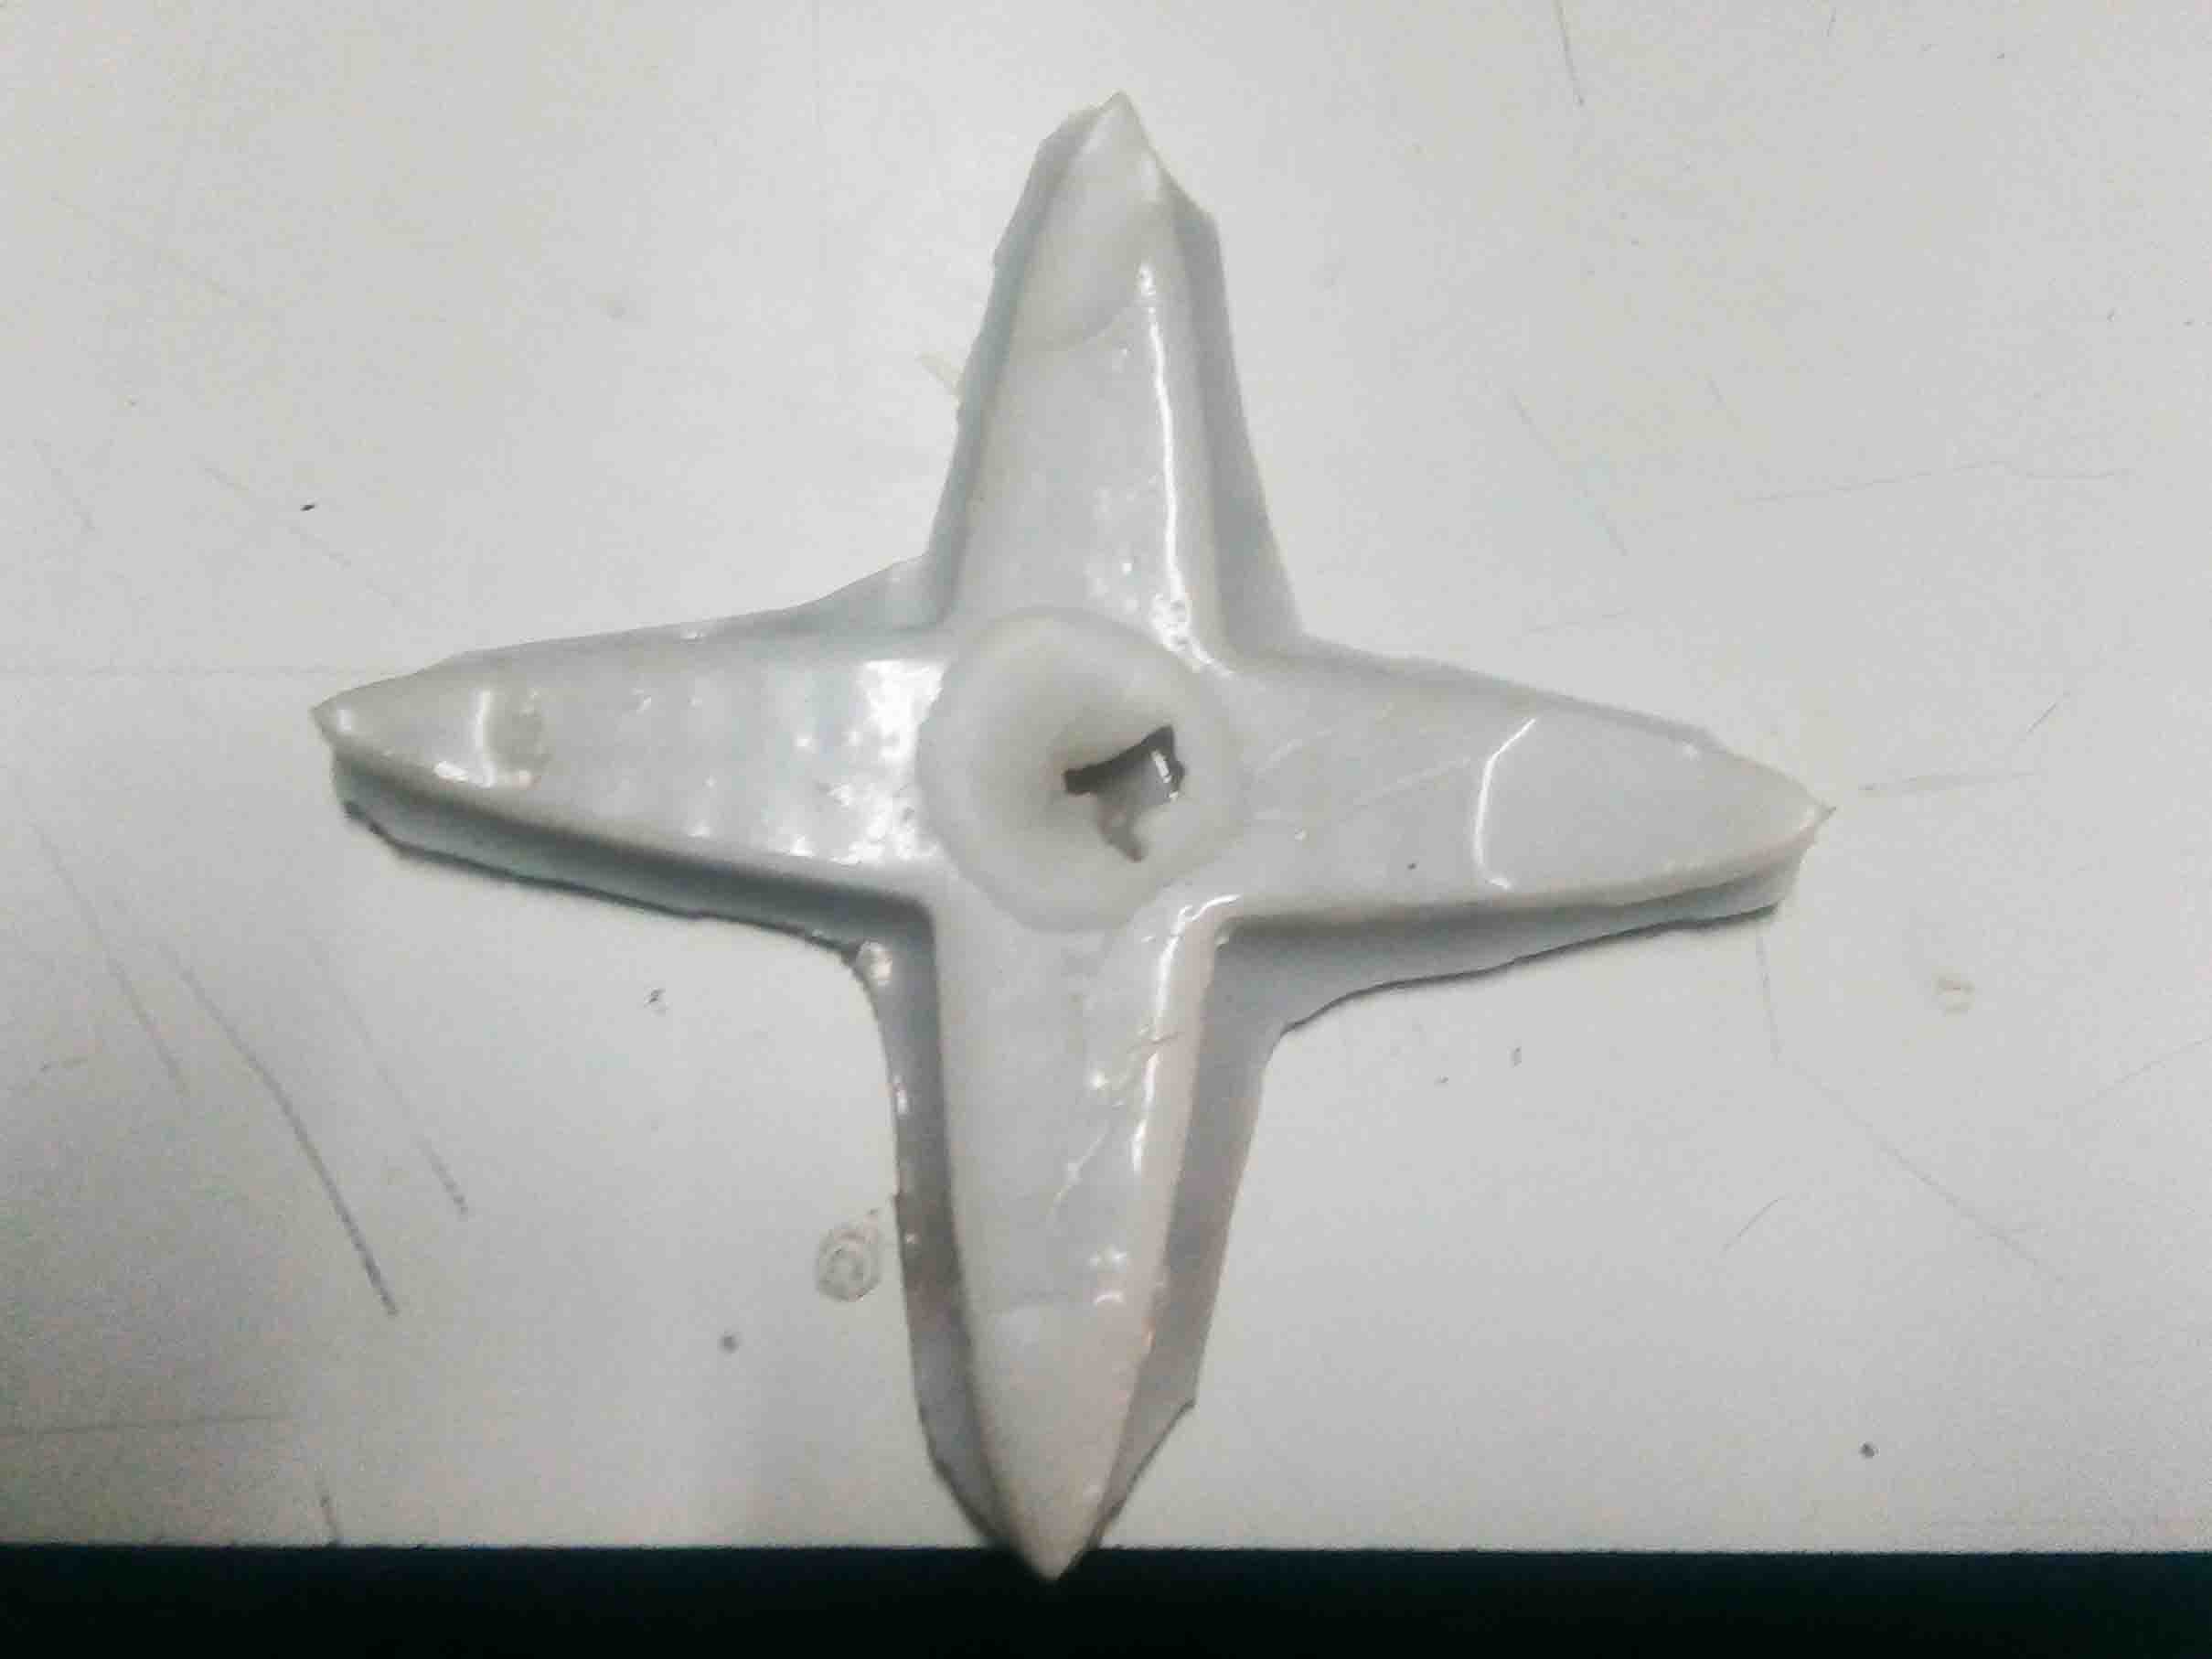
But the center region exploded. I have notice that the center region in the design have a large column of air accumalted in it. So it act as the problem in the design it self.
The whole air get trapped at the center instead of going to the cavities. So I have changed the whole design
I disign the whole unit and 3D printerd it.
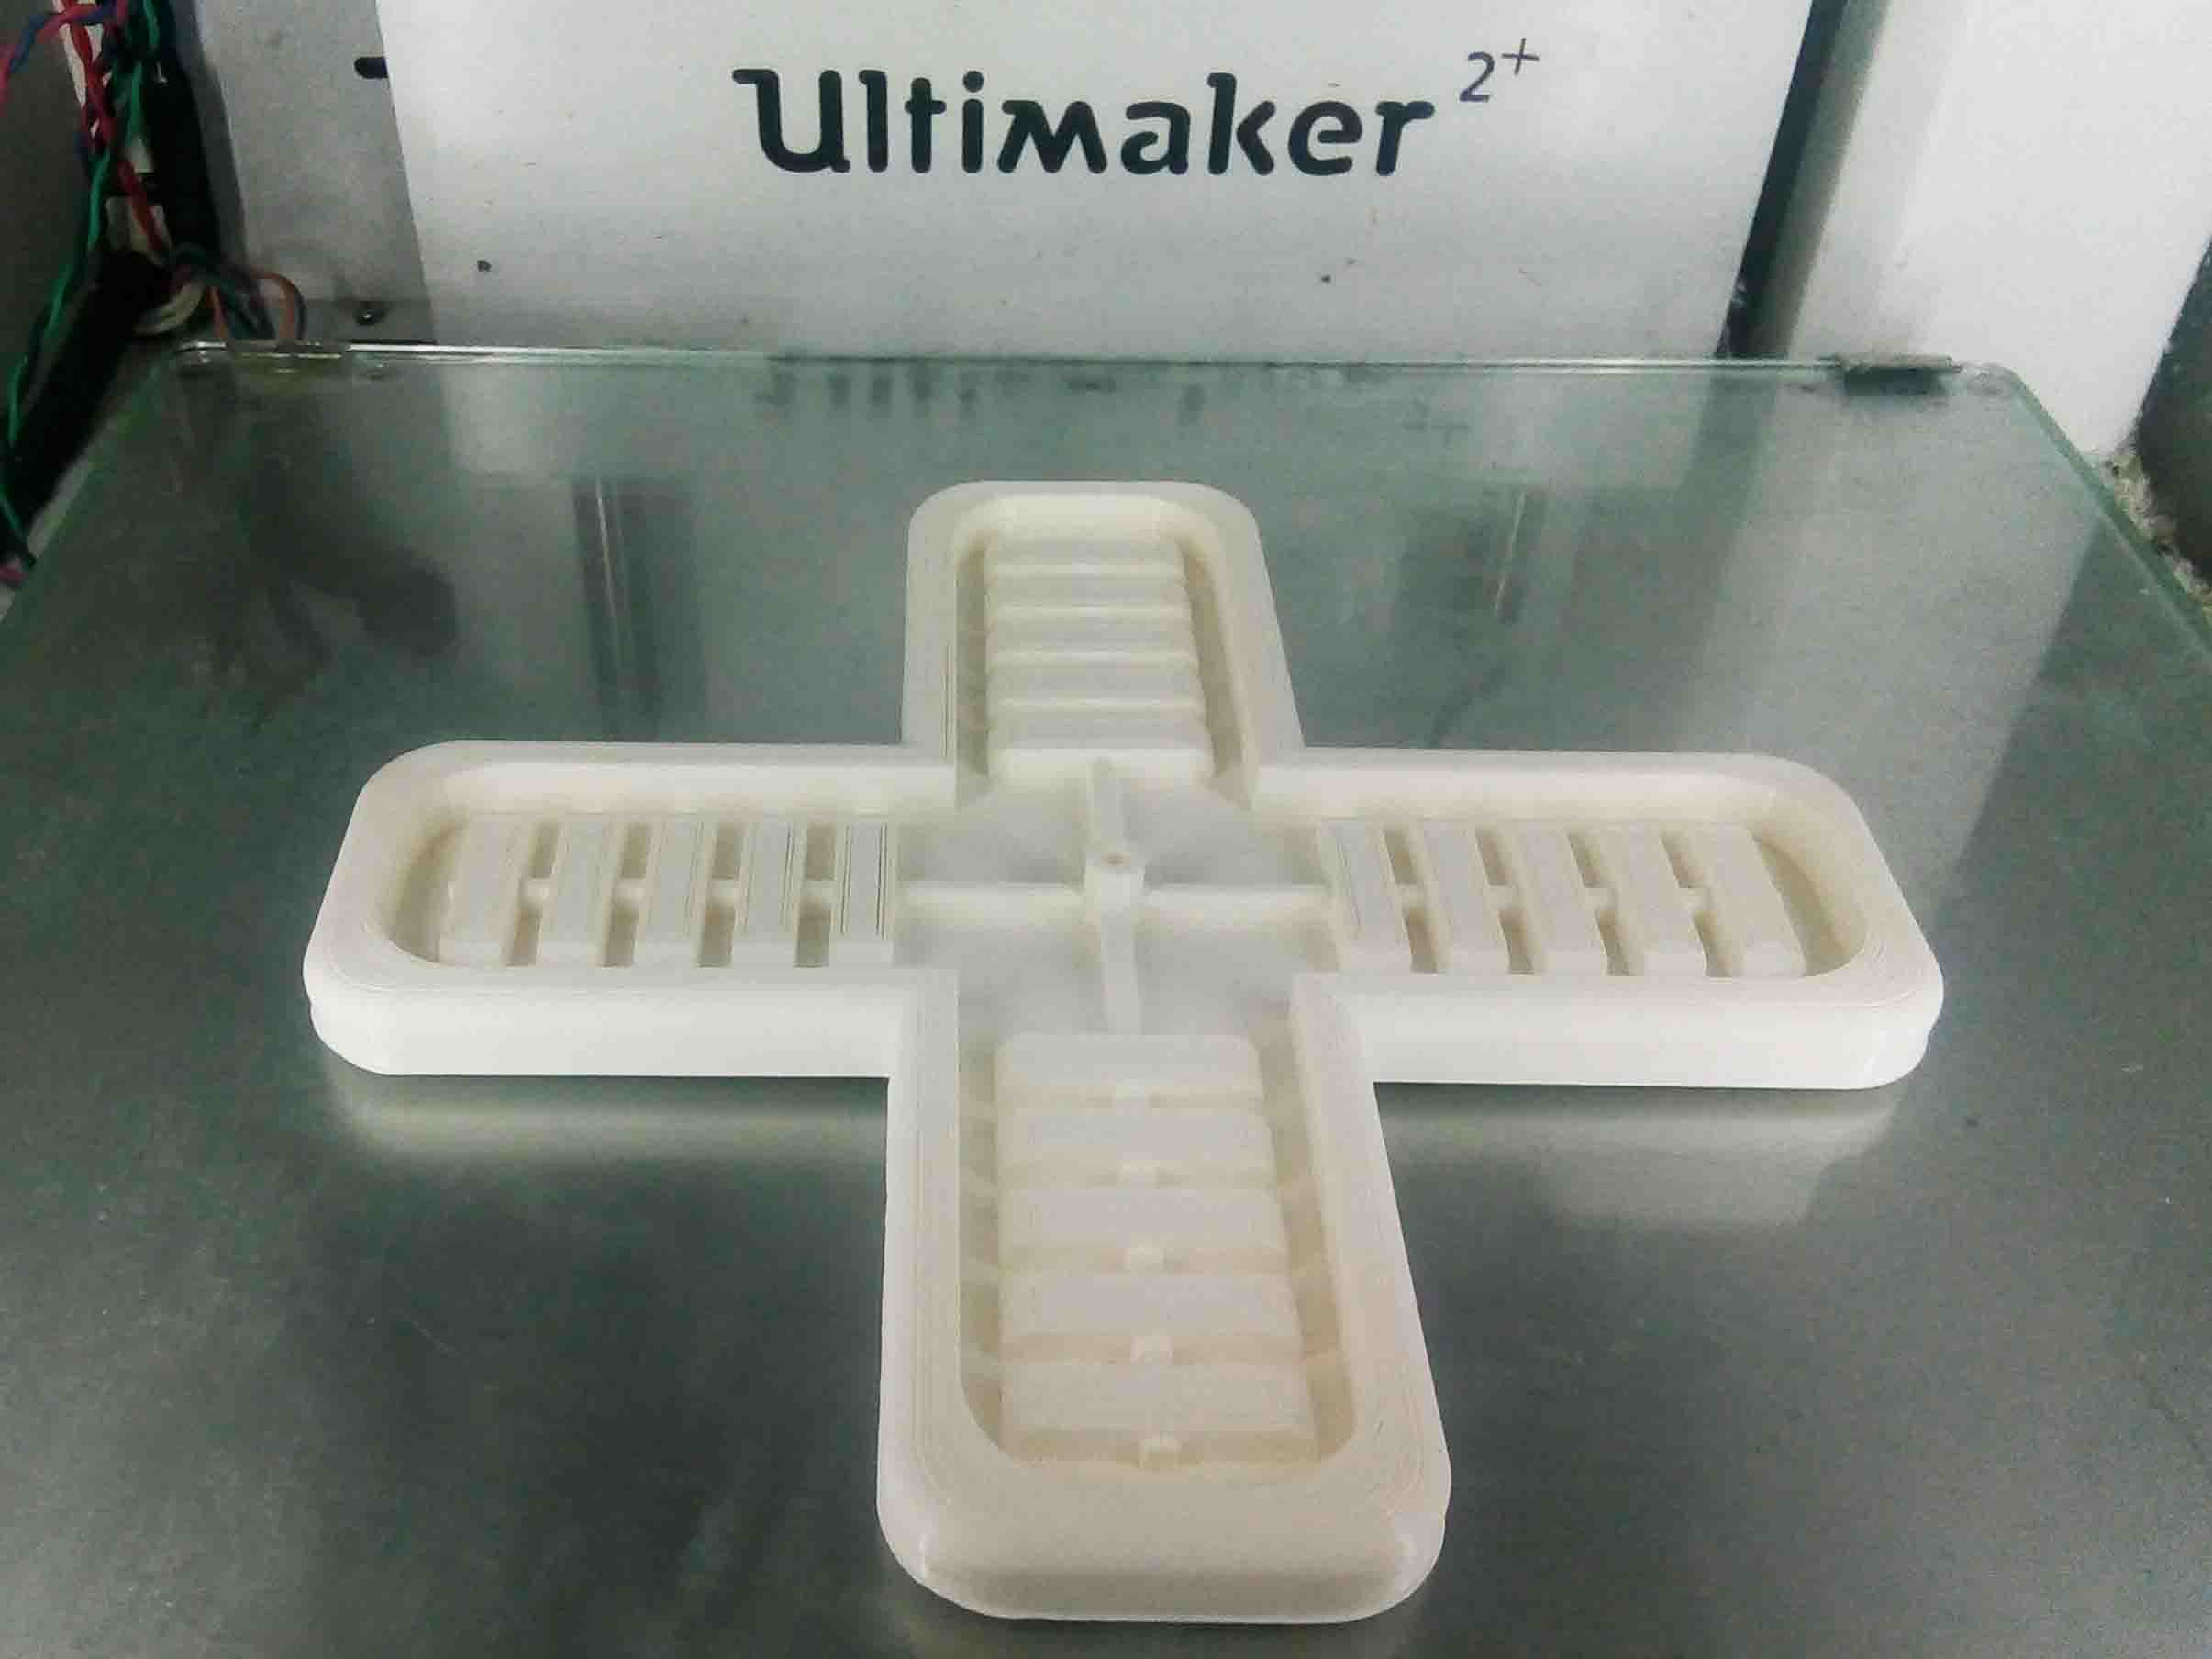
I have repeated teh same processes that I did with the failled models.

Now I placed the structure onto silicon rubber cotted cloth and gave time to dry
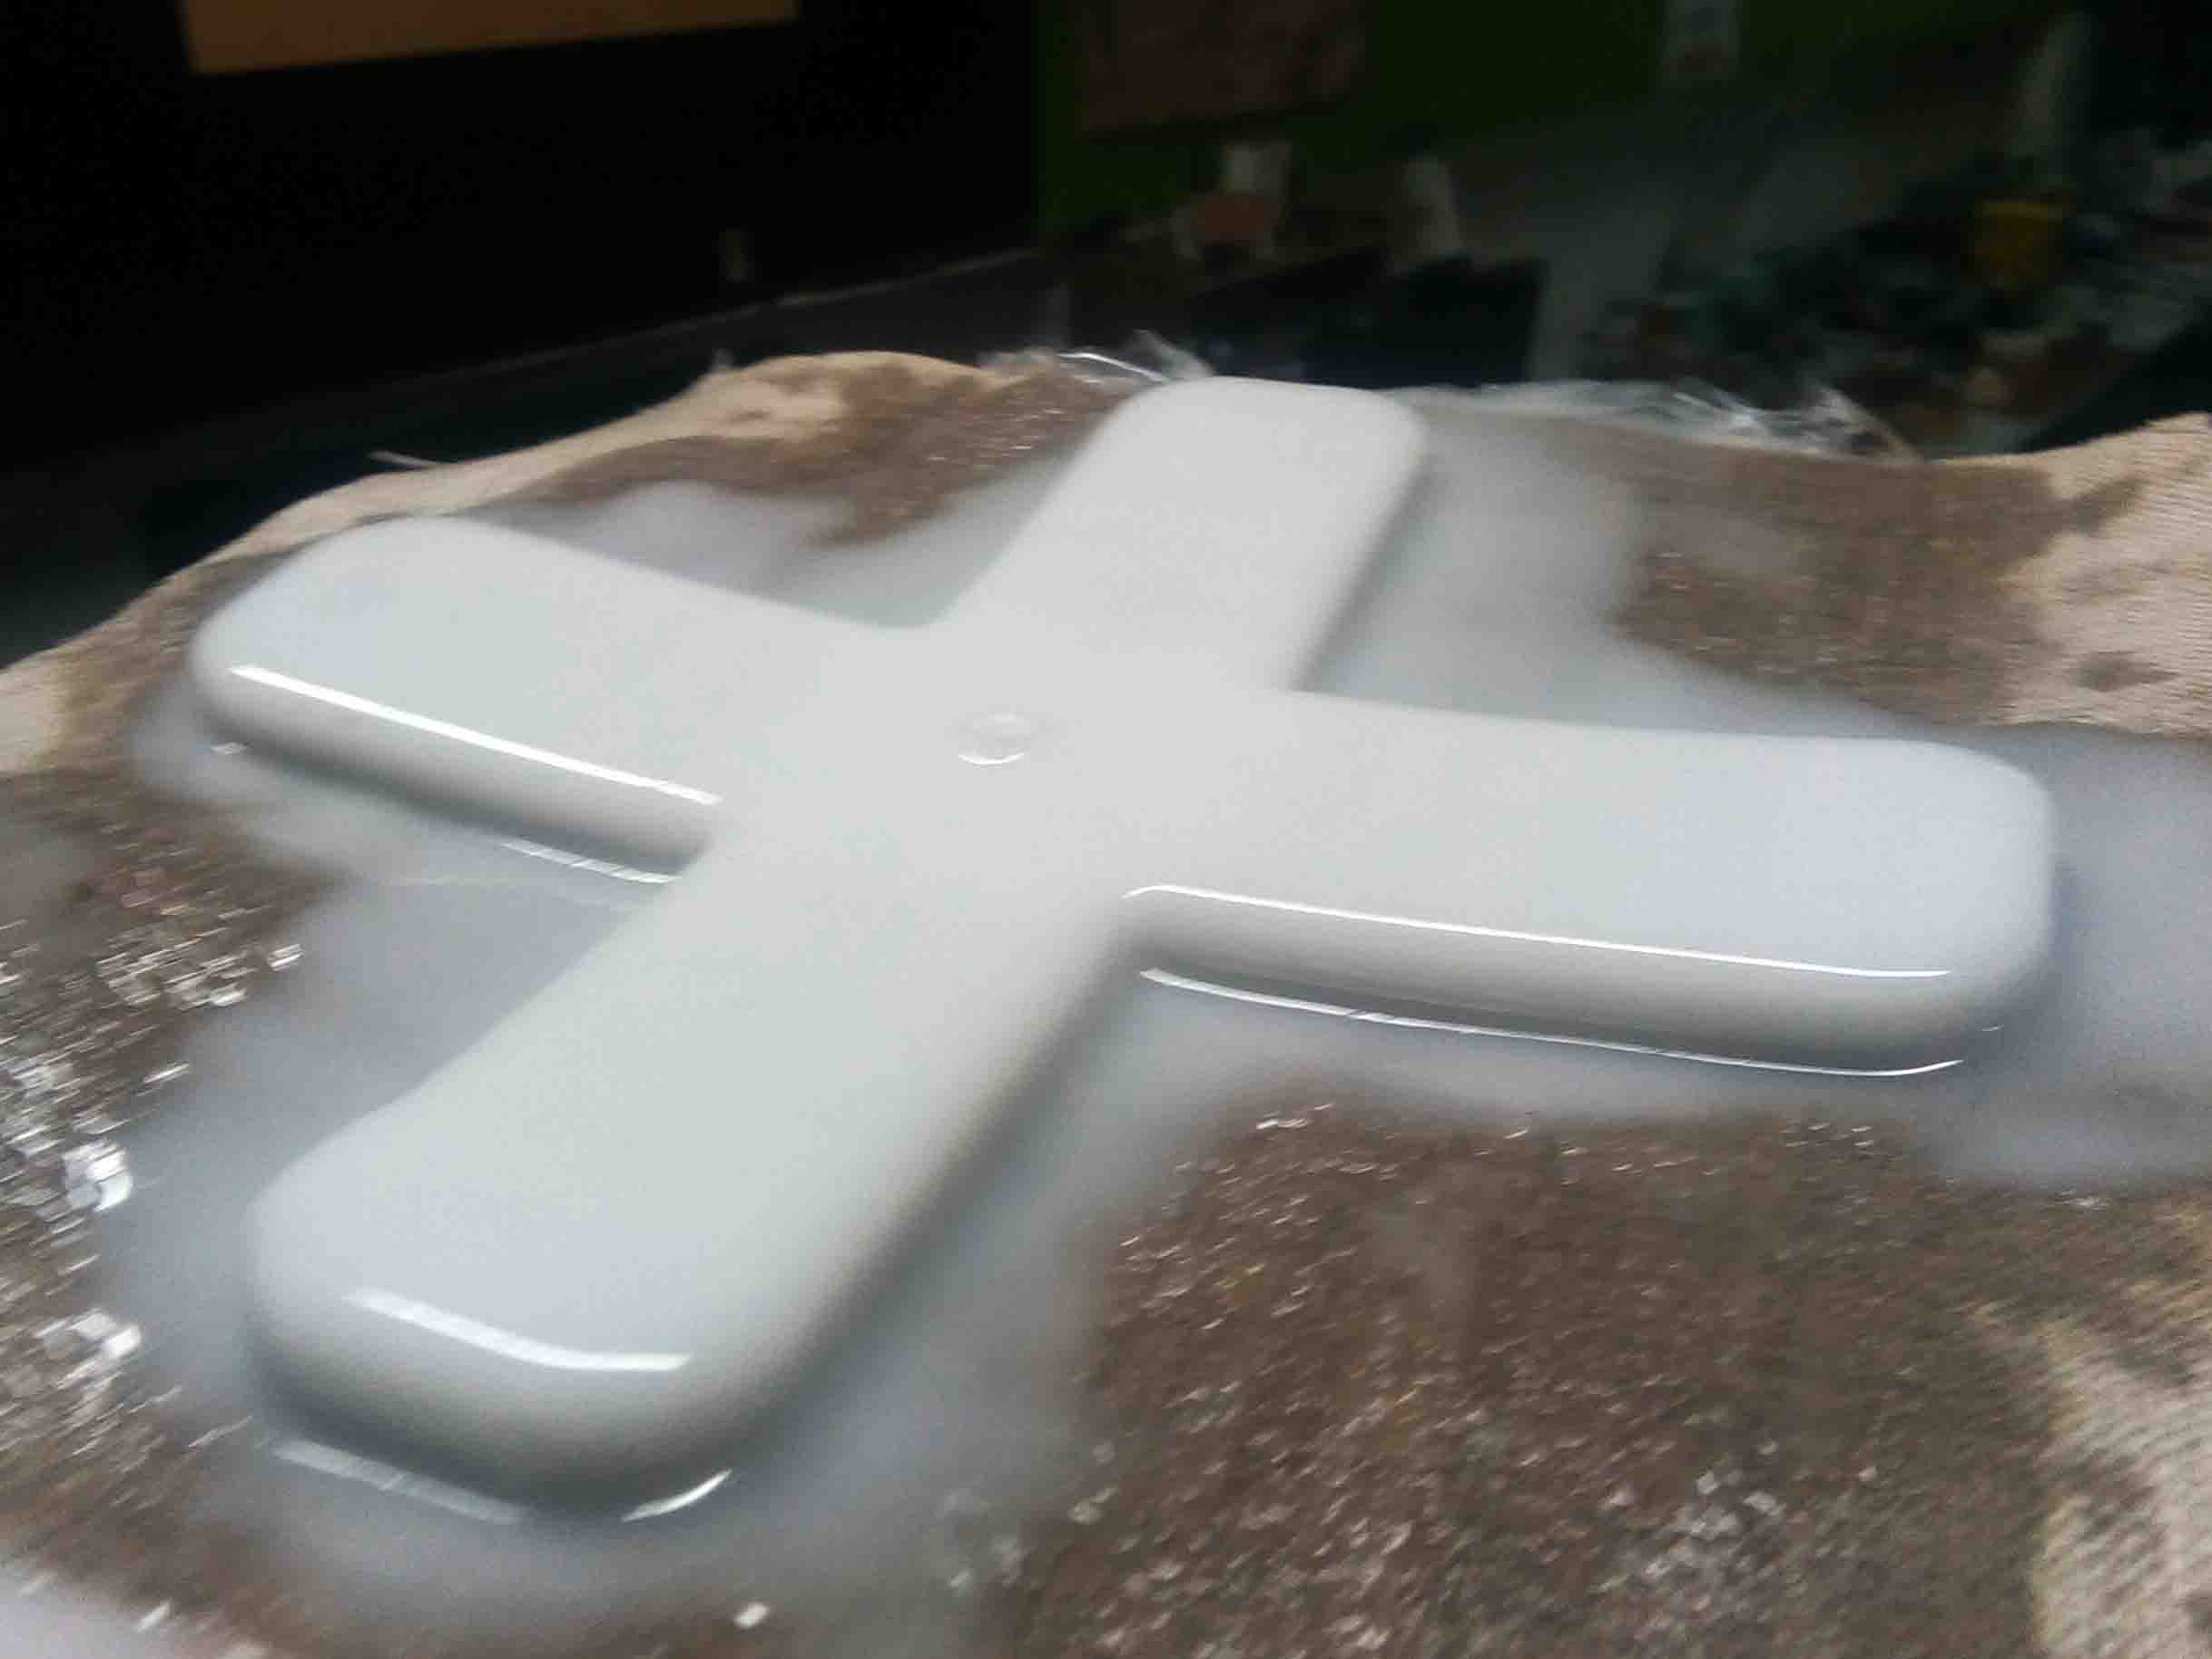
After curing I cut off the excess material from the exisisting one
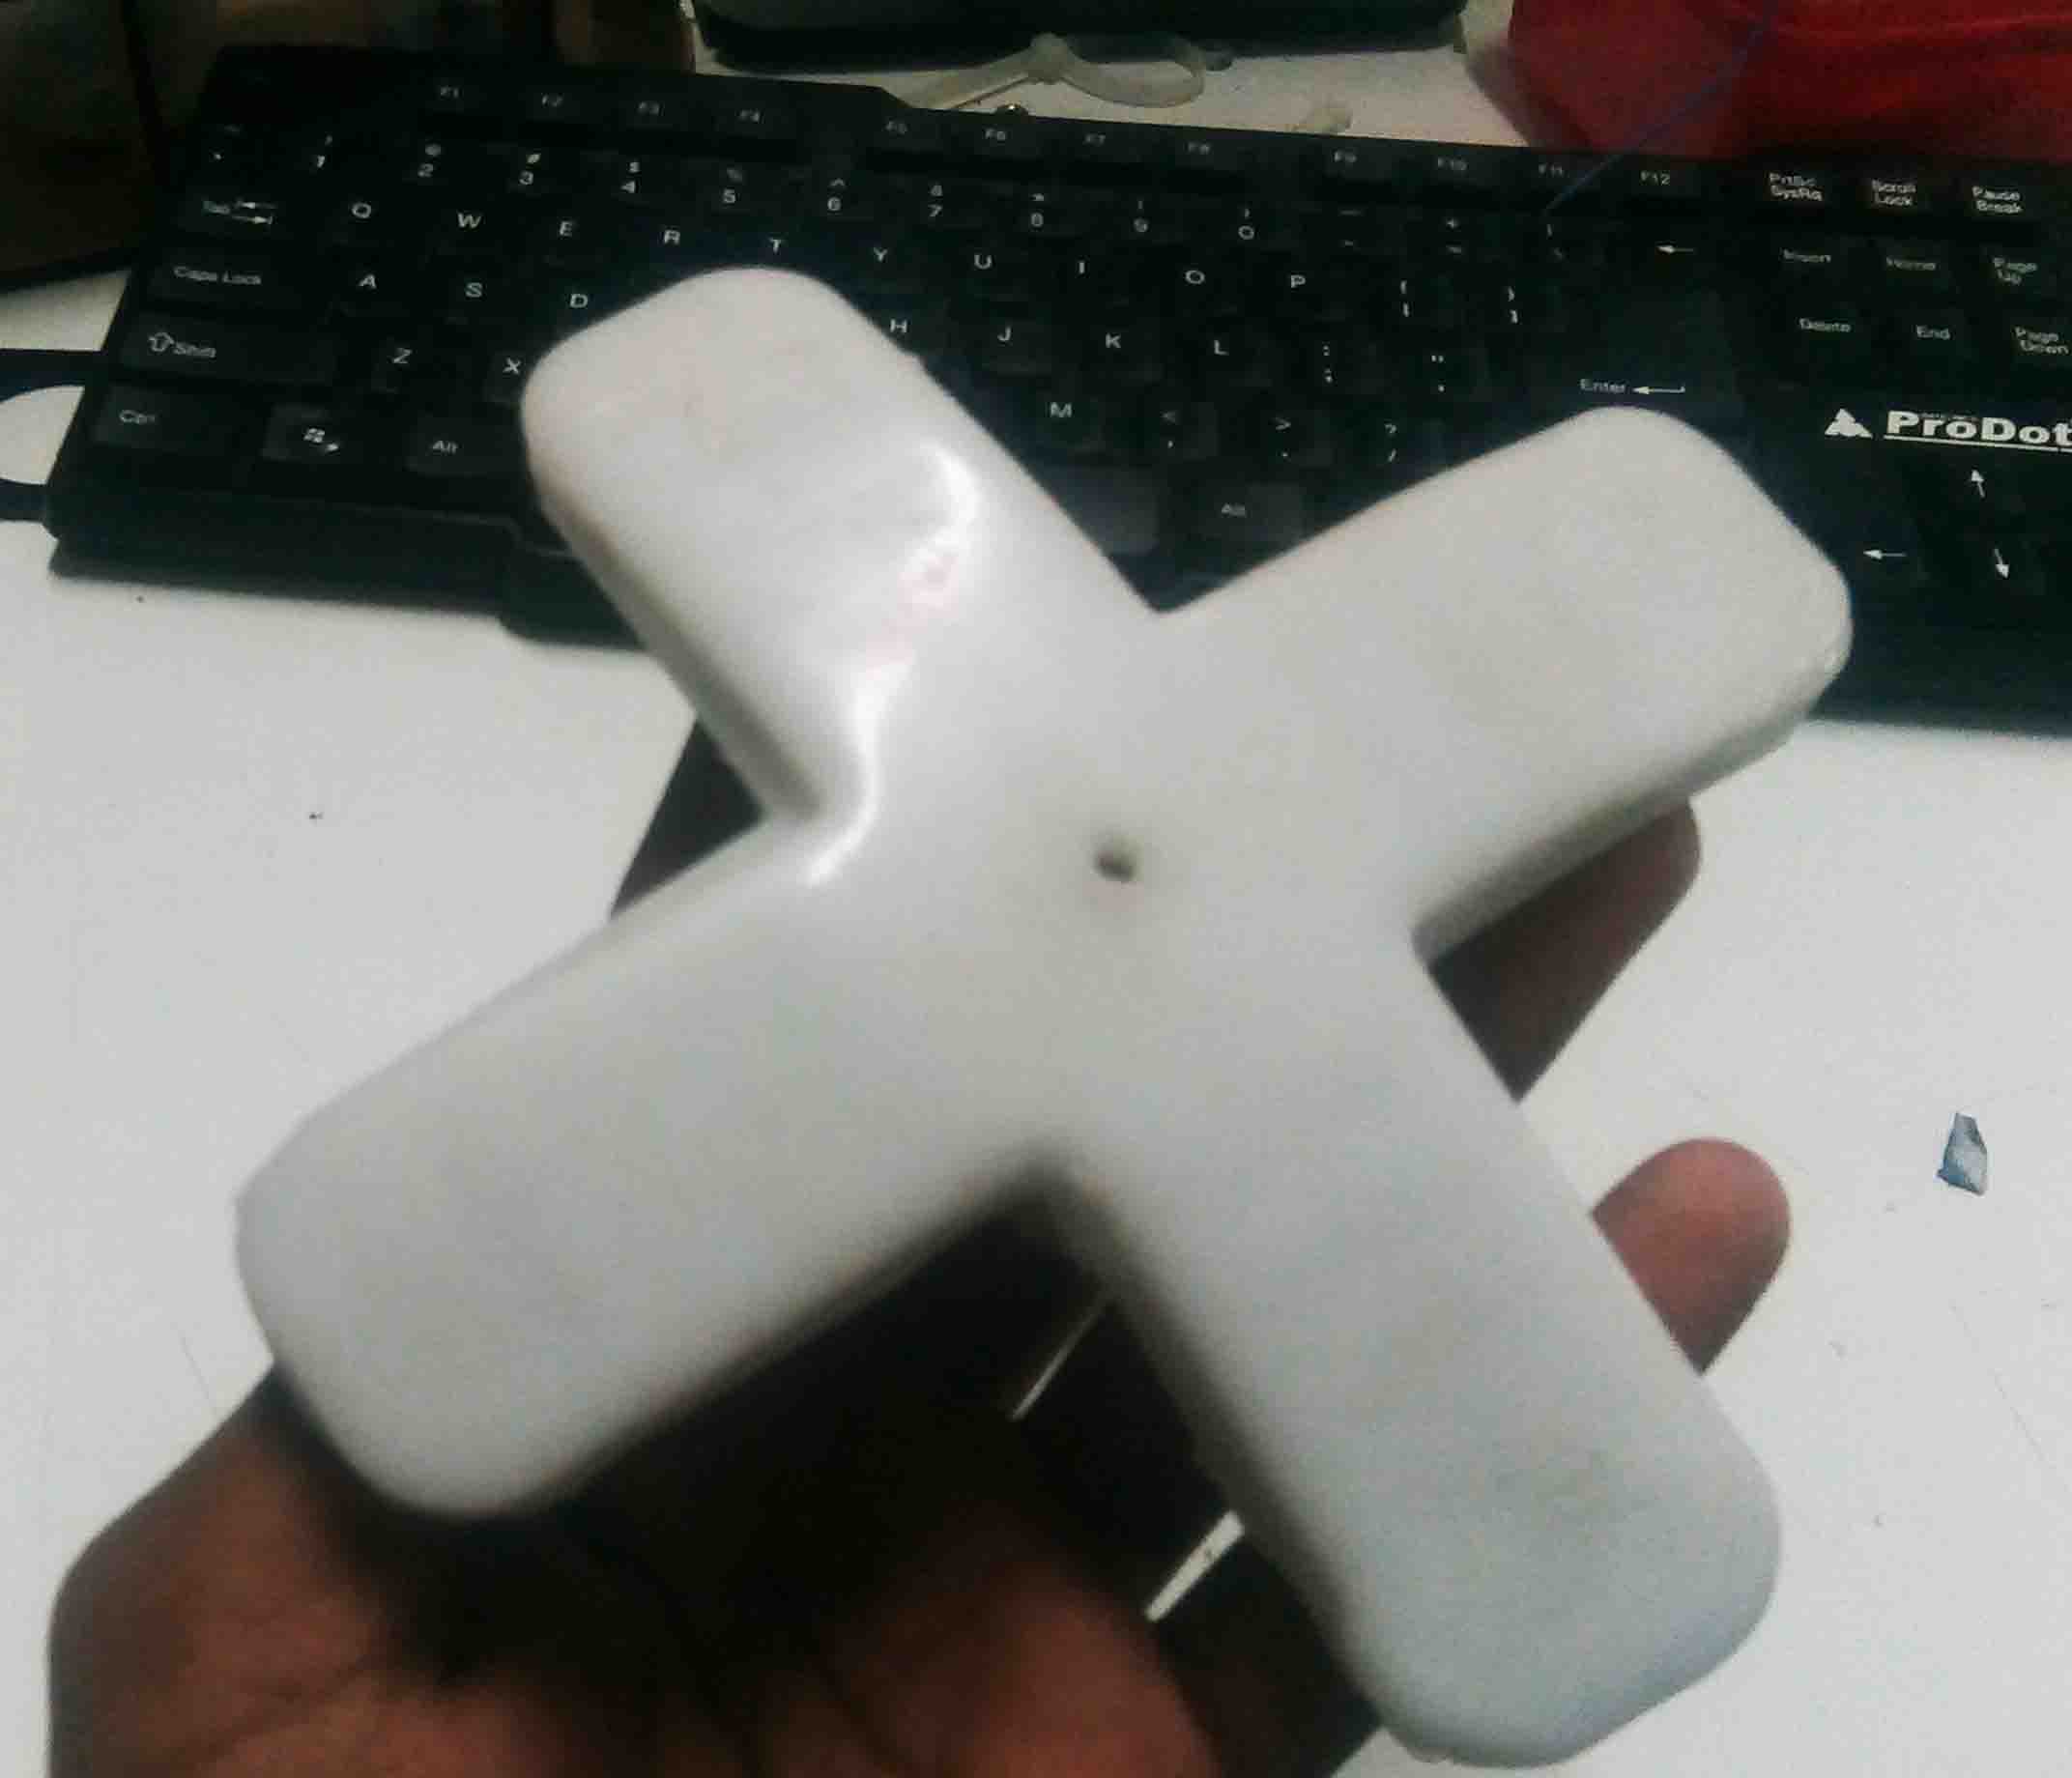
Here is the finished grip...
I hooked the grip to a compressor and I got it right this time...
The side finger got popped at the first try due to unregulated air flow.
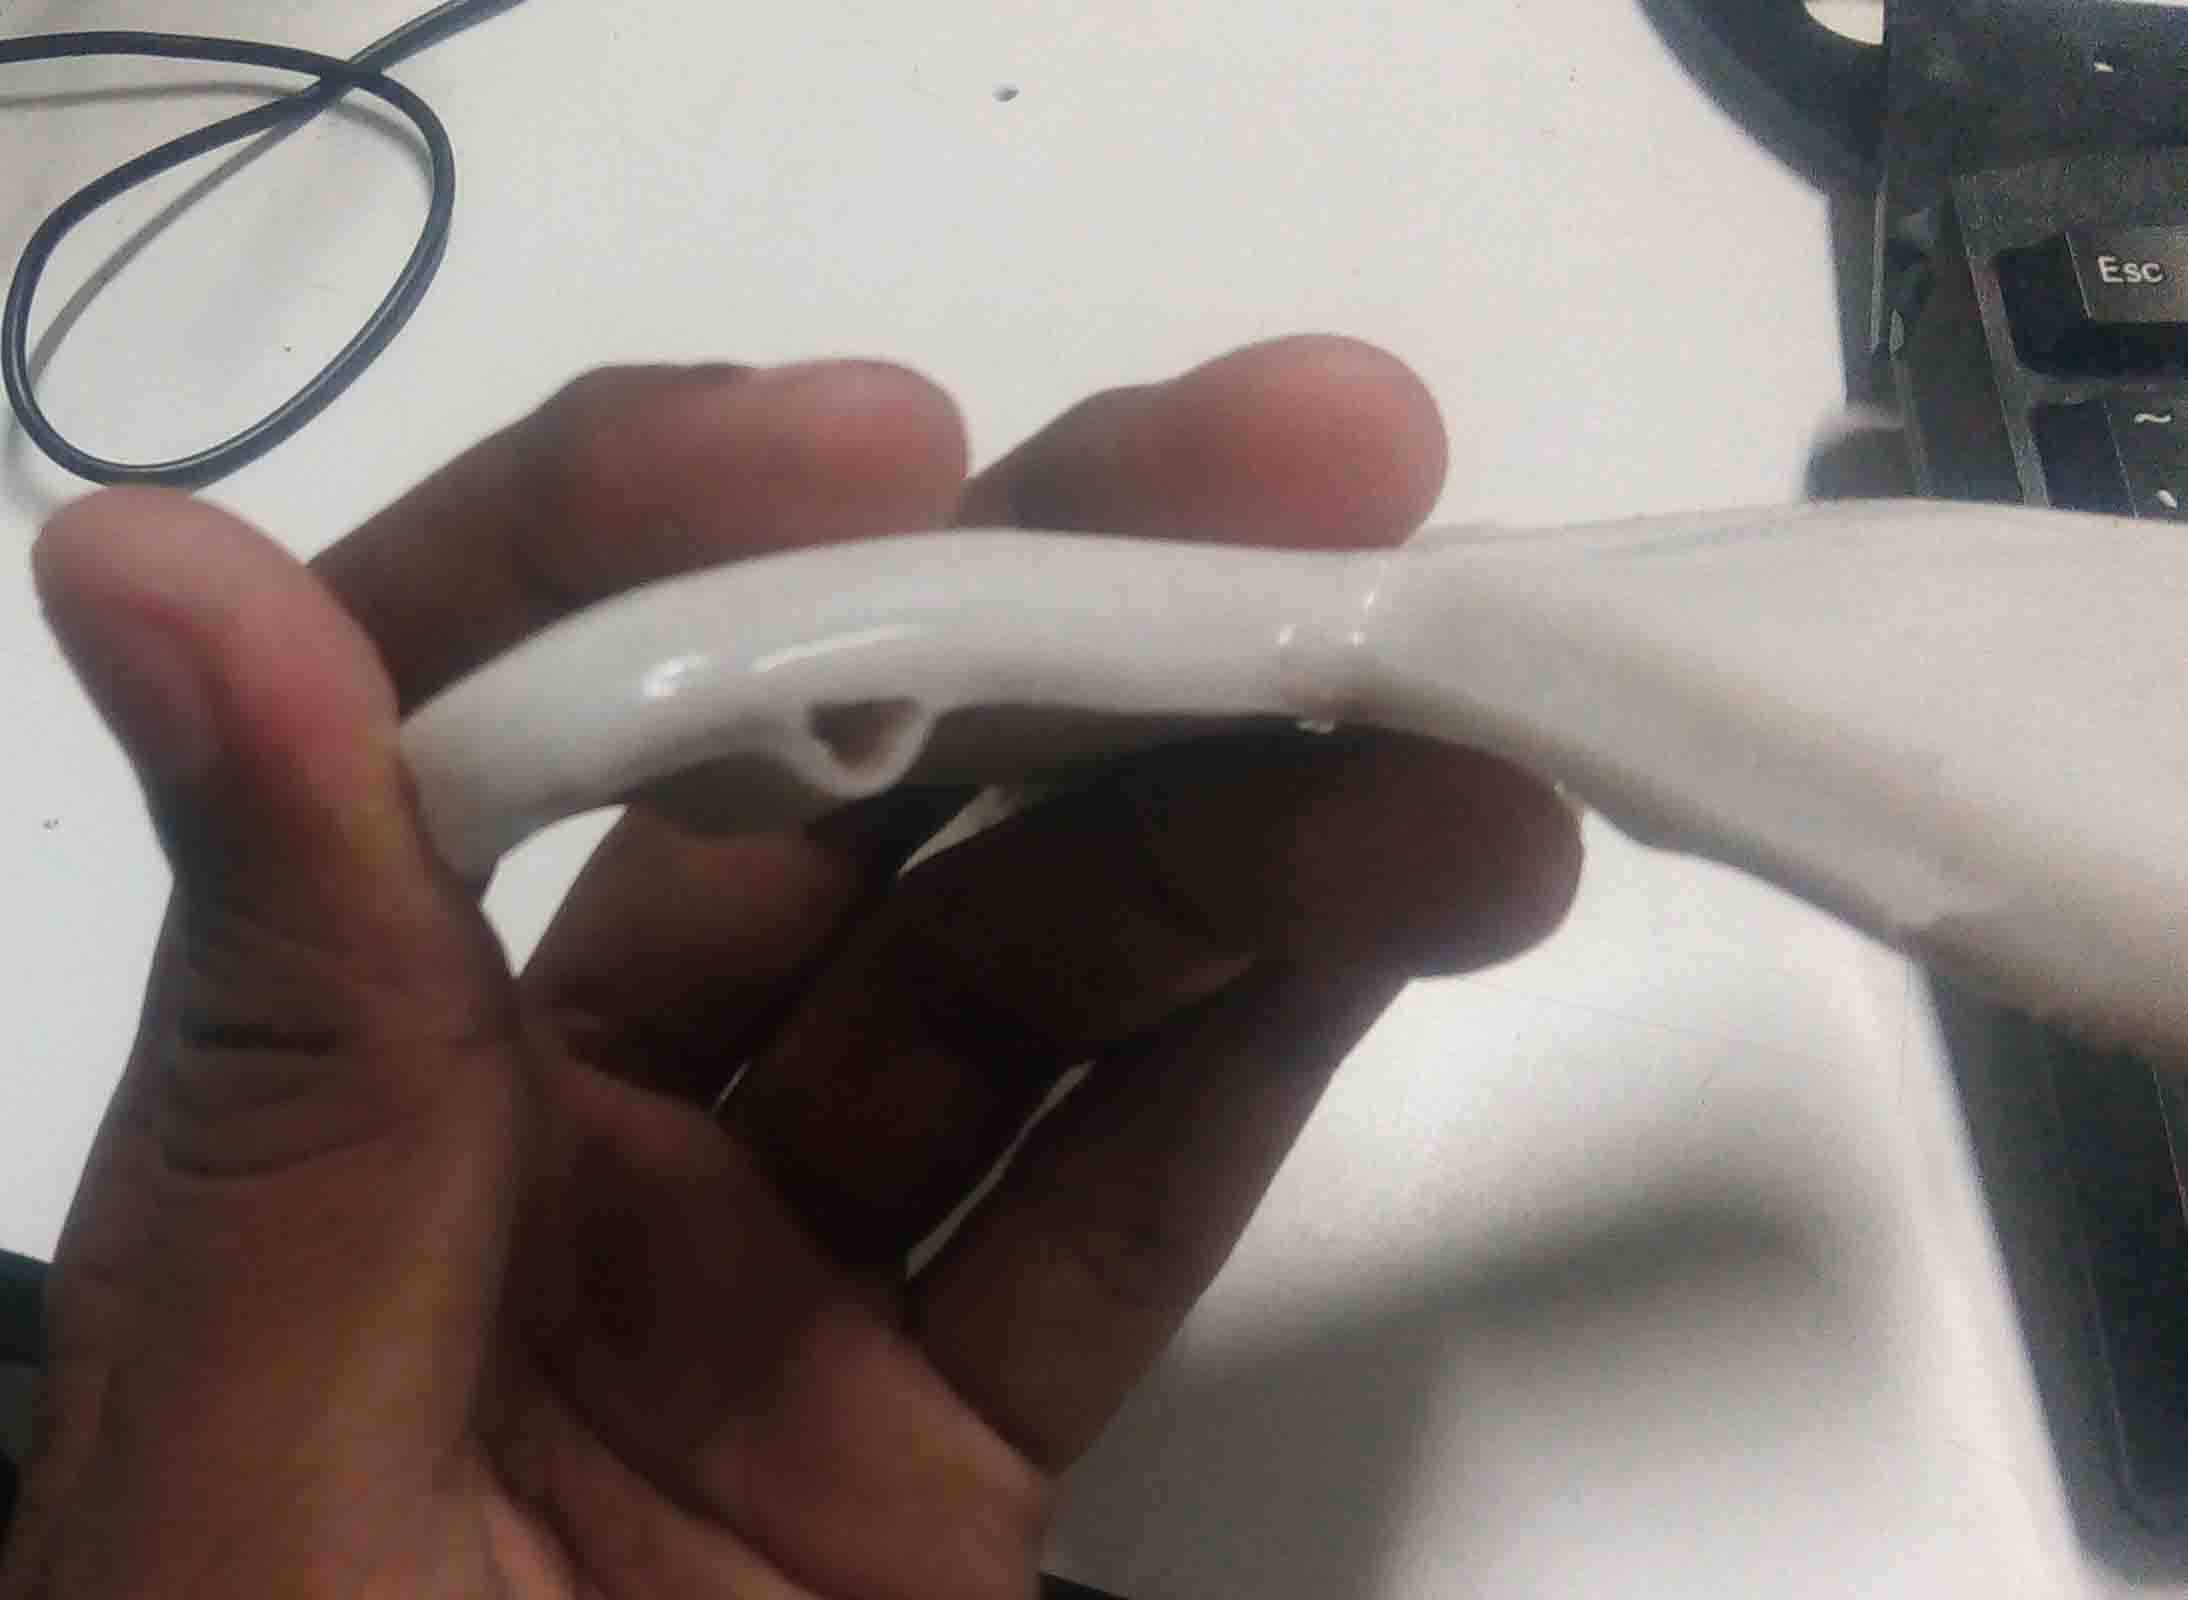
But rest of the fingers was working right...