Molding and casting
Assignments
Molding
So in this weel we are going to make molds and cast materials. Moulding is a commonly used manufacturing process that used for multimodelling or long life processes.A mold or mould is a hollowed-out block that is filled with a liquid or pliable material such as plastic, glass, metal, or ceramic raw material.[2] The liquid hardens or sets inside the mold, adopting its shape. A mold is the counterpart to a cast. The very common bi-valve molding process uses two molds, one for each half of the object. So let's see different moulding processes...
Rotational Molding
Rotational Molding Rotational Molding, also called rotomolding, is a manufacturing process for producing large hollow parts and products by placing a powder or liquid resin into a metal mold and rotating it in an oven until the resin coats the inside of the mold. The constant rotation of the mold creates centrifugal force forming even-walled products. Once the mold cools, the hardened plastic is removed from the mold.

Very little material is wasted during the process, and excess material is often re-used, making it economical and environmentally friendly.
Injection Molding
Injection molding is the process of making custom plastic parts by injecting molten plastic material at high pressure into a metal mold. Just like other forms of plastic molding, after the molten plastic is injected into the mold, the mold is cooled and opened to reveal a solid plastic part.
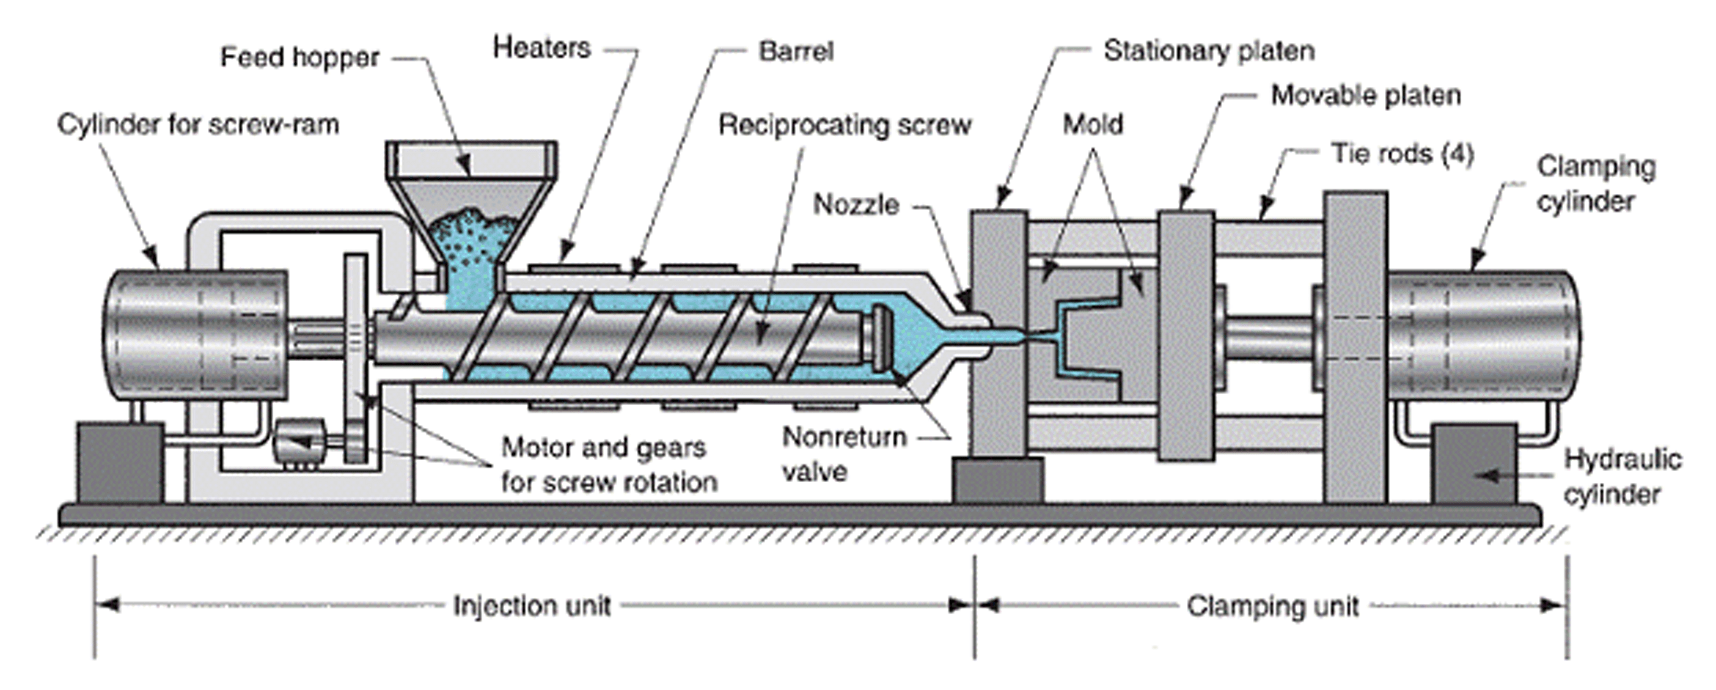
The process is similar to a Jello mold which is filled then cooled to create the final product.
Blow Molding
Blow molding is a method of making hollow, thin-walled, custom plastic parts. It is primarily used for making products with a uniform wall thickness and where the shape is important. The process is based upon the same principle as glass blowing.

Blow molding machines heat up plastic and inject air blowing up the hot plastic like a balloon. The plastic is blown into a mold and as it expands, it presses against the walls of the mold taking its shape. After the plastic “balloon” fills the mold, it is cooled and hardened, and the part is ejected. The whole process takes less than two minutes so an average 12 hour day can produce around 1440 pieces
Compression Molding
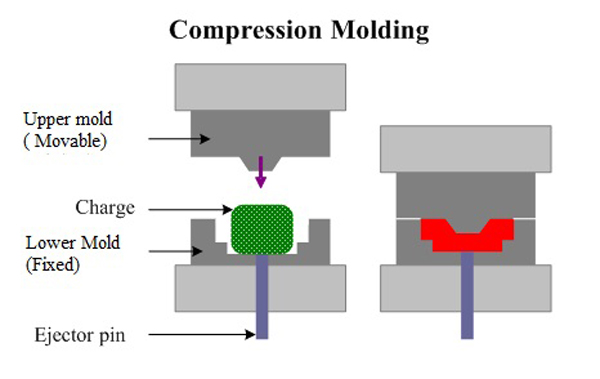
Compression molding is done exactly like the name suggests. A heated plastic material is placed into a heated mold and then pressed into a specific shape. Usually, the plastic comes in sheets, but can also be in bulk. Once the plastic is compressed into the right shape, the heating process ensures that the plastic retains maximum strength. The final steps in this process involve cooling, trimming, and then removing the plastic part from the mold.
Extrusion Molding
Extrusion molding is similar to injection molding except that a long continuous shape is produced. Another difference in extrusion molding is that the process uses a “die” not a “mold.” Extruded parts are made by squeezing hot raw material through a custom die. A simplistic visualization would be like squeezing Play Doh through a shaped hole.
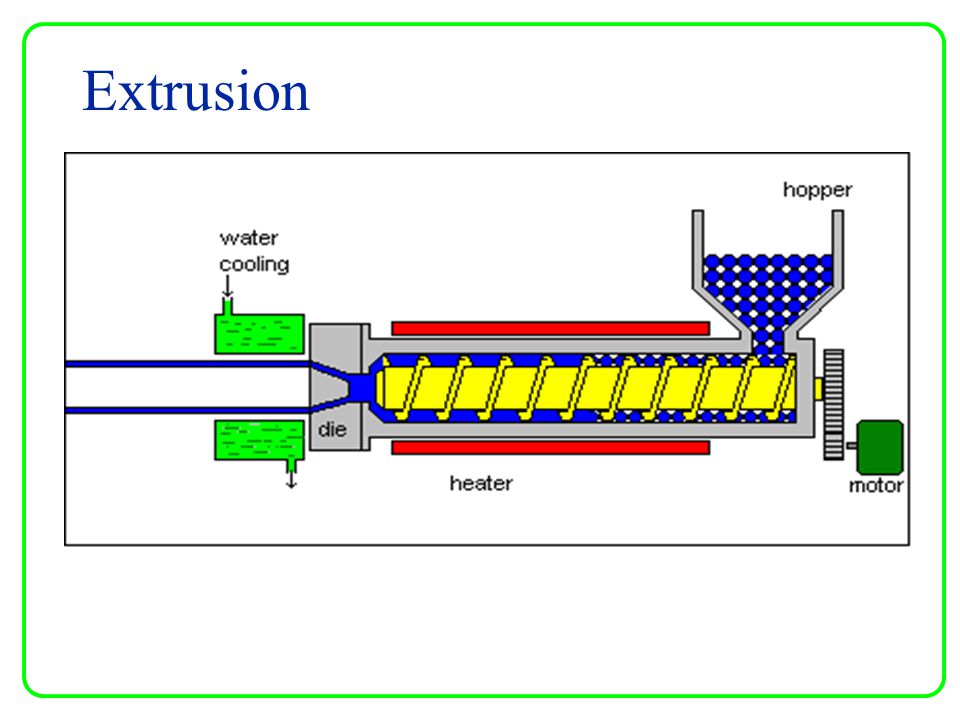
While other forms of molding use extrusion to get the plastic resins into a mold, this process extrudes the melted plastic directly into a die. The die shape, not a mold, determines the shape of the final product.
Thermoforming
hermoforming is a manufacturing process where a plastic sheet called thermoplastic is heated to a pliable forming temperature, formed to a specific shape in a mold, and trimmed to create a usable product.Thermoplastic comes in a wide variety of materials, colors, finishes, and thickness.
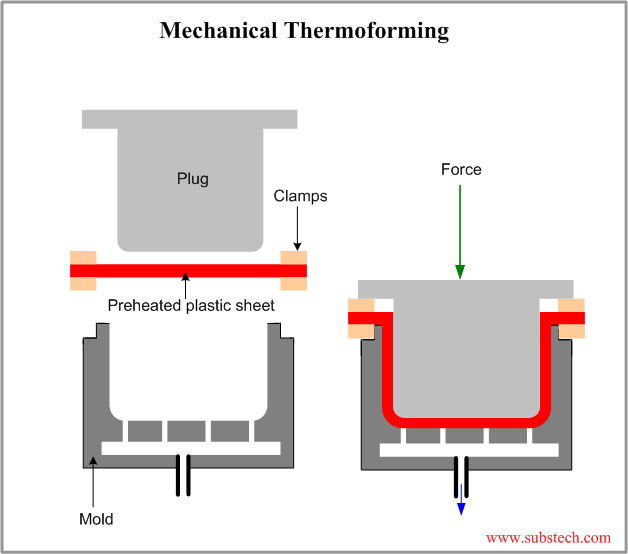
Thermoforming uses several different types of molds and processes in order to achieve the final product. To create 3D products, the mold is typically a single 3D form made out of aluminum. Because thermoforming uses low pressures, molds can be produced for a low cost using inexpensive materials.(Source:https://fibertechinc.net/custom-rotational-molding/a-simple-guide-to-plastic-molding/)
Designing 3D mold
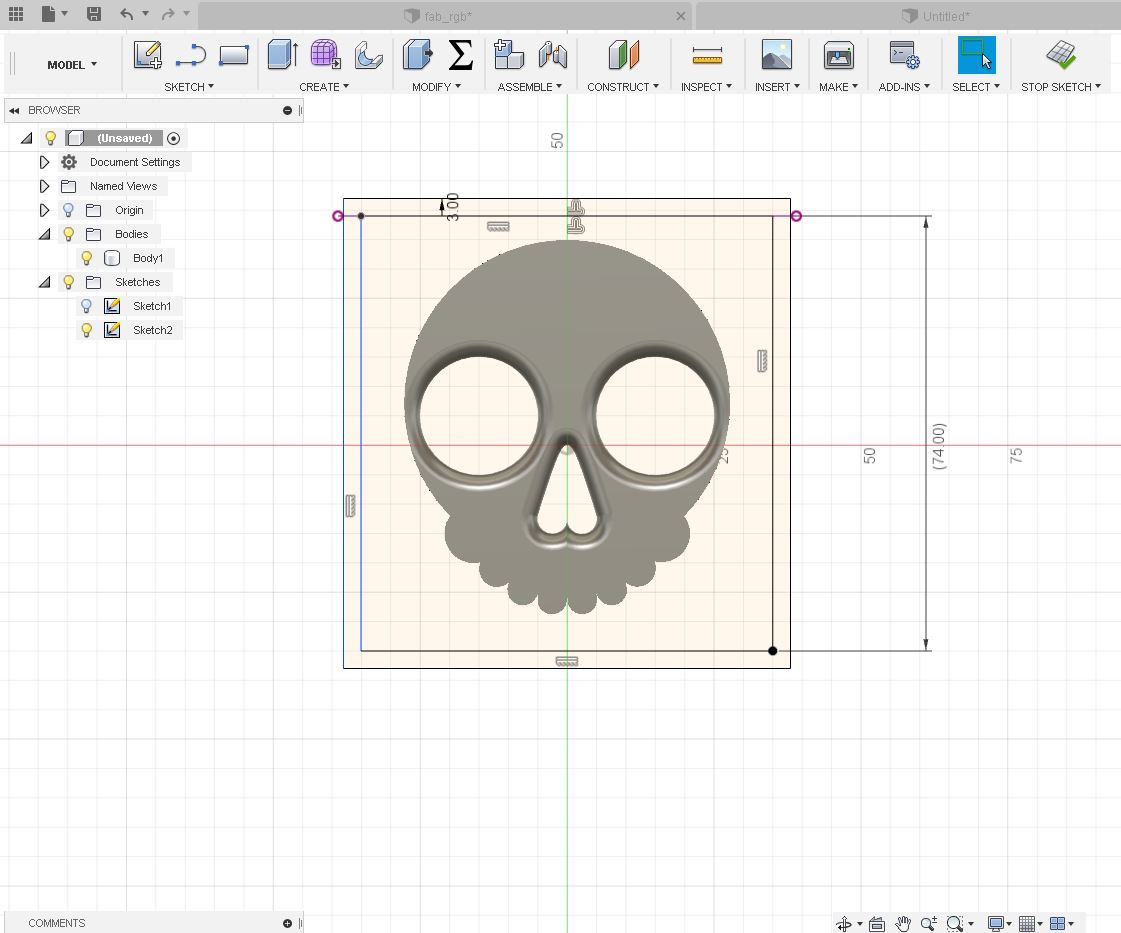
So for molding this week, have chose to design a "Ghost" face in fusion360.I started the work woth a rough sketch in fusion
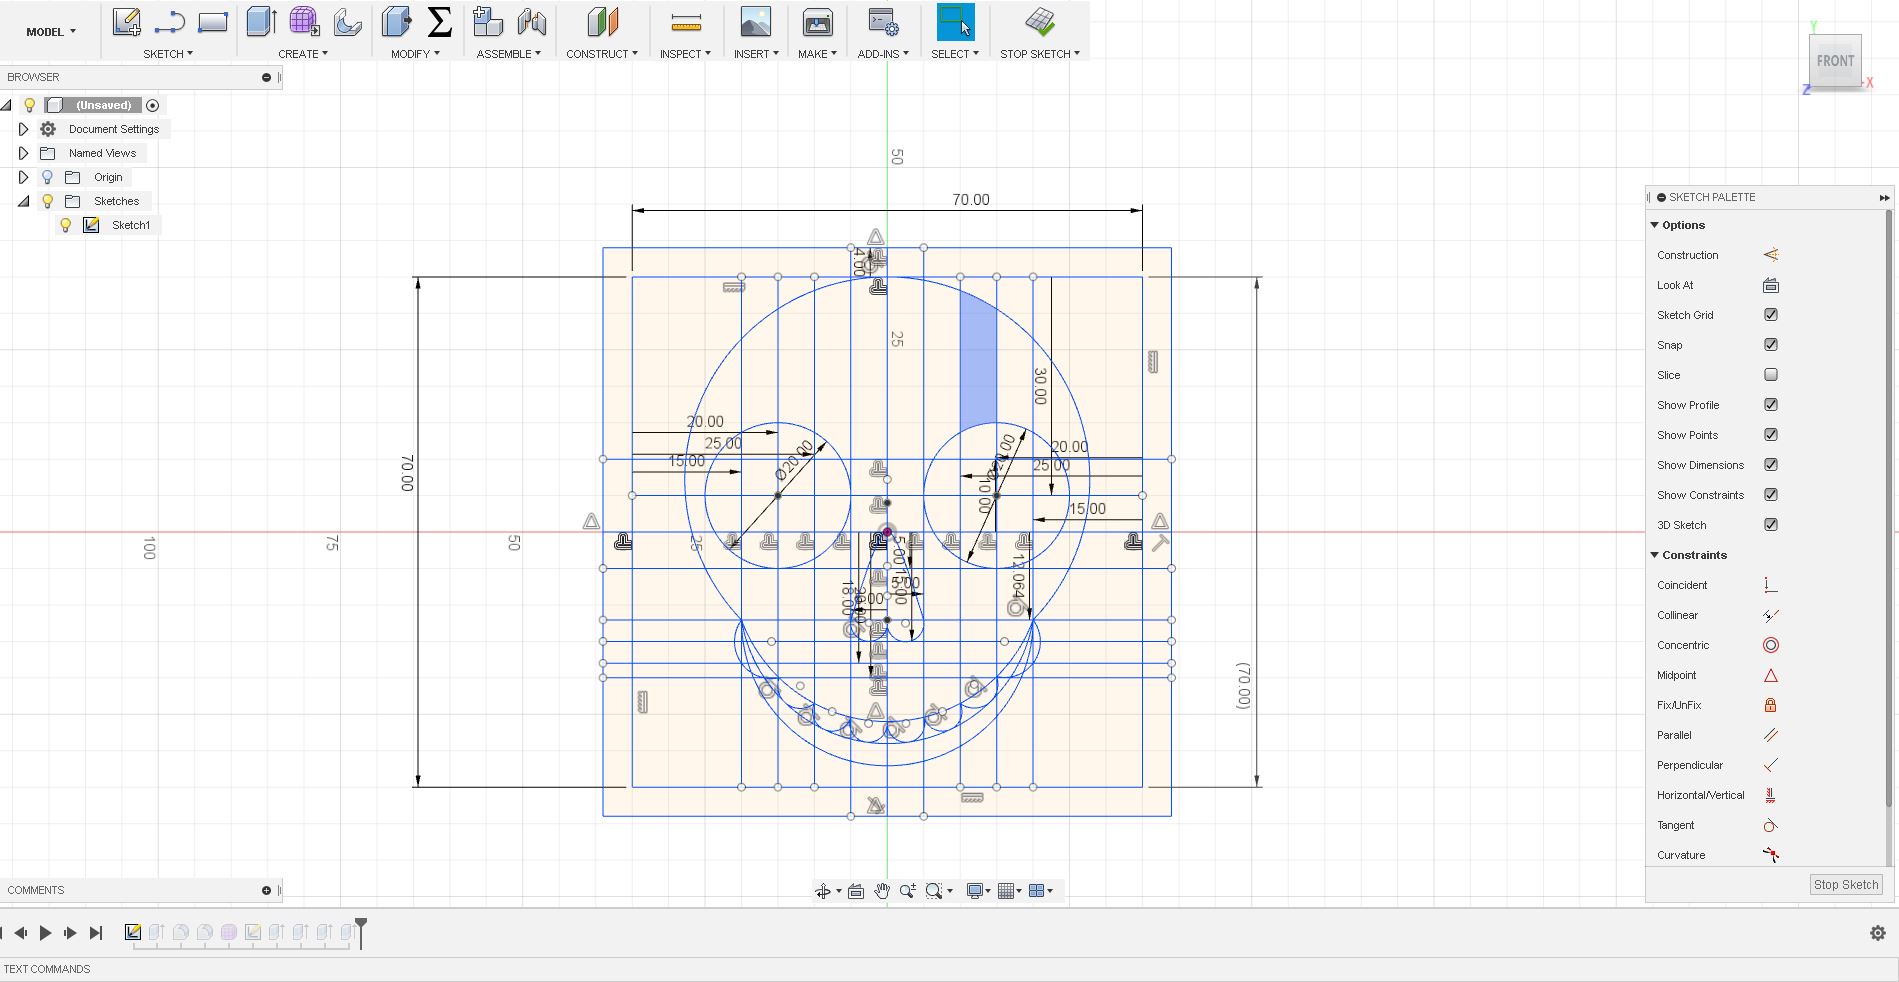
Extruded the sketech according to the shape I needed to the thickness of 20mm.
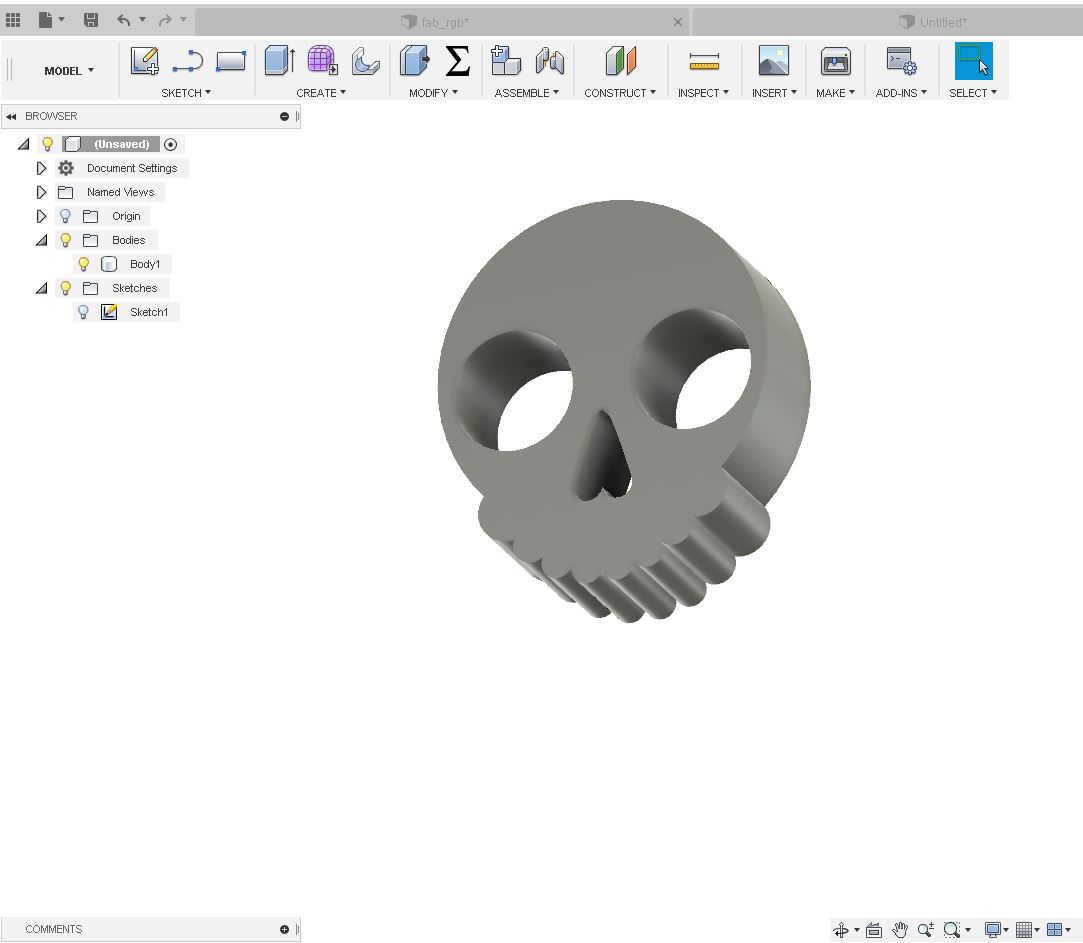
Now add fillet of 3mm to eyes and nose
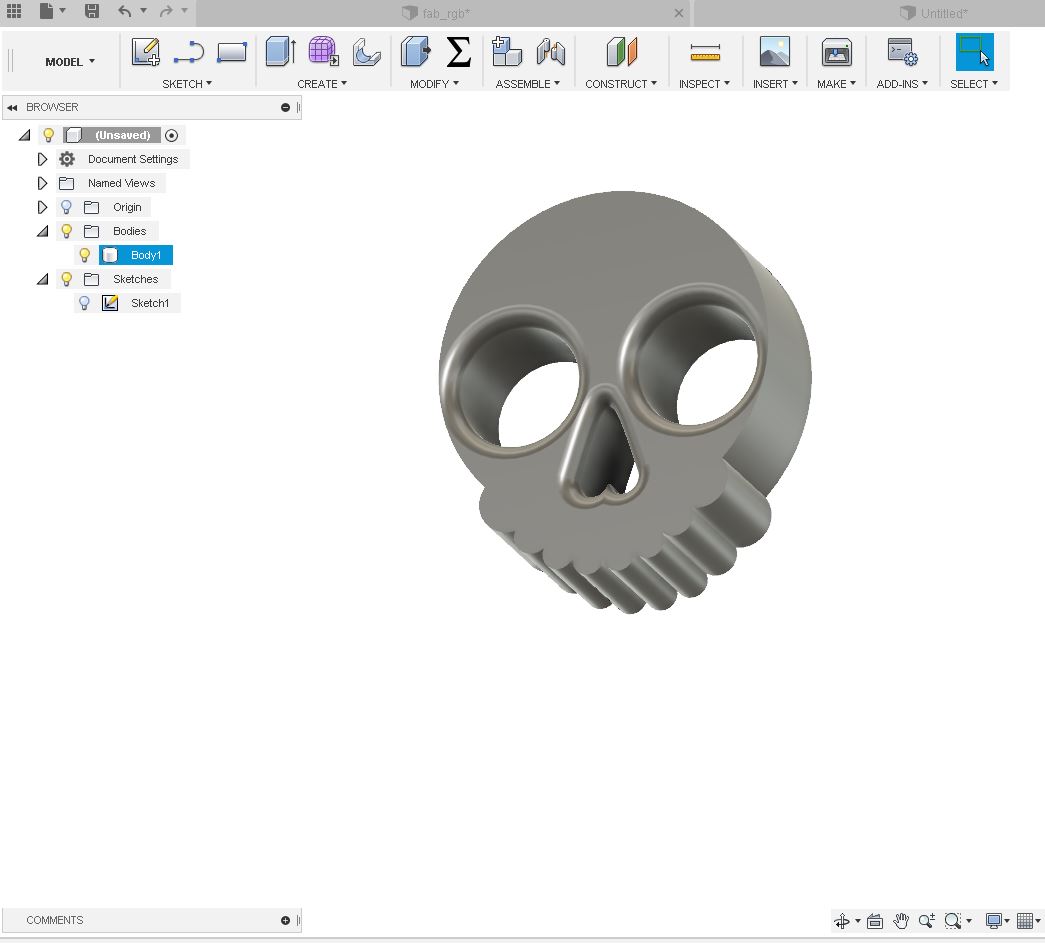
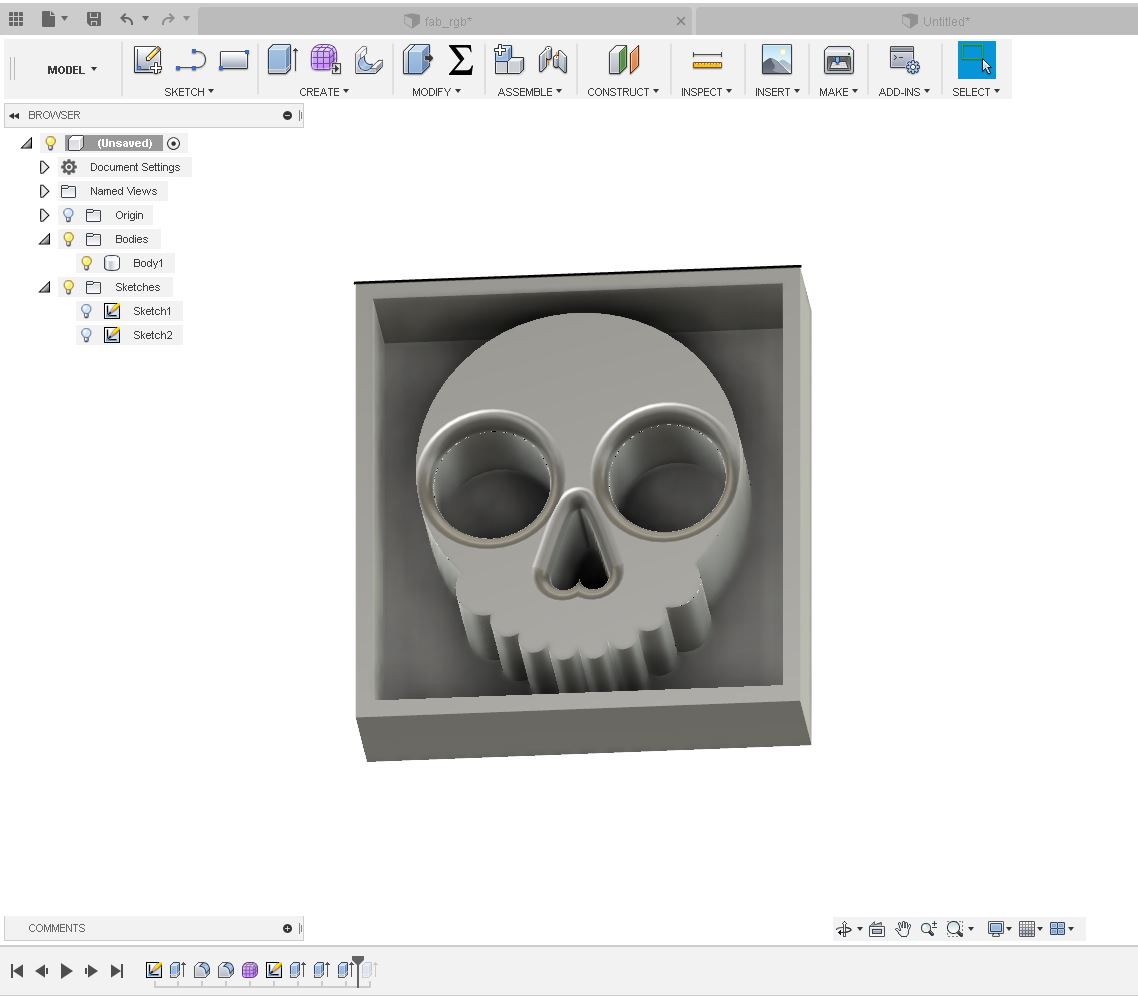
Now the Ghost face is done. Now we need to make the background box. For that make a box and offset to 3mm
Now extrude it to fill the shape.
Now I need to make an .stl file to complete the work. For that Select the Make option and click 3D print. Now select the body and click on "Preview mesh". After that click Ok.
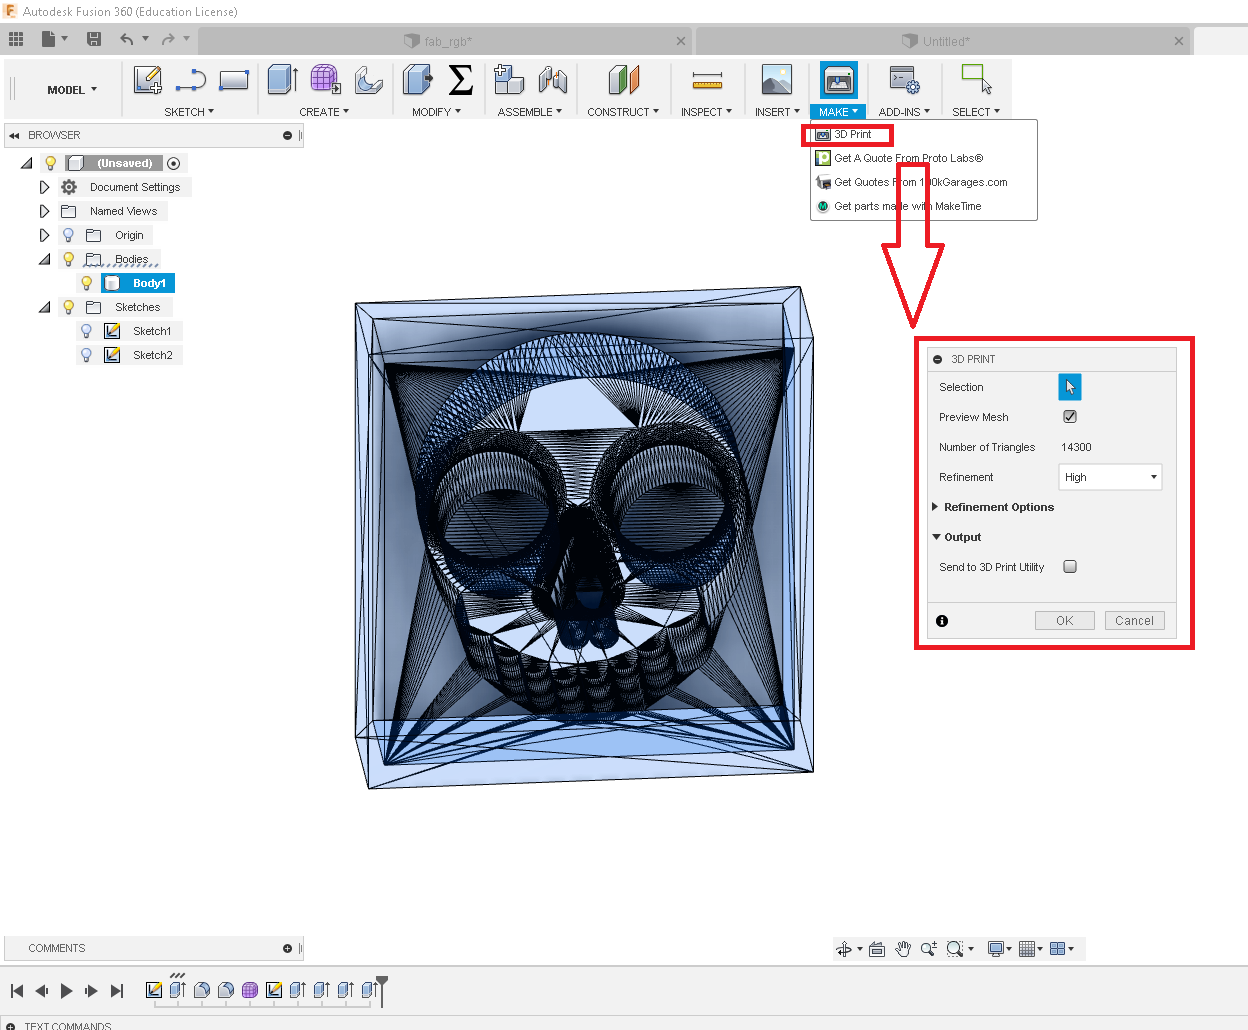
Save the .stl file to desired folder and load it to fab modules. Now we have to set up the machine for milling.
You can download the desigmn files from Here.
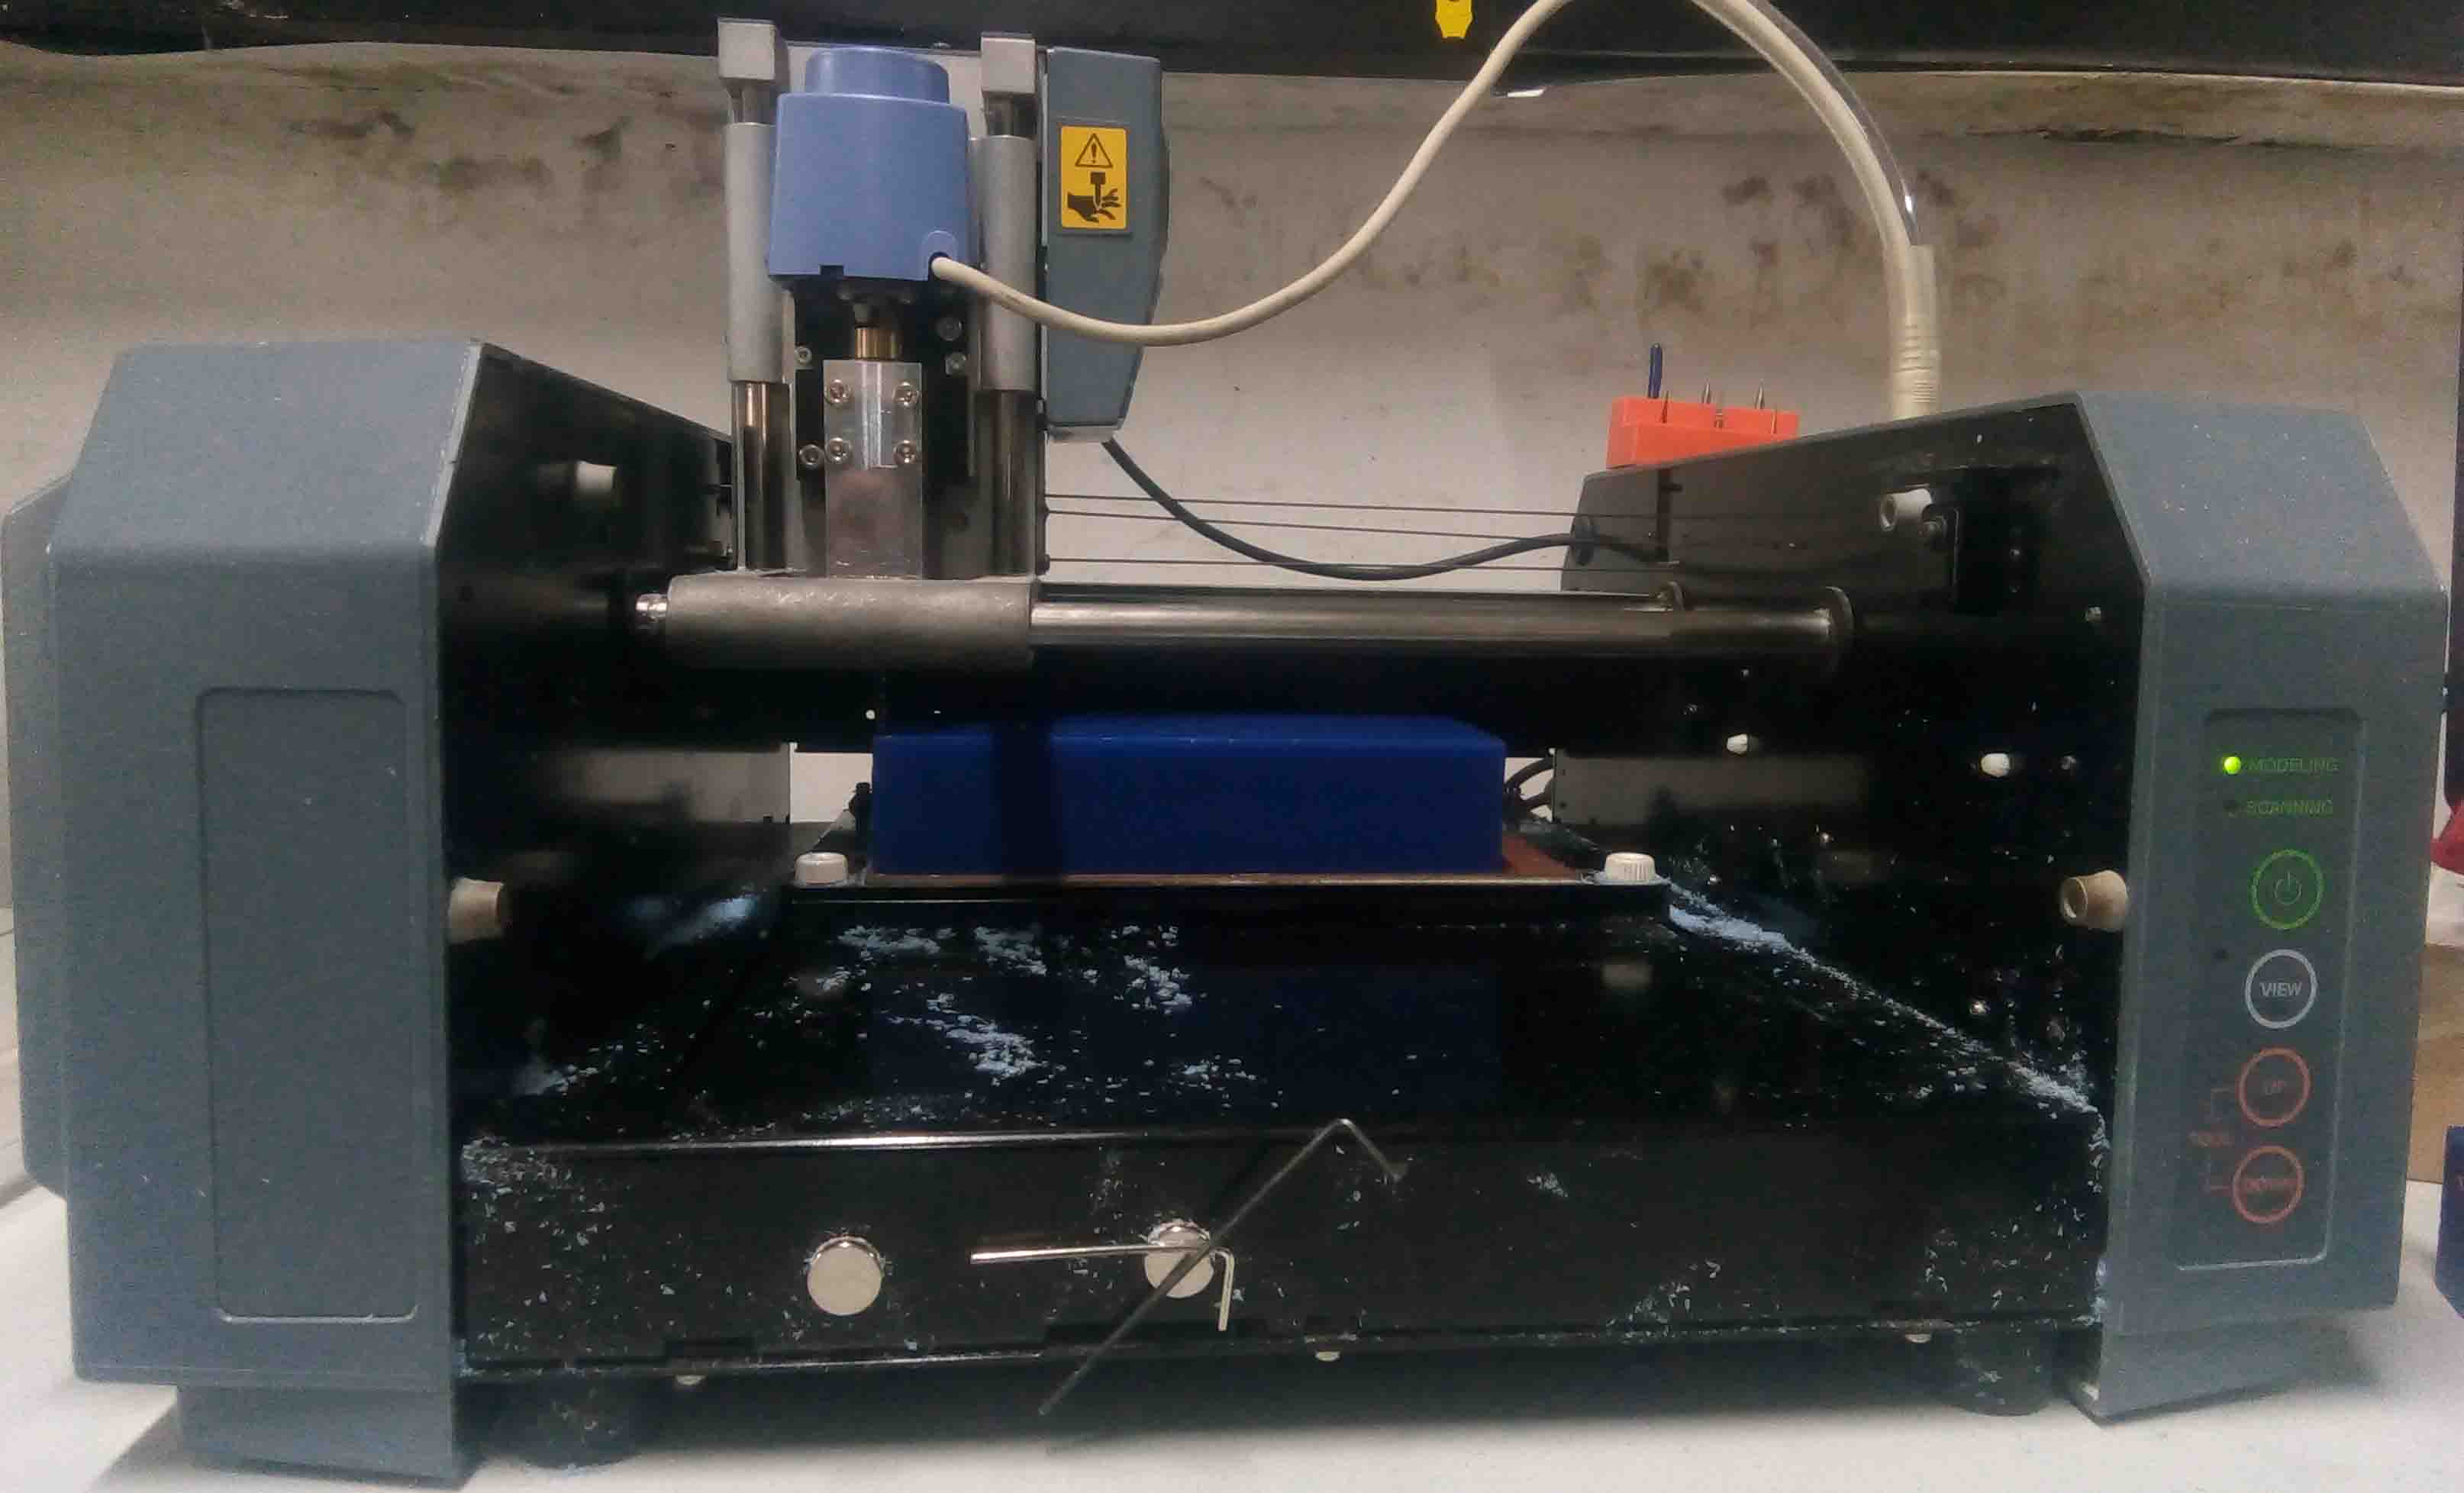
Setting-Up Modella
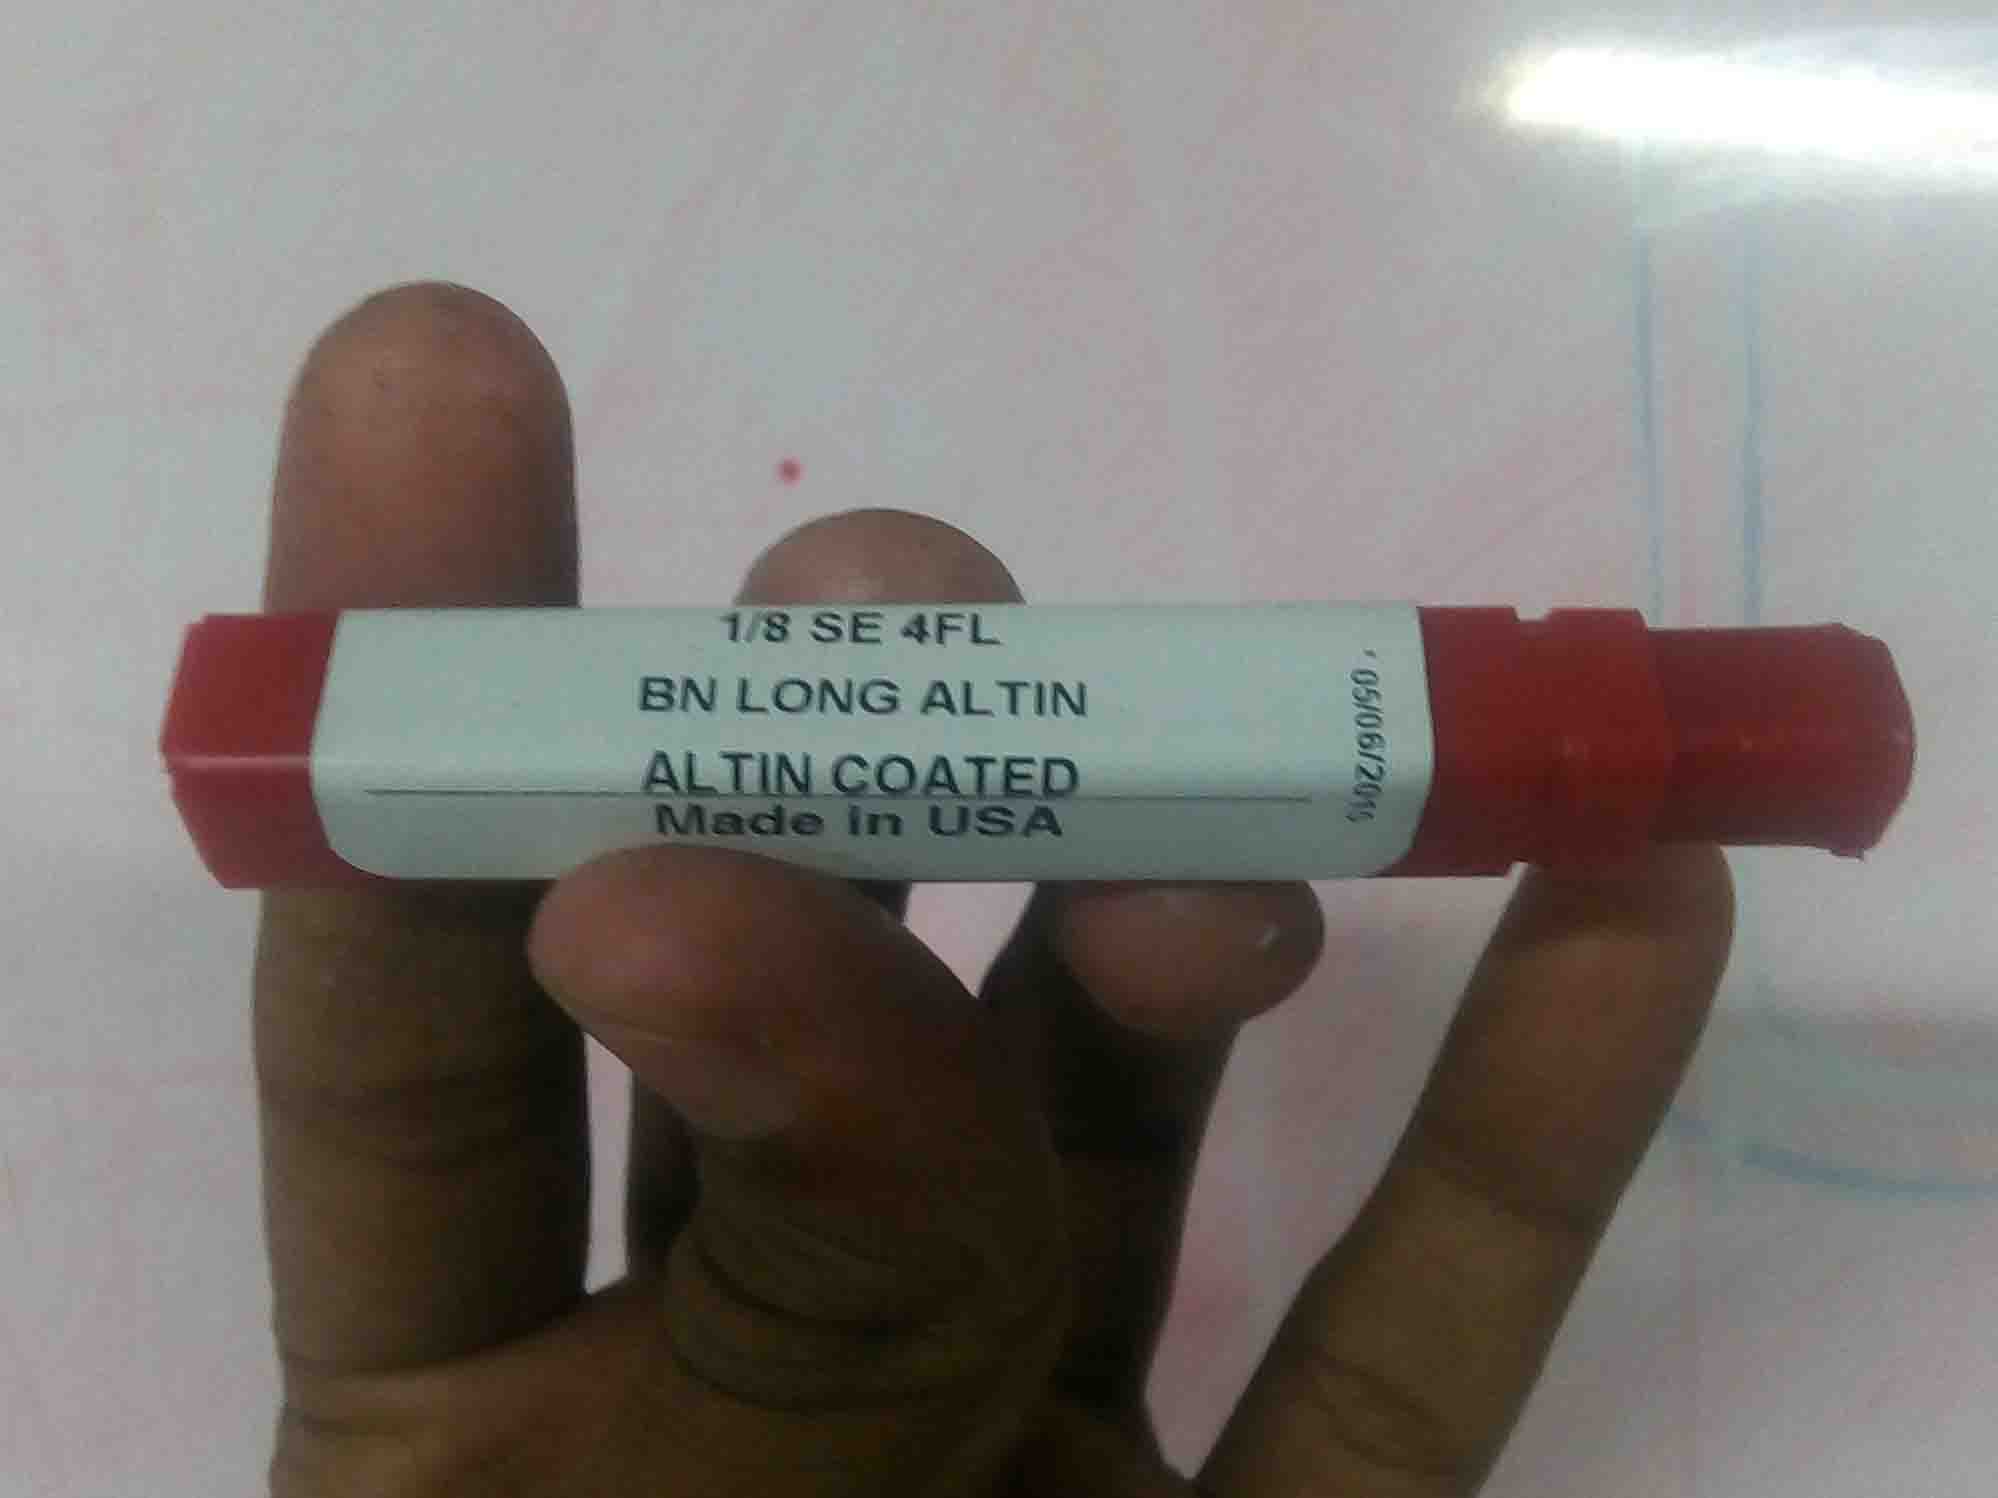
For milling, we are going to use a "1/8 inch" ball end 4 flute bit
Now take a wax block and attach double sided tape to the back of the wax block
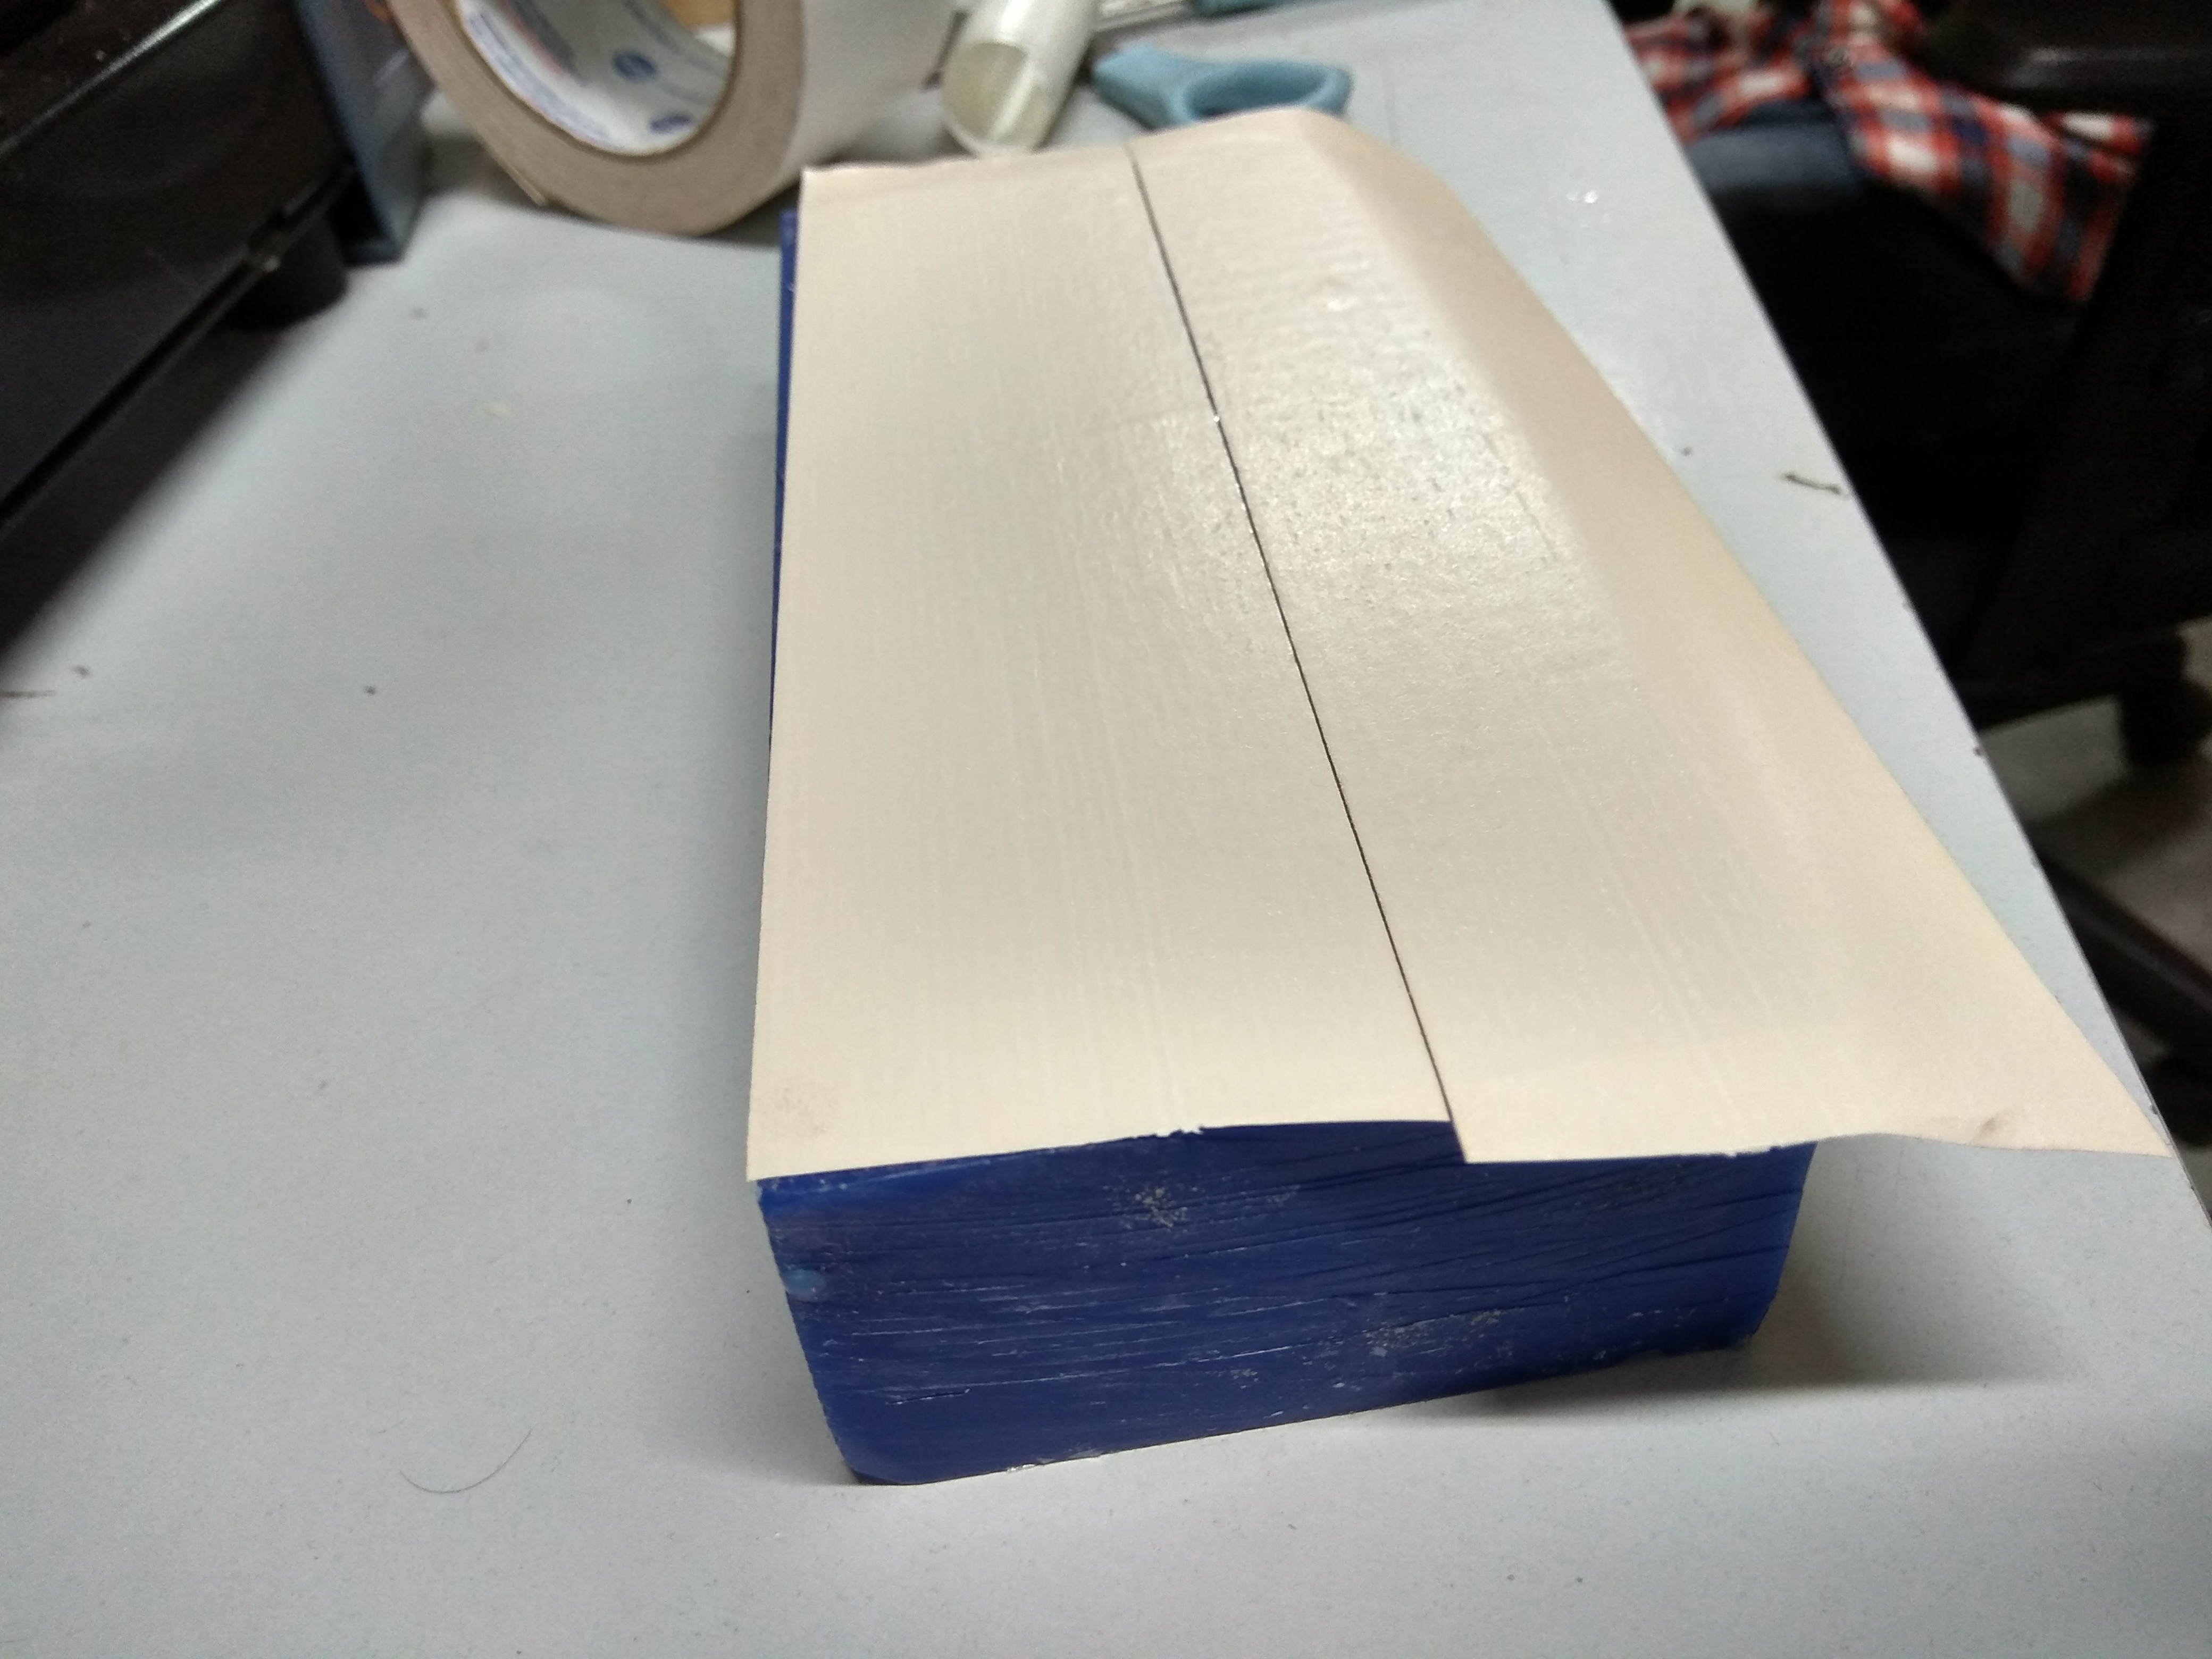
Now stick it on to the bed of the CNC. Set the bit like we did in Week 5.
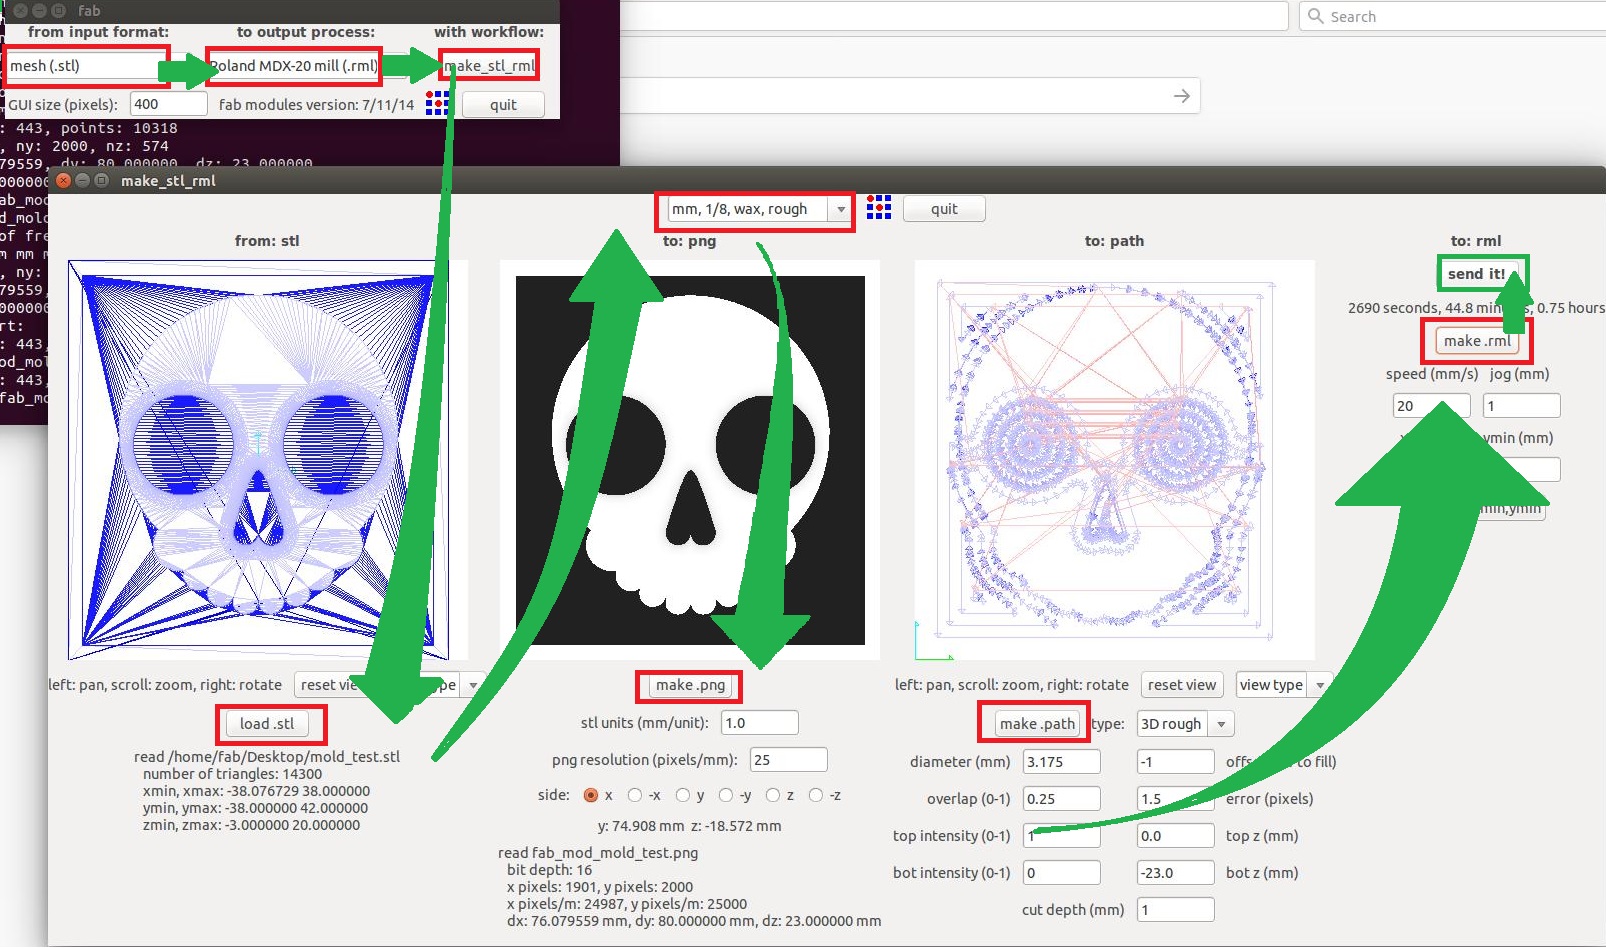
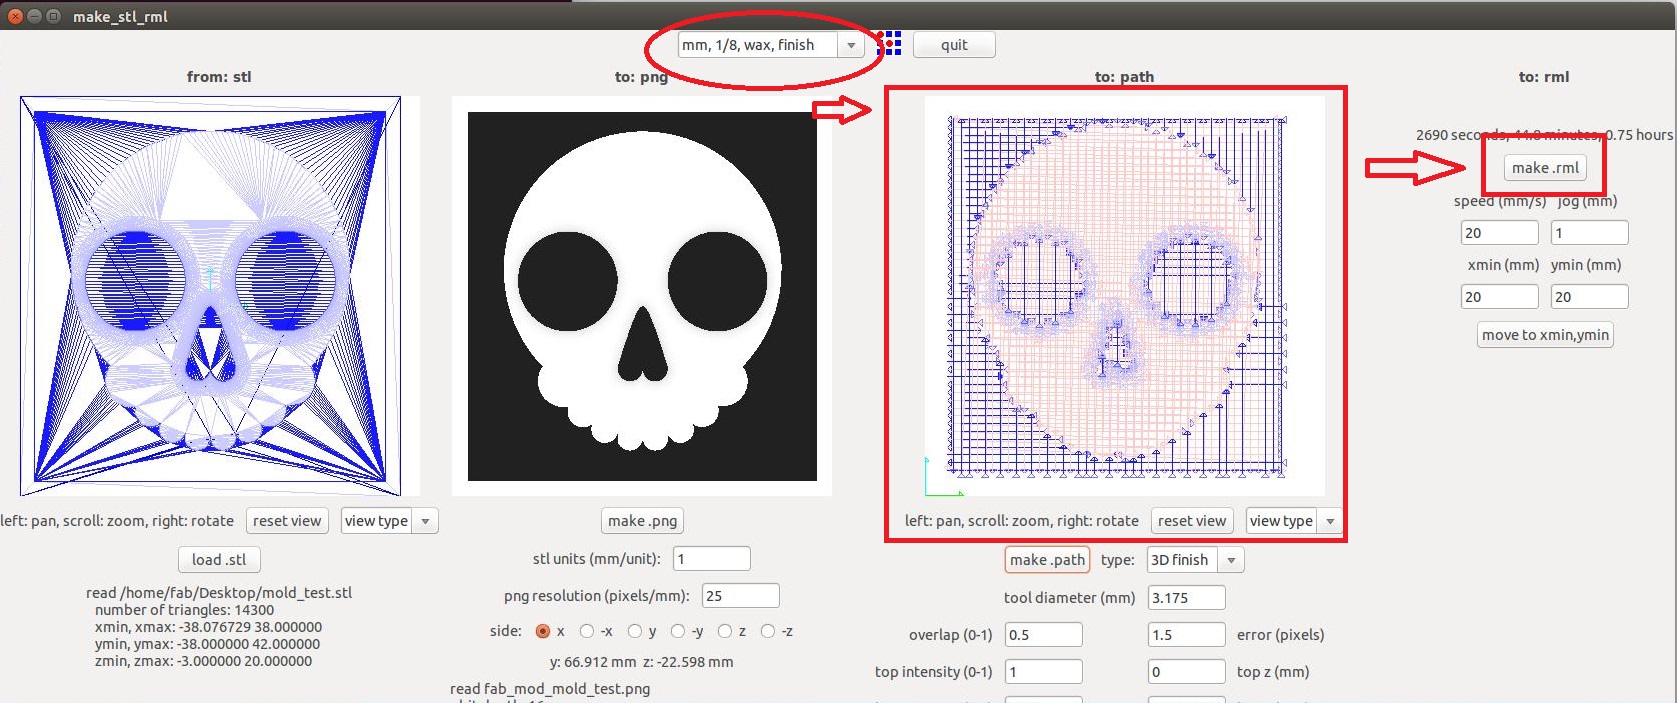
Fab Modules
Open fab modules for modella MDX20 by following these steps
Now we have to upload the .stl
Now we can see the machine has started milling
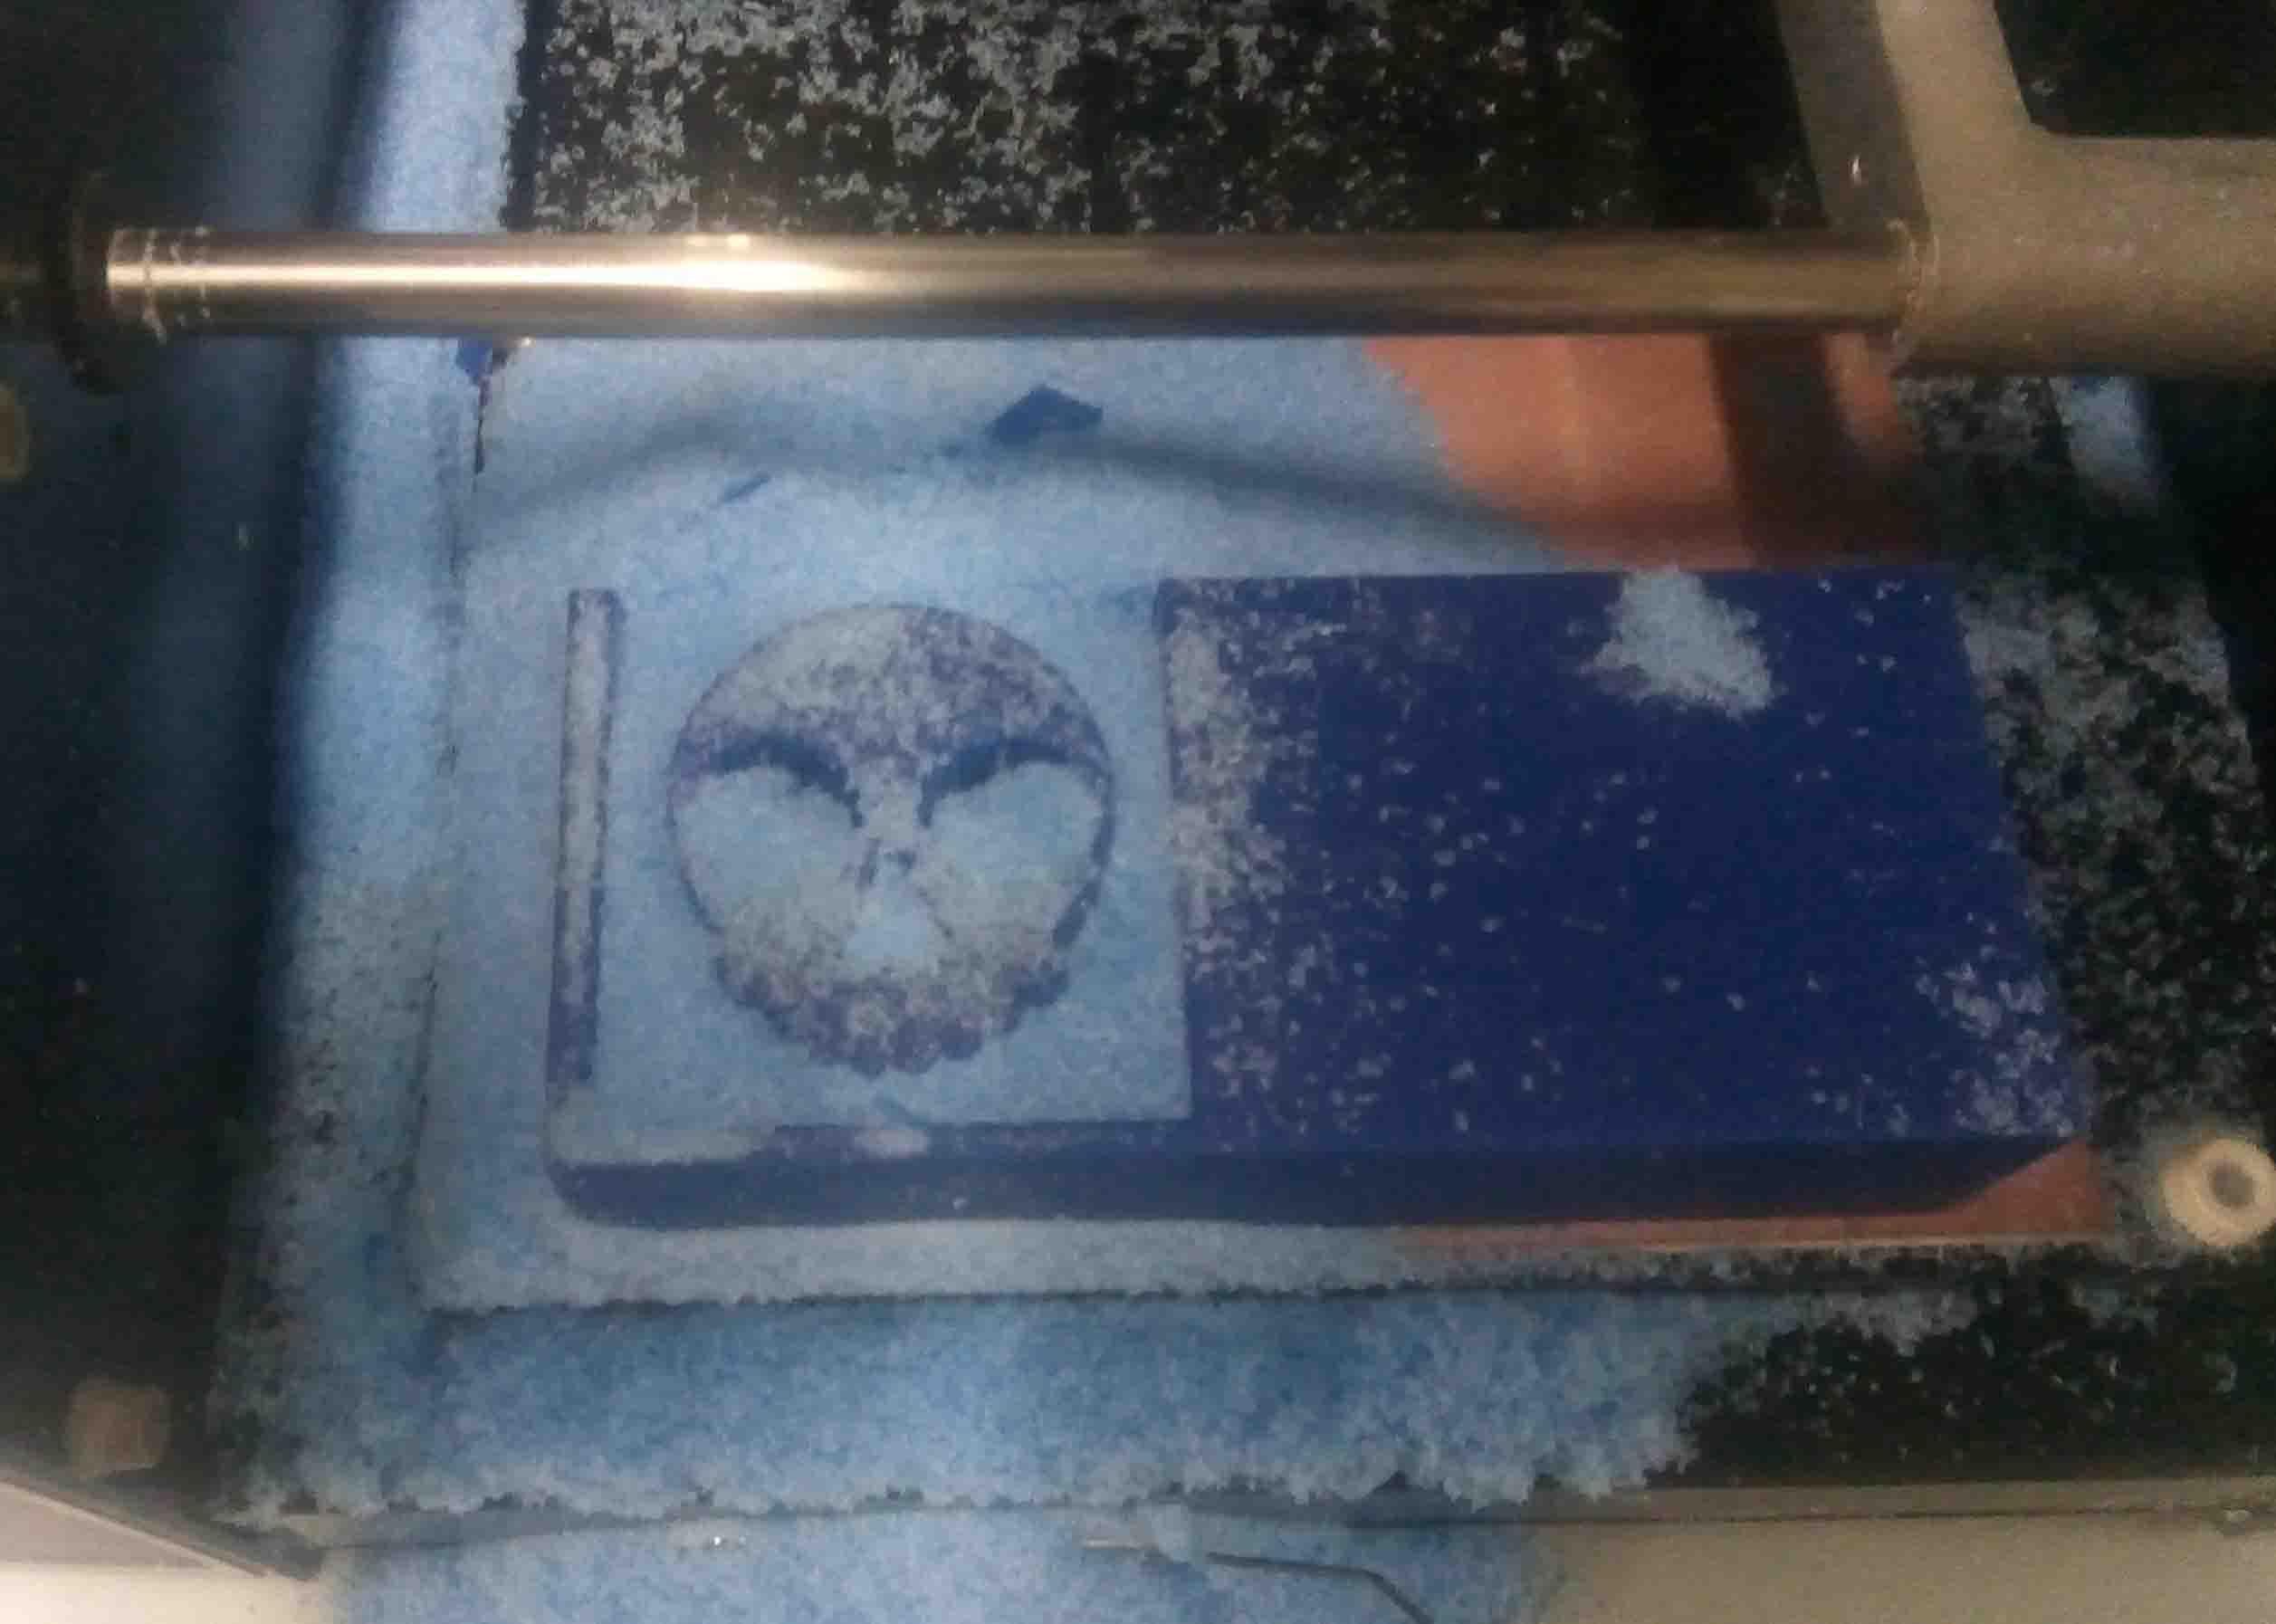
After finishing the rouhcut, we have to start the finishing cut. So follow below steps
machine start the work again. After finishing, it will look like this
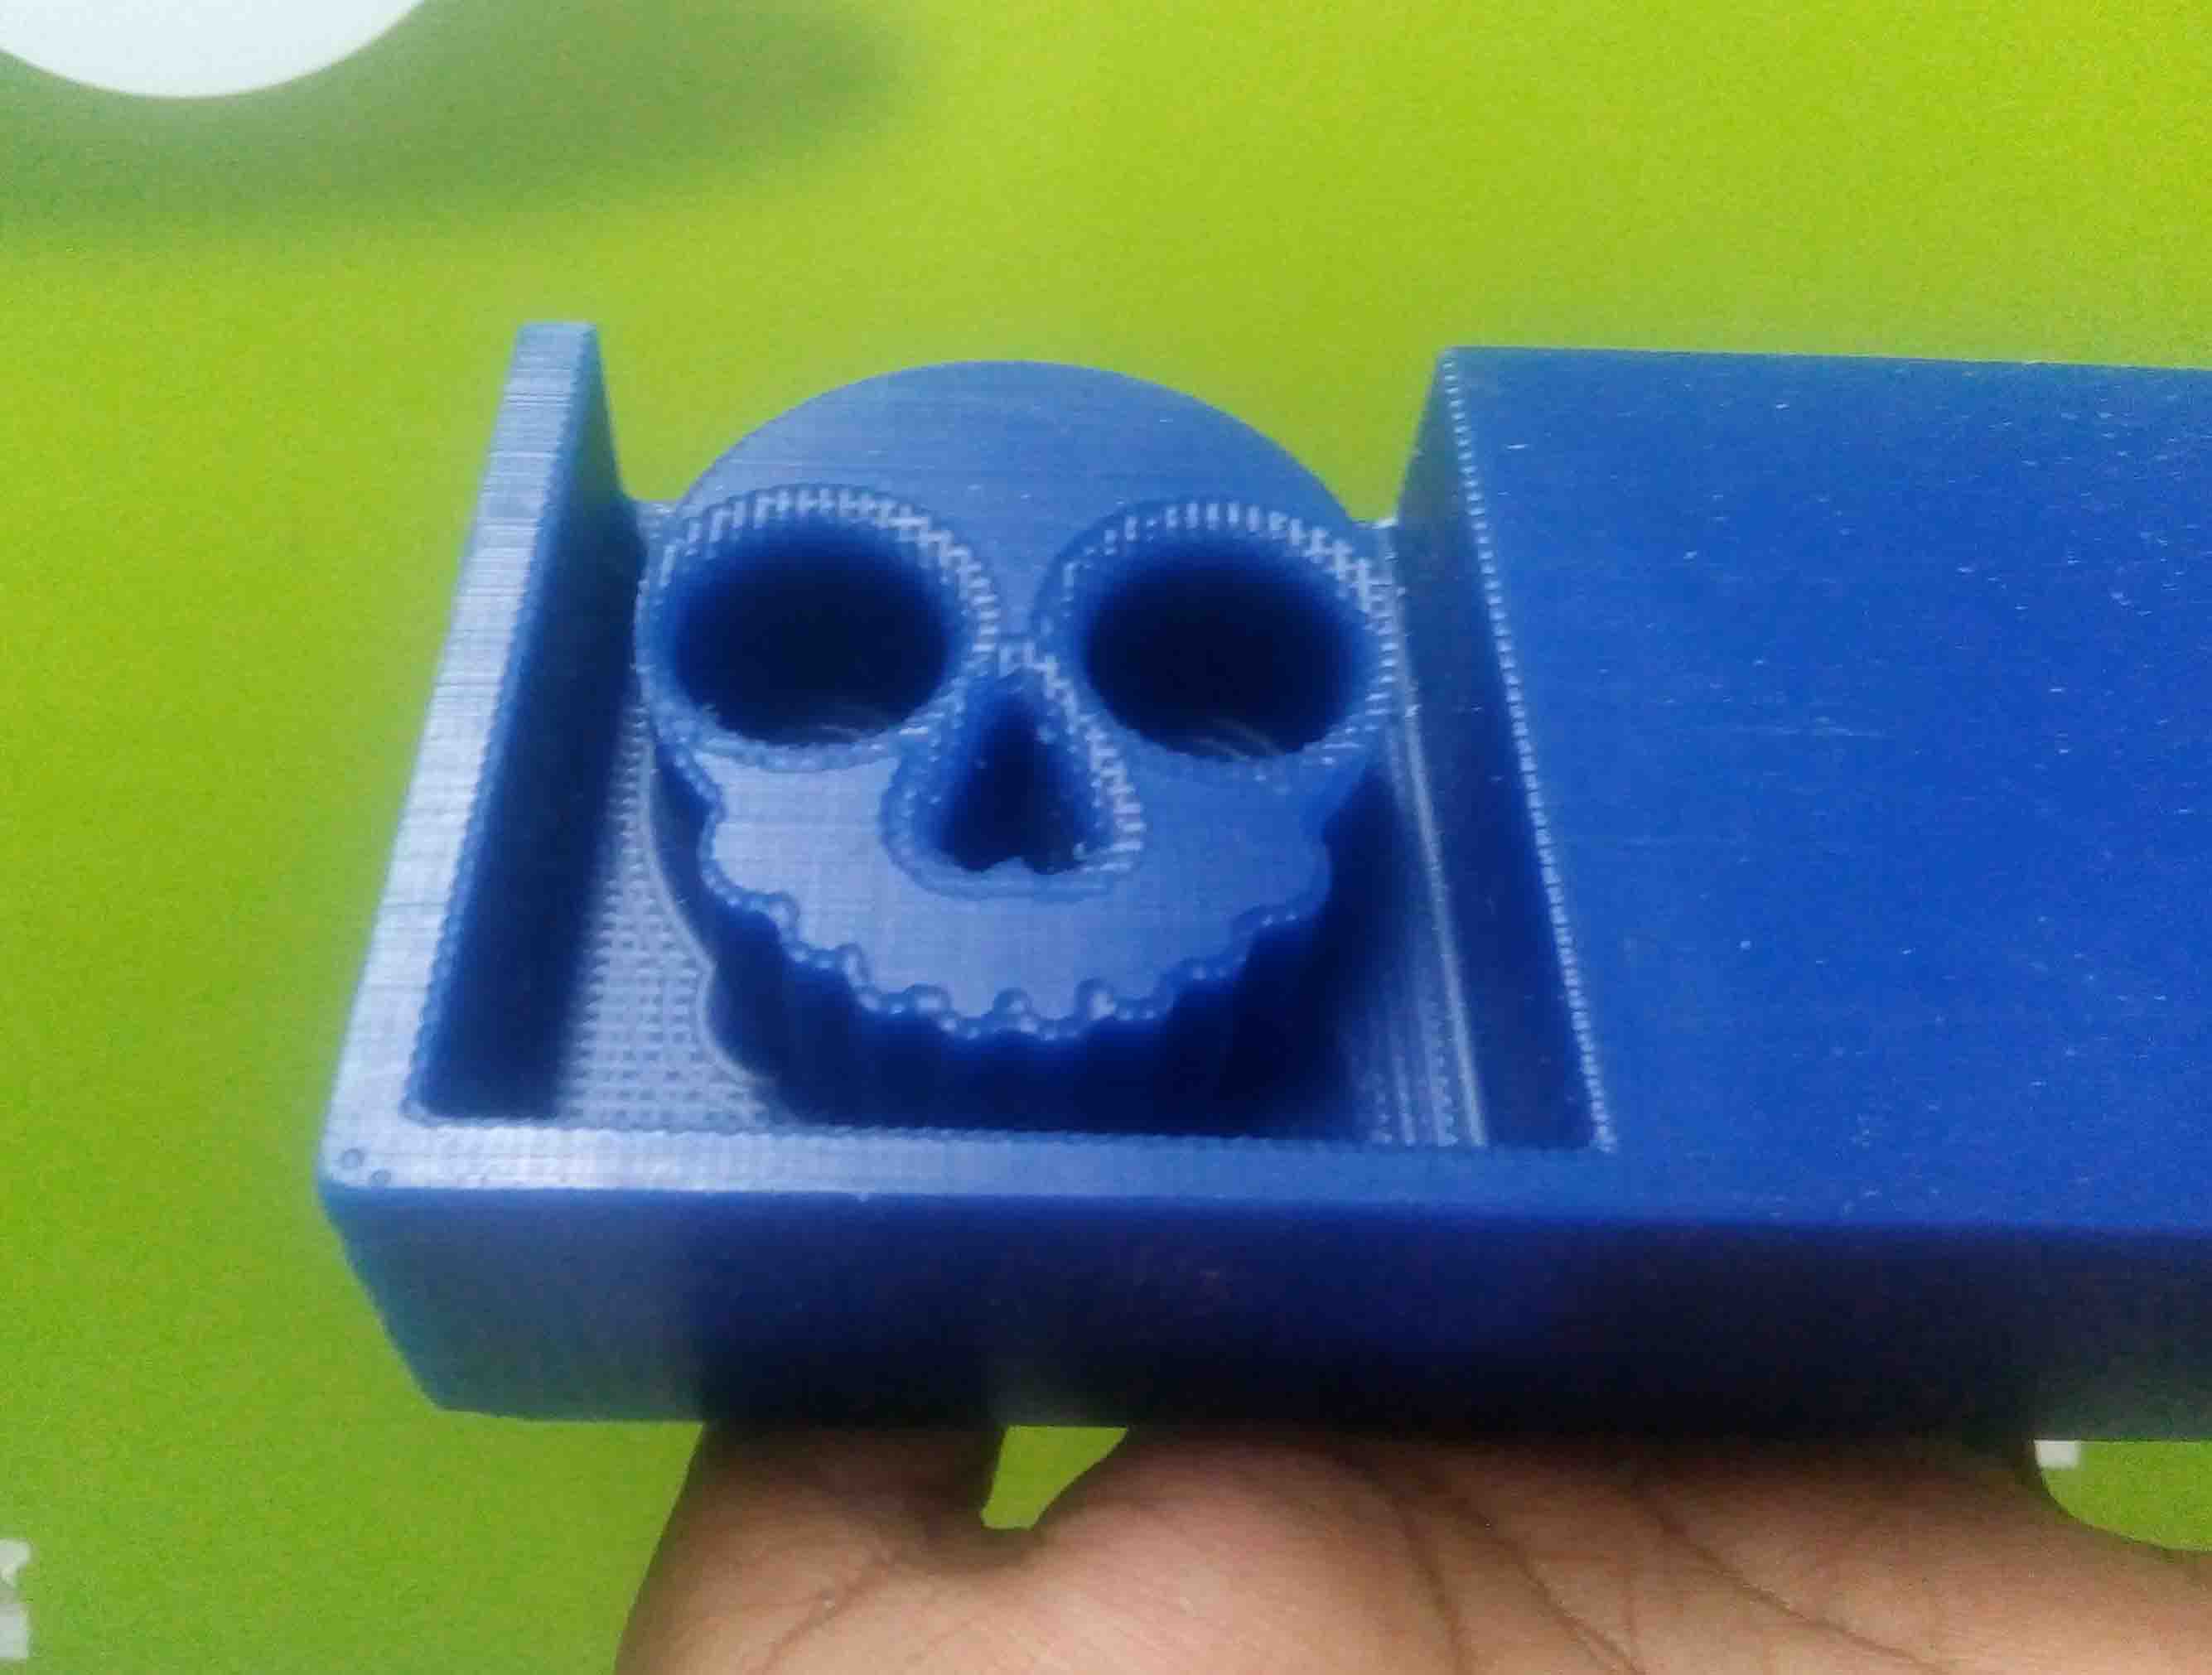
There was a miske in the designing part. I did'nt leave a top cavity for filling the resin. So I had to make a boundary for the filling of resin

Preparing resin
Now we have to create a negetive mold. For that we take a smooth cast
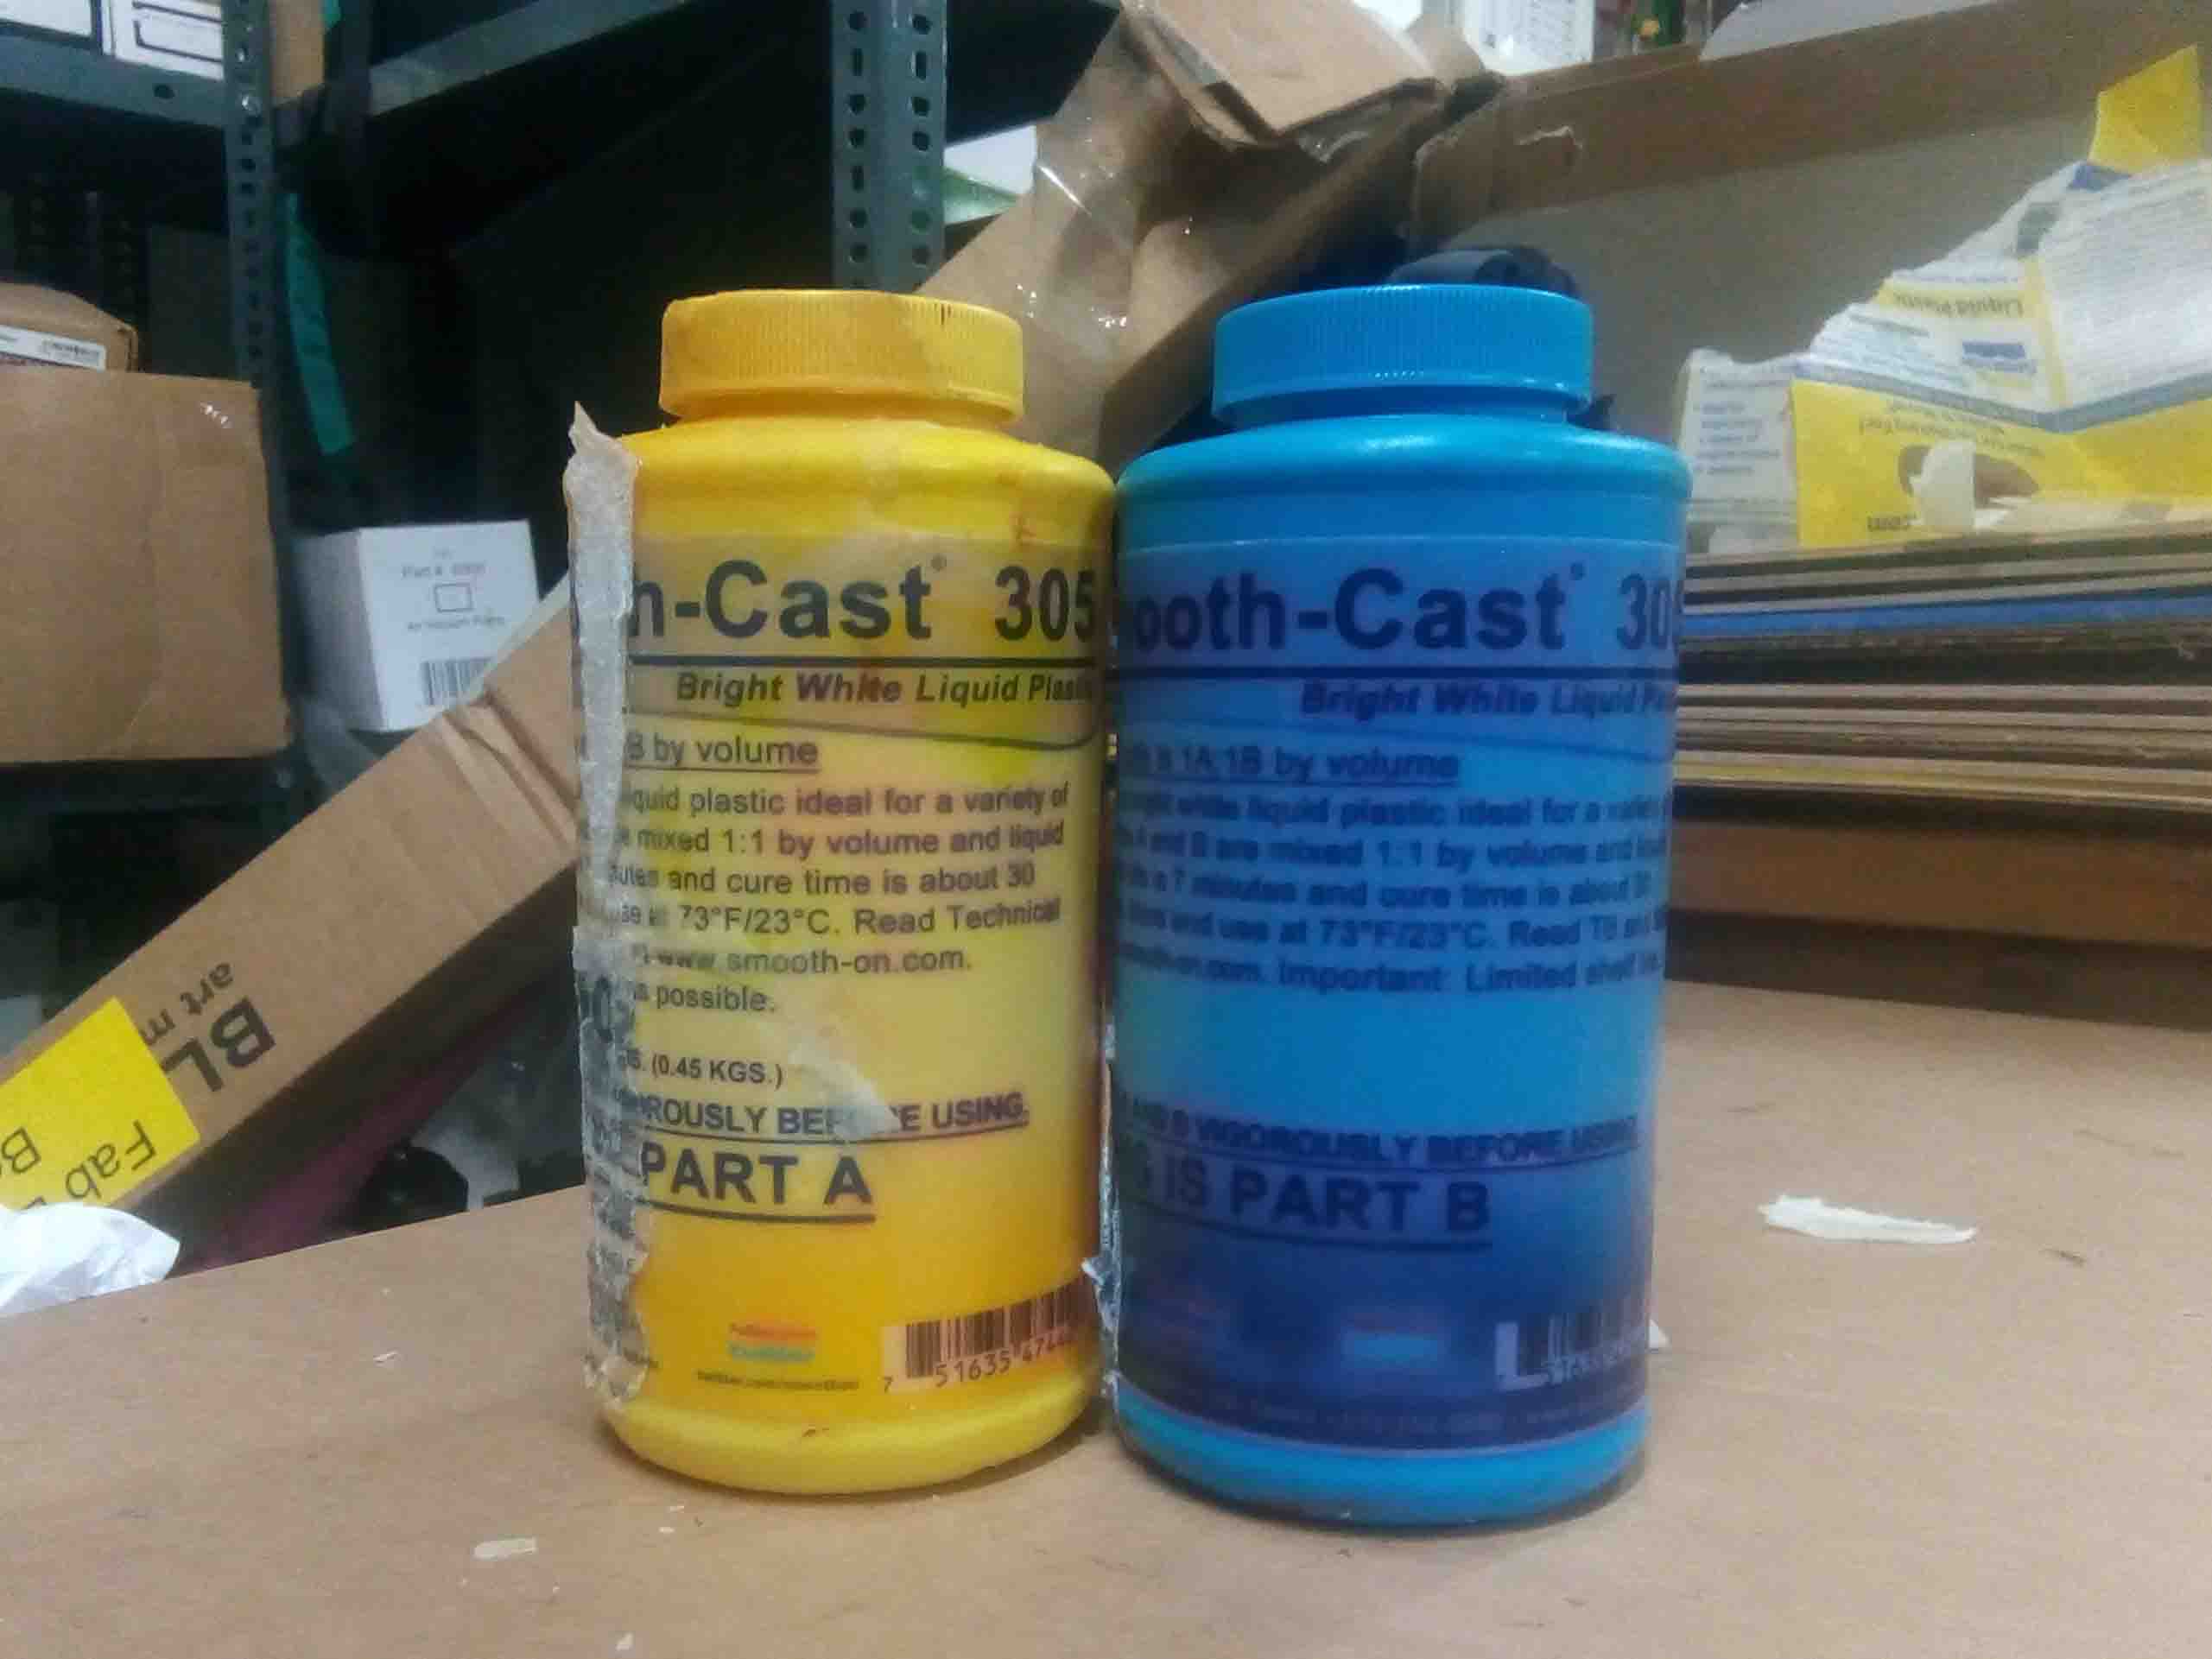
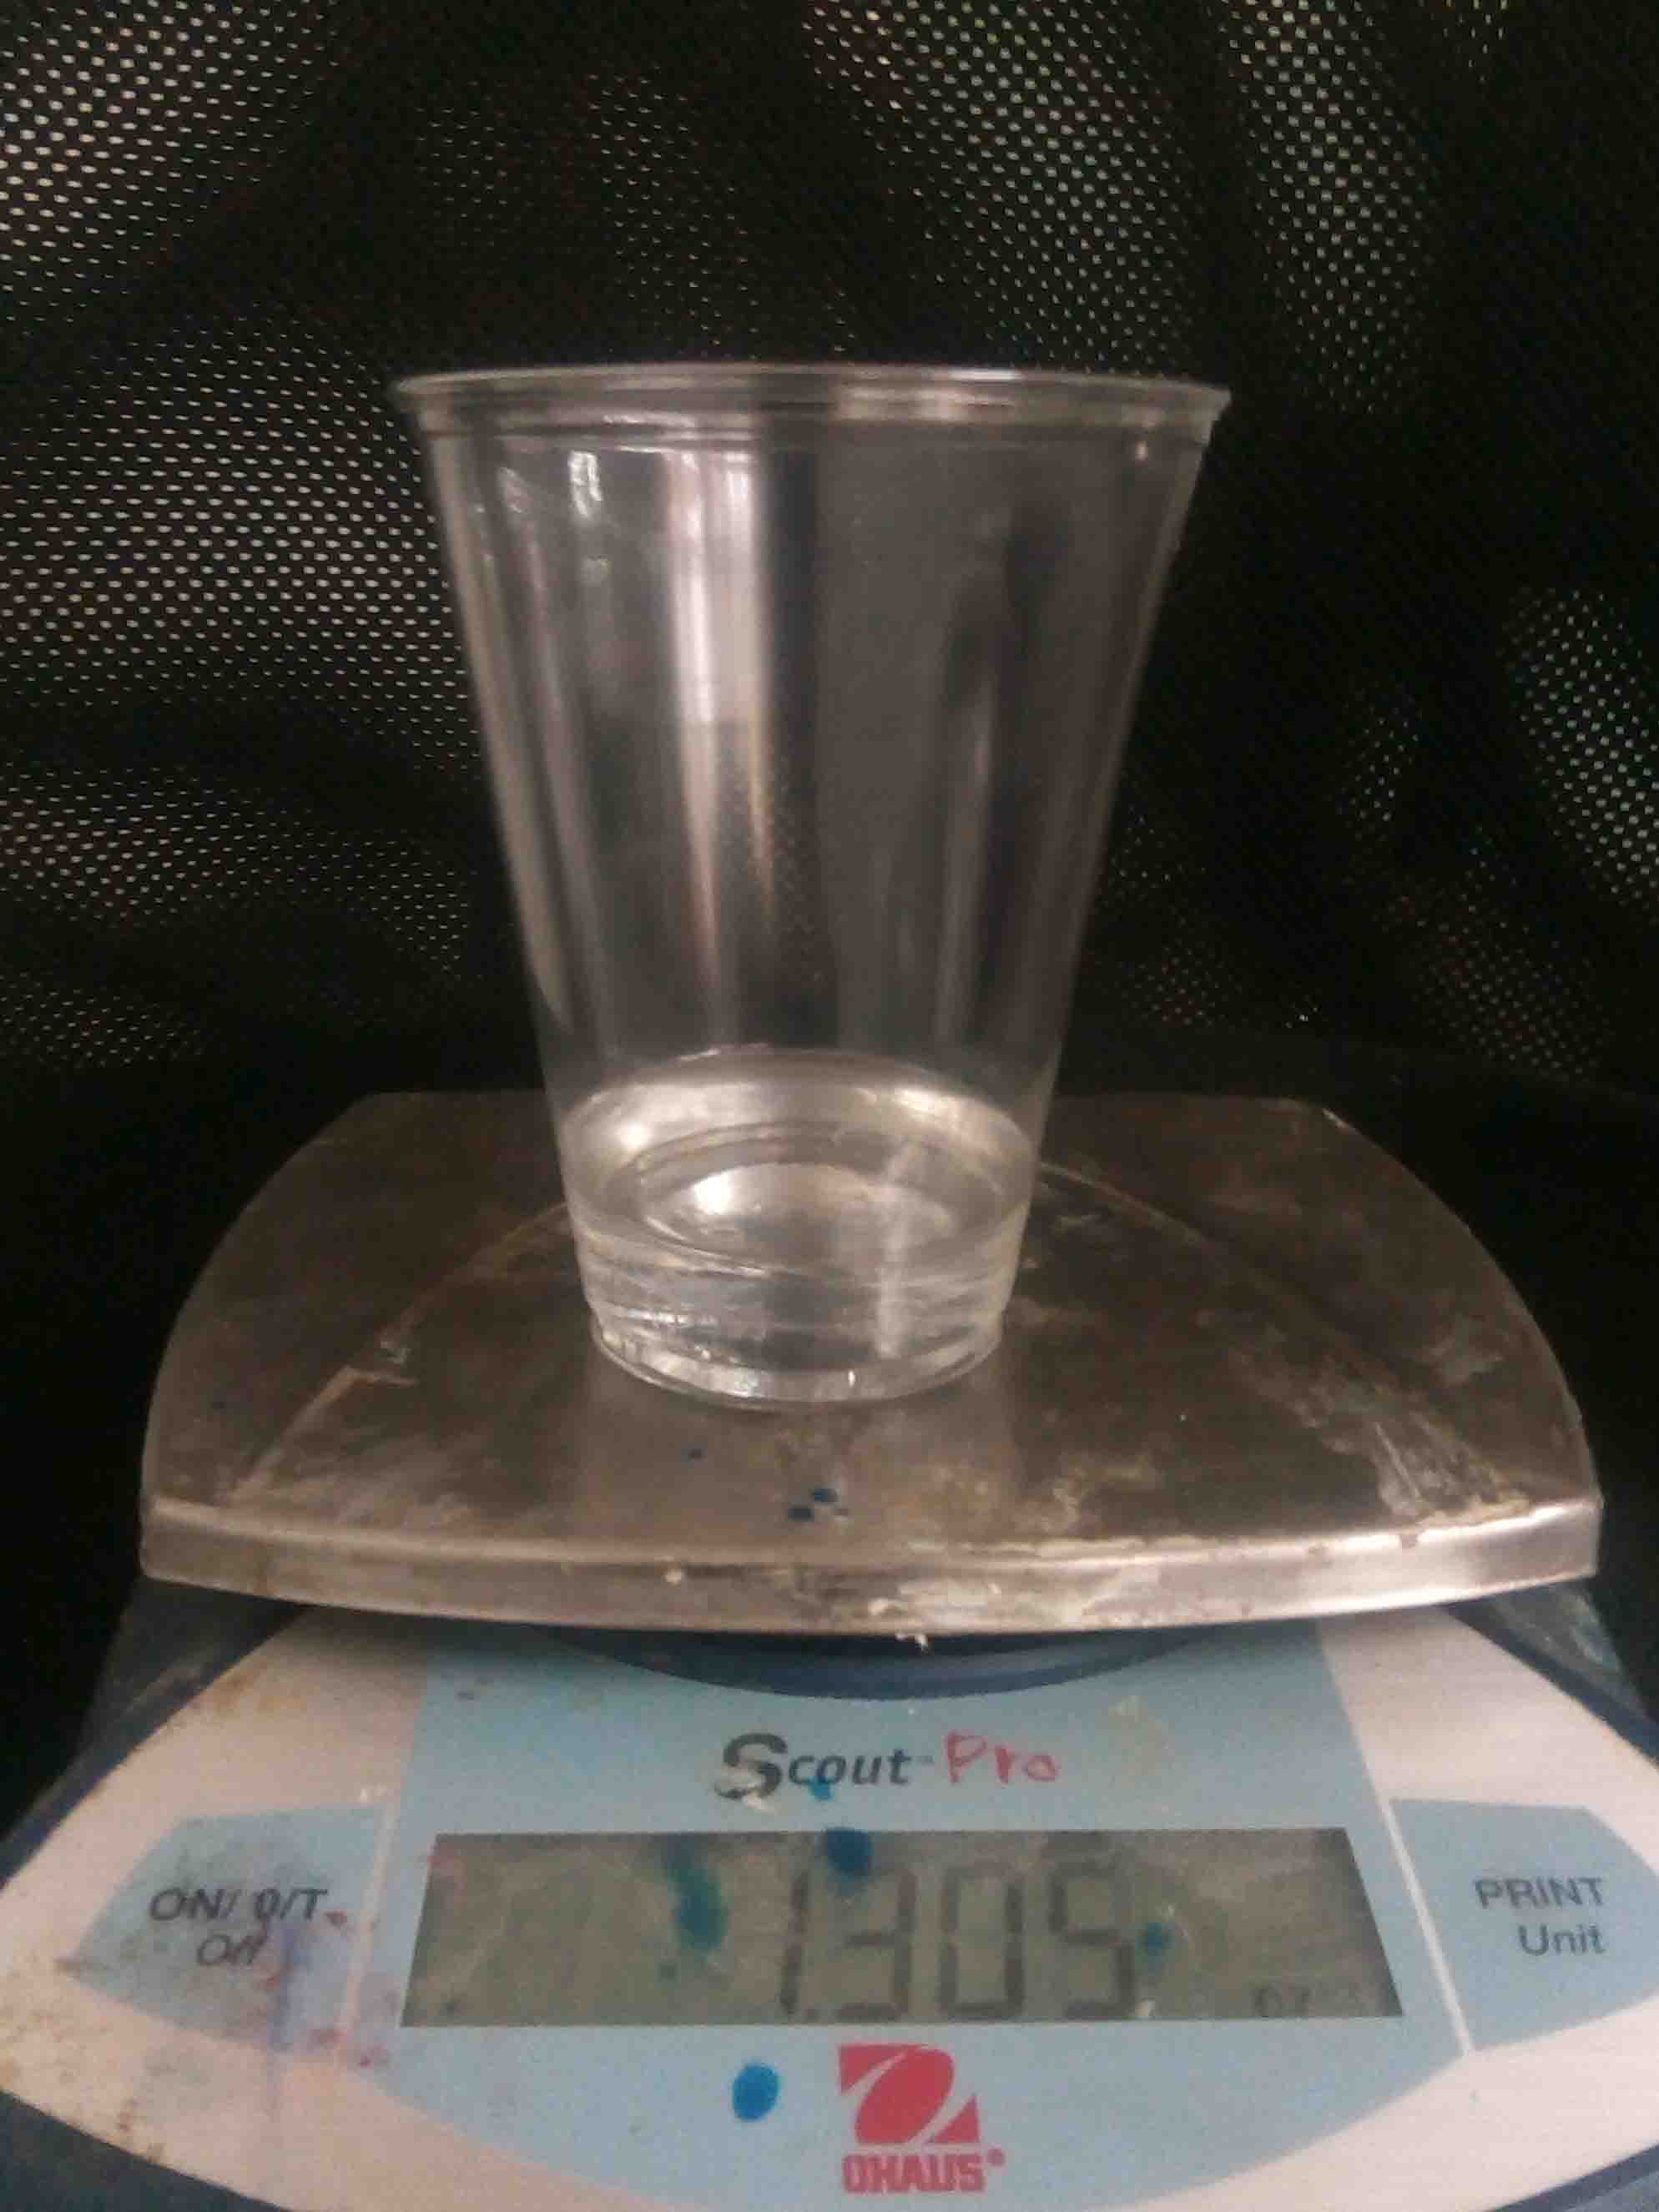
there are two parts of resin. Part A and Part B. The proportion to mix both of them is "1:1". But first we need to measure the amount of resin needed for the negetive mold making. For that pour some water into the mold and pour it back to the glass and mark the level.
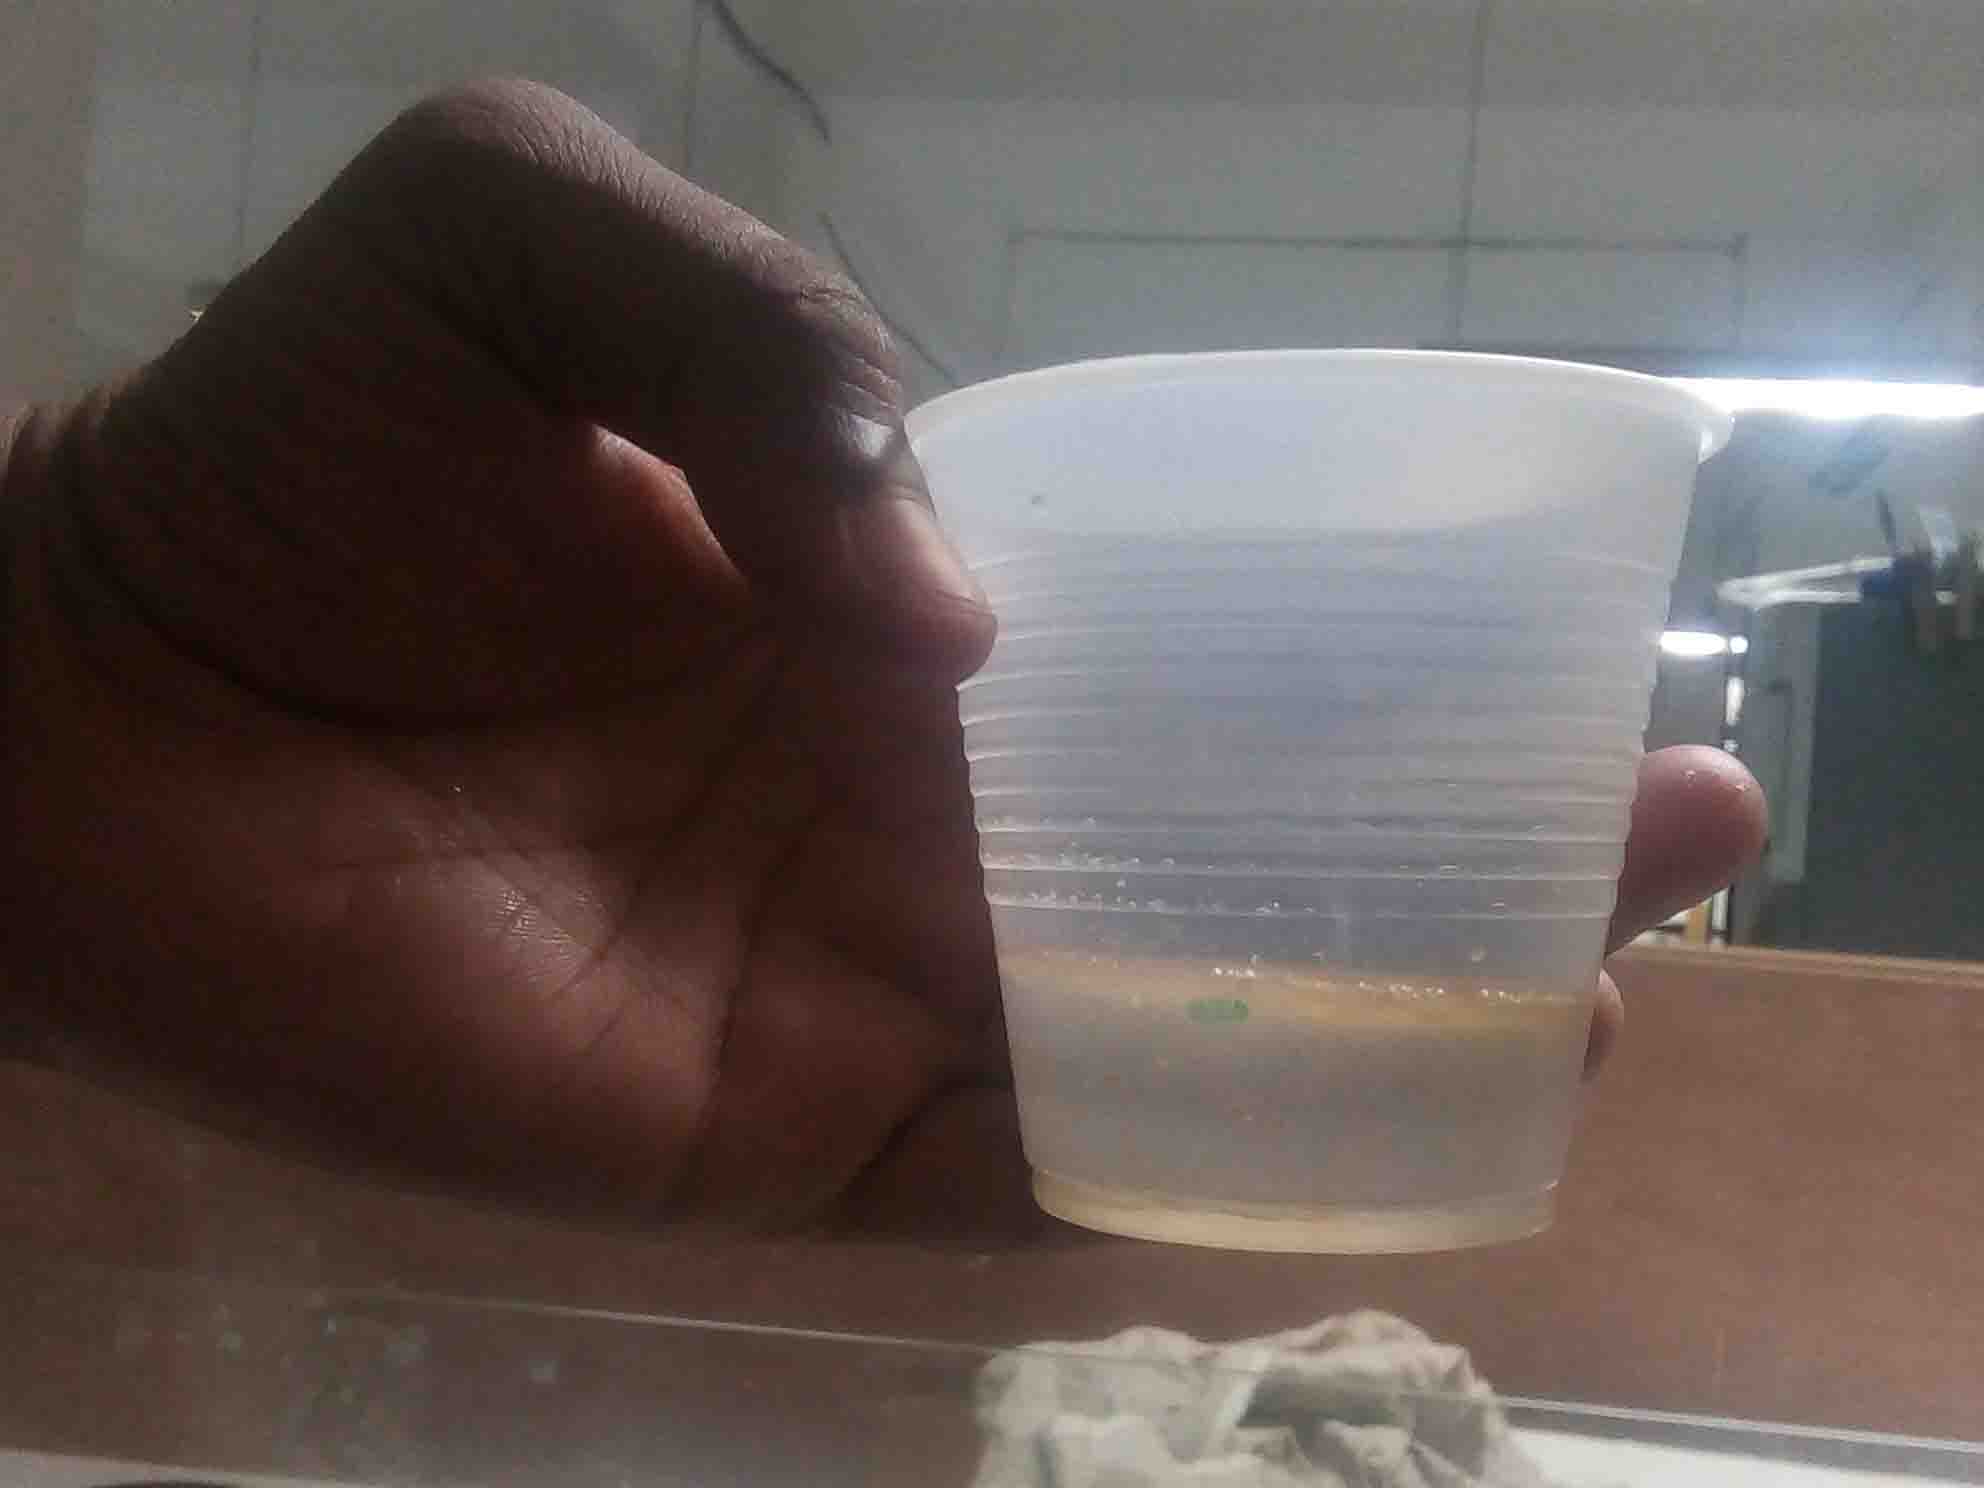
Now pour equal amount of Part A and Part B of the resin into the cup
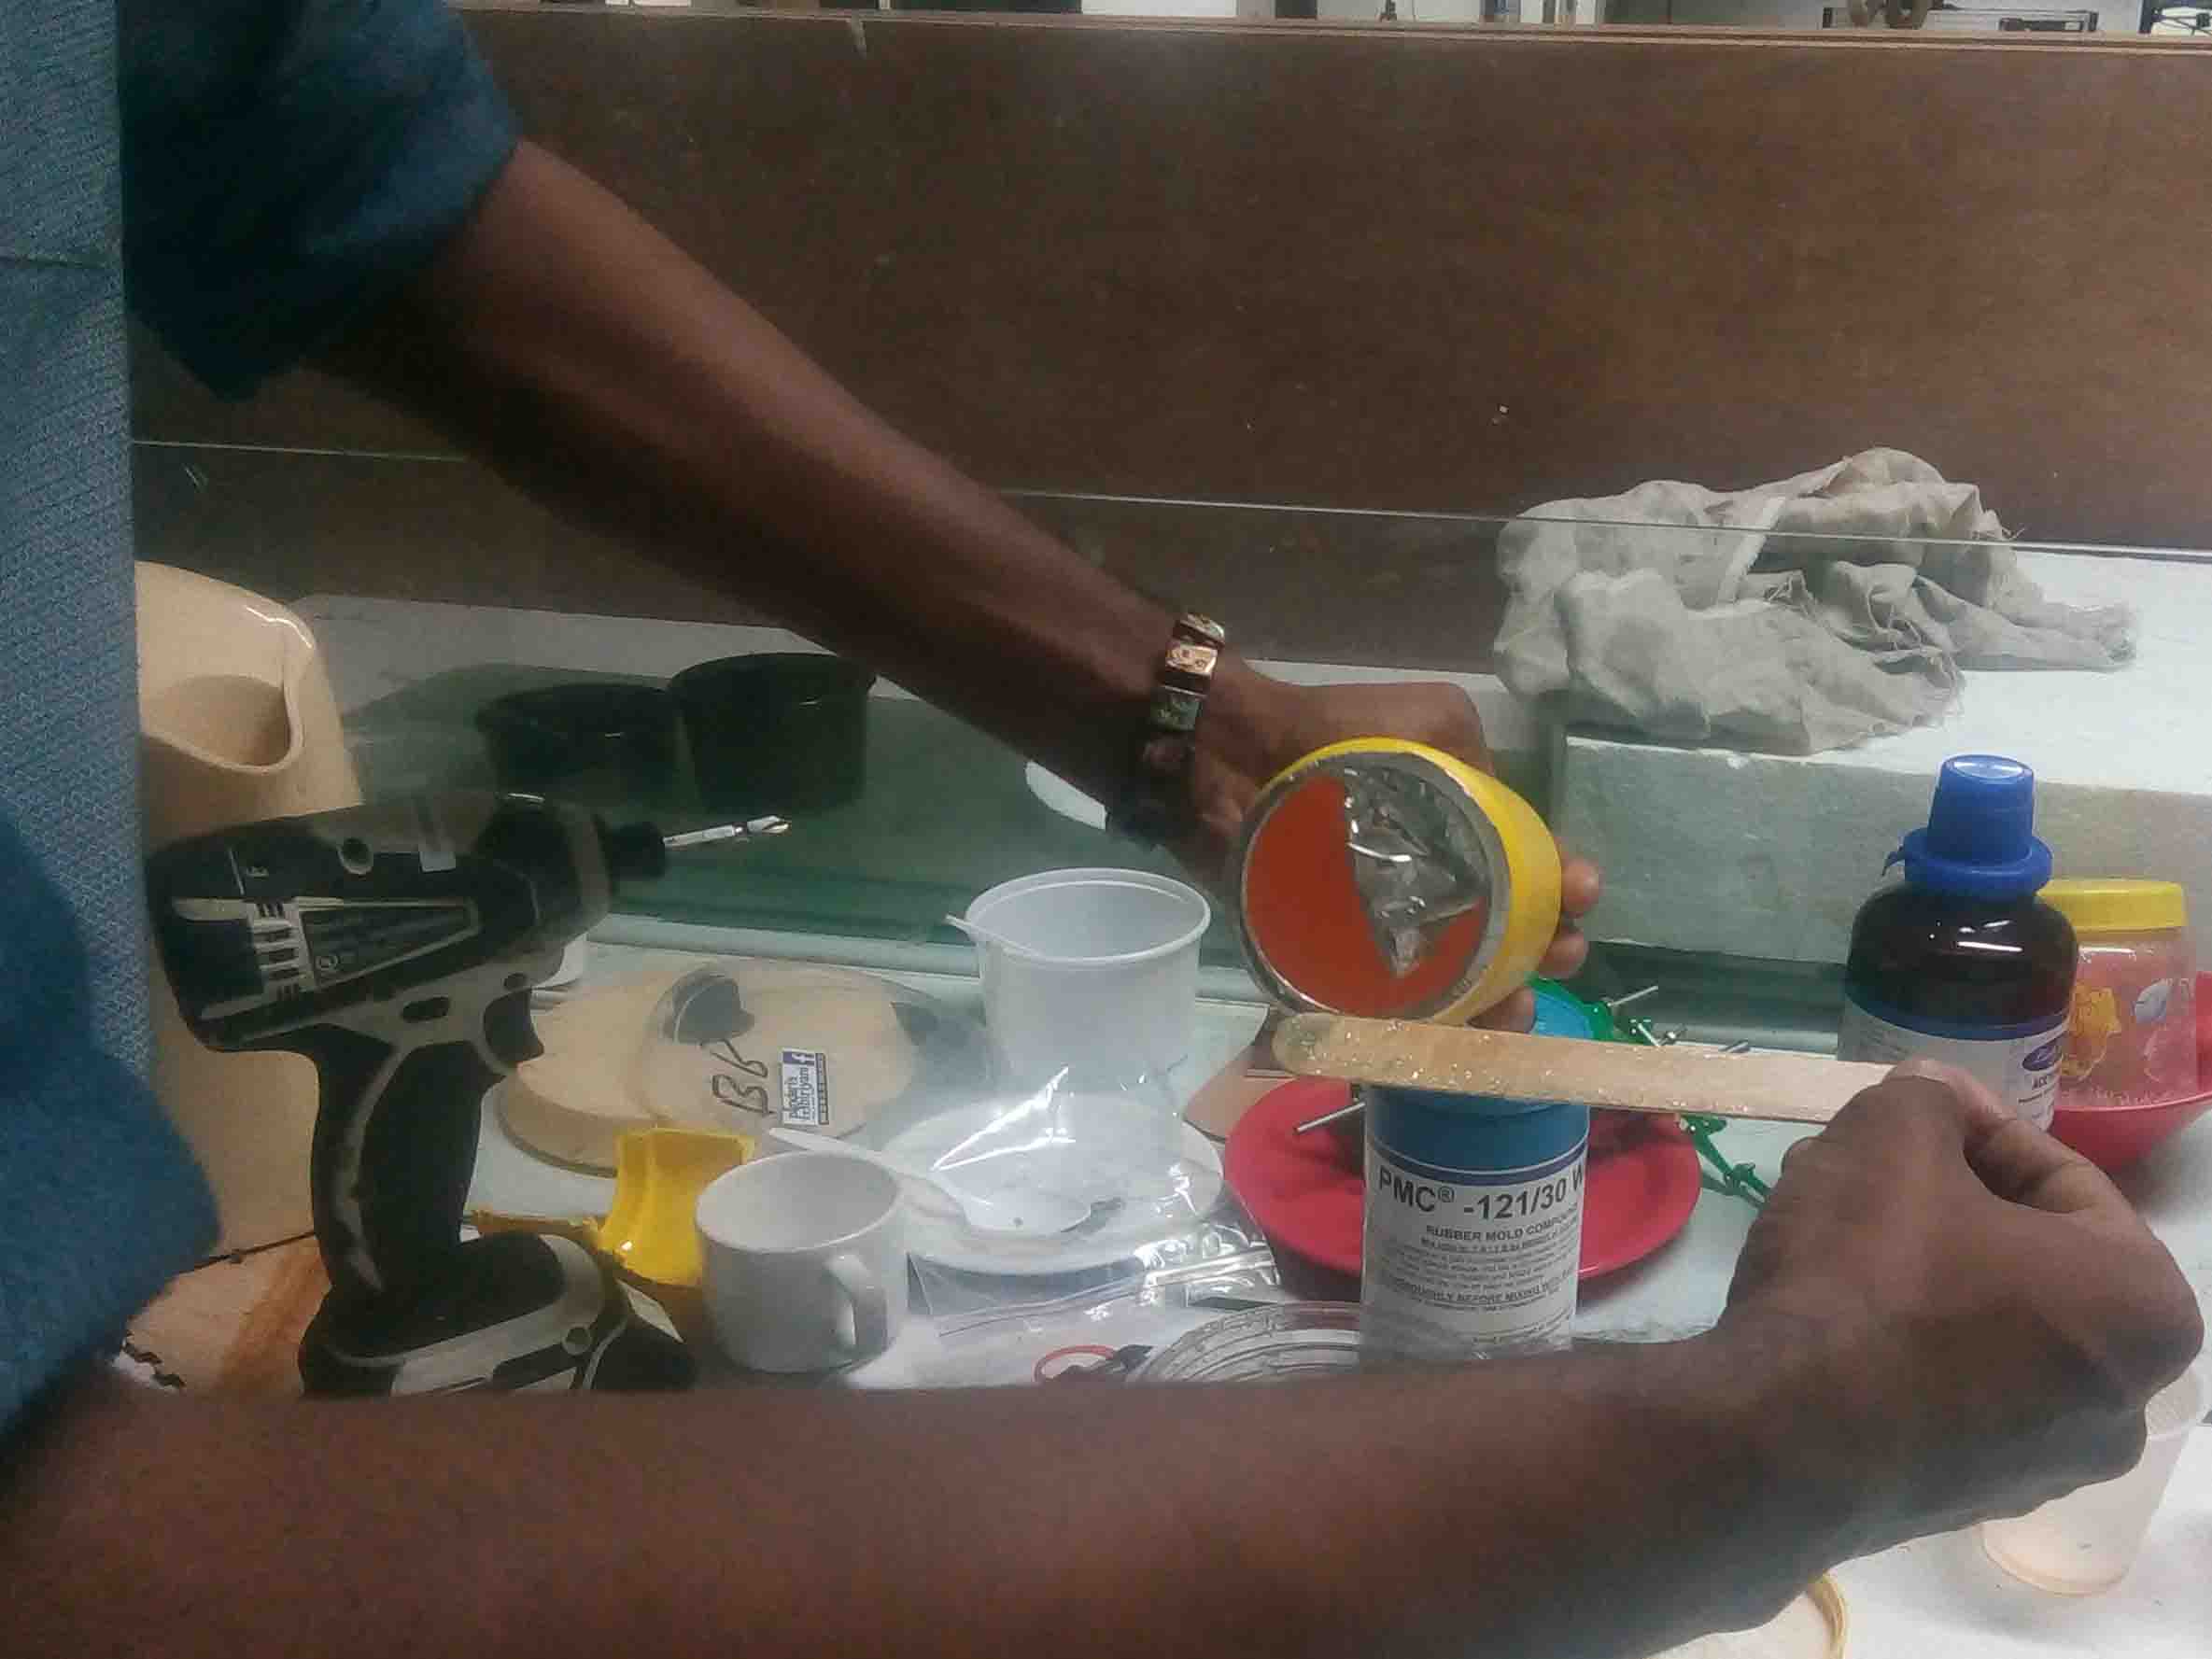
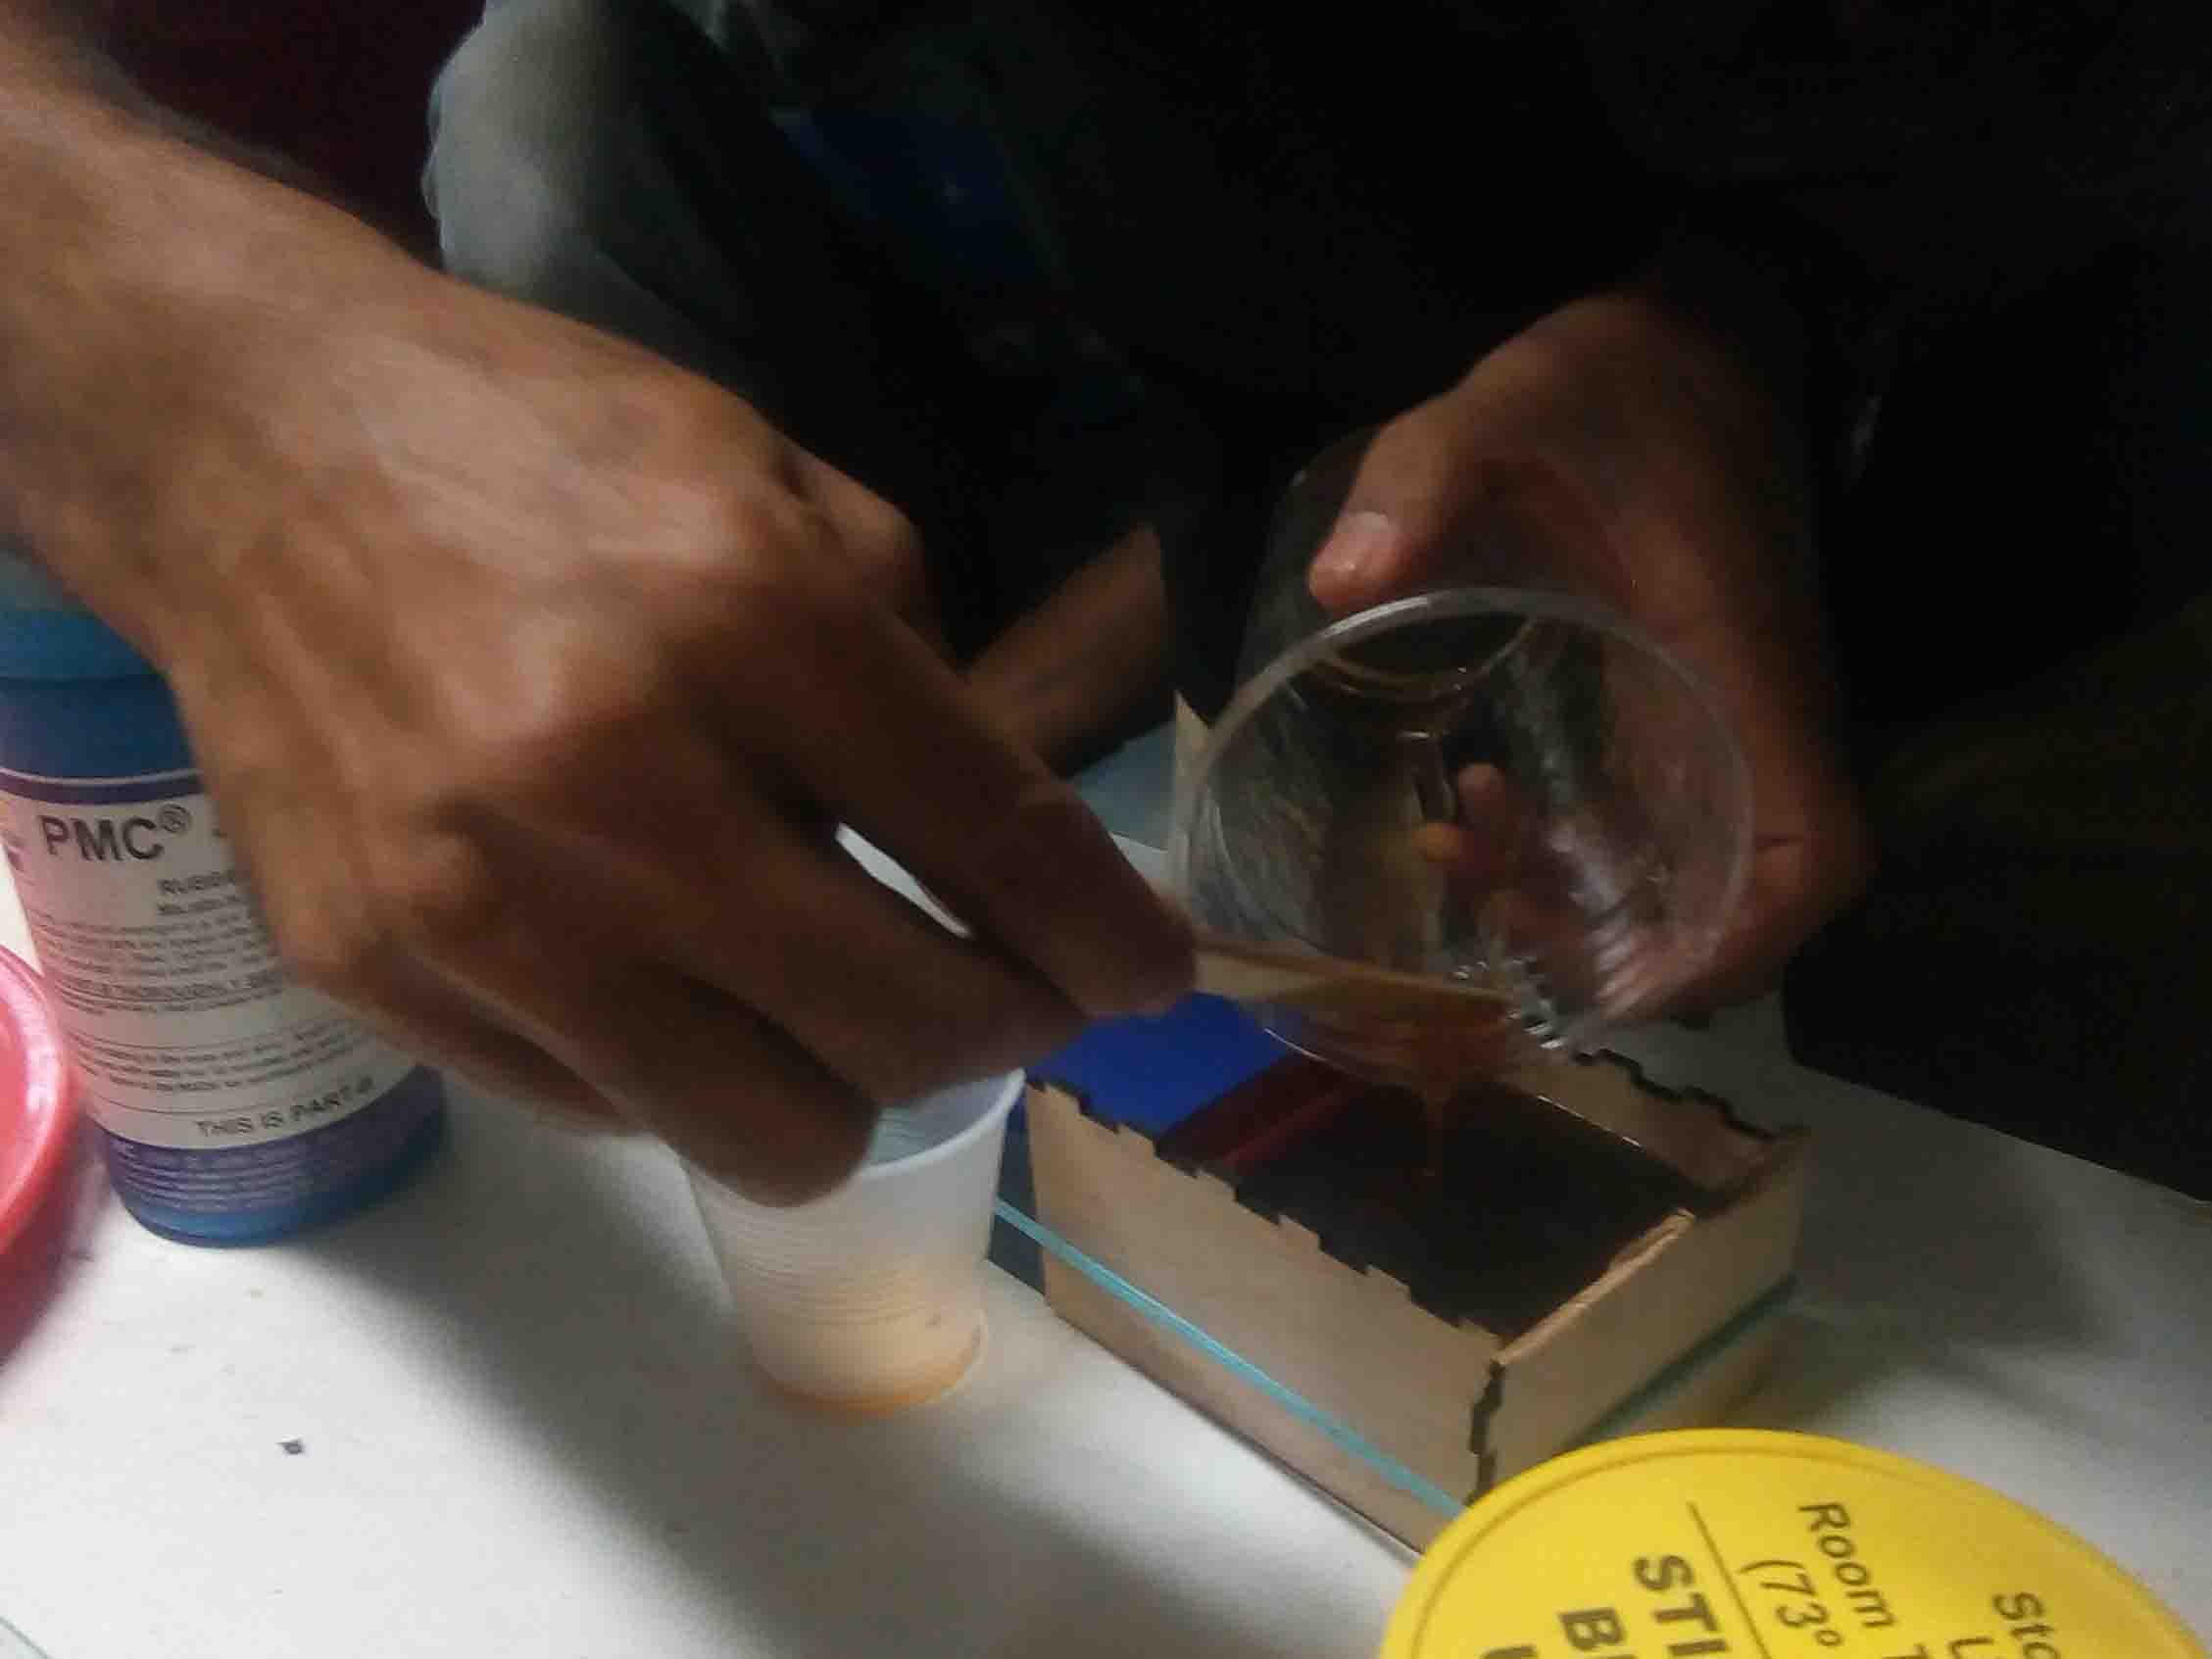
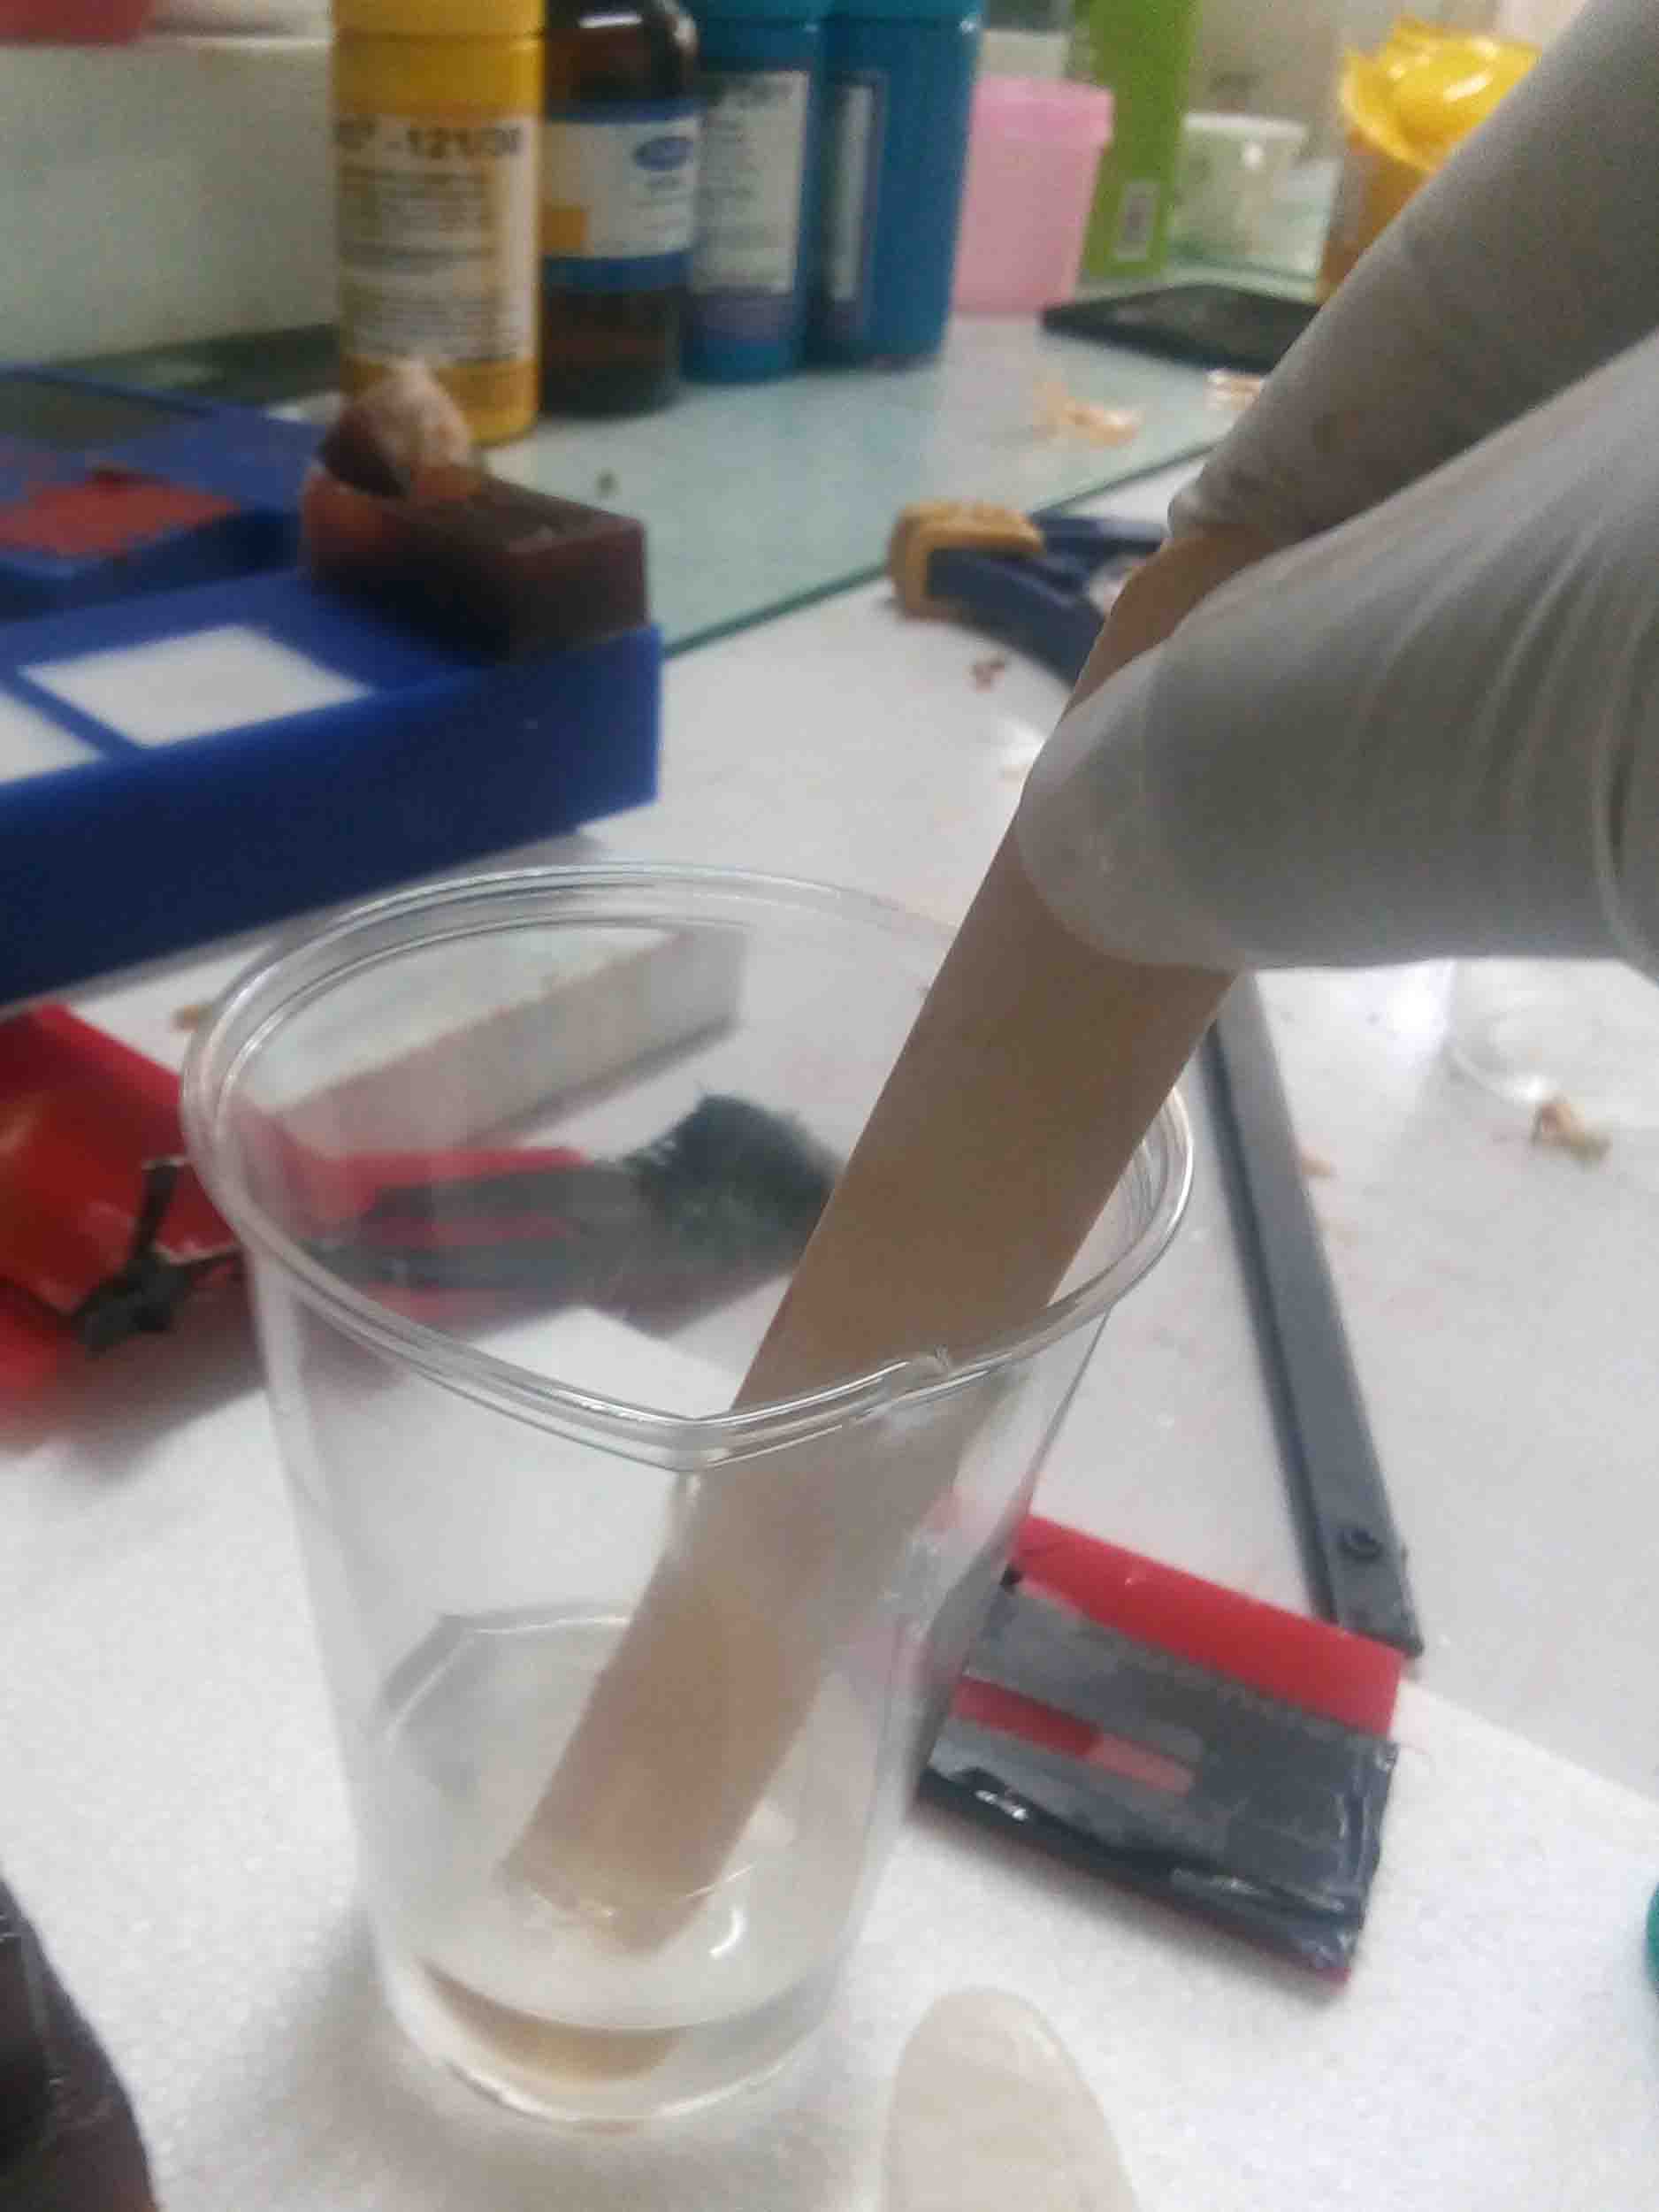
Now mix the well and pour into the mold. I used a hand dril attached with a acrylic rod to stir up the mixture. Because it was difficult to do with hands
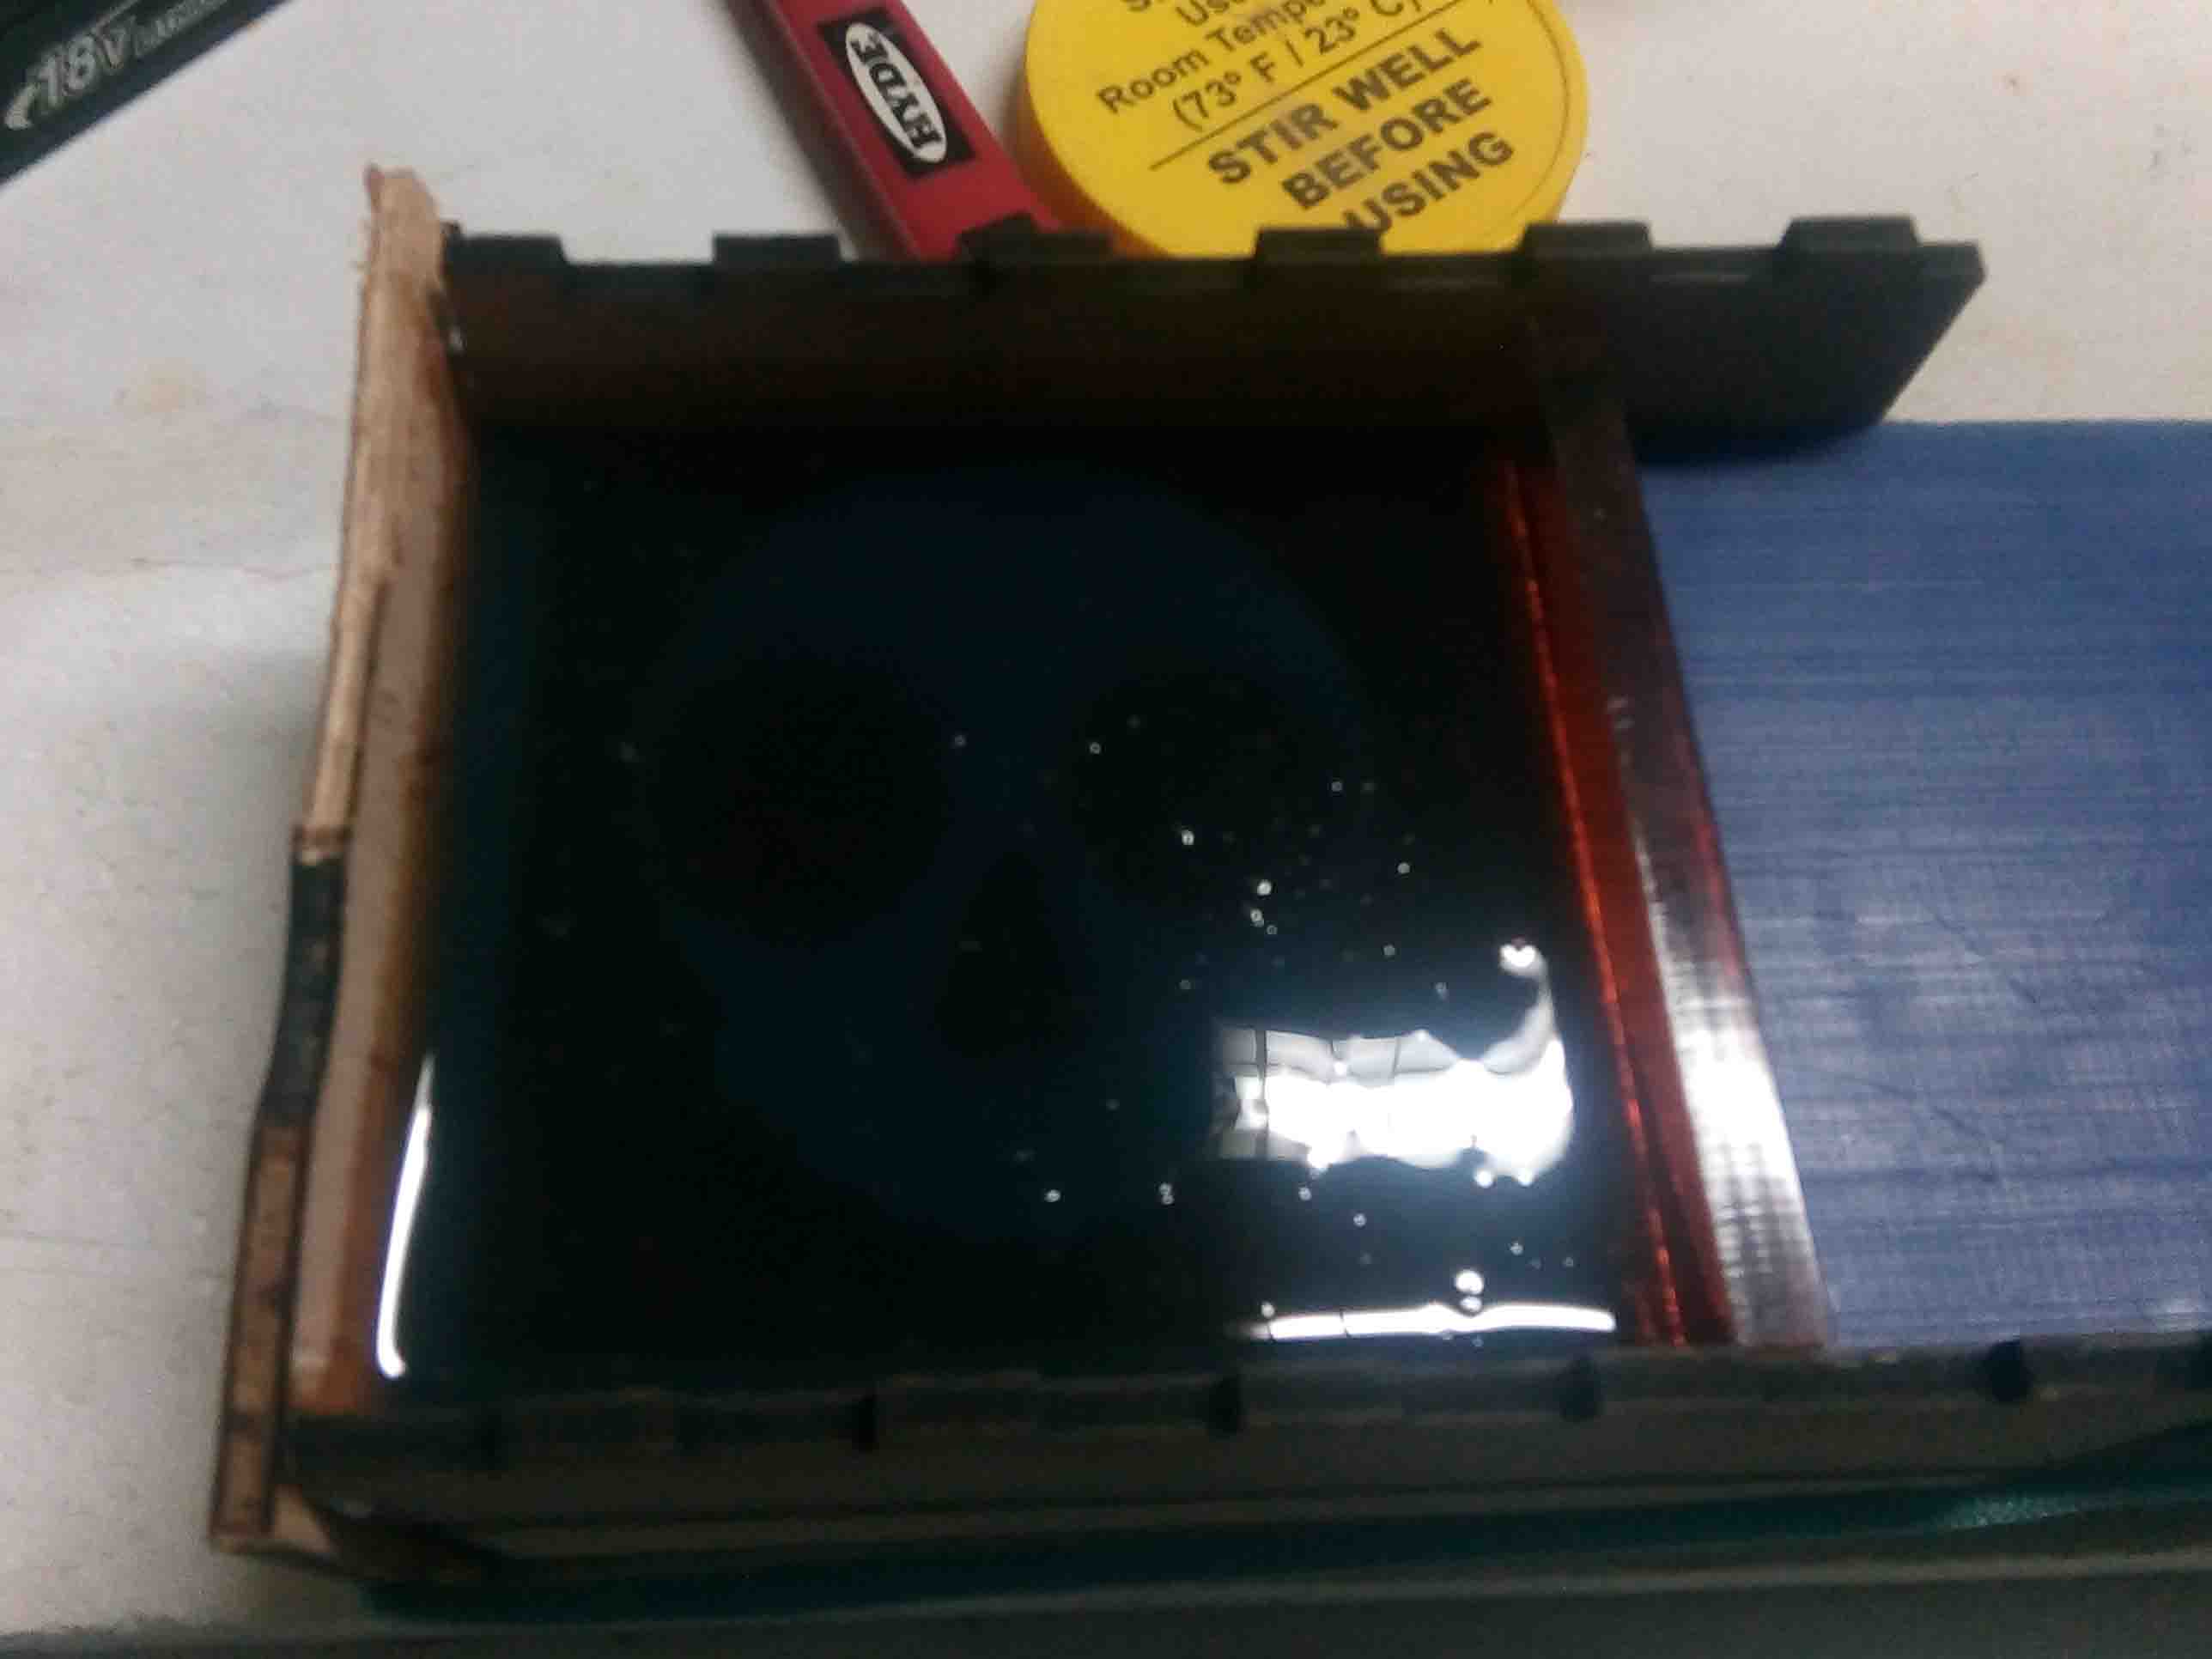
Pour the resin into the mold..
Tap it to the ground so that the air bubbles come up. Wait for 6 hour in order to set the resins.
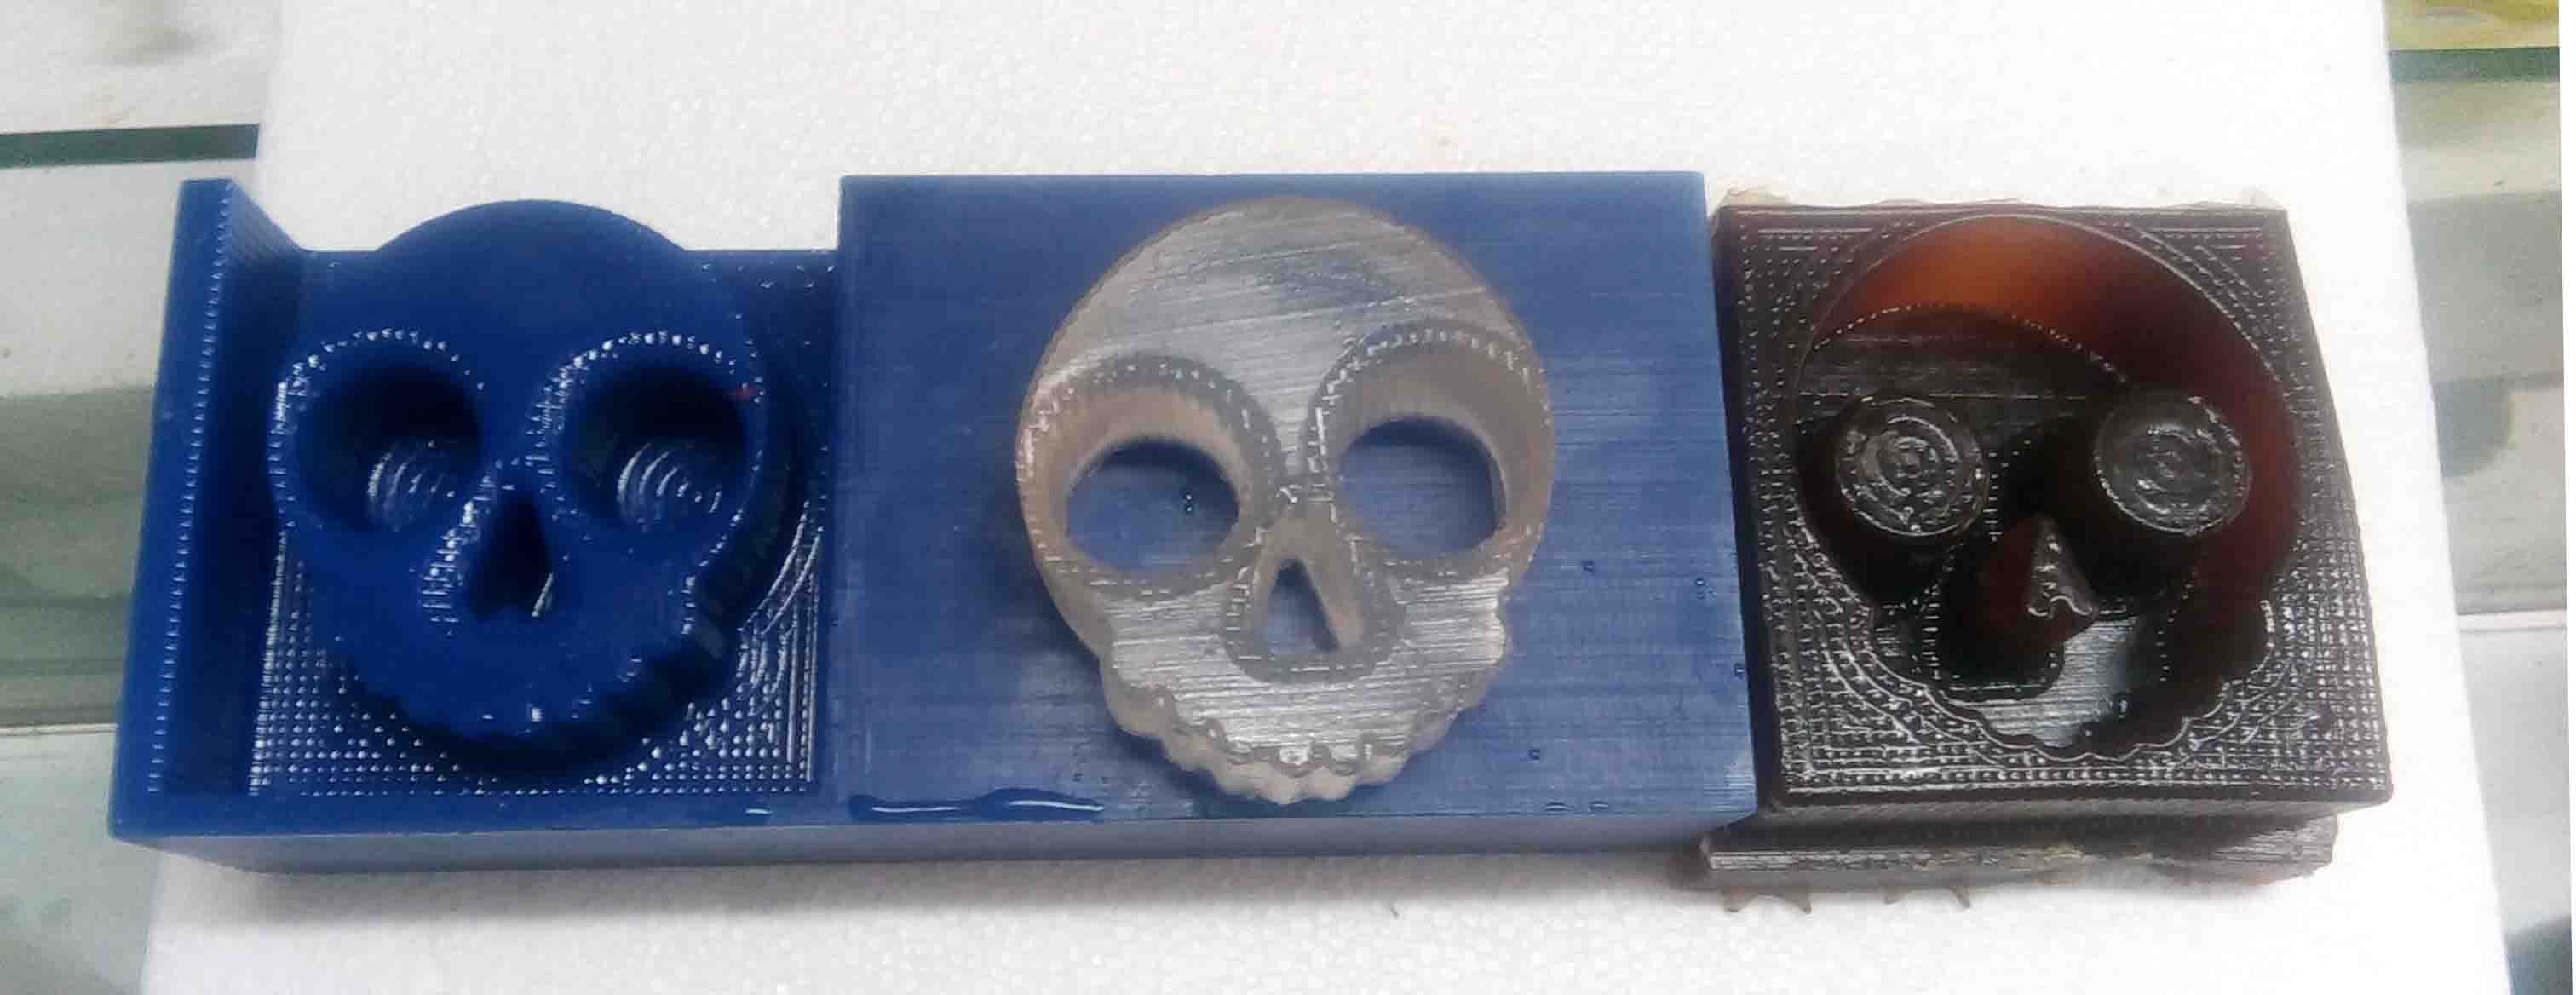
Please care full while you design you design. Because it can be very trick when it comes to mold. So after waiting for about 6 hours the mold is ready to use. Remove the negetive mold from the wax mold.
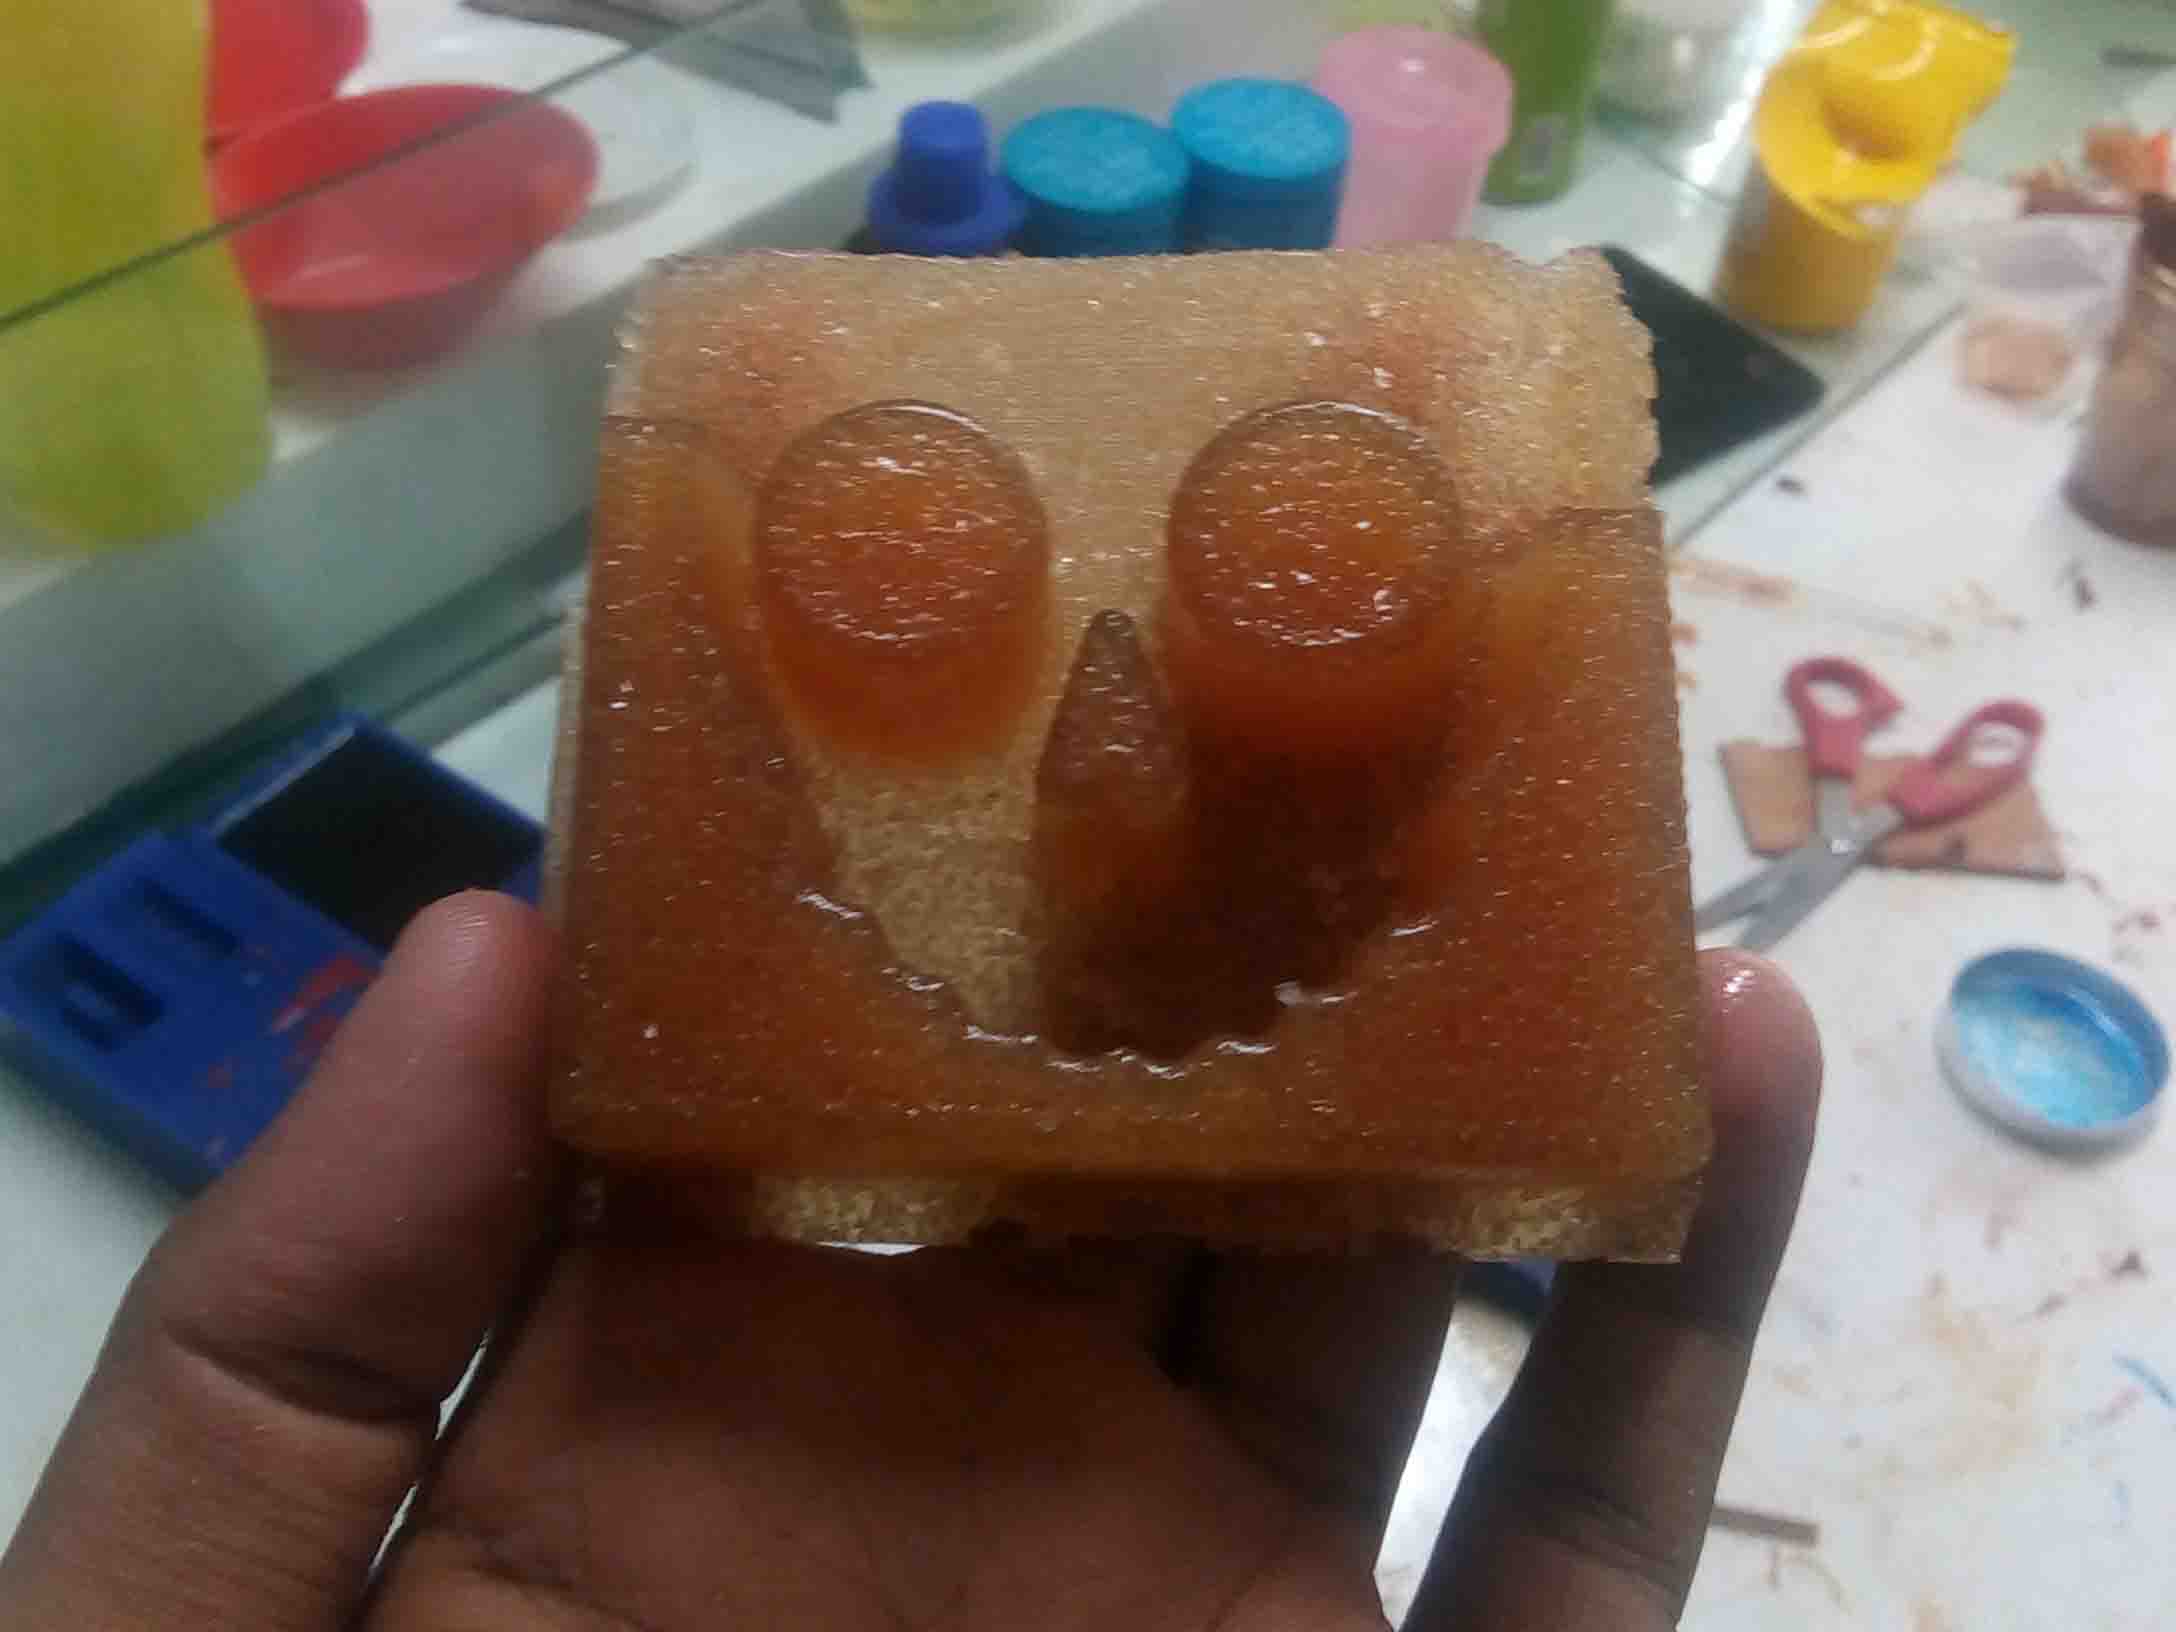
The first atempt was a failure. The ratio I mixed the molding resin was wrong and I got an in-complete mold. So tried again with correct ratio. this tome I got it correct
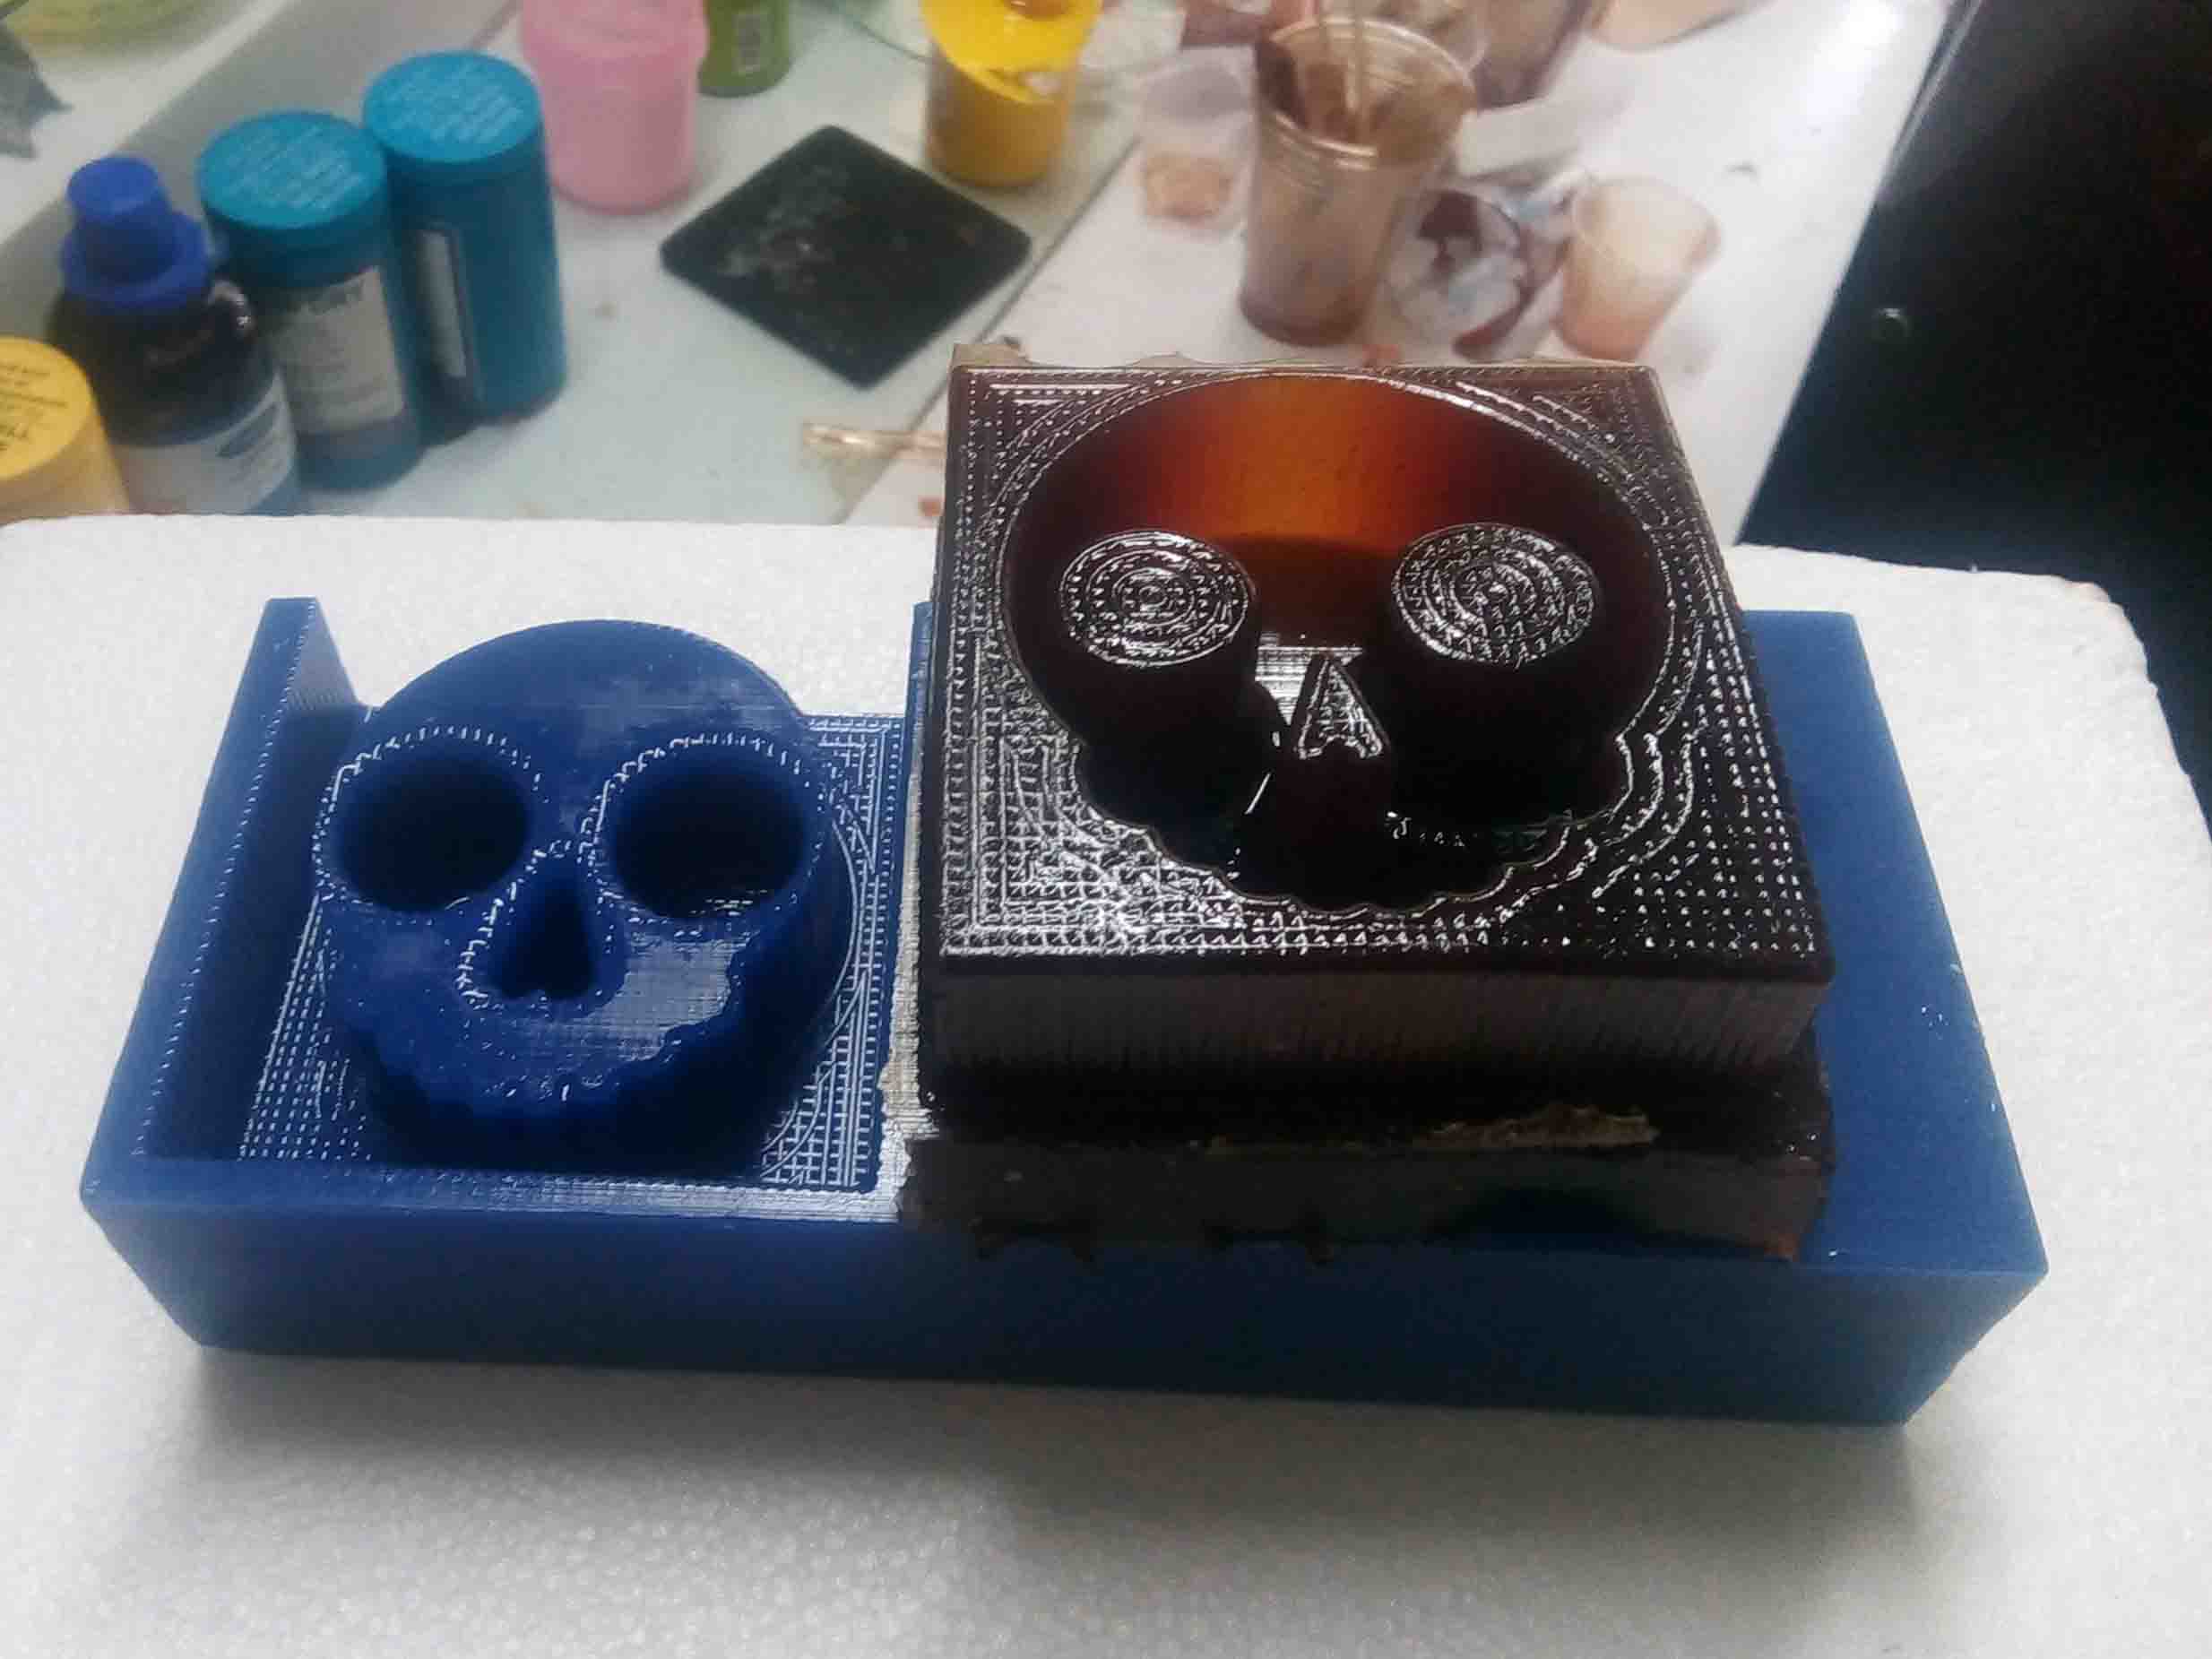
Now I need to cast the oringinal shape..
Casting
So we are goint to cast the shape of our "Ghost". For that I took Easy cast epoxy resin
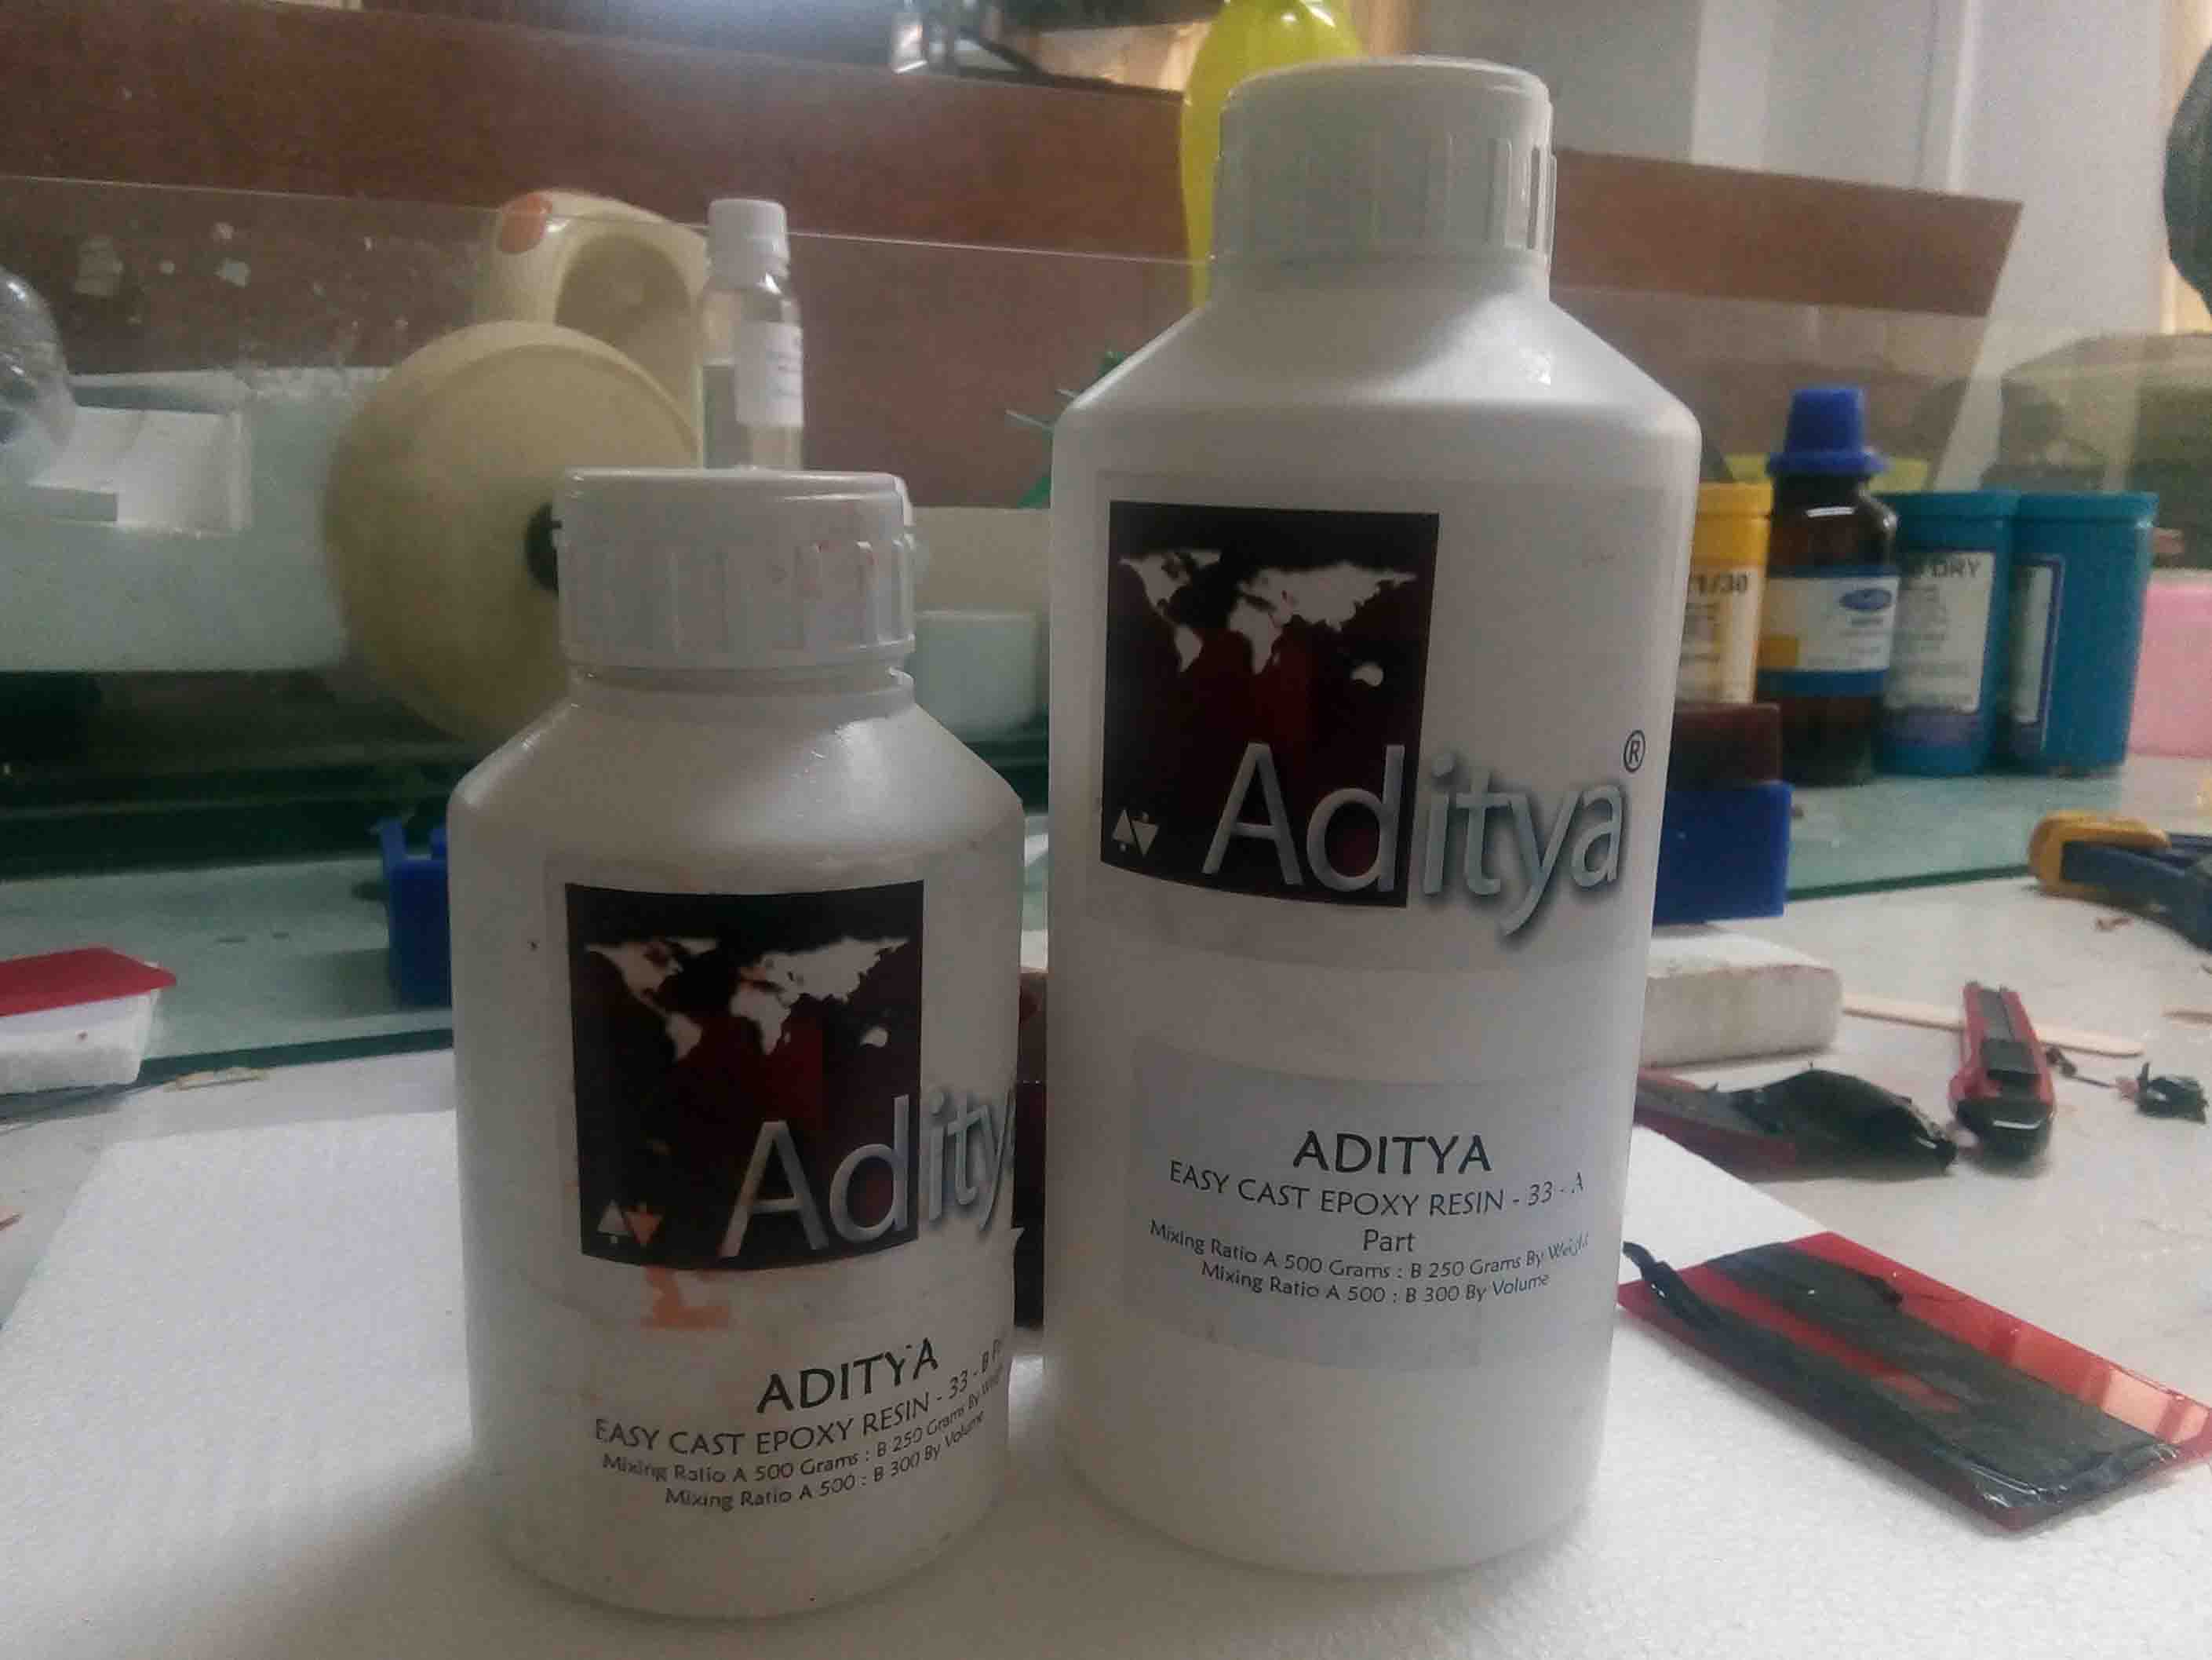
It also have a mixing ratio in which we have to mix the resins. It specifically said that the ratio is 2:1 accoring to grams. So first I look some water in the mold and weight it on the weing machine.
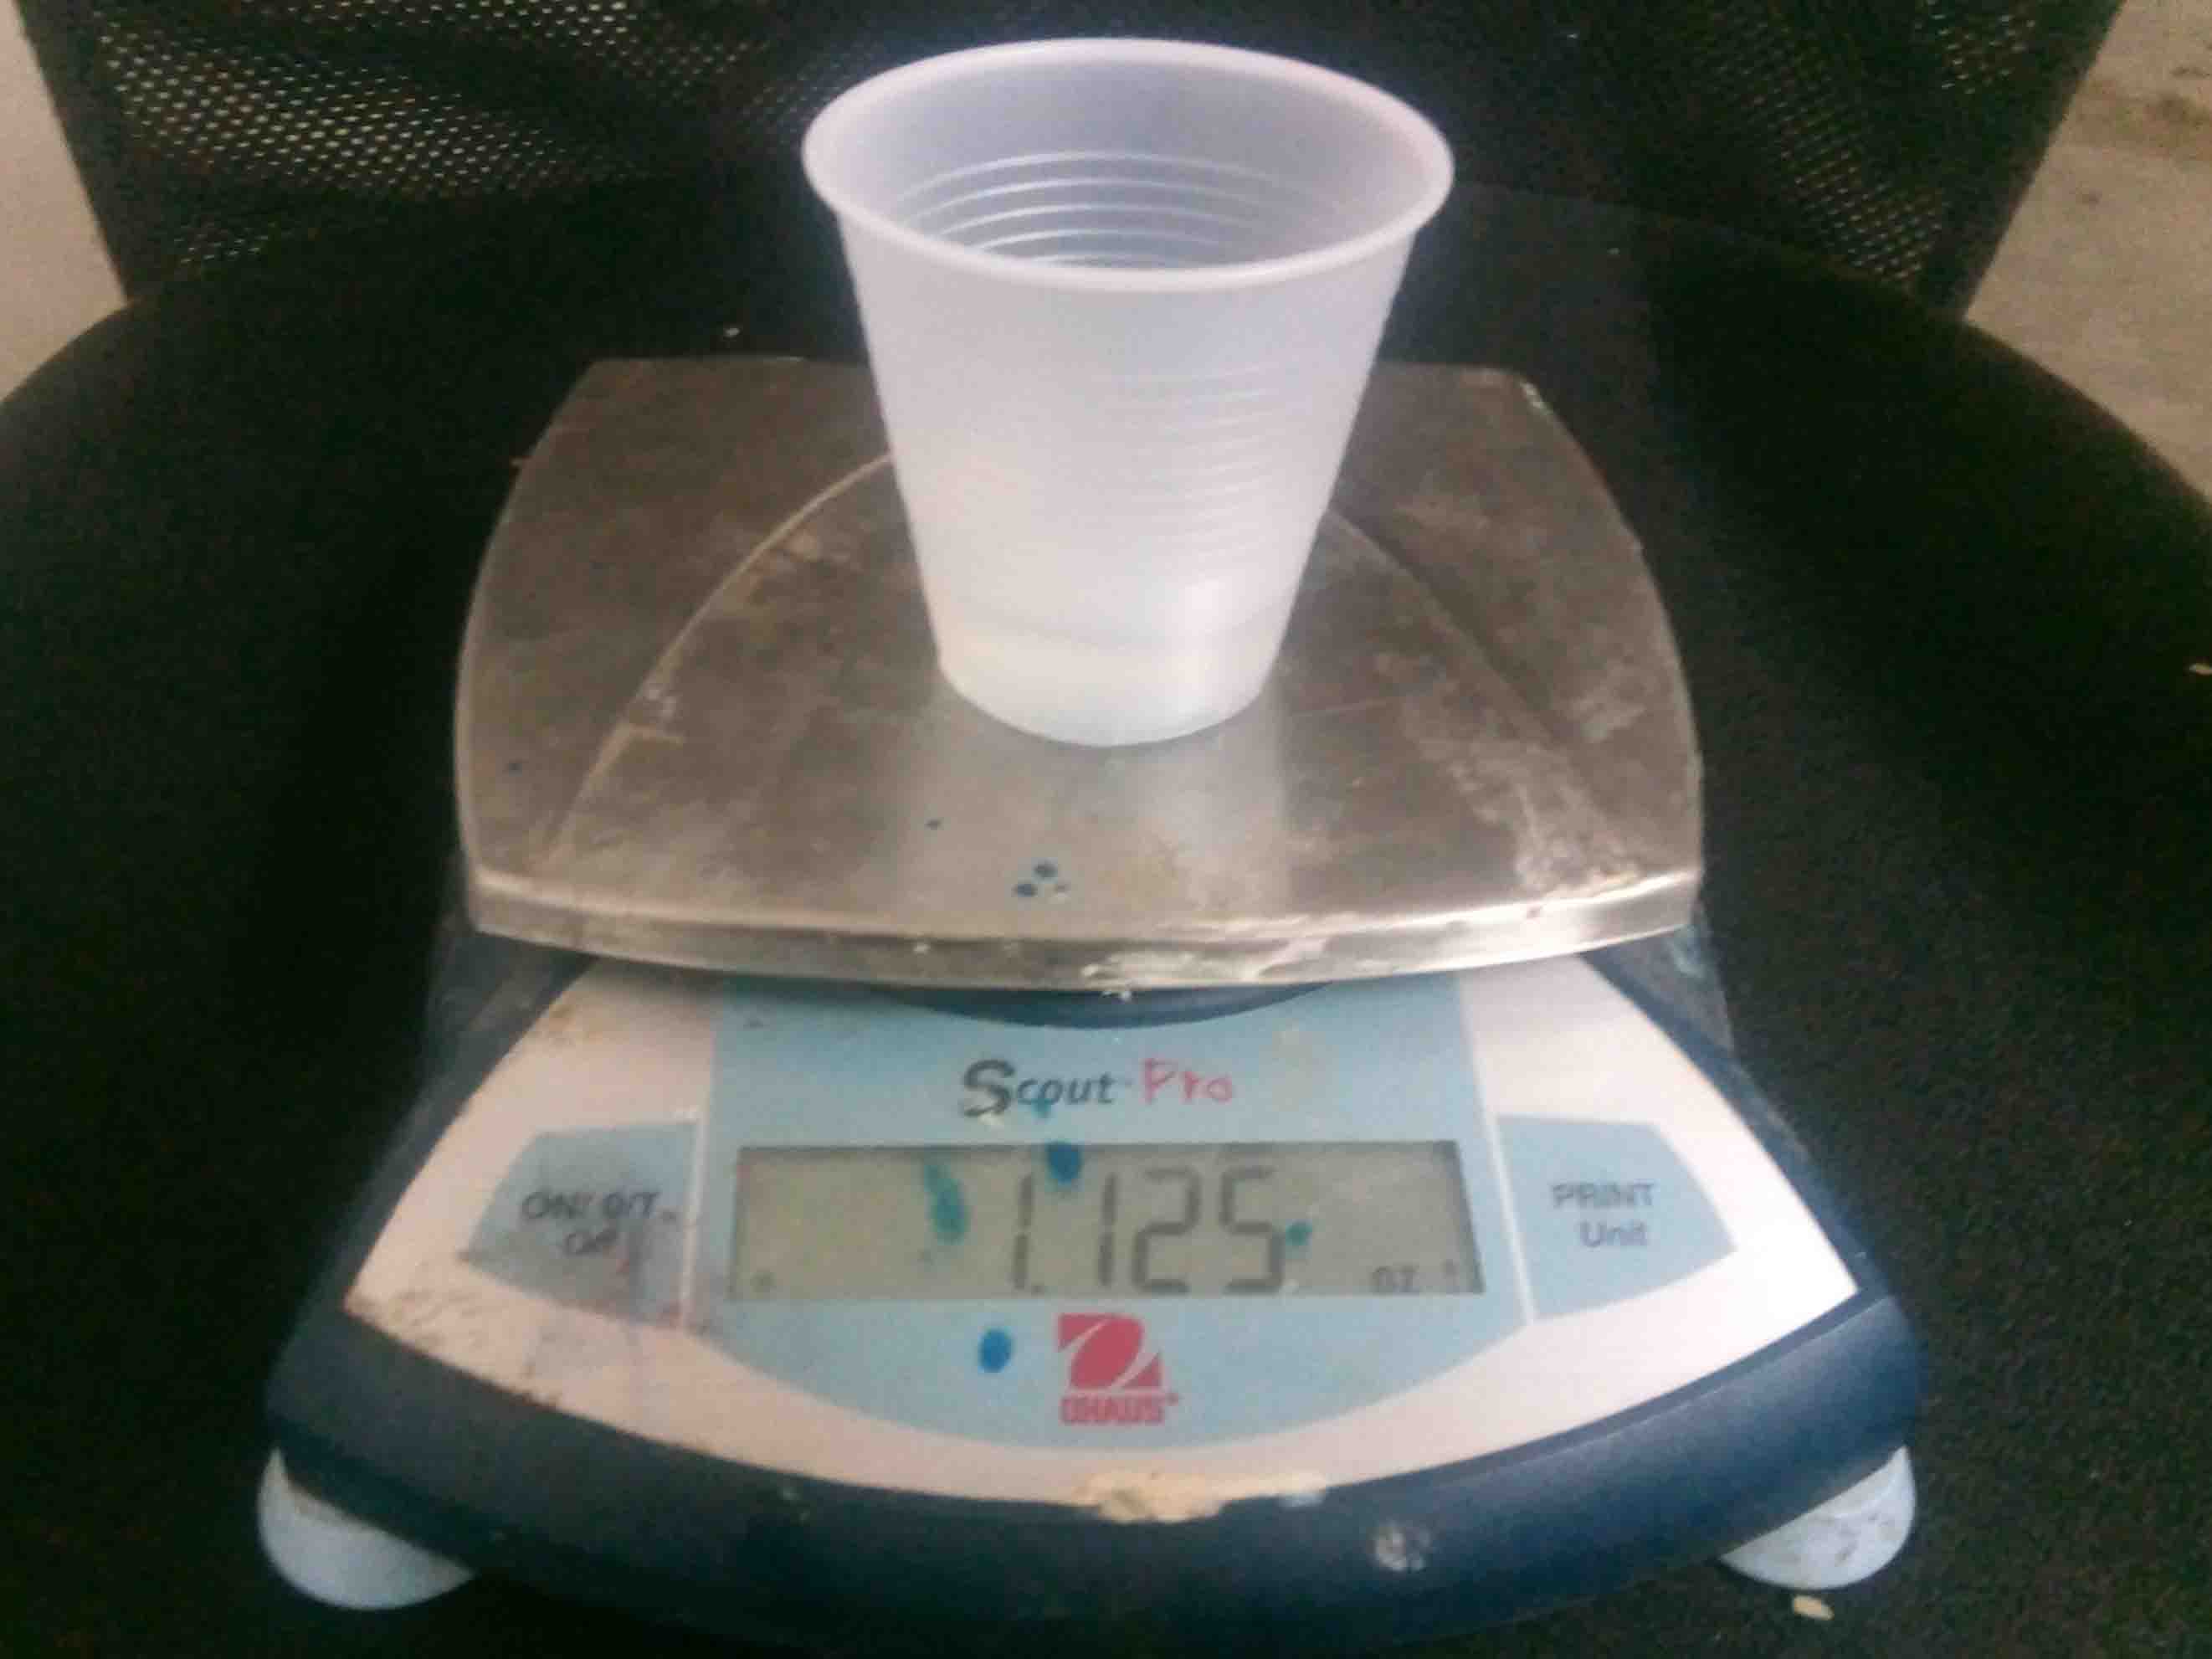
After that I accuratly measure the required resin. I took some more than actual weight...
I mix both parts and stir it using a stick
Now it is mixed very well. Now pour it into the mold that created before (Ghost mold).
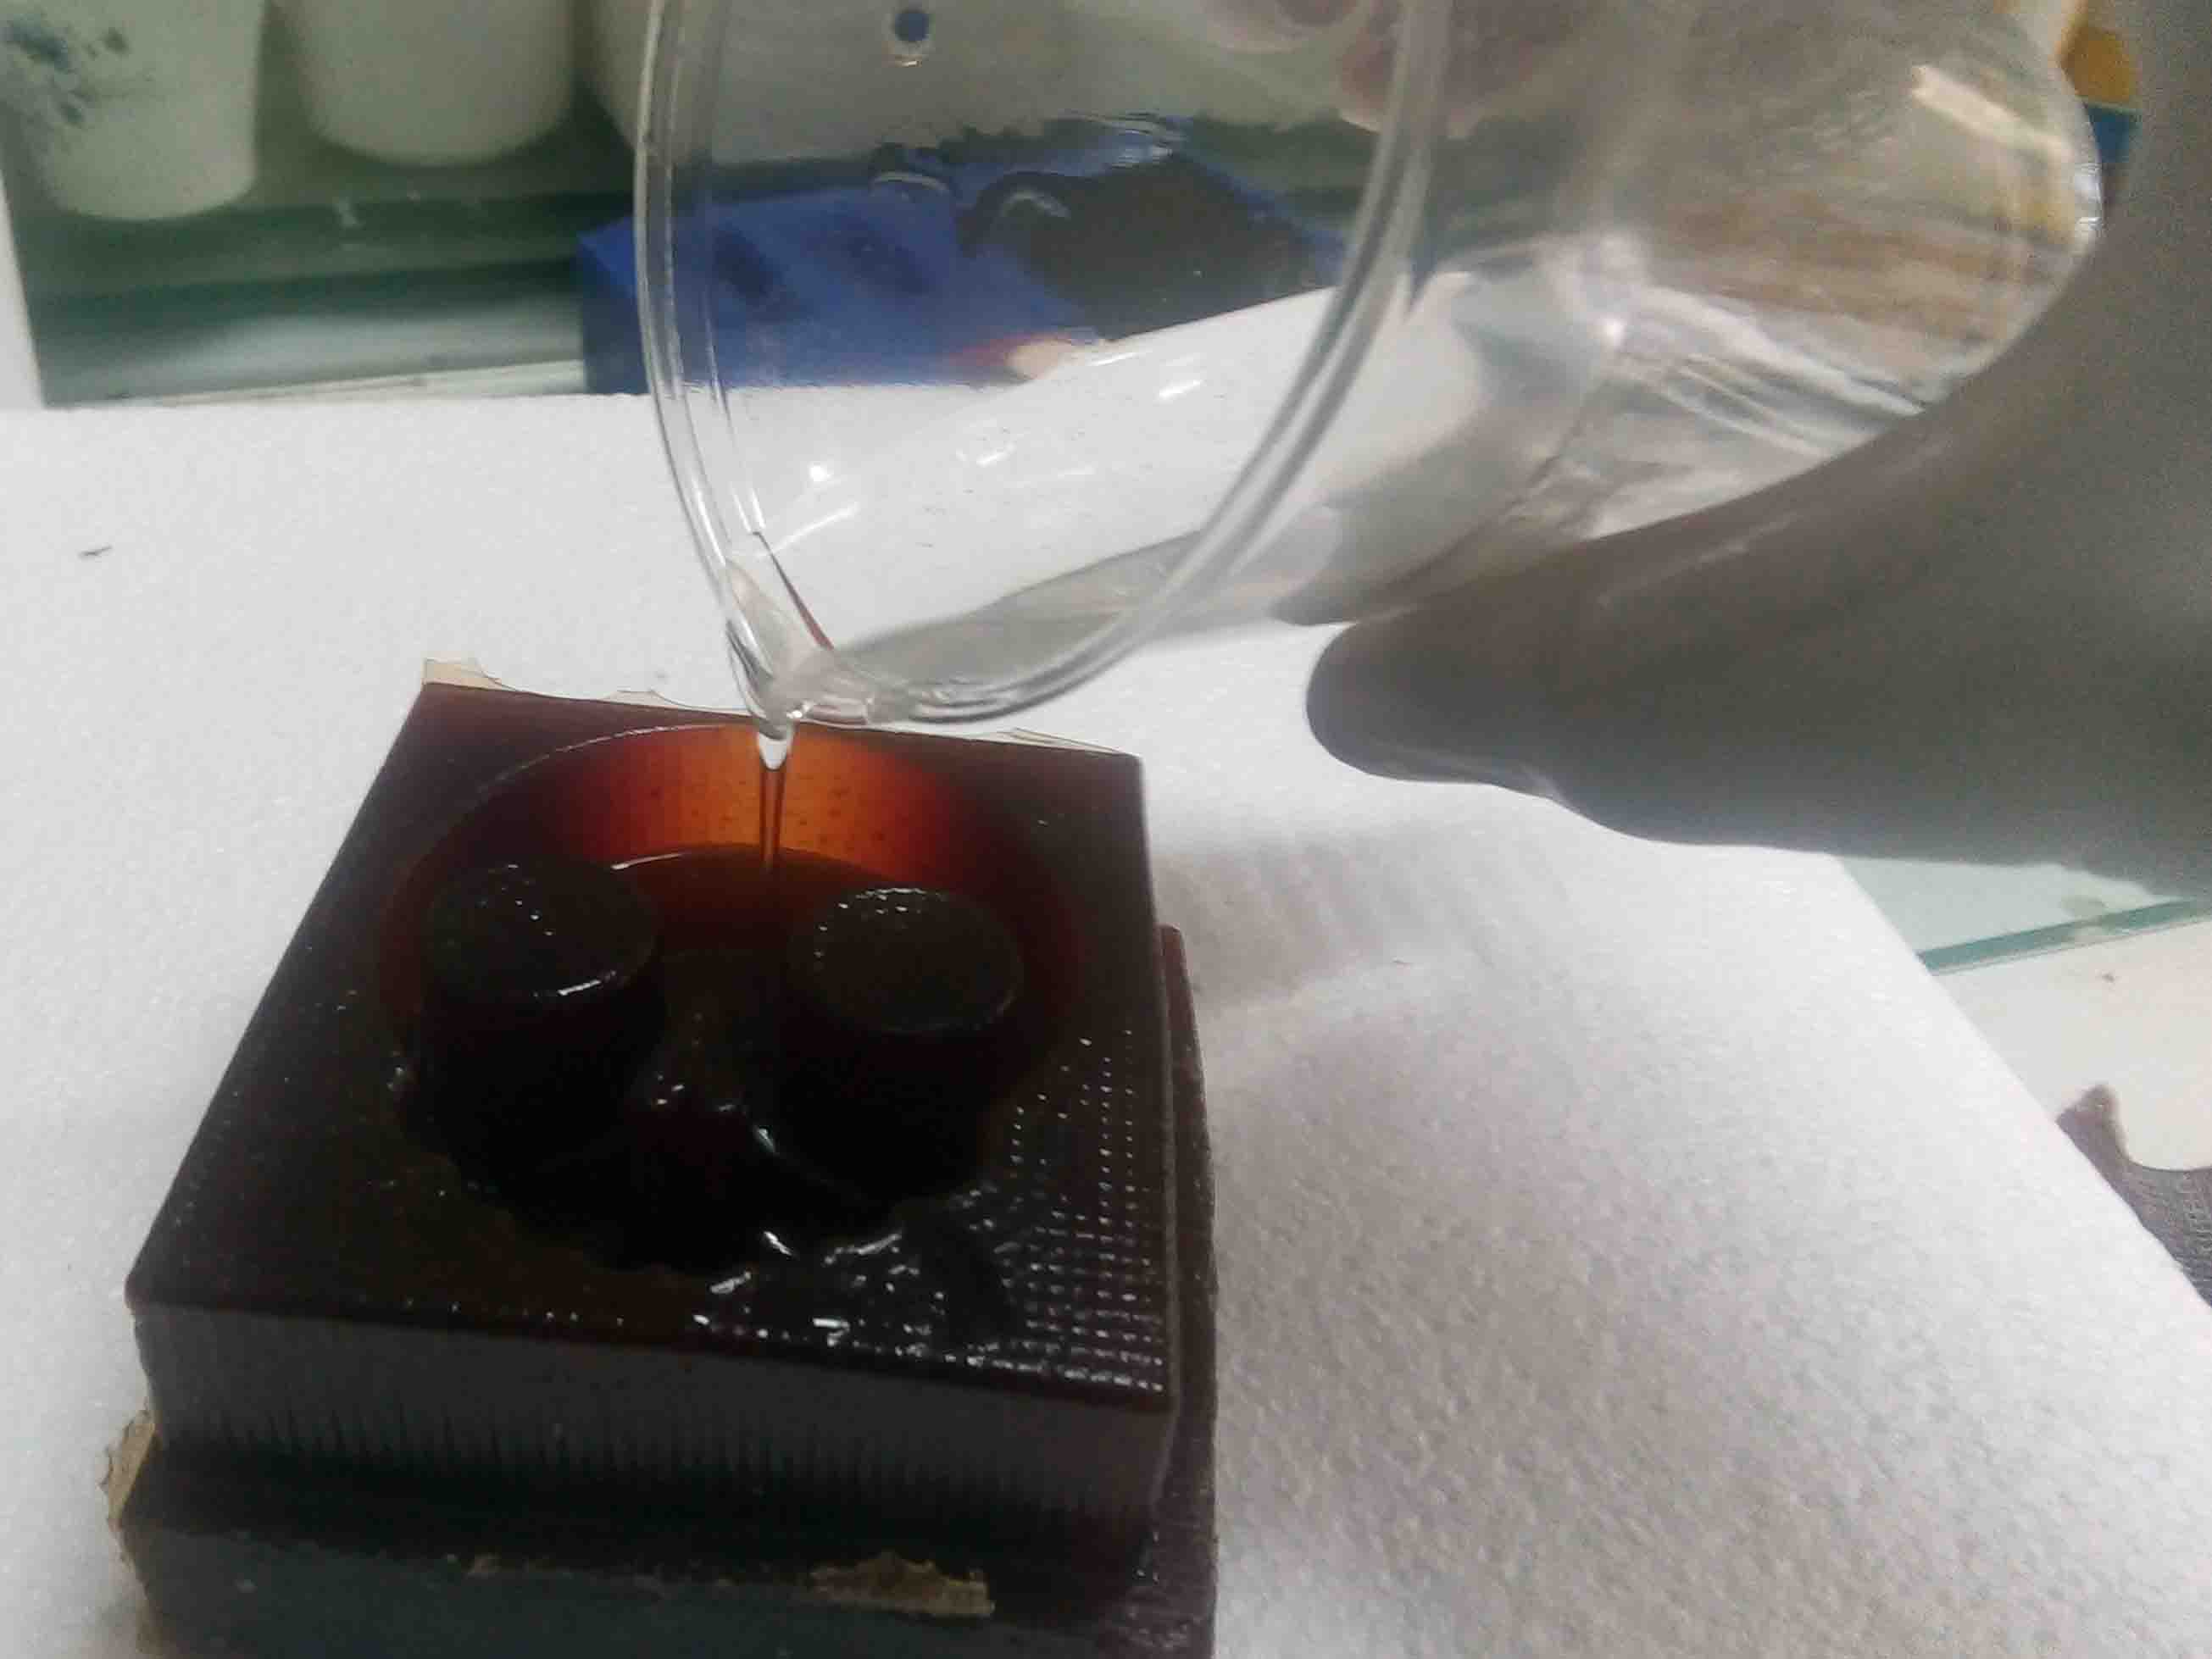
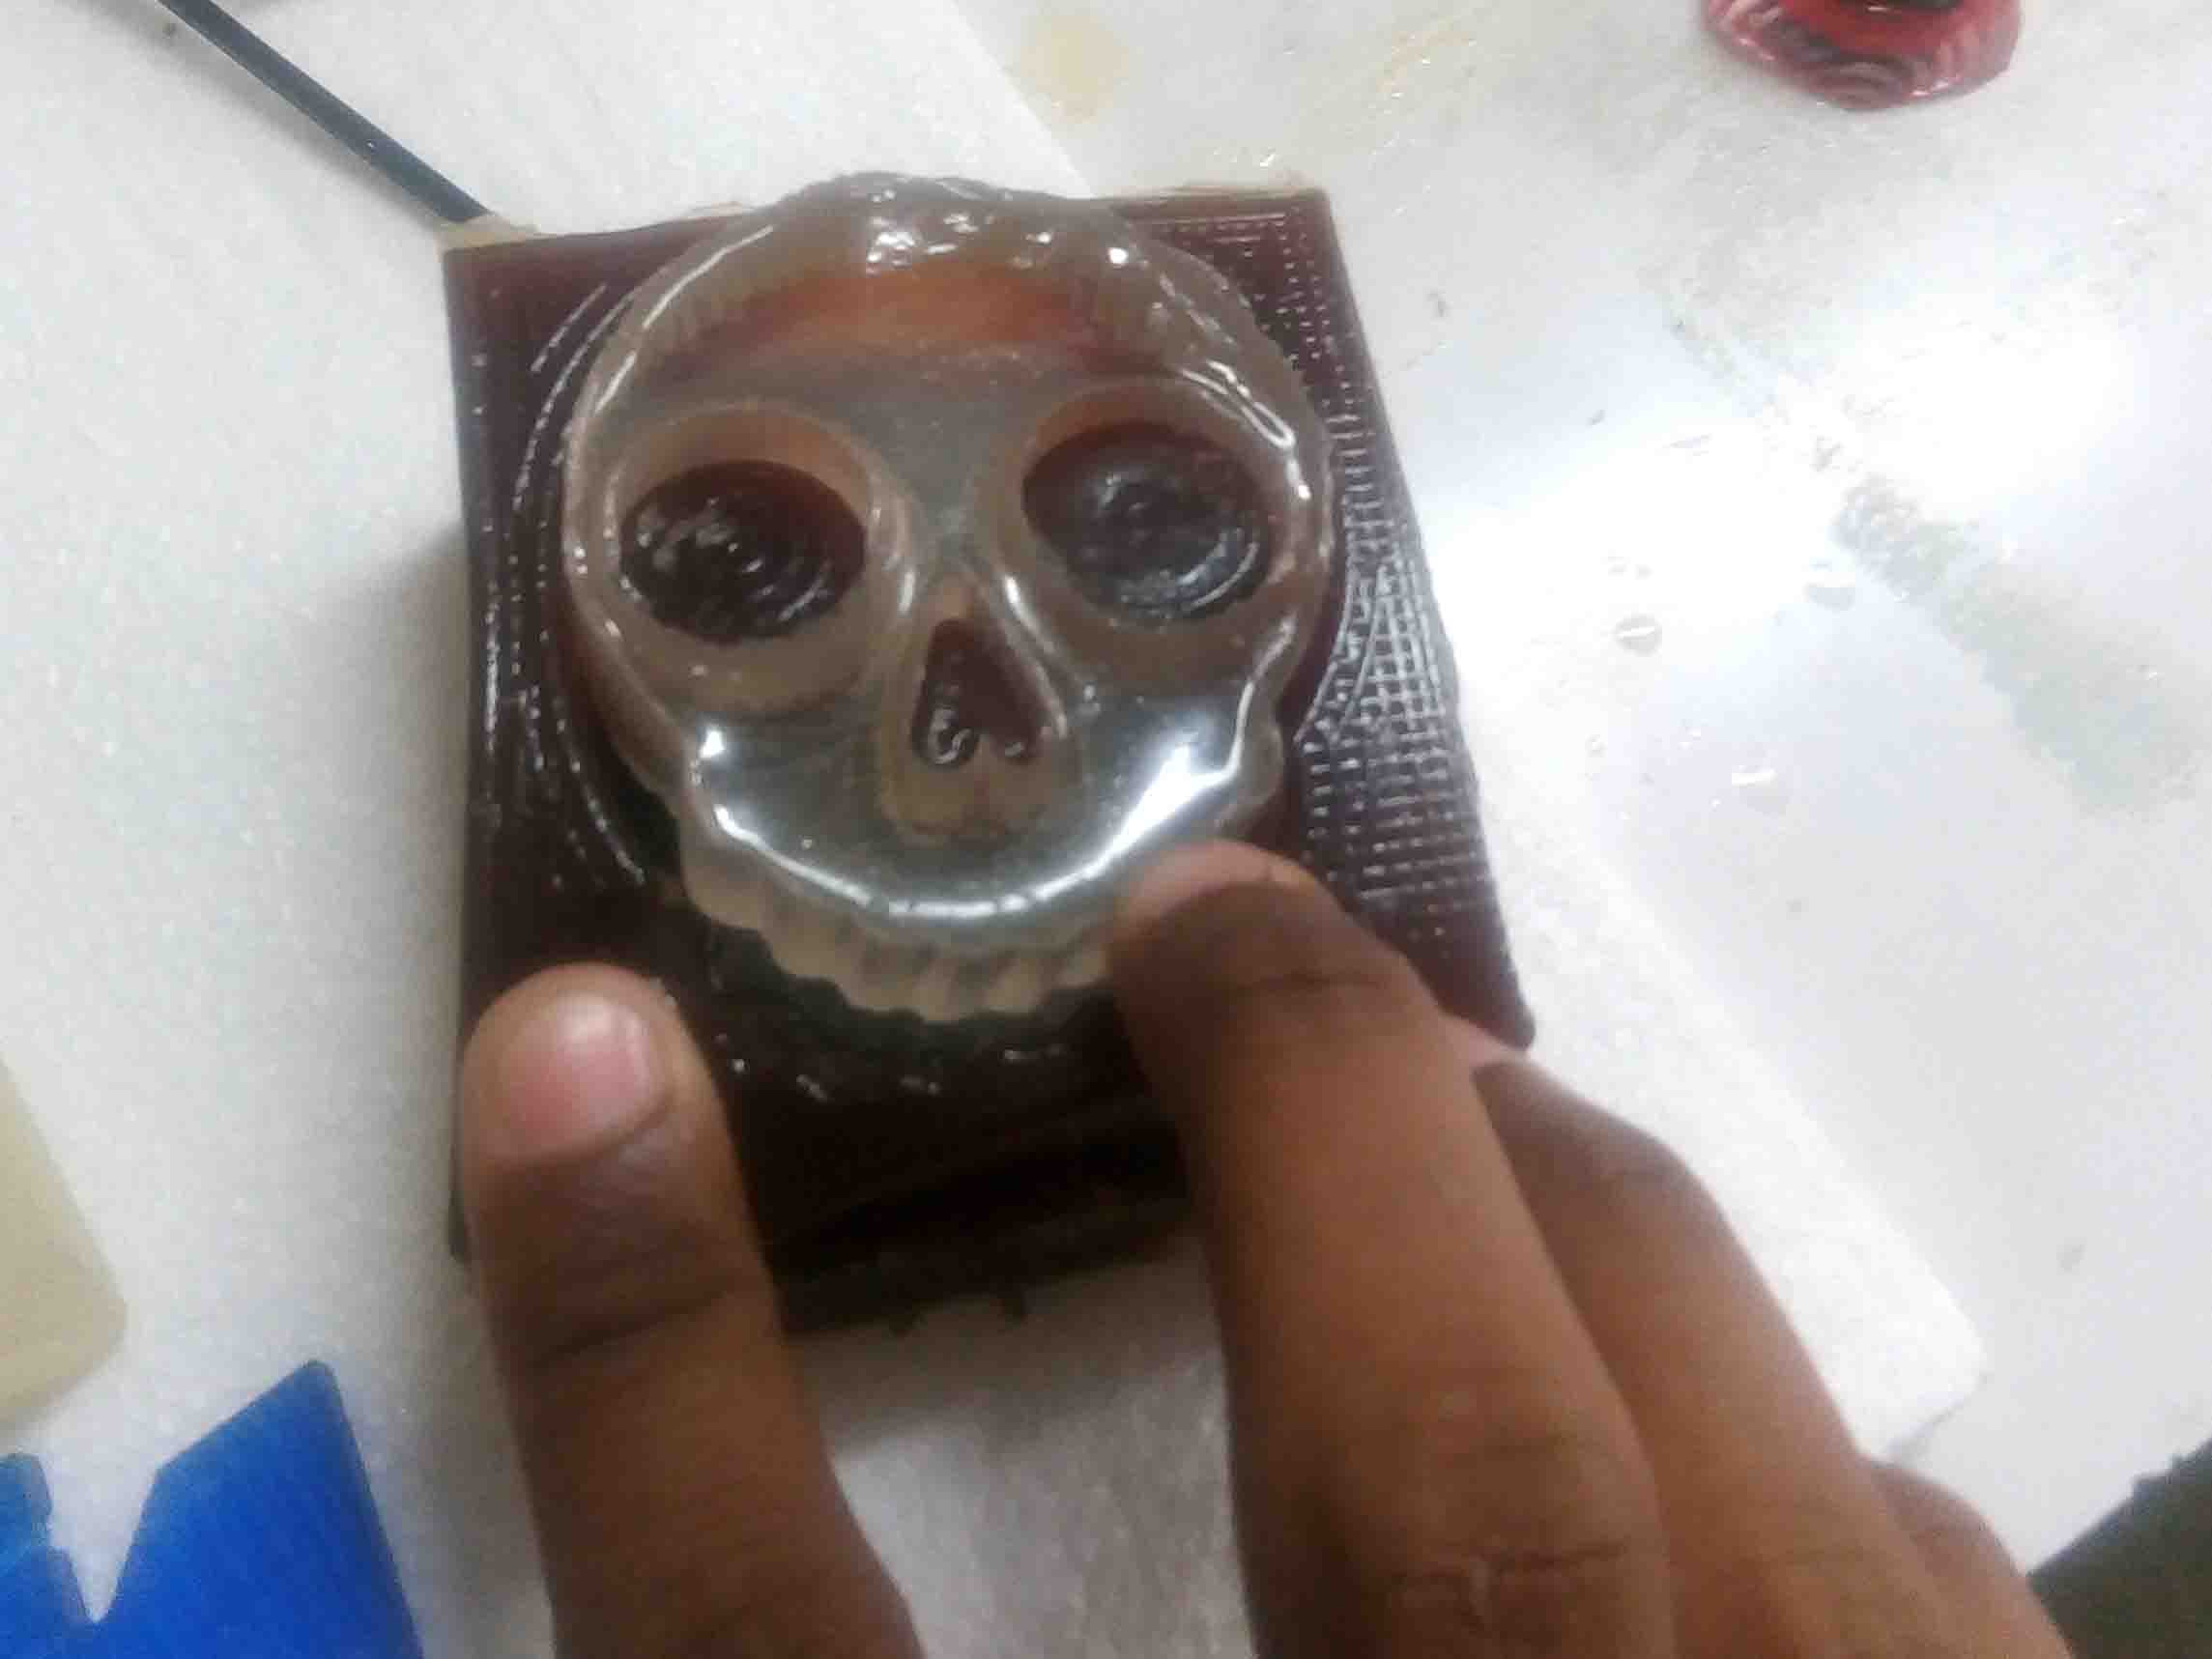
Now wait it to settle down and cure. Accoring to datasheet it will take about 6 hours to get cure. But it took almost 12 hour to hardendown to the solid piece. Afer curing, I gently remove the part from the mold.
Hero Shot
Suggestions
Suggestions
Group Assignment
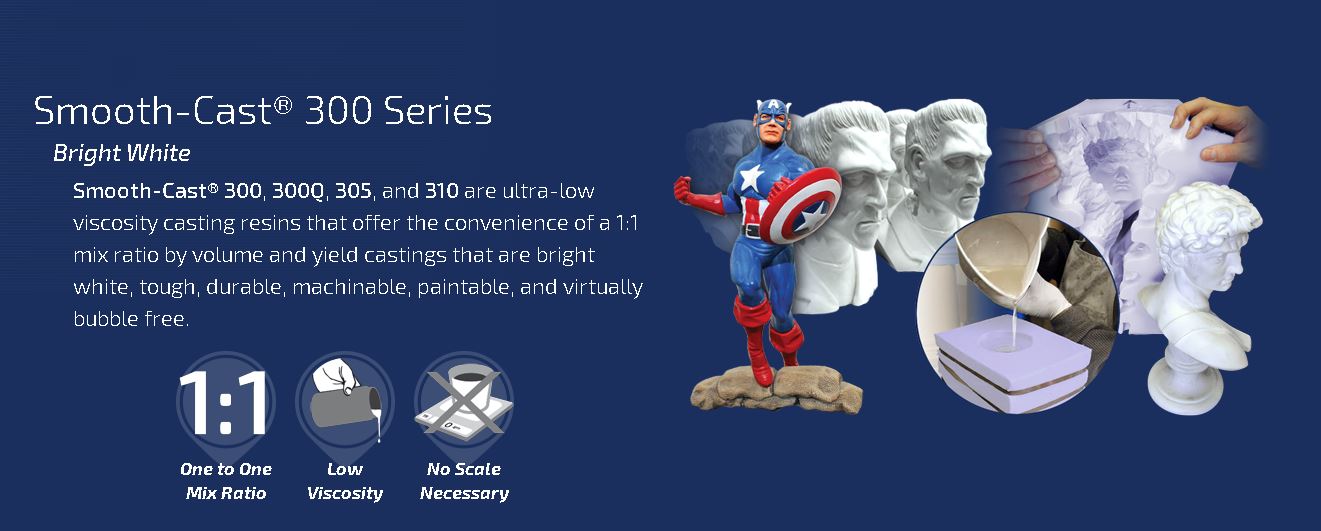
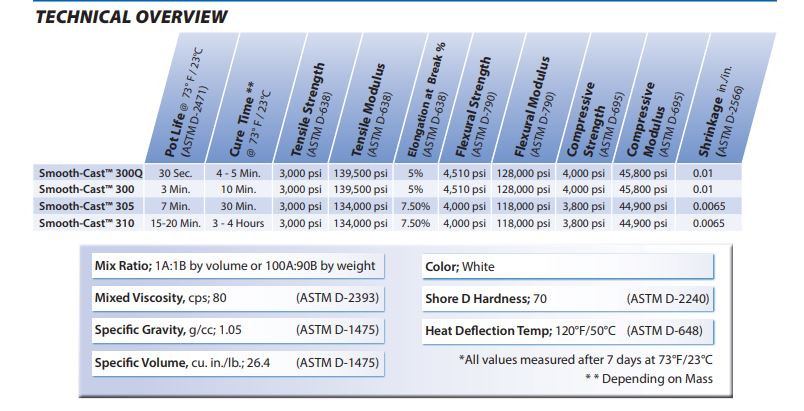
Smooth Cast
The Smooth-Cast™ 300 Series of liquid plastics are ultra-low viscosity casting resins that yield castings that are bright white and virtually bubble free. Vacuum degassing is not necessary. They offer the convenience of a 1A:1B by volume or 100A:90B by weight mix ratio. The differences between them are pot life and demold time
Instructions
(Source:https://www.smooth-on.com/products/smooth-cast-300/)
The material safety data sheet you find Here
Casting Resin
For casting we are using Aditya Easy Cast Transparent Epoxy Resin - 33-750gm. It is very easy to use.
Description
Aditya Transparent Epoxy Resin is specially created for embedding and making small statue's casting. Ratio in Grams not ml....A Part 100 grams : B Part 50 Grams