Group Assignment: Send a message between two projects
As a group assignment this week we used HC05 bluottoth module, connected it to atinny44. We then communicated with two slaves (slave 2 was atinny 44 with address 27 and slave 1 was atinny45 with address 26) making 328p the master. Hence led blinking every for one mili second shows the reception of data. Data here is just 0 and 1, and so led will just blink for 100ms. Connection can be seen below.
Next we used terminal as to see data received..

Below attached video illustrates working network. Note: Led on breadboard is attached to slave atinny45 as it did't have any builtin led.
Individual Assignment: Design, build, and connect wired or wireless node(s) with network or bus addresses
This week as an individual assignment i took an esp board already made and modified it, connected it to a wifi network and communicated over wifi.I took foollowing schematic.
 I strated with modifying routing/traces and this is what i ended up with..
 So once i had eagle/design files ready i had make them machinable, to do so i went to fabmodules.org as always and generated rml files..
 Soldered the board and i had it ready as follwoing..
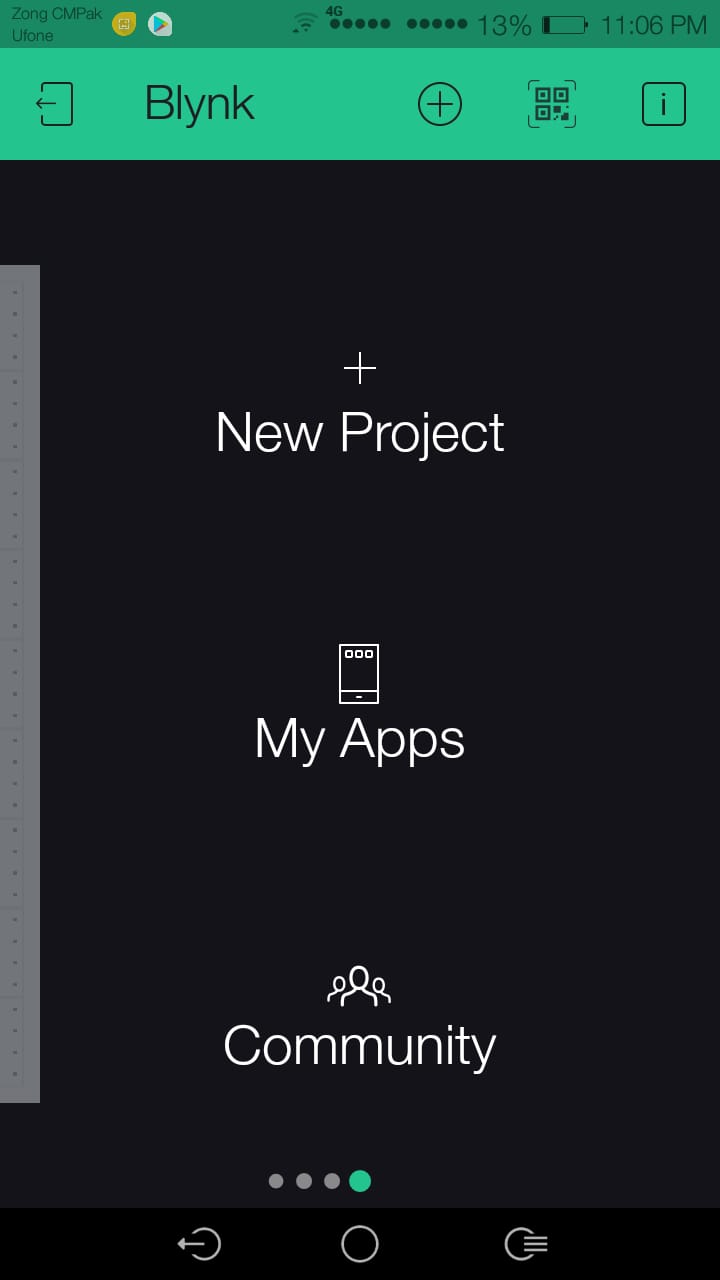
 After milling the ESP board, next as i wanted to use blynk app as the interface to my board so i found a tutorial mentioned below.. Before going to tutorial i wanted to have interface, so i made it in application week as following. i must tell you how to create a project in blynk. First let's create a project as following. As you install/open blynk you see the project screen. Simply by clicking new project you initate the new project.
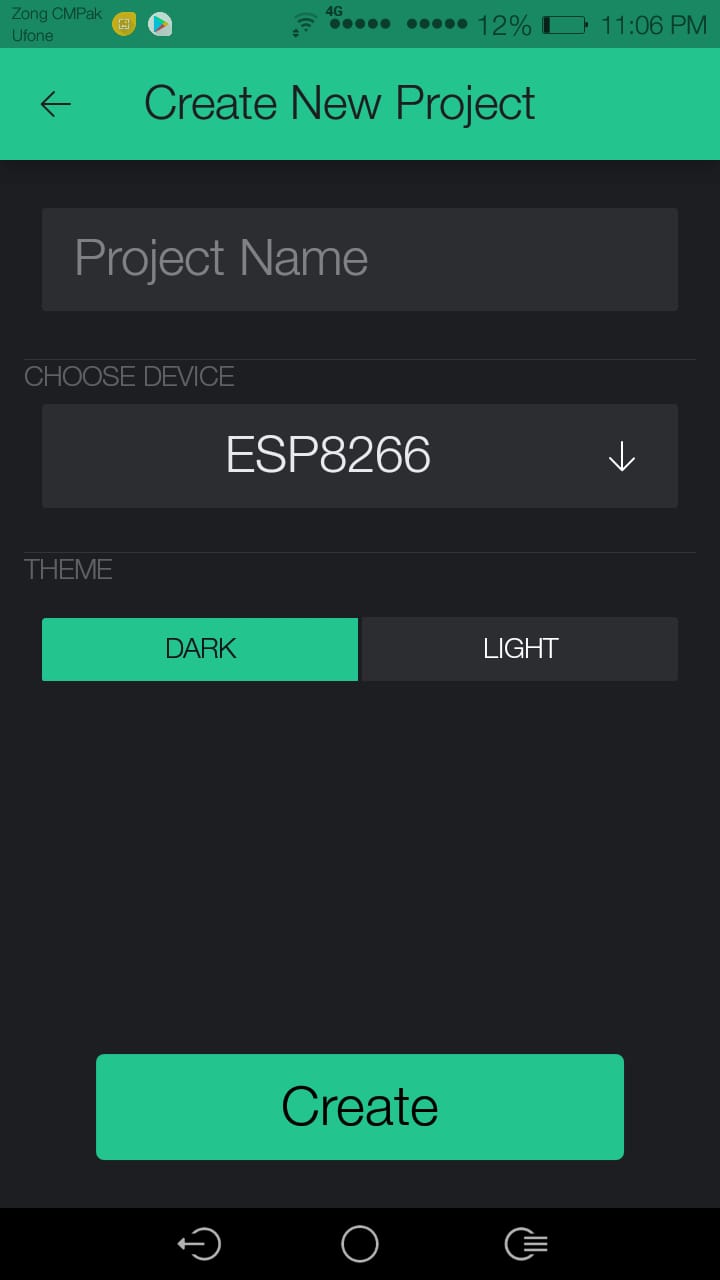
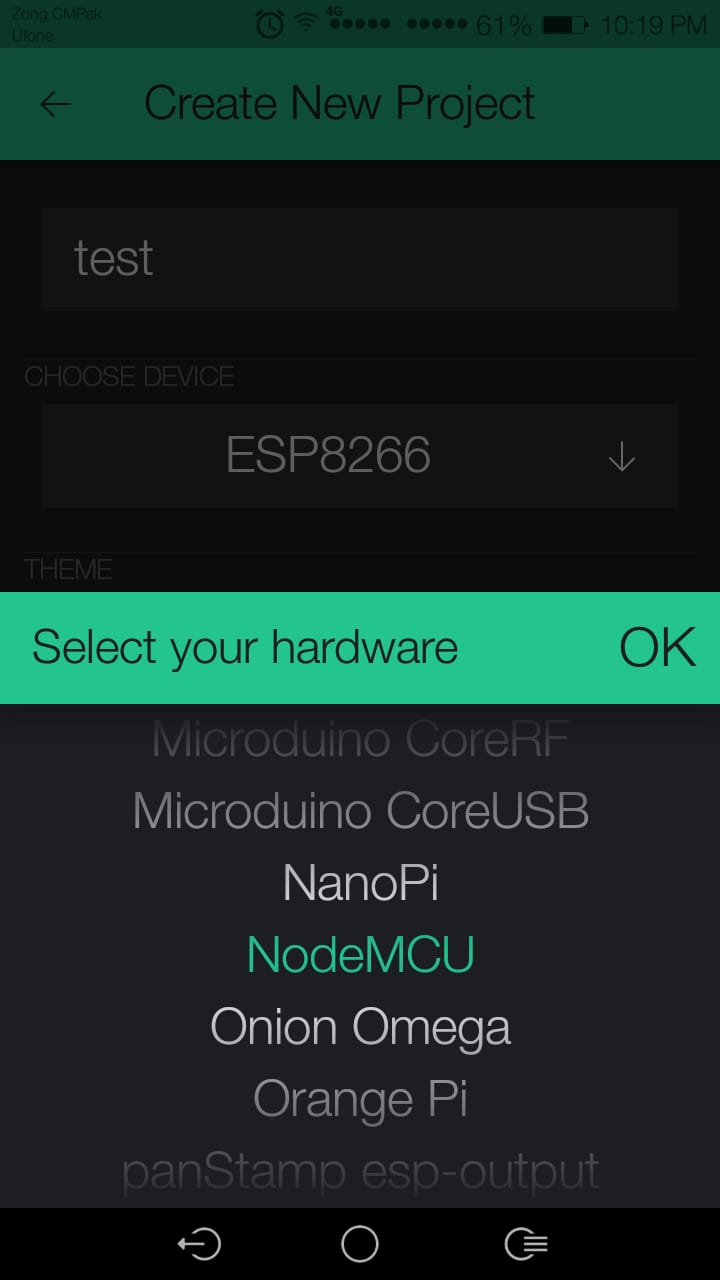
 This prompts a new tab as following, asking you for your project name. As you mention it asks for device in use, as in my case it is node mcu so..
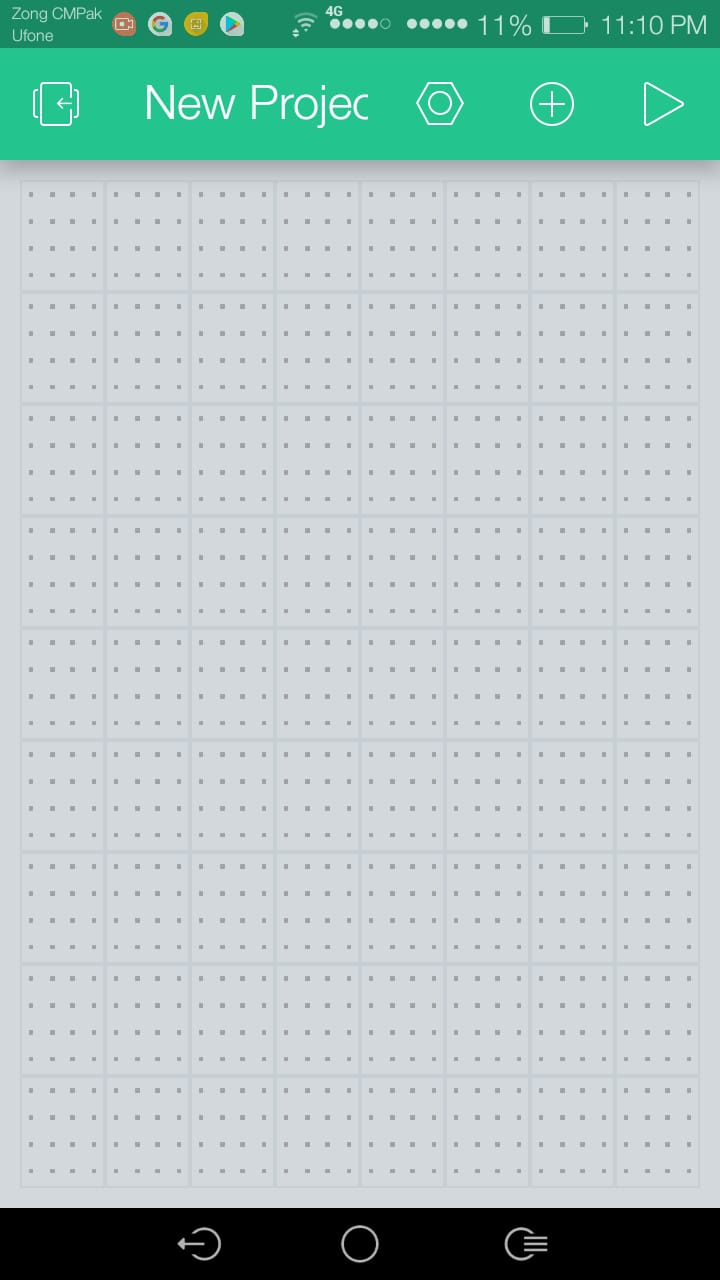
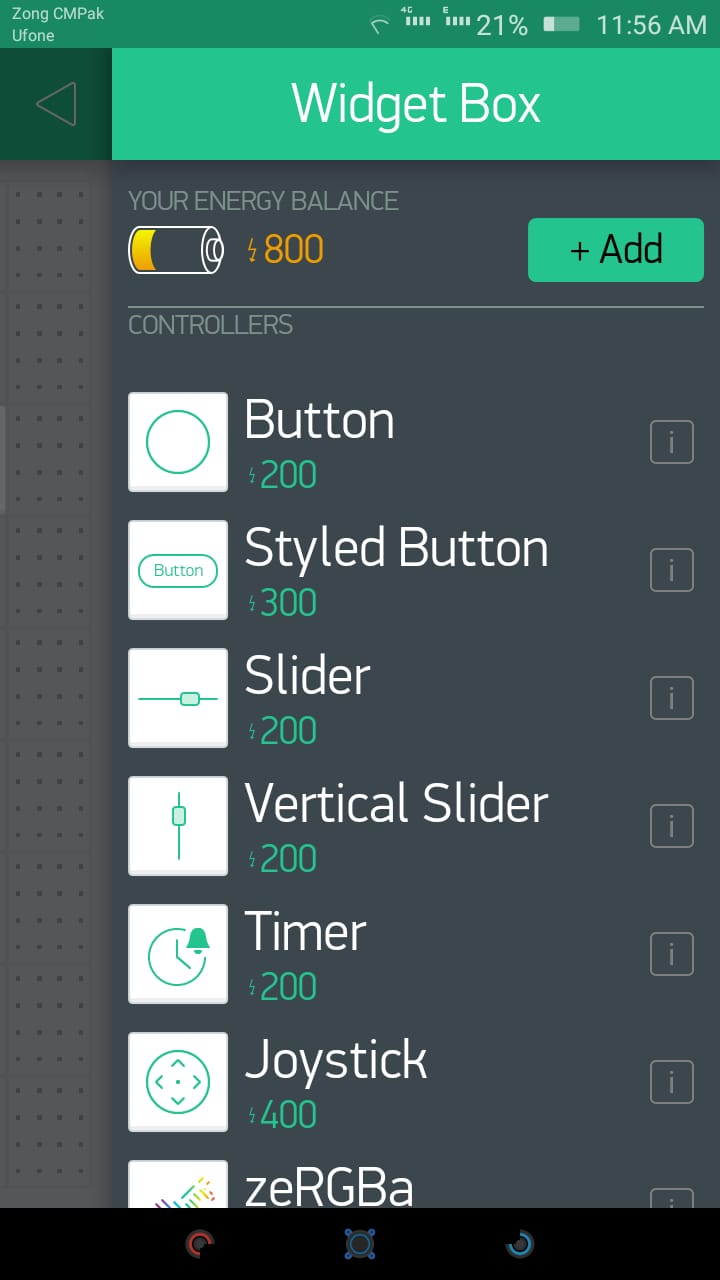
 Now you click on the "+" sign to add components
 That in my case was a button.. At the top.
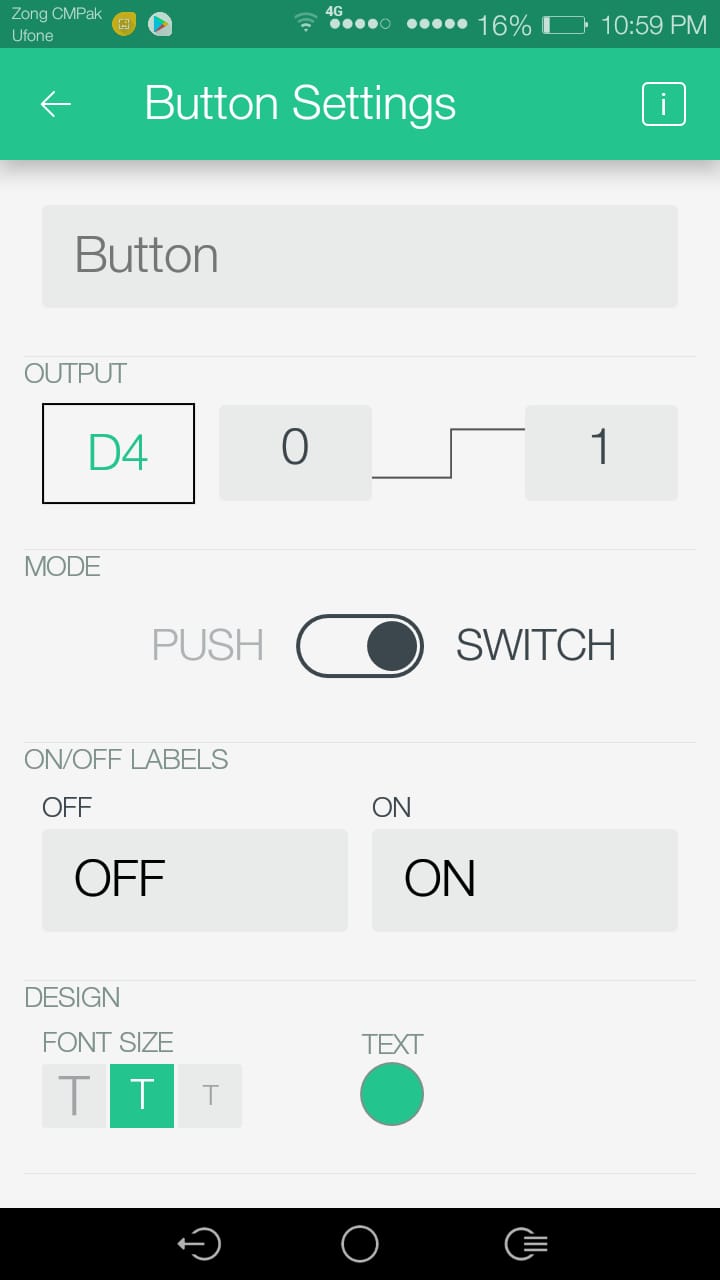
 Once we have it, Customize it as followiing.
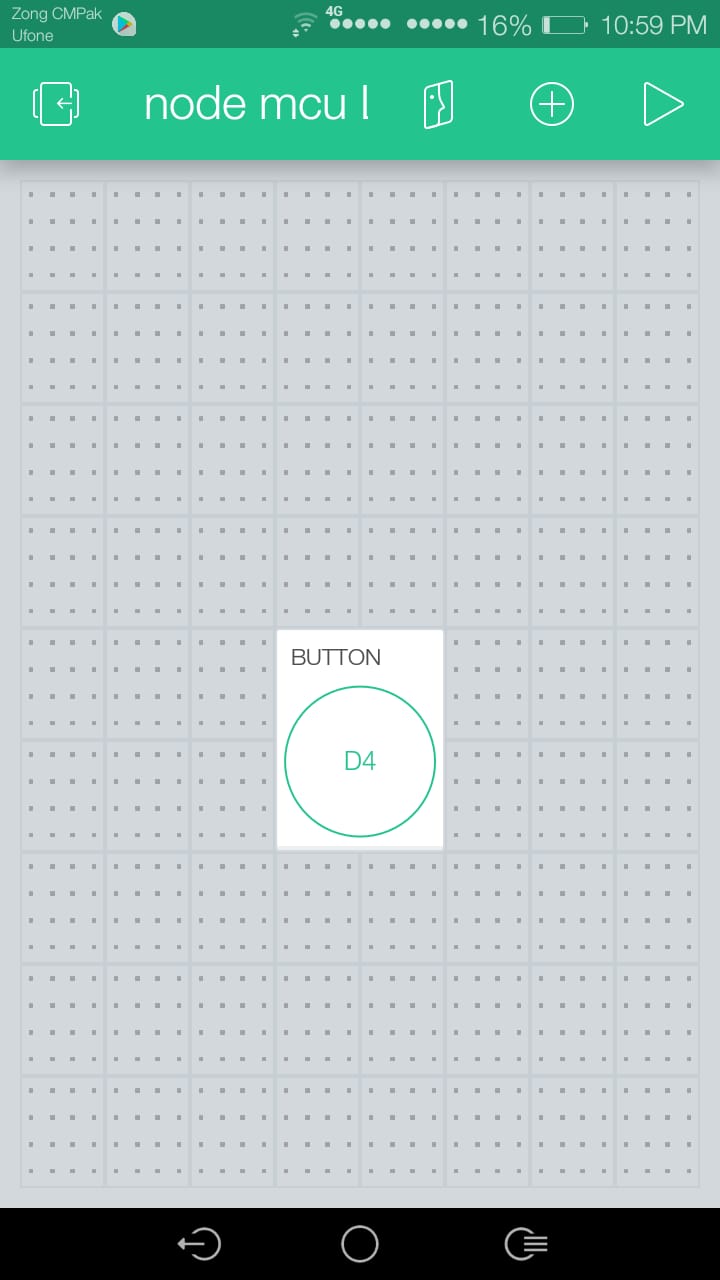
 so it looks as follwoing in the project.
now please follow this very simple and effective tutorial to proceed further..
Also if everything has been successful so far, and esp is connected/powered you will, you will be able to veridy if the device/espis online if it is you are good to go.. Just click on the button and that is it.

Here goes the output as i click on the button led turns on/off. Click here to get design files.. Happy networking! Click here group assignment files.

This work is licensed under a Creative Commons Attribution-ShareAlike 4.0 International License
Copyright © 2019 Azmat Hussain