"Our technologies have outpaced our ability, as a society, to understand them. Now we need to catch up." - Joi Ito
3D Scanning and Printing
3D Printing (in Yucatán)
In this assignment I was still in Yucatán, so what I did was to print some tests on the machines we had.
In Fab Lab Yucatán we have a Zortrax M200. I followed this tips on printing and as software I'm using Z-Suite 2 version 2.8.0.
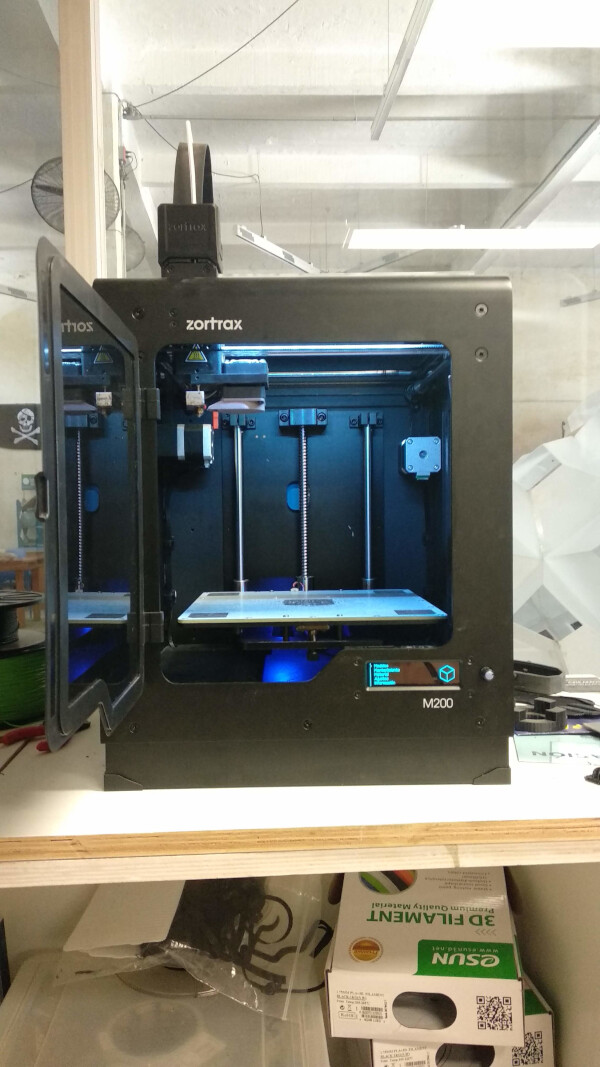
Printer Specs: Printing Area
Zortrax M200: 200x200x180mm
Printing test on Zortrax
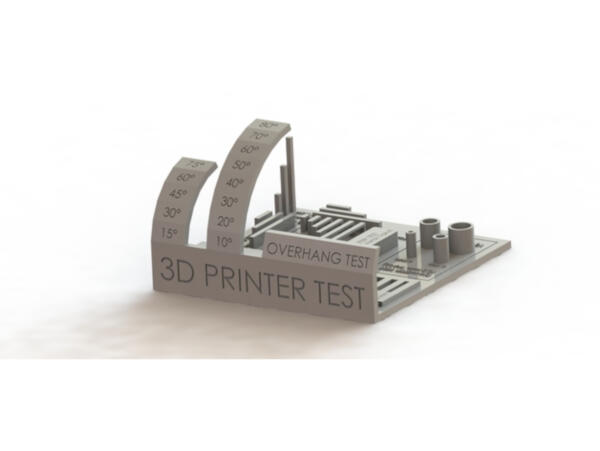
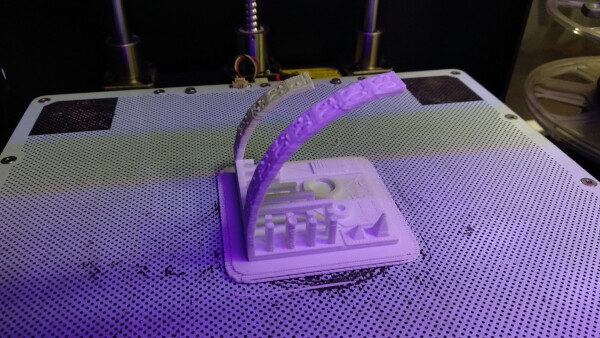
I downloaded this micro test from Thingiverse, that is a smaller version of a popular printing test, to see what is the result in the Zortrax we have. If anything wrong comes out, I'll follow this troubleshooting guide.
Material Group: External Materials.
Material: PLA-Based Filament.
Printing without supports and with high infill.
Nozzle Diameter: 0.4mm
Layer thickness: 0.09mm
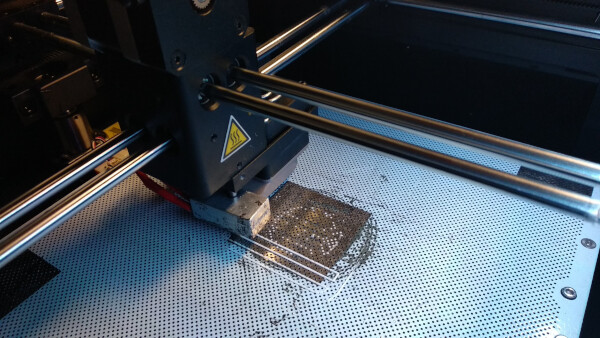
After a few hours I noticed that the material was warping. Actually, maybe I waited too long to notice it.
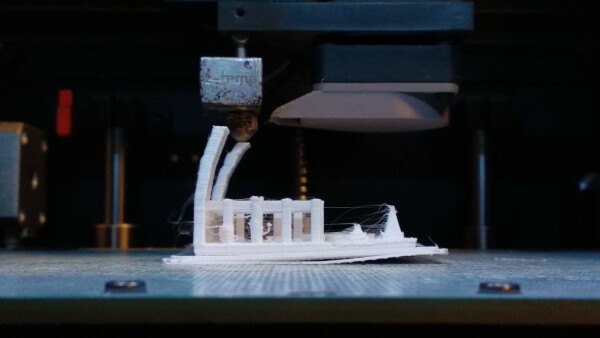

As some coworker who uses this machines daily told me, the temperature of 30° for the platform is too low, so I would have to raise it. I sliced the model again in Z-SUITE, now with 60°C.
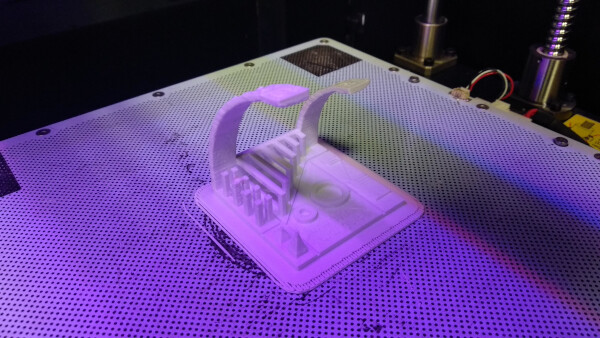
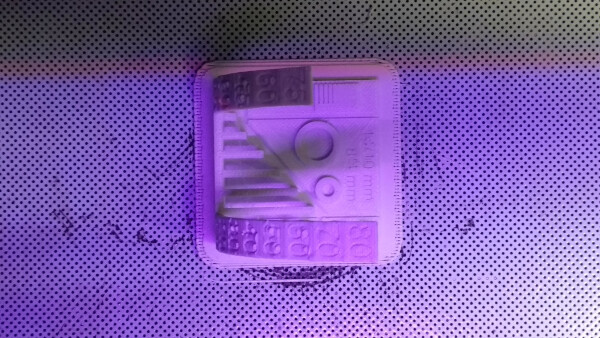
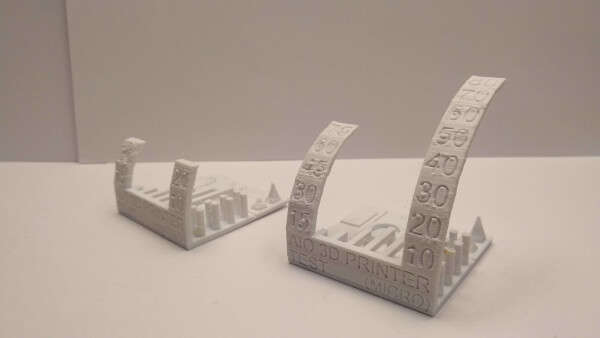
This time the result is much better. Here is the comparison between the two prints:
3D Printing (updated in Madrid)
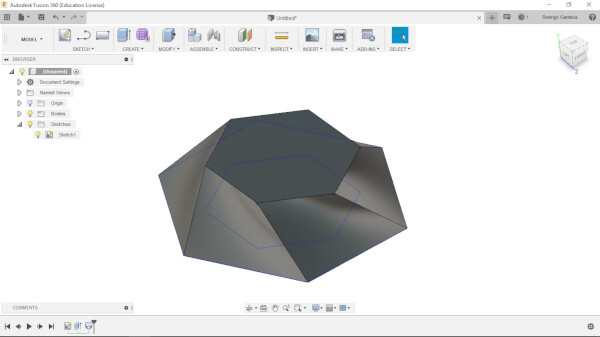
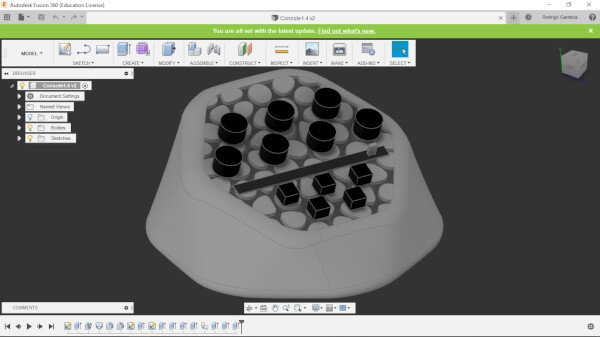
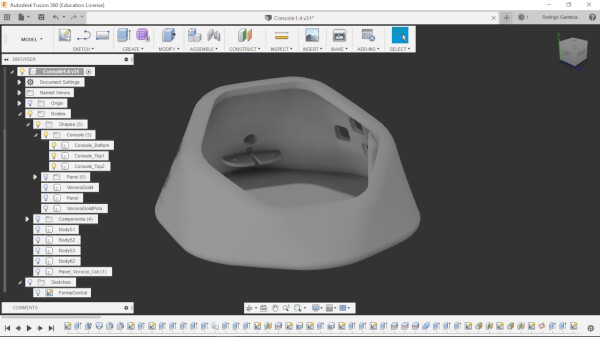
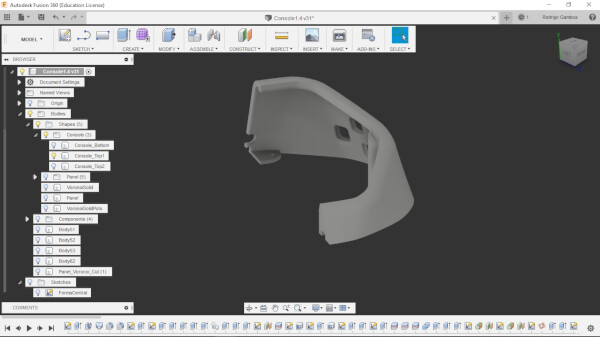
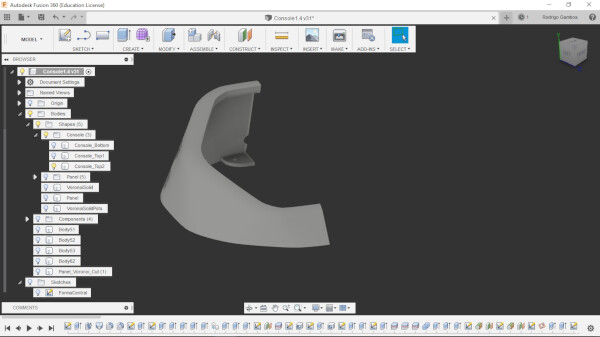
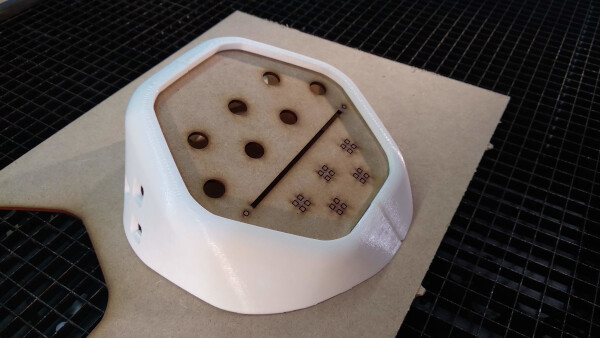
For my final project I wanted to have the shape of the console in an organic way, that couldn't be done in a lasercutter or any subtractive fabrication process. At first I was thinking on using Rhino, but at the end I used Fusion 360. I begun with a basic chape of an hexagon inside another hexagon, with some rotation. I then extruded the center and made a Loft from the bottom sketch to the Top face of the central hexagon.
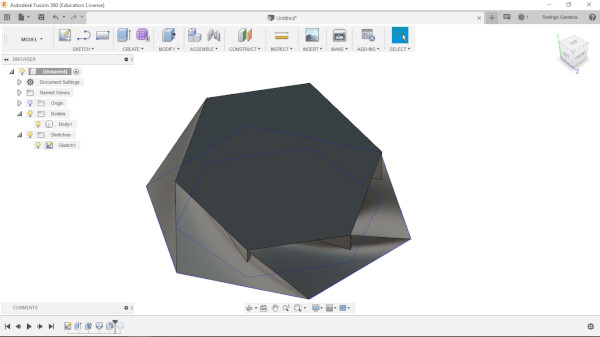
I liked the shape, but it was a too sharp, and for a more ergonomic approach, I added an angle inclination at the top of the console. This way the face of the console would be in a more organic way with the user.
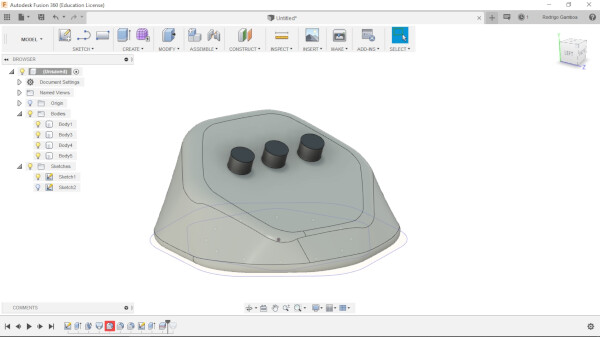
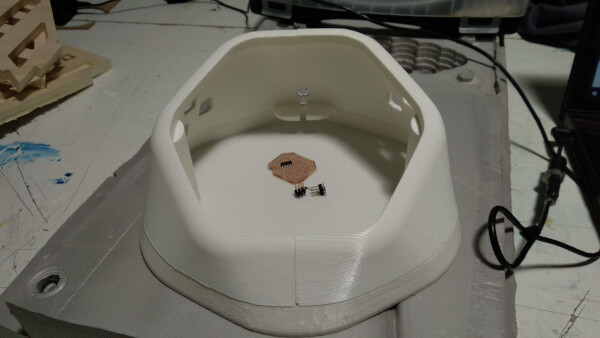
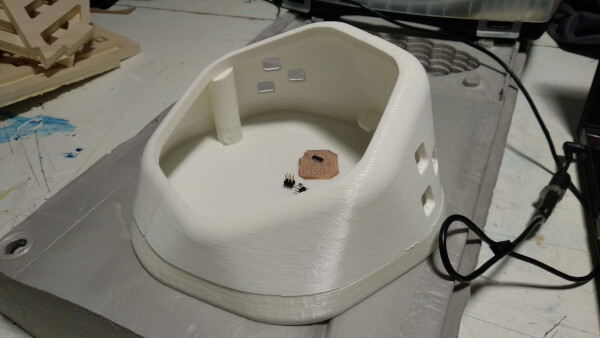
With this basic shape, I started softening the corners using the Fillet function. Also I started adding some of the electronic components I would like to use, to visualize the space between each of them.
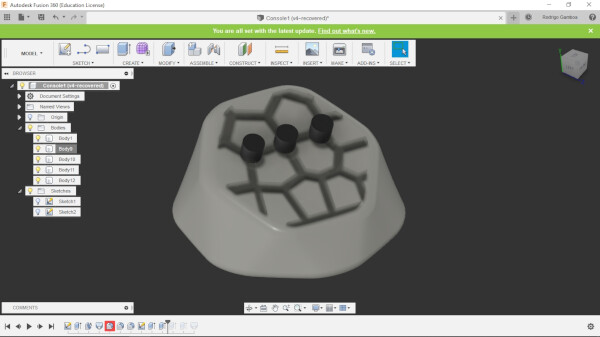
I added a voronoi central panel using a plug-in for Fusion 360, called Voronoi Sketch Generator, that I downloaded here.
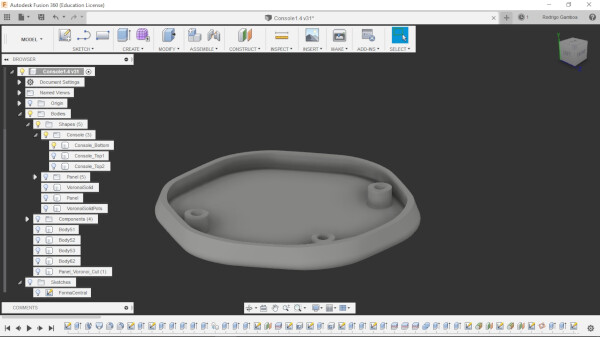
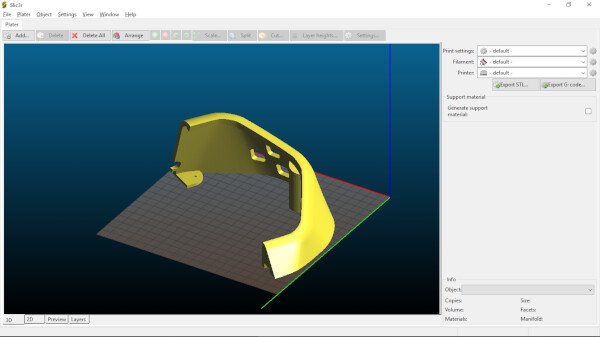
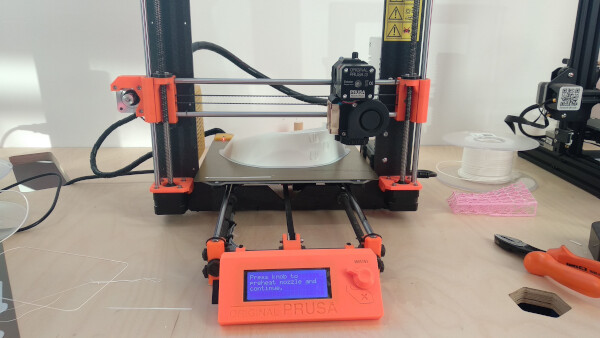
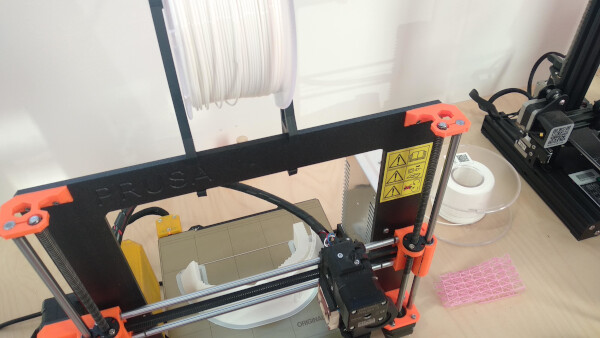
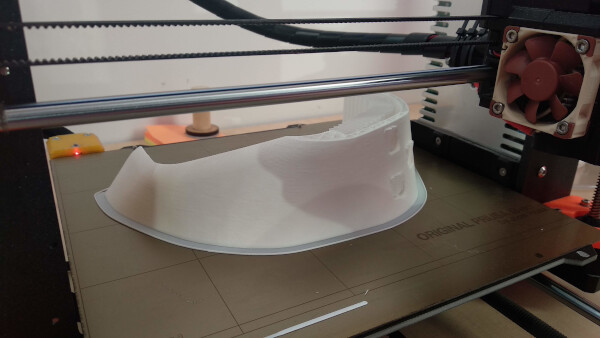
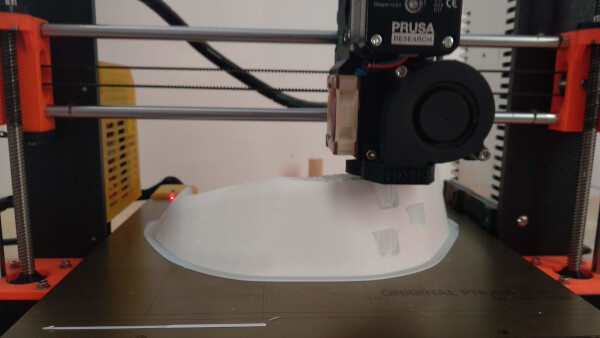
I was pretty excited about this shape, so I reduced the model to what I wanted to fabricate and prepared the files to print them. As I wanted a great and fast printing result, I used the Prusa i3 MK3 from the lab. As my model is slighter bigger than the printer area of the machine, I had to sliced it in two, and printed in two different Prusa printers. Also there is a base for the console, so I printed three different parts.
I downloaded Slic3r to prepare the file. The staff at Fab Lab IED Madrid always have to check the files before sending them into the machine.
I printed the two top parts of the model with a Layer height of 0.3mm, with supports, with an infill of 20%, in white PLA material.
I used superglue to unify the two top parts, and added some magnets for the bottom.
3D Scanning
I tried using a Kinect Model 1473 and Skanect. At the end I couldn't make it work, I think there was a problem with the drivers I installed in my computer. Here I have the documentation of what I tried with Skanect, and then the documentation using succesfully the Sense Scanner when I arrived at Madrid.
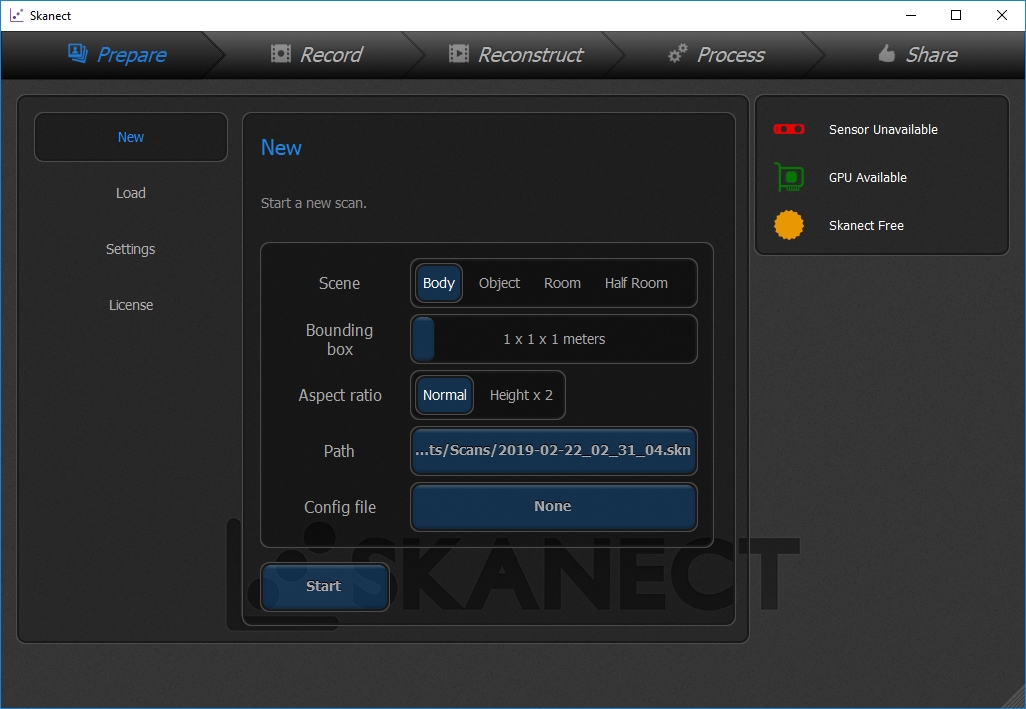
Skanect
I downloaded Skanect version 1.9.1. The free version of Skanect has some limitations, but the main is that is limited to 5000 polygons for exporting.
I installed Skanect and opened it. I was having some problems with the connections, as I had the Kinect connected to power and to usb and Skanect showed "Structure Sensor. Waiting for Uplink...". To try to fix it I downloaded the kinect drivers. It's important that the kinect is not connected to usb computer until is completely installed the drivers. After installation, I opened Skinect, and it sayed "sensor unavailable". I opened the device manager to see if it was recognized and everything seemed ok.
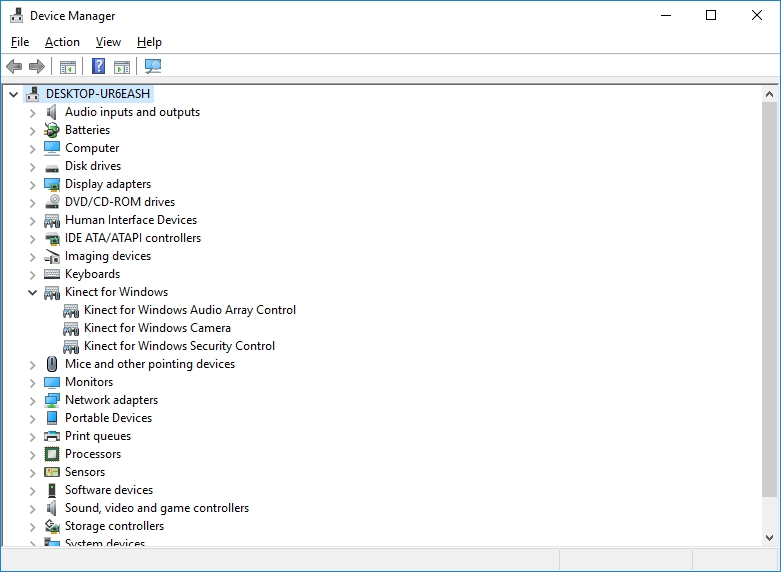
Following this troubleshooting guide I noticed that if I go to Programs and Features in the start menu on Windows, the Kinect SDK v2.0_1409 doesn't appear, so I downloaded Kinect for Windows SDK 2.0. Installed it but It didn't work. In the device manager everything seemed right, and in Skanect it only shows "Sensor unavaialble".
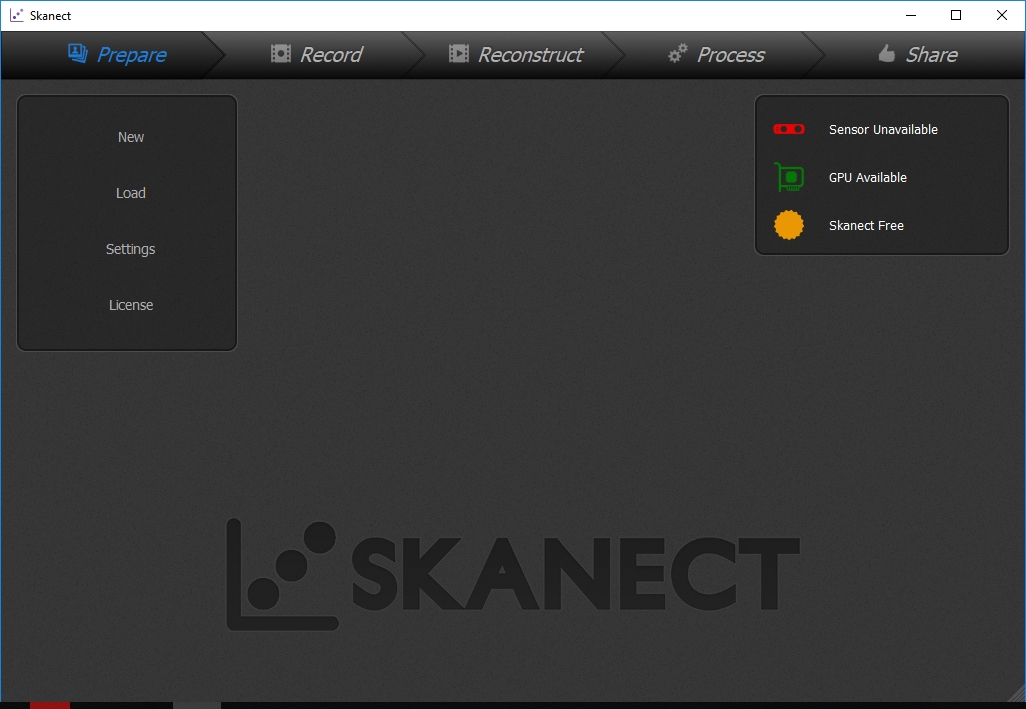
I updated my GPU driver (GeForce GT 755M. Version 419.17) to see if that was the problem but Skanect still can't connect with the Kinect.
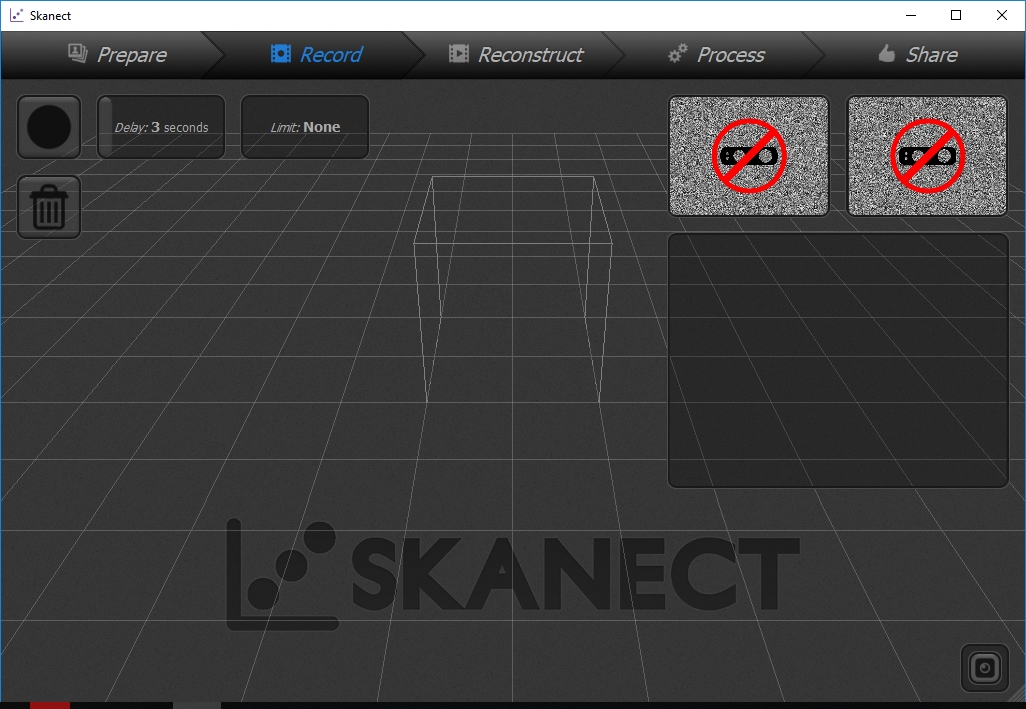
I had another Kinect Model 1414. I plugged it, but it still appeared "Sensor unavailable".
By this point I stopped trying with the Kinect as I was pretty sure it was something related with the drivers I installed, and now everything was a mess.
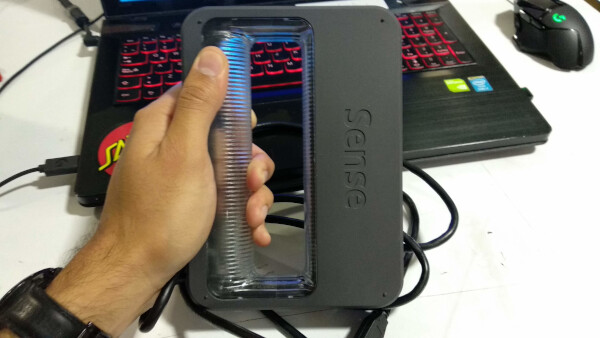
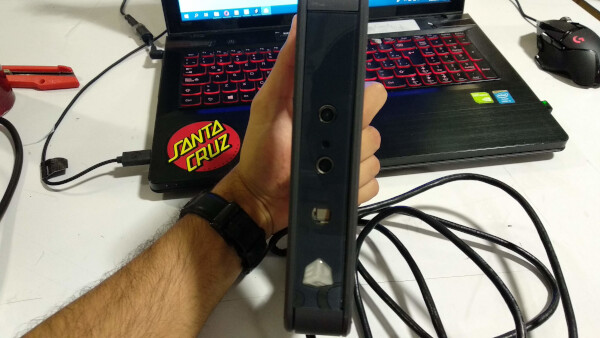
Sense Scanner by 3D SYSTEMS
Fortunately for me, in the Fab Lab IED Madrid they had a Sense Scanner available.
At first, I installed a wrong version of the software, before realizing there exist two generations of Sense Scanners, and I installed the 1st generation software. I was getting a problem with detection of the device.
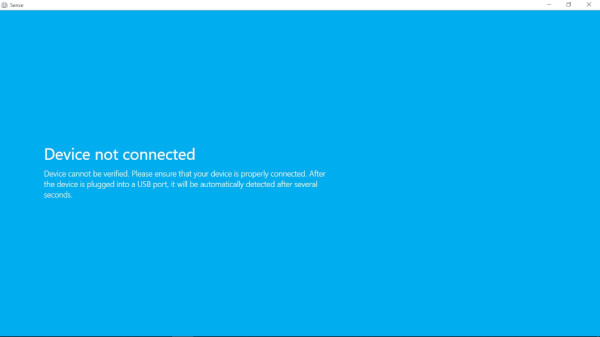
Then I installed the 2nd generation software for Windows 10 (64 bits) here and it finally detected the scanner.

For doing the scanning, some other students helped me. At the end my had great results with the scanner. I think the secret is to make soft movements around the person or object you're scanning. If the scanner stops tracking, don't panic, just try to align it to where it last scanned and it will recover.
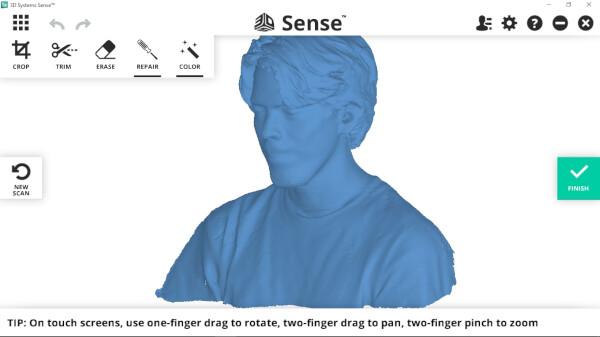
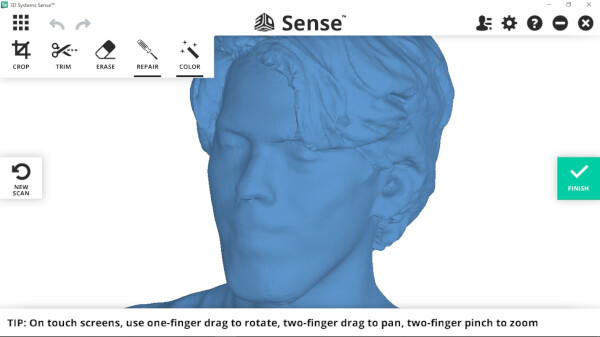
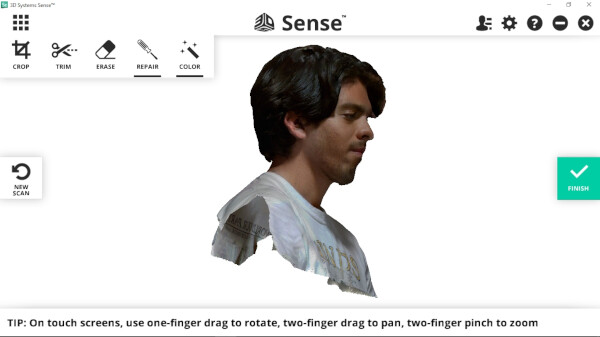
The great thing about this scanner is that you can apply photography texture on the model and it looks really great.
Files
- Complete Console .f3d (Fusion 360)
- Console Bottom .stl
- Console Top Complete .stl
- Console Top, Part 1 .stl
- Console Top, Part 2 .stl
- Rodrigo Scanned Model .stl
Group Assignment
To see this weeks group assignment click here.