6. 3D Scanning and printing
Group assingment
For this assingment I used a Rise N2 plus FDM printer. This is a high volume printer we use whenever we need to produce either high precision parts, or large parts that might not fit in smaller printers.
Printer characteristics:
-
Print Technology: FFF/FDM
-
Extruder type: direct plunge Build Volume (X-Y-Z-): 12x12x24 inch / 305x305x610 mm
-
Layer Resolution: 0.05mm to 0.25 mm with default nozzle. Between 0.01 and 1.0 with apropriate nozzle equipped.
-
Filament Type: PLA, ABS, PETG, Nylon, Carbon Fiber, TPU/TPE (Flexibles), Metal Composites, and more. Some materials require use of abrasive resistant nozzles
-
Filament Size: 1.75mm
-
Printing Surface: Buildtak/glass plate
-
Heated Build Platform: Yes, up to 150 degrees
-
Enclosure: Yes
-
Nozzle Diameter: 0.4mm brass as standard, may be swapped for any nozzle size between 0.1mm and 1.0mm in both brass and stainless steel.
-
Nozzle Working Temperature: 170-300 Degrees
-
Number of Nozzles: 2, capable of dual extrusion prints
-
Standard Printing Speed: 10 to 150 mm/s
-
Standard Moving Speed: 150 to 300 mm/s
-
Positioning Accuracy: XY-axes: 0.0125 mm, Z-axis: 0.00125 mm
Test print:
in order to test the primters practical capabilities I used the following test piece in standard PLA plastic. The basic settings I use where:
-
Infill density: 100%
-
shells: 2.0
-
Platform addition: Raft Only
-
Supports: none
-
Nozzle Temperature: 215 degrees
-
Bed type: Buildtak
-
Bed temparature: 60 degrees

Proper Print:
I set out to create an object that could not be manufactured through standard subtractive manufacturing methods. In order to go about this I decided to create an object using Sketchup. Sketchup is a direct modelling software originally designed by Google and commonly used for Woodworking and architectural work. Although it lacks the more complex features of recent software, such as the new entries from Autodesk, it allows for the creation of simple shapes (i.e. no textures) quickly and efficiently when compared to more modern parametric or sculpting software.
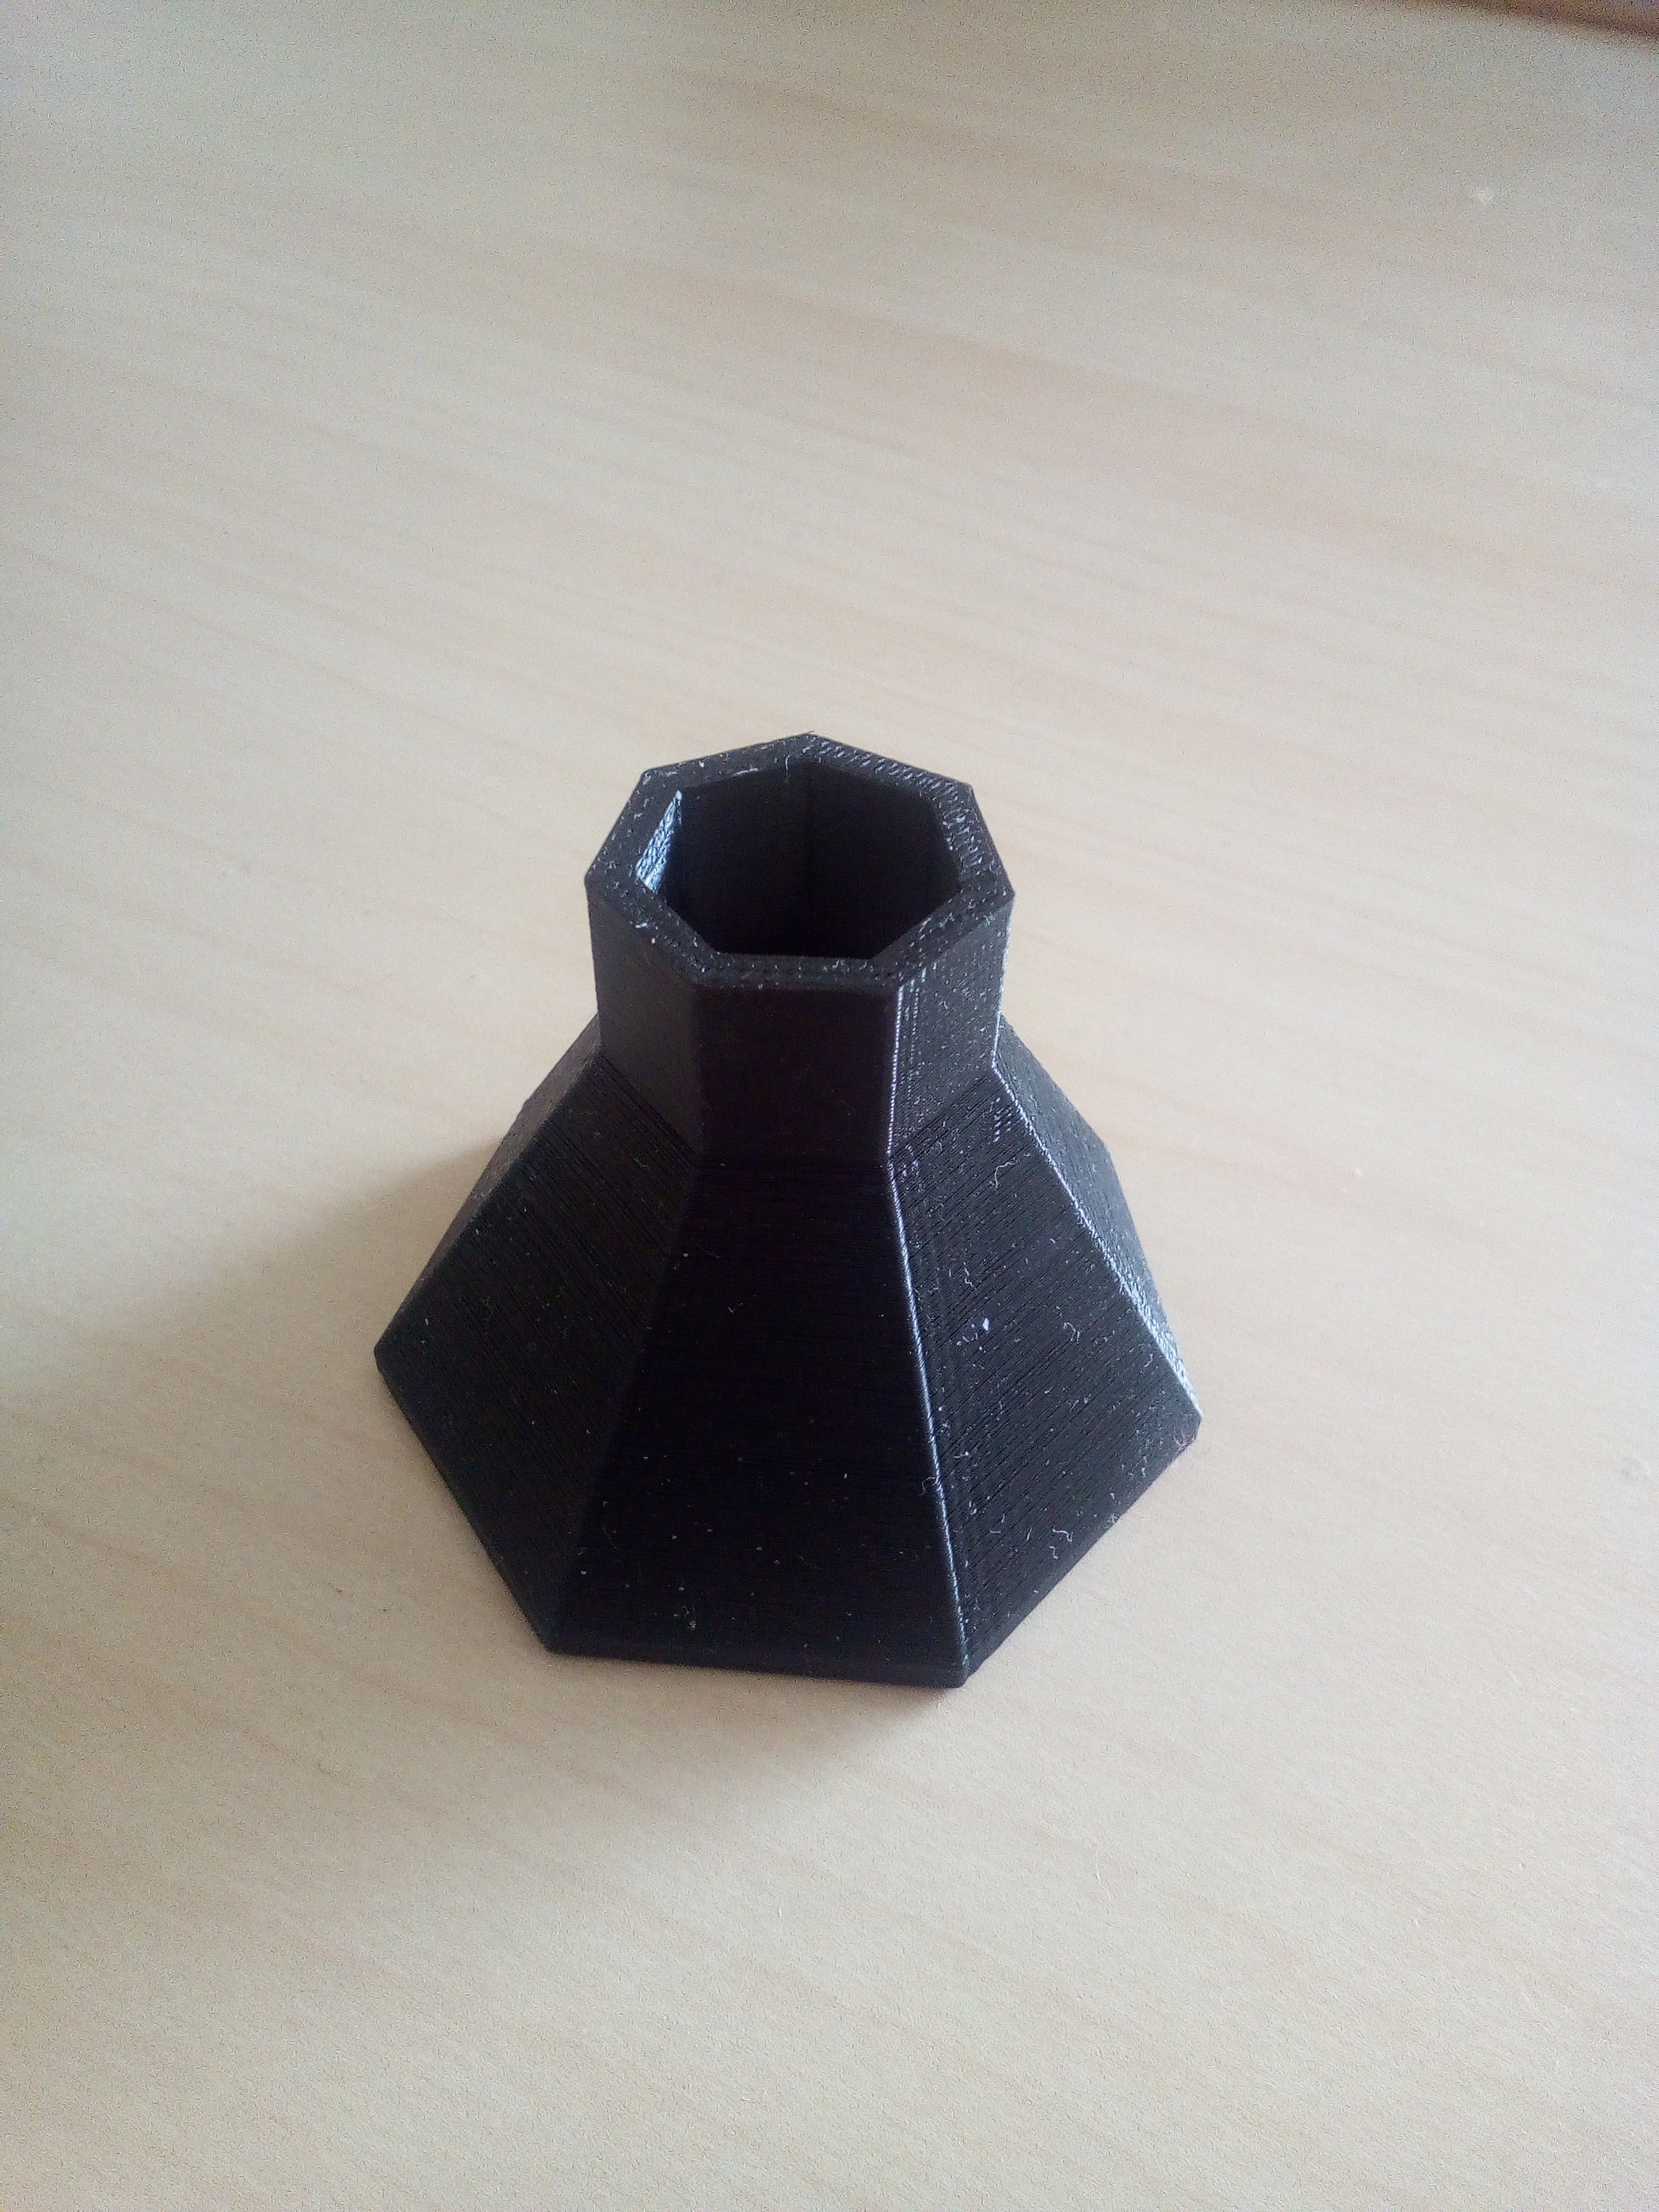
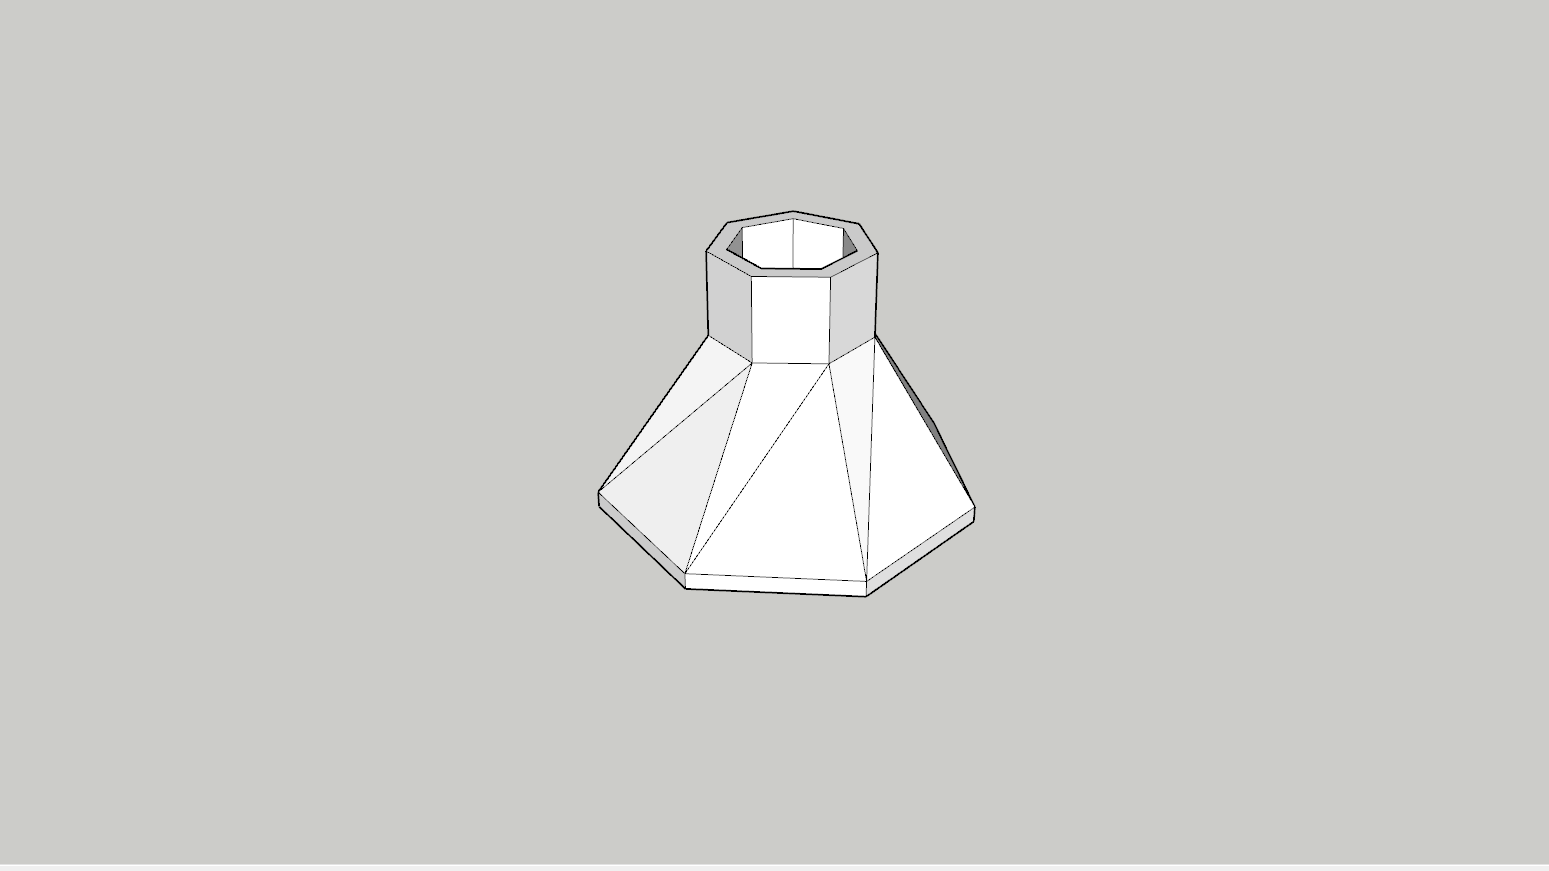
For this week I decided to create a heptagon shaped flask with an extruded end, as this shape is simply impossible to create through subtractive methods (and as a bonus, could not be injection moulded either) making this particular object virtually impossible to manufacture in one piece outside of 3d printing.
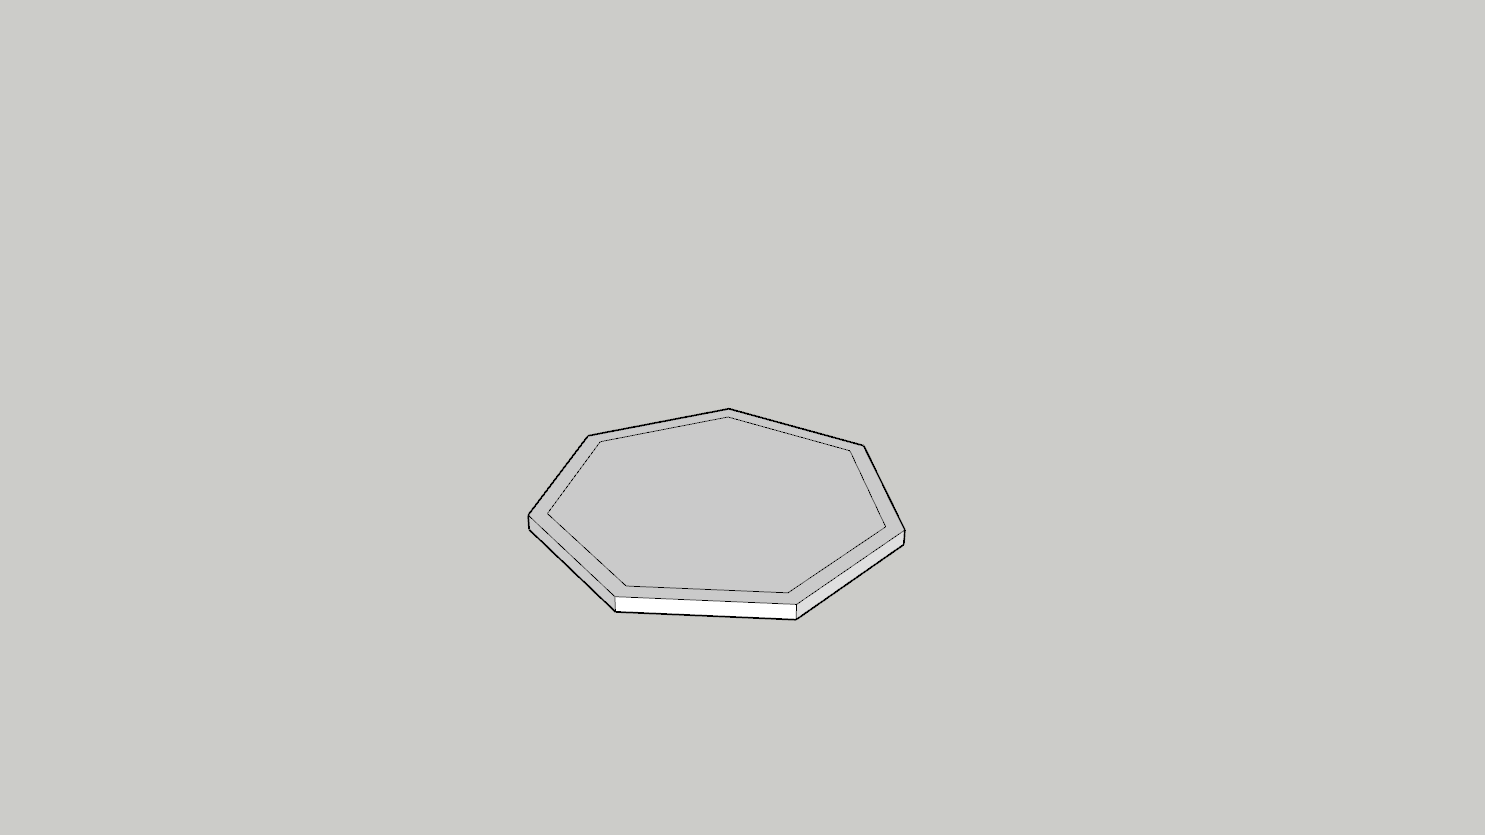
I started with a 5mm heptagon base.
Then I extruded the base upwards into another Heptagon, making the flask shape.
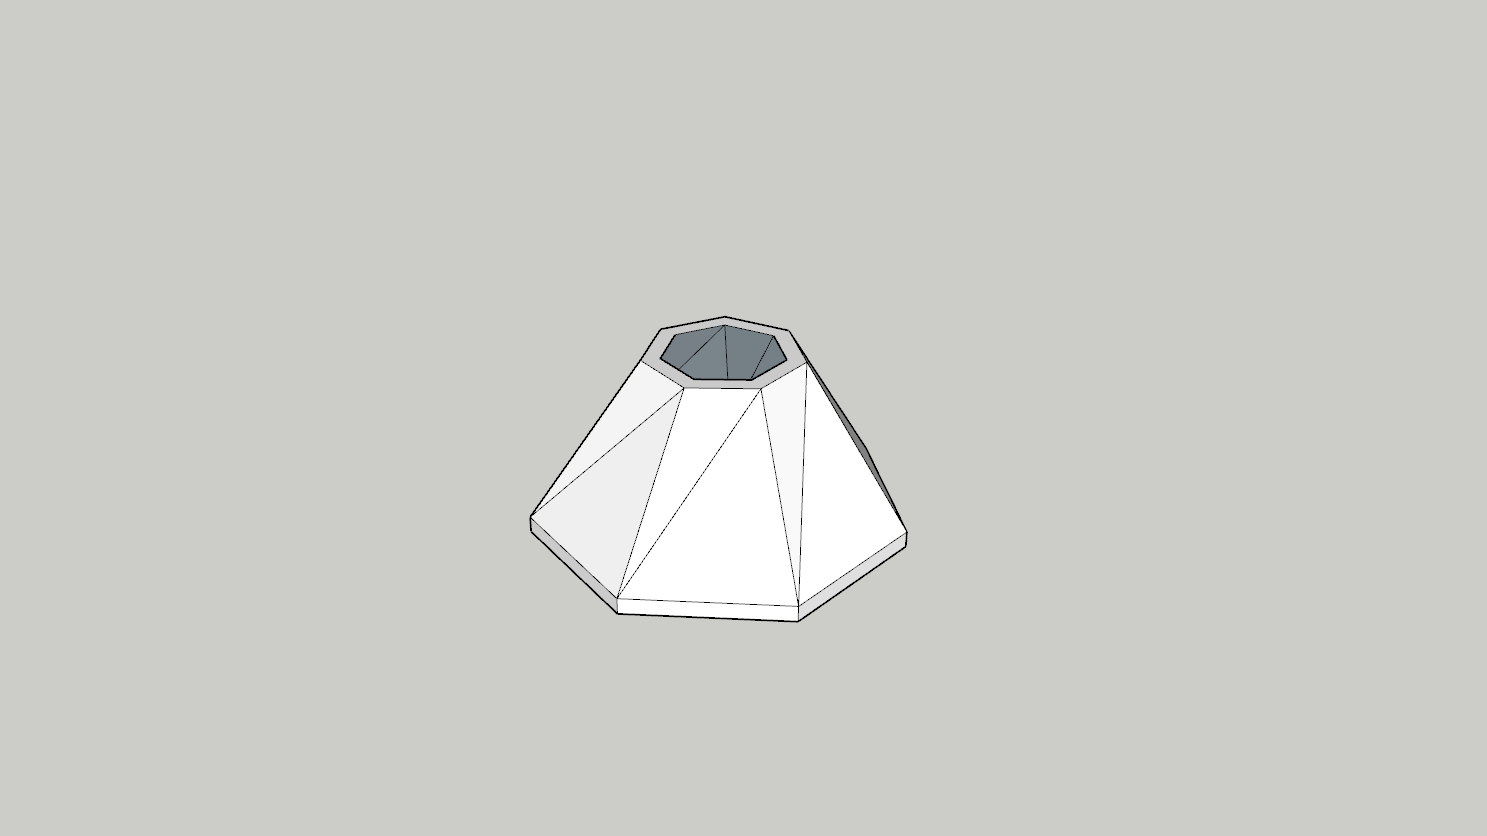
Finally I extruded up the top, adding an extra length which proves useful for holding objects such as pens or pencils.
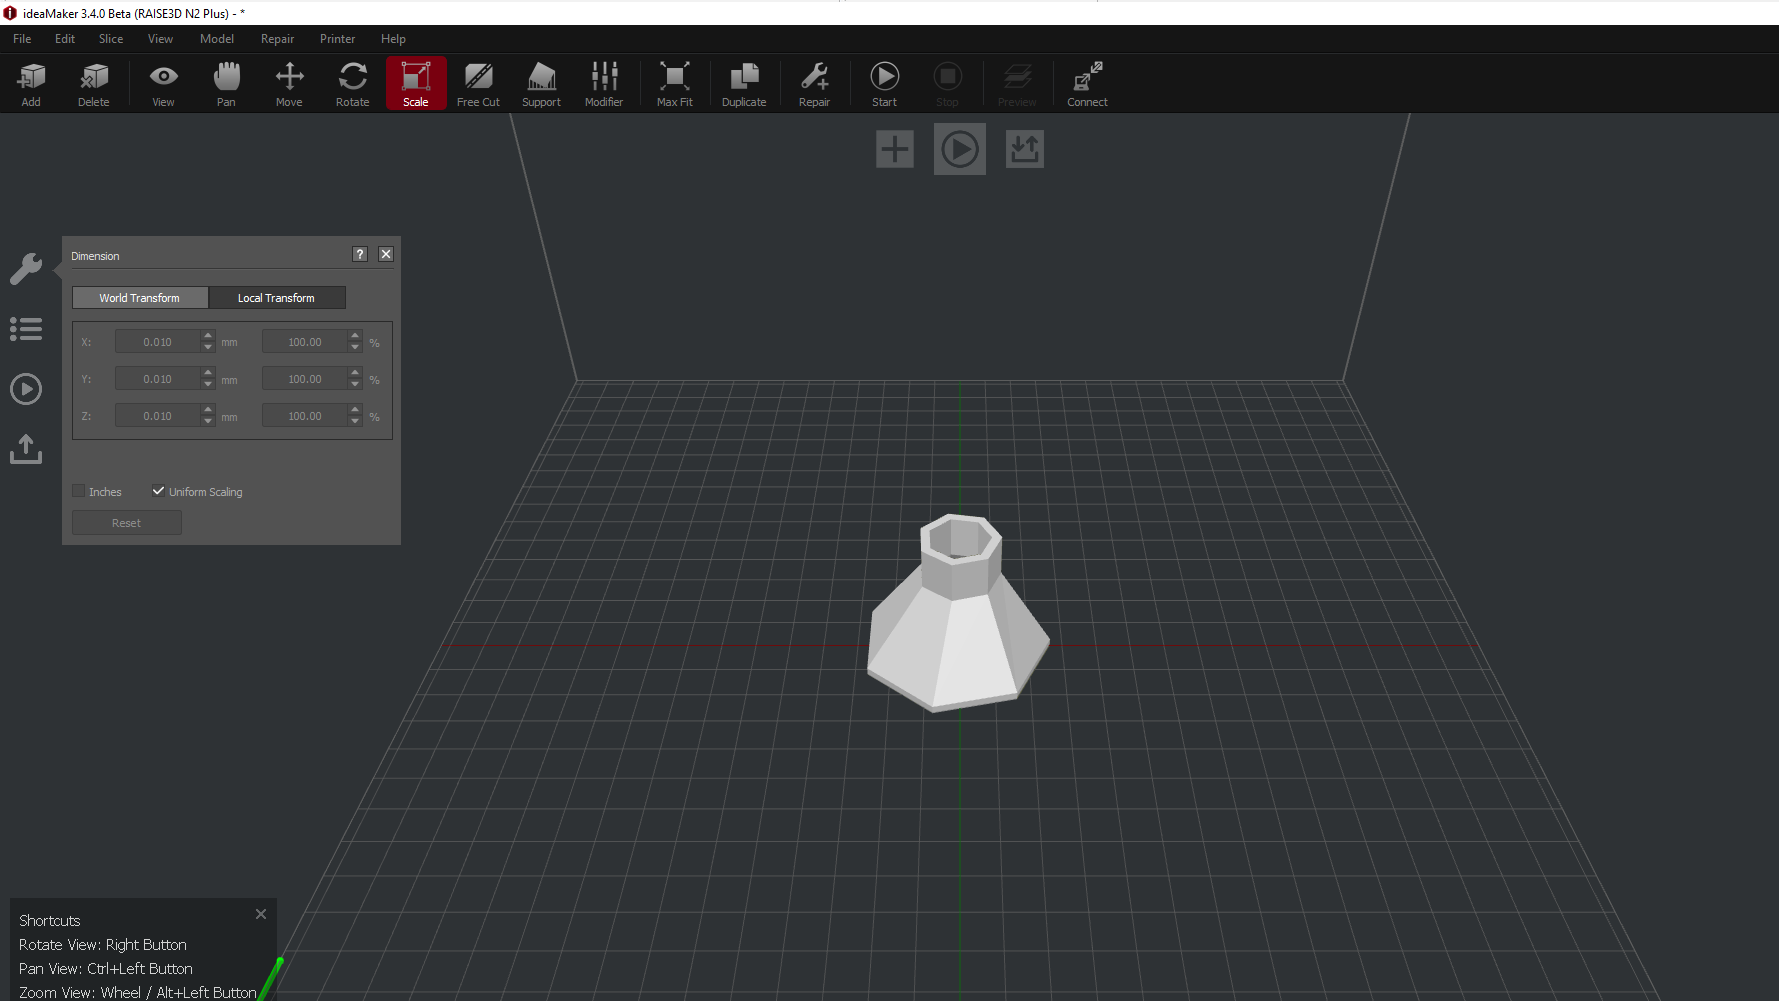
Once I had my file ready it was time to export to STL and prepare the file. For this print I use Idea Maker: Developed by the 3D printer manufacturer Raise3D. Much like Cura, although designed to be used primarily on its native machines, it features the ability to be configured for use with custom or DIY printers. The software operates on a natively-compiled, multi-threaded, 64-bit slicing engine and provides a variety of extra features not usually seen in most other software. These include a fairly advanced solid inspector and repair feature, the ability to split models not only into separate STL bodies but also along customized planes, and a suite of other useful features.
I loaded my design into Idea Maker and proceeded to slice it.
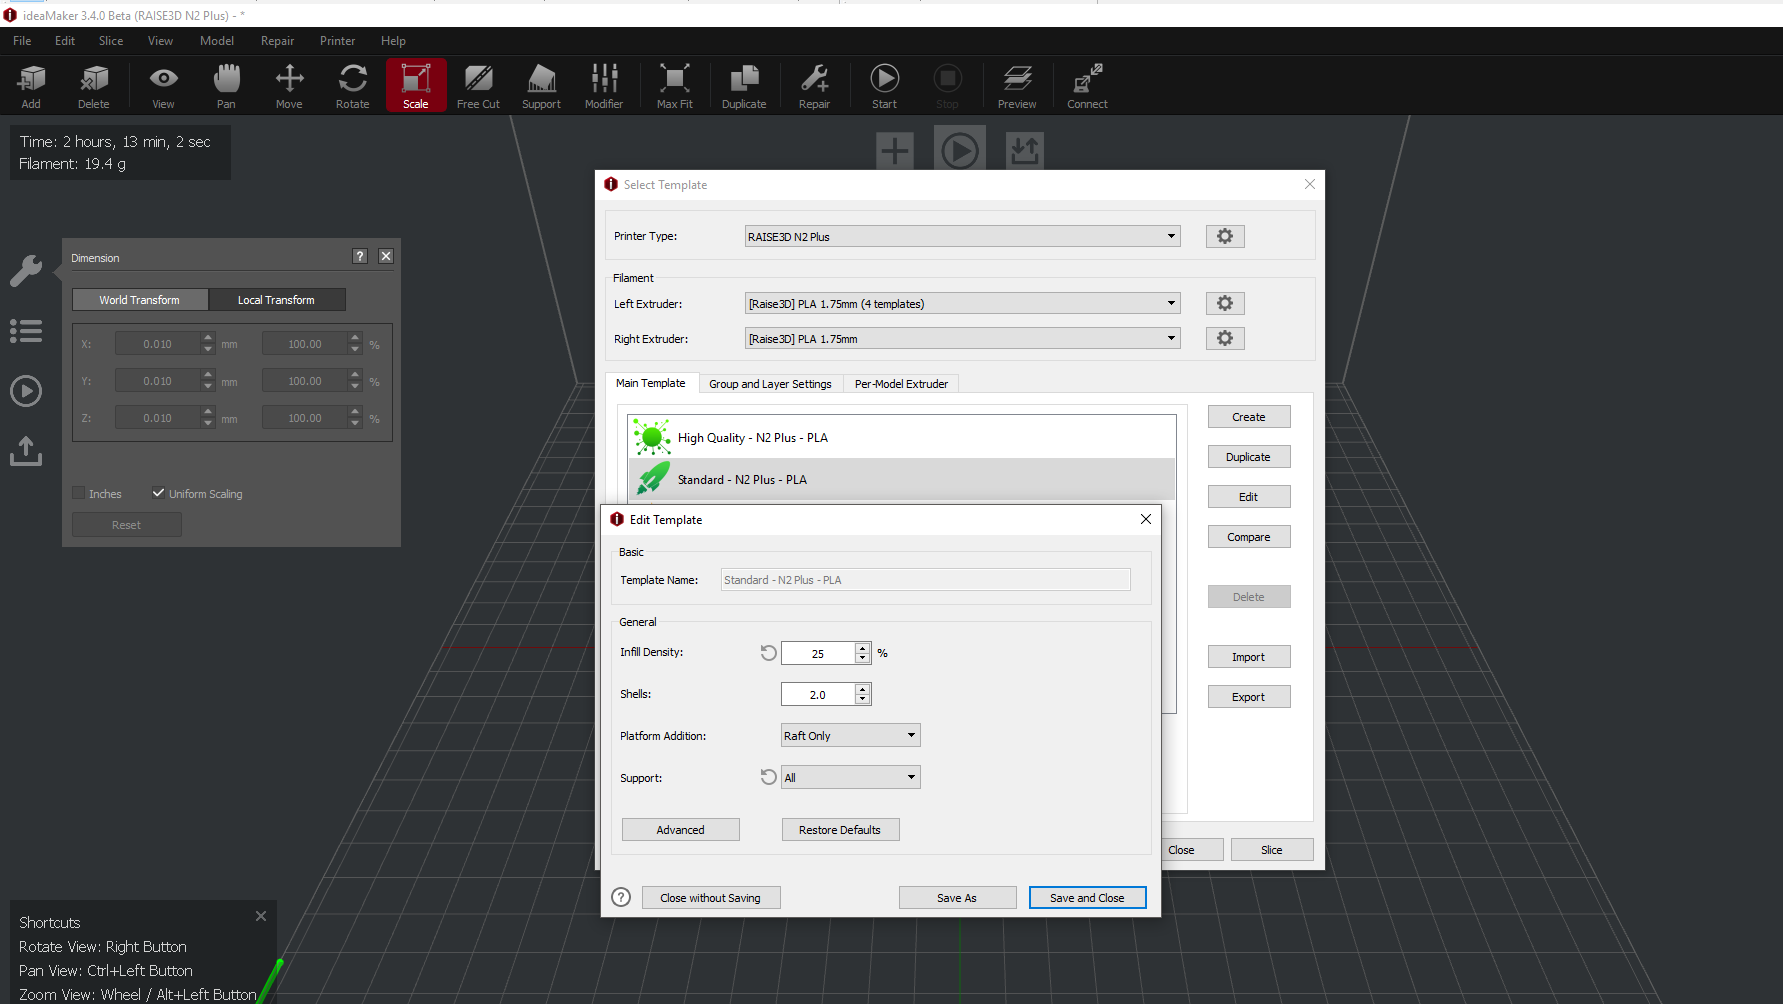
For this design I decided to use the default standards settings for the machine that we use whenever making a 3d print that needs neither a great amount of detail, nor to be finished quickly.
Finally I double check the preview in order to make sure I avoided any errors in the desingdue to non-manifold faces.
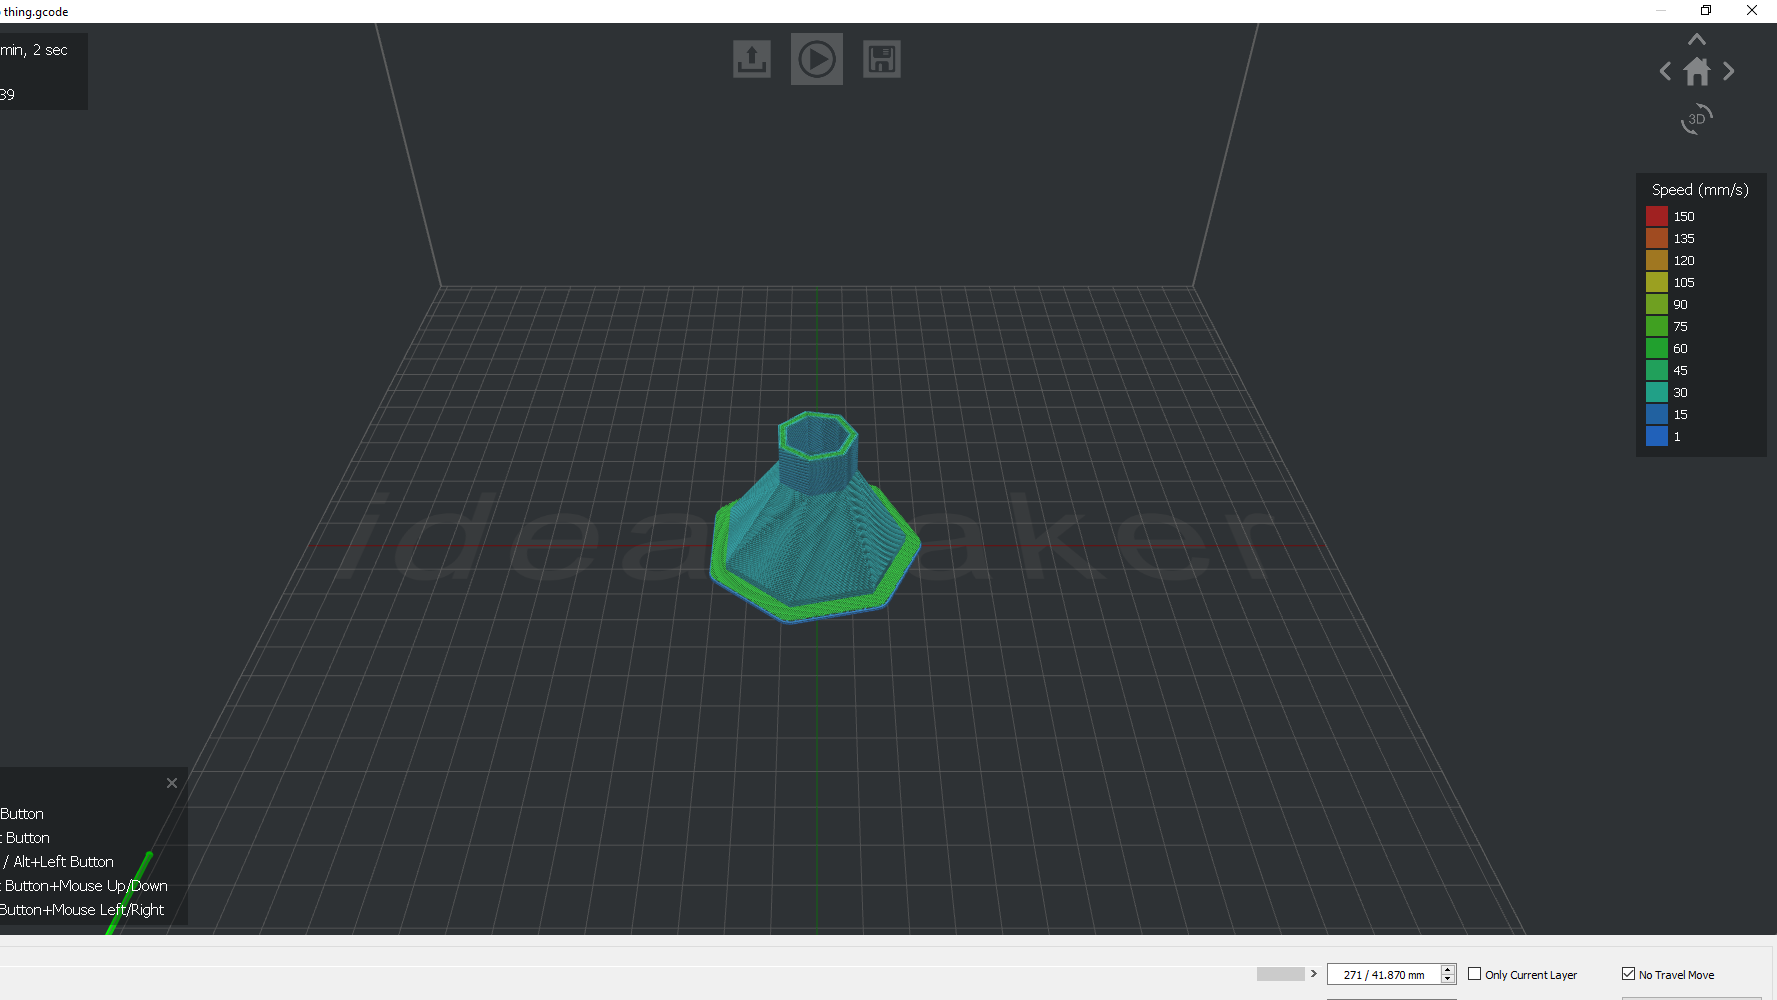
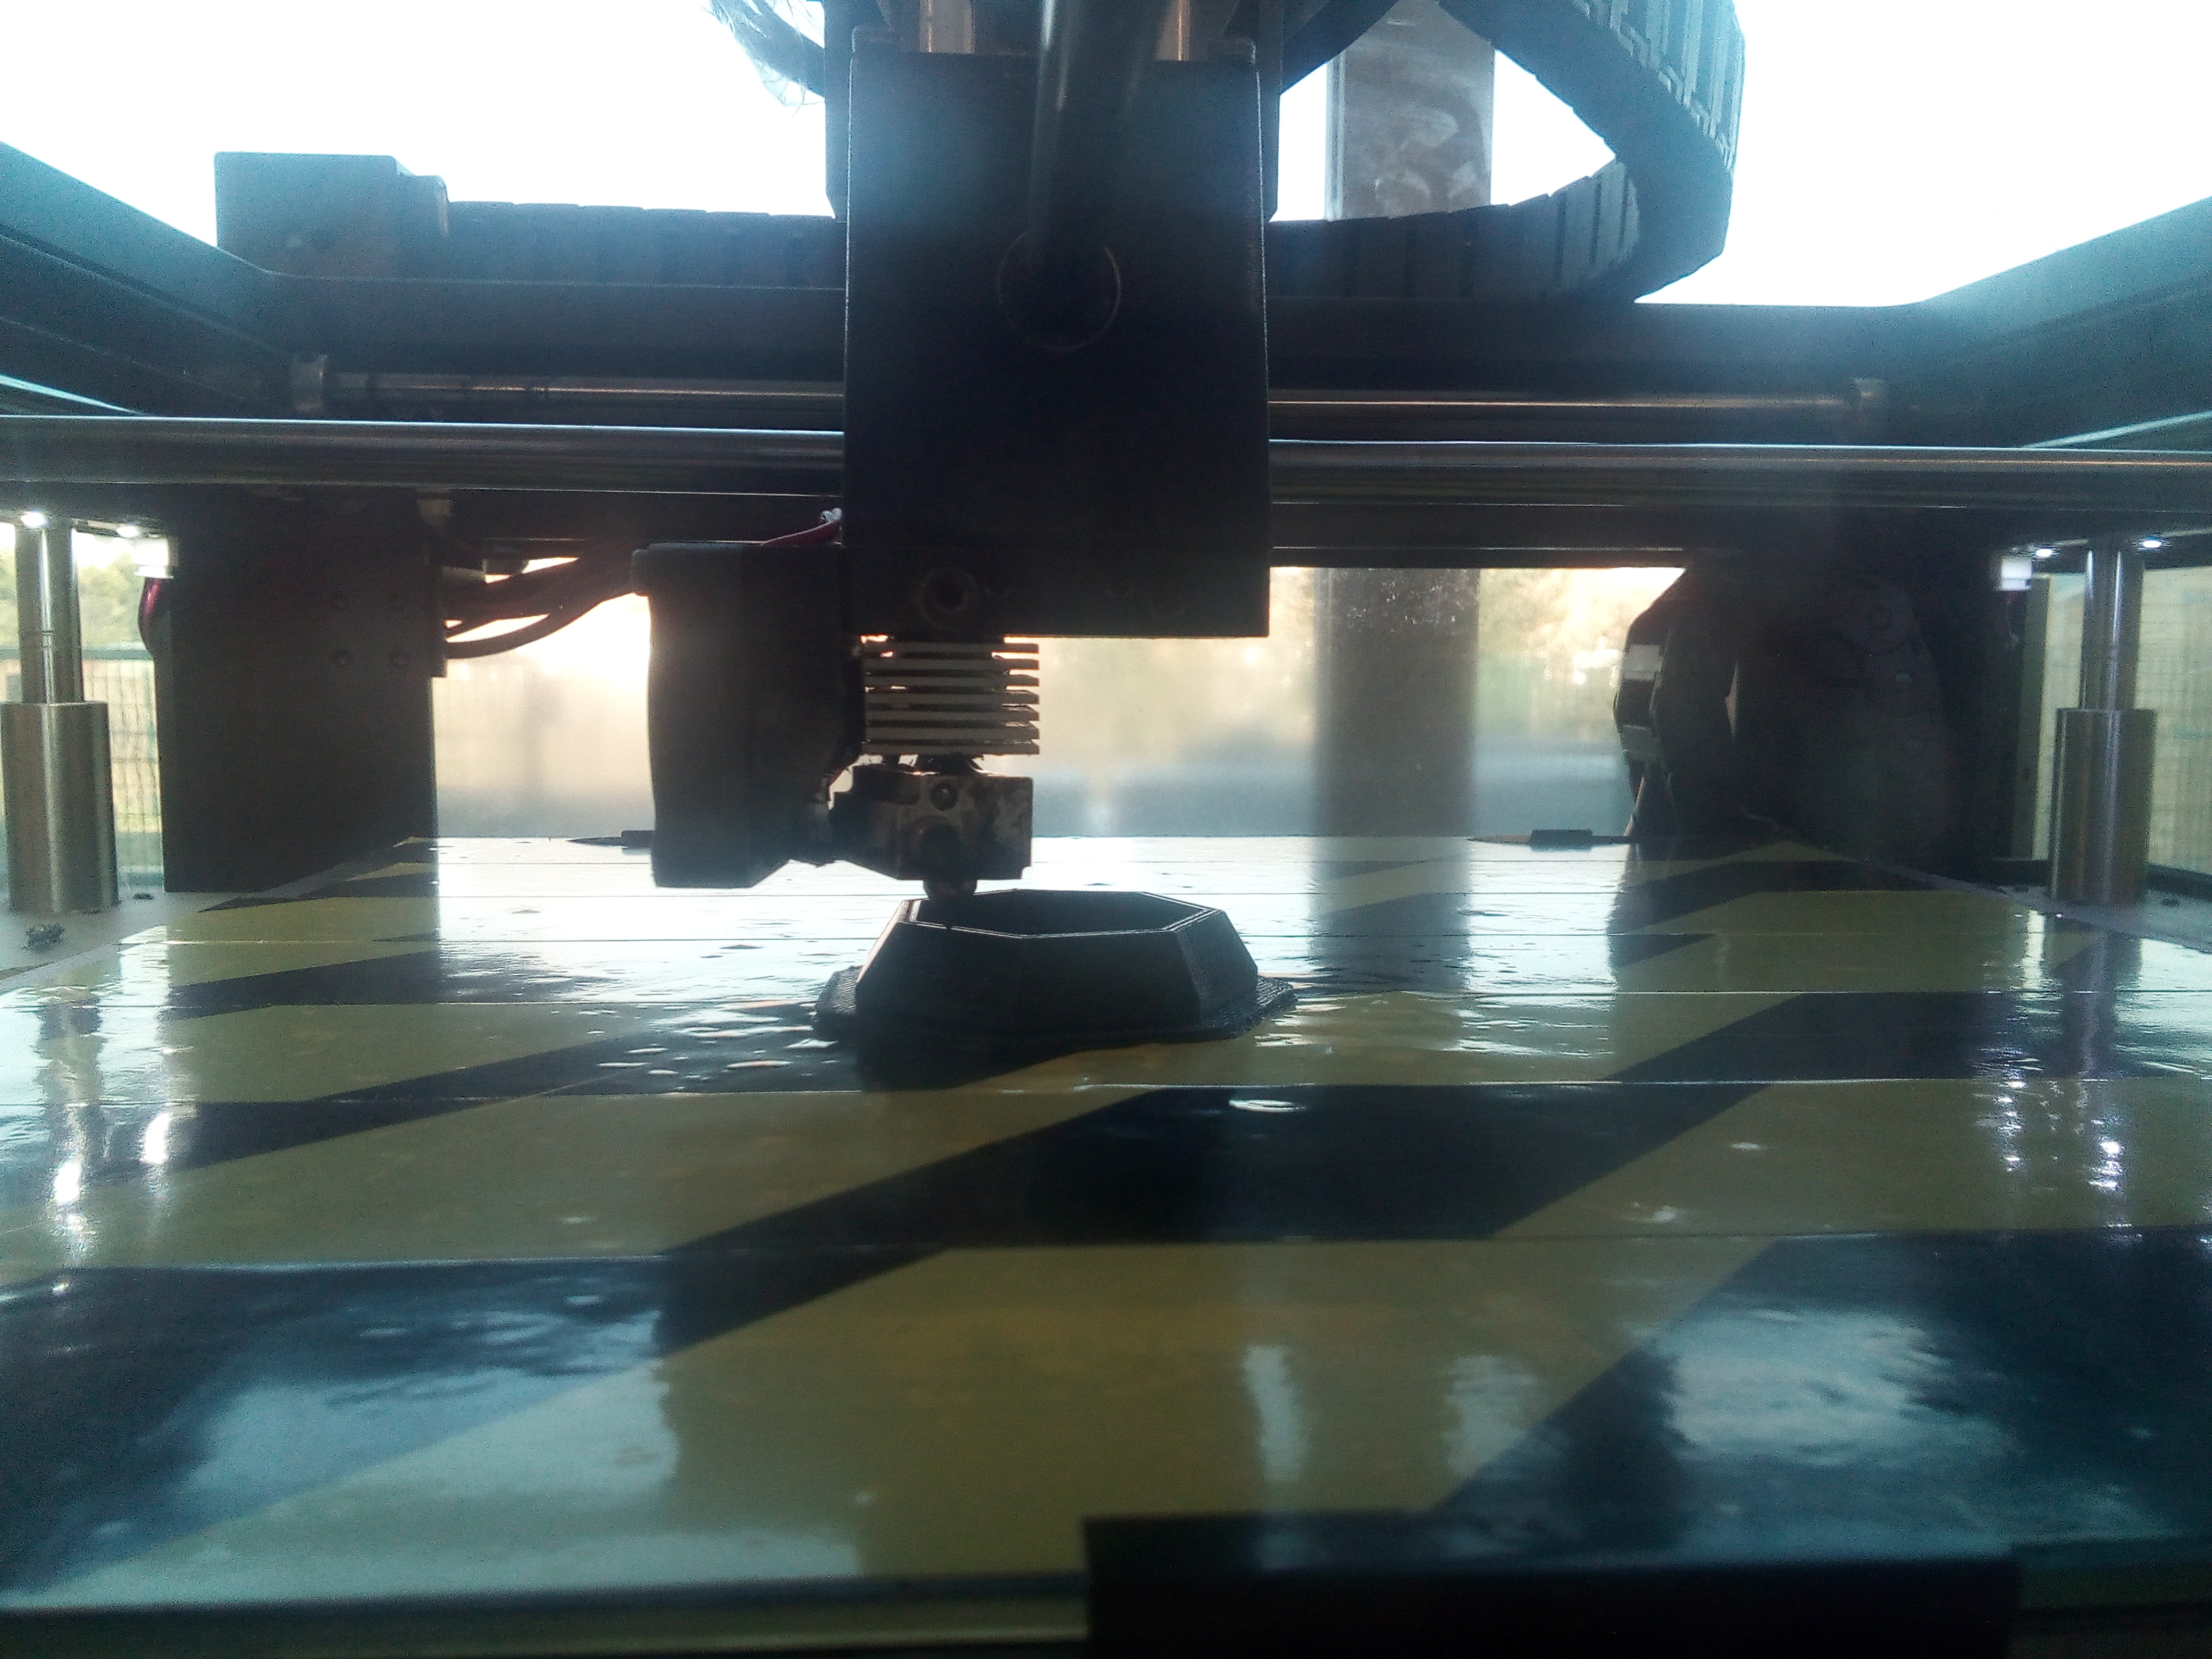
Once this is done export the Gcode file, place it on a USB and take to the printer. I then selected the desired file on the interface.
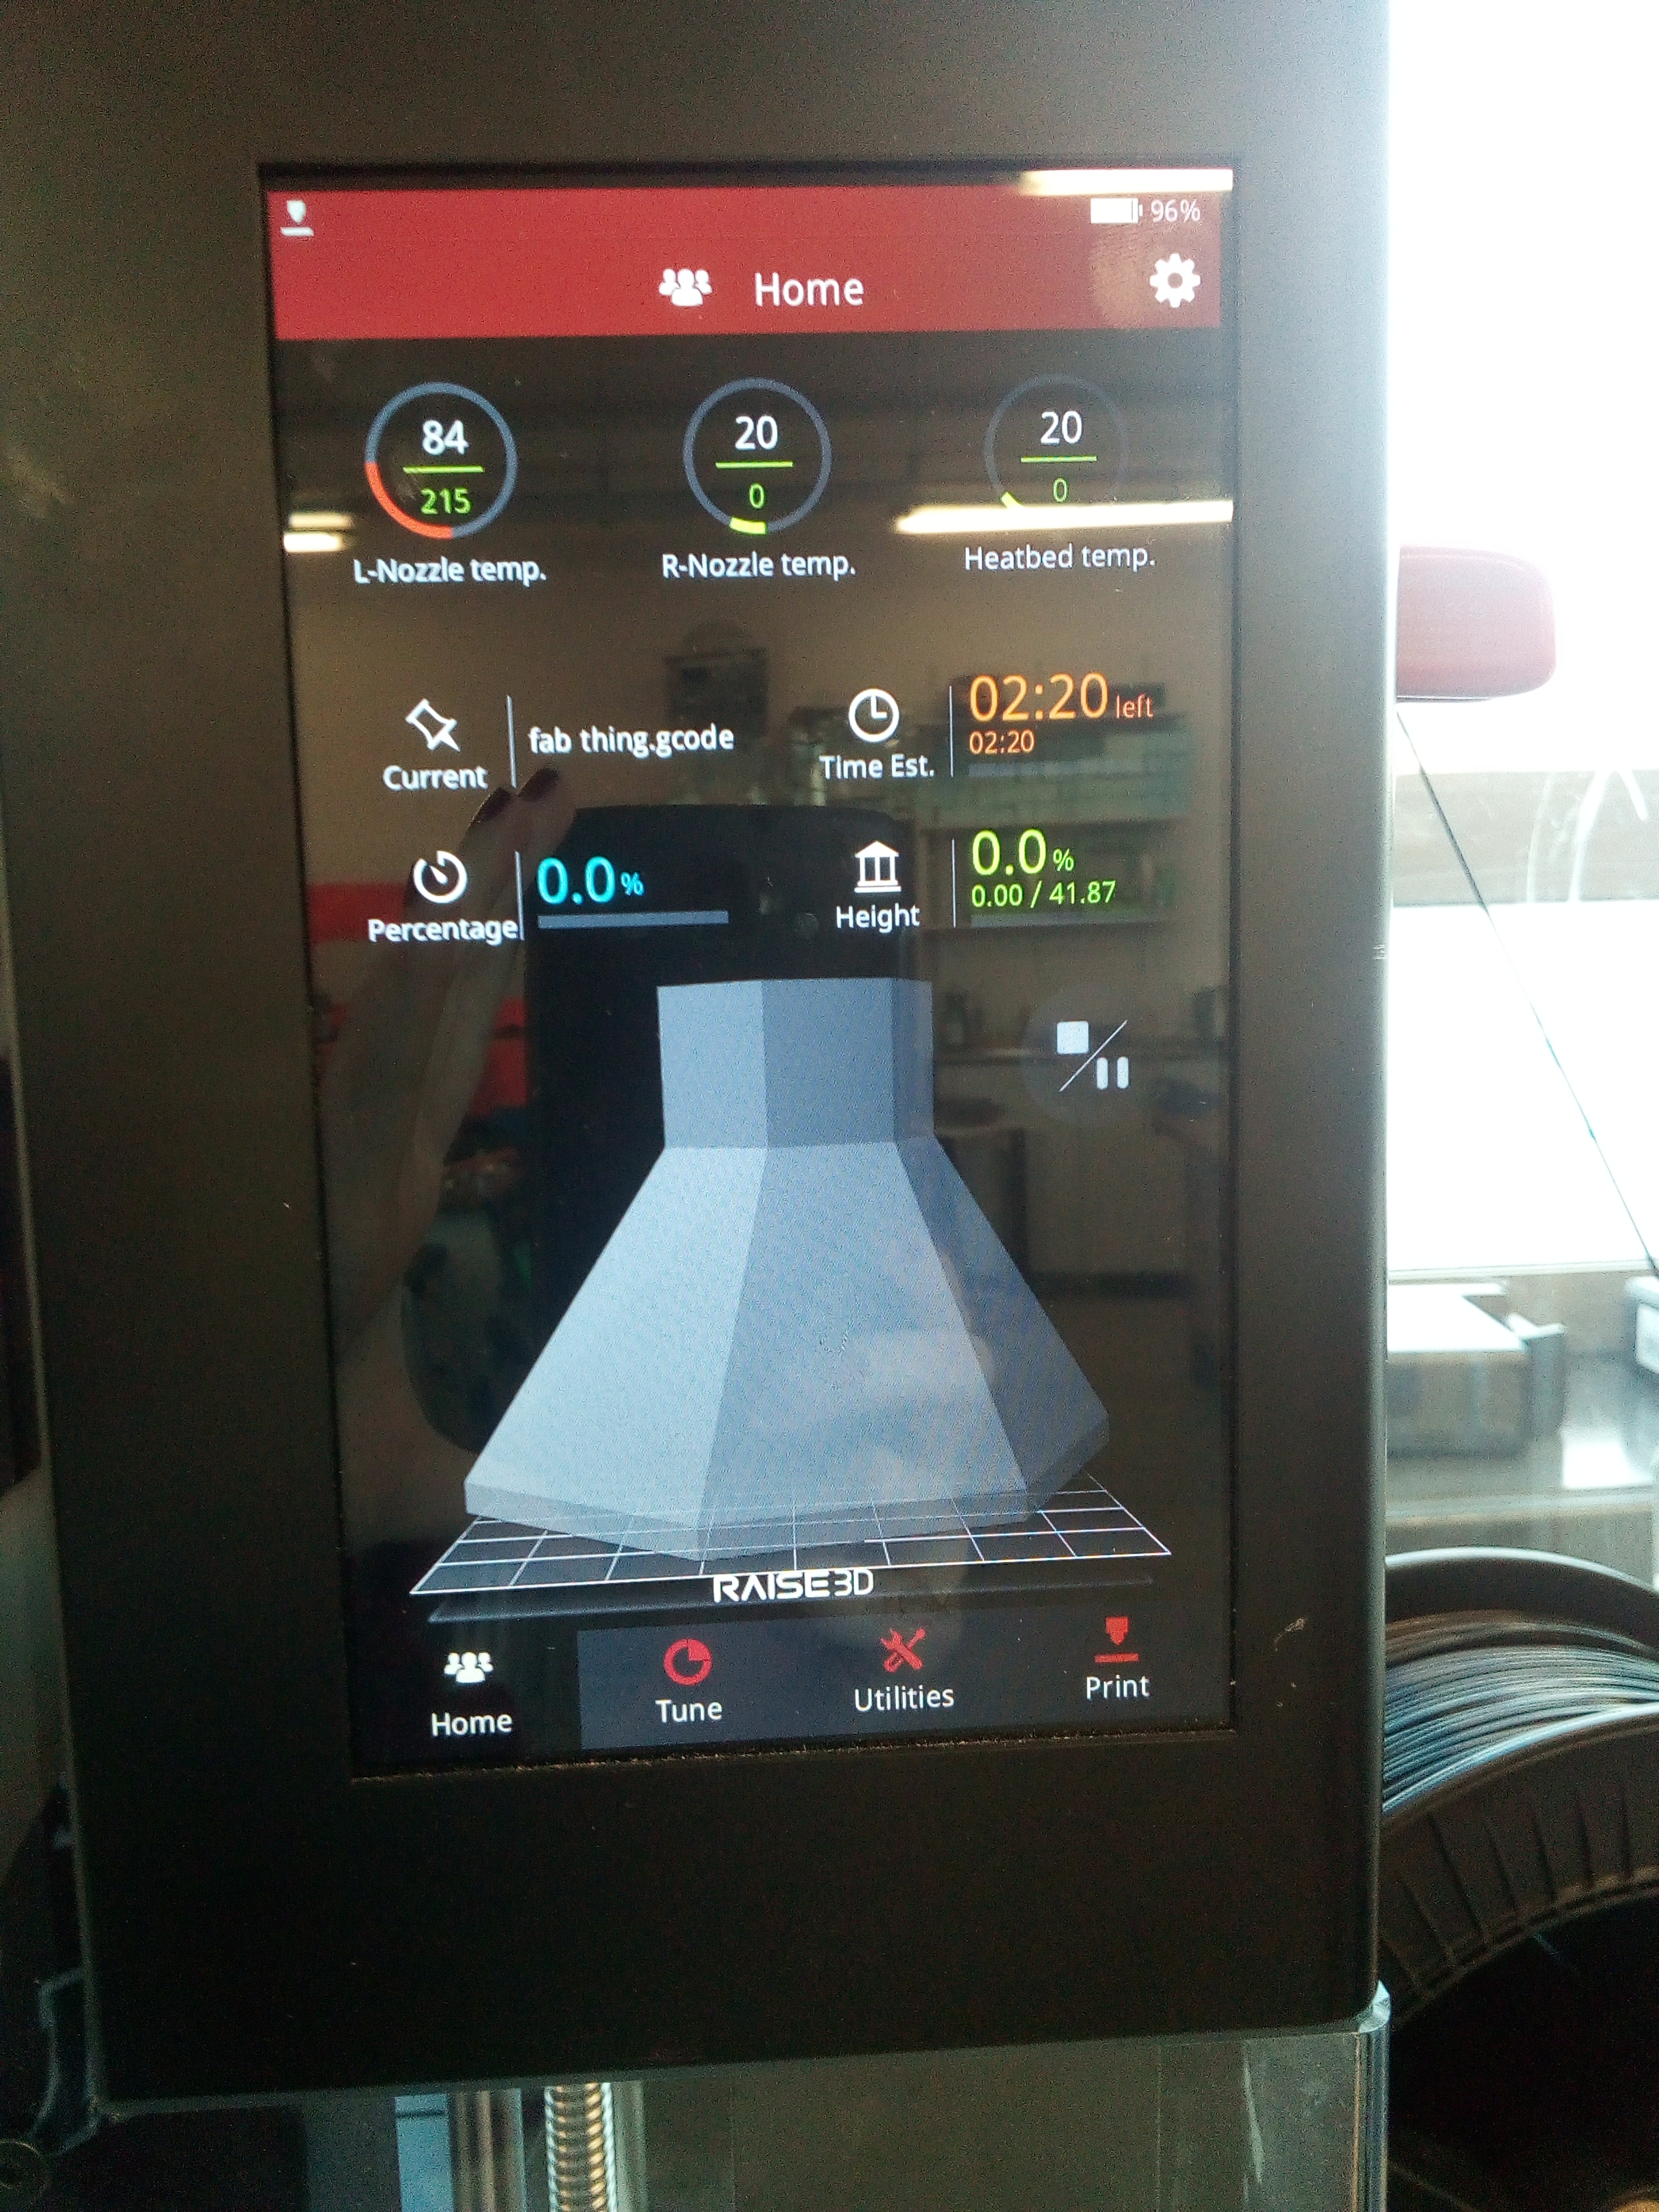
Then I sat back and proceeded to wait for the print to finish.