
Assignment Six: Design and 3D print something that can't be subtractively made
This week's task is to try out test prints with the 3D printer. In the class, we learnt about a lot of Additive Manufacturing techniques and methods - interesting techniques to make parts that can't be made subtractively. The assignment in steps:Design a part with interesting geometry
3D print the part
Learn to use the 3D scanner
Design a part with interesting geometry
My idea for this was to make an interesting part with different internal dimensions, I think that is difficult to make subtractively because there will be no way to cut the internal dimensions.So, my first step was to design the part using Onshape.
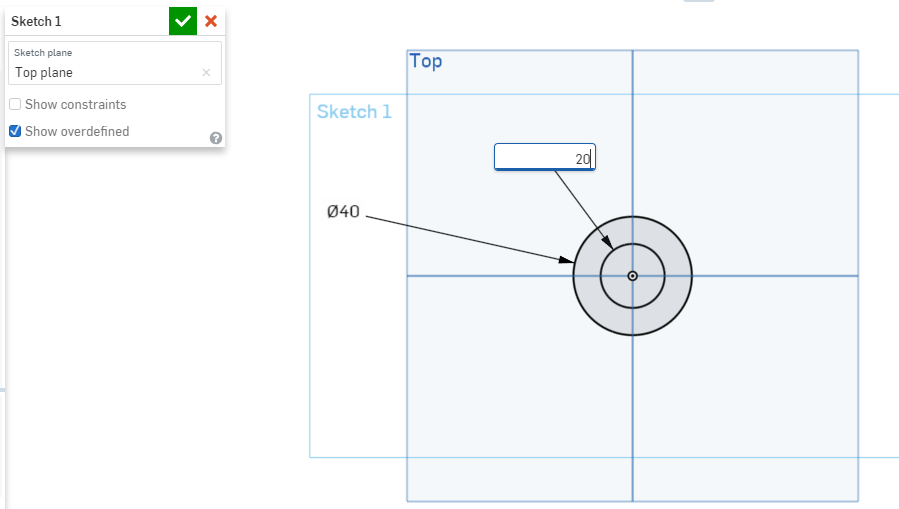
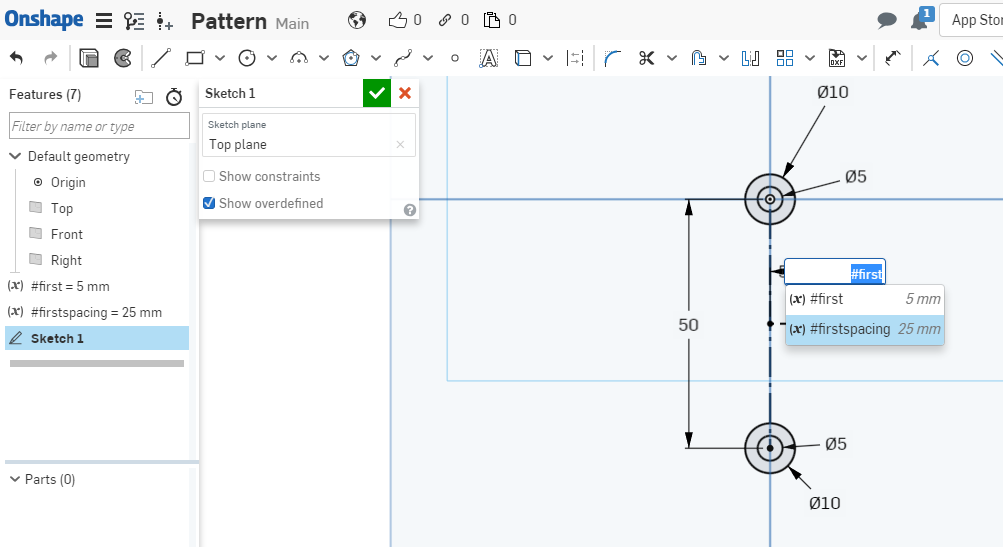
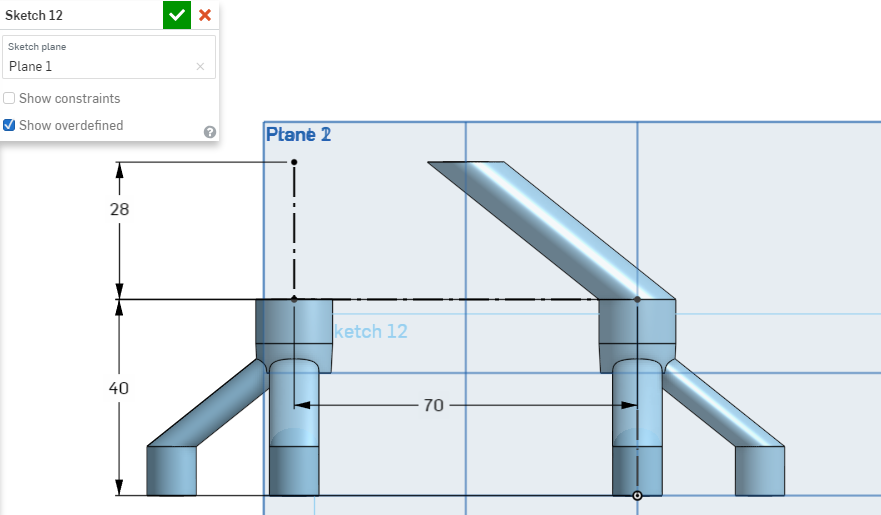
I started the part with the base using the variable feature, this way I can always change the dimensions. Next, I extruded them to form the basic pattern.
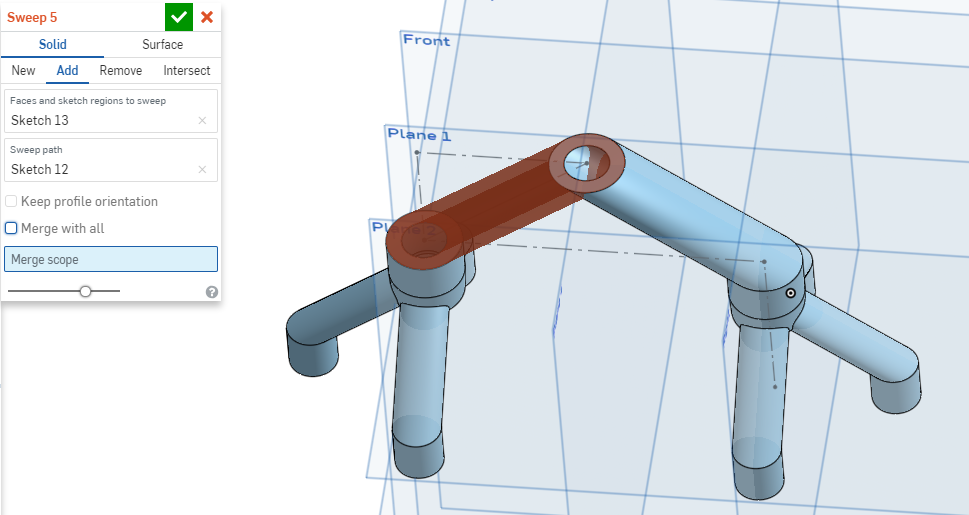
Next, I made the initial sweep at the base level and joined them together to make the first 'leg'.
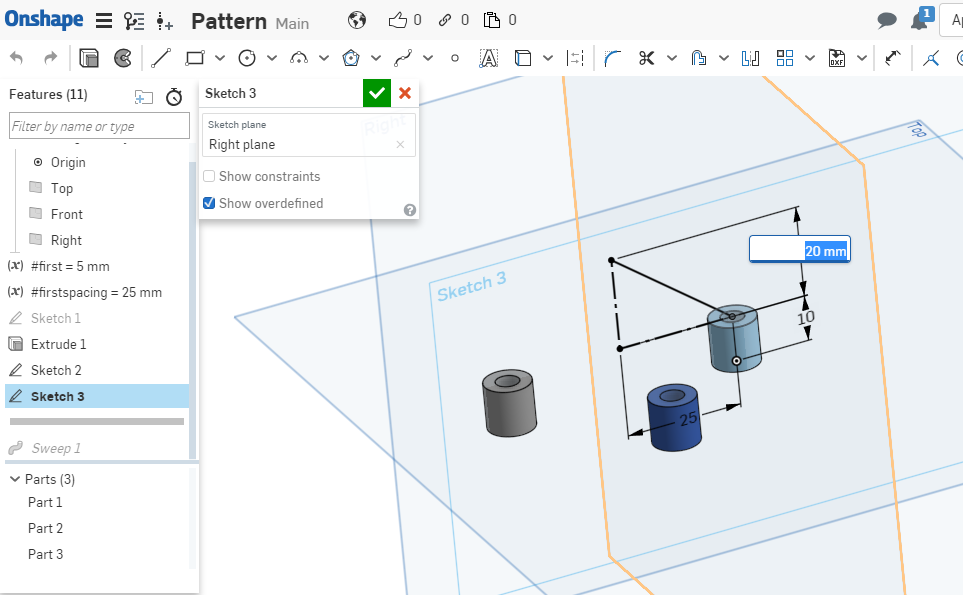
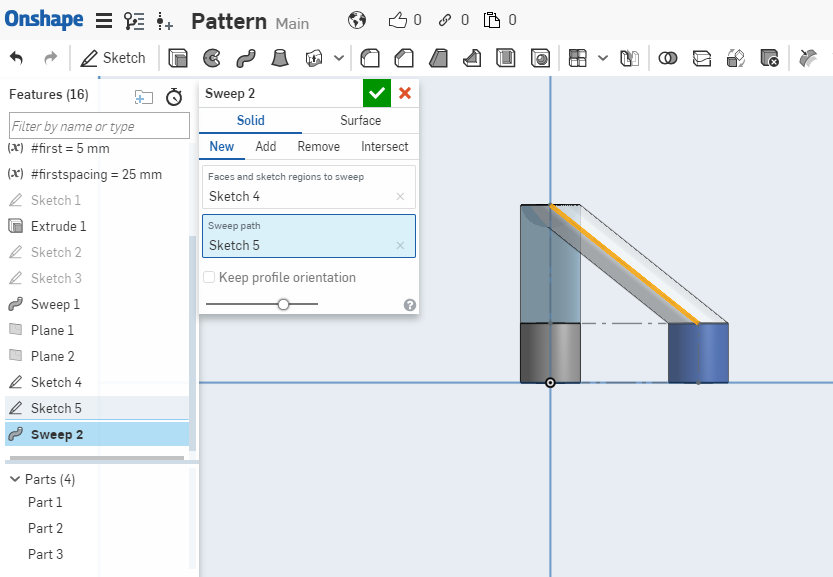
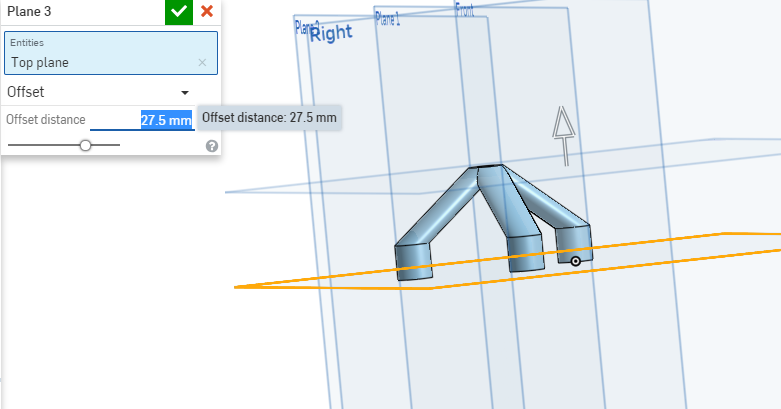
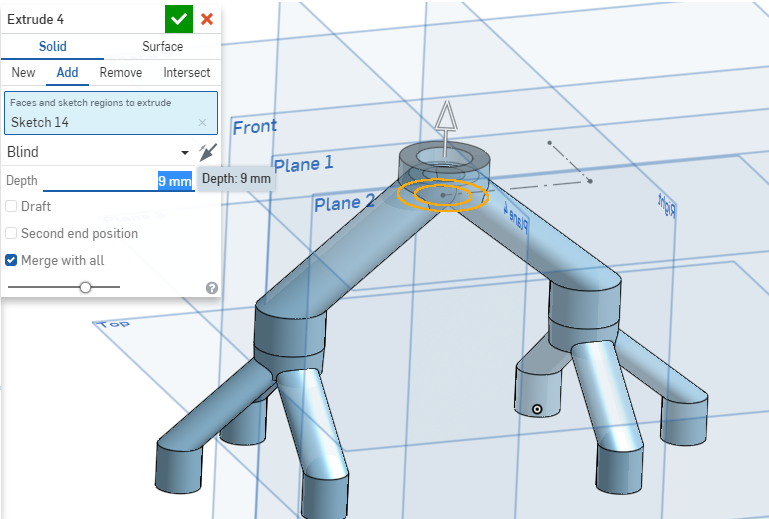
After this, I created a new plane above the part and mirrored it to make the second piece. Then I joined the part with another sweep to make a new layer still.
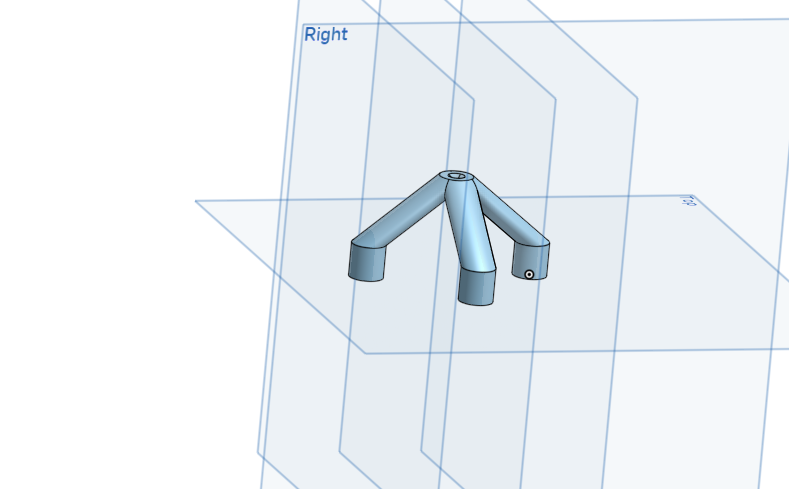
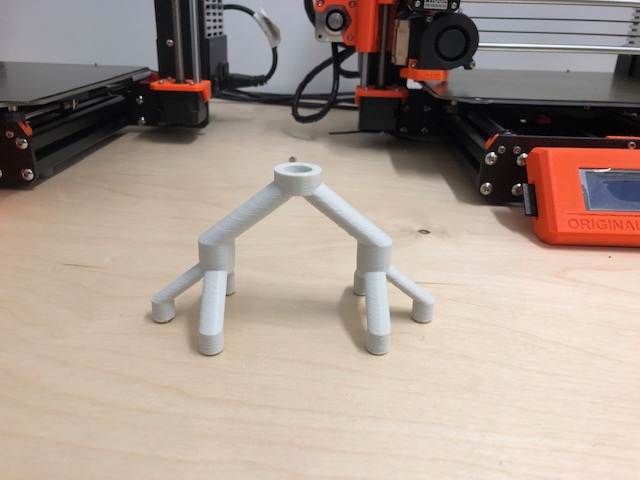
With the merge done, I could now create a new top part. The final design is shown below and is available here.
3D print the part
Next thing I did was to open the STL of the file in Cura, which I will use as the Slicer for this design. Cura is really great as you can set the parameters for the print - it's important to slice the design correctly so that it does not have any issues in printing.The current Cura build is pretty great because you can view how the final design would print by checking out the second tab. Cura also works very simply, I easily opened the file and loaded the STL.
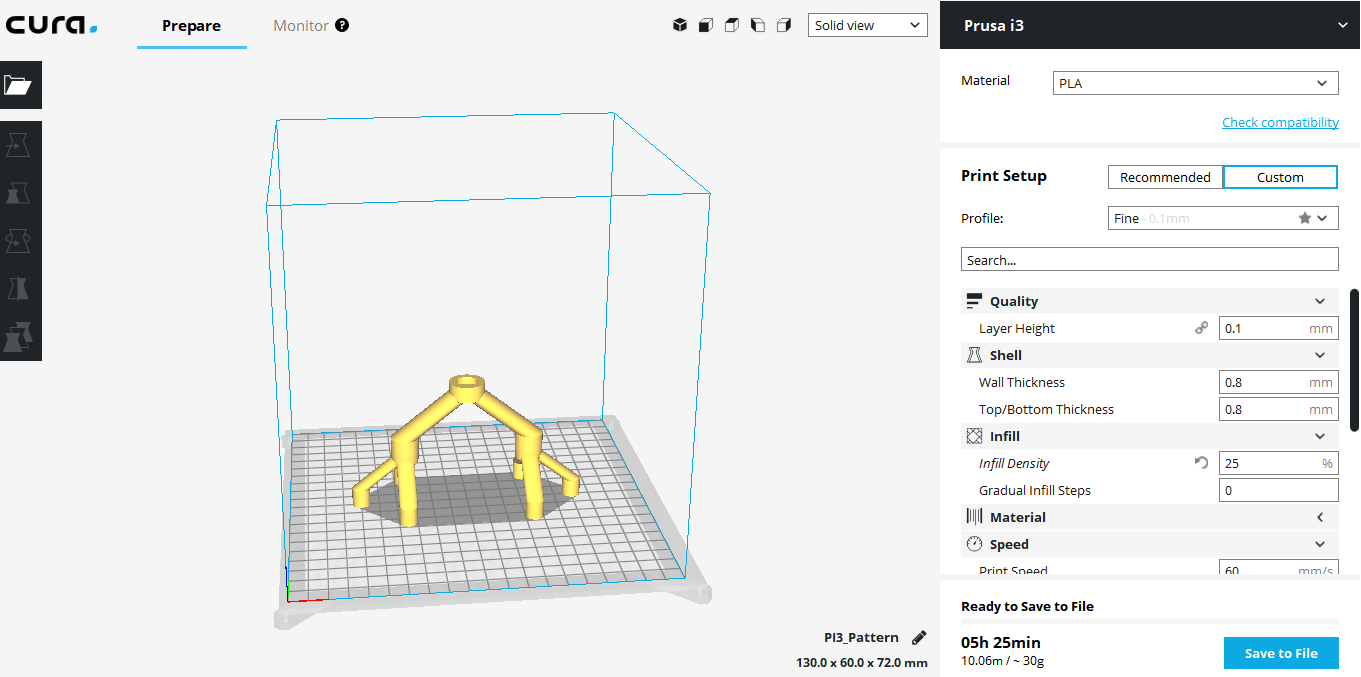
Next, I changed the settings so that it would print faster. Instead of printing with the Fine default settings and used the Low Quality setting instead. As this print is not a final product, it does not need to be very fine.
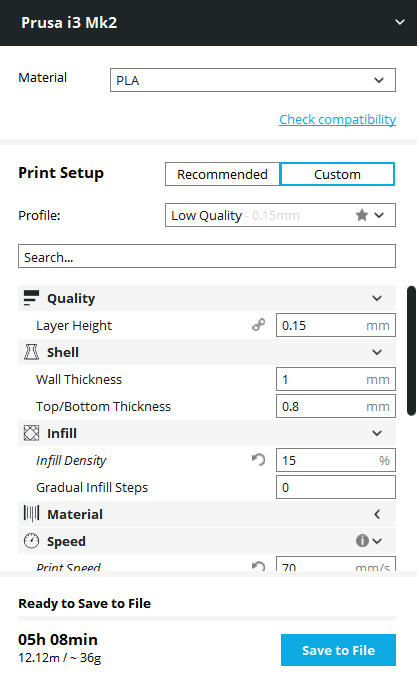
You can see how these changes affect the print time after it is sliced. This is why changes are so important.
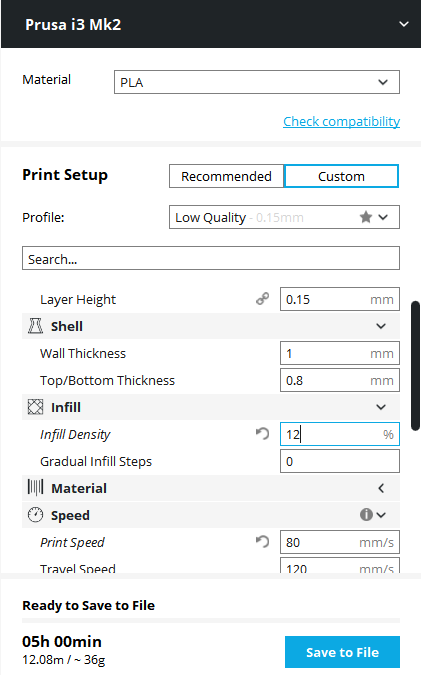
The other settings I changed were the speed and the infill density. Overall, I found that the most important thing was to choose the correct printer to start the slicing process. This way, the default settings for the height (z) are written into the G-Code. After this was done, I saved the G-Code and sent it to the printer. The G-Code is viewable here and the final print design can be seen below.
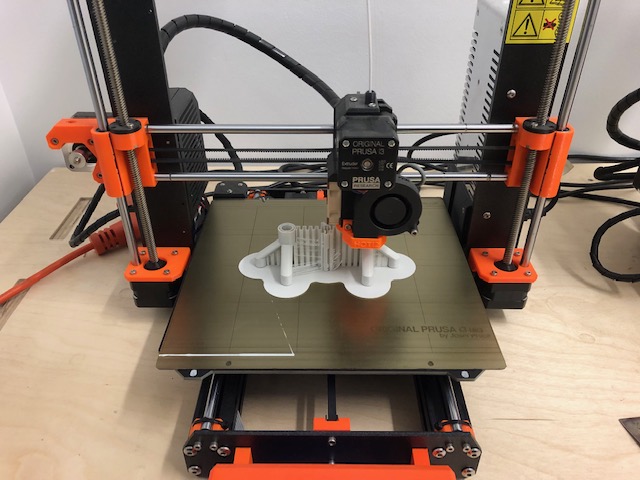
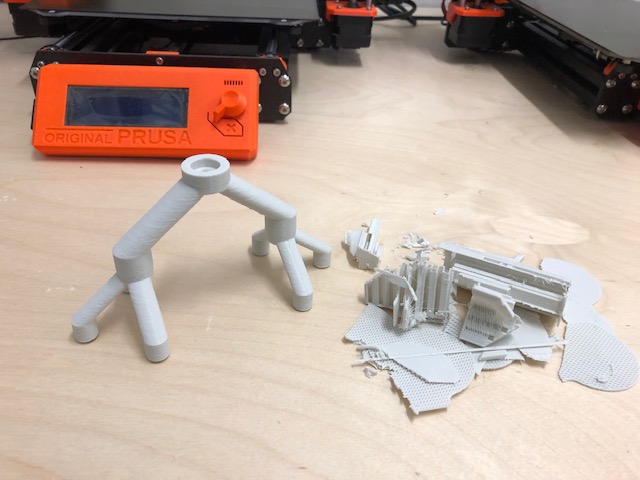
Reflection: The printer we use is the Prusa i3 MK3 and I made a couple of bad prints because my printer setting was initially wrong in Cura. It's best practice to try auto-levelling when using a printer for the first time so that you initialize the printer better.
Learn to use the 3D scanner
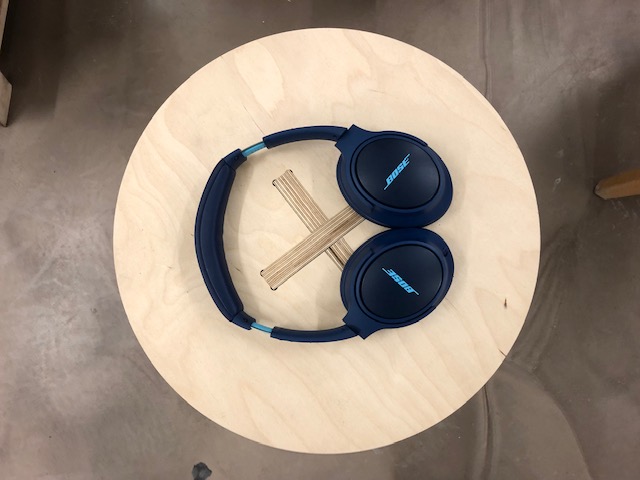
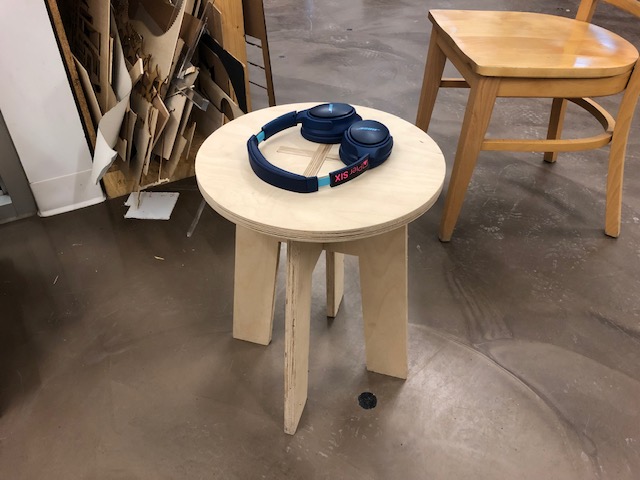
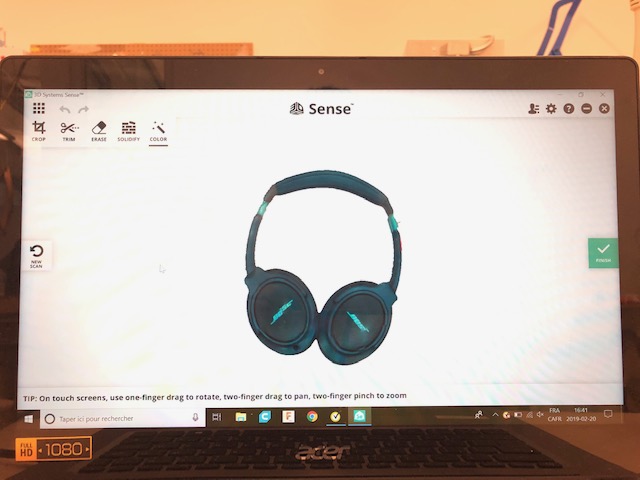
I had used a 3D scanner before but it was the Artec Eva which is much bigger. In the lab, we have a Sense scanner which I had never used before, but felt it would be really interesting.I decided to scan my headphones, as it gave a good contrast to the wooden board. Contrast is important for any 3D scanning as the light from the the scanner needs contrast to recognize the part's texture.
A good understanding of light and contrast is explained by 3D Systems, the same document also explains the different 3D scanning technologies.
After this, I was able to make a good scan. The key is to be move slowly around the object while keeping frames from one point to the next, this way the scanner can recognize the pattern of the object. When you move too fast, the scanner looses the path and has to find it again.
It also helps if the scanner can easily tell your base apart from your object. This means that there needs to be space between the object and the boundary of the base. Many people use a turntable so that they can keep the camera stationary while they rotate the object. This makes sure that the scanner is always in the same frame as the object.
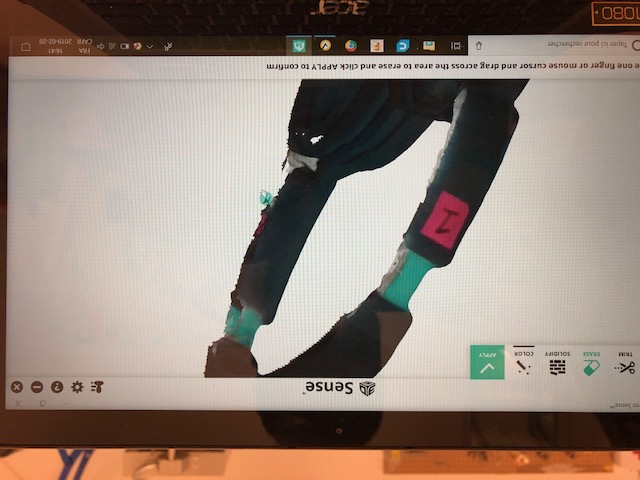
Once the headphone was completely scanned, it was important for me to clean up the scan. This is because when a scan is being done, the scanner picks up some other edges that are not a part of the object. These edges can be removed by using the tools in the Sense desktop app, like Erase or Trim.
When that is done, the scan can be 'built'. This is to make the scan is not hollow and can be 3D printed as it is.

Reflection: 3D scanning needs good light as well as a non-reflecting surface of the object. I also learnt a lot about completing scans by finishing up using the Sense software which I had never used before.
Another thing to think about here is how to close the base of 3D scans. Normal 3D scans have a base that you can cover very easily when cleaning up. However, many bases are not flat. What do you do then? I think the solution may be to iterate on the surface and combine different scans together - which is possible.