Assignment Three: Use different design tools + model a possible project
For this assignment, we are to use a CAD tool of our choice to render a 3D model for what our project could look like.I'm going to use Onshape, because I'm really familiar with the tool and it is accessible from any computer connected to the internet. Prior to the course, I've been an avid Onshape user for about 2 years. But in addition, I want to experiment with OpenSCAD - so I will find a way to maybe use it to represent one of my project ideas.
2D: Inkscape
As seen on my final project page, one of my ideas is a device that can be used to monitor progress but also useful as a keyholder.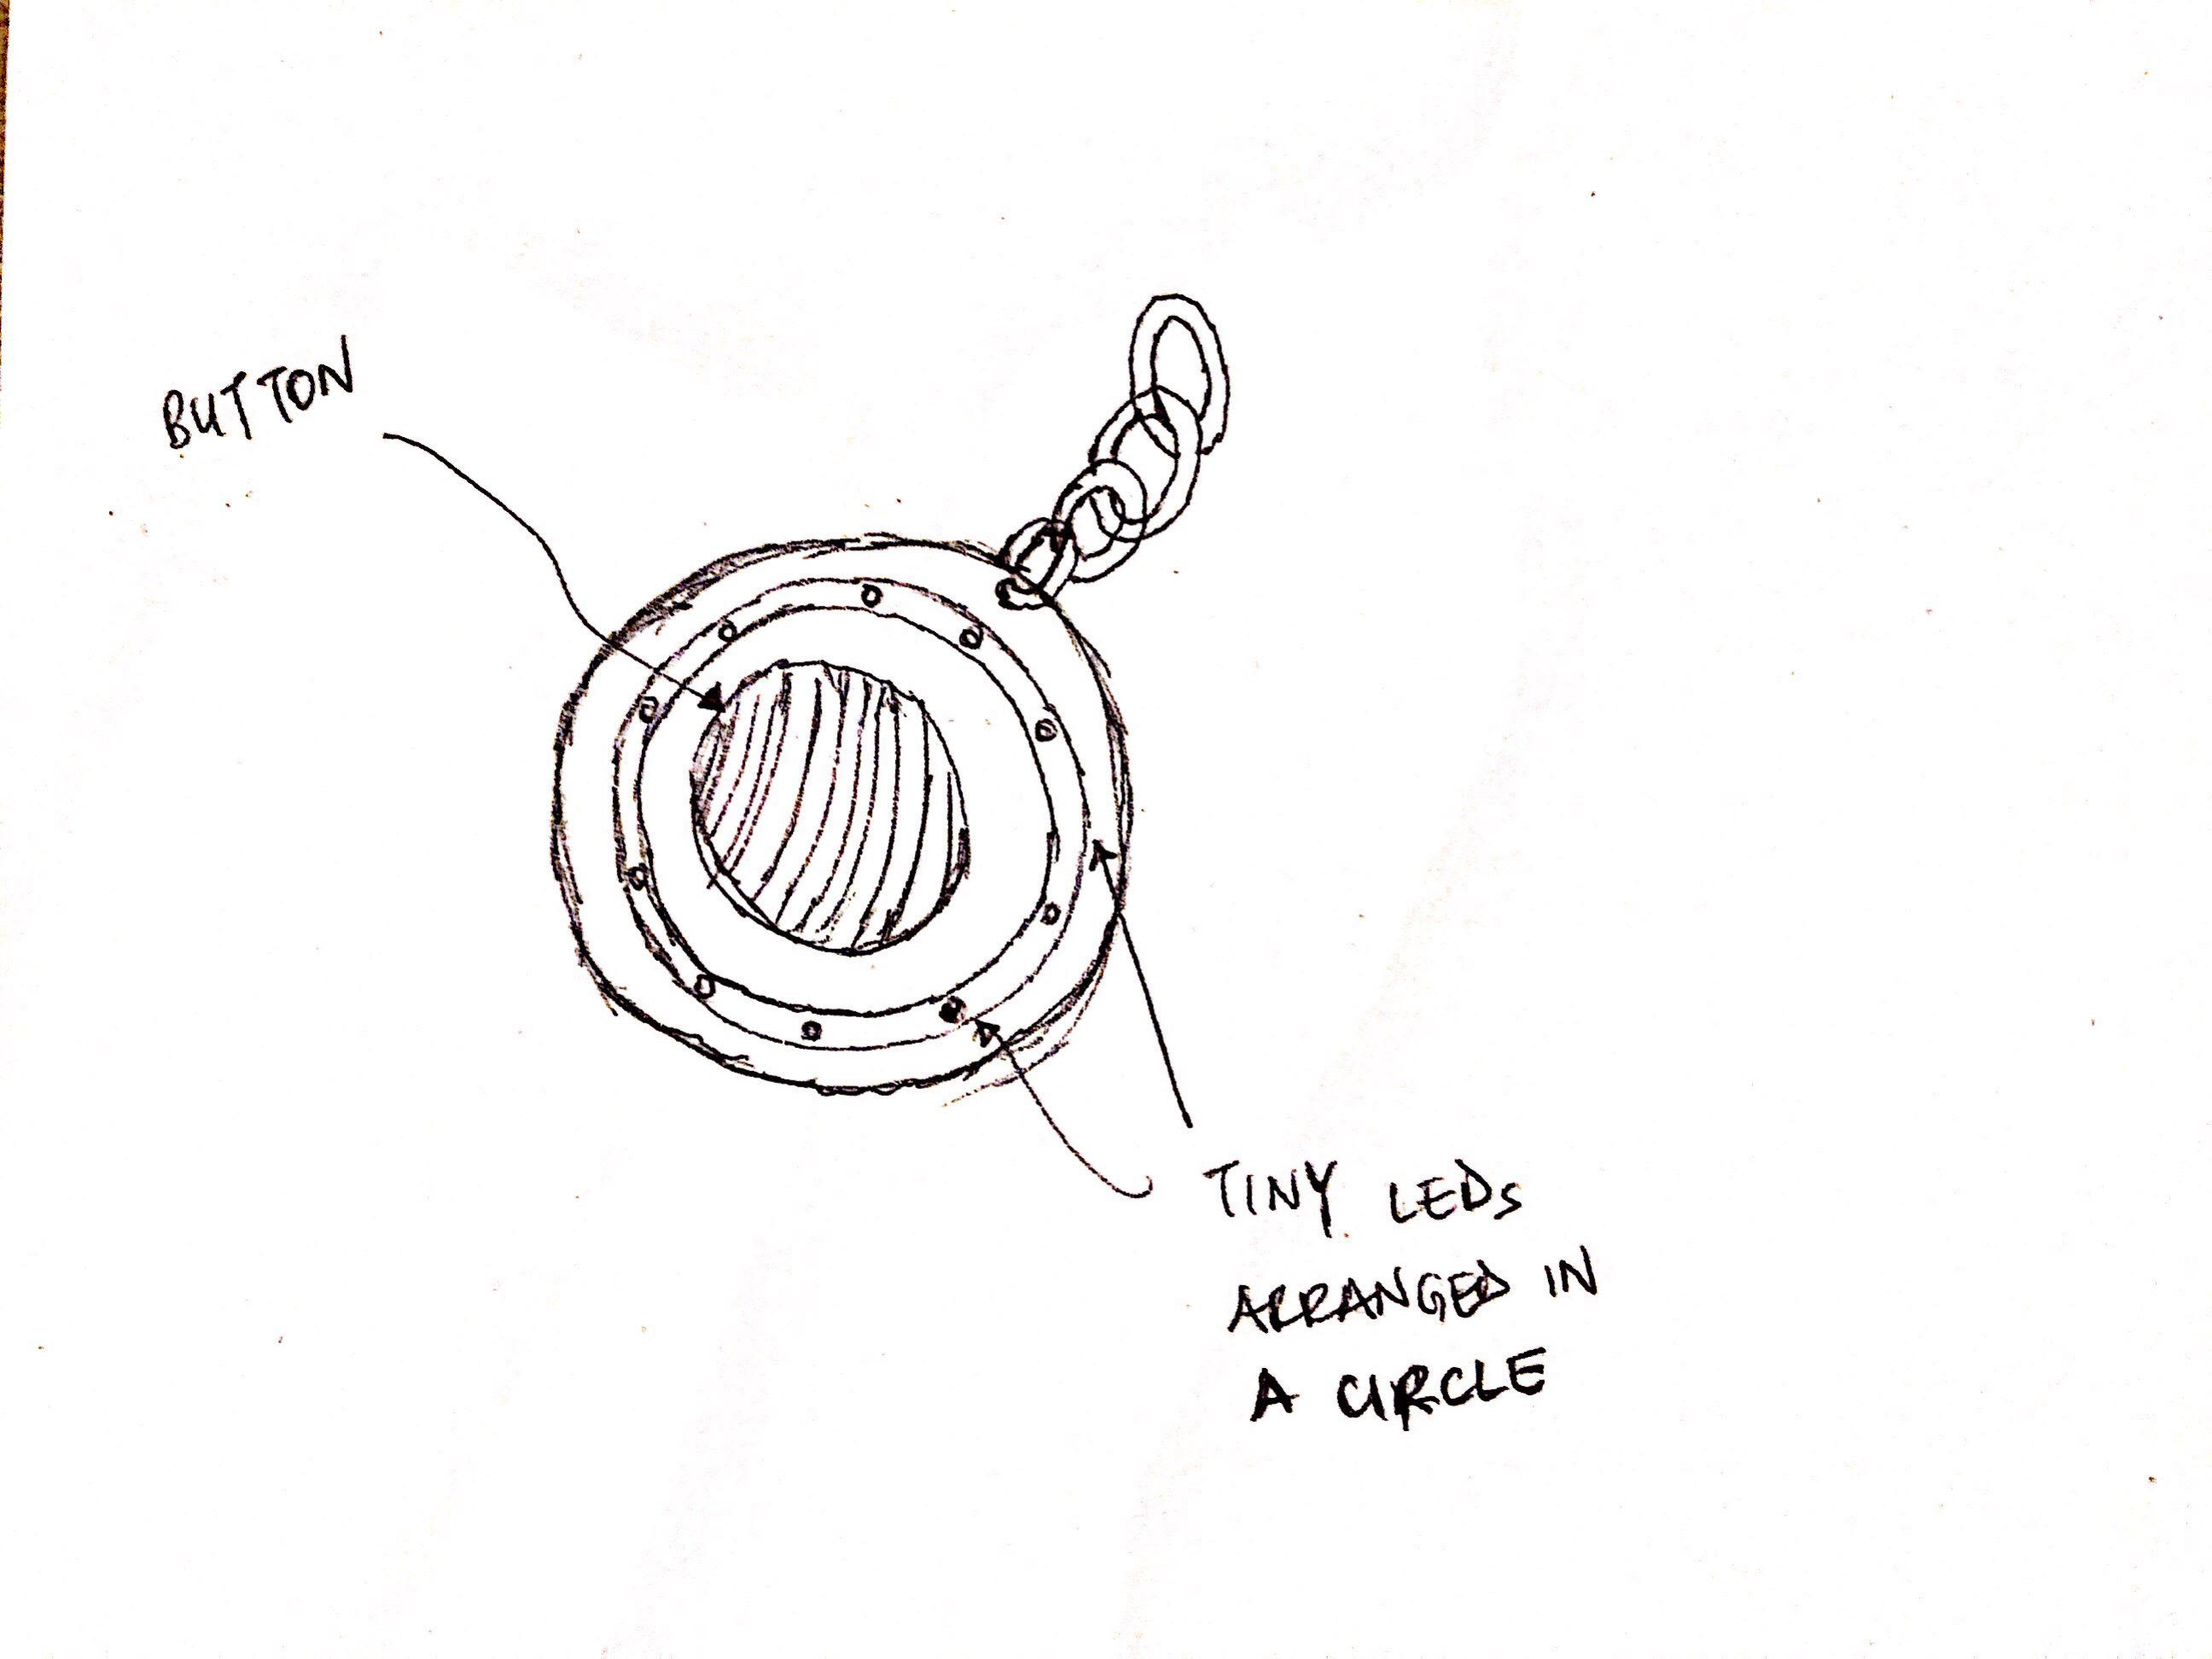
One of the features of the sketch as shown above are 10 circles that are equidistant from the centre and from each other, the best software to represent this is Inkscape. So first, I created a new sheet in Inkscape and resized it to be 500mm x 500mm. Then I created the circle of the diameter of path that I wanted the circles to be in. After this, I created the circle size.
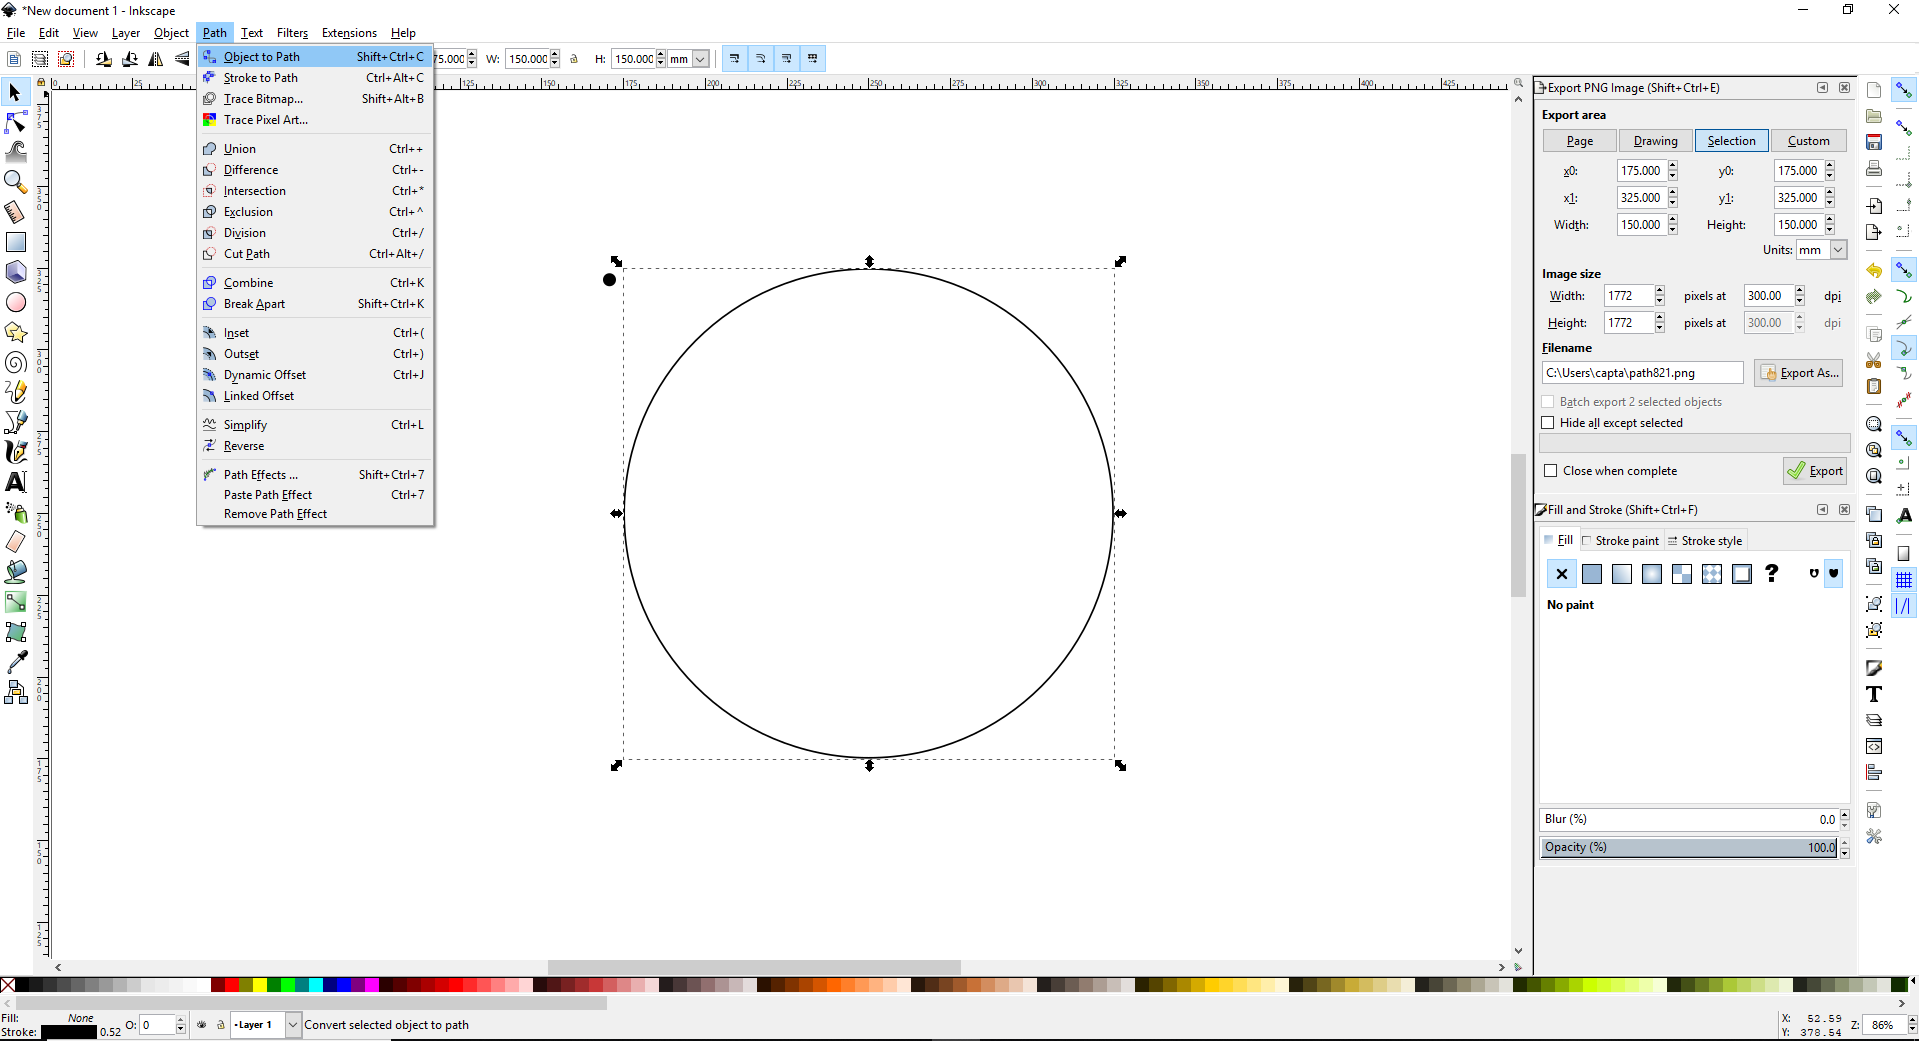
I find the Inkscape user interface very useful, but some of the tools, like Resizing the sheet need you to use shortcuts like Ctrl + Shift + D. This can be confusing for new users especially those not familiar with shortcuts. Another great thing about Inkscape is that you can save into a lot of many different formats.
Then, I created the pattern using the Generate from path tool.
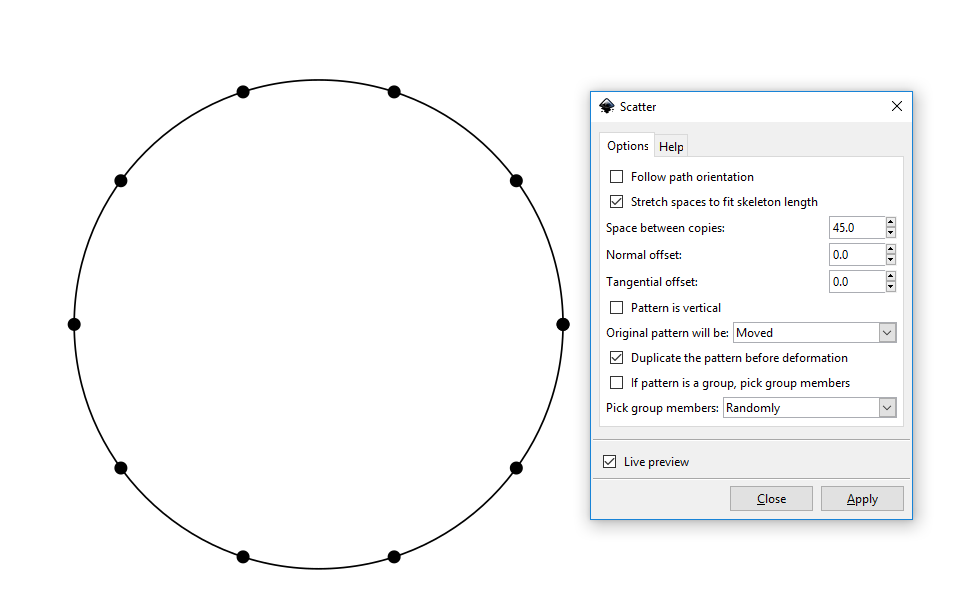
After this, I created the bigger circle that would be the face of the device.
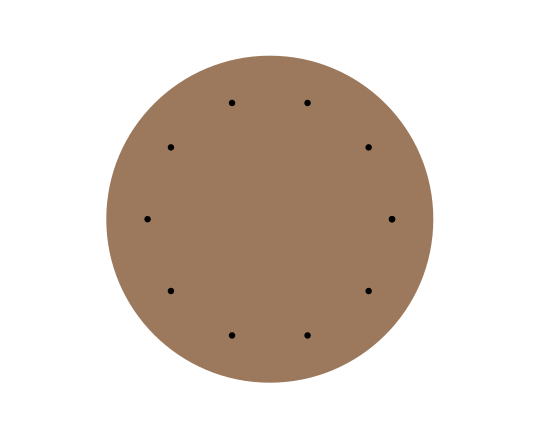
And used the difference tool to create the holes in the circle. In the final design, there will be LEDs showing through the ten holes.

After this, I saved the SVG file here. My initial plan was to extrude the SVG file into OpenSCAD and create a 3D model but I had issues with downloading the pstoedit software that would convert the SVG to DXF which OpenSCAD uses for extruding external files.
2D: GIMP
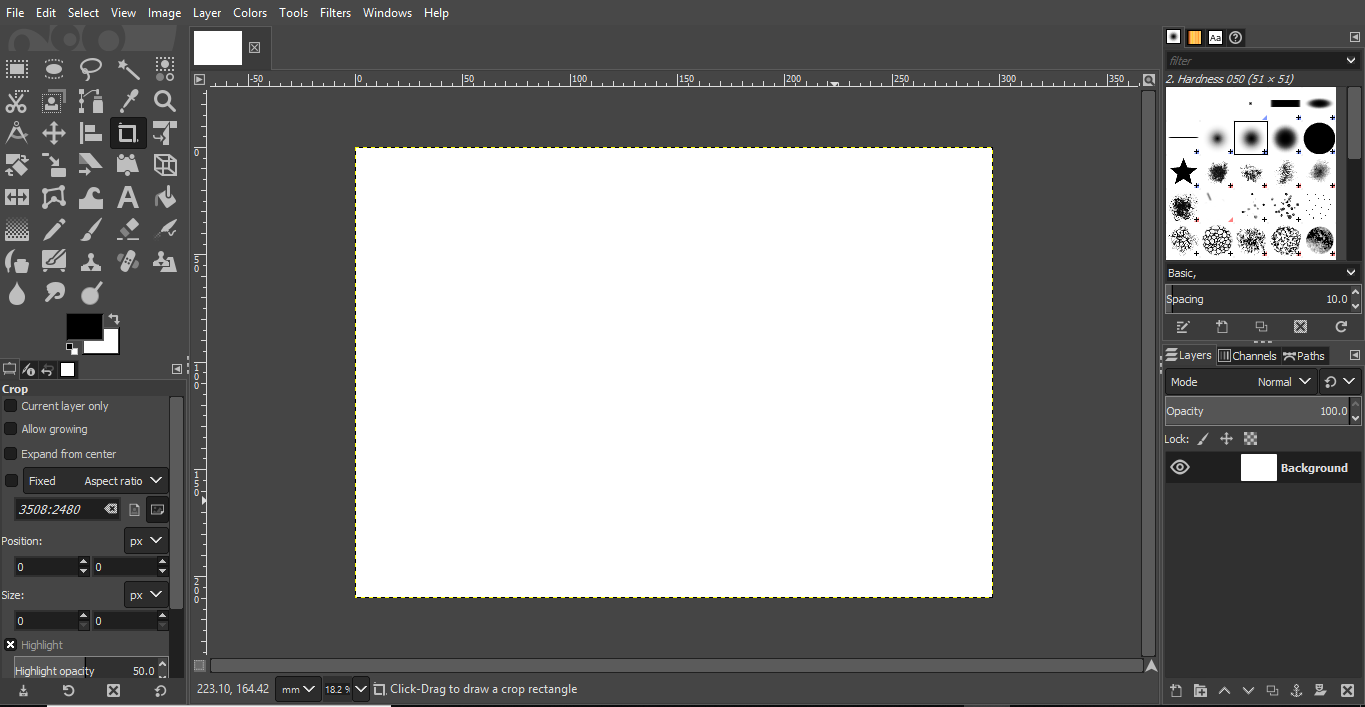
To test out GIMP, I tried to design the same thing I just did with Inkscape. But then I discovered that GIMP is better for manipulating images.As it was my first time using GIMP, I had to use the manual which felt easy to use. In GIMP, a new document is not opened automatically so I had to create a new one as the first step.
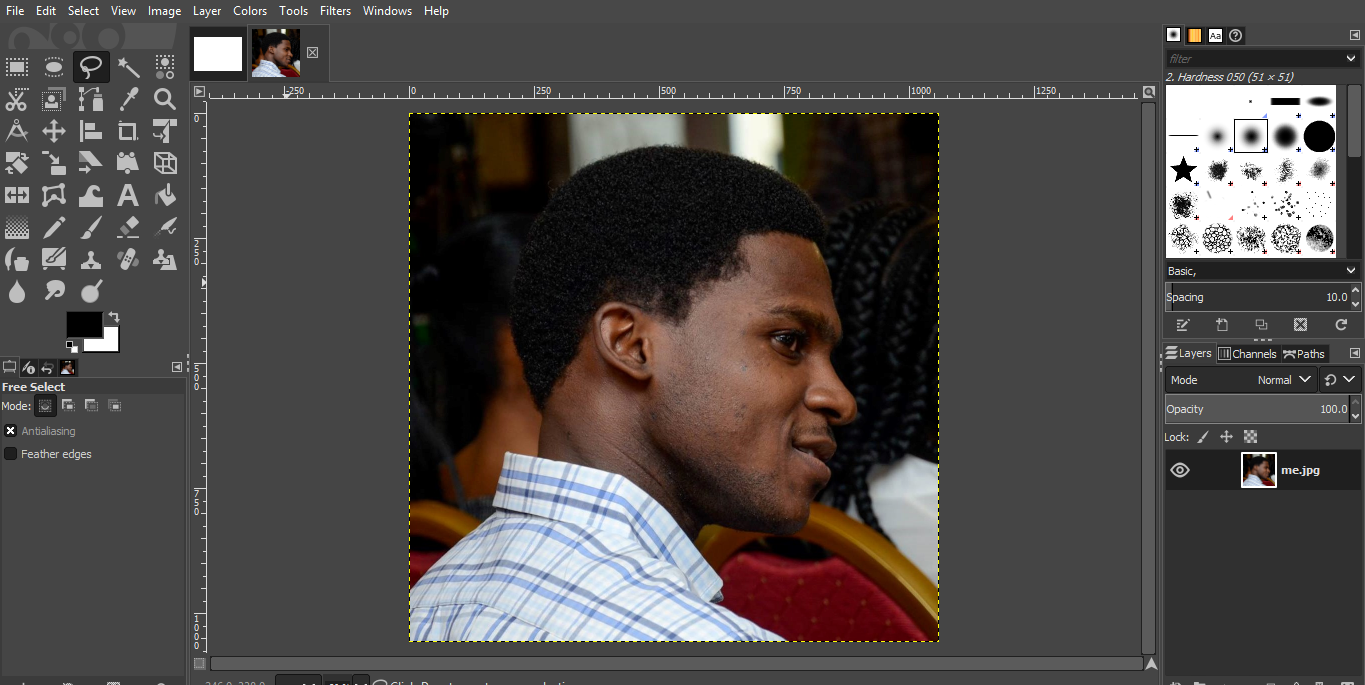
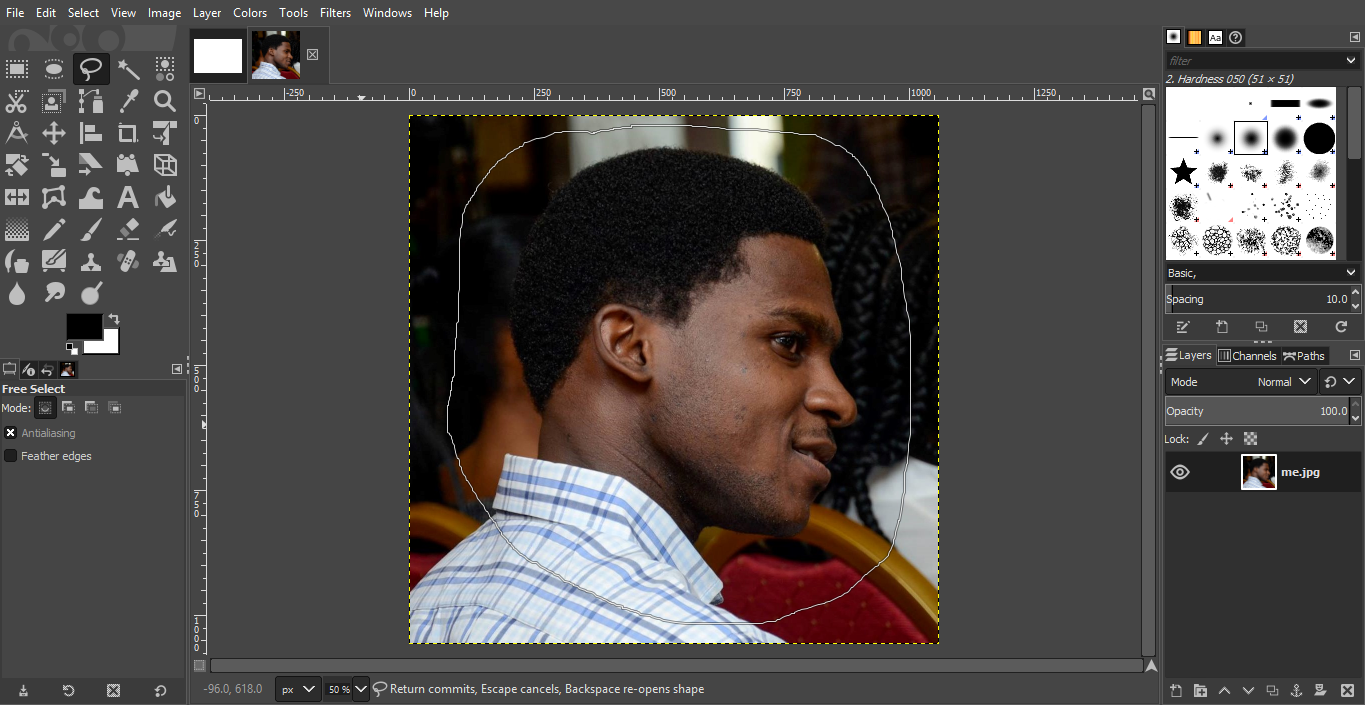
Then I loaded a picture I wanted to manipulate into GIMP and used the Free Select tool to draw a circle around the head.
Using the Scissors Select Tool, I cut a trace around the head to generate an interesting shape. But the next steps were crucial too: I made a background select by inverting while using the Select tool, then used the Bucket Fill tool to change the background colour to dark red.

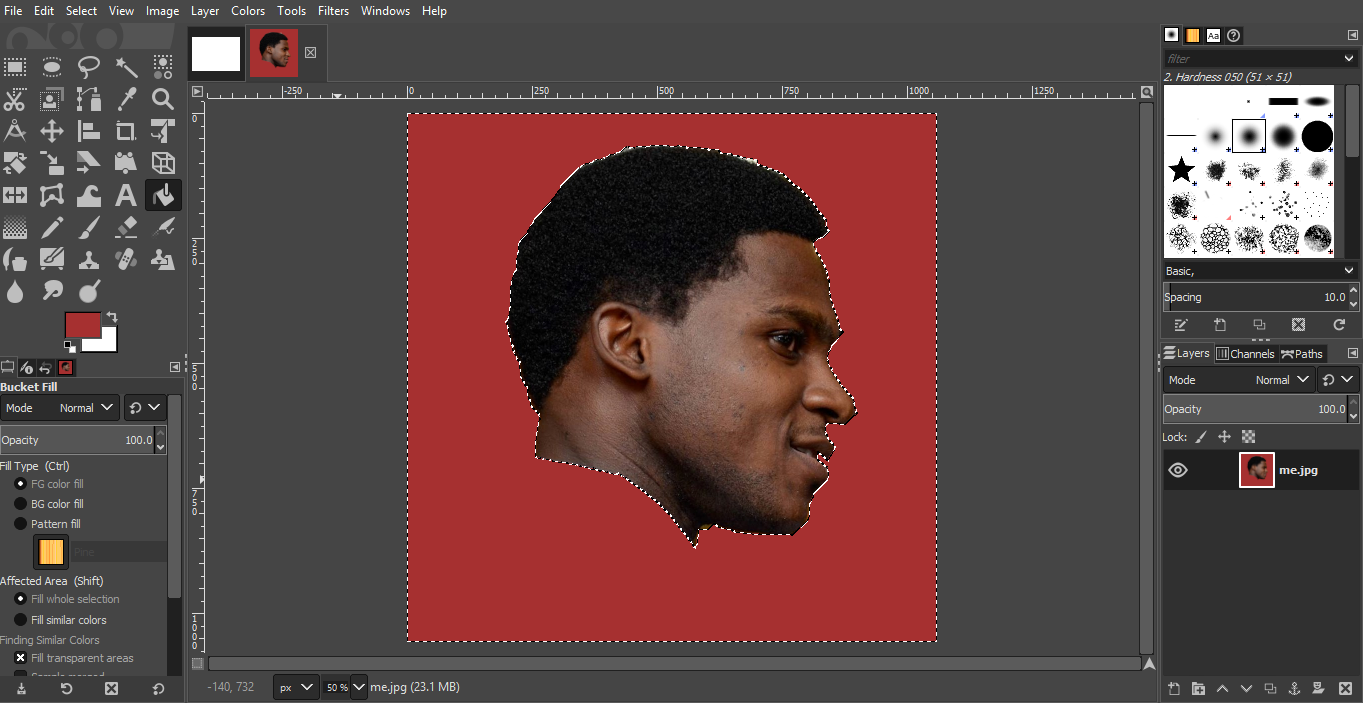
The last thing I tried to do was rotate the image, I wanted to have two images facing each other even though they were inverted. I did not succeed and my final file is here.

Reflection: This was my first time using GIMP and it wasn't so difficult to use, however I had a problem with flipping the image when I had done some work with it, I think the solution might be to make the background transparent I will try it again later.
3D: OpenSCAD
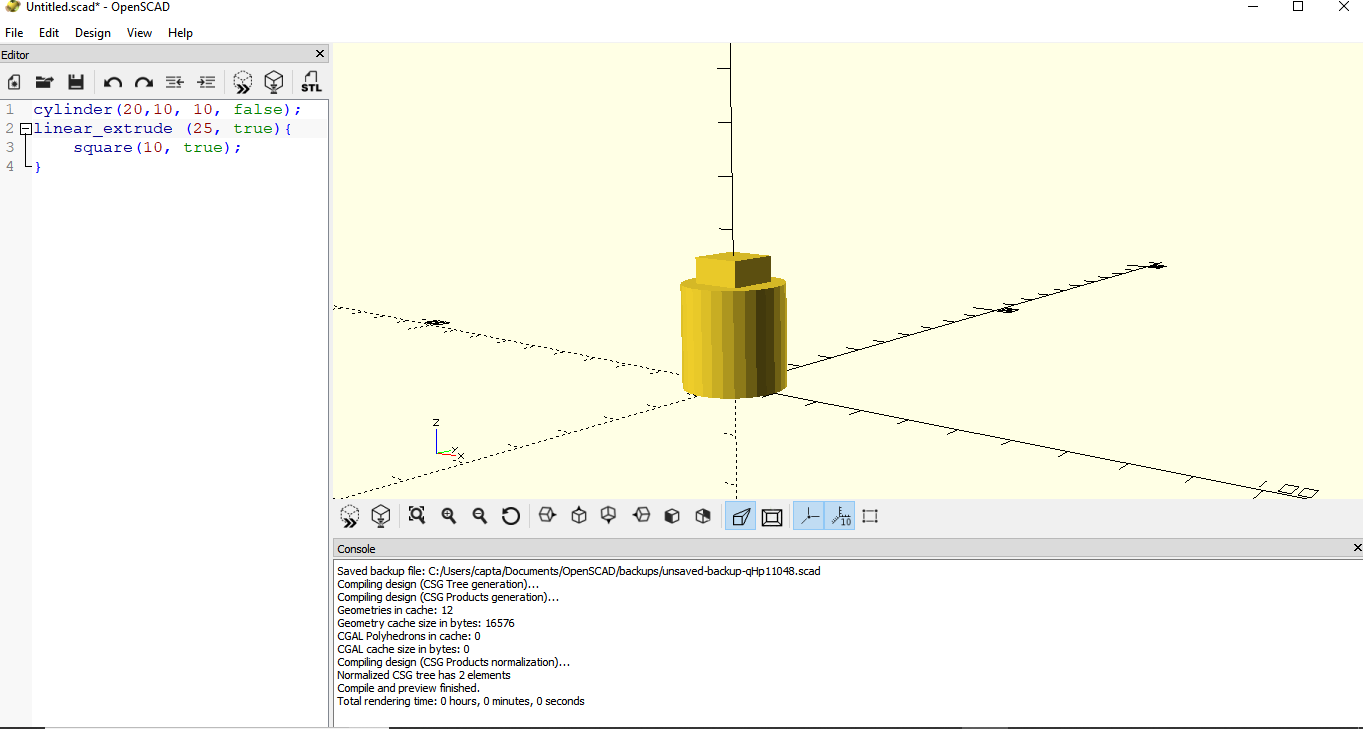
To begin my experiment with 3D design, I decided to try out OpenSCAD.I think it's a very interesting tool as you can just code the parts you want - it can be quite interesting as a single change in parameters can affect how a 3D object is rendered. I decided to try out a cylinder design with variable diameter.
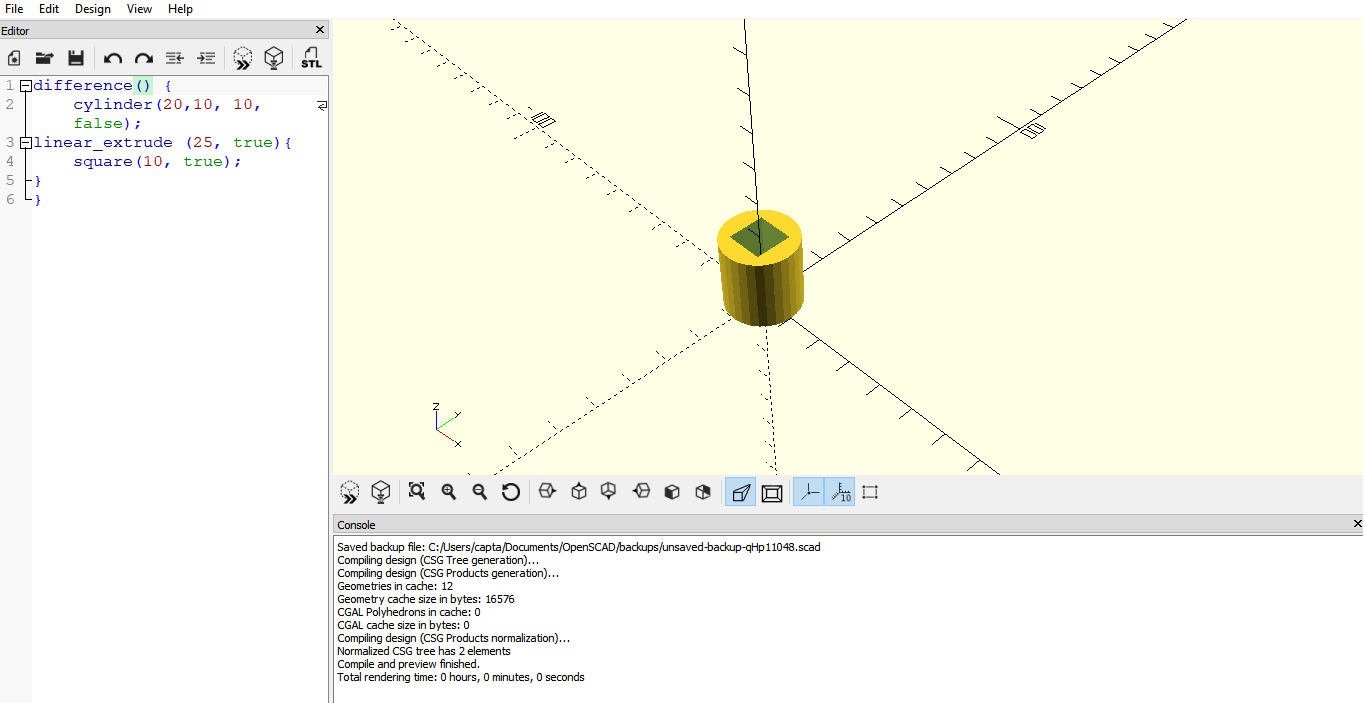
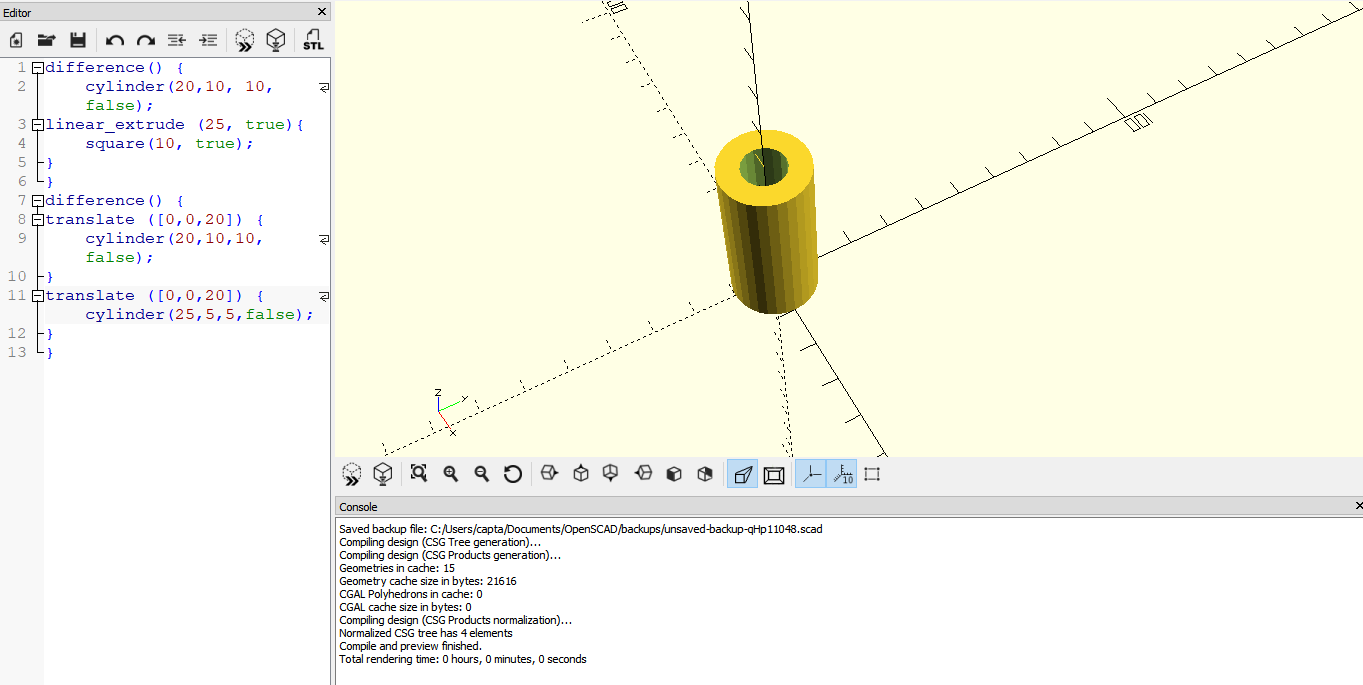
There are many ways to create a cylinder, one is using the native command but I also saw that I could create a cylinder and give it a square hollow by subtracting the difference - all these by being careful with the code. Interesting!
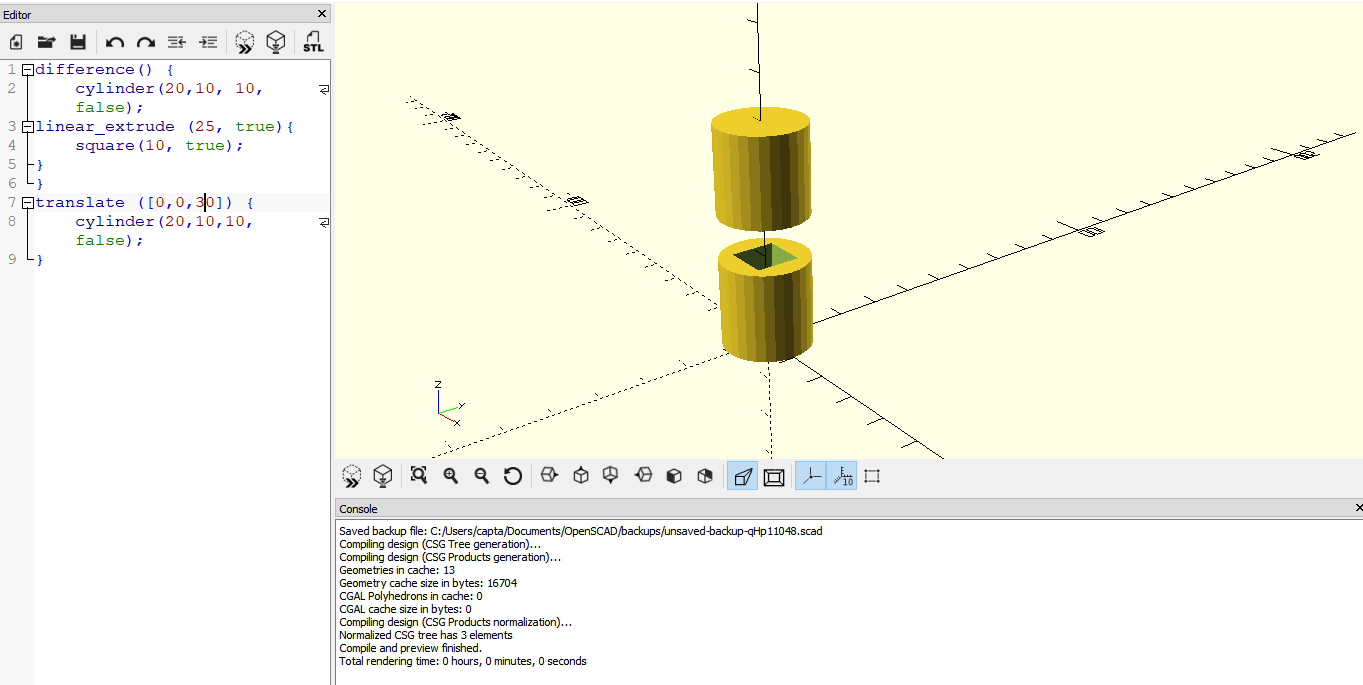
I also tried building a bigger cylinder on top of the previous one by extruding on top of the base here. By carefully editing the code, I can even make a new hollow cylinder go through the new addition to the part.
I also tried out using the hollow square as a parameter. By changing that parameter, I can make multiple sizes of the inner square quite easily. OpenSCAD called these functions, which are very useful to tryout new things and can be defined by equations. What I did below was to change the internal diameter of the hollow cylinder, see how easy the code makes it.
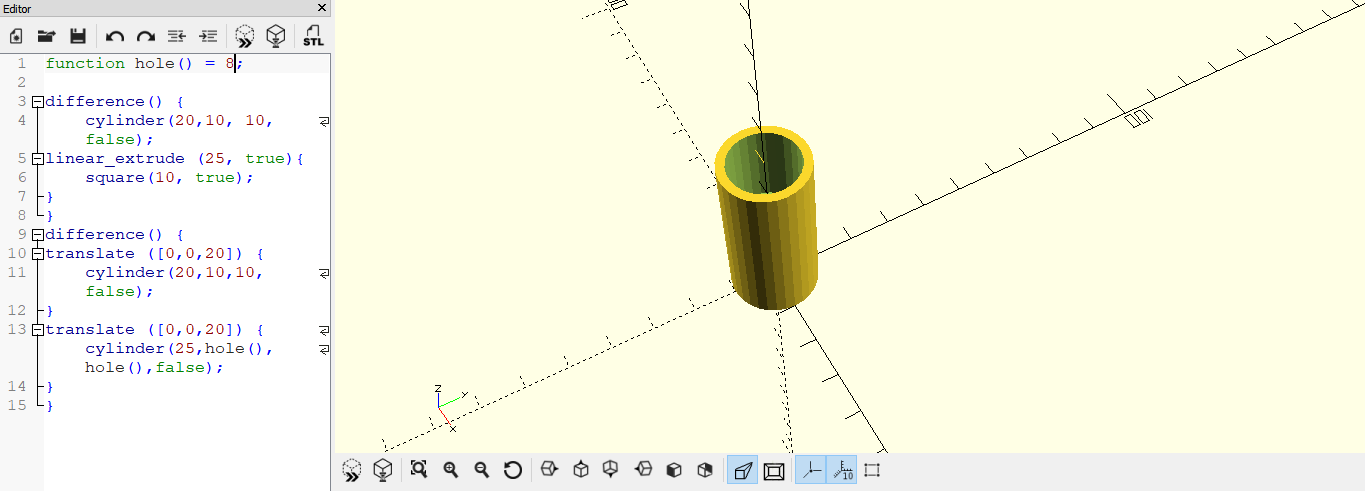
The file is available here and can be easily edited to change the internal diameter.
Reflection: I think OpenSCAD is very useful especially the ability to simply code what you want into the design and get it done quickly. I have some fun ideas of things to create with it.
3D: Onshape
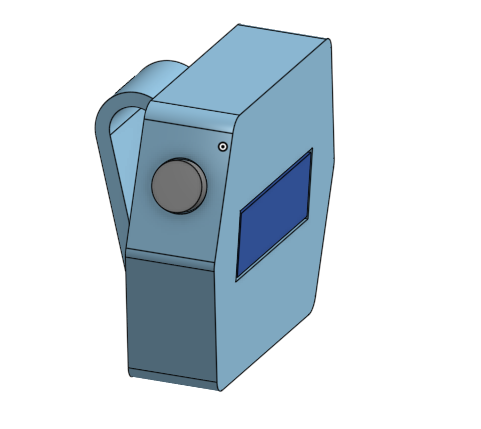
Next, I tried out Onshape. I had already had some experience using this, and I'm very comfortable with it. One of my other ideas, is to create a reminder for couple's in a long distance relationship.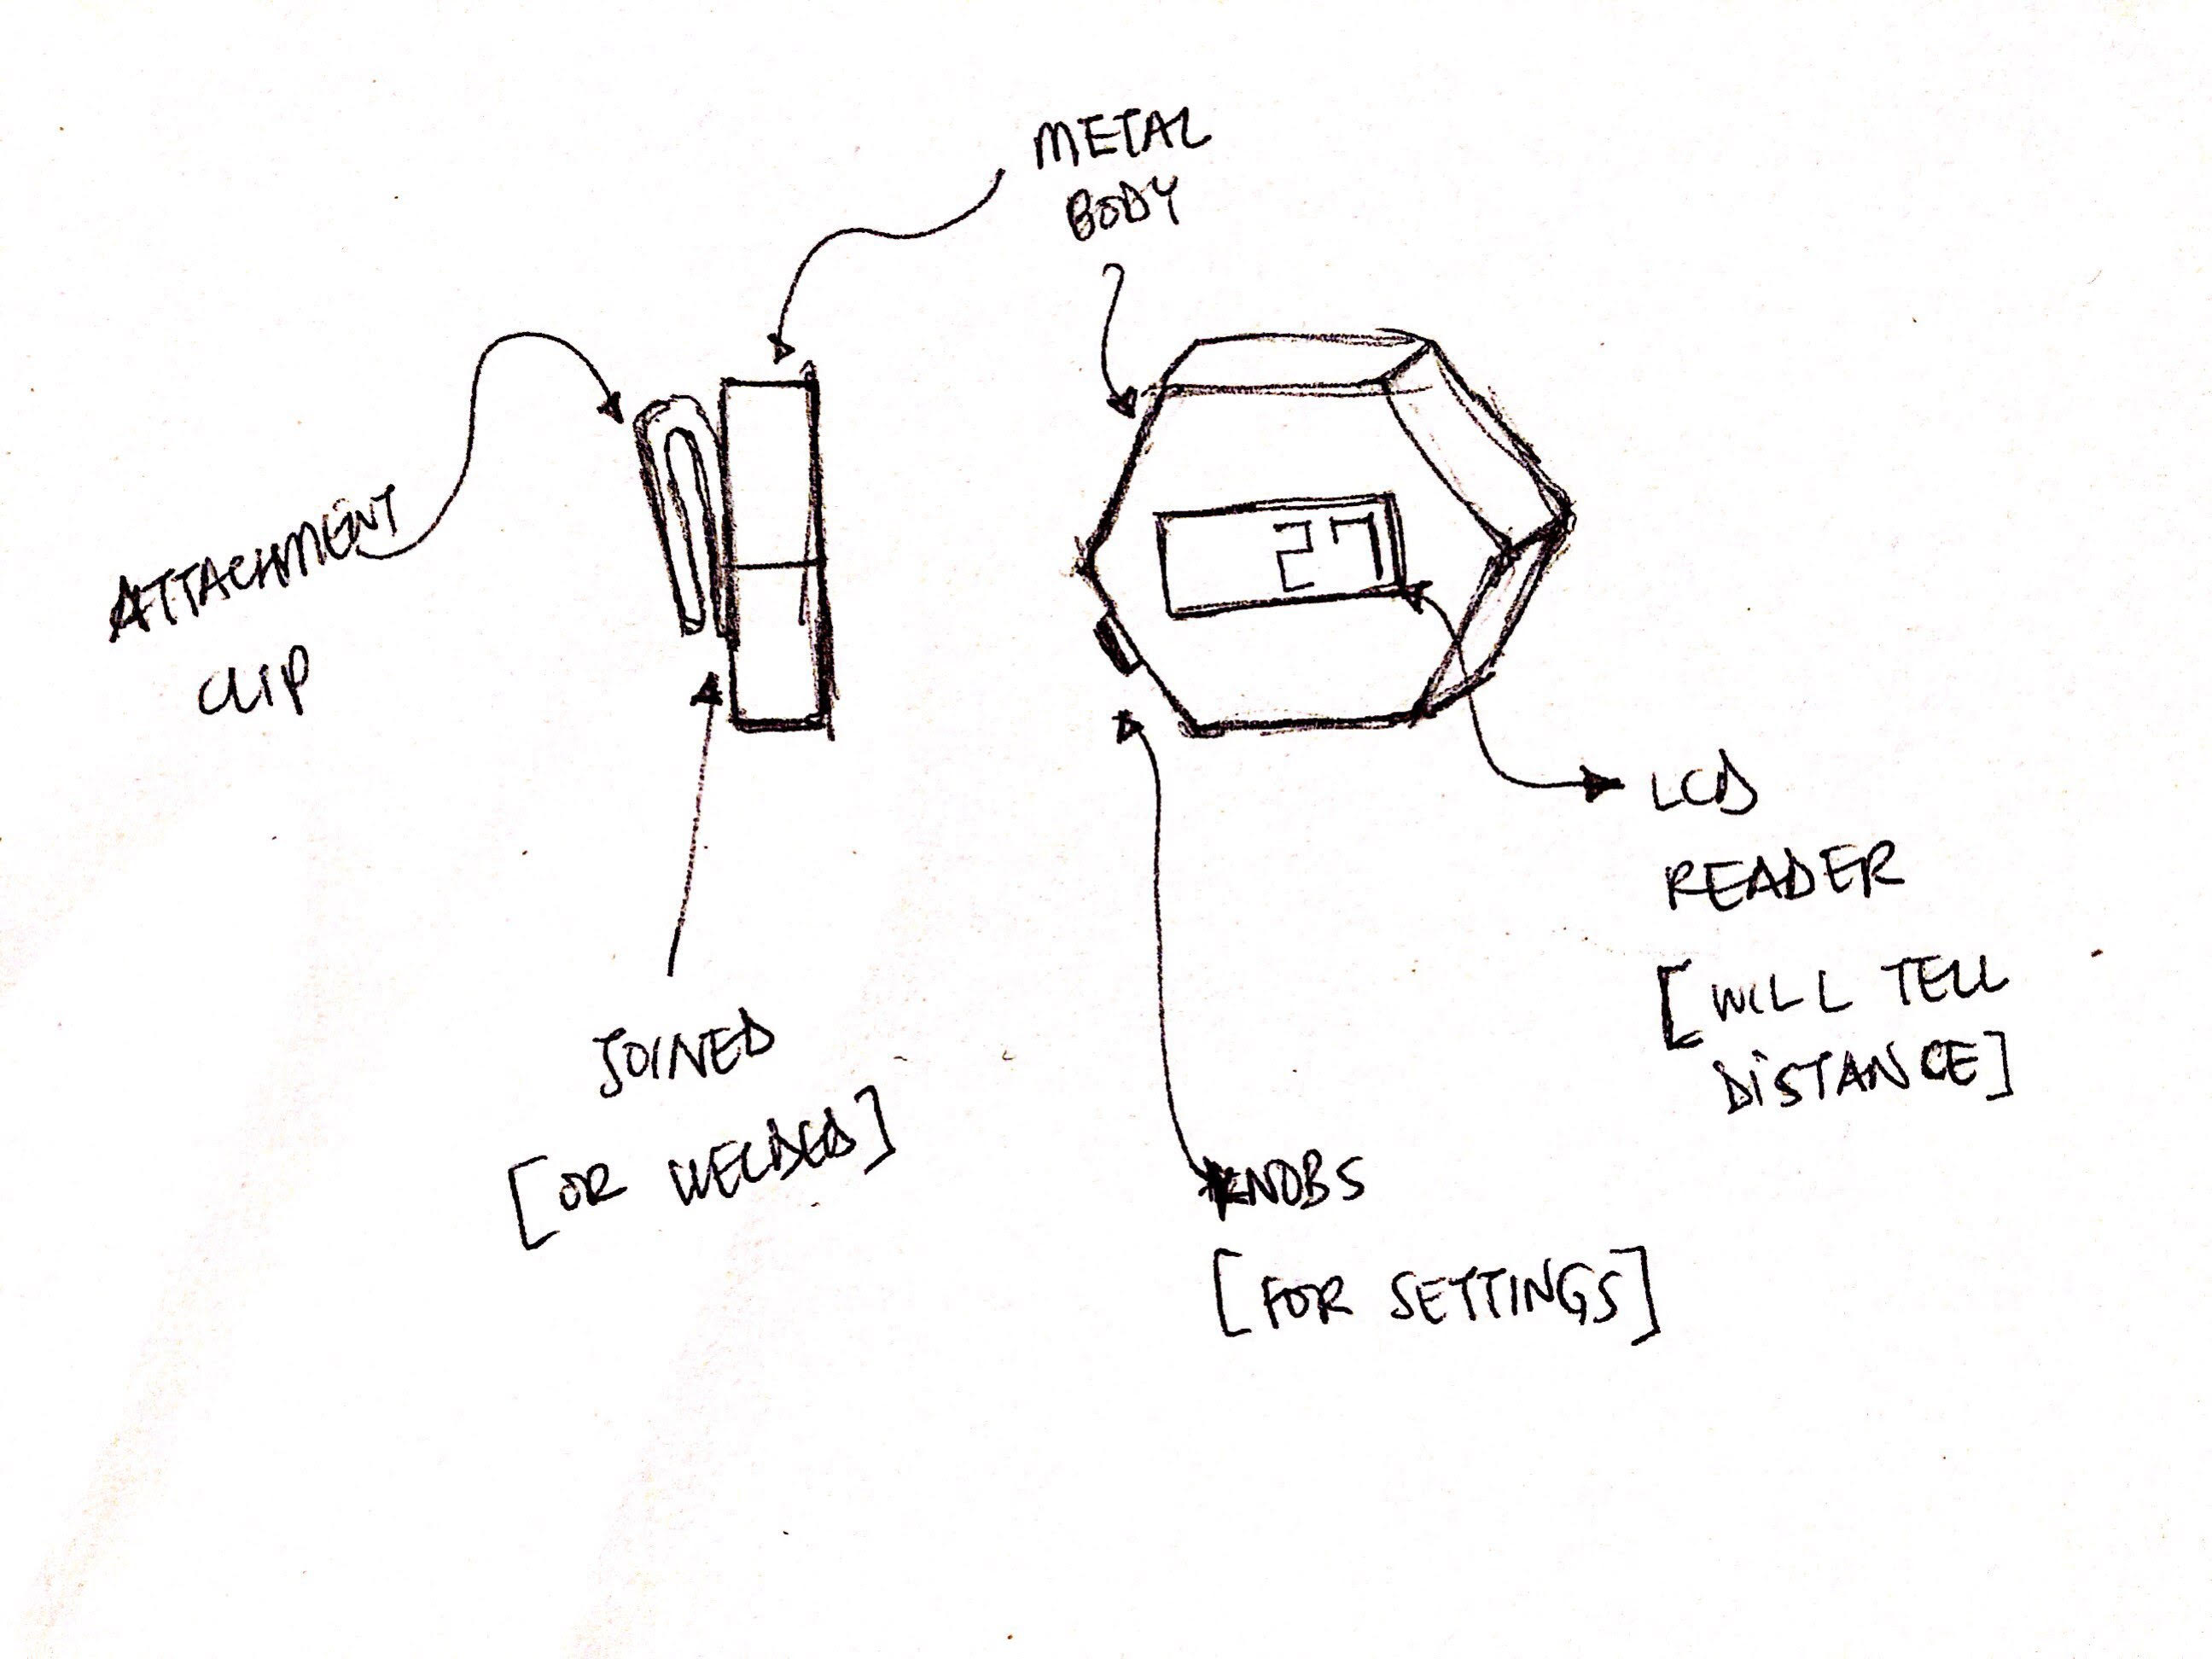
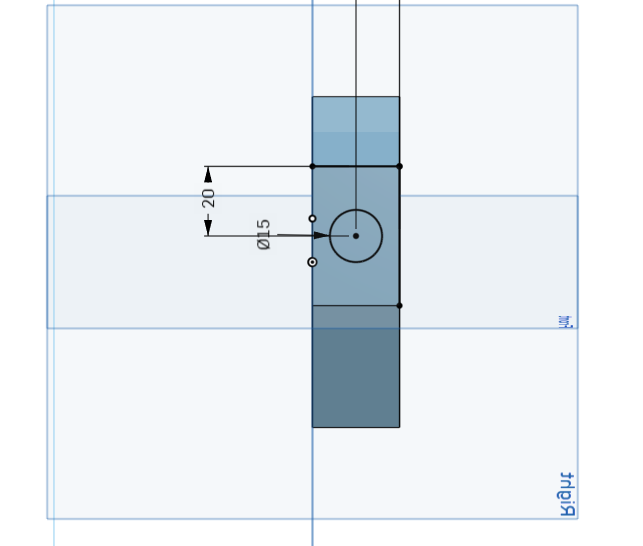
In the sketch above, there is a screen, button and clip behind the device. These are the components that I will design components for. To start off, I will create the basic box using the Sketch and Extrude commands.
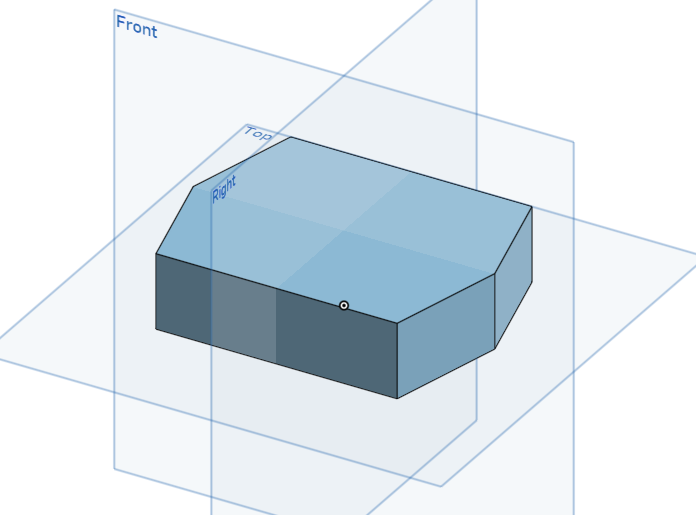
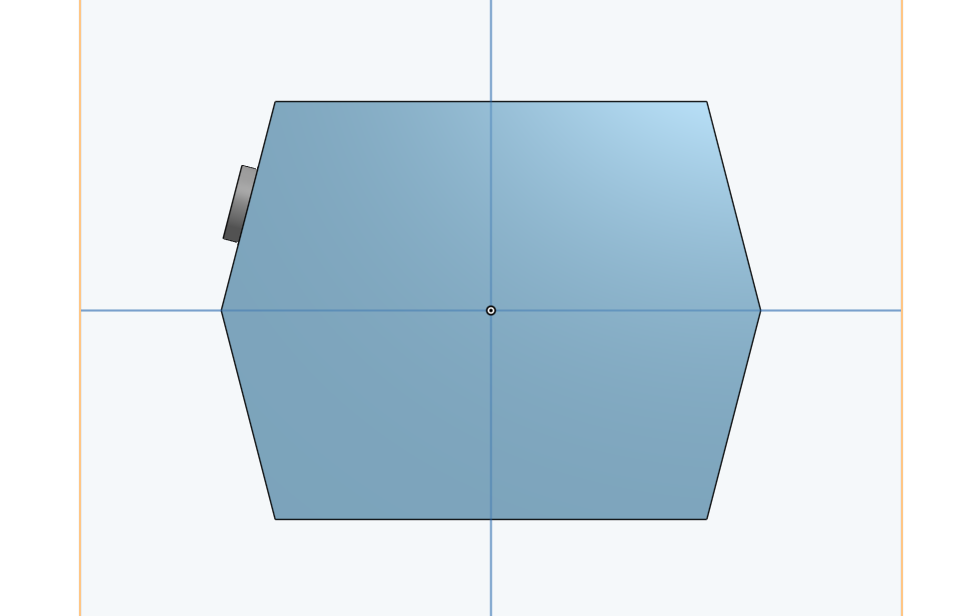
Next, I added the button on the top left side of the device.
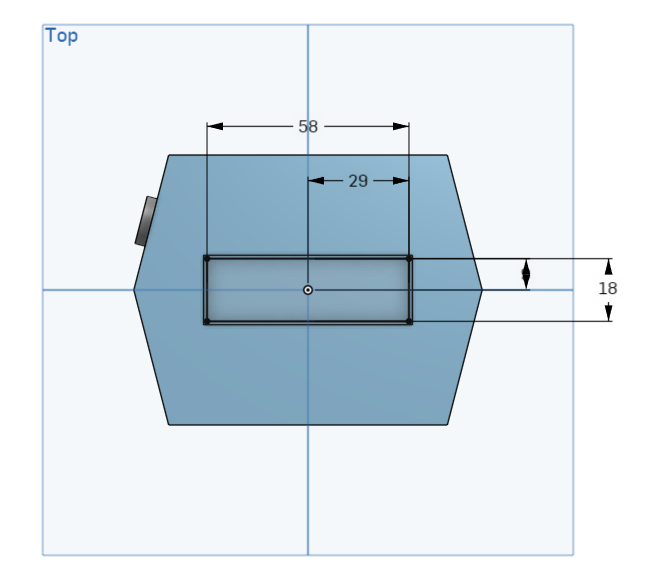
Next, I added the front screen - the part of the device that will show how far apart the paired devices are. This should be a little LCD, so I coloured it blue.
The next step was to create a clip, which could be used to wear the device. I used the Sweep tool for this and created a new plan for the cross-section of the clip.

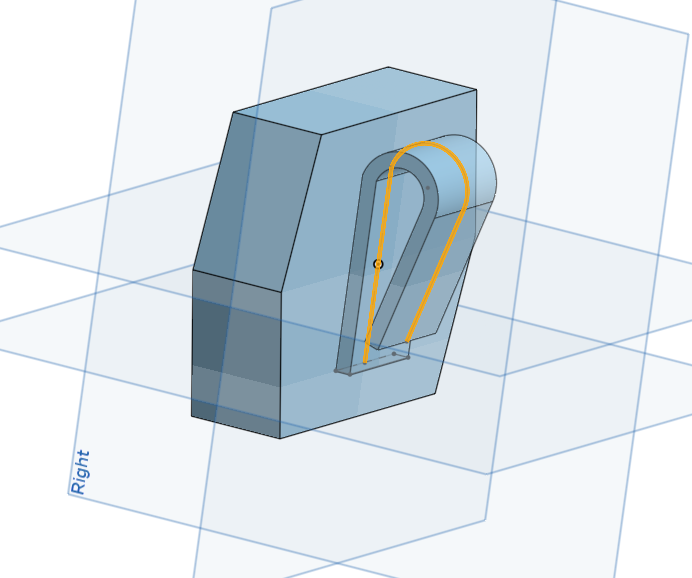
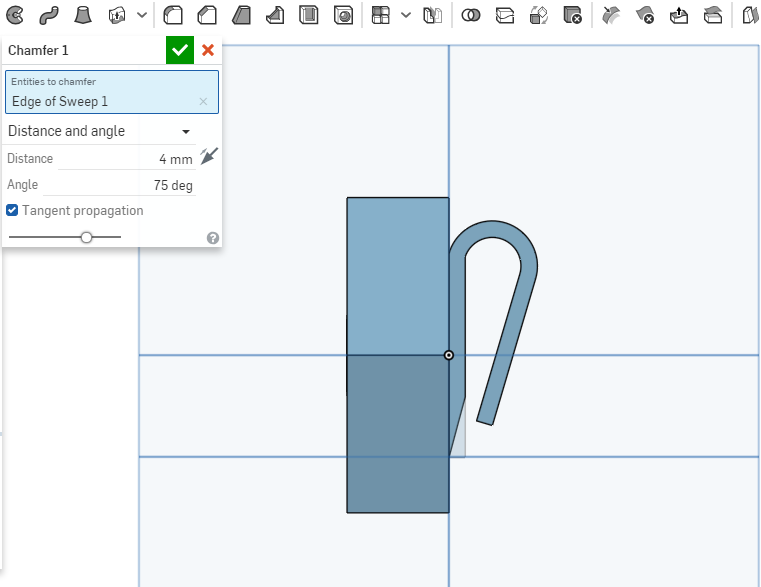
To make it easier to wear, I added a 4mm distance and 75 degree chamfer to the clip edge.
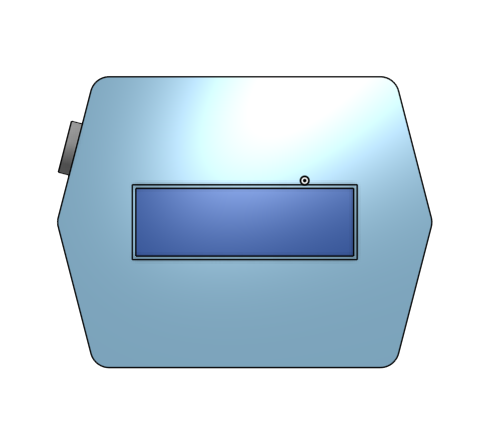
Then, finally, I added a 5mm fillet around the device to make it easier to handle.

The final design is shown below and the original files are here!