Computer Controlled Machining
make something big
Using ShopBot CNC Machine
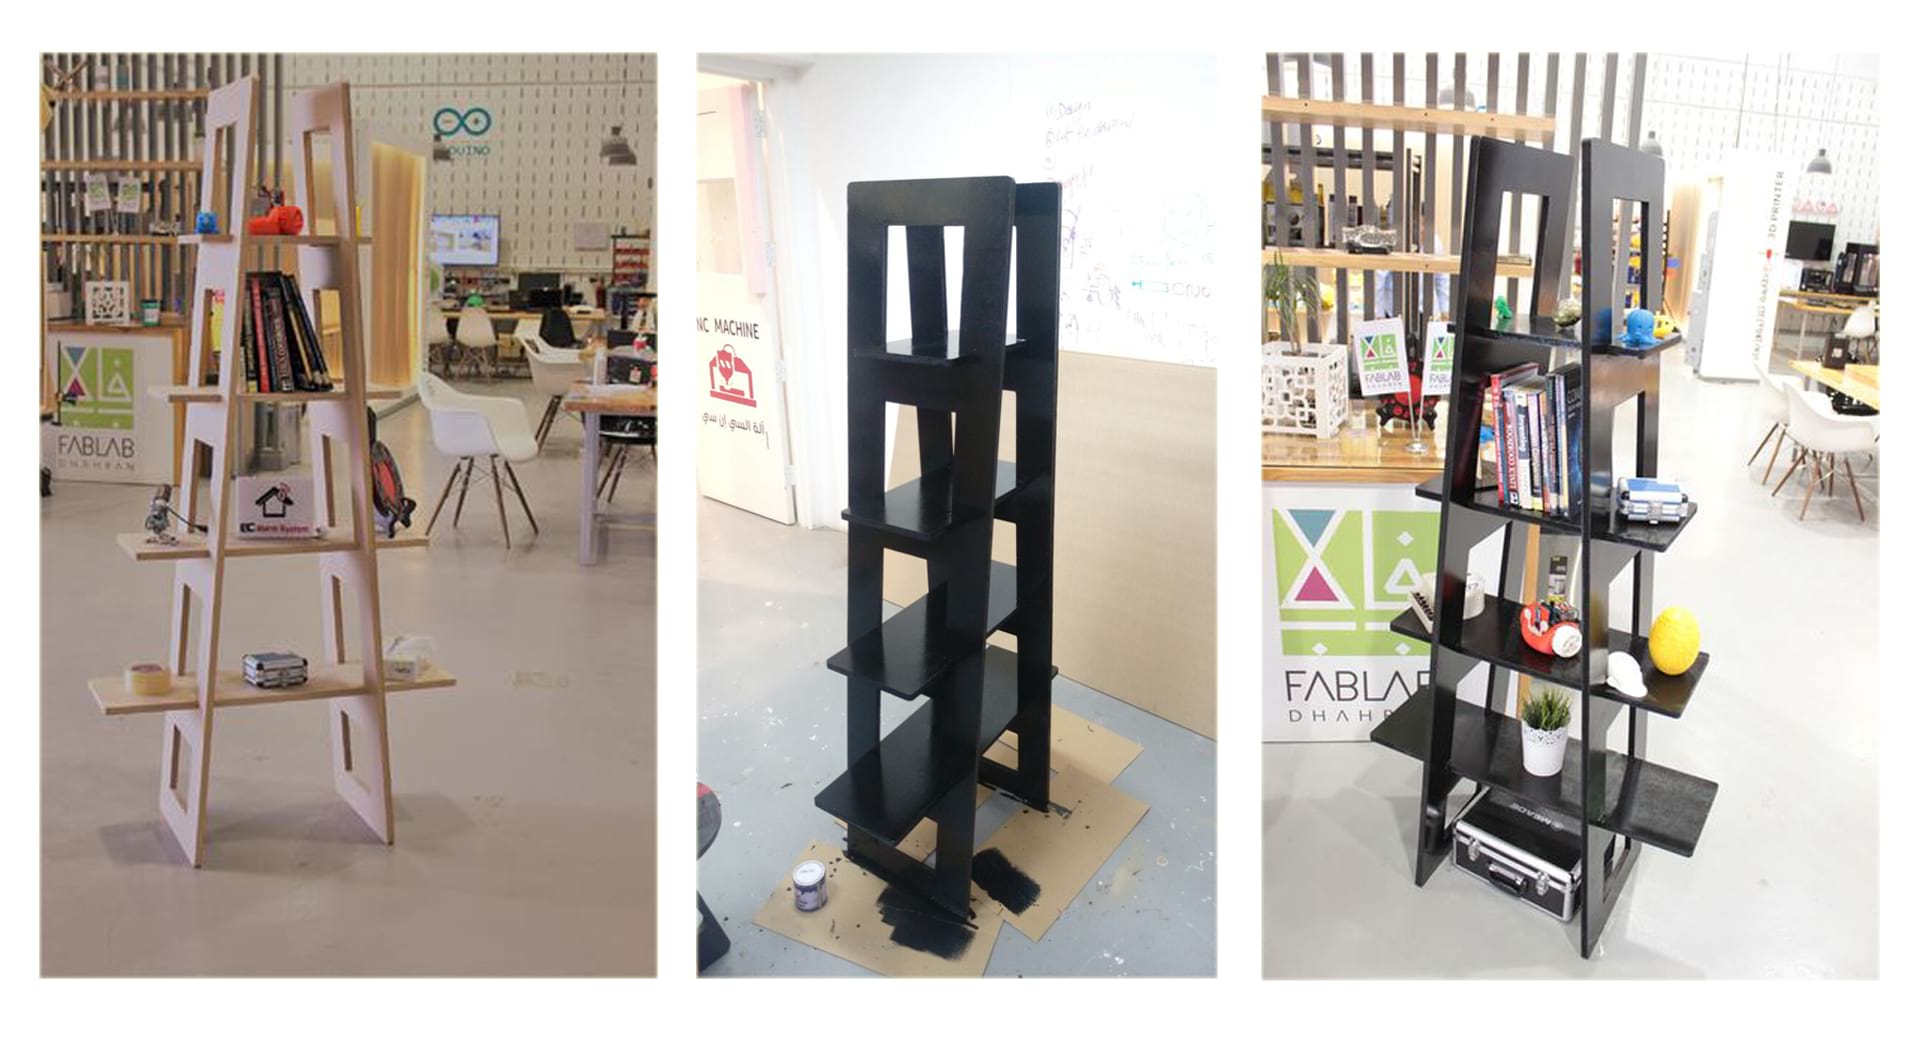
What a great assignment in this week. I was waiting for an assignment that I'm pretty good to do. I have started in FABLAB Dhahran in May 2015 as a 2D expert. It was a great challenge that I can move from hand tools to digital fabrication. The manager in FABLAB Dhahran told me to use Inkscape for workshops. I have done several projects using CNC like (Office Table, shelf, and shoe storage) and floor shelf that what I'm going to describe in details on how to make it from A to Z.rom A to Z.
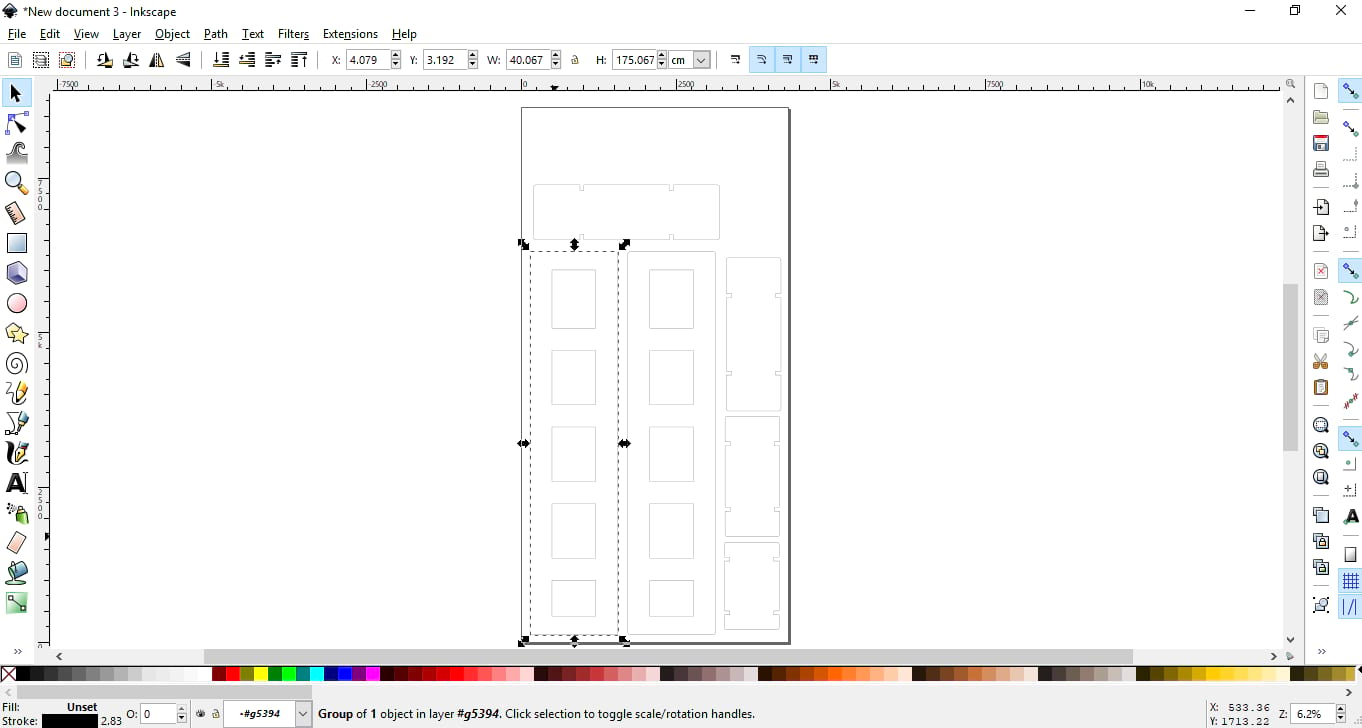
I get the idea for the floor shelf when I was browsing the painterset website and I notice a shelf made by recycling wood that utilize iron connection. So, I asked myself what if I can do it fully by wood without using any screws. The first step was sketching the design then convert it to digital copy by using Inkscape. Second make it using CNC Machine.
By the way, I designed this shelf again when I had joined Fab Academy for the (Computer - Aided Design., Computer - Controlled Cutting assignment.)
The dimension of the shelf is about 175 cm high and the distance between each shelf is 40 cm.
Download: PDF File
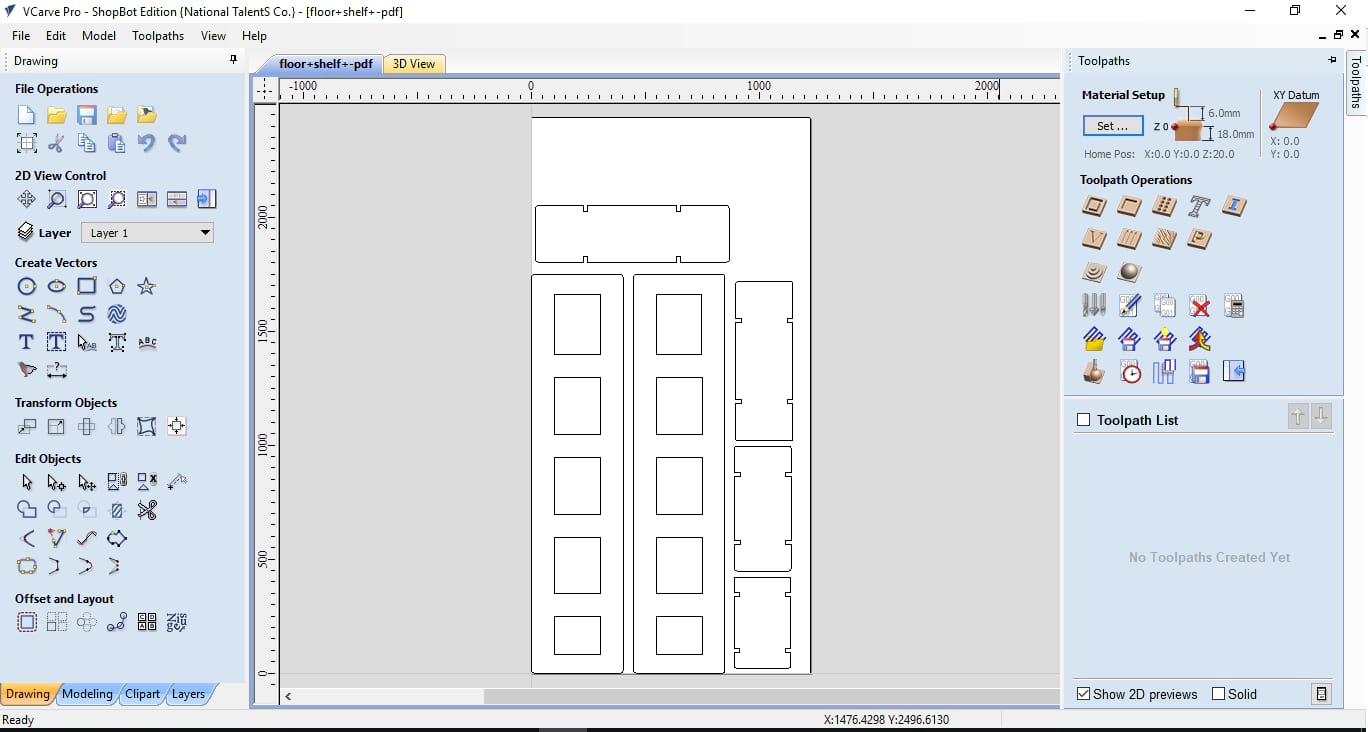
Using VCarve to be able to get the g-code format for the CNC ShopBot
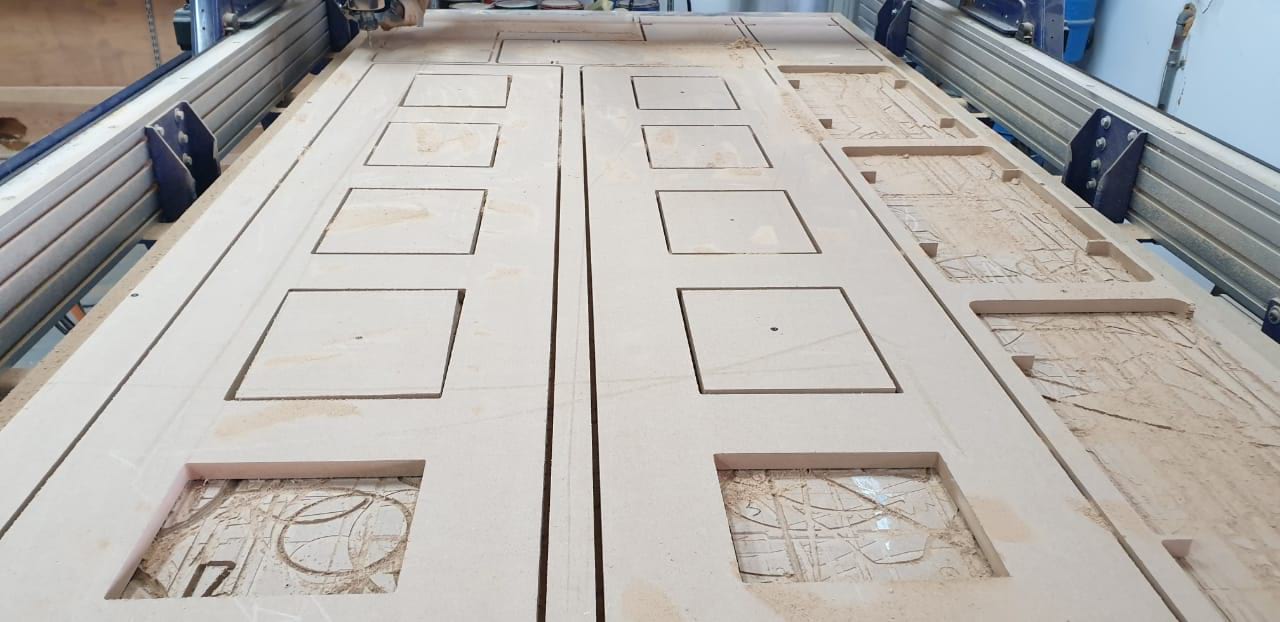
On the left side, we get the size of the sheet that used to cut the shelf
On the top of right side the Toolpaths tools settings
I have selected from tools bit in the wood section 1/4" Down-cut(57-910)
I did use 18mm MDF thickness but in the cut depth I added 18.7mm because the wood it's not straight surfacing. So, to make sure I get between 0.3mm to 0.8mm.
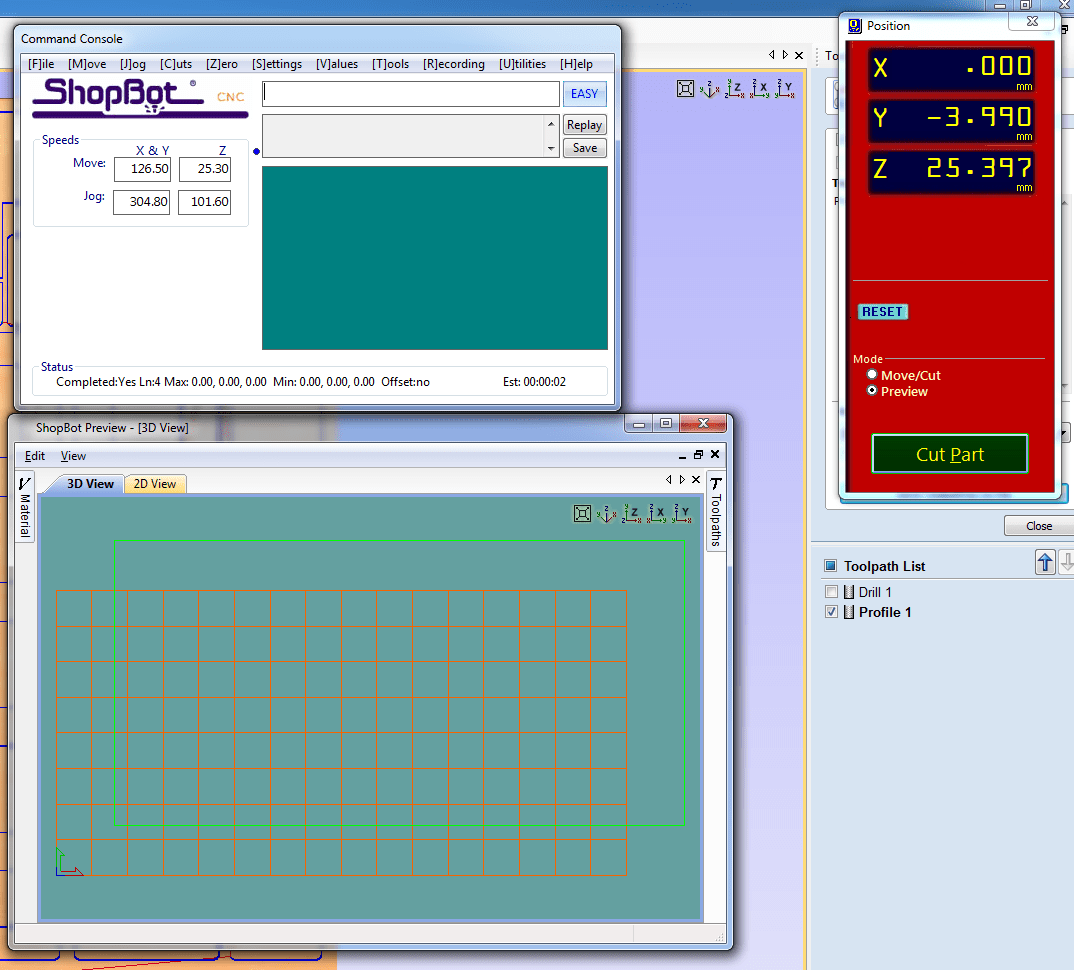
3D View that show-up how the pass will go
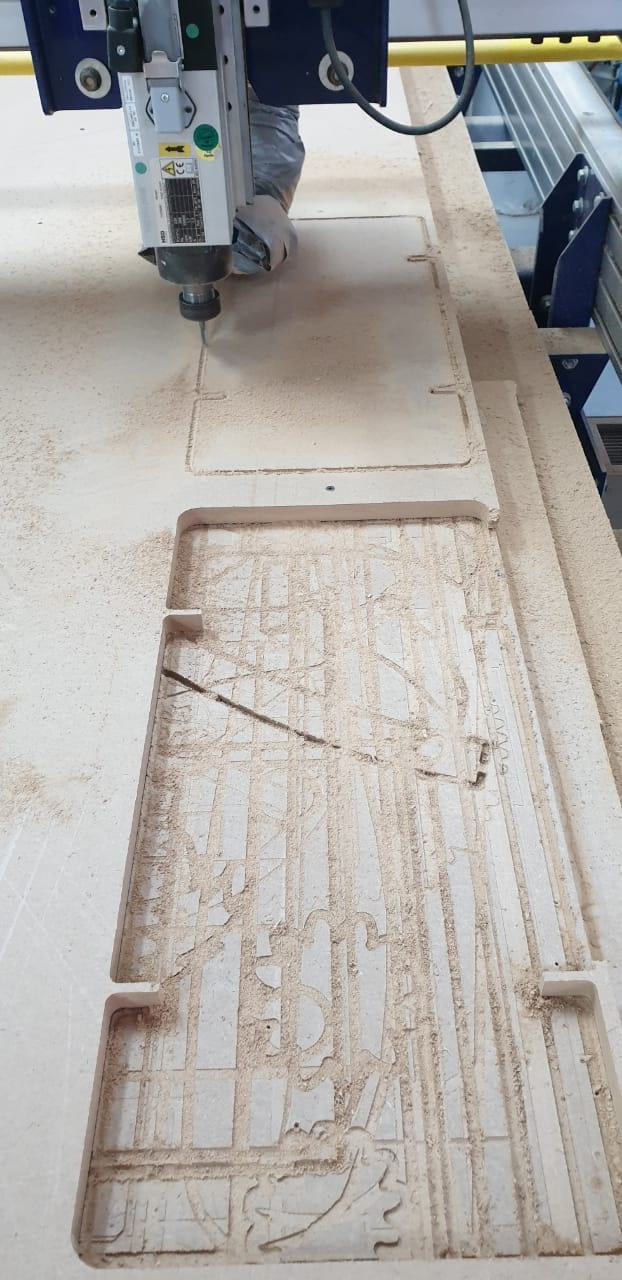
Note: you must place screws in the design or tap to do not cut fully for safety to avoid any parts that might be fly while cutting
Download: VCarve File
Download: g-code File
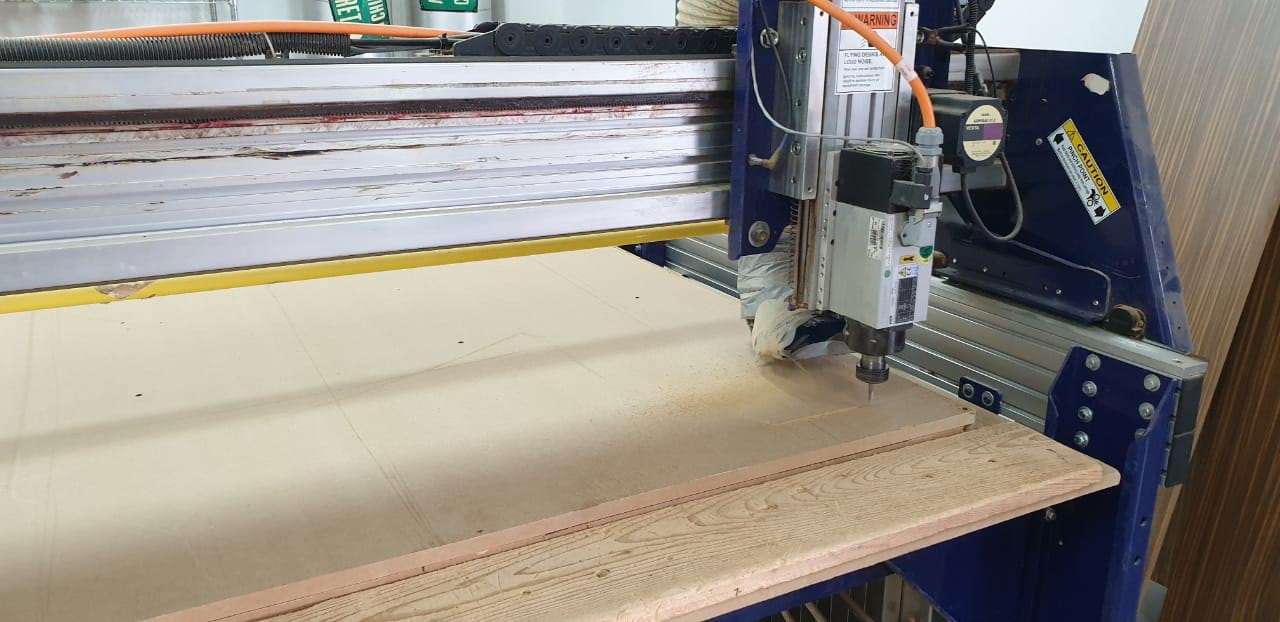
ShopBot to read the g-code that saved from VCarve
first, push the reset button once you run the machine
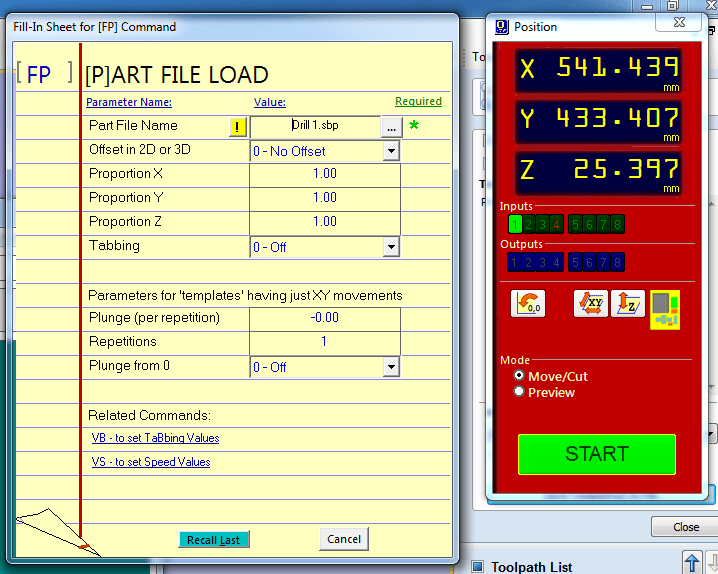
set zero axis (Y,X)
and clibrating the (z) axis
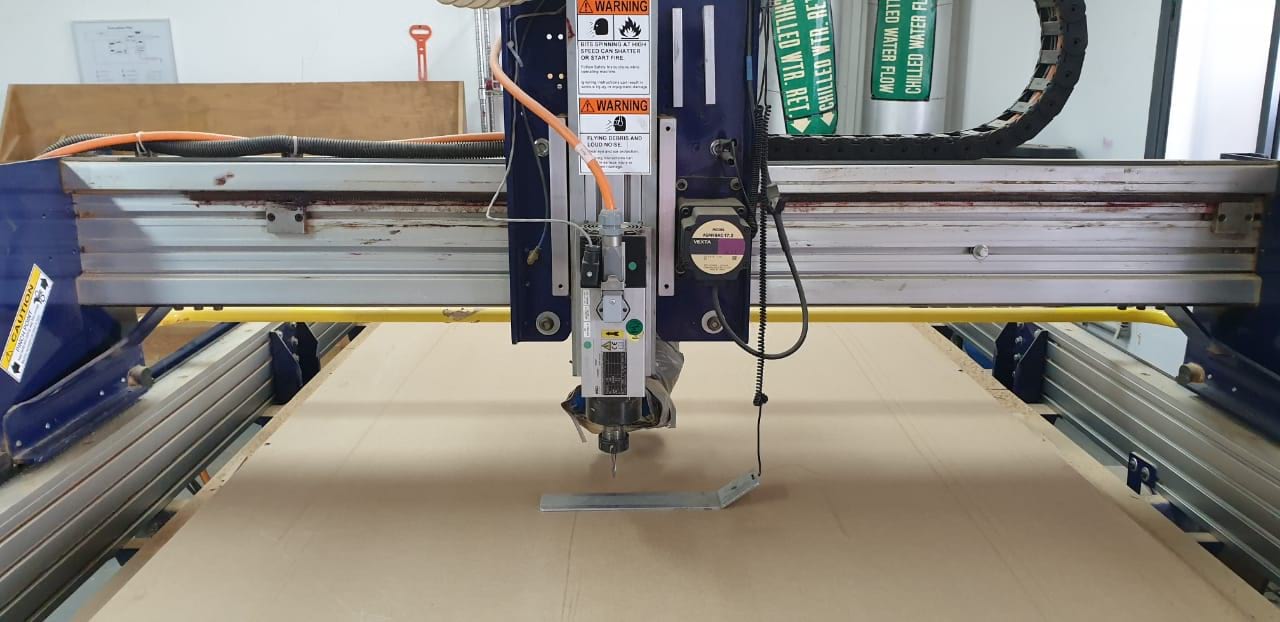
don't forget to put the metal plate under the bit
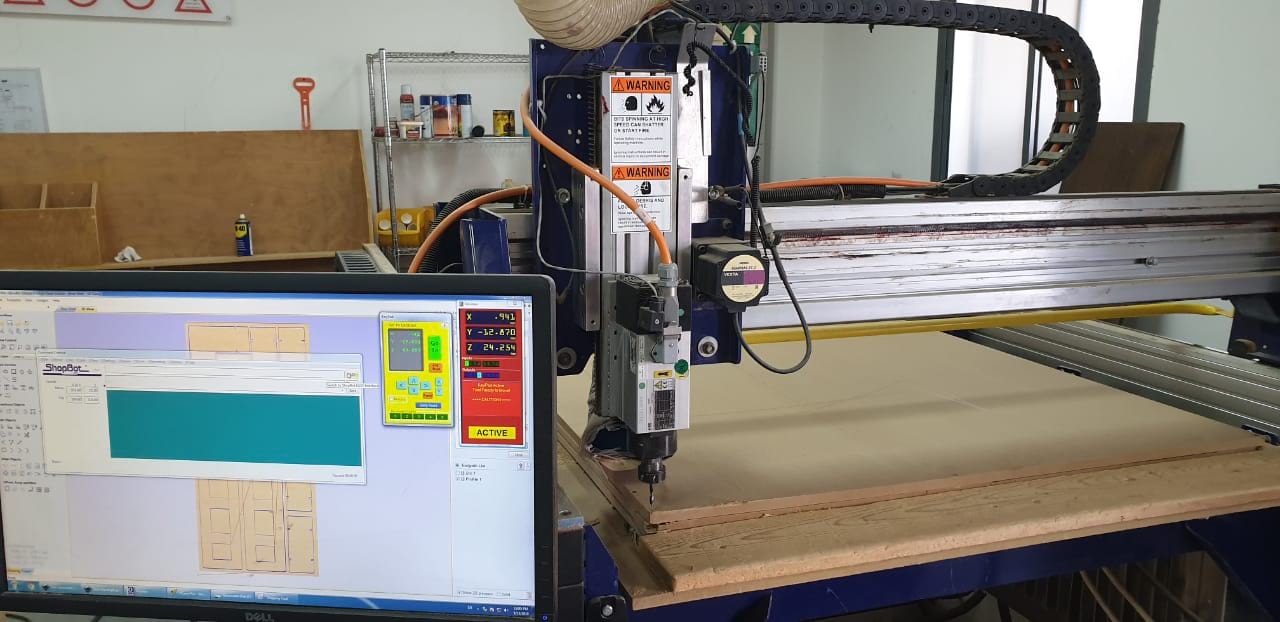
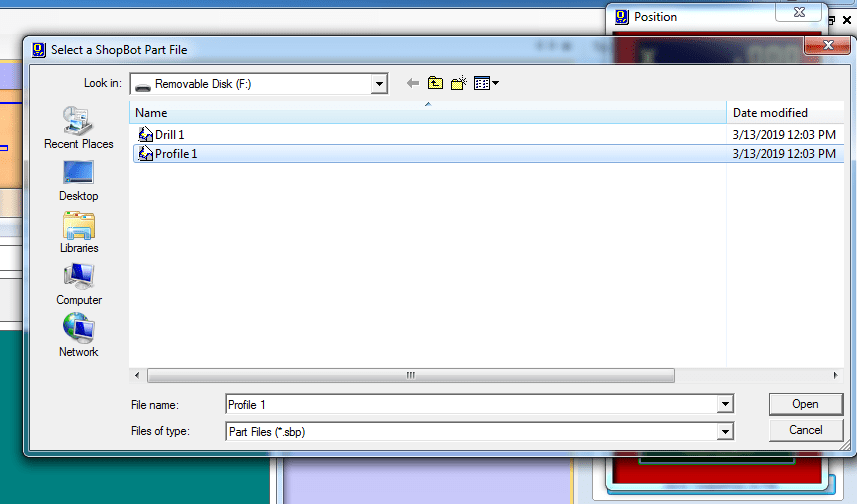
open your file by clicking cut part and before click start make sure to check everthing
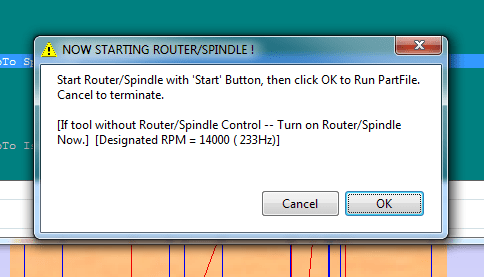
make sure to warm up the bit by running the router spindle for a while then click start to cut the design
