Vinyl Cutter
Let's make customized mug
We are going to use Roland GS-24 Vinyl Cutter
With Inkscape I can design and customize my sticker by cutting using the vinyl cutter:
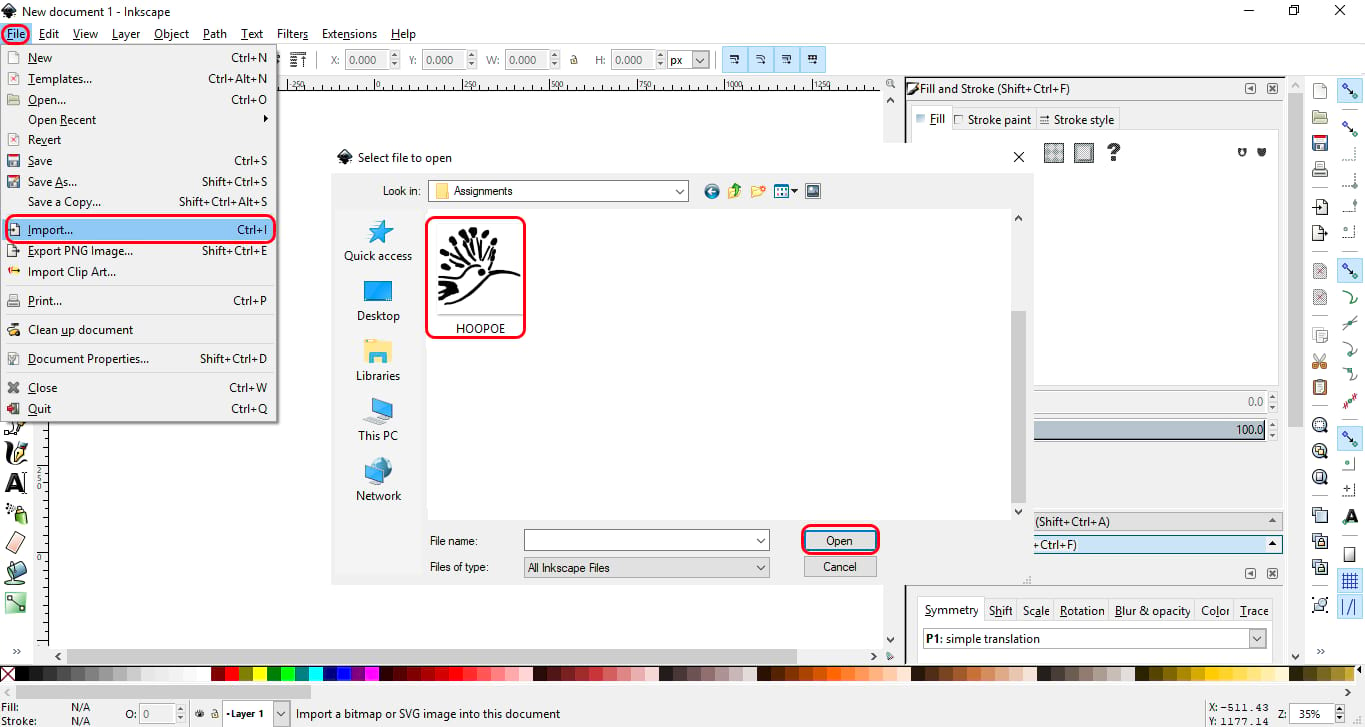
Go to file > Import the image that you would like to convert it form pixel to vector as shwoing in the pictuer down ... I'm trying to import hoopoe image
I opened the Inkscape
Then I clicked on file > Import the image you would like to customize.
After I import the image I clicked on Path > Trace Bitmape to convert the image from pixel to victor
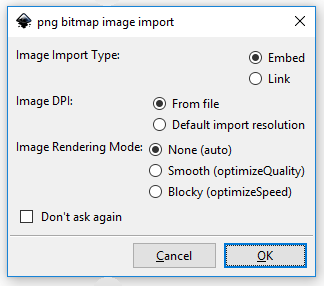
Once I did select the image that I want they asked me for some preference so just click OK and don't change anything in this step.
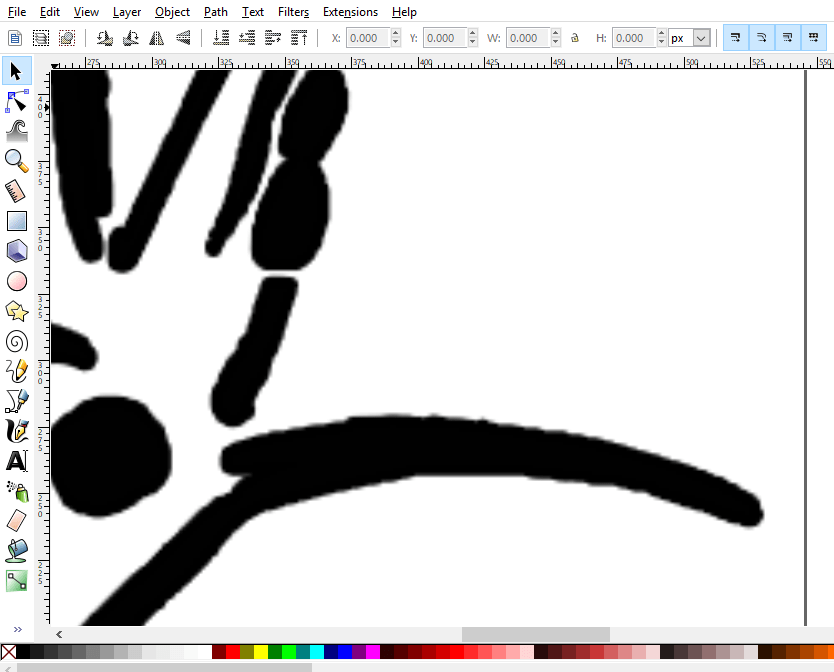
when I did zoom-in the image I notice it's not clear enough and it's pixelated
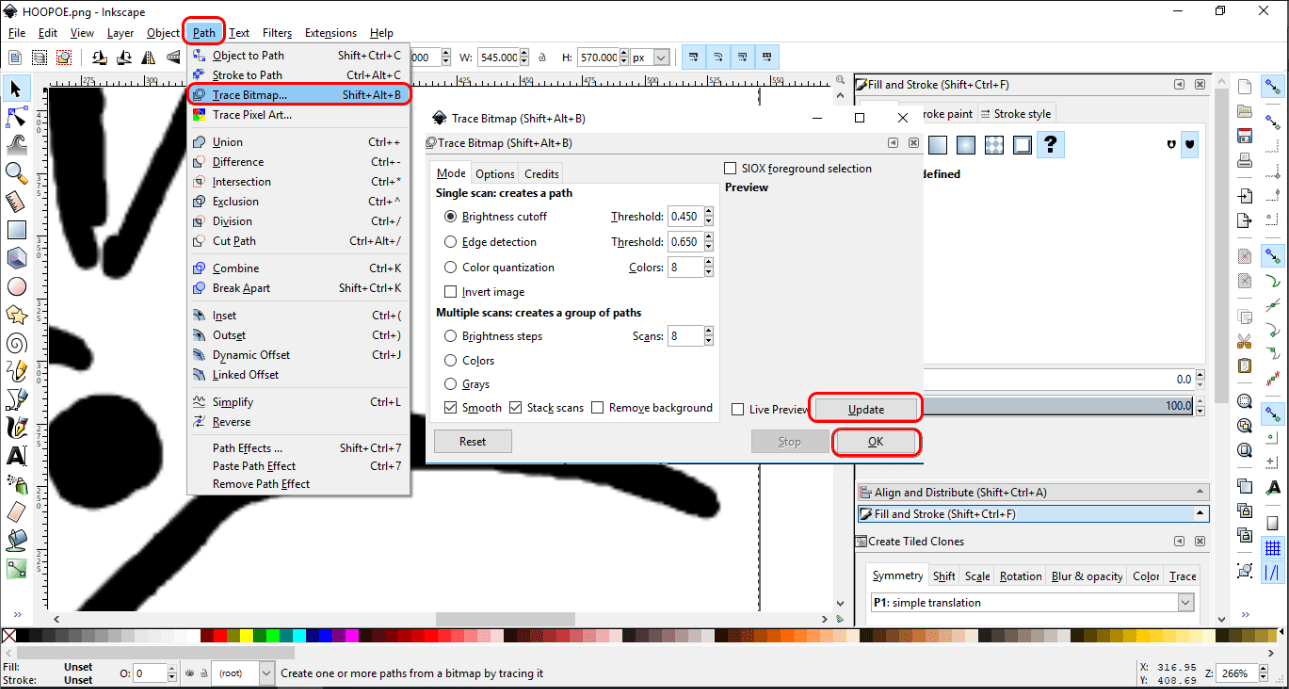
So, what I did is selecting the image and then I went to > Path > Trace Bitmape > Update > Ok .. to convert the image from pixel to victor
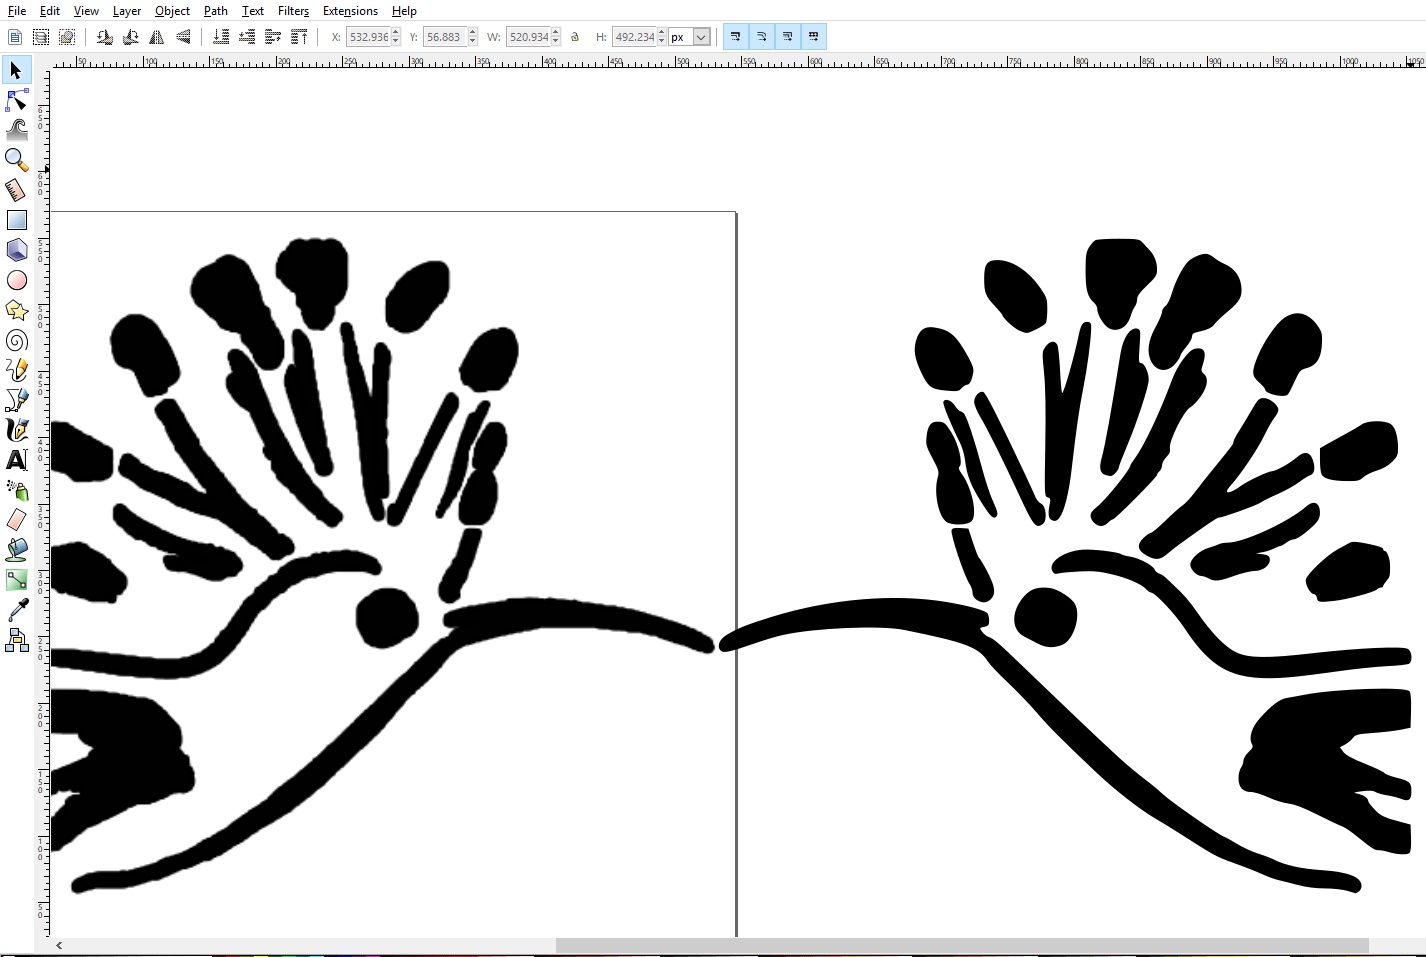
Now when I zoom in, I notice that the image on the left is pixelated which is the original image and on the right, the image is a vector for what I did in the trace bitmap.
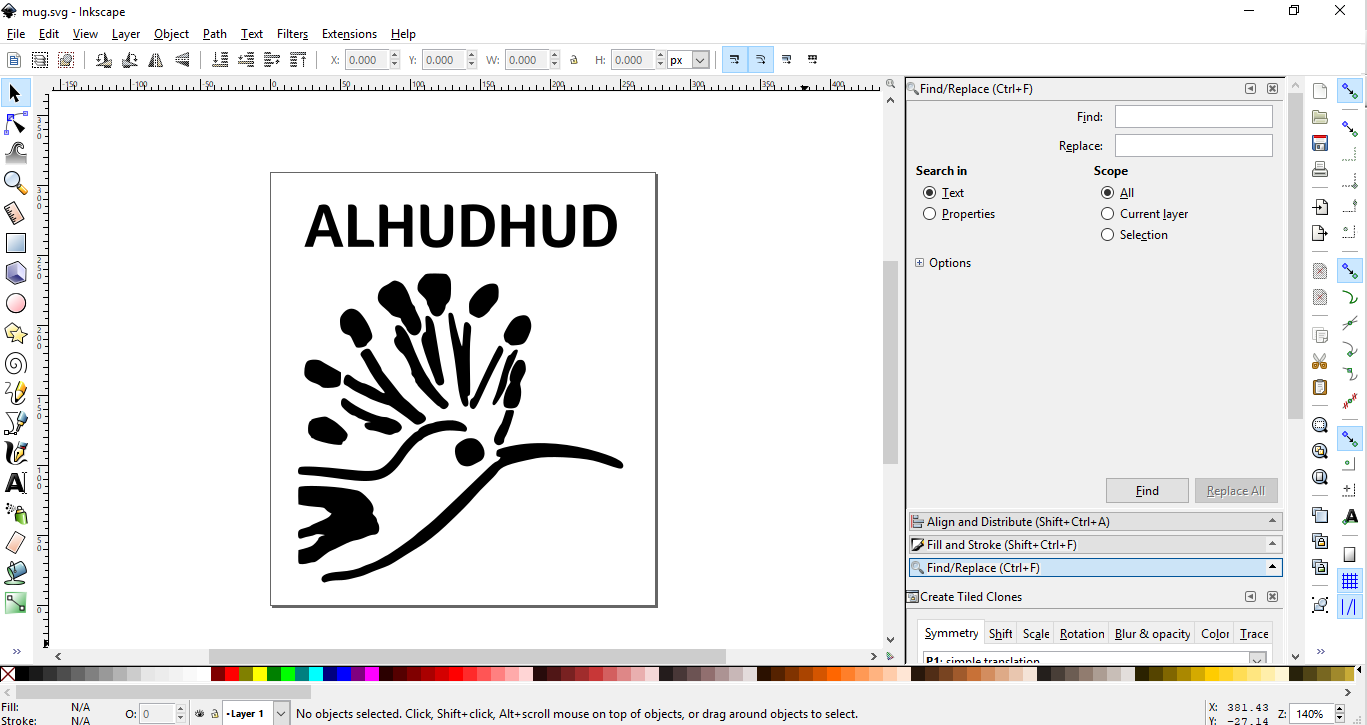
then I did add the text "ALHUDHUD" which is the last name
The video explains in a practical way how I perform the steps I have taken
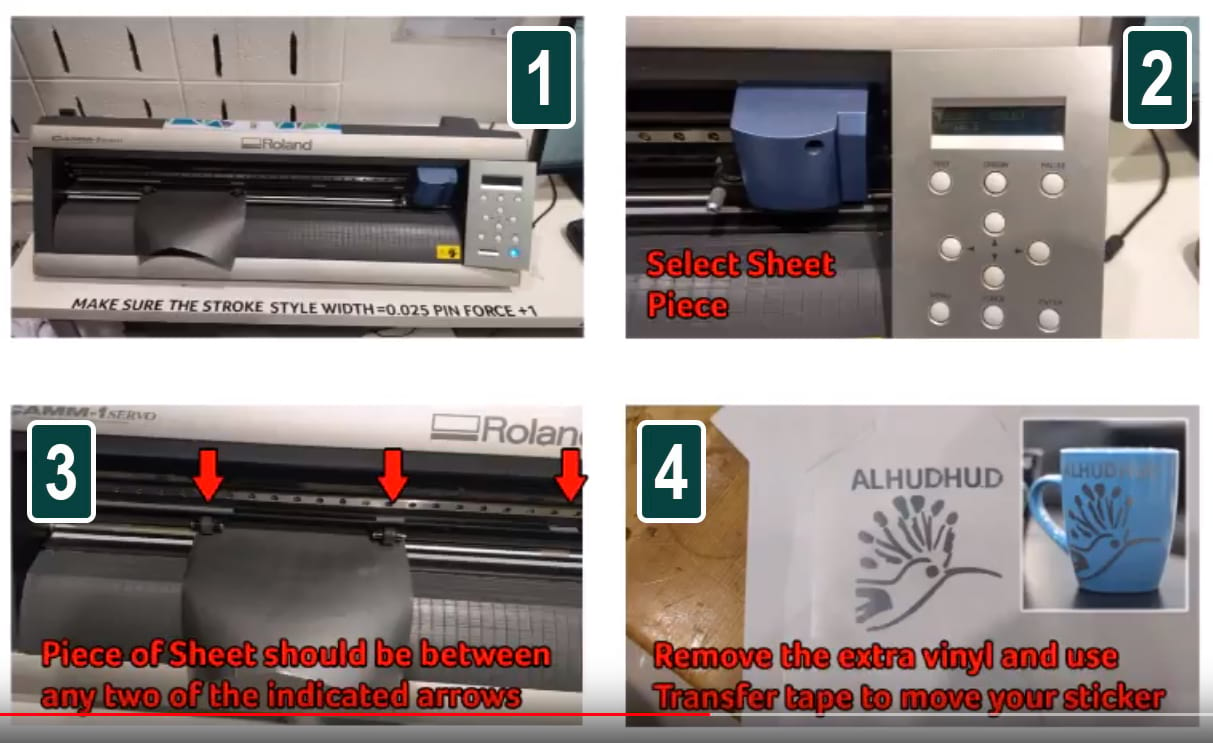
For the Vinyl cutter I did use Roland GS-24
1- I installed the sheet of vinyl
2- Then I selected from the option of sheet is piece
3- Sheet of vinyl should be between any two white area of any two indicated arrows
4- I did removed parts that not need and after that I did use the transfer tape to move the sticker to the mug
from the computer I went to properties then I clicked on get from machine because in the previouse step number 2 I slected piece of sheet which the machine did measurment for that

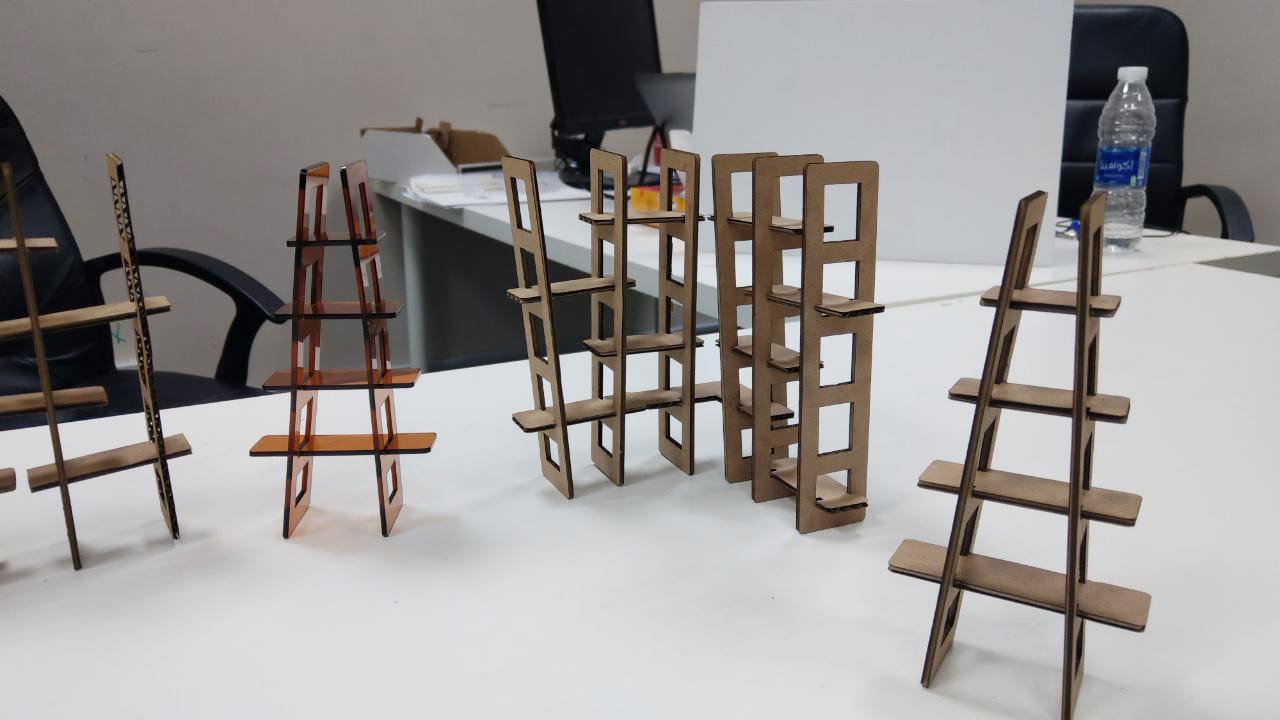
Final result
To open or download file
Back to Top
Laser Cutter
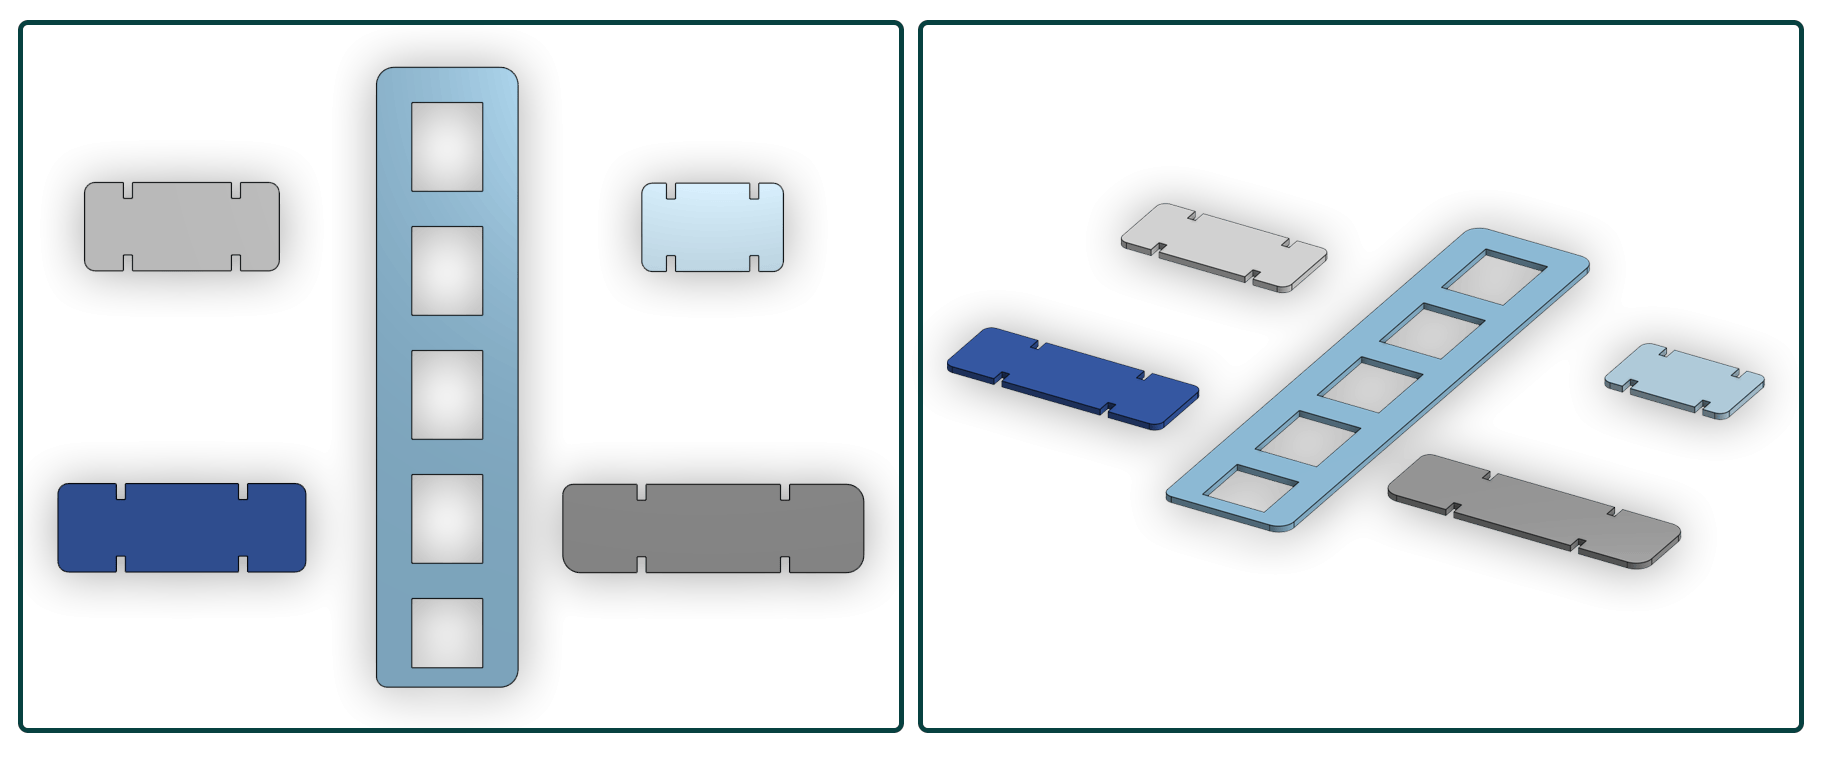
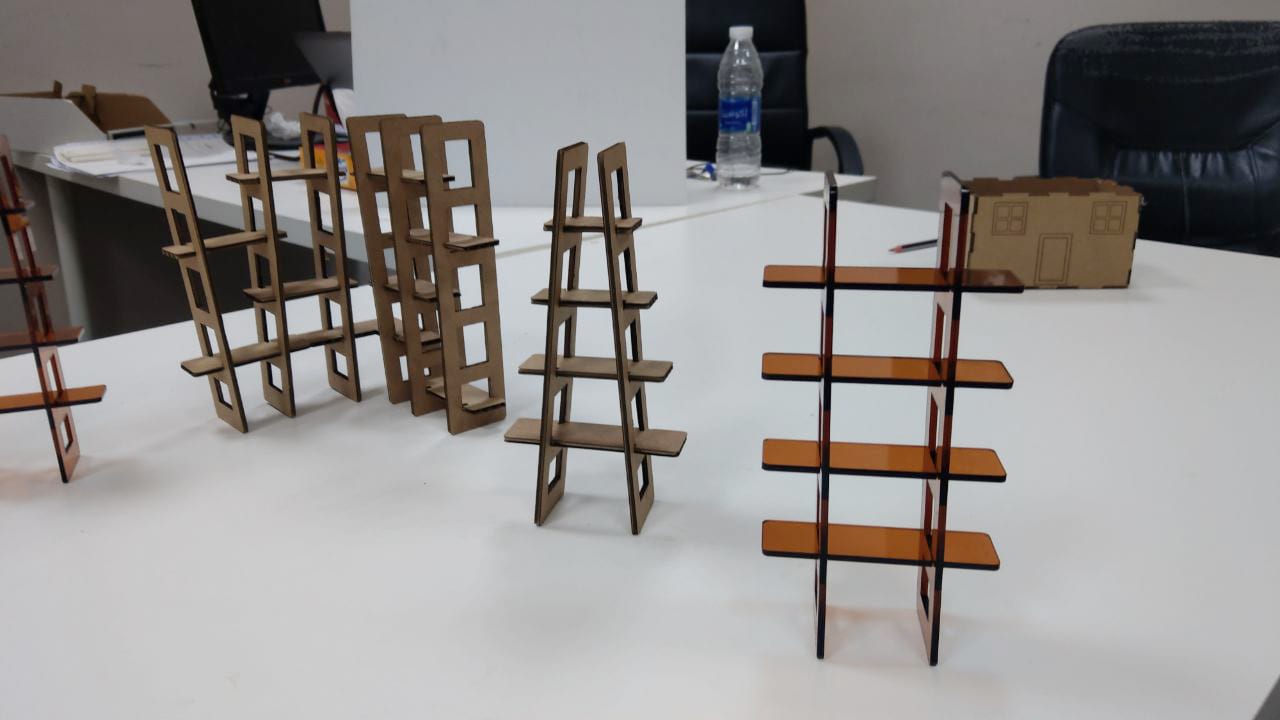
A parametric Design that can assembly in a different way
Epilog Mini 24 Laser Cutter
n this Assignment, I'm trying to use Onshape to do one of my previous projects that were done by Inkscape. The goal was to be able to edit the design if you change material parameters like thickness. It can also be assembled in a different way. However, I did rescale the design by Onshape to print and cut a small prototype for testing the ability that the program provides.
To access design via Onshape
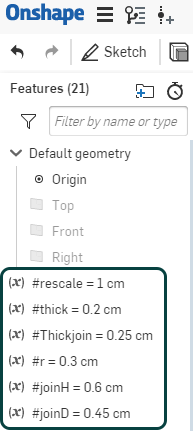
In this parametric design I began to define several values so that the design can be later controlled as I mentioned before. Values are based on the main objects in which the design was built (rescale the size, thickness of material, the margine error of thickness, corner diameter, height of join, distance of join):
- #rescale: rescale the size
- #thick: thickness of material
- #Thickjoin: the margine error of thickness
- #r: corner diameter
- #joinH: height of join
- #joinD: distance of join
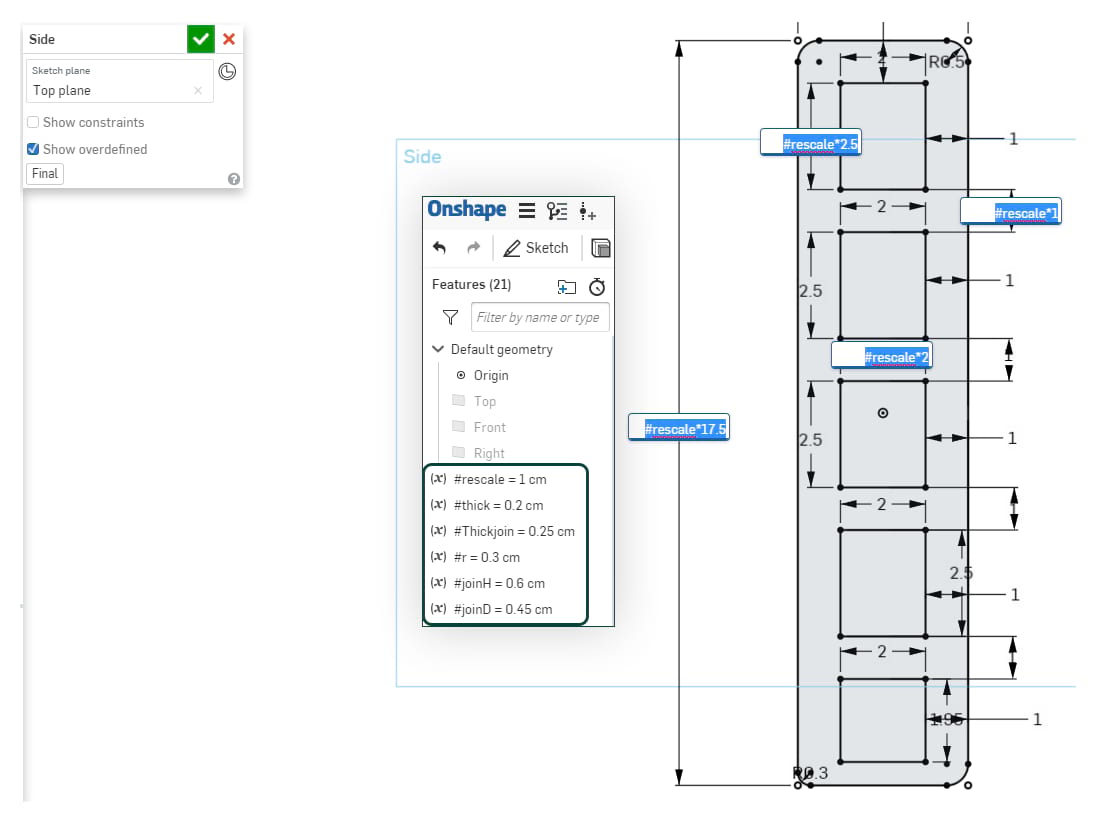
I started designing one aspect of the model and instead of entering numbers I entered the values I defined at the beginning of the design.
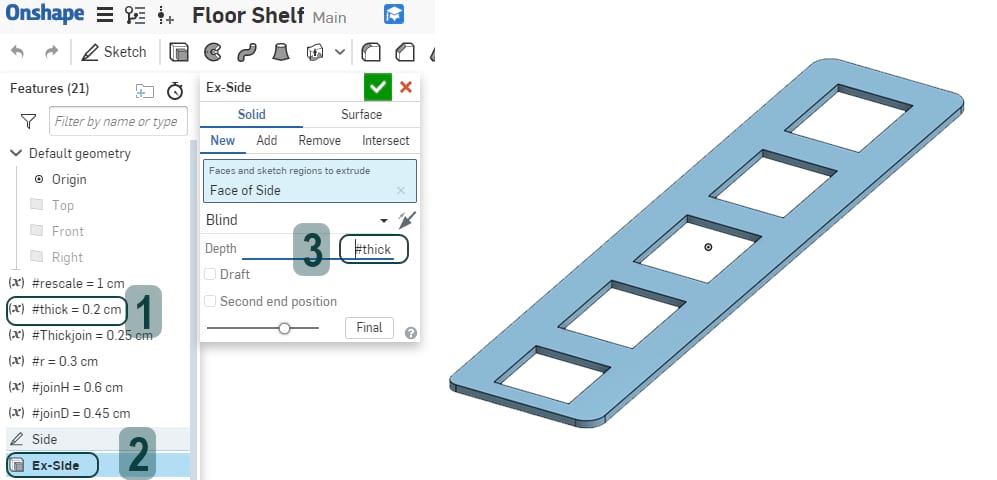
As shown above and through the figures shown:
1. The value of the thickness of the material defined at the beginning of the design
2. Extrusion tool was used and linked to the defined value
3 - Setting the value defined at the beginning

And then I moved to the second stage which is design the four shelves according to the figures in the picture:
1 and 2. linked all values to the design
2. The core values you defined at the beginning of the design
3, 4 and 5. Apply what you I have done in point #1
The video below explains in a practical way all stages of design
Back to Top
Next Step Cut Inkscape File by Epilog laser cutter(Legend Mini 24)
After that I did export the design to DXF format from Onshape and open it via Inkscape.
Onshape and Inkscape are a great combination that you can implement o different designs.

First image is provide the settings that I used to cut the cardboard and here is the most important points in the settings:
A video that Combine the 3 machines I have used to finish the assignment
It's including the 3D printing for the shelf I have made
To access design via Onshape
To Download File