10. Molding and casting
In this week we will do molding and casting my idea is to cast the cover of the lightes for my final project.

I recomed these tutorials for fusion360.
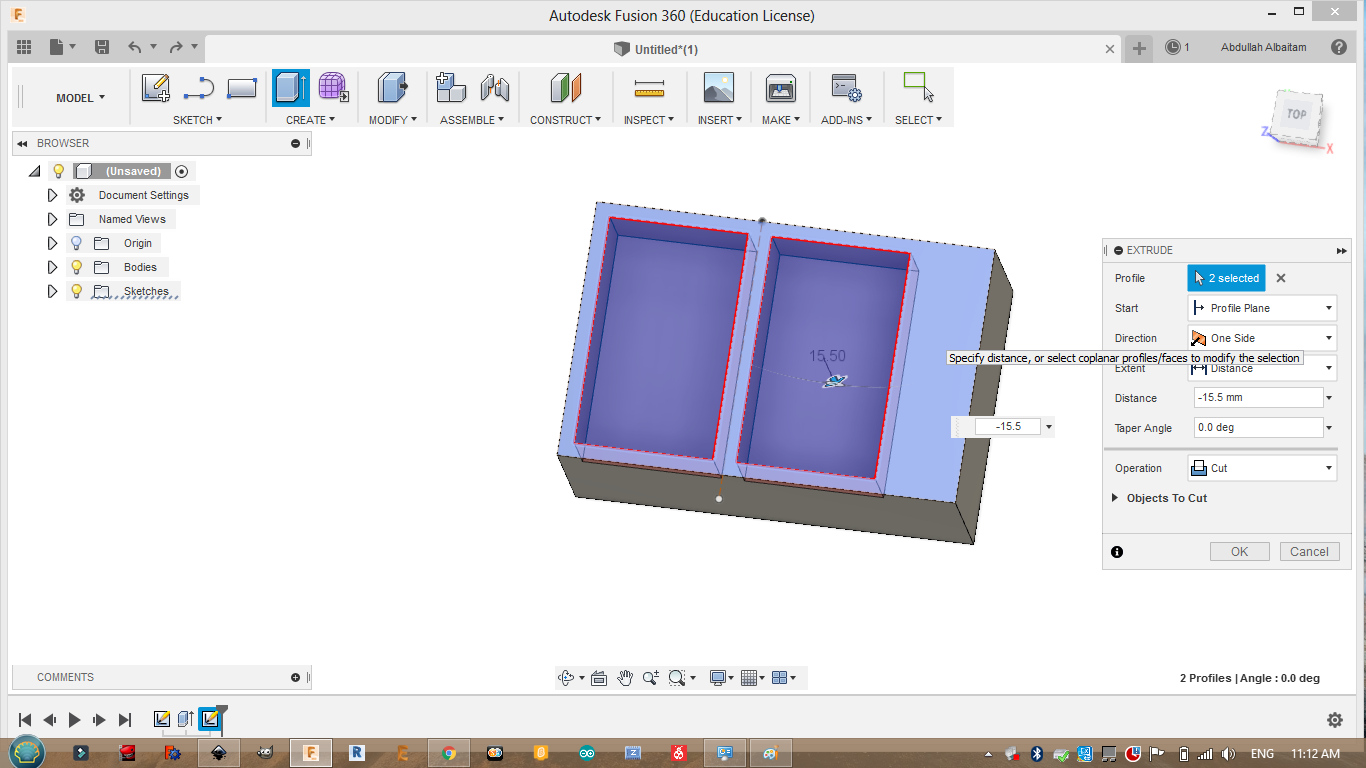
I started with measuring the dimensions of the available blue wax and making two pockets so I can place my positive design inside them. You can press “D” to set the dimensions.
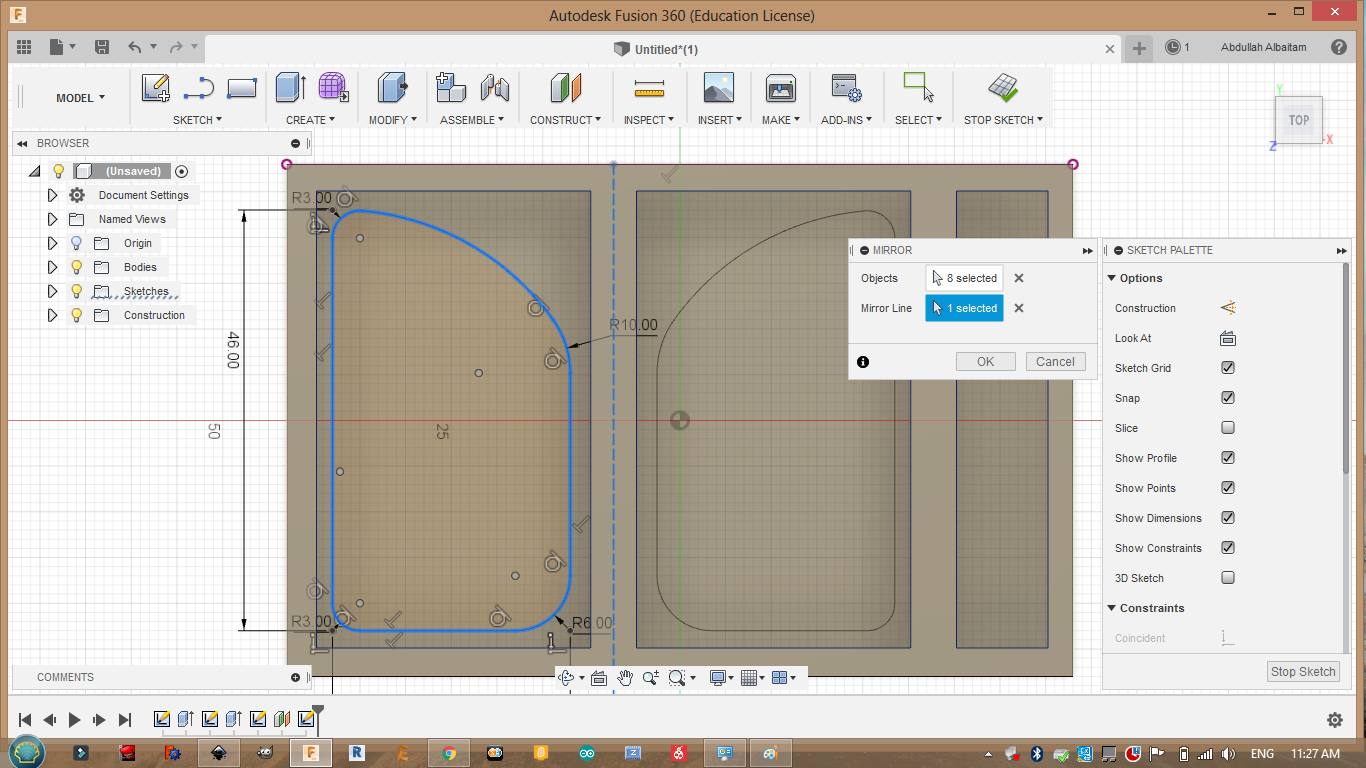
Then I draw my lights shape then I extruded them. I have used the mirror command to make my design faster by pressing “S” then typing mirror
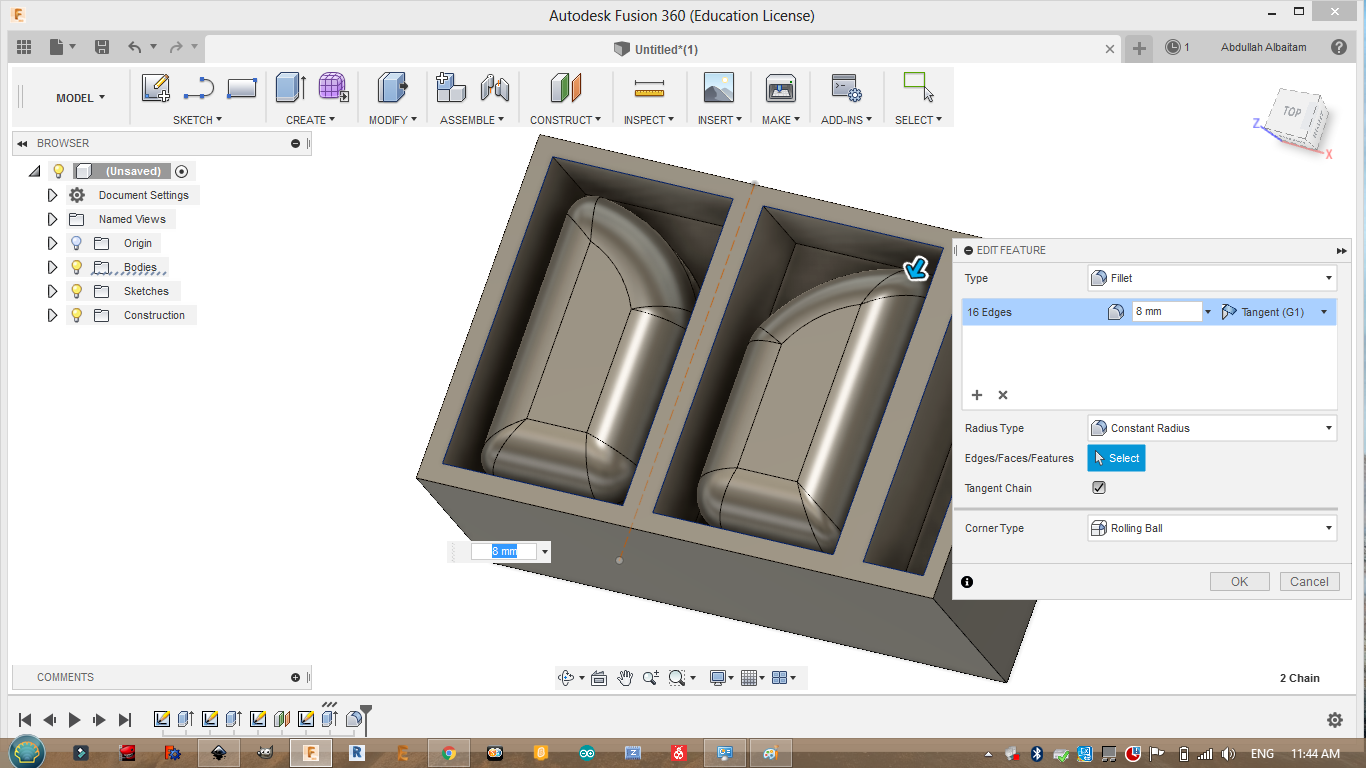
Afterthat I added a filet to make the corners smooth. By pressing “S” then typing filet.
Download the model here
Milling Positive Mold Model “Wax machinig”:
Note that I have used MODELA Player 4 software which need adding a frame to your positive design ,however Roland SRP player software does the frame automatically
User manual >> page 55
The user manual of the milling machine helped me in the settings…
The next four pictures shows the program automaticly setting the values.
.png)
.png)
.png)
.png)
Then I had to rotate my object to match the y,x axis in our machine.
.png)
After that I changed the origin point so that the machine will start milling from the correct corner.
.png)
Then I created a new path “new process” I created the surfusing first then the roughing and finishing. Surfucing will make your wax piece leveled ,Roughing will mill your part but not smoothly ,Finishing will mill your part smothly.
.png)
.png)
.png)
.png)
.png)
.png)
.png)
Click on “cut” on right ,down corner.
.png)
.png)

Problem:
When the machine finished milling I have notesed that some areas was not succesfully milled ,beacause my desing had 2mm gap to be milled and the tool bit was 2mm so my desing had to be slightly bigger in the gaps.
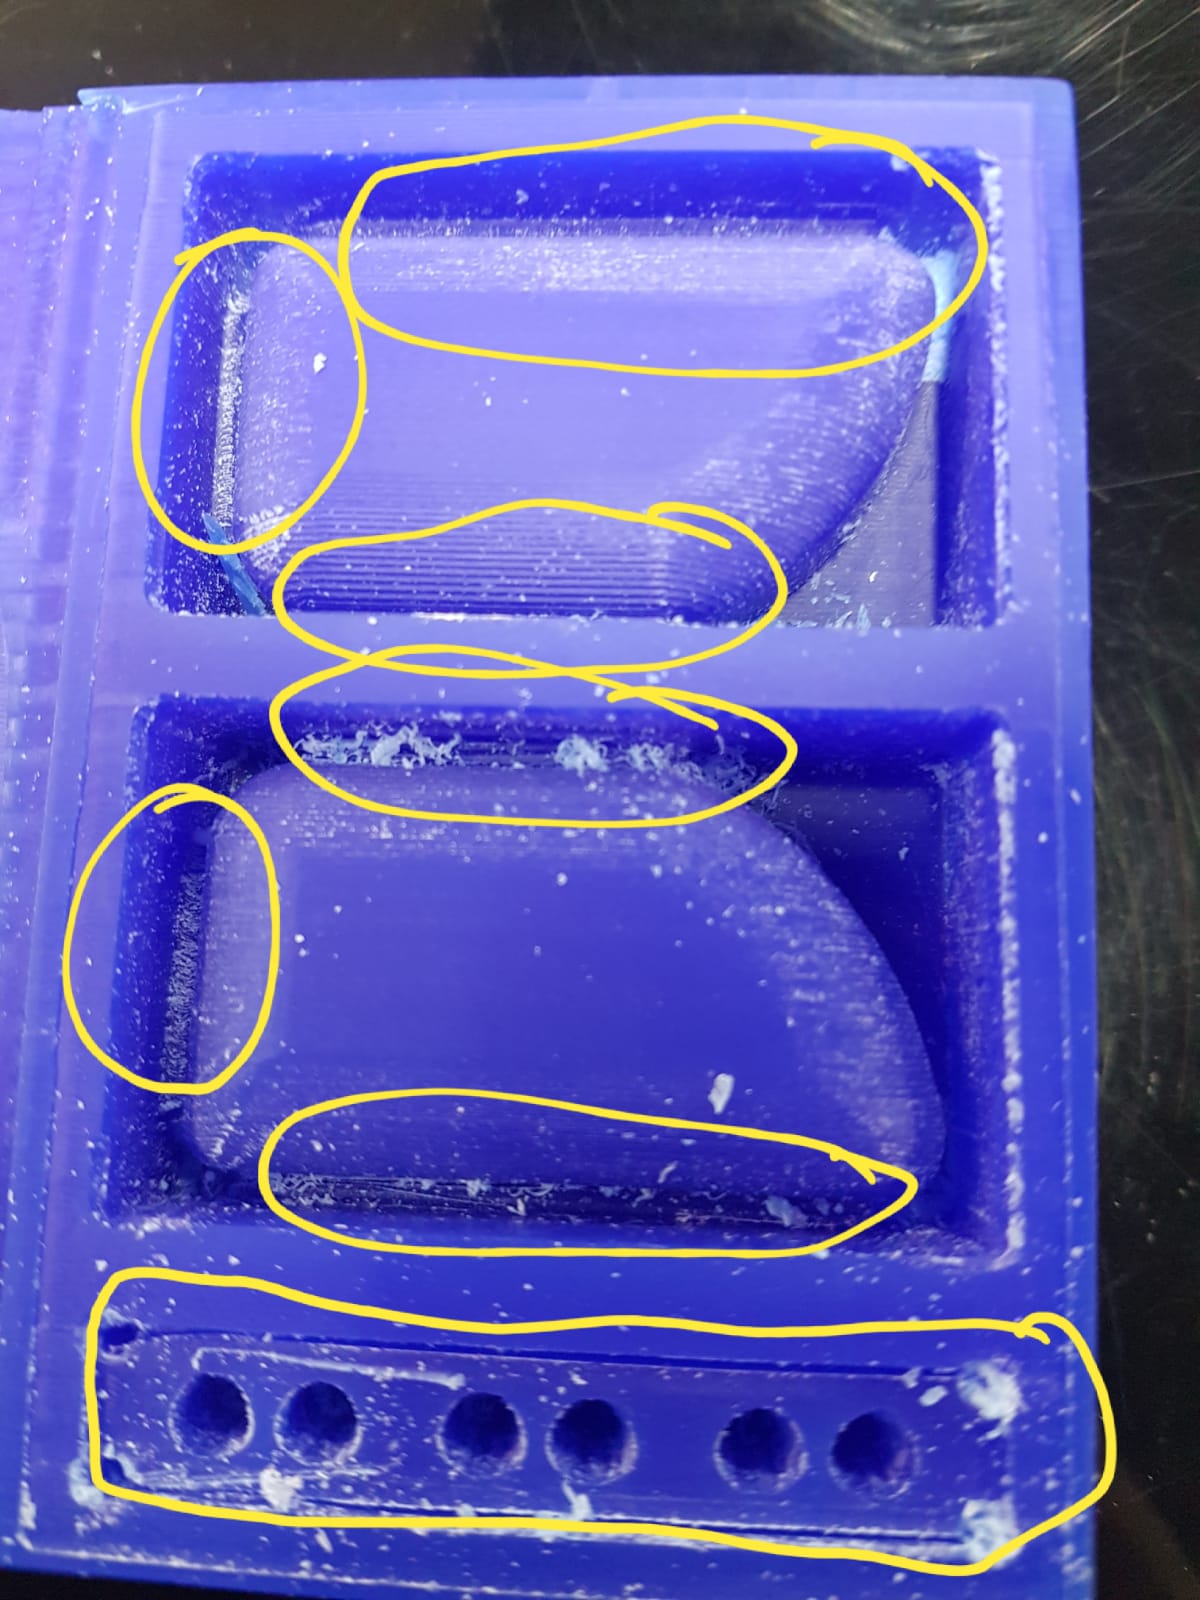
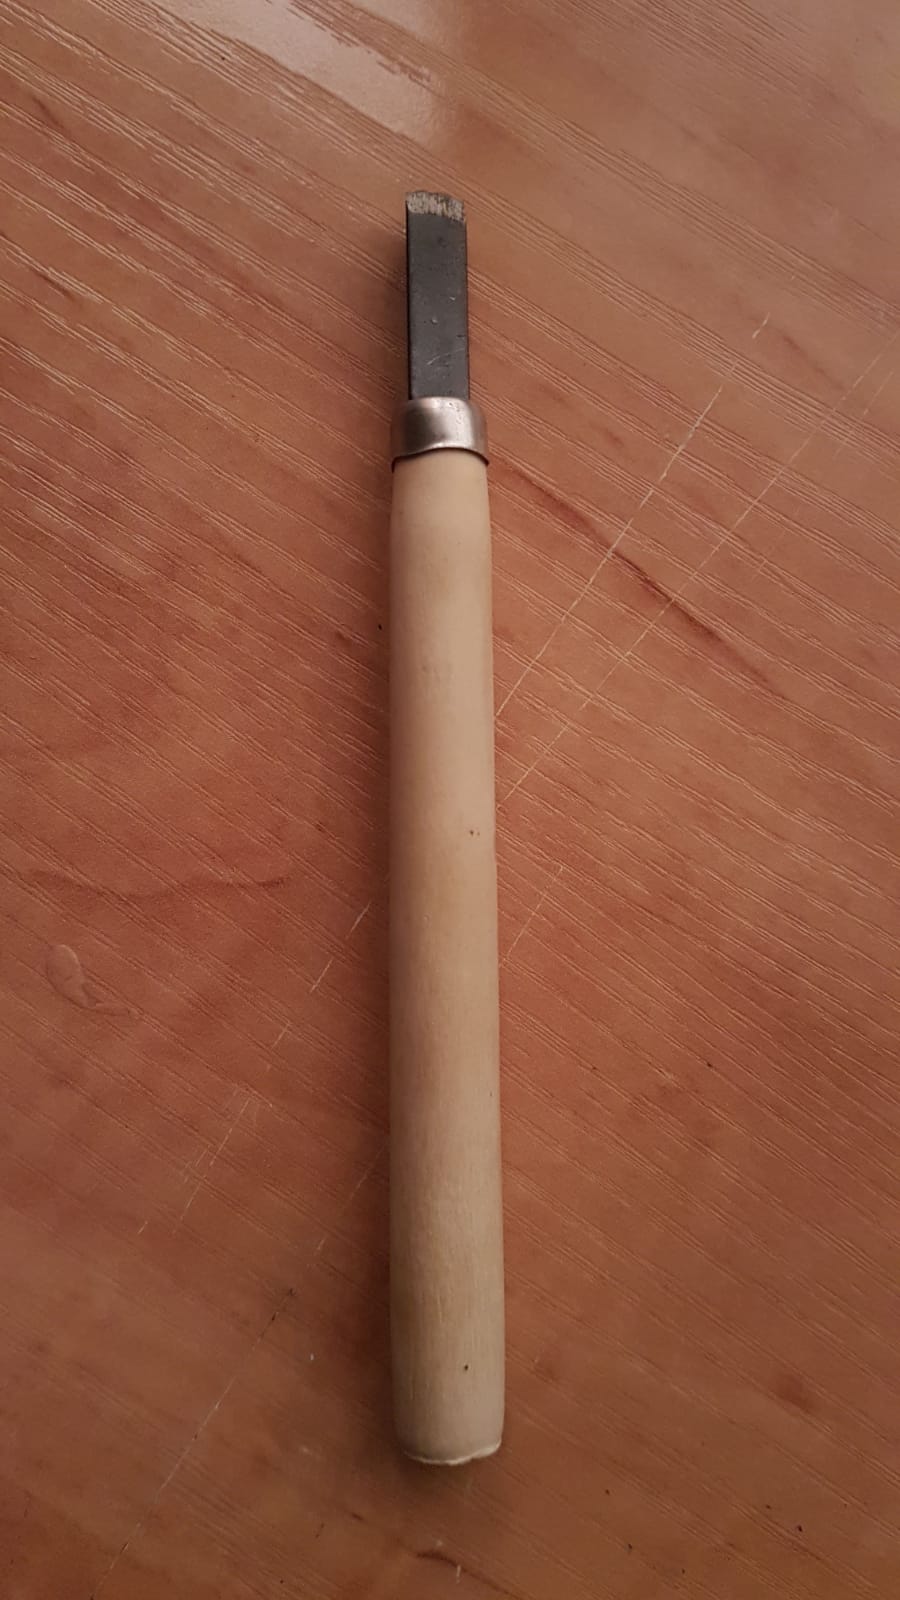
Solution:
I have used this tool to remove the extra wax.
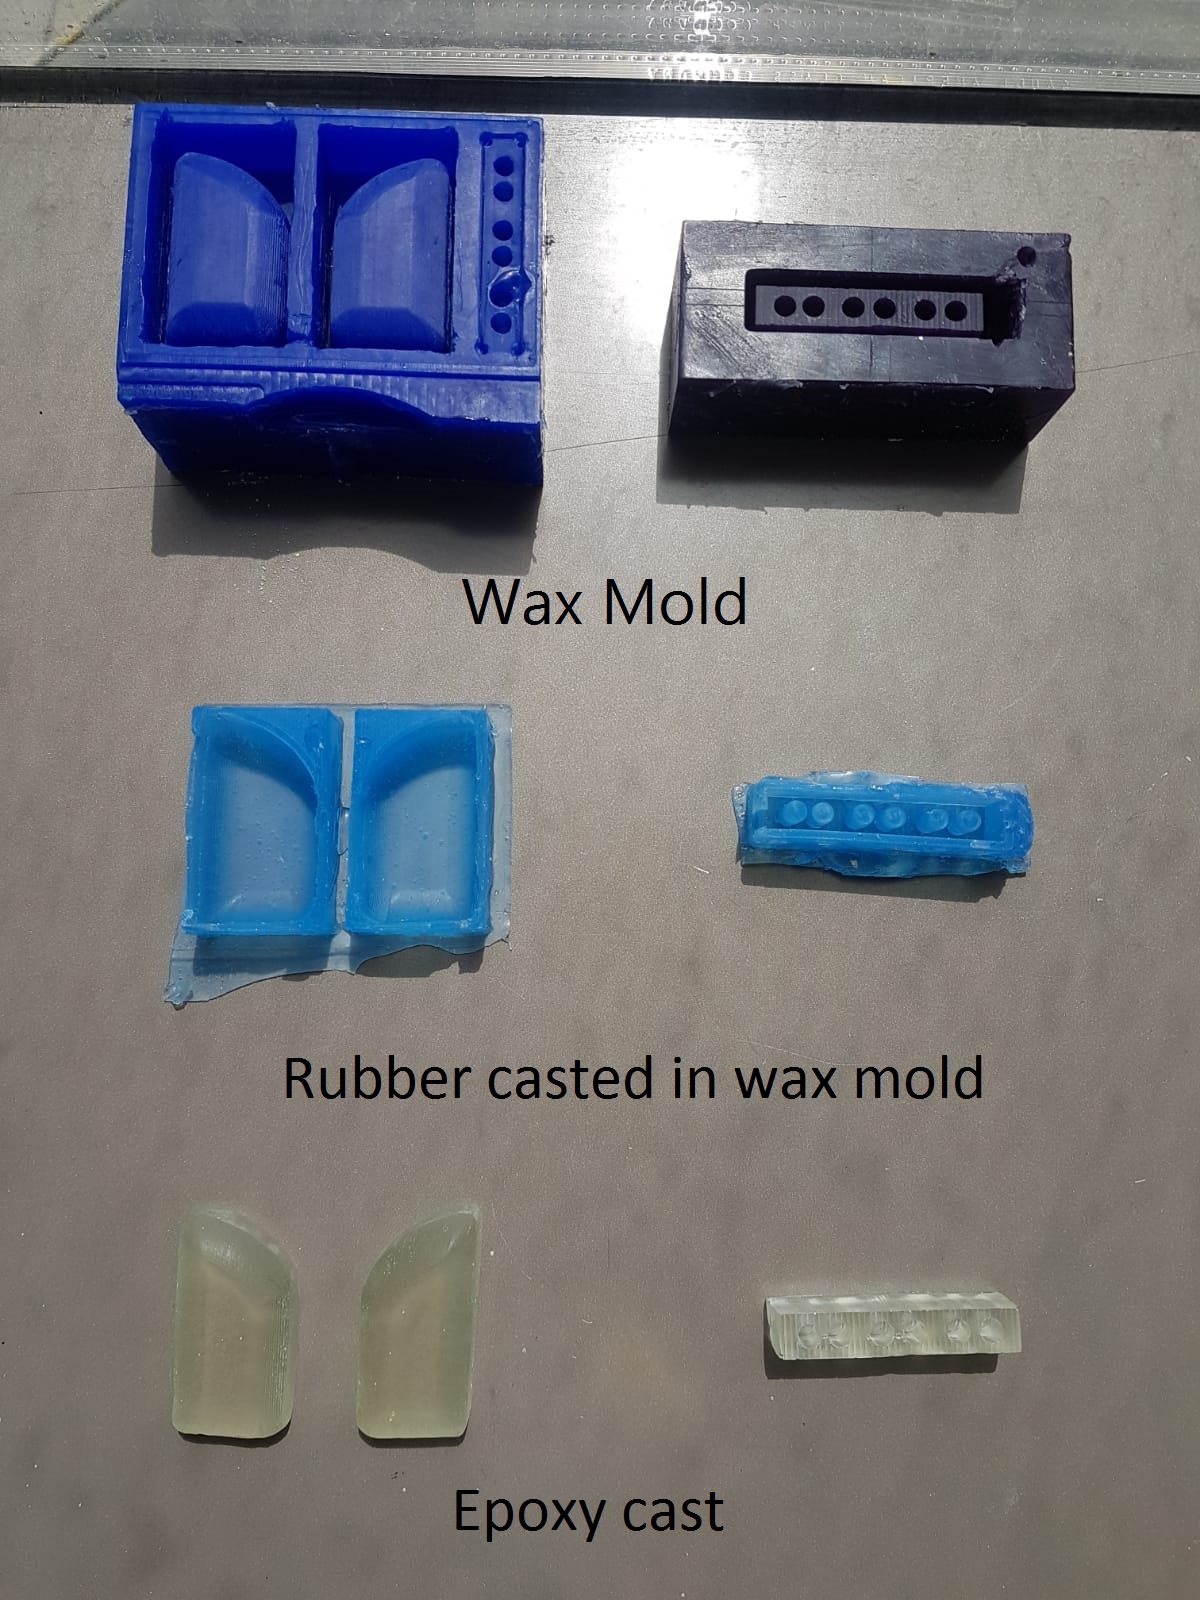
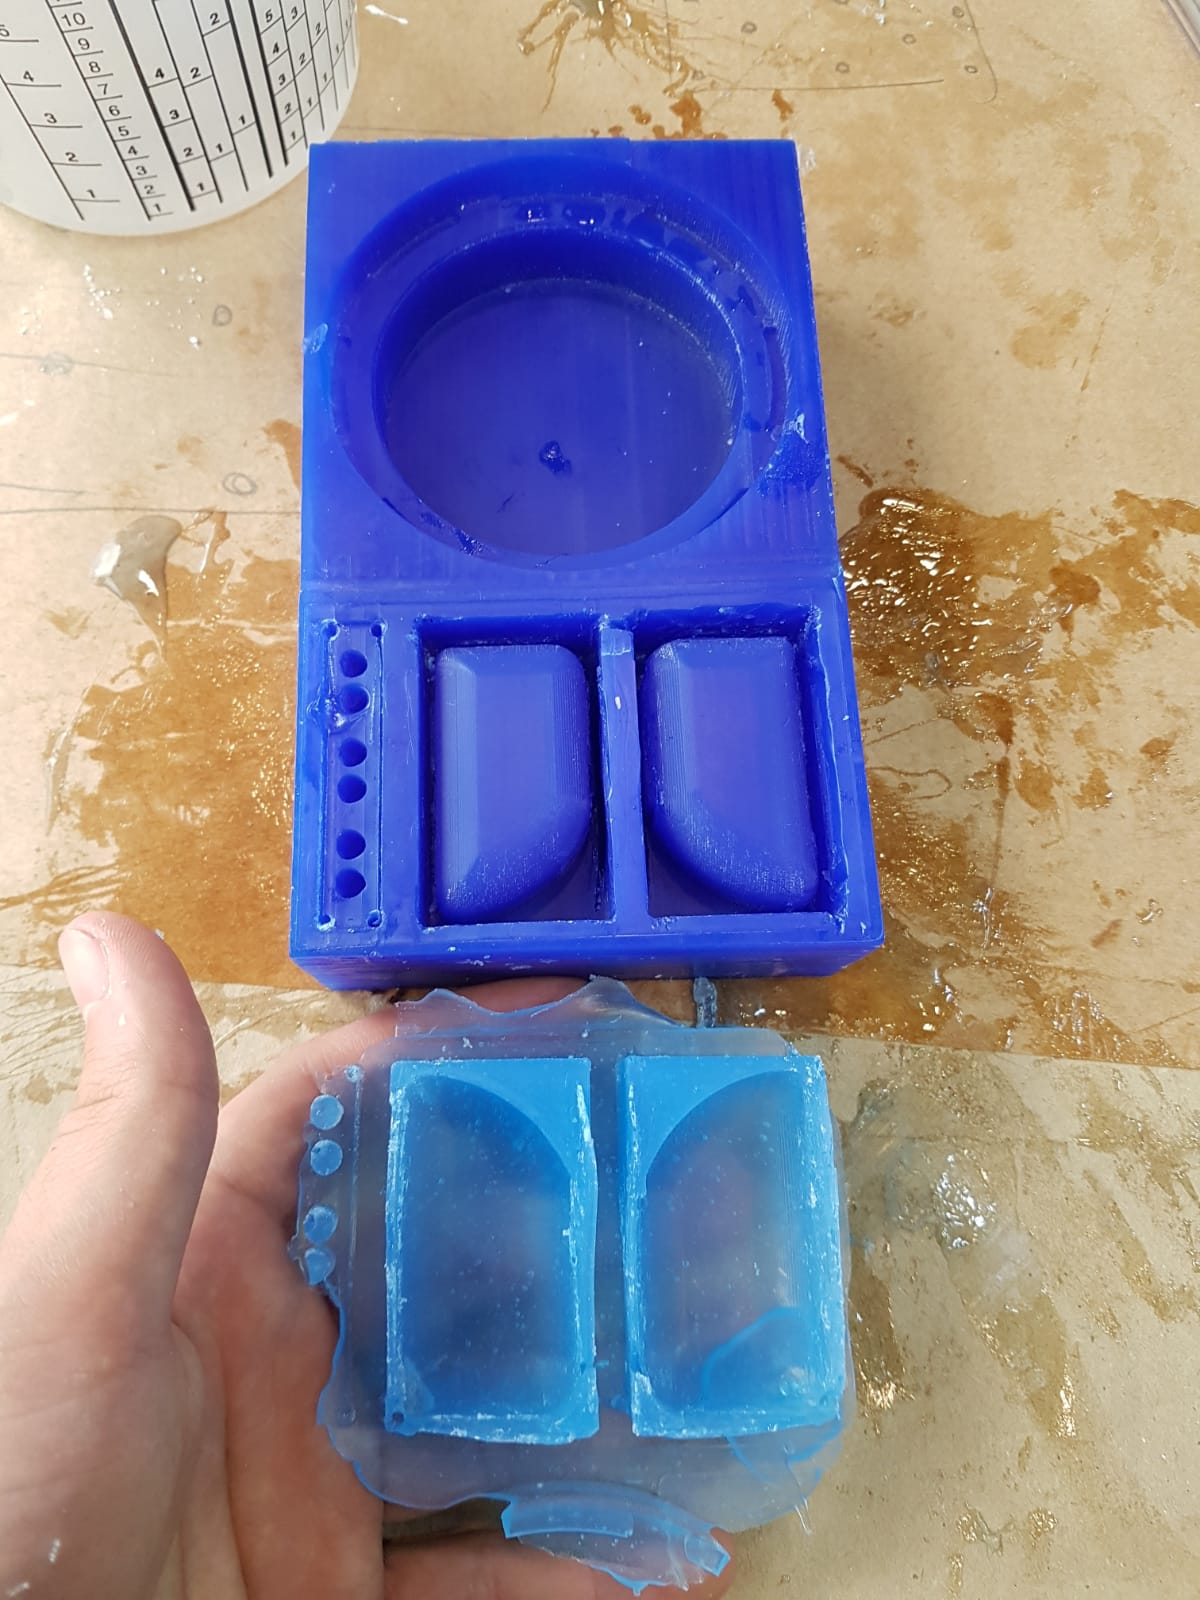
Mold from the Wax:
First I cleaned the wax using water.
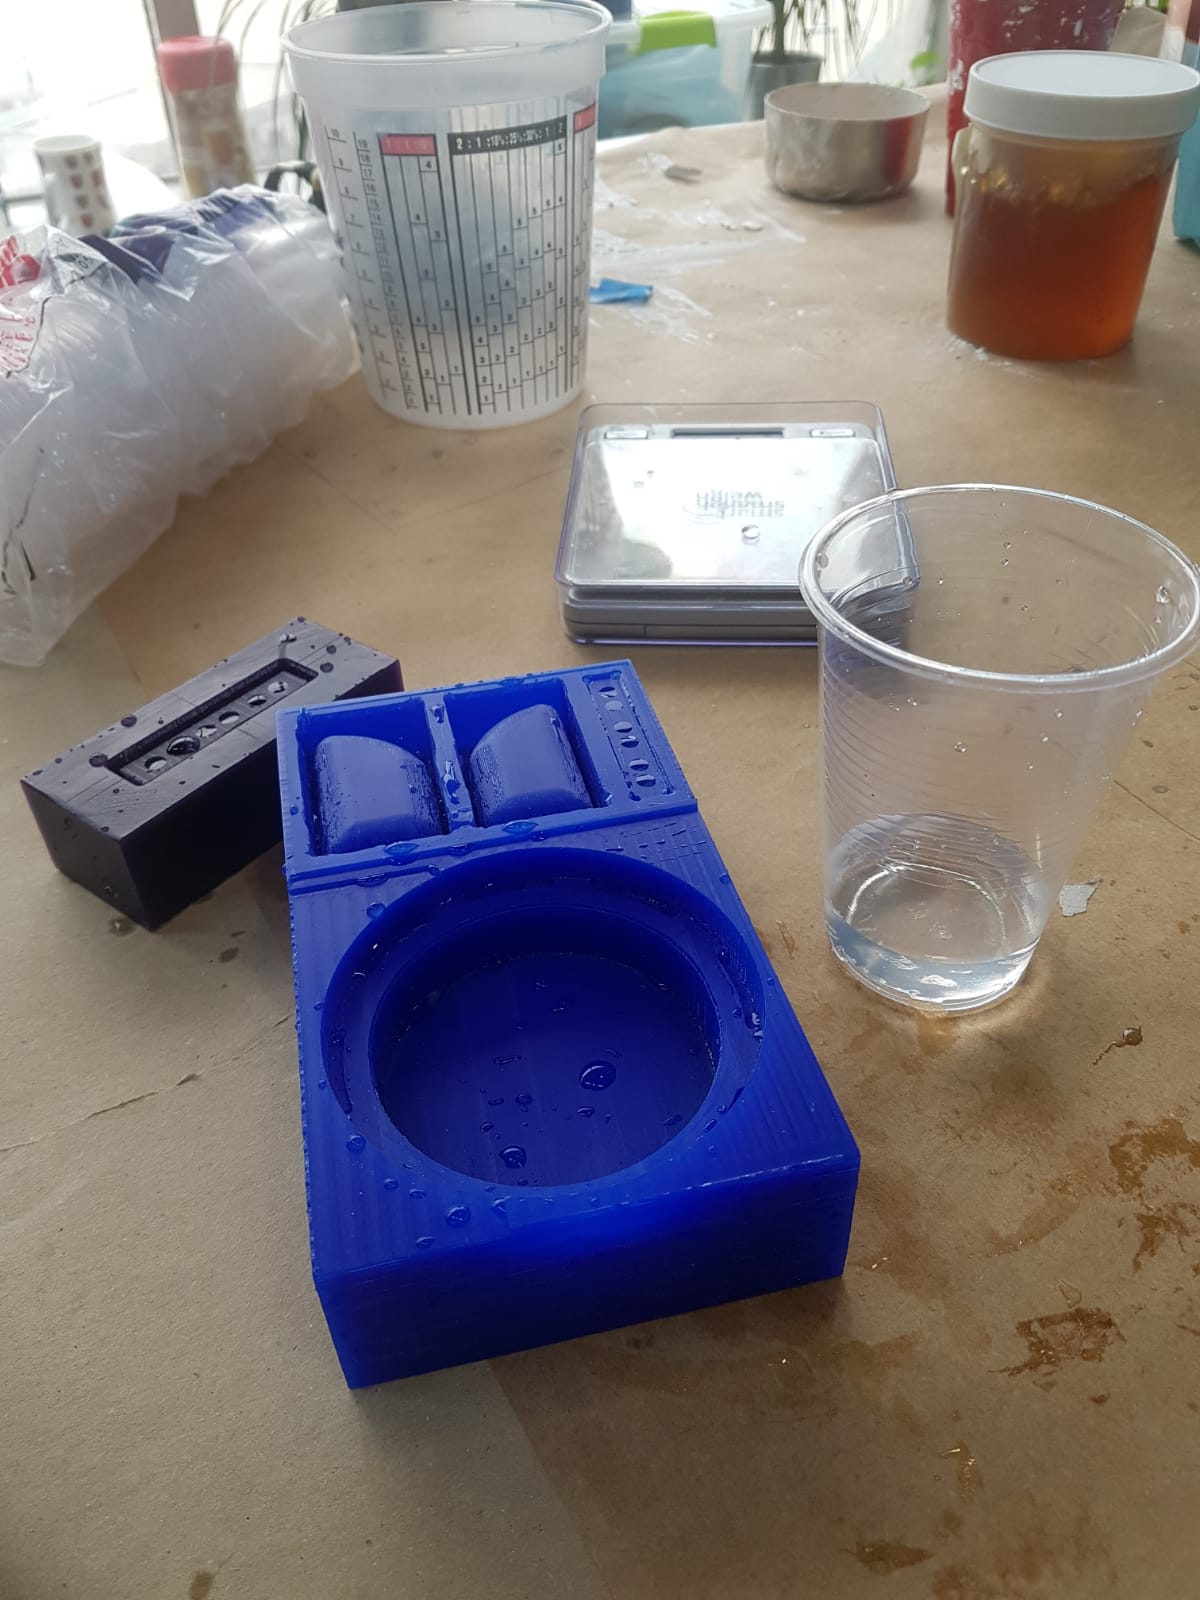
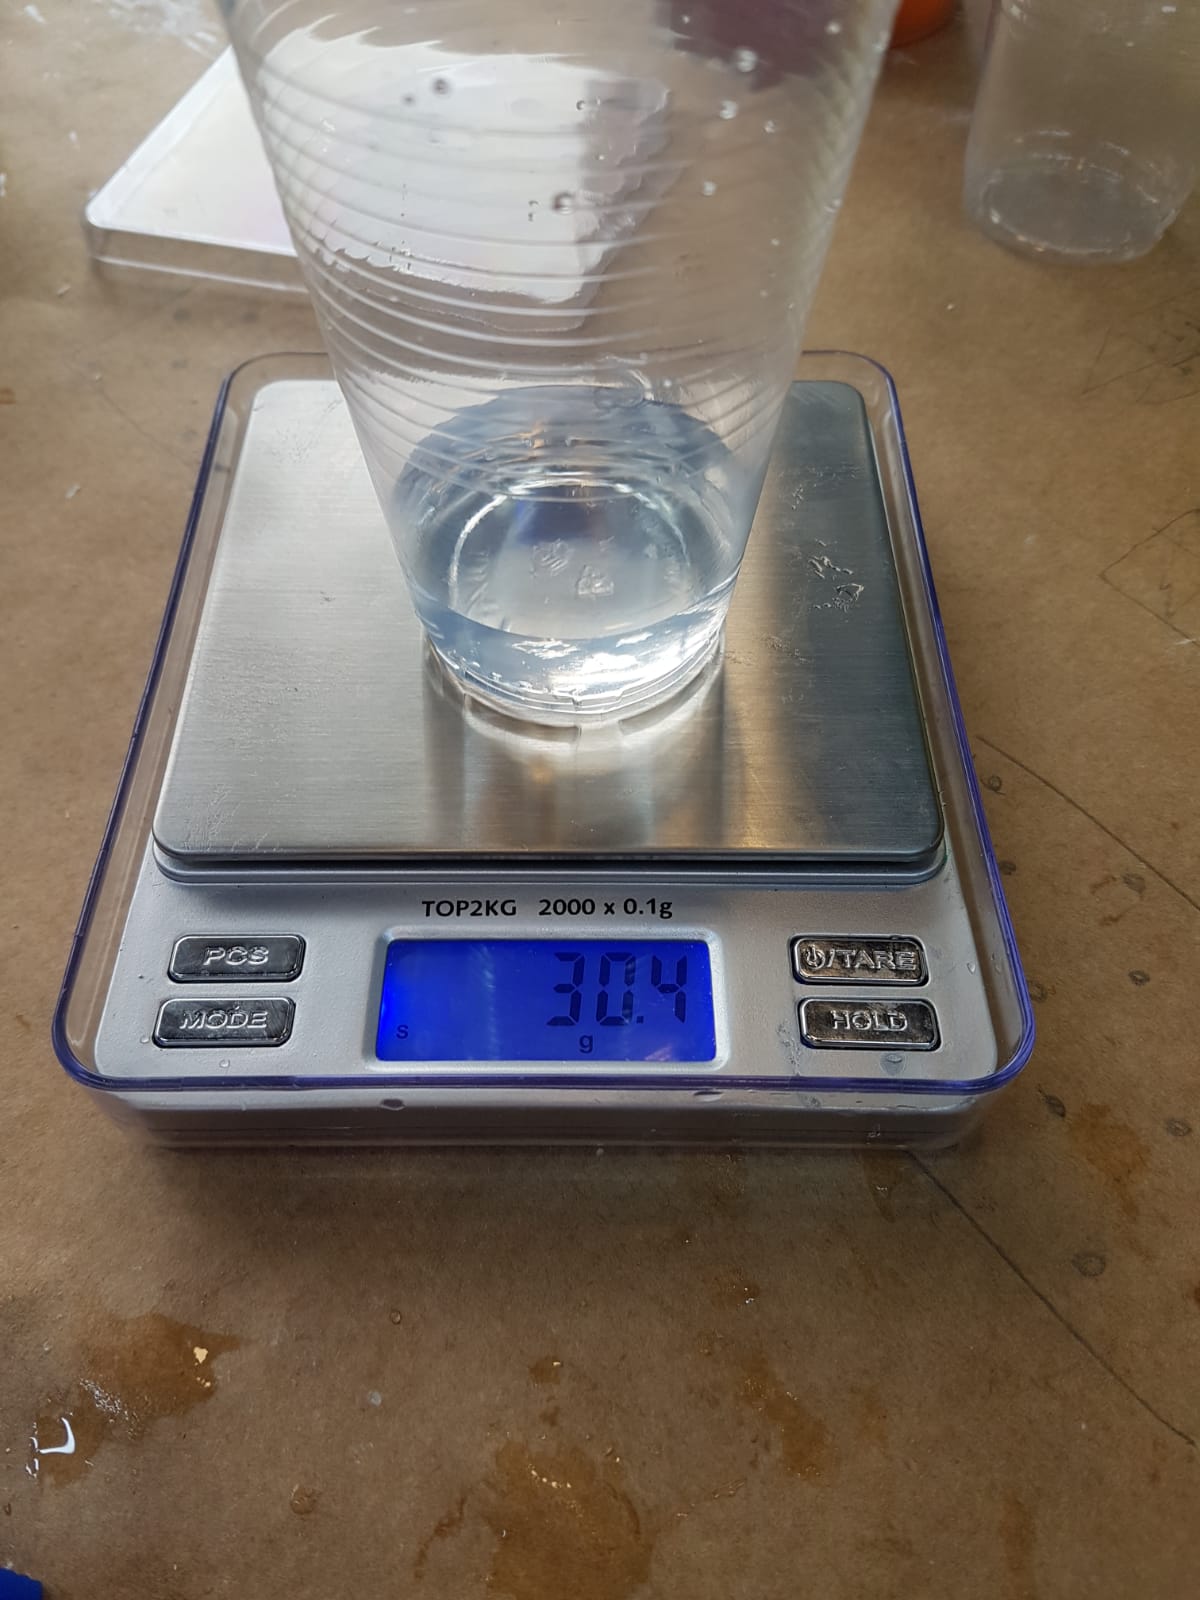
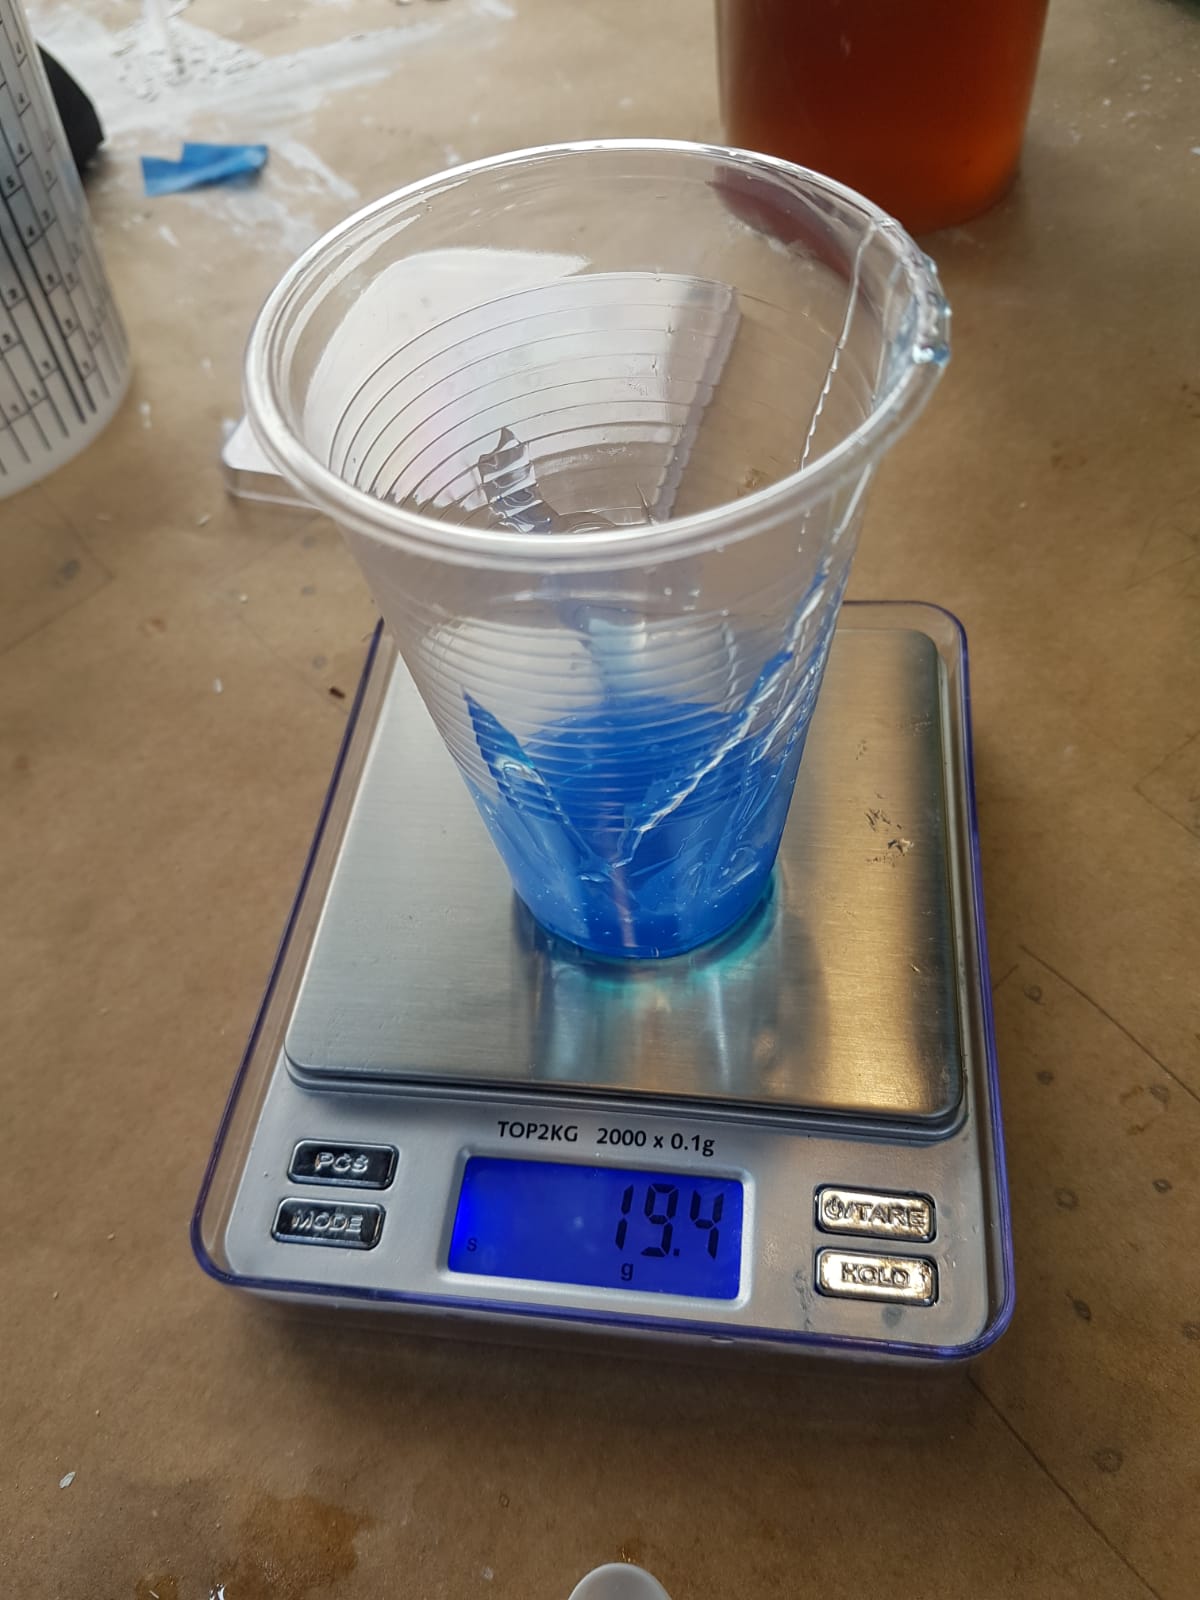
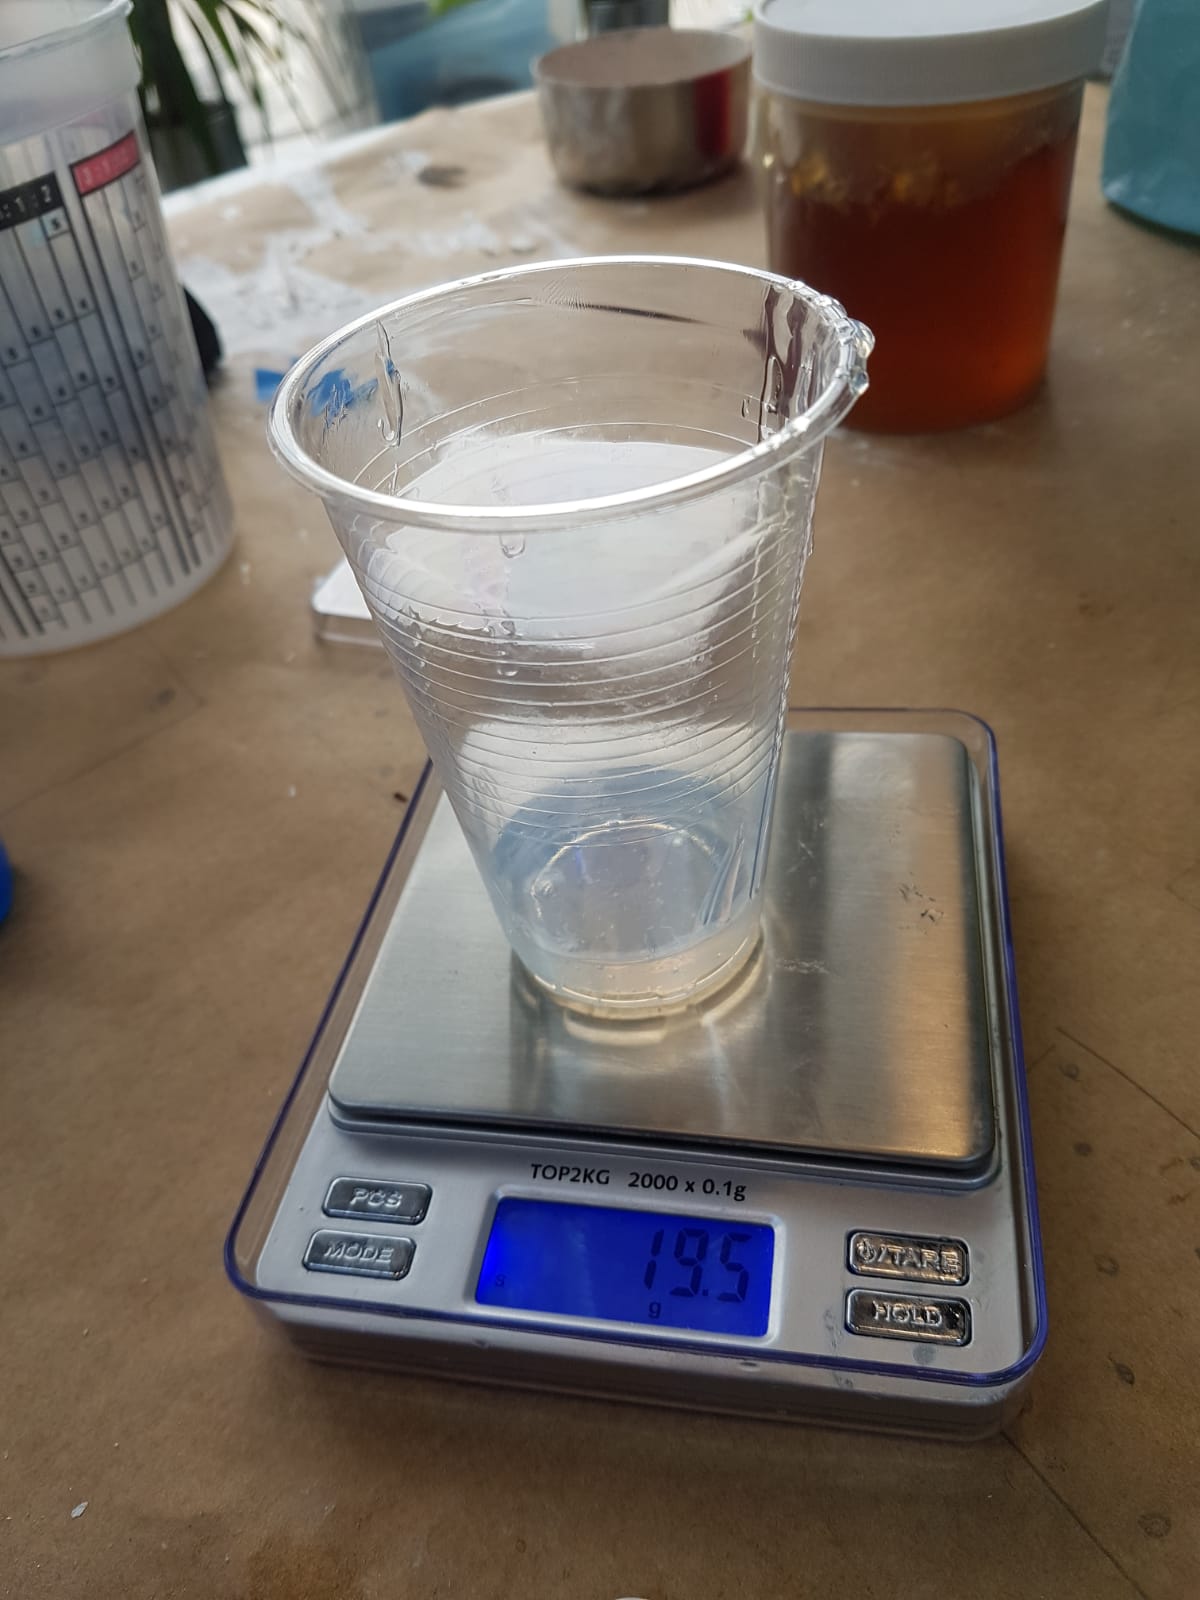
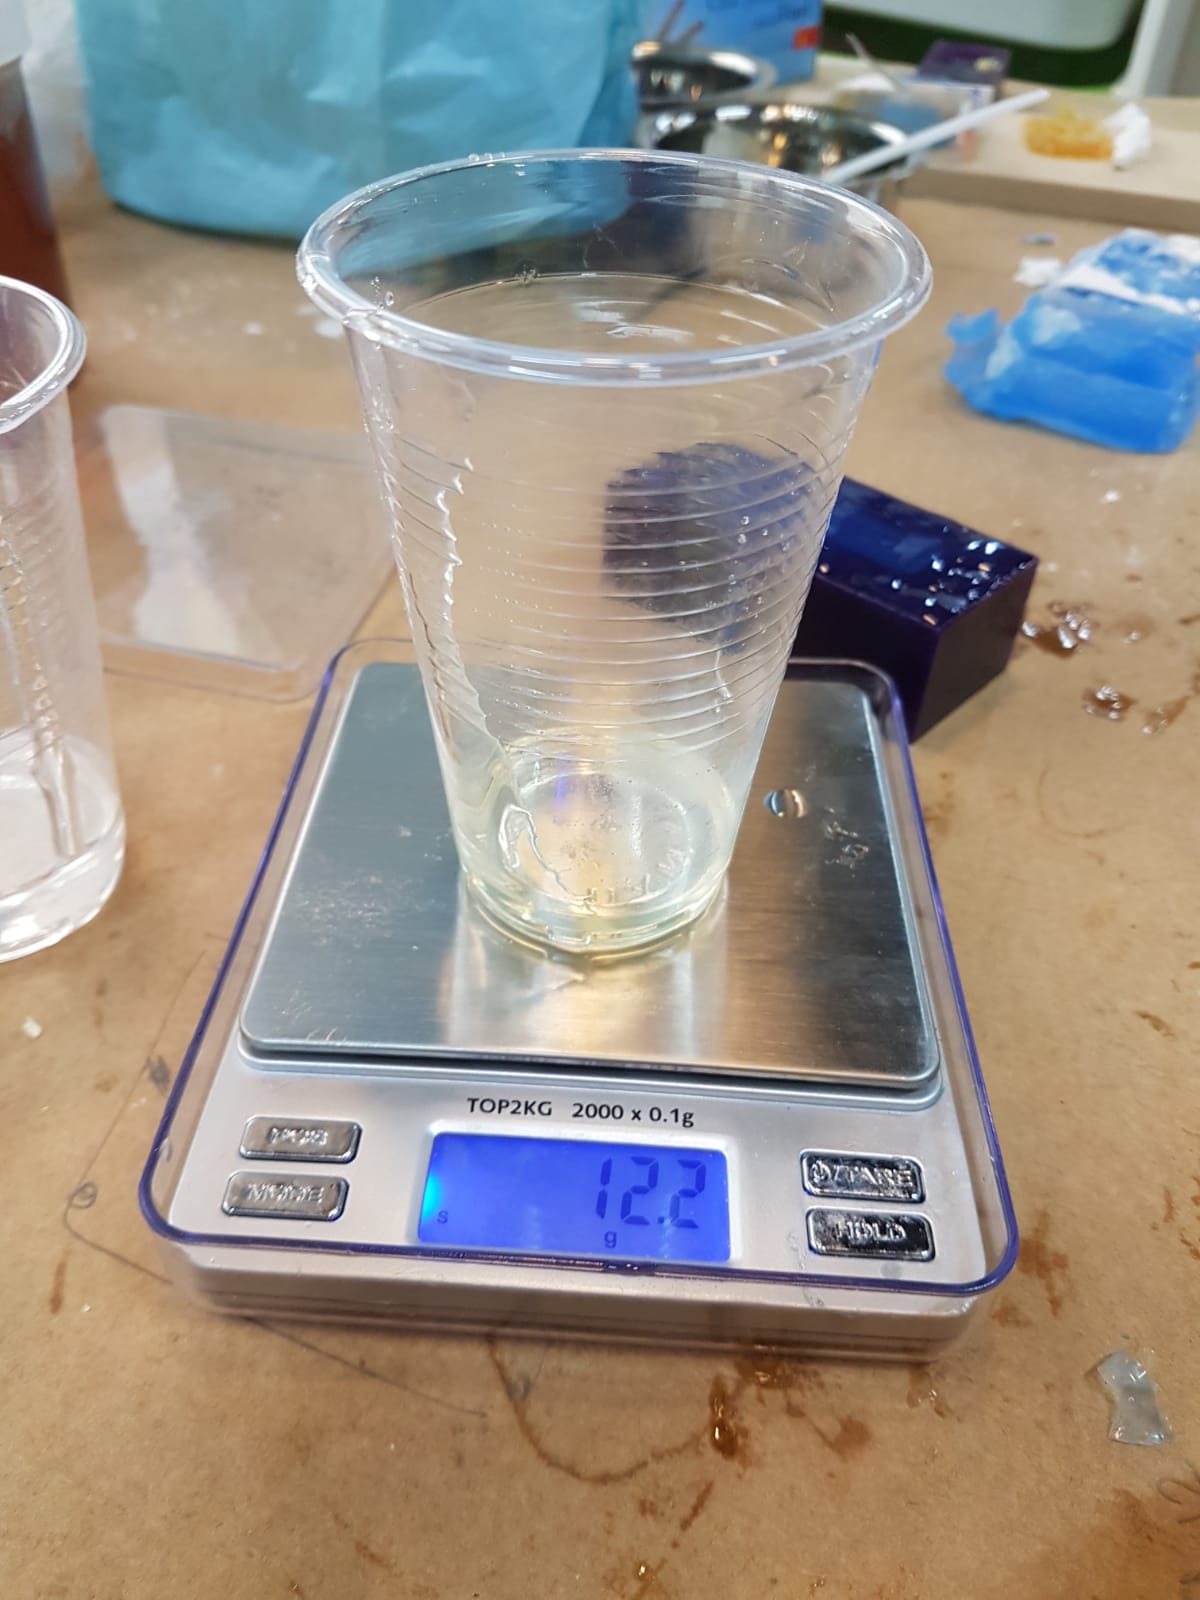
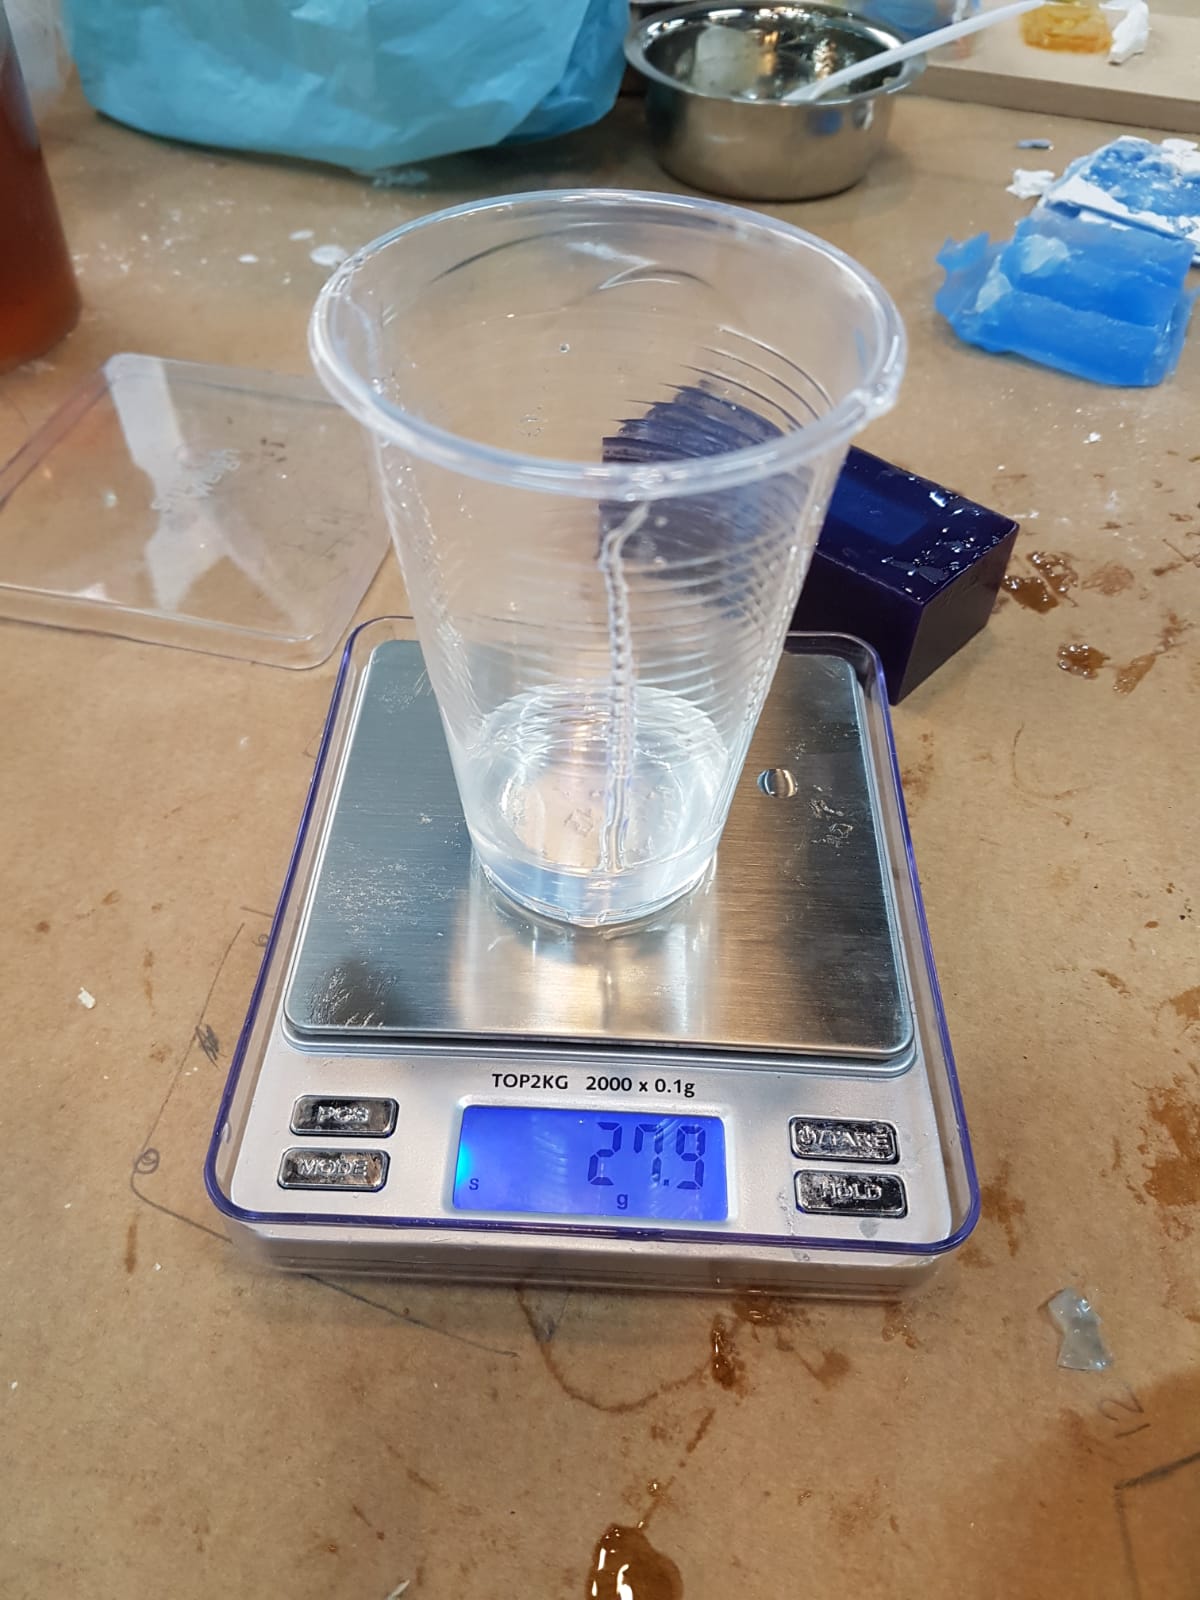
Then I filled my mold with water and Pour the water in a glass so I can measure the volume of my cast >> 30g I added extra 10g >> 40g.
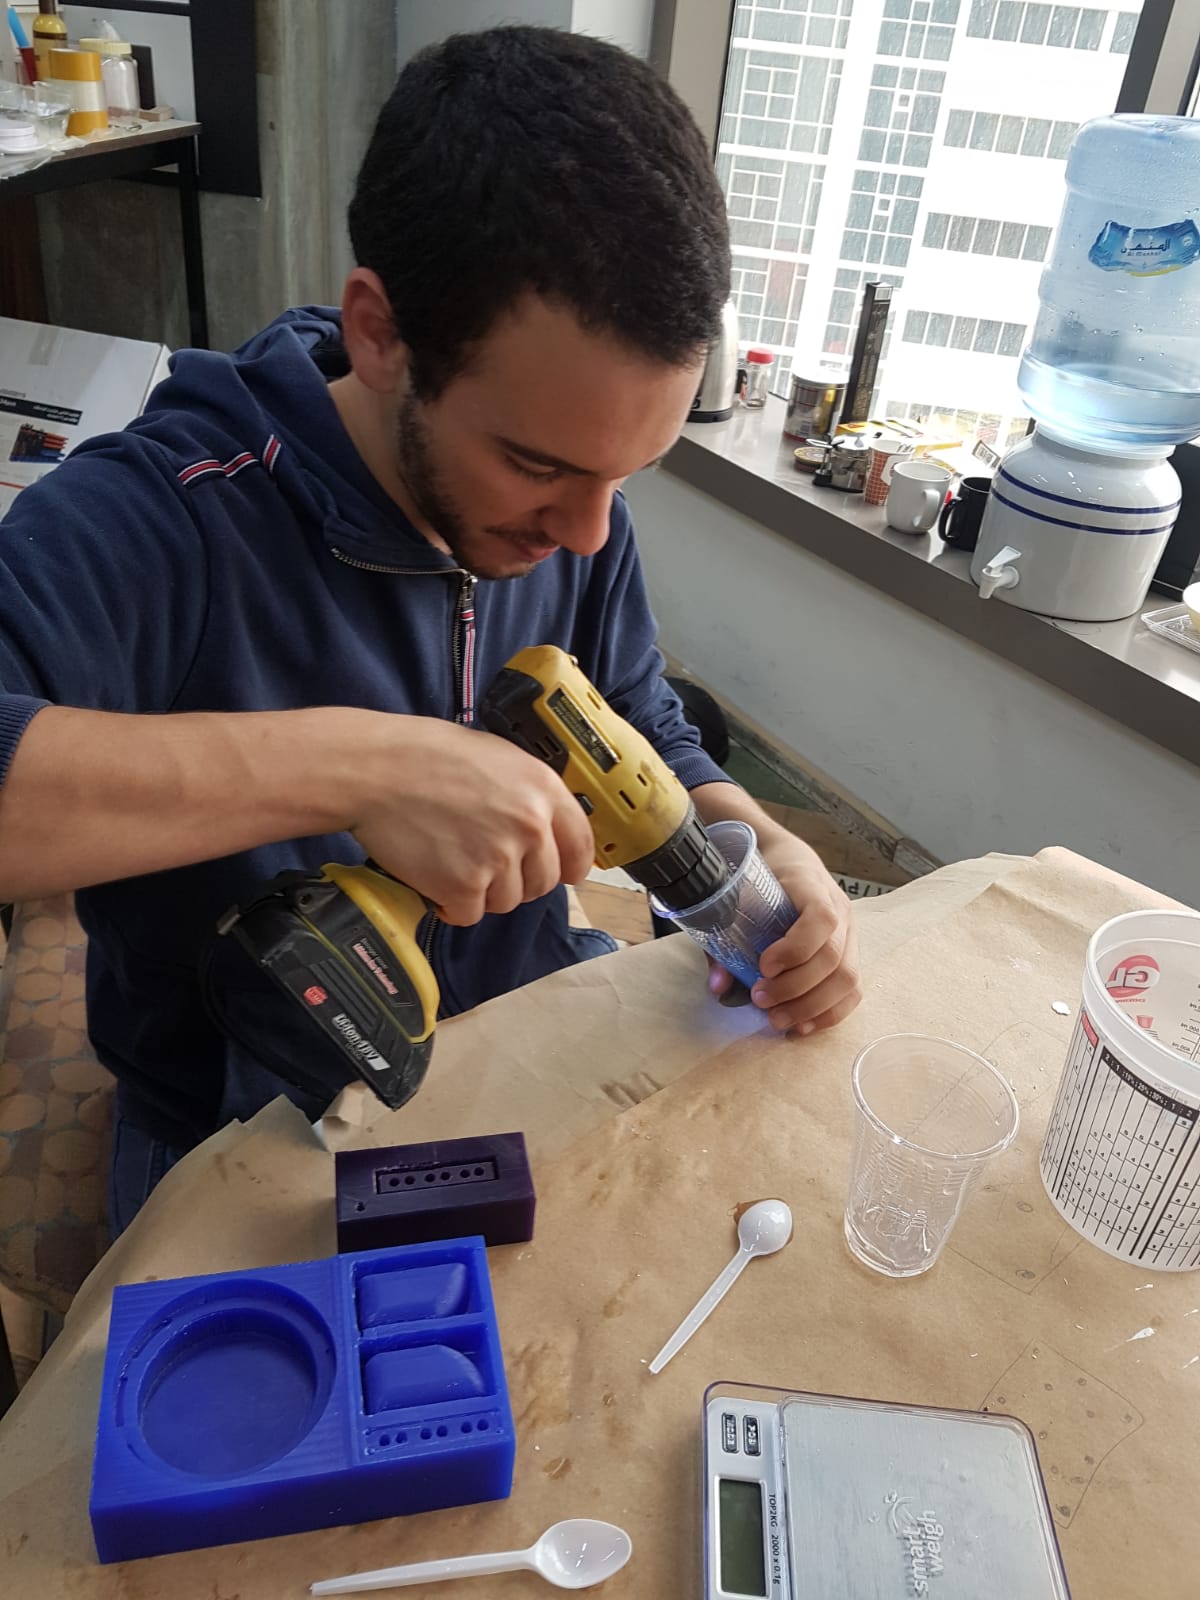
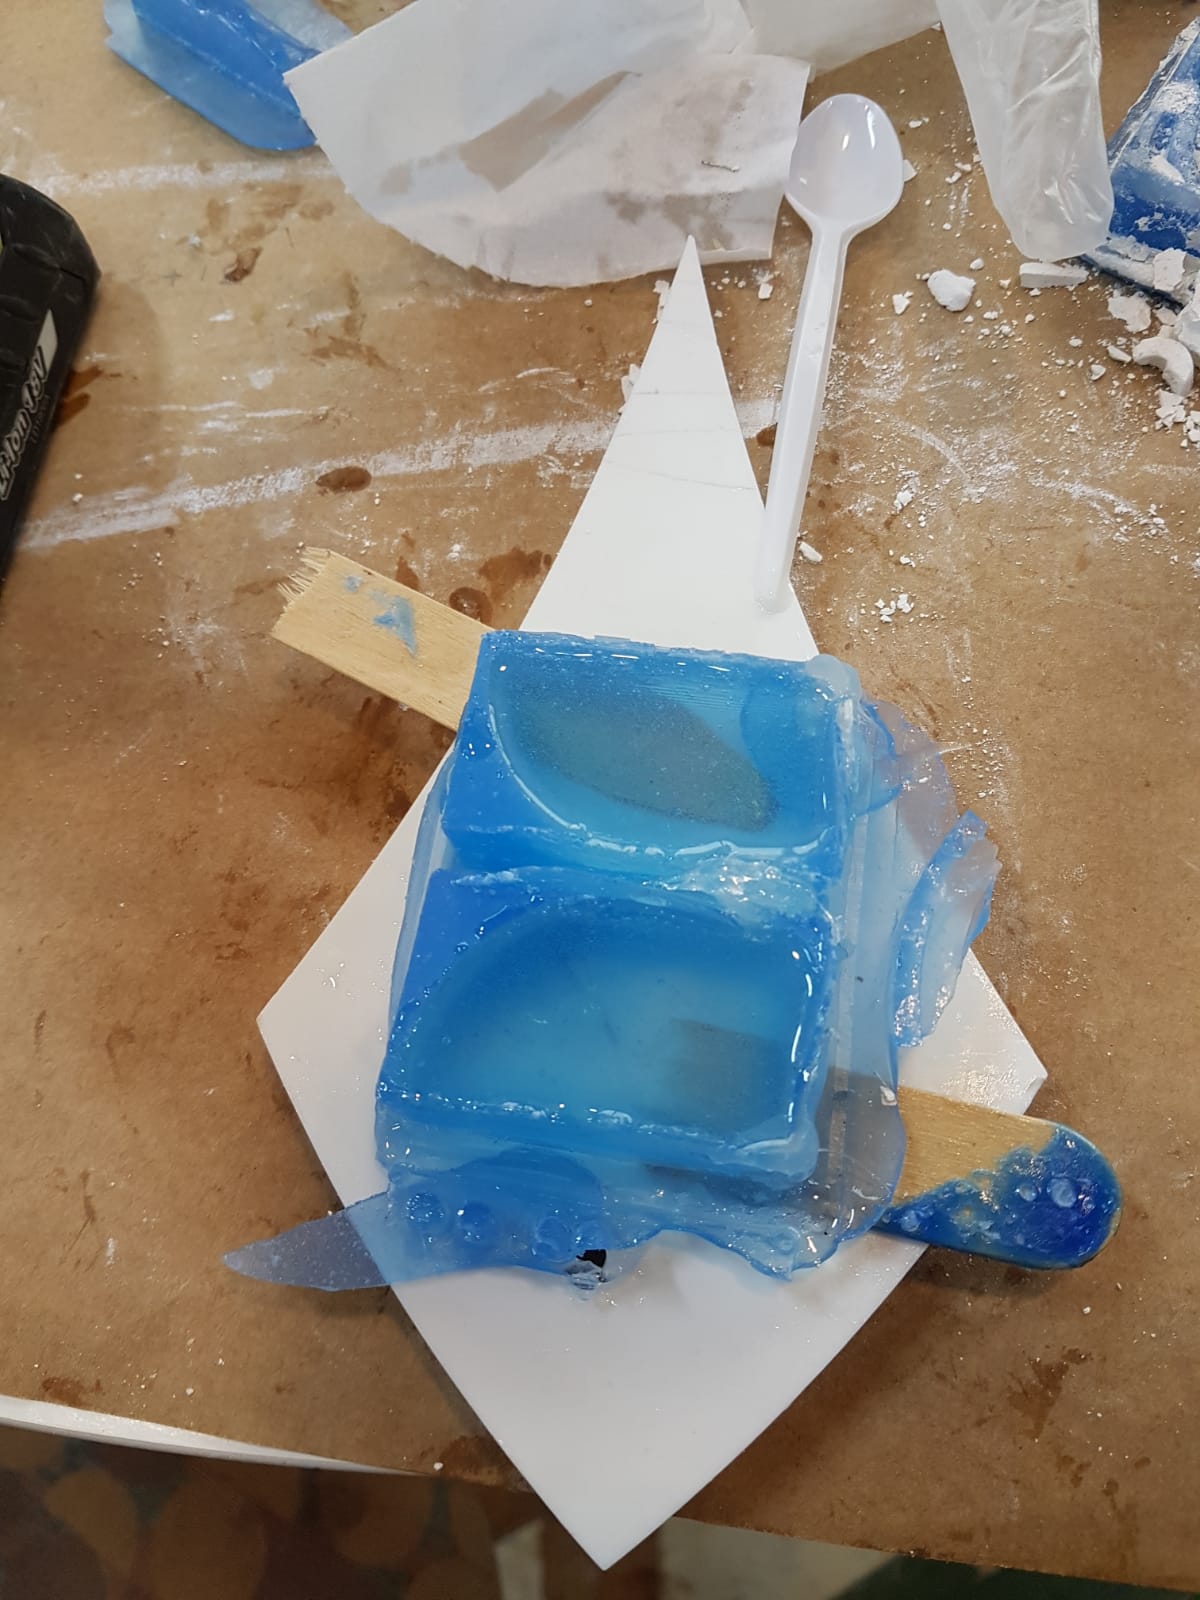
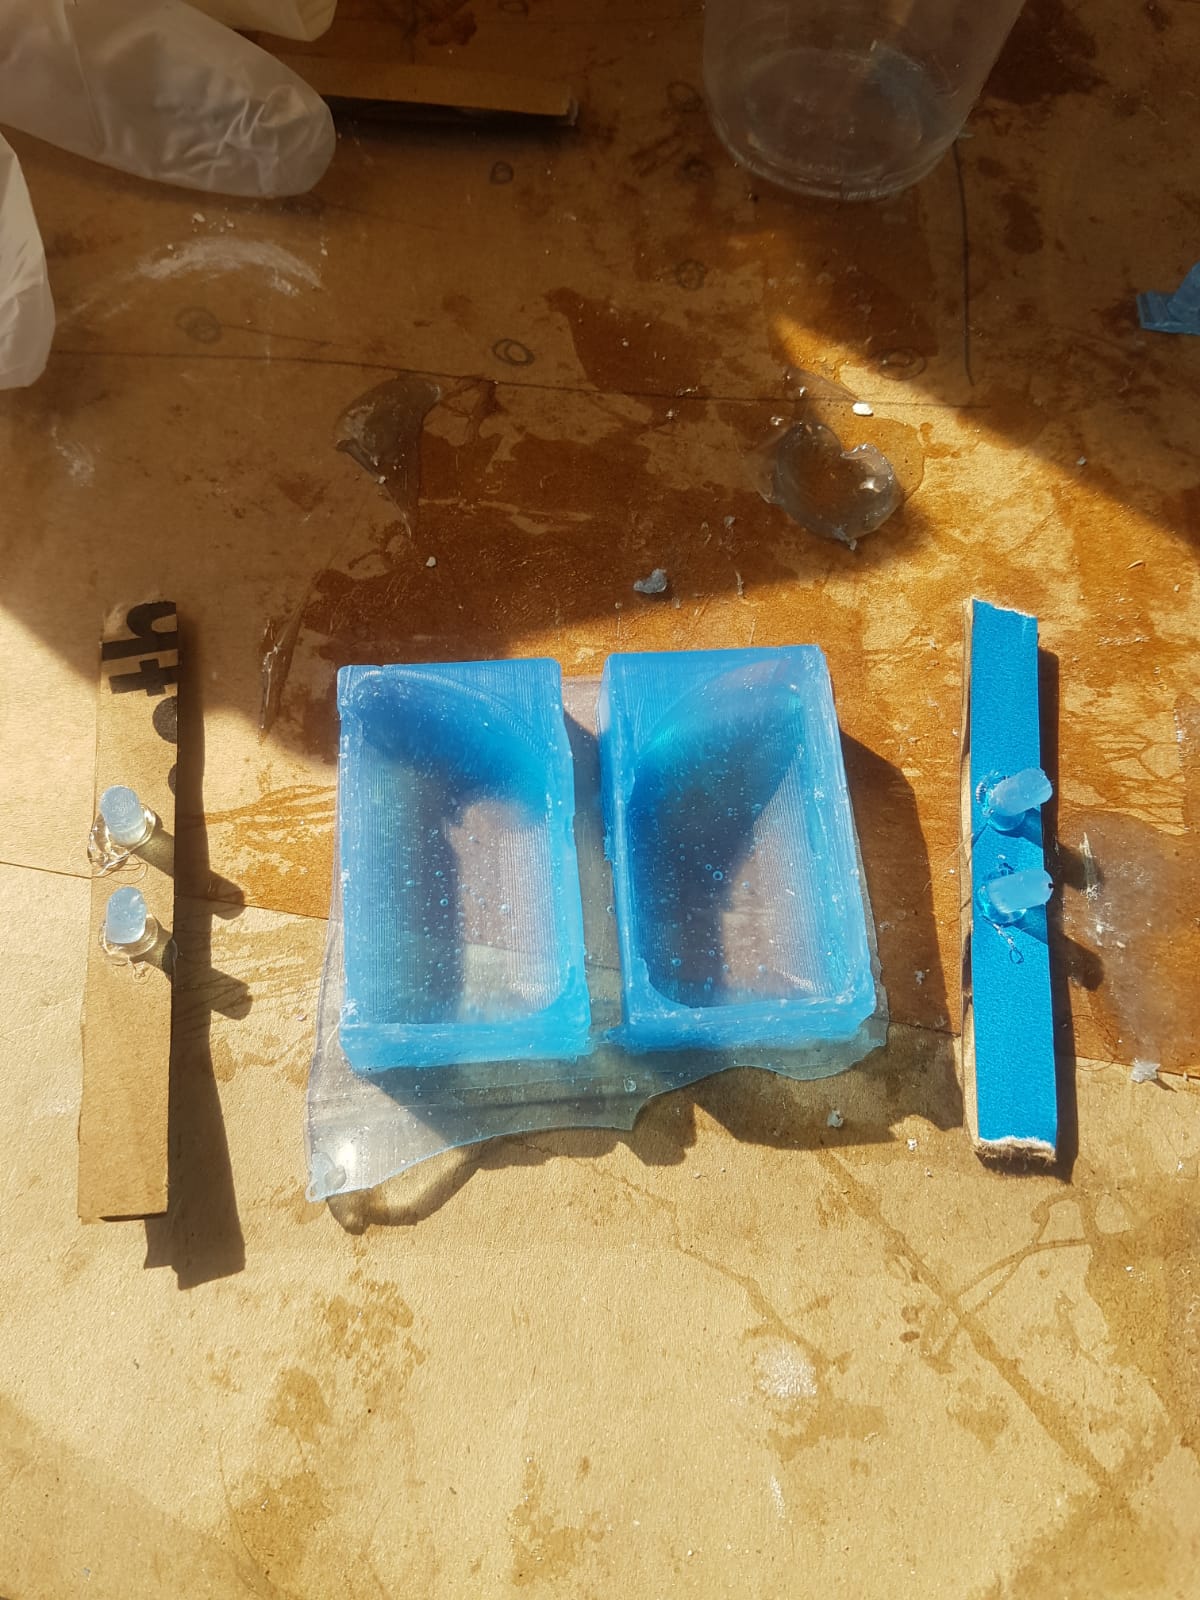
Then I have used 2 Part Addition cure silicone moulding rubber with 1:1 mix ratio Datasheet.
Then I mixed them both using a drill ,I should protect my hands and the drill from the solution.
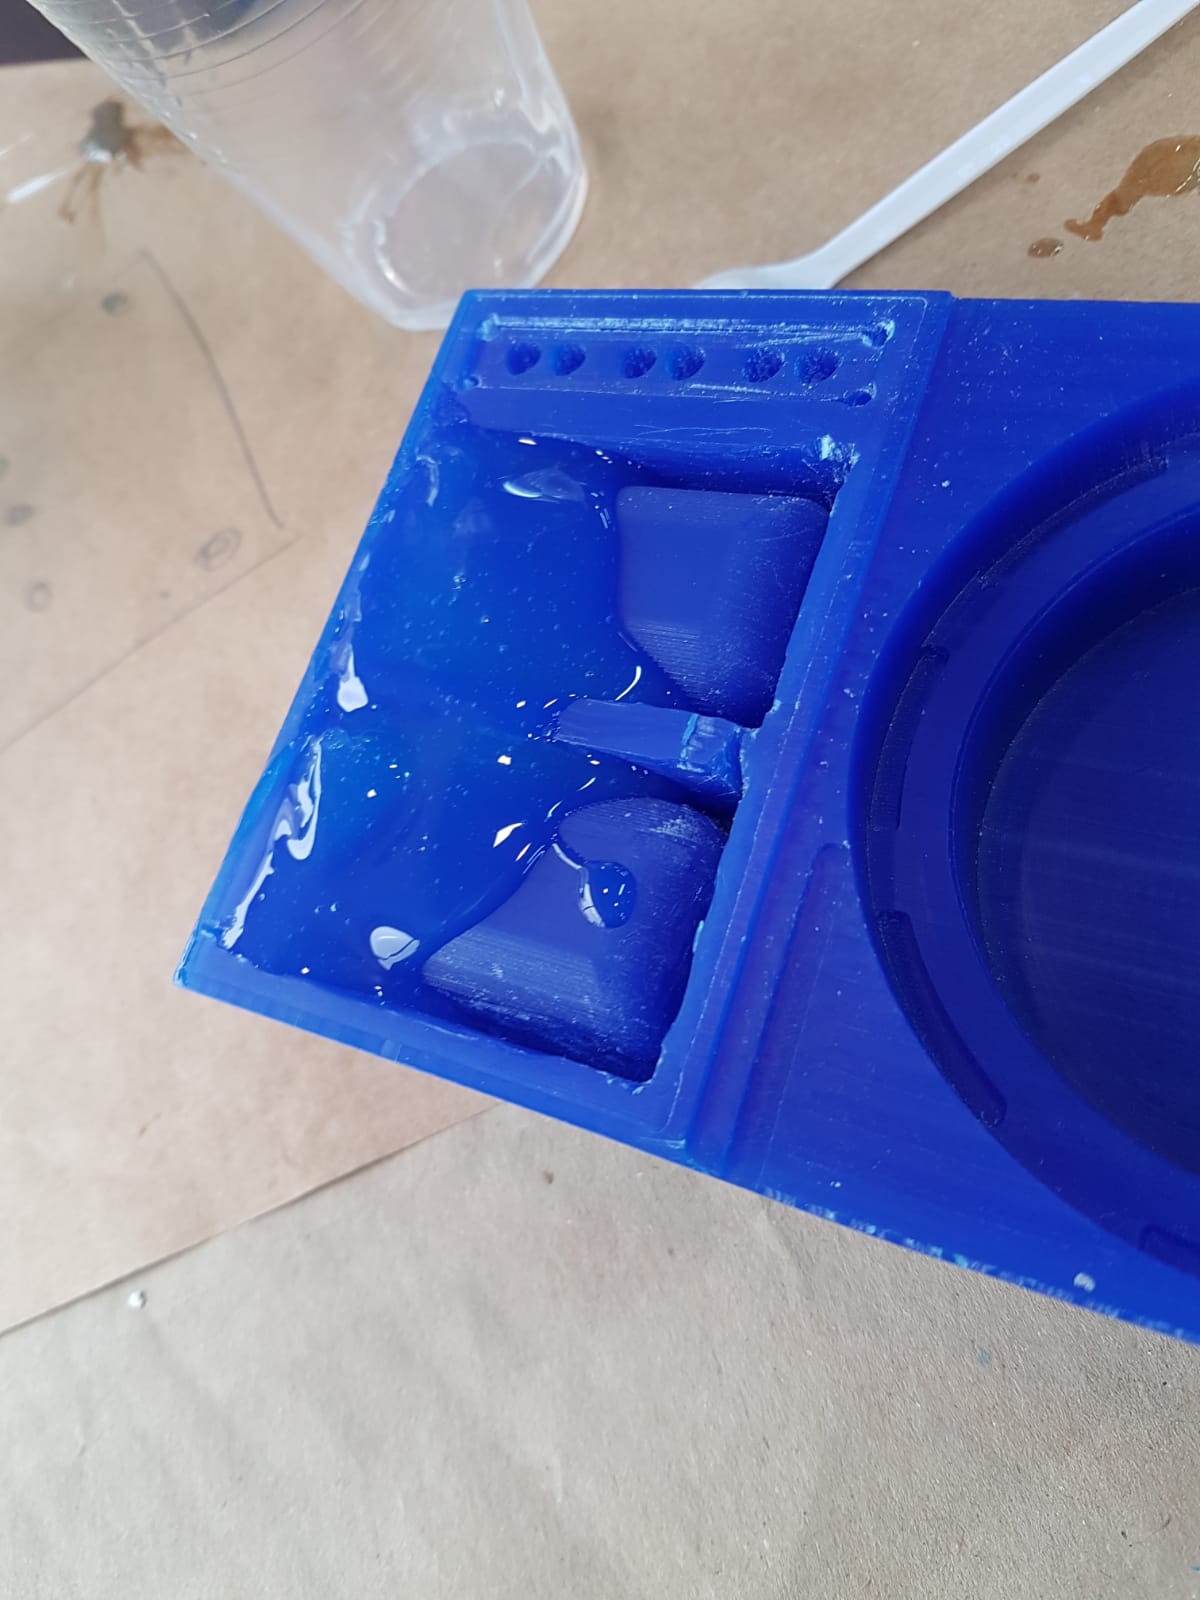
After that I poured the solution in my mold and waited for 2 houres.

problem:
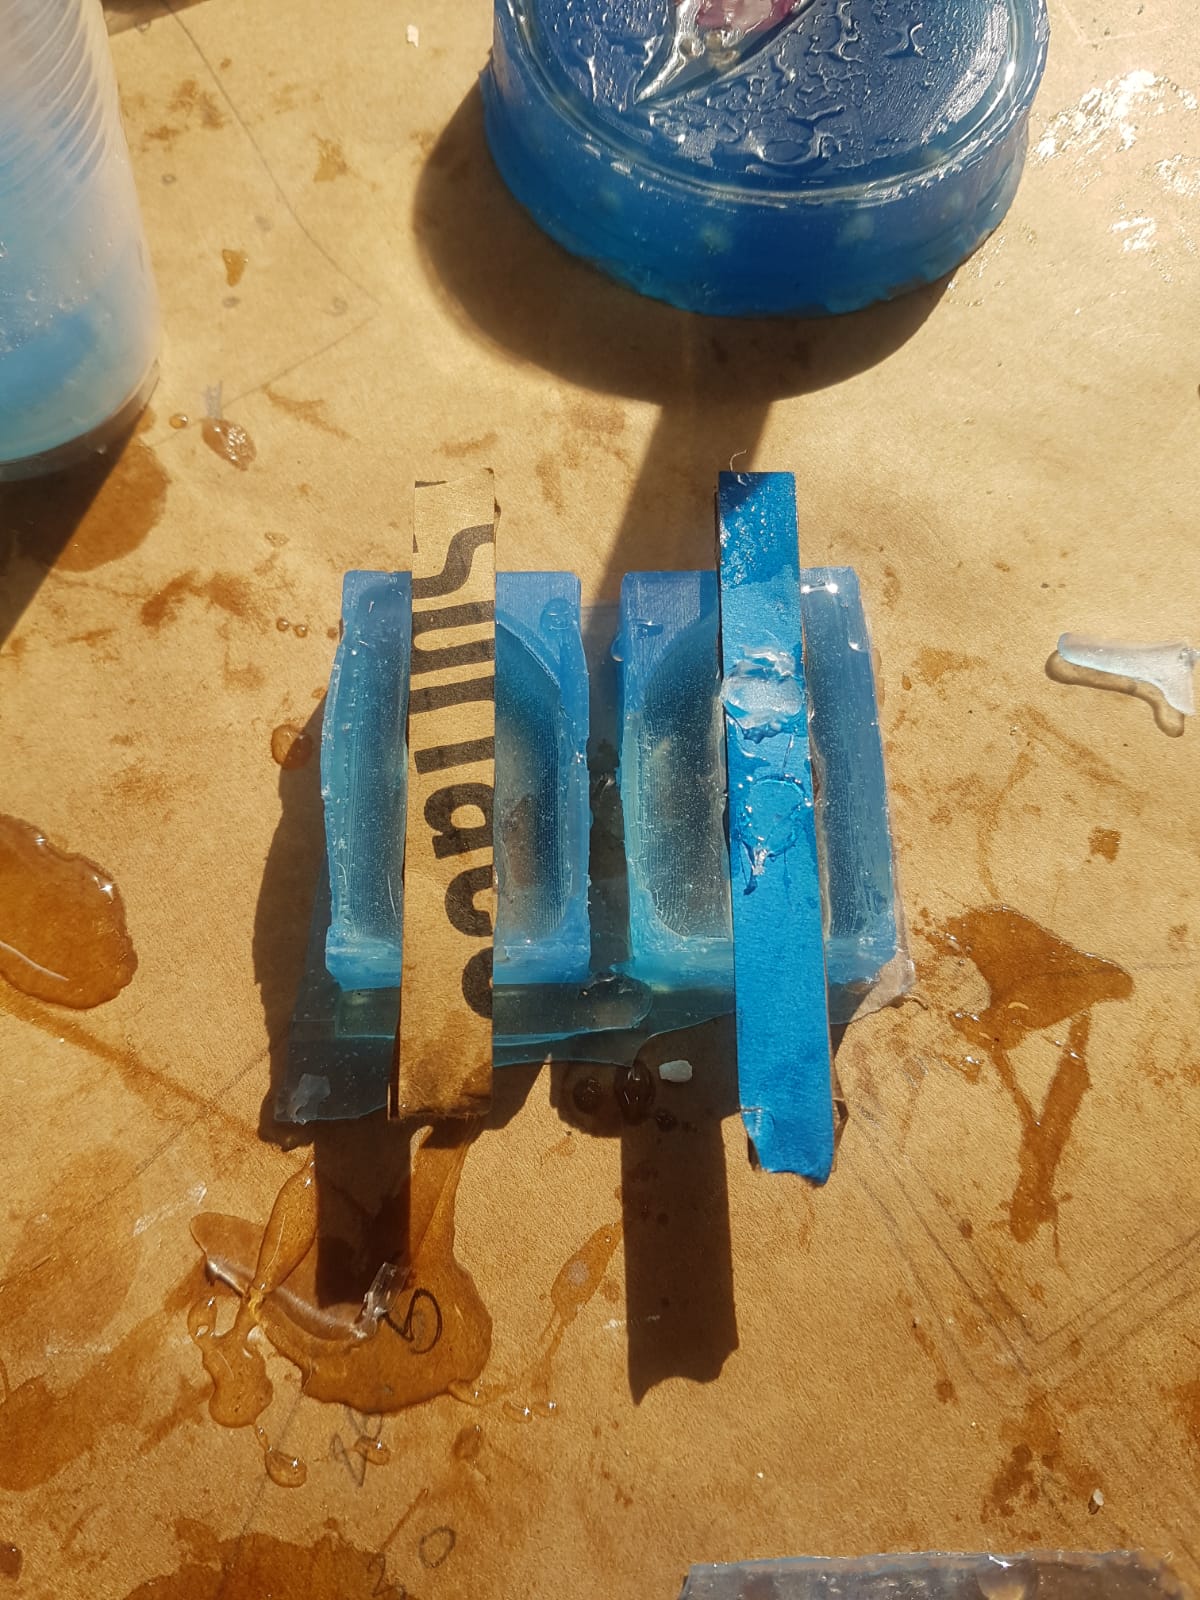
I added 10g extra to the solution however it still was not enough so I mixed another solution and pour it above the old one this caused a small bubble but I managed to add glue to it and close it.
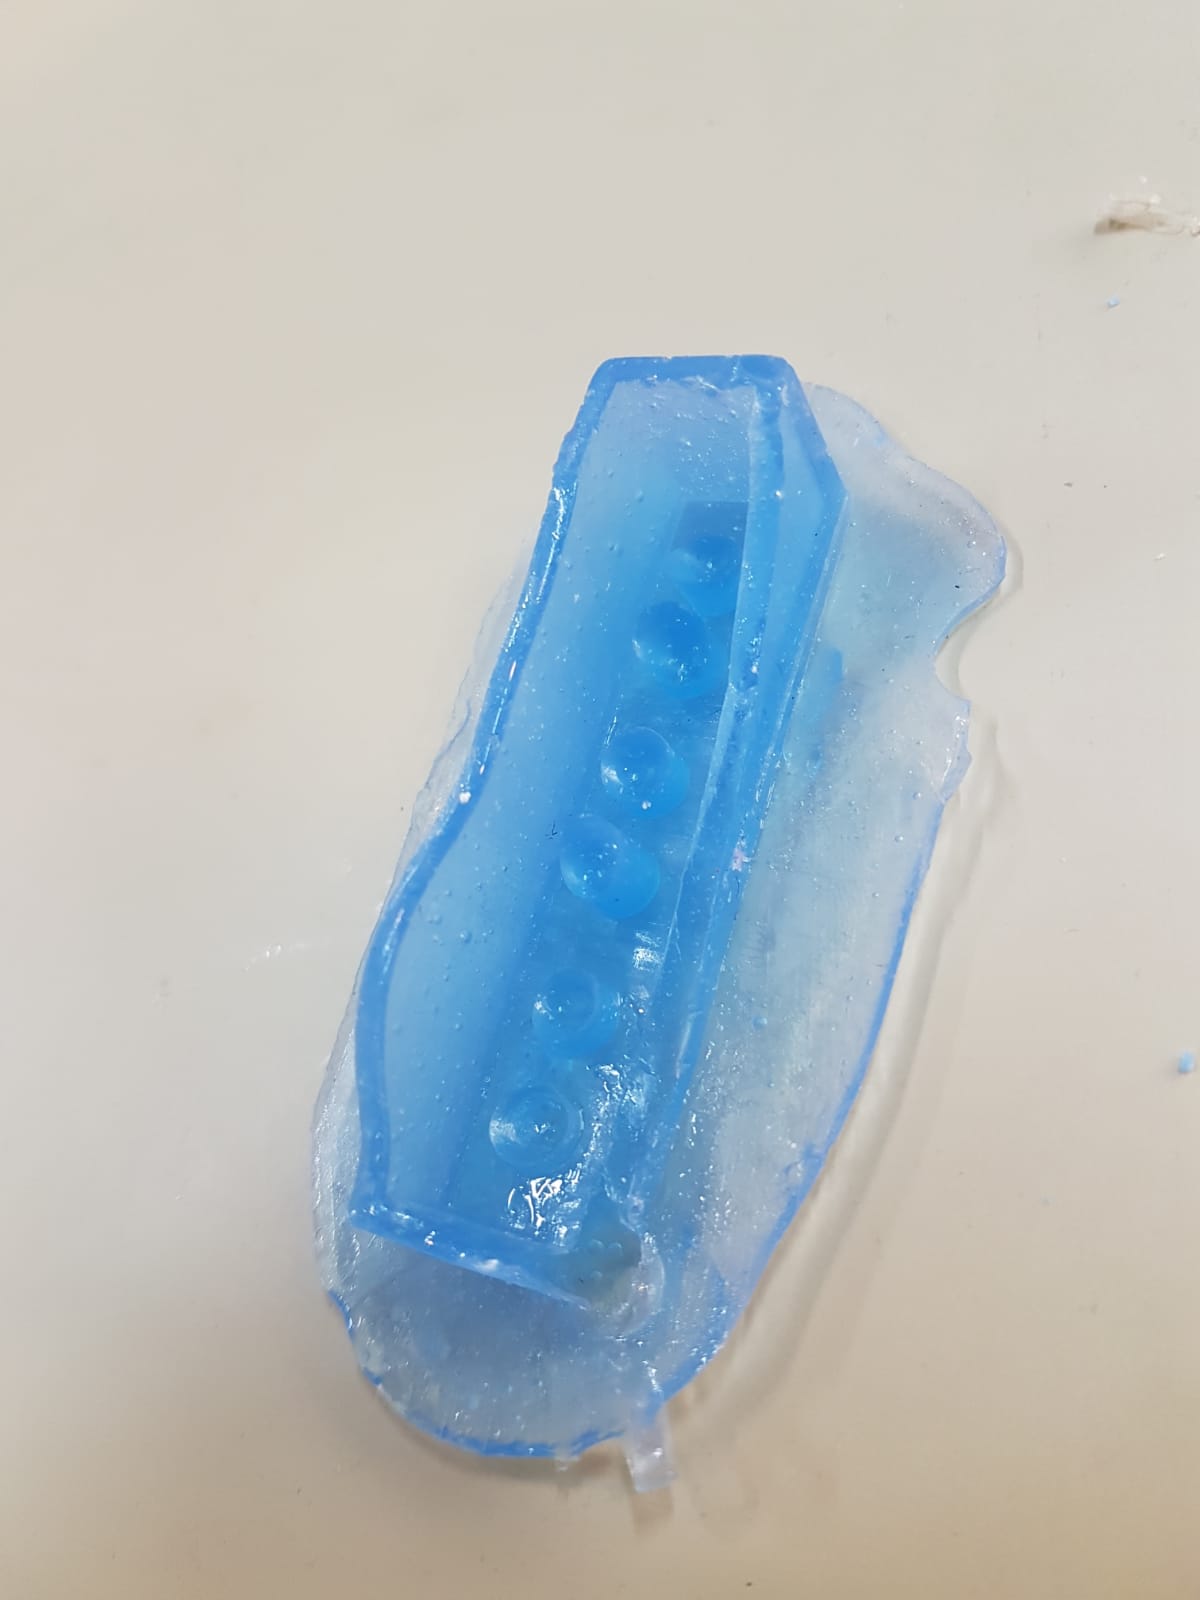
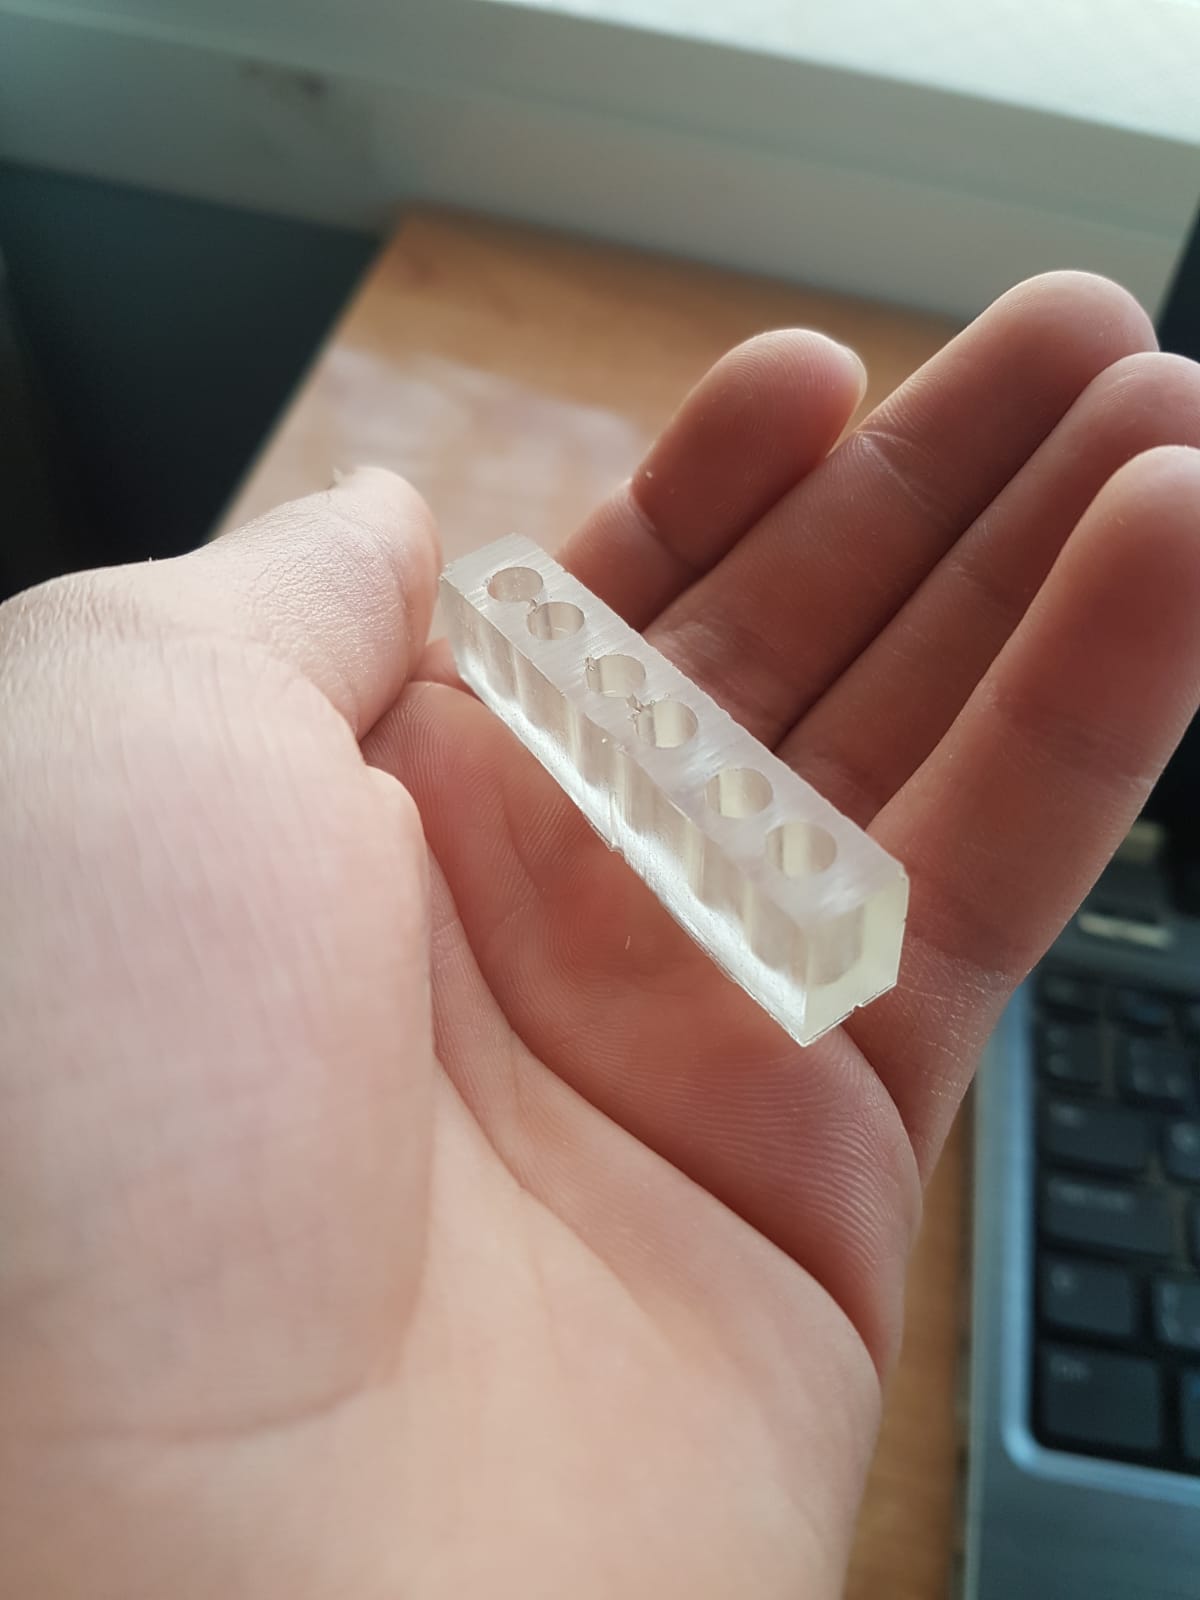
Another problem was after I poured the solution of one of my small parts which had holes , bubbles stuck in the holes so the cast failed , to solve this I made another solution and pour it again but this time I popped the bubbles and shaked the cast well.
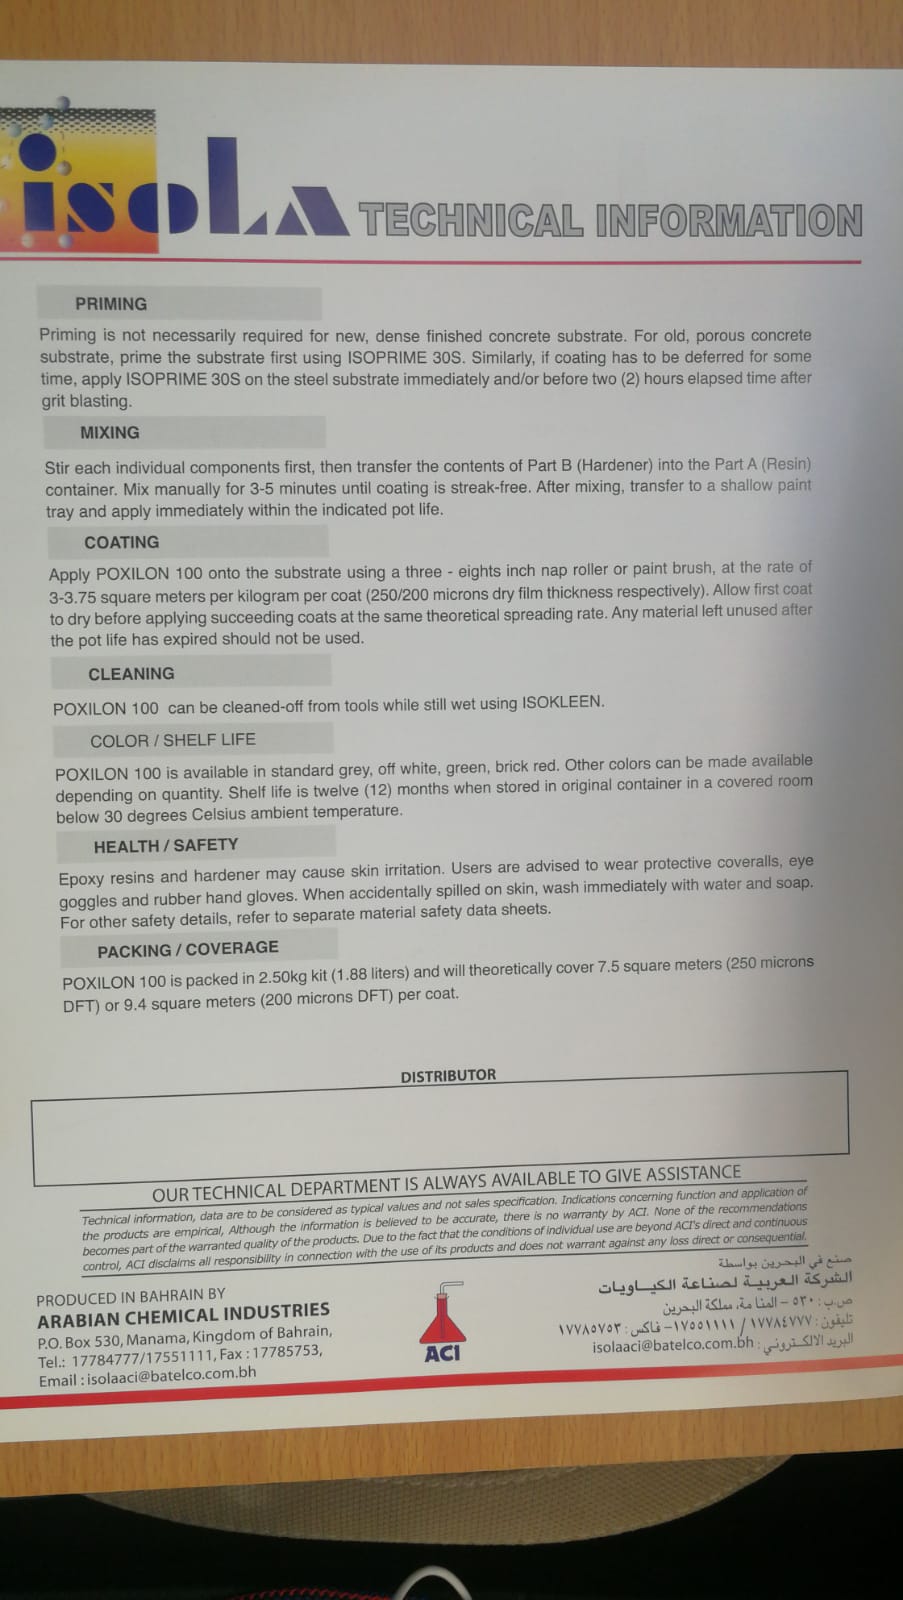
Cast Final Object:
Datasheet:
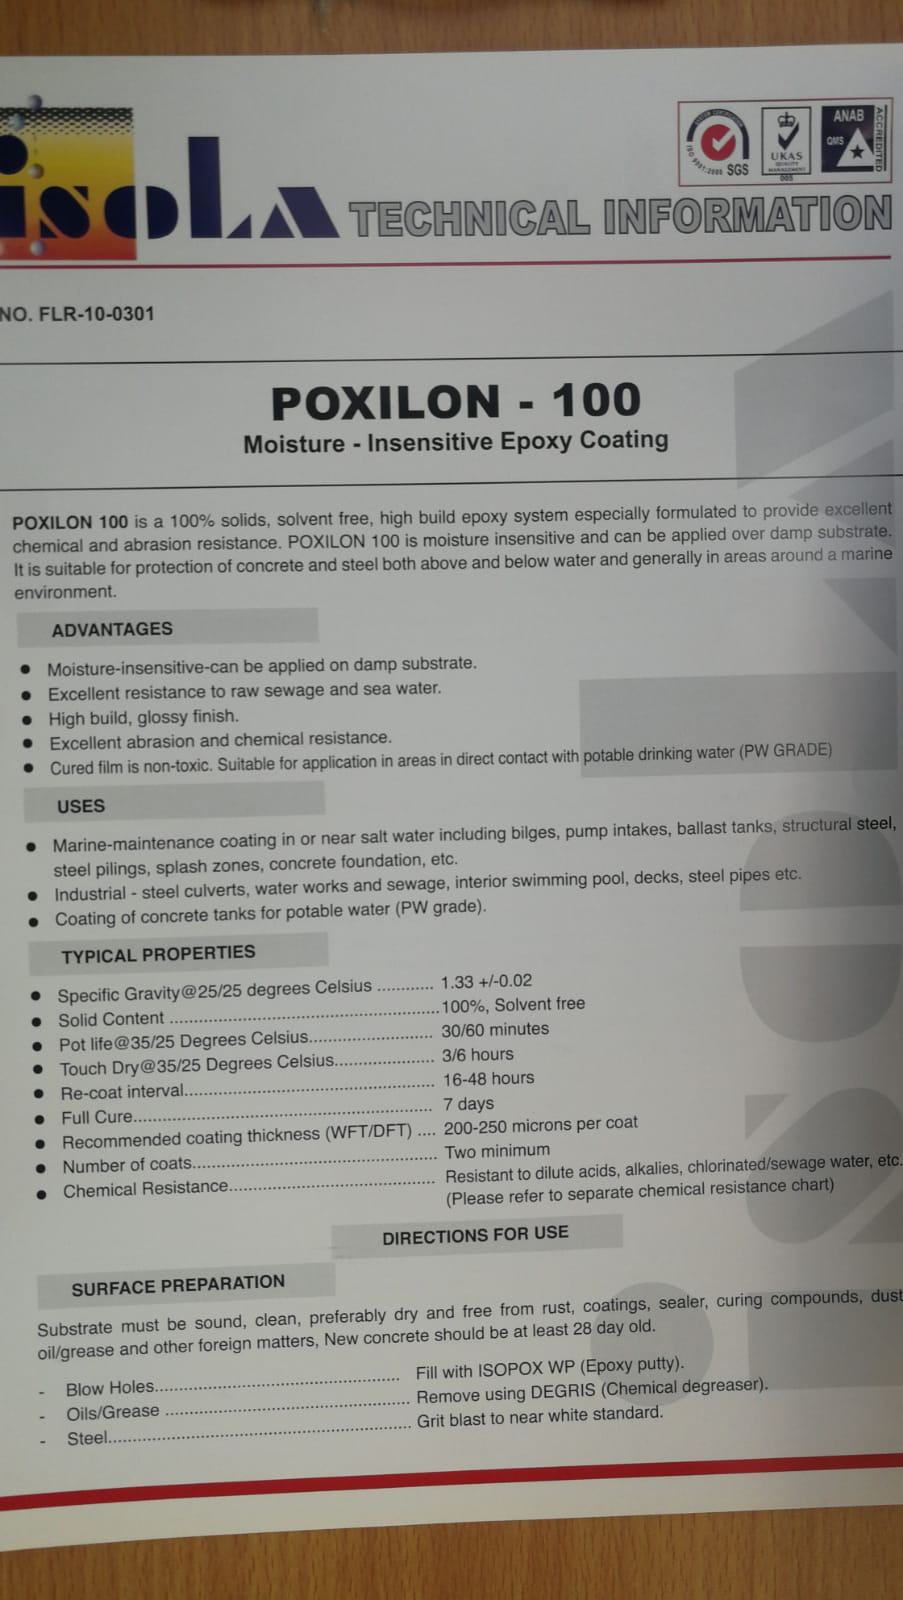
I mixed 30% hardner and 70% resent I needed 40g so 12g hardner and 28g resent.
I mixed the solution and pour it in the new cast.
I have used the heat gun and shaked the parts to remove the bubbles.

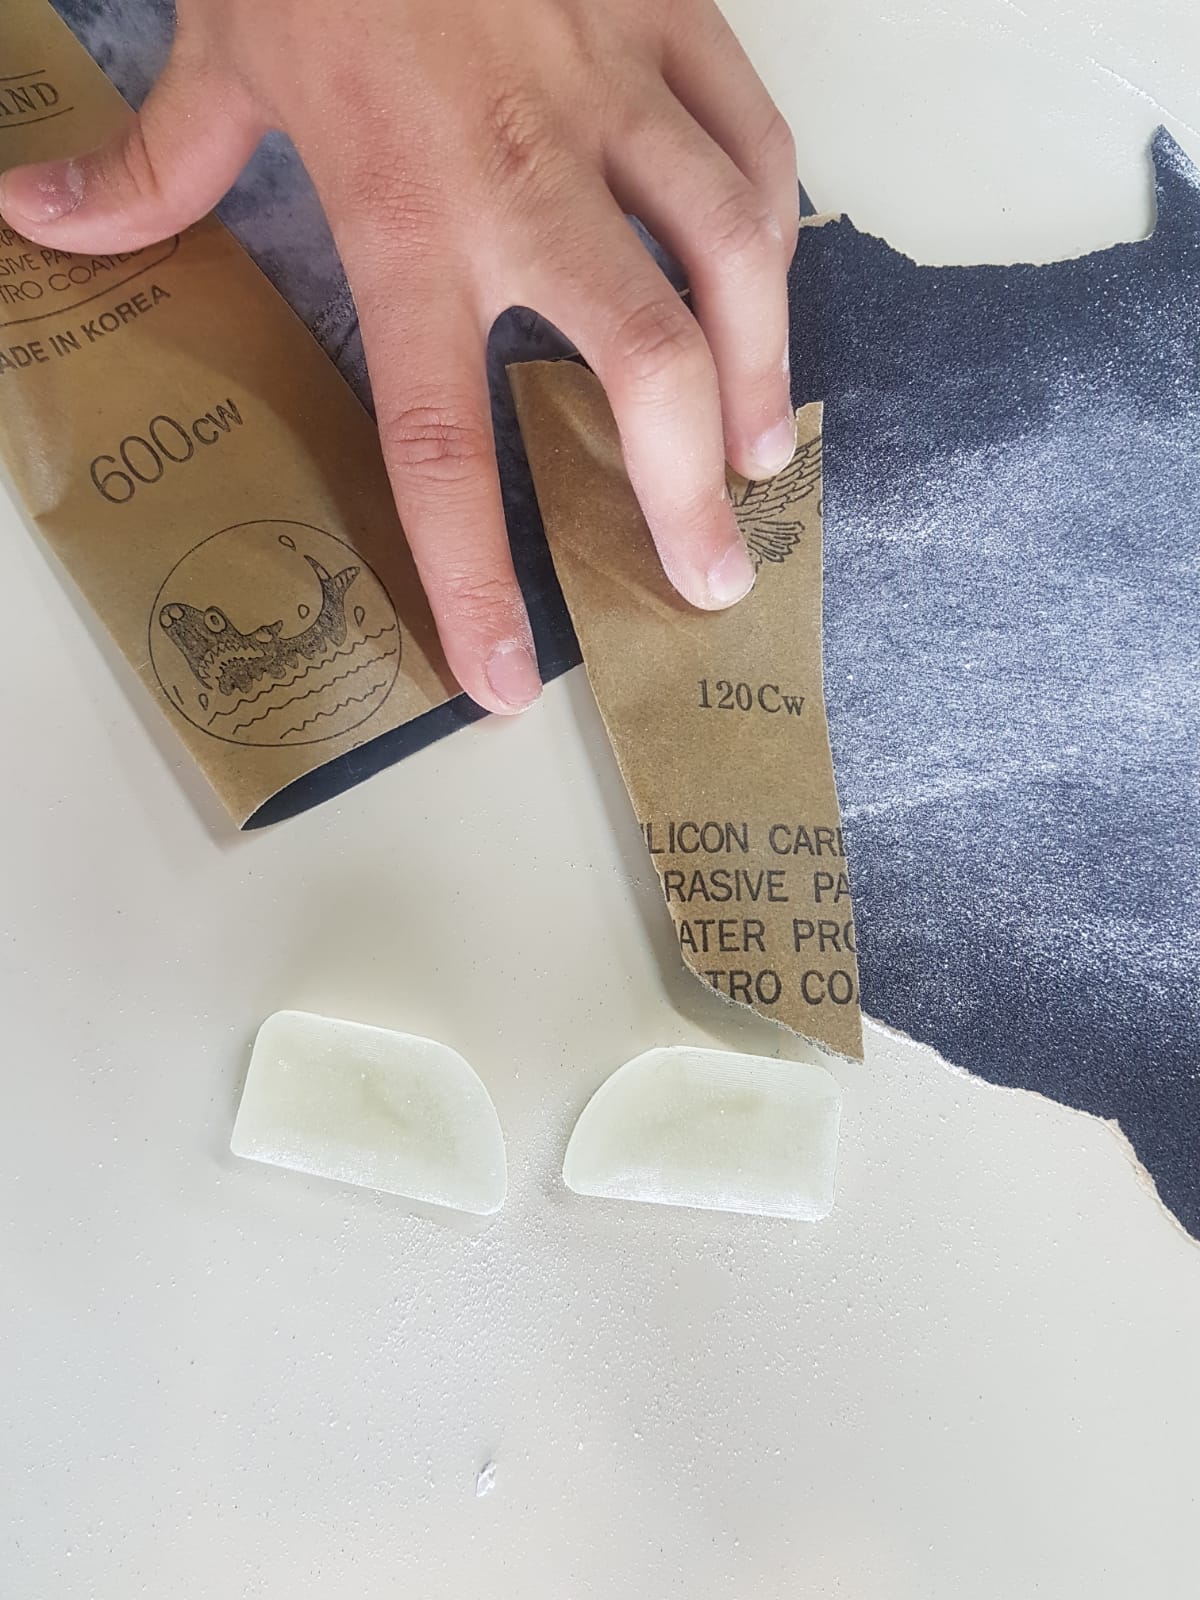
After one day I cameback and I did some sanding to make fix some edges that resulted from adding another moled to the older one because the amount was not enough “I made another mold”.

Then I made another mold and added the epoxy then I added small blocks to make a hole for the LED.
In addtion I tryed to add a mold and epoxy in a cup an see what happens.
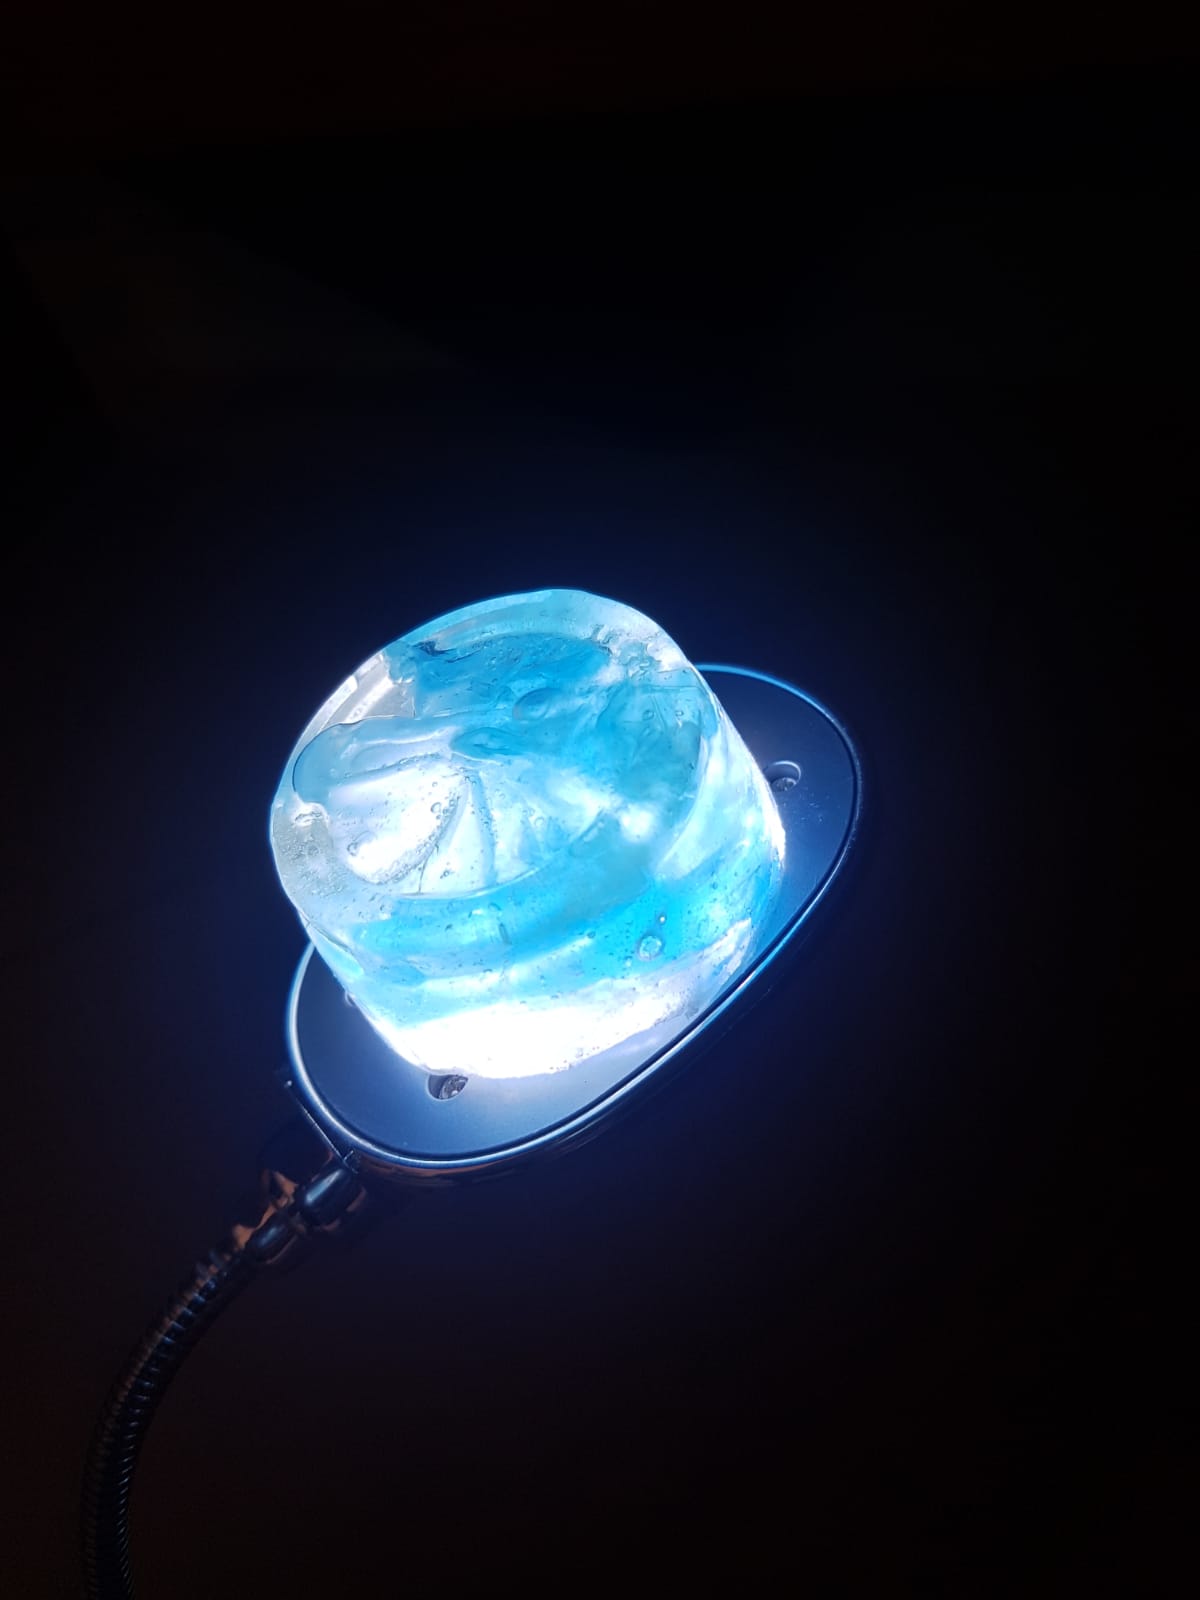
Note : In the output week I will add Leds to the cast.
Downloads
To download the 3D file click on blue icon in the upper right corner
**The modified file of the rear lights **