Third Week
COMPUTER AIDED DESIGN
ASSESSESMENTS
| HAVE YOU | TASK COMPLETED |
|---|---|
| Modelled experimental objects/part of a possible project in 2D and 3D software | YES |
| Shown how you did it with words/images/screenshots | YES |
| Included your original design files | YES |
NEIL´S LESSON
Index
EVALUATE AND SELECT 2D AND 3D SOFTWARE
After our interesting class with Neil and by the advice of my instructor, i draw some sketches about my possible final project. A good practice for thinking about the design : Needs, sizes, materials, tools for design ,parts for develop, cost.... during the process.
Made a new video-server´s profile on vimeo too for the year , i uploaded the first one and here you will find the link to my video about the fun and relaxing drawing ideas process:
01 Drawing a Possible Project from Pilu Caballero on Vimeo
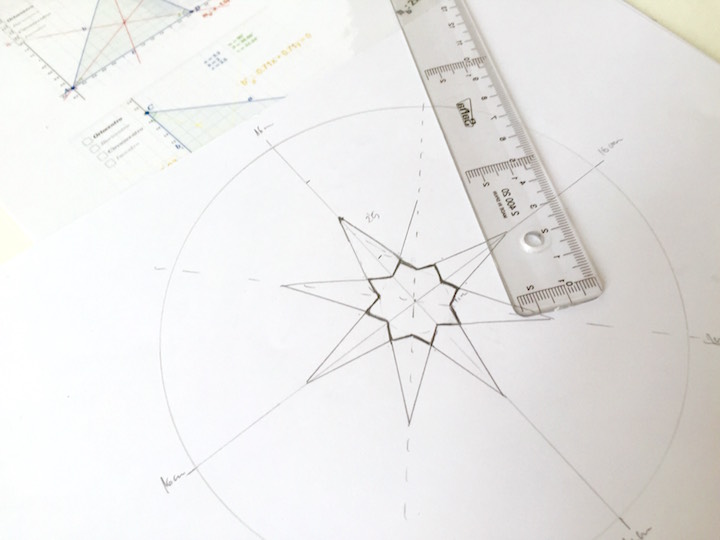
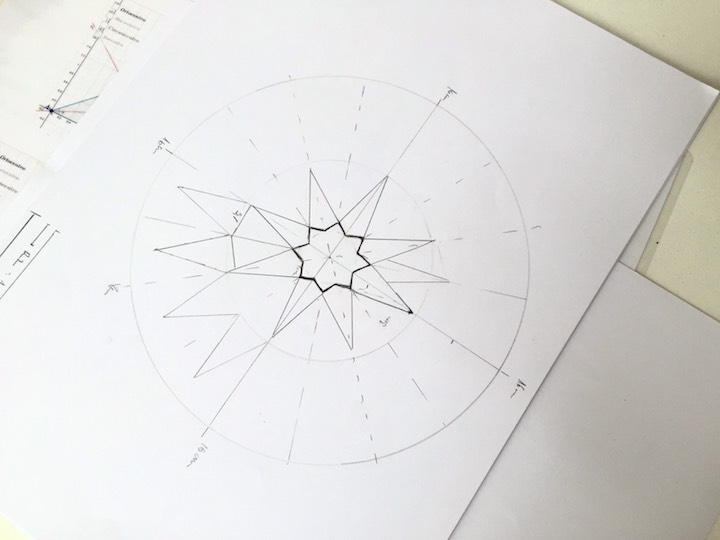
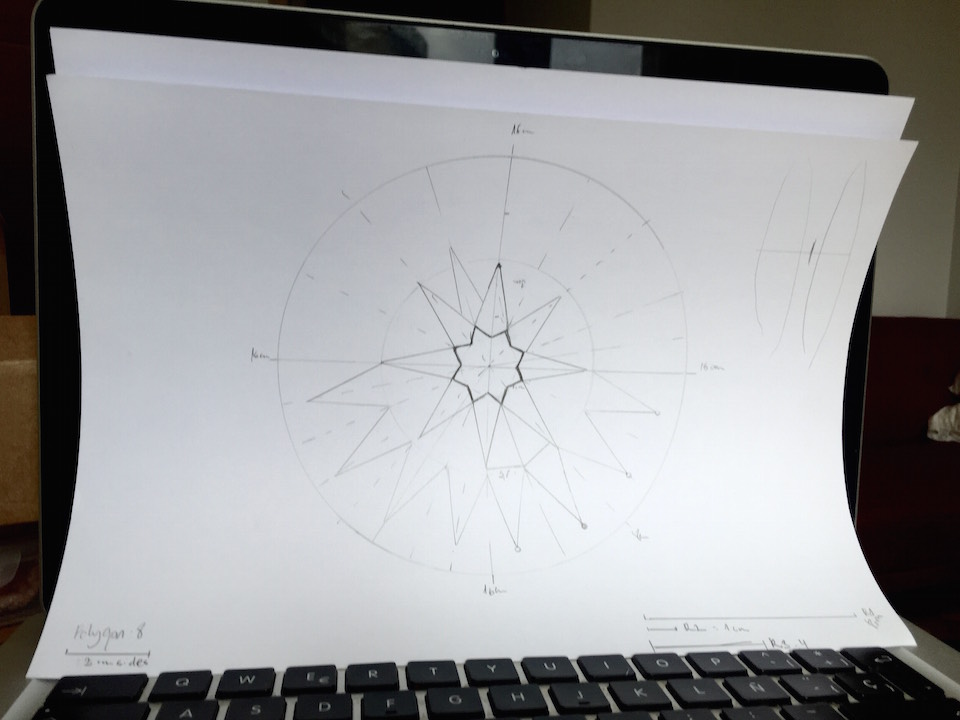
Later, i was watching several tutorials about tools suggested. I haven´t experience designing with 3D and 2D softwares, just basics knowledges for teach to my kids to make little things with TinkerCAD or 123D and for 2D usually used conmercials like Illustrator or Photoshop so it´s a good point for begin to know more OpenSources tools . The reason : I want to compare different things with them during the Academy and I love them!
I had to practicing witn some tools Neil´s mentioned for 2D :
My proposal have two basic designs :
- a)The Kite Design : Parts - For this, maybe i will use the draw made.
- b)The Kite String Reel : Parts - Here you can see the basic types of "String Reels" for kites :

After my research and i decided somethings about this concept :

And here, I can see the mechanisms which i must to build it can be more easy for this assignment . So i decided deserve the kite design for future, when will have more practice designing.

2D SDESIGN SOFTWARES
1.GIMP :"Provides the tools needed for high quality image manipulation. From retouching to restoring to creative composites, the only limit is your imagination." say their welcome website. I never use Gimp before but i decided to try because at once of my jobs teaching with it.
For practice i was drawing with basics, trying different things comparing with Photoshop or Illustrator.

- Basics : First i did was import an image (my draw) with my desktop scanner, i send it to my computer. Drew with pencil tool the interesting areas again and vectorized selecting "trayect" "bitmaps".
- VECTOR

The experience was great, now i understand why my coworkers use it. It´s Open and perfect for introduce to draw and design to people.
Also i was importing differents types of files :
Inkscape : An open-source vector graphics editor similar to Adobe Illustrator, Corel Draw, Freehand, or Xara X.The important thing at Inkscape is its use of Scalable Vector Graphics (SVG) format, useful for 3D design softwares.
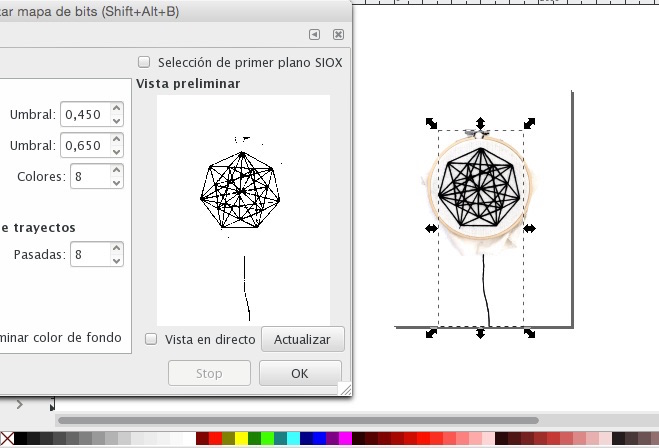
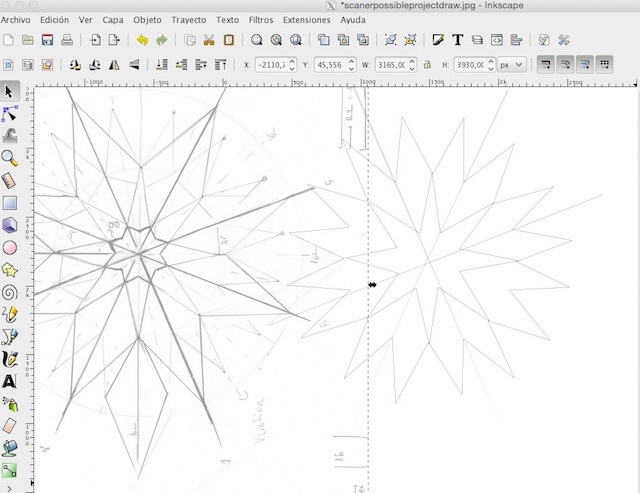
I repeated the same task did at GIMP : Drawing each line important and vectorizing them with bitmaps tool but this time, exported it at .svg format for use later.
So i did a draw about the string reel too:
So i did a draw about the string reel too:
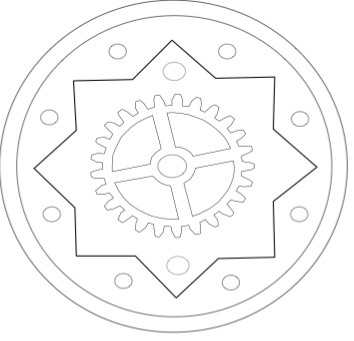
I choose Inkscape, intuitive, symple,Friendly and fast but the best reason is for choose is an OpenSource tool like GIMP yes!
3D SOFTWARES
2nd. This assignment´s part, the aim was to try differents 3D softwares and design a "possible final project". As i mentioned at the 1st point, decided try to design the string reel first by my less experience with that softwares, did testers with both, my "scaner draw" and the "string reel design".
FREECAD
1. After fairly tutorials and tools reserached , imported my draw vectorized by Inkscape (.svg), i opened it and drew polylines for clean and delete rest.
2. Selecting parts and using extrussion tool i was playing with surfaces and layers to make anything sense for me.
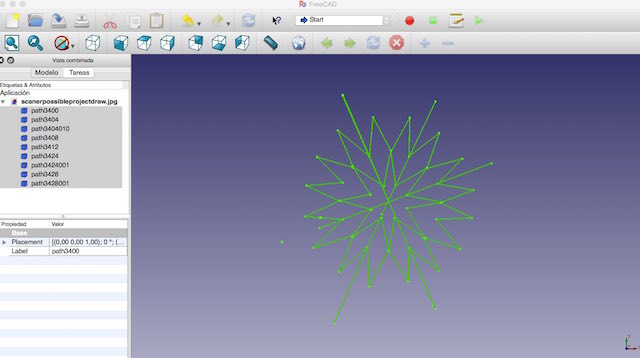
I had differents problems with FreeCad :
Then i was trying same things with :
Sketchup was really easy to use with intuition, basic experiences with 3D softwares and some things, you can have a 3D things quickly.
1. First i did there was imported my file and simply apply the extrusion tool.
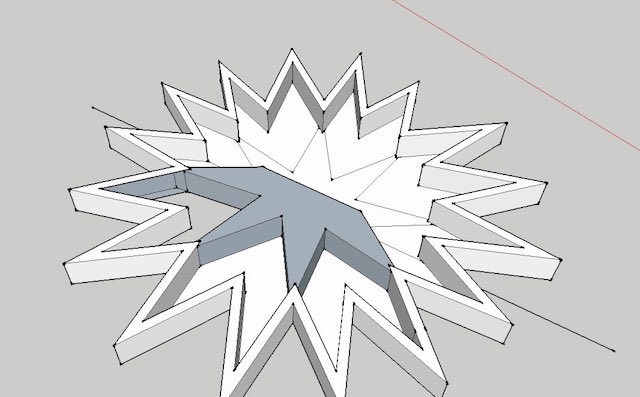
Here you can see the result :
gifstrussion from Pilu Caballero on Vimeo.
For the last part of the assignments and folowing my instructors suggest, i started to design a possible final project....hahaha a "part of" with :
First, i must to thanks to Perico Martínez from 101lab, his support and patient on sunday´s tutorials. He teach me short cuts and basics tips for advance a bit. Sorry bro!
The use of Rhino inspire me more, was nice, it was heplful, intuitive and more visual but of course when arrived to Rhino, i had shaw a lot tutorials from the others 3D softwares and i was practiced a lot mistakes things and was really focus so the experience was more easy.
For have quick wiews about models and objects, i made a profile on Sketchfab and uploaded all the things wich i designed. I never used for take a quick look about my models so it´s wonderfull.
PROCESSES FOLLOWED
1. began importing my draw to Rhino, cleaned things that i didn´t need and drew polylines following the draw and redesigning the skecht for make the main gear.
2. I did new circunferences, rectangles, holes with solid tools selecting destiny surfaces and adjusting them to the origin point,for have more details...
3. For the teeth´s design on surfaces made a perpendicular curve with cmd-, adjusted it and selecting.
4. Later i use Solid for apply the extrusion tool to previously paths selected.
5. The next was copy this element and fix them at the ring. An hour doing this easy task, understanding the use of boolean operations at Rhino, learning how to replicate elements with "Reflect tool" for do the 2nd reel with teeth´s inverted :(


