Networking & communication
this week assignement are:
- design and build a wired &/or wireless network connecting at least two processors
Bluetooth
This week i choose to use an HM10 for my weekly project. it was the first time i used it.
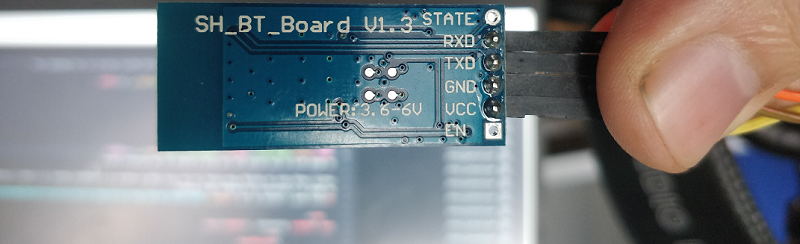
An HM10 is a bluetooth low energny (BLE) Module,
really cheap when we buying from china, we can find some on amazon on a breakout board, it's what i choosed.
An HM10 work on the serial you can find 4 pinout on the breakout board.
- VCC
- GND
- Rx
- TX
first connection
the first thing to do with it is to connect the HM10 into an ftdi. this way we will be able to modify some parameter of the bluetooth module. for that you should do it like that: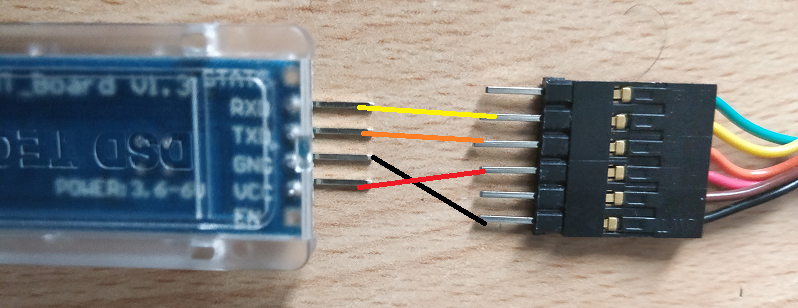 after that you'll need to open a terminal and you can use AT command.
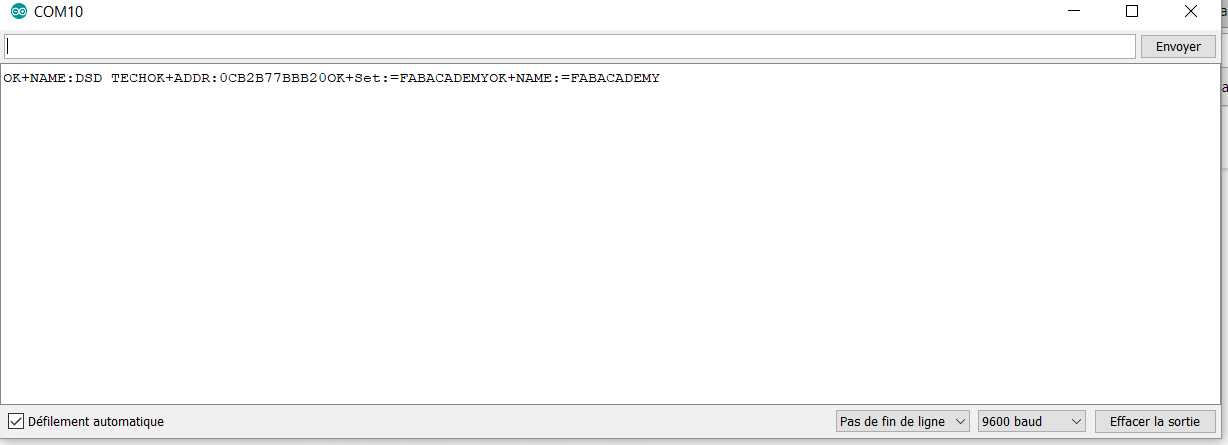
you can find all the AT COMMAND in the datasheet. but the one you really need are:
after that you'll need to open a terminal and you can use AT command.
you can find all the AT COMMAND in the datasheet. but the one you really need are:
- AT+NAMEthenameyouwant
- AT+NAME? will tell you what the current name of the board
- AT+ADDR? Will tell you what the MAC Adress of the board
- AT+CONtheMacAdressOfaSecondBoard make possible to connect to only one other board when it find it.
- AT+CLEAR will forgot the macaddress of the second board, if you don't need it anymore
- AT+RESET will reset the board at the origin so the first thing i did was to rename my board to FABACADEMY
- Ino file (RIGHT CLICK - SAVE AS)
 verify that the board is in slave mode:
AT+MODE1
AT+ROLE0so now i can connect it to my phone
Android & bluetooth
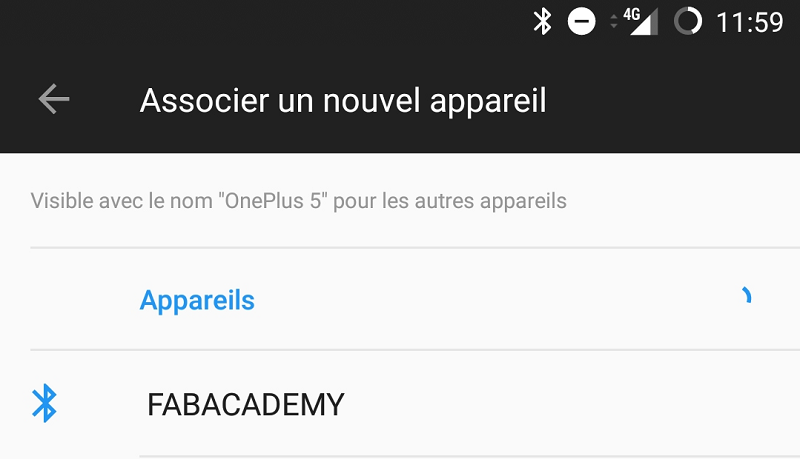
i started by install an app on my android Phone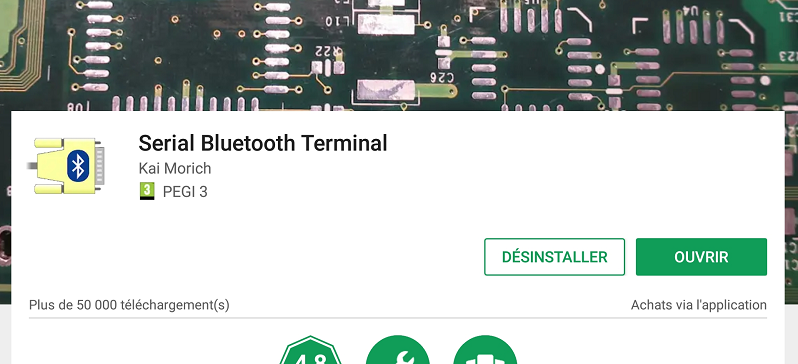 Then we have to connect on your phone to bluetooth module.
 then we can open the app we installed, and try to sent something into the terminal
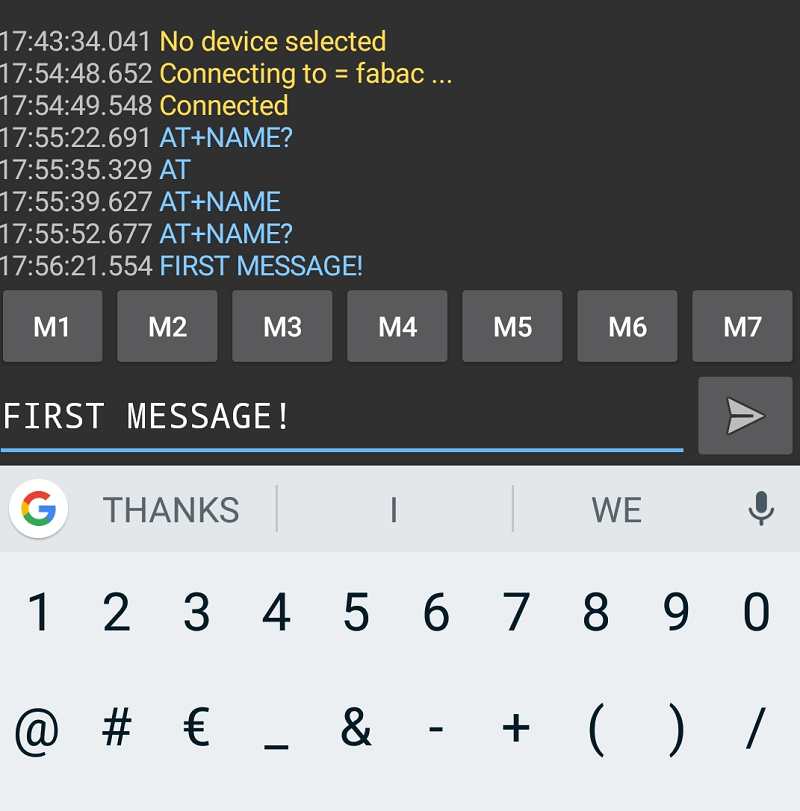
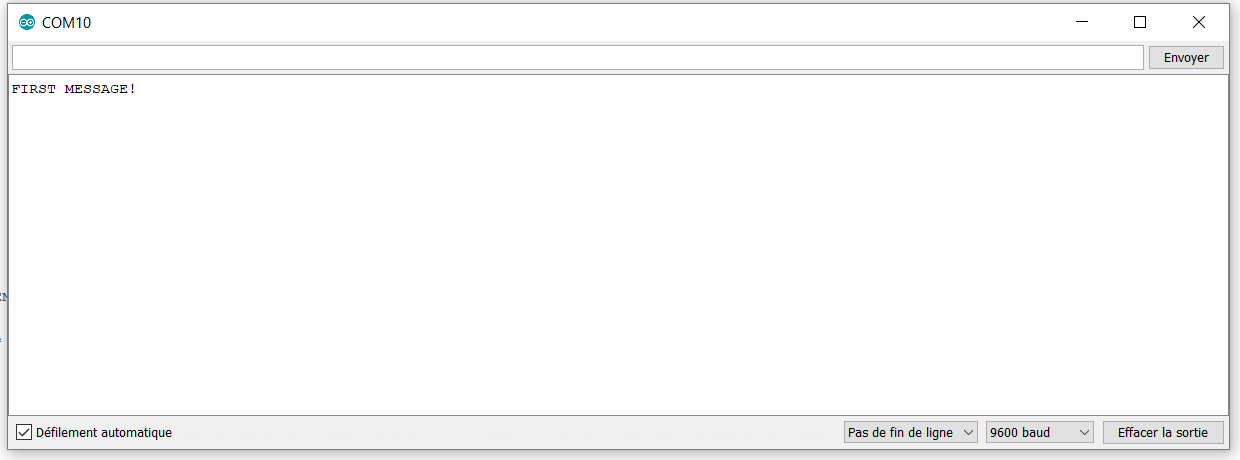 yay! it's working!
reading a sensor
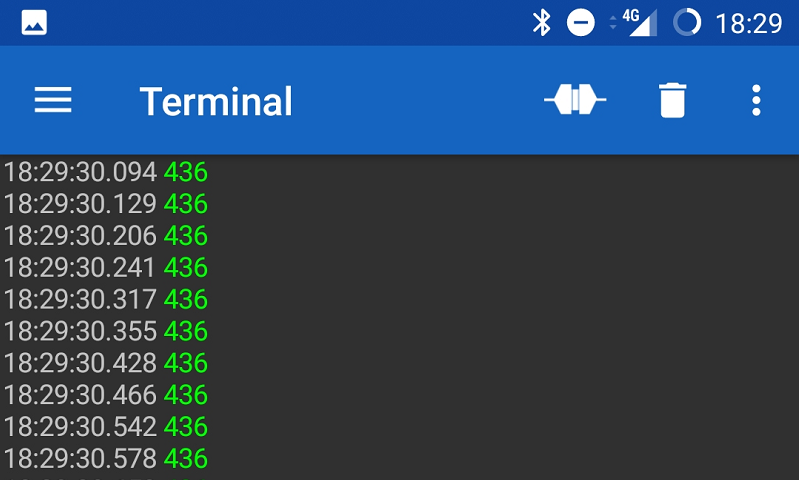
so now it's time to read a sensor. for that i decide to read my input device. a bendsensor. so for this part i plug the BLE module to my ATtiny44,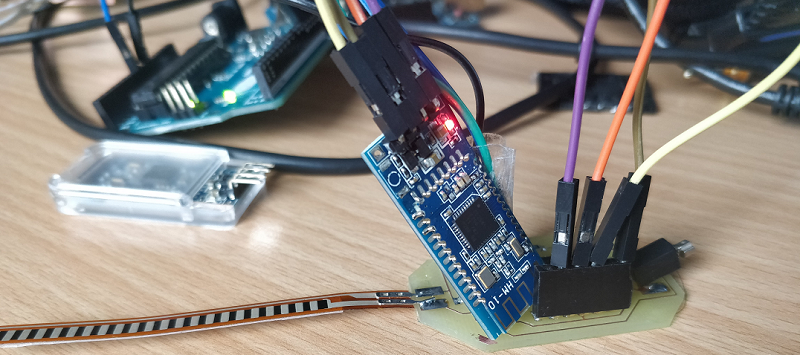 with the same code of the imput week we can read the sensor on my phone.
ET VOILAA! i'am able to read the value from a sensor from my board to my computer without cable !
with the same code of the imput week we can read the sensor on my phone.
ET VOILAA! i'am able to read the value from a sensor from my board to my computer without cable !
 --
--
file of the week.
here you'll find the file of the week
For downloading
right click and save as
Going Further
The idea is to sent a value from an attiny44 to an another one. Sending the value it's pretty simple, the value is read by the serial, and goig to the other HM10 (we already match the two of them before with the AT+Command)now it's time to receive the value of the flex sensor with an another attiny44. For that it's Should be pretty simple. you have to connect the HM10 A to your computer into the ftdi like we already did, but we have to change something. we have to tell to the board to always connect to a specific hm10BOARD for that we will use AT COMMAND.
AT+CON41513CE6FFAand check if the other bluetooth module is a slave or a master. when you did that. normaly you are able to read the bending value into your computer from the ftdi. now we have to make some code:
Time to code
so here it's starting to being dificult for me, because is not about electronic or fabrication but code. so we already now that i can send the code of the flex sensor. to an another HM10.we have to tell to the output board that when you receive some code from the ftdi the led -or the motor change status in theory that the job, in reallity i'm stuck here. i don't know why my code is not working.
i started by using simple code with serial print.
	#include "SoftwareSerial.h"
//const int MOTOR = 8;
const int LED = A2;

const int FLEX =A7; // FLEXSENSOR

const int Rx = A0;

const int Tx = A1;

SoftwareSerial mySerial(Rx, Tx);

int val = 0;

void setup(){

pinMode(LED, OUTPUT);
pinMode(Rx, INPUT);
//pinMode(MOTOR,OUTPUT);
pinMode(Tx, OUTPUT);

mySerial.begin(9600);

}

void loop()

{


delay(50);

val = analogRead(FLEX); // read the FLEXSENSOR

mySerial.println(val); // send the value to Serial Monitor, ^Cmd-M


if (val < 300)
  {
             digitalWrite(LED,HIGH);
  }
else
{
  digitalWrite(LED, LOW);
}

}
	#include "SoftwareSerial.h"
const int MOTOR = 8;
const int LED = A2;

//const int FLEX =A7; // FLEXSENSOR

const int Rx = A0;

const int Tx = A1;

SoftwareSerial mySerial(Rx, Tx);

int val = 0;

void setup() {

  pinMode(LED, OUTPUT);
  pinMode(Rx, INPUT);
  //pinMode(MOTOR, OUTPUT);
  pinMode(Tx, OUTPUT);

  mySerial.begin(9600);
delay(3000);
}

void loop()

{
  char recvChar;
  while(1){
    if(mySerial.available()) {
       recvChar = mySerial.read();

       if (mySerial.read() == "1")
       digitalWrite(LED,LOW);
delay(200);}
       else
       digitalWrite(LED,HIGH);
    }
  }