final project.
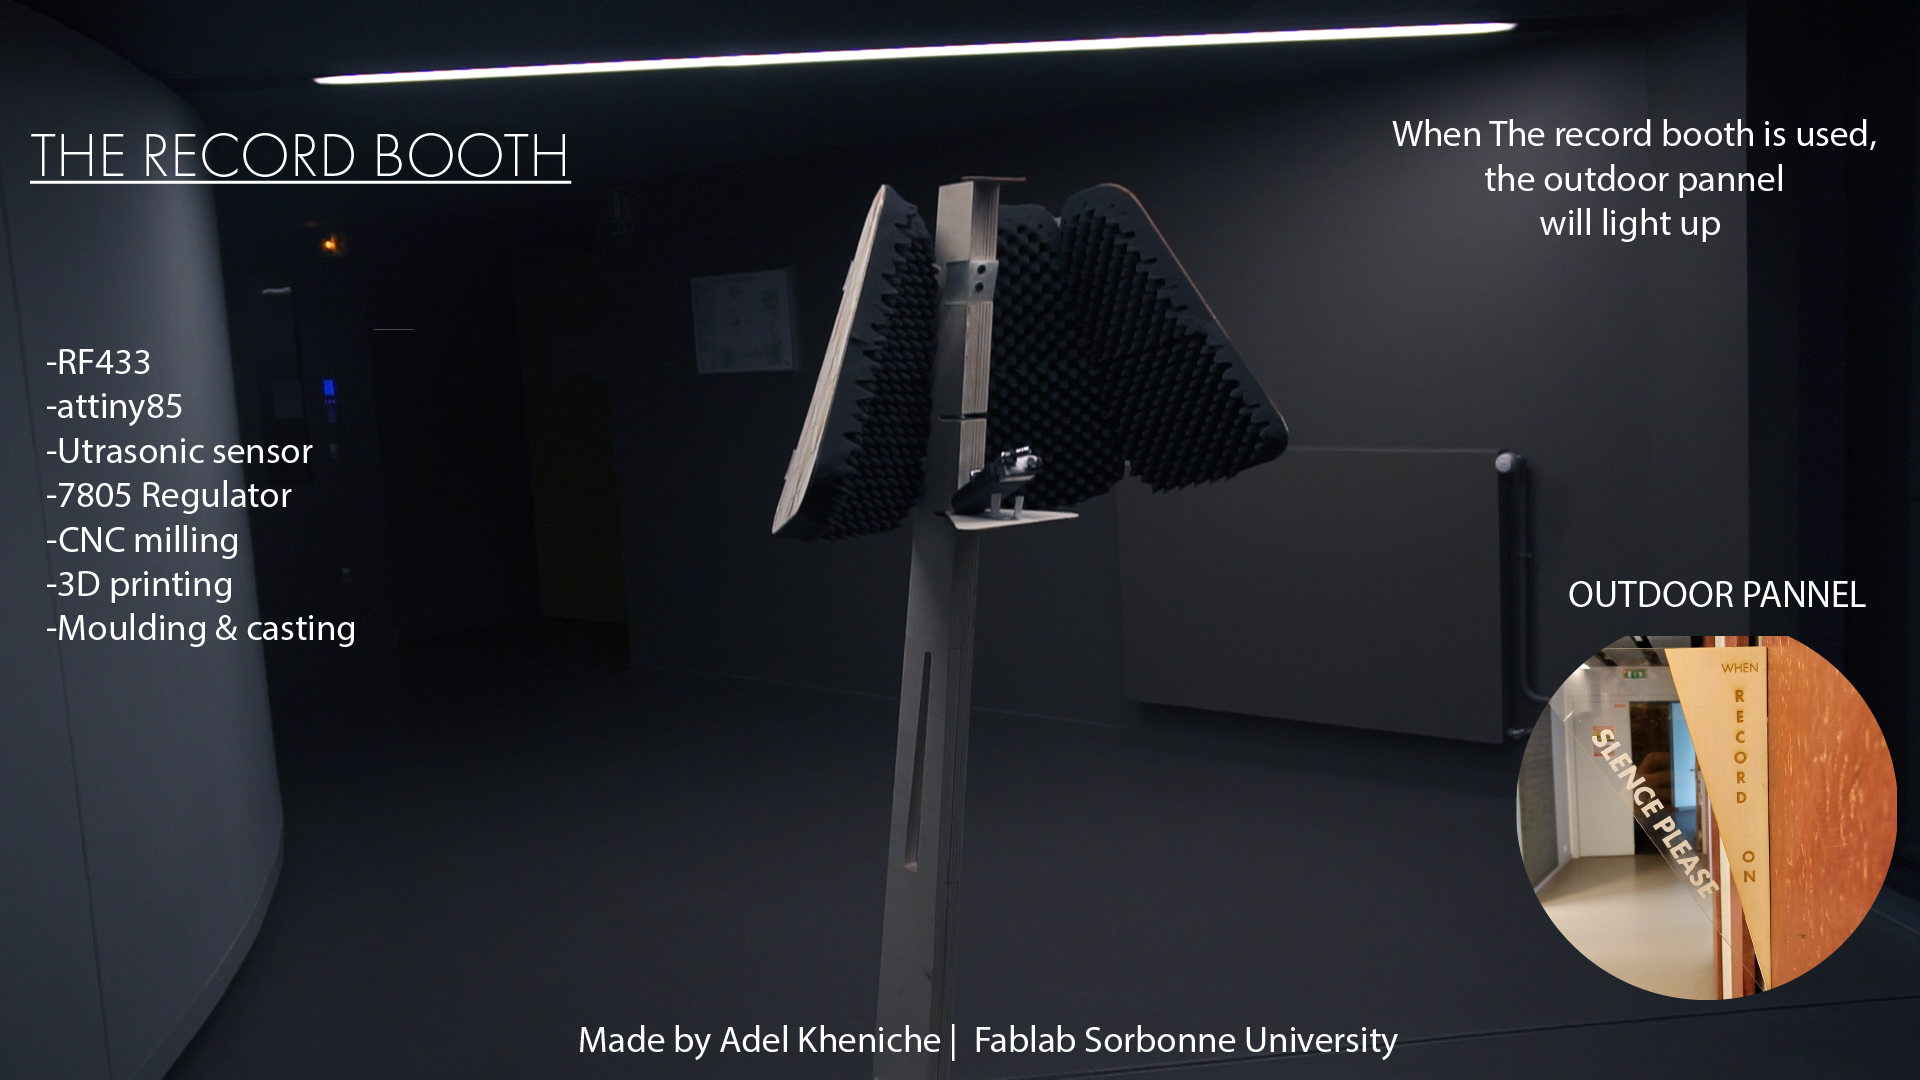
the Record booth
design a object
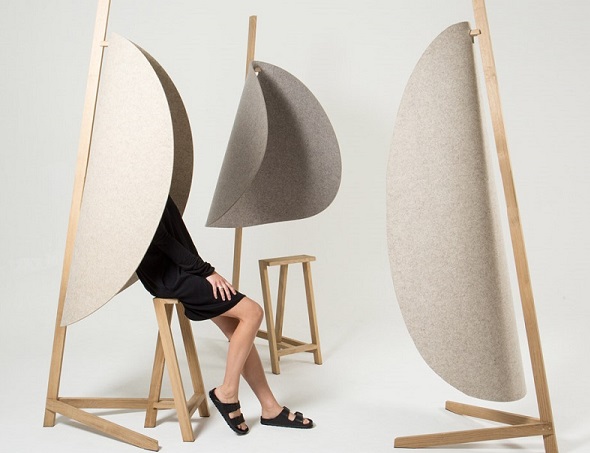
The idea of the object, start from a pinterest i found this design pretty great, and choose to start from this to make my booth.
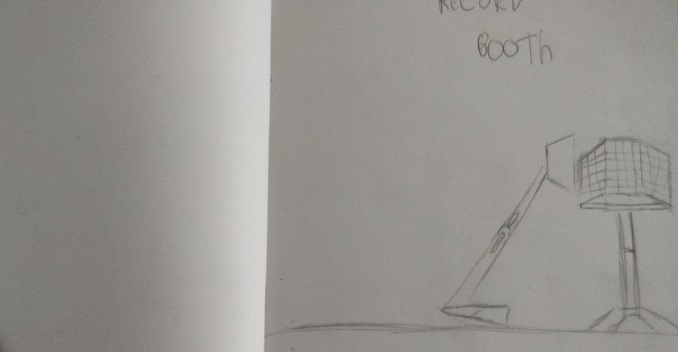
 I started this project by making an ugly draw. when i'm having an idea i try to wait 48 hours before starting, like that i can see if i think the ideas is still good i can spent a bit time on it.
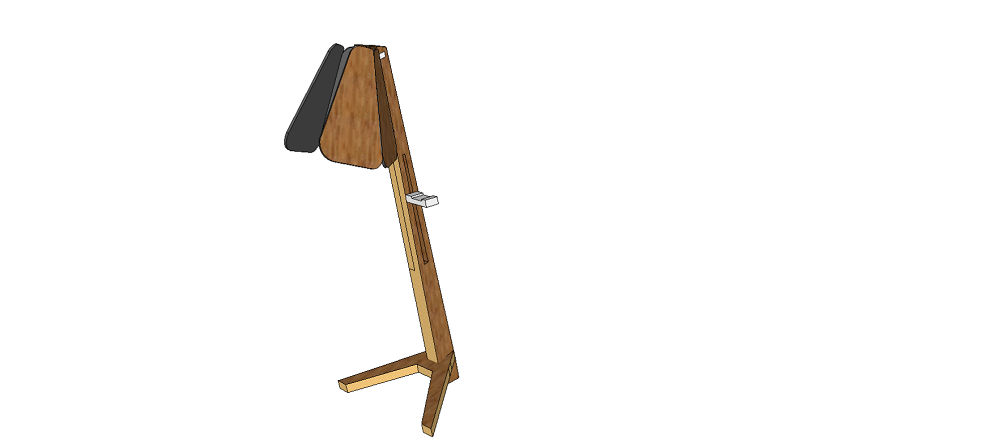
 So for the record booth i had this image of what i want this to look like. so i started to make the design on sketchup.
Sketchup is a powerfull tool but with a lot of issues for making an complex object.
So for the record booth i had this image of what i want this to look like. so i started to make the design on sketchup.
Sketchup is a powerfull tool but with a lot of issues for making an complex object.
With skecthup i already made some complexe piece with 3D printing milling and electronics, but it wasn't parametric at all, and it feel like this software isn't not the way it should be use.
For these reasons i decide to make my first draw on sketchup for making a first visualisation of my final project and
Making the frame.
During the "Something big" week i cut the frame.; The idea was to make something who can move and adapt to the height of the user.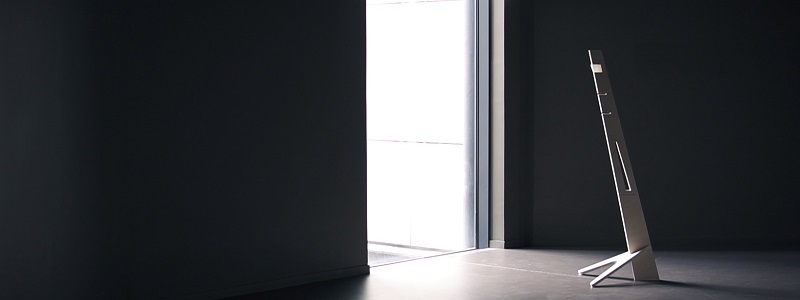
Lighting the Booth
i prepared on the structure of the RecordBooth a place for having cable going between the two part. so i make a pcb with four 1206 White led. I started to make the pcb with eagle.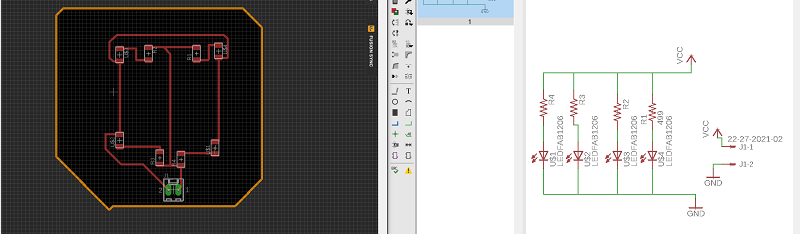 I cut it and solder it
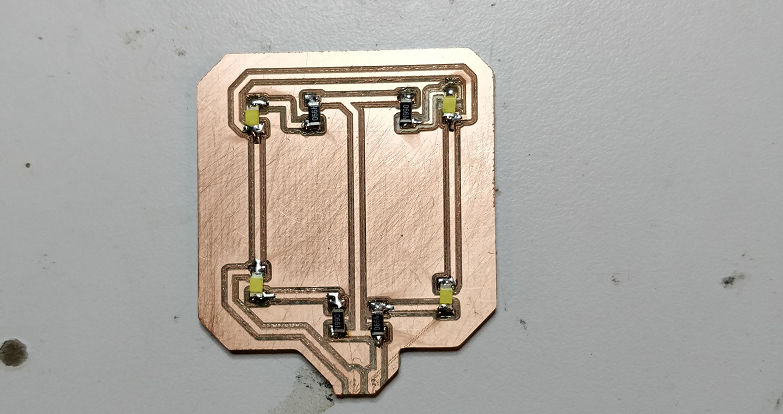 the design of the board was made for being able to enter into the Mold i made during the Moulding and casting week.
i made some epoxy and pour it into the mold and stick the pcb inside the mold.
the design of the board was made for being able to enter into the Mold i made during the Moulding and casting week.
i made some epoxy and pour it into the mold and stick the pcb inside the mold.

Cutting the side pannel,
the side pannel had to be light as possible, they will be maintained on theyre hedge by 3D print Hinges.so i cut them in 3mm Sheet of plywood.
i cut the side pannel with the laser cutter,
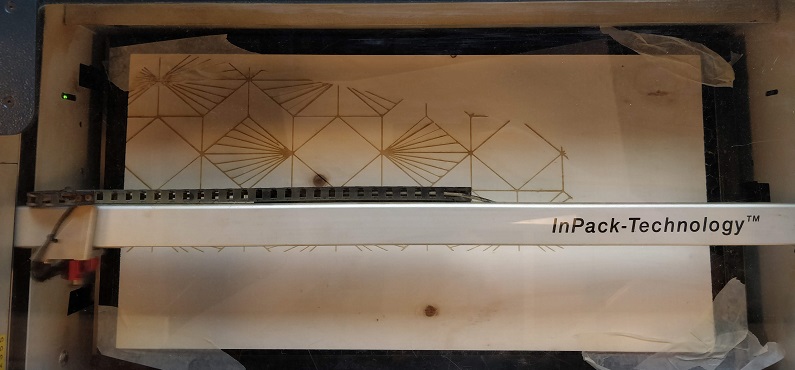 for the acoustic foam, after few tries with the cnc, i decide to not lost a lot of time trying to cut it with it
and just use a cutter Blade after i glued my foam with some Neoprene.
for the acoustic foam, after few tries with the cnc, i decide to not lost a lot of time trying to cut it with it
and just use a cutter Blade after i glued my foam with some Neoprene.
Electronics
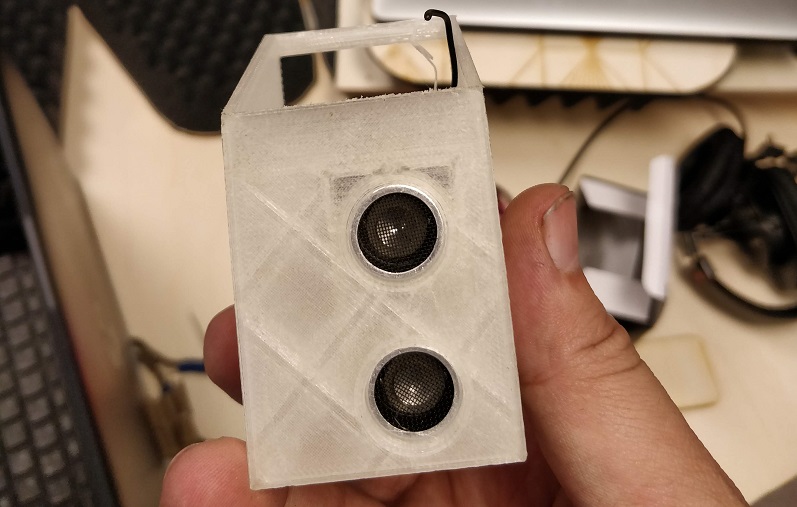
so for the electronics i have to make two board. one for the transmitter with the Ultrasonic module inside the Booth,and an other one for the pannel on the front of my door.

Be Careful
when you are making wireless, add some resonator to your boardOne of the biggest issue i had, was to being able to interpret data with the RX Board. after four days of test and try and error i discover with the help of my local mentor that an attiny internal osscilator can be inacurate. one way to resolve this is to use the calibrator register osccal. http://becomingmaker.com/tuning-attiny-oscillator/ the easy way was to change the attiny by one more accurate. but if i had to remake a board i will simply add a resonator to it.
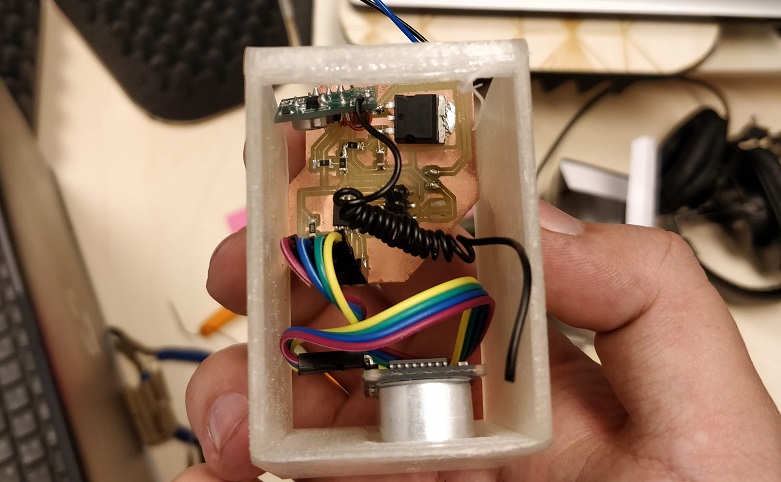
TX board:
I have two output and one input.when the ultrasonic senor, receive value. it will light up the booth, and send data on RF433
 the idea is to plug a 12V adaptator on the wall and plug a jack into my board. a 7805 with some capa will transform the 12V into 5V.

RX Board:
the RX board is composed of one 7805 , transforming the 12V To 5V,One 2N2222 to contole the 12V of the light with the AtTiny85 The receiver RF433
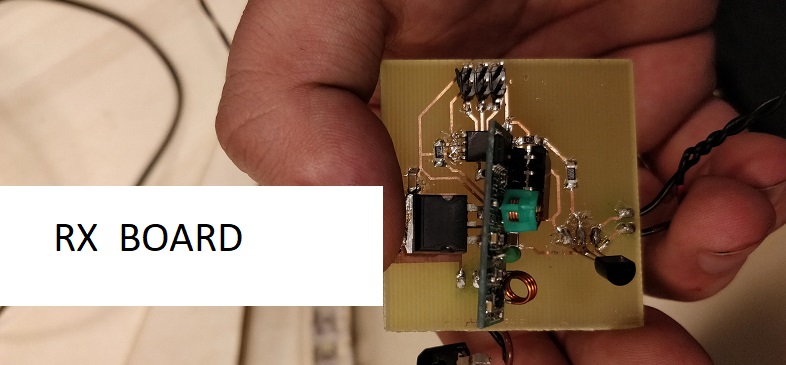 When a specific code are received it will start the Led strip on.
3d printing
during the 3D printing week, i made some hinges for my final project, i used them.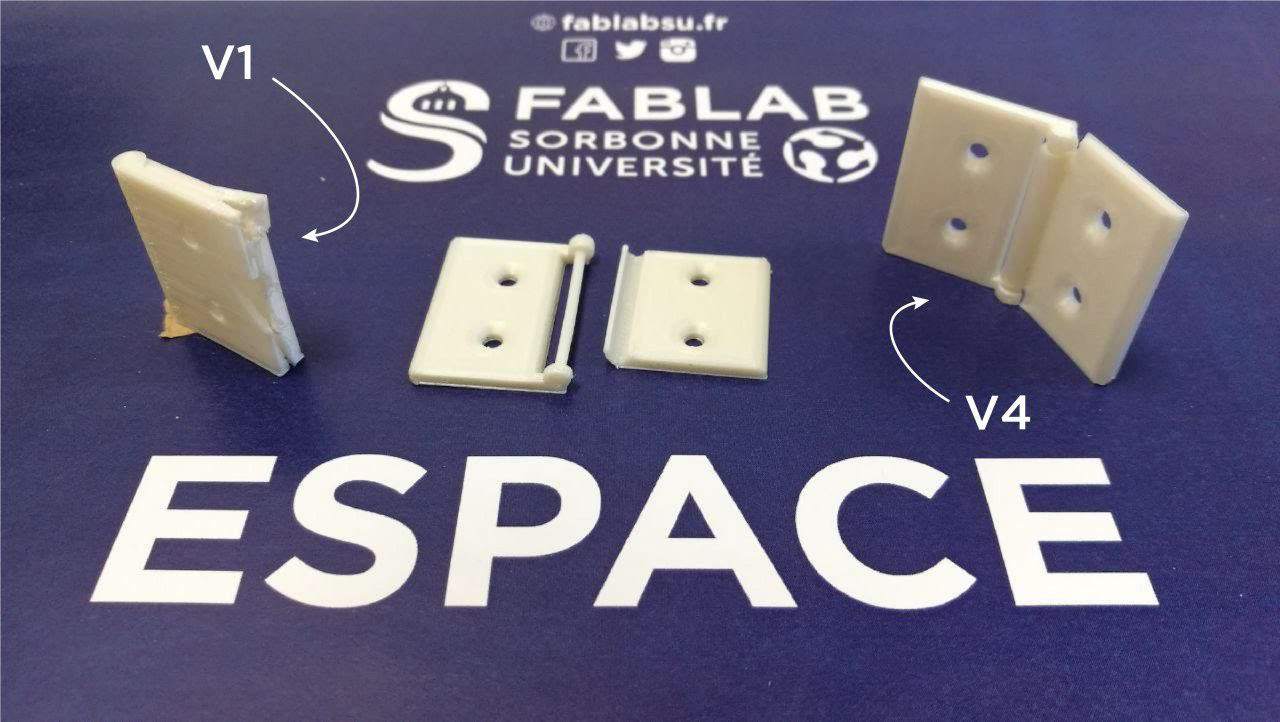 i print the enclosure for my electronics, there my TX board is prefectly clean
ON AIR pannel
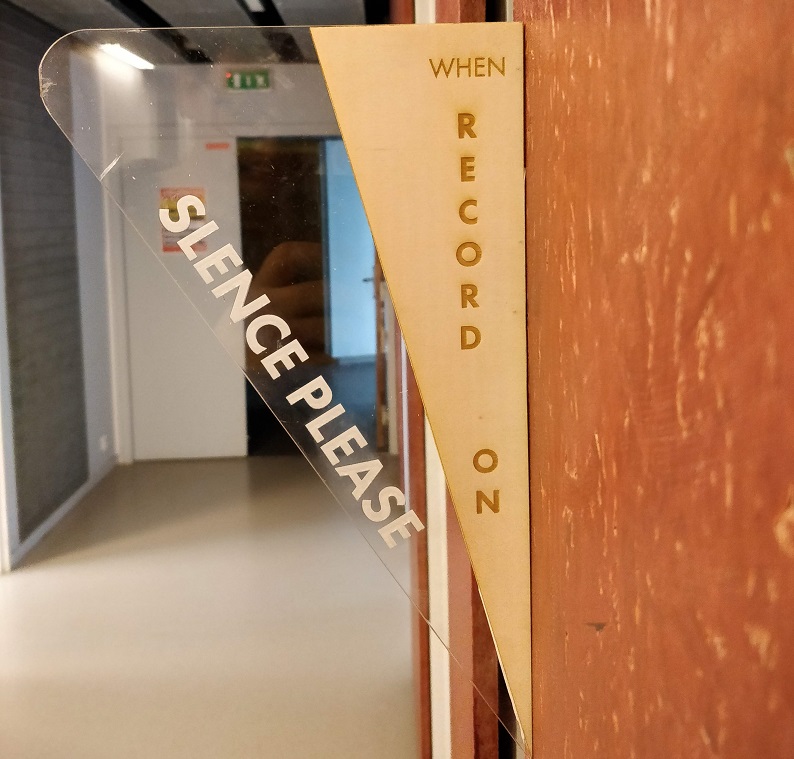 the pannel was made with the laser cutter.
it's made from acrylic and plywood.
inside it i made a space where i glued the led stip and made a long cable where the electronic will be with the power Supply.
the pannel was made with the laser cutter.
it's made from acrylic and plywood.
inside it i made a space where i glued the led stip and made a long cable where the electronic will be with the power Supply.
 --
--
file of the project.
here you'll find the file of my final project
For downloading
right click and save as
- Hinges(f3d file)
- side pannel (F3d file)
- SILENCE pannel (F3d file)
- the frame (f3d file)
- 3D ENCLOSURE (f3d file)
- pcb Receiver schematic ( sch file)
- pcb Receiver board ( brd file)
- pcb transmitter schematic ( sch file)
- pcb transmitter board ( brd file)
- ARDUINO CODE transmitter ( ino file)
- ARDUINO CODE RECEIVER ( INO file)