Output device
this week assignement are:
- Add an output device to a microcontroller board you've designed and program it to do something.
Choosing the Output
for this week project i decided to use a Vibration motor , made for smartphone , it's a standard DC motor, with a counterweight in it.
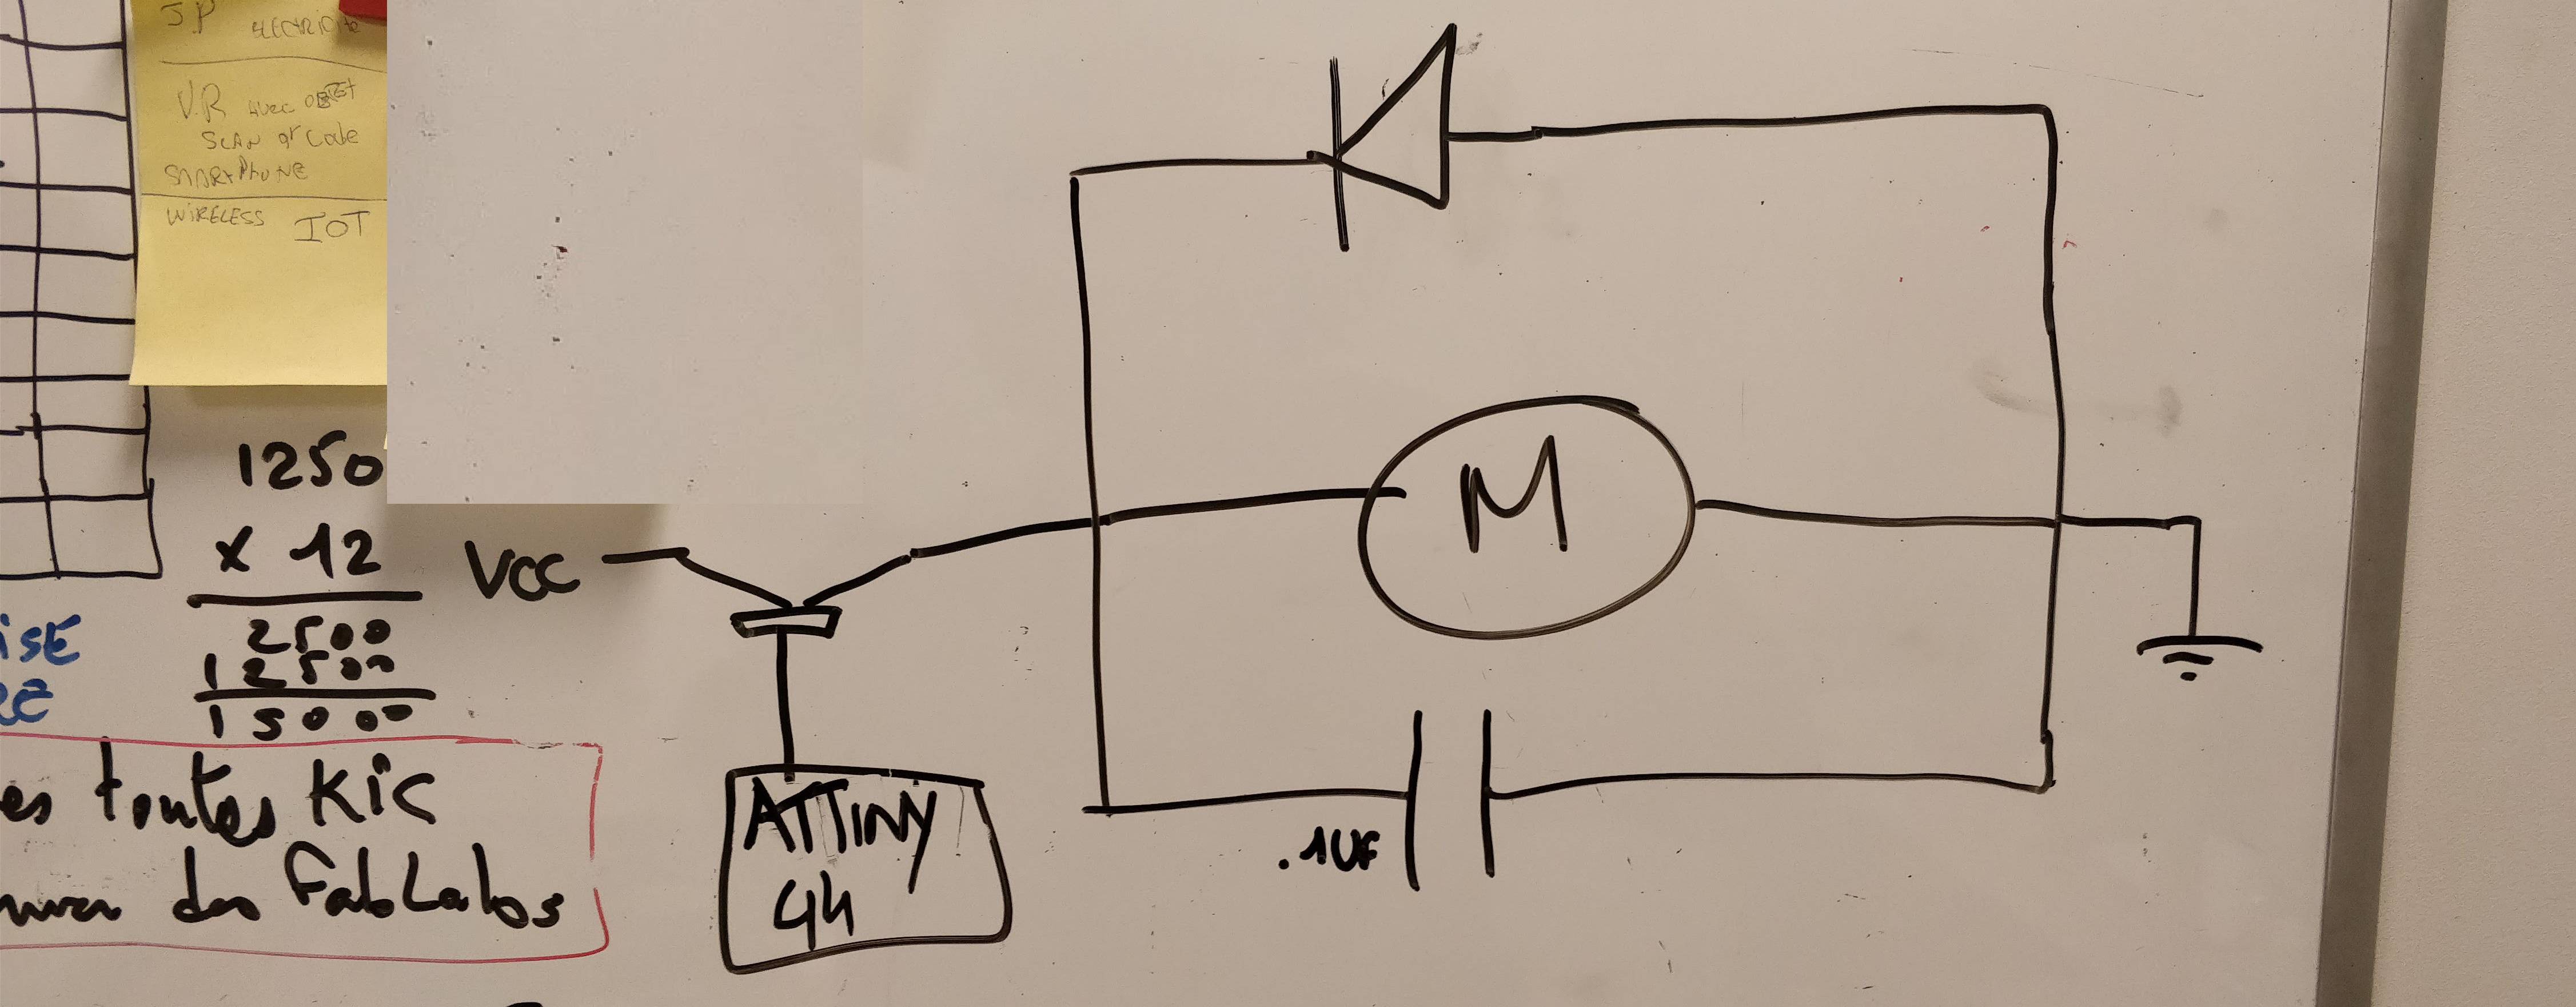
 For Using a motor you have to add to your circuit three other component.
A free-wheeling diode. a free-wheeling diode like the name say it,block the current made by a motor turning by itself caused by the inertia of the motor.
the second component is a capacitor, is used to smooth out current spikes caused when controlling a motor speed using digitally-controlled PWM signal.
more here
and the third one is a transistor, for using a motor, with low or high voltage, using a transistor is necessary, for beeing sure to not having any Parasite of the motor into the ATtiny.
 When you understood how to make it you can start to make your new board.
i used my documentation of last week for making my Output board. i decided to keep the flex sensor and the led, like that it's my own echo helloboard.
Making your schematics
 actually i had to remake all the board even if i kept the component of last week.
i had to if i want to have a board smaller and efficient as possible.
actually i had to remake all the board even if i kept the component of last week.
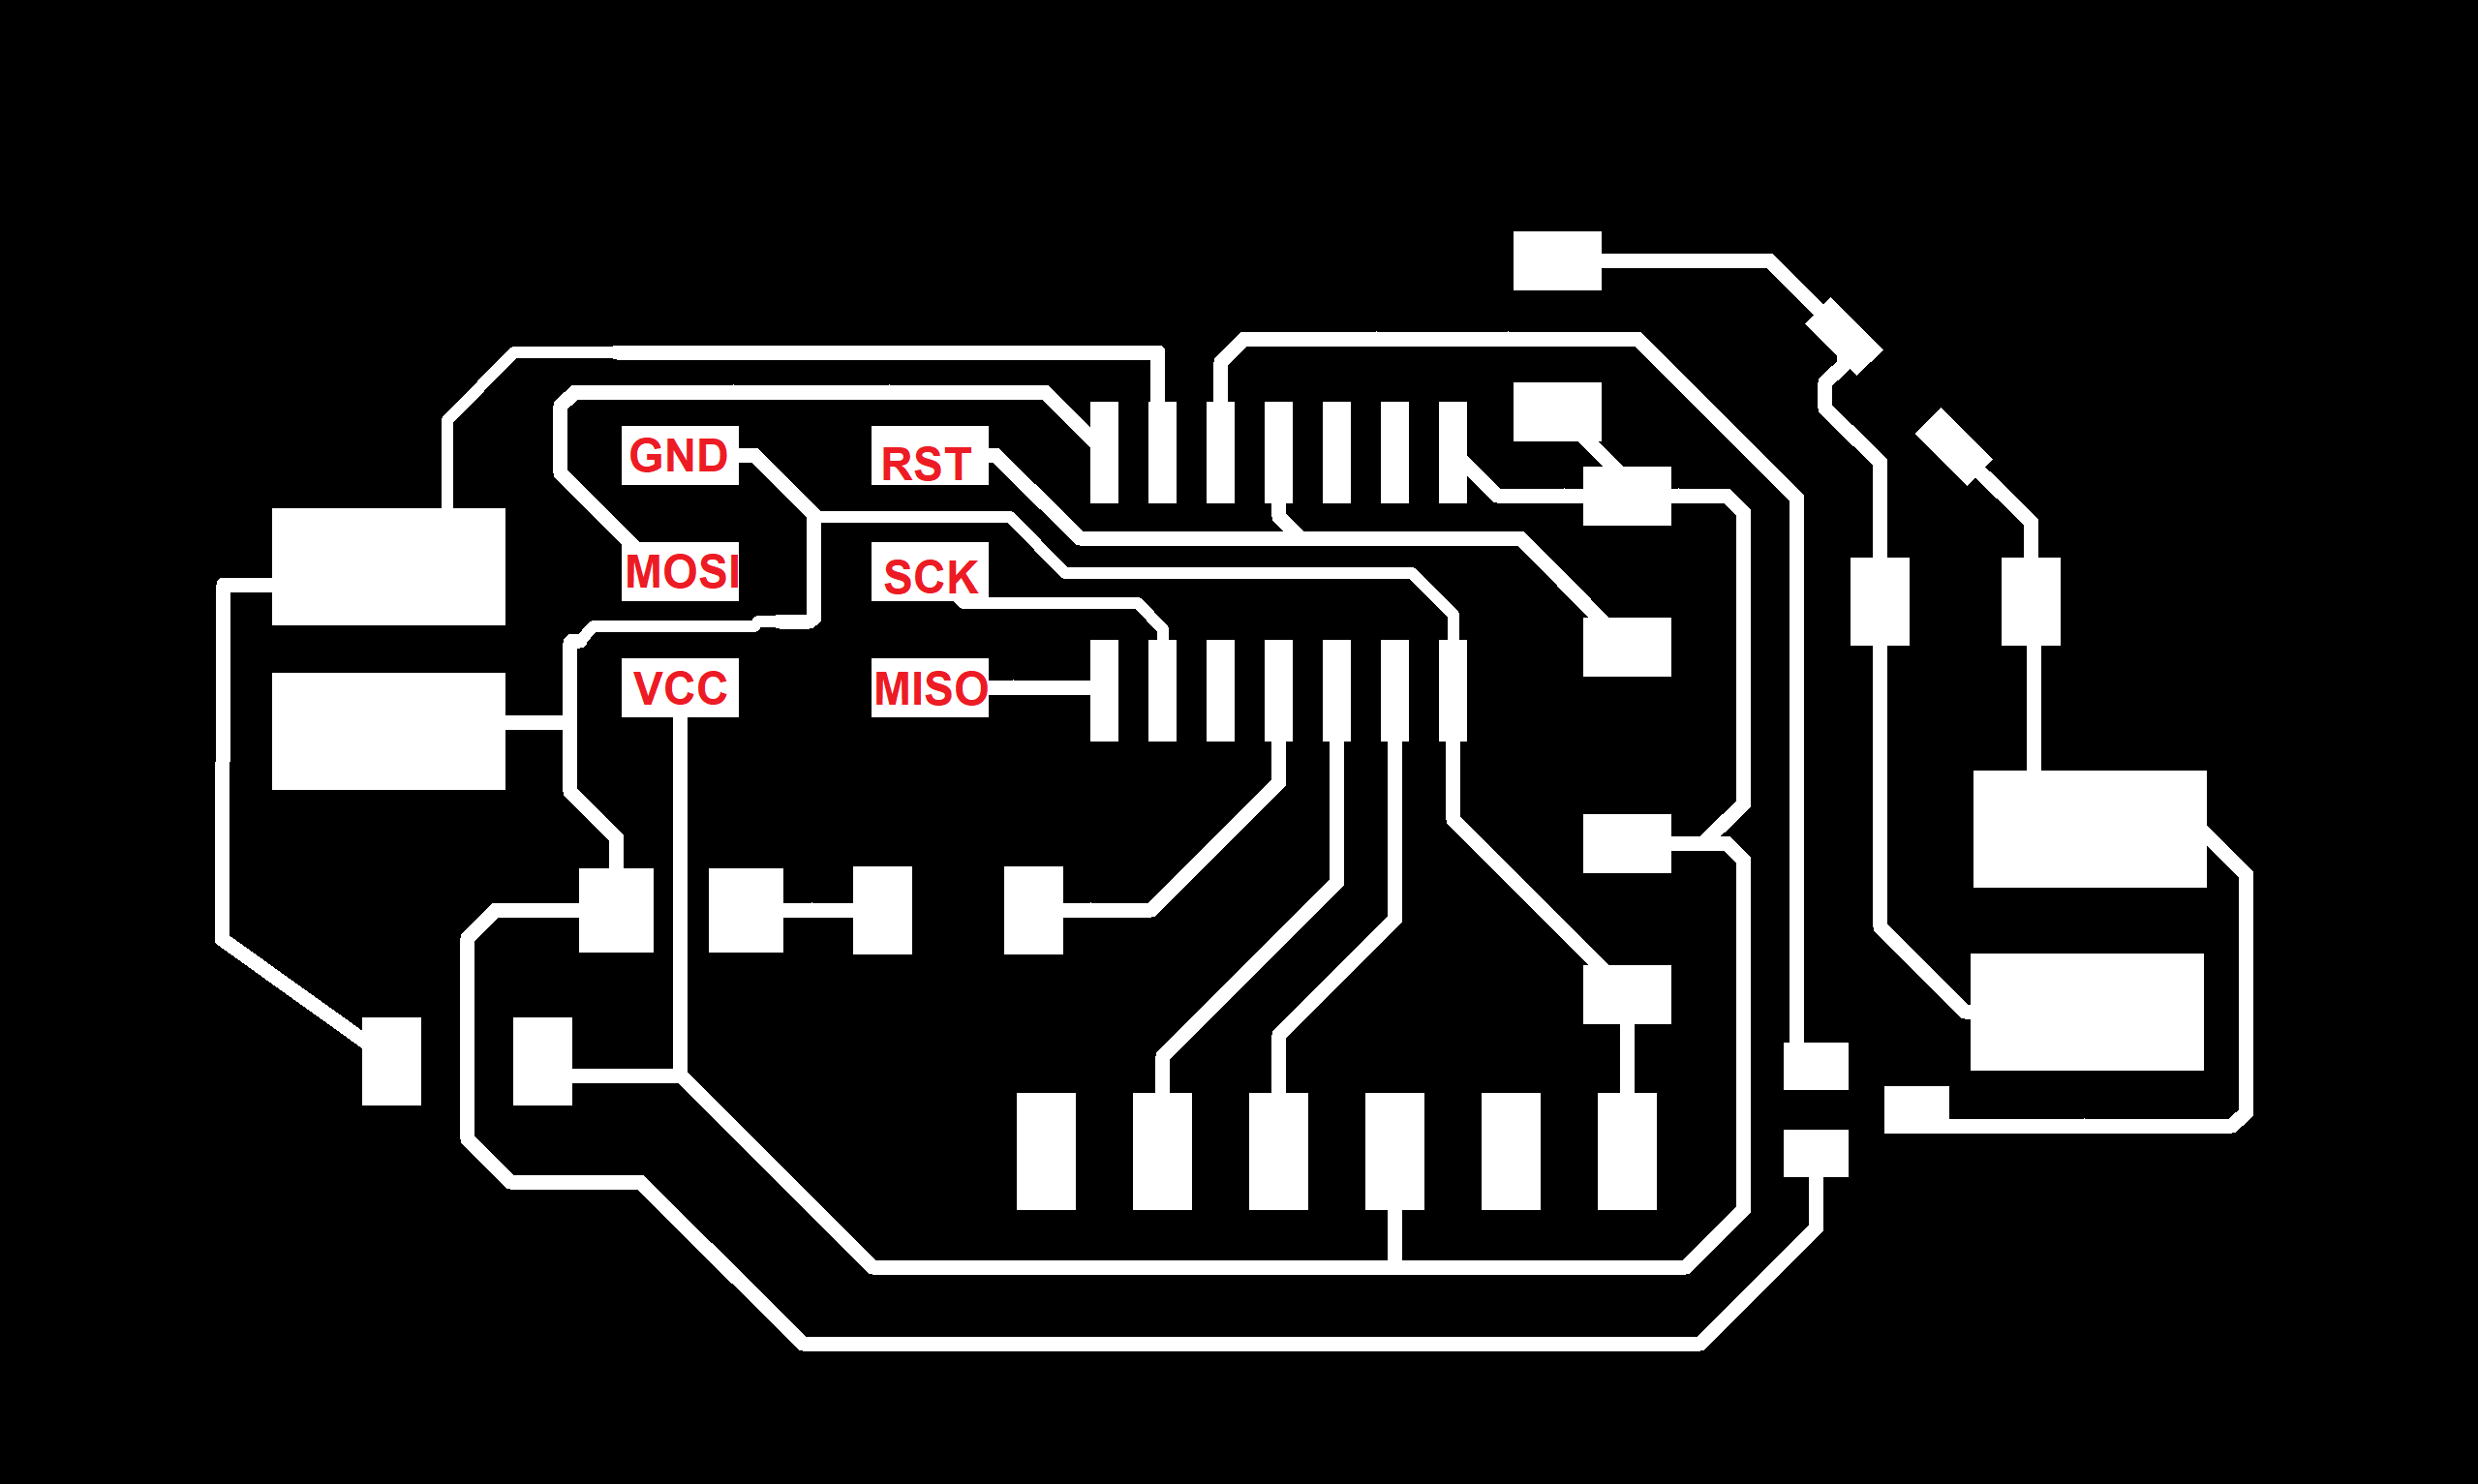
i had to if i want to have a board smaller and efficient as possible.So i changed the way i connect my Flex sensor, the tension divider was into the Ground line before. now is into the vcc circuit. for the led i'm using it like an idicator led. when i have some doubt about my code. or the Board fonctionnality . i'm sending a blink in it.
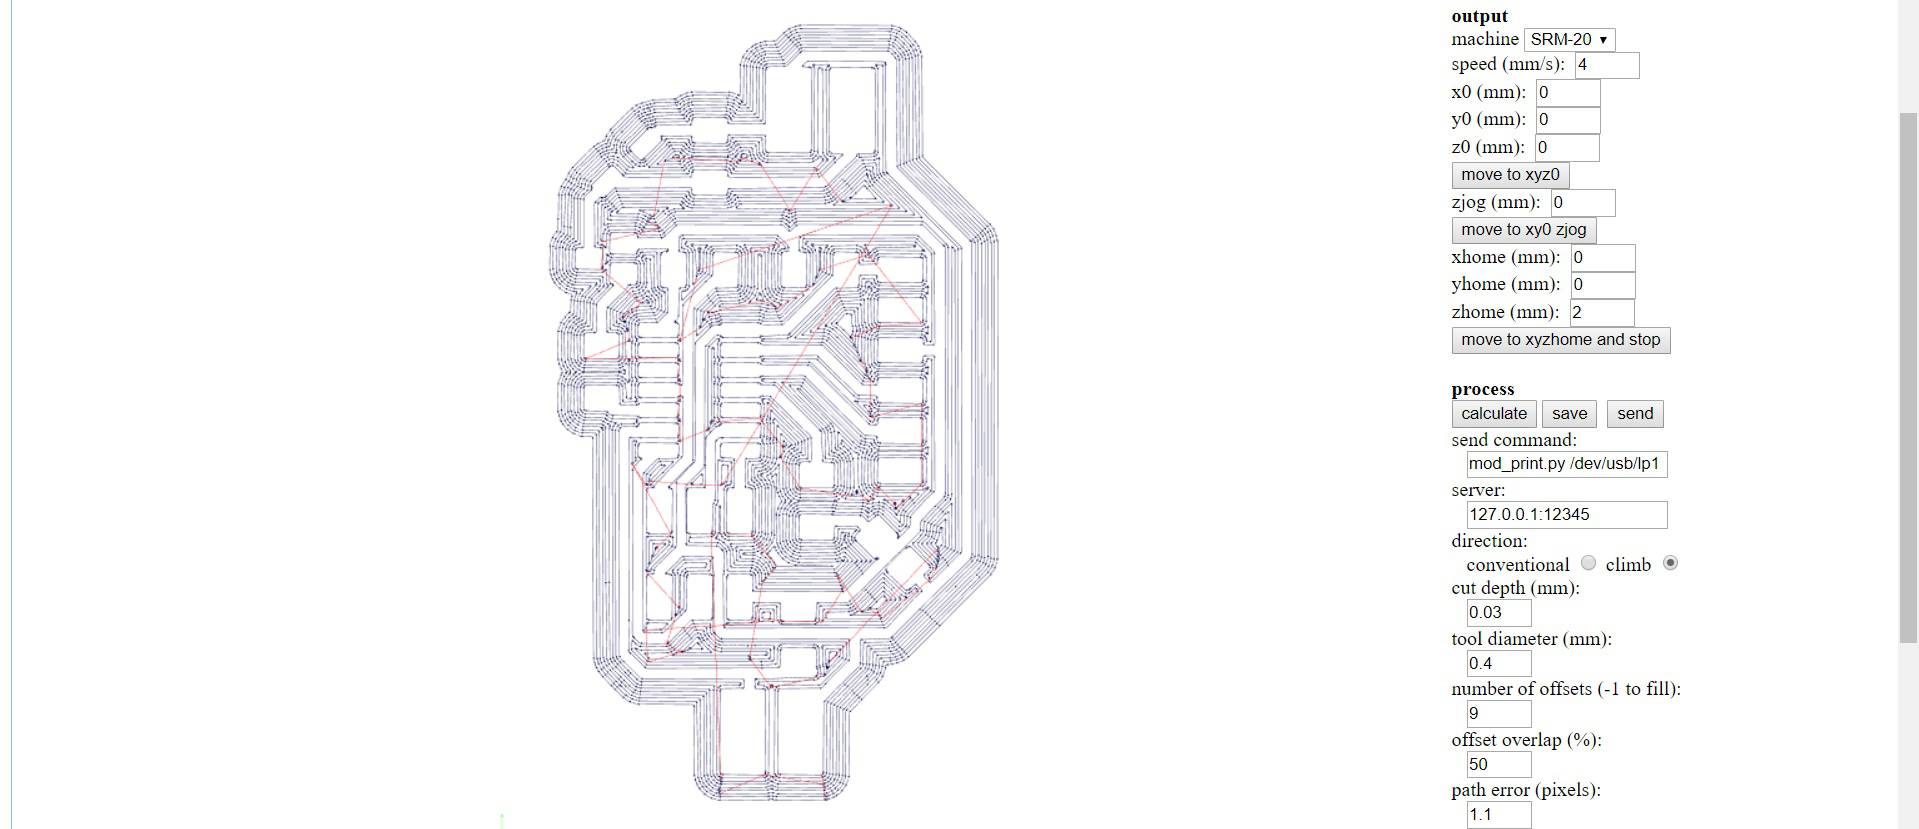
 time to export it for cutting it:
Like always: we are cutting at 4mm/sec, -0.03 cut depth.
 Solder your board and Voilaa!

the code
When the board is finish we have to upload the code to it.
Like i did in Embeded programming Week
i am using an arduino as an ISP. it's working great.
- Pin13(arduino) to SCK
- pin12 (arduino) to MISO
- Pin11(arduino) to MOSI
- Pin 10(arduino) to RESET
- 5V to VCC
- Gnd TO Gnd
 when everything is plug correctly you can transform your arduino on Fab isp.
GO on file> example>arduinoISP
Upload the file into your arduino. then choose the Attiny 44 into the board manager, choose the internal clock to 8Mhz, change the programmer to Arduino as isp.
 burn the bootlader and you can upload a blink code for checking if your board is working !
 when everything is good is time to upload your code for beeing able to turn the motor.
--
file of the week.
here you'll find the file of the week
For downloading
right click and save as
- Brd file (Eagle board file)
- sch file (Eagle Schematic file)
- Ino file (RIGHT CLICK - SAVE AS)