| Seonghee Kim | |
| 8. Computer Controlled Machining | |
| HOME | ABOUT | ASSIGNMENTS | FINAL PROJECT | DOWNLOAD FILES | CONTACT | |
Week8
AssignmentS
-group assignment
test runout, alignment, speeds, feeds, and toolpaths for your machine-individual assignment
make something bigHardware and Softwares used
-Fusion360
-V-carve pro
-Shopbot
Outcome
Last year I made a small thing with shopbot. That time I was scared to control it, so mostly my friend did it for me. I only followed what he said without understanding what I was doing. I could not feel safe and I didn't think I could do it by myself forever. This time, I found that it was not that scare thing as much as I keep the rule. Simple than I thought. Now I know what is chipload, feedrate, endmill and rpm(I can calculate it). I understand the values and options including conventionl, climb cut type. I learn how to set up and work shopbot! It is not scare thing!! Though I still have to be careful.
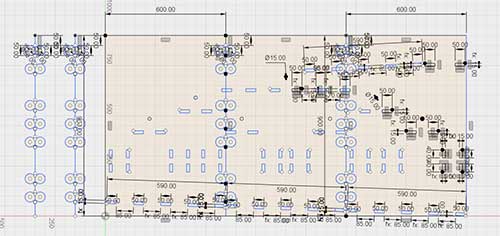
V-Carve Pro
V-carve pro is for making G code for CNC. I can set up endmills and toolpath using V-carve pro.
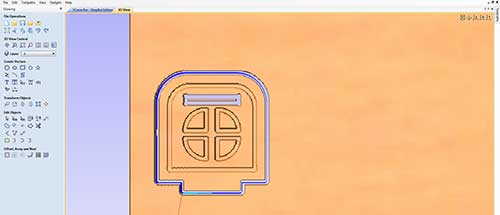
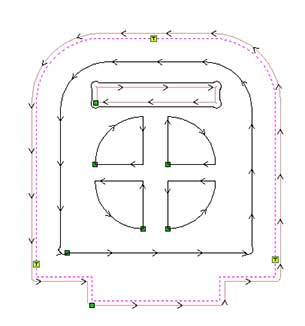
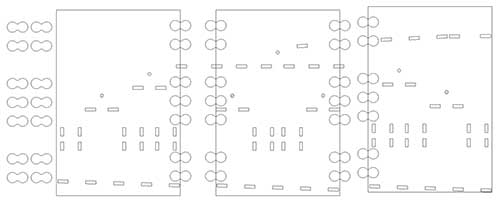
Drawing
-Import the vector file then right click and check open files and duplicated lines. Join it if not to join, it could not calculate toolpath. Fillet can make bone
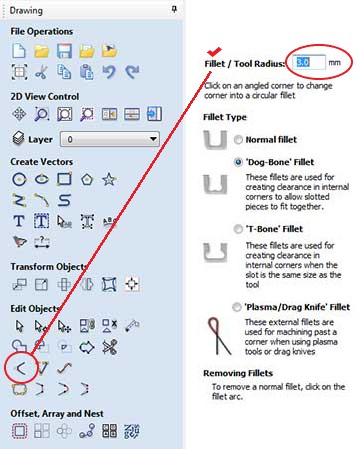 -I clicked fillet to make dob-bone to fit the joint. Check the tool radious.
Toolpaths
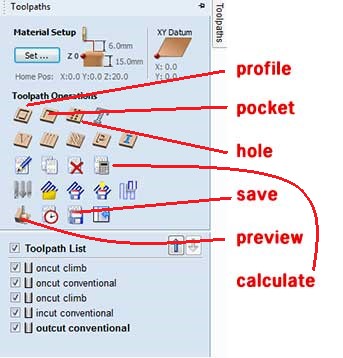
-When I finish drawing, I can make the toolpath. Tool path window is on the right upper coner of the window.
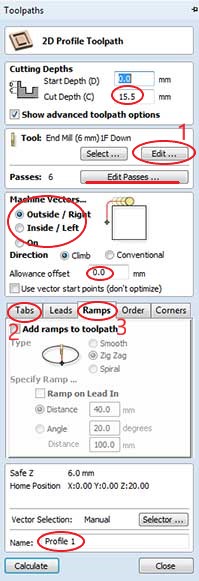
-Profile: depth should be deeper than real thickness of matarial(+0.5 would be ok), always click Ramp!
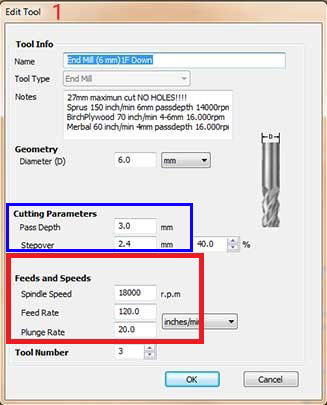
-1. Edit: I Set up the feedrate and rpm here.
-Stepover is recommaned 1/2 of tool diameter. I did 40% of it.
-Pass Depth is recommaned 1/2 of tool diameter.

-For incut and outcut, I need tabs. if I made a tab followed by material, when I detatched it, teared the matarial off. So make oppisite direction of material would be better.
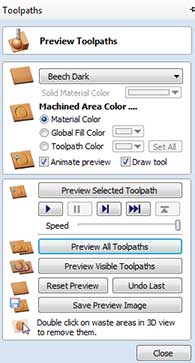
-check preview.
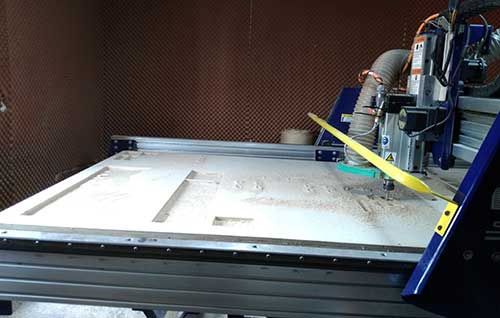
Shopbot
Let's start Shopbot! and.. mistakes from starting OTL
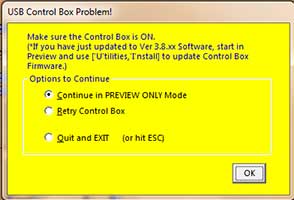
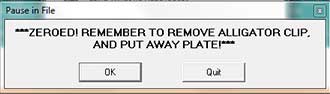
-This warning came out when I opend software before machine started. So make sure that start machine before software!
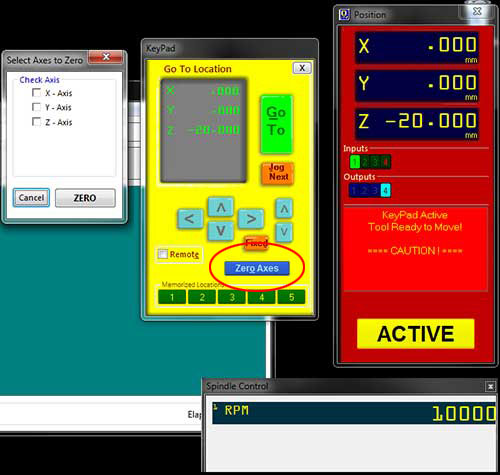
-Set up X,Y by manually. And Z automatically.
-I had to setup xyz before open the file. and open the spindle control window from tool>spindle control.
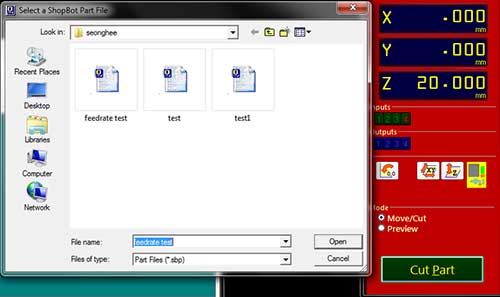
-When I save the toolpath from v-carve, Shopbot automatically opens the file. Select CUT PART. first time I was scared to press this button. I thought I start the machine right away. But it is not, so don't worry.
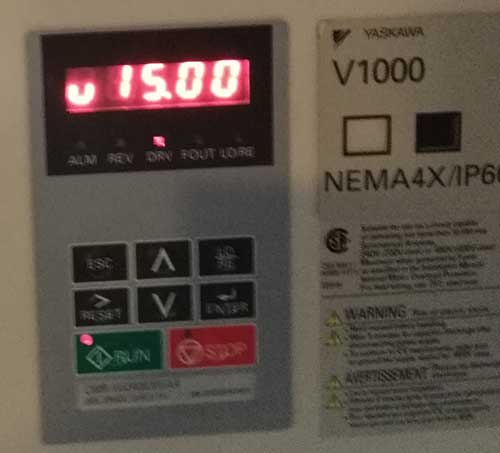
-When machine start to cut off, check the spindle speed from shopbot machine.
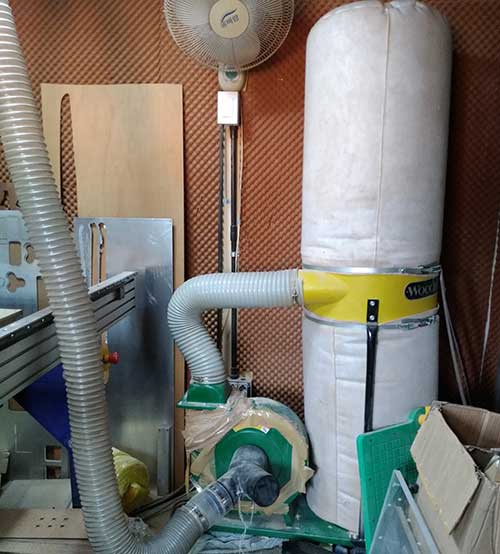
-don't forget to turn on the vacumme.
-finally it start!
Feedrate and RPM
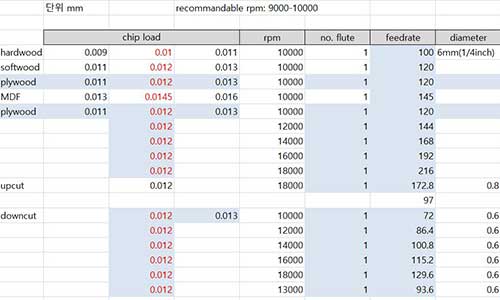
-I calculated the recommaned feedrate and rpm using chipload chart. Upcut endmill shoud decrease 20%, and downcut endmill 40%. so I multiple 0.8 and 0.6 for each type of endmill.
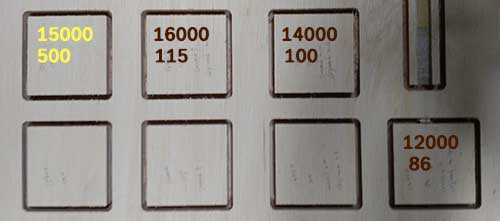
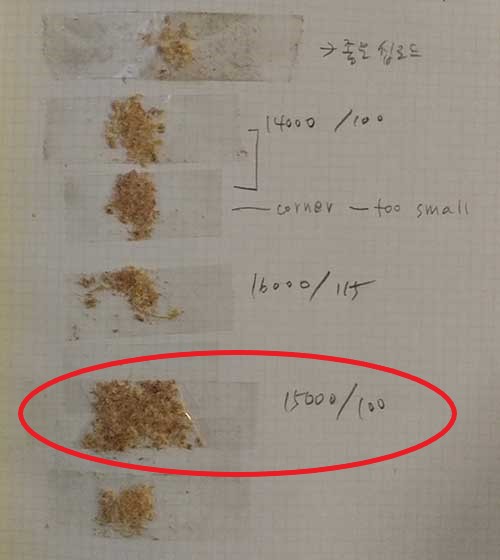
-I tested on soft plywood. RPM1000, feedrate 120 was good and RPM 15000, feedrate 100 was also ok. So I tested other cut with 15000, 100 because I thought it would be faster.
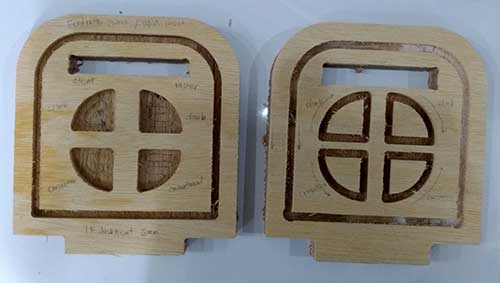
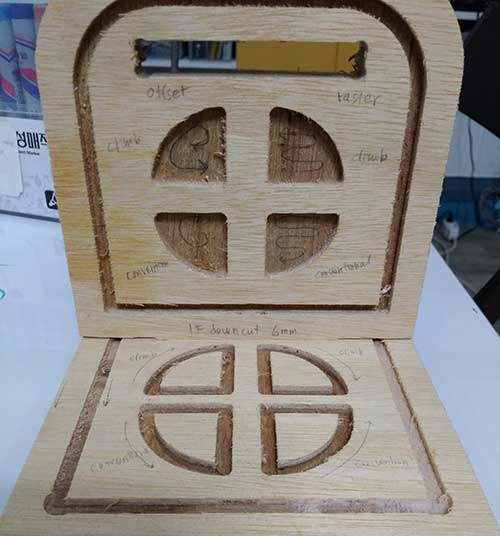
Cut Type
-I also tested cut types such as outcut, incut, oncut, pockets with raster and offset, convetional and clime.
Test Joint
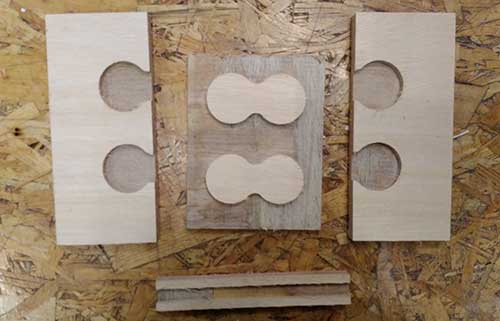
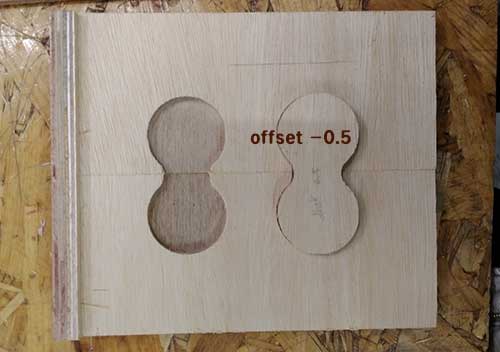
-I tested some joint from my design. For the pocket slid, offset value -0.1, for peanut shaped joint offset value -0.5 was good. And I decided incut also do -0.1 offset.
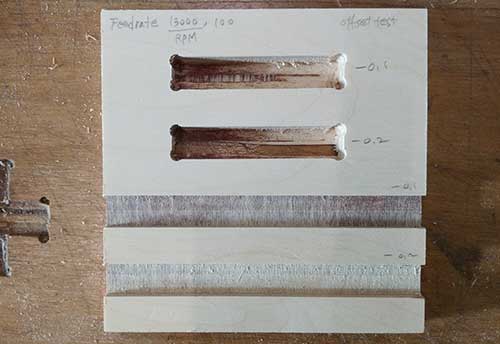
-for the slide more and -0.2 offset was good.
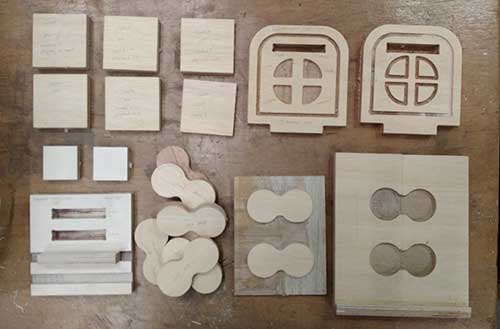
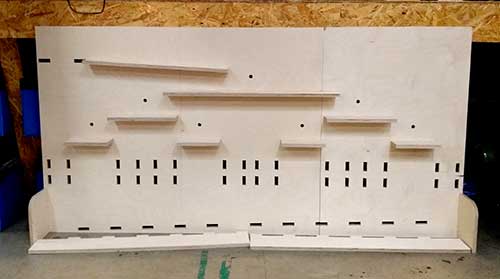
Marble Racer
-My kind and genius magic hand instructor Rodrigo gave me better wood for my assingment work. So I find another feedrate,RPM and offset value. 13000, 100 was good. (I tried 12000/110, 10000/120, 15000/100, 13000/100)

-The matrial did not cut well. because the wood bended a bit. I had to screwed up middle of the wood to tighten the wood.
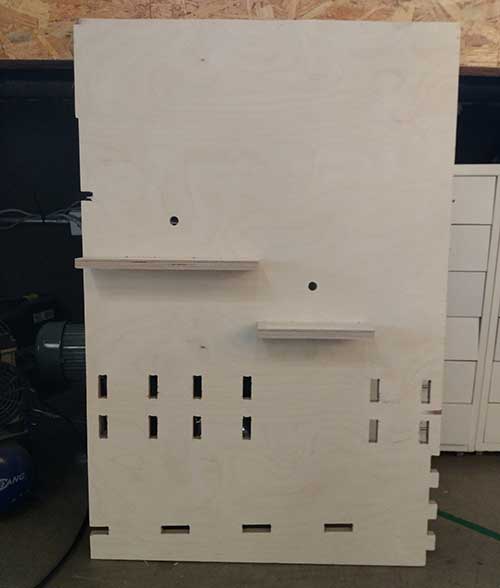
-still working.
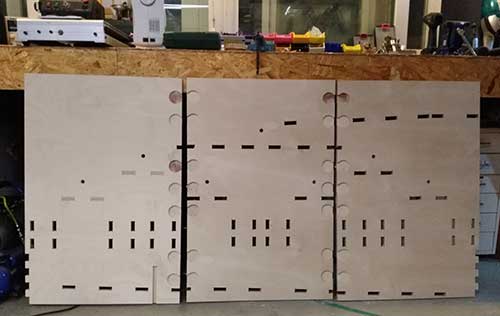 -still working.
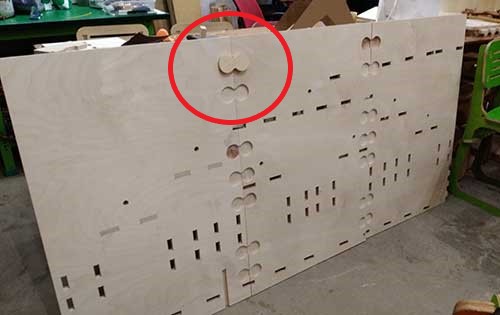
-click here to download marble racer.dxf file.
What work
-Make a shelf of marble racer.-Learn how to control the shopbot.
-Get knowledge about feedrate, RPM.
What didn't work
-Test another endmill, another wood.
-Make a box of marble machine.
When marble rolls, it has to pass through the box left and right selectively.
The angle and weight of the box slope requires lots of mechanical testing.
Date: 2018-03-13 Author: Seong Hee Kim @ Fablab Seoul