Group Project
So this week we had a group assignment to test out the laser and see how it works and the properties of the laser. What we did was make a box and measure the cutout and the the box of the plate so we could see how much material the laser burns away.
So our conclusion was that the laser take a tiny bit more than 0.2mm of material and it varies from material. Later on we did a speed test with both of our lasercutters and there were minor difference between them and it was fun to see the material when it merely went through.
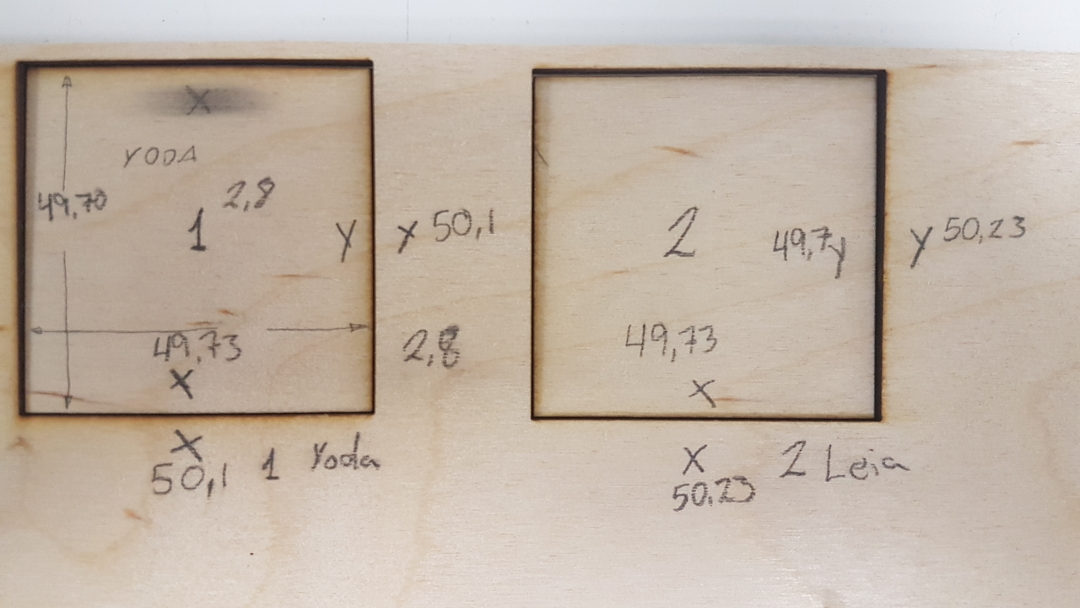
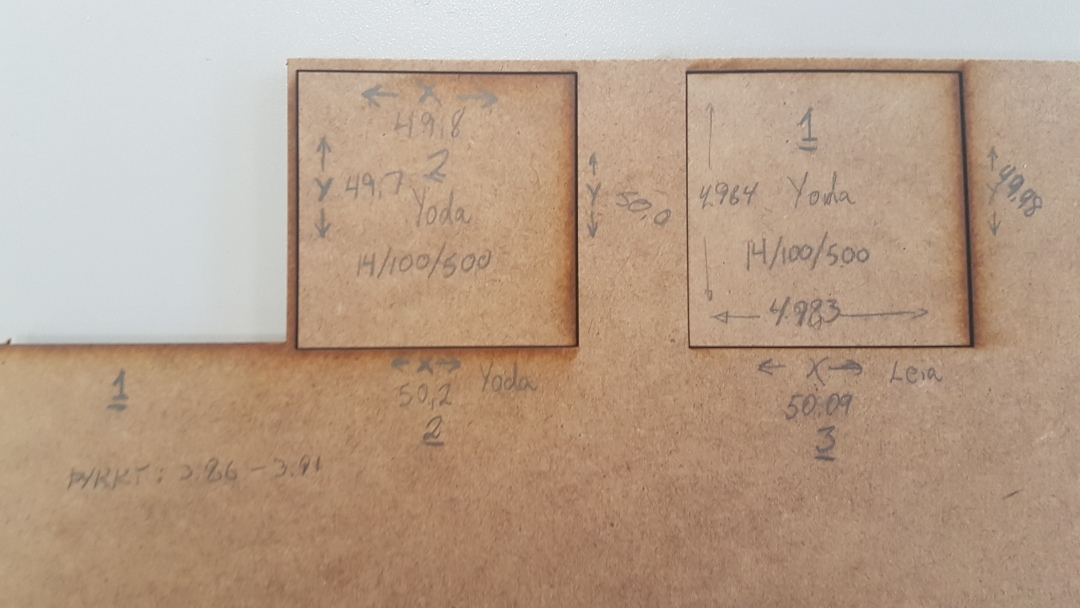
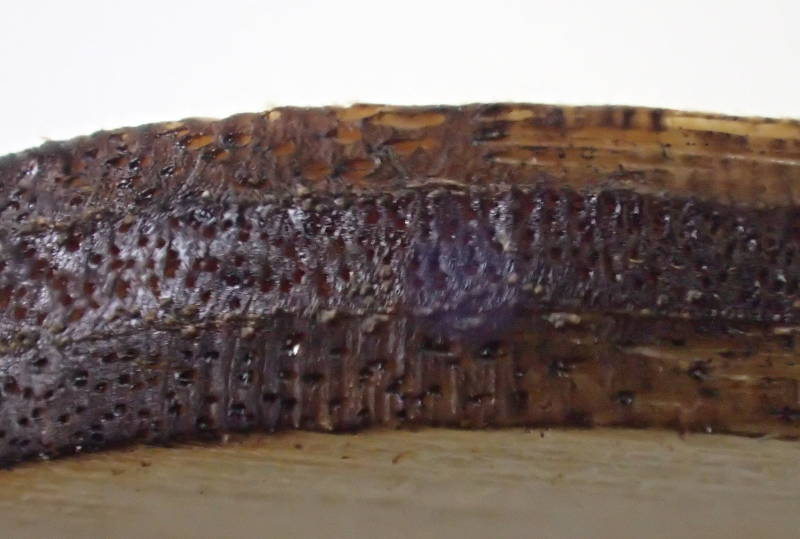
The numbers you see in the picture are different speeds and there is visible scorch marks on the wood if you go slower.
This is a good example of a really nice cut with plywood.
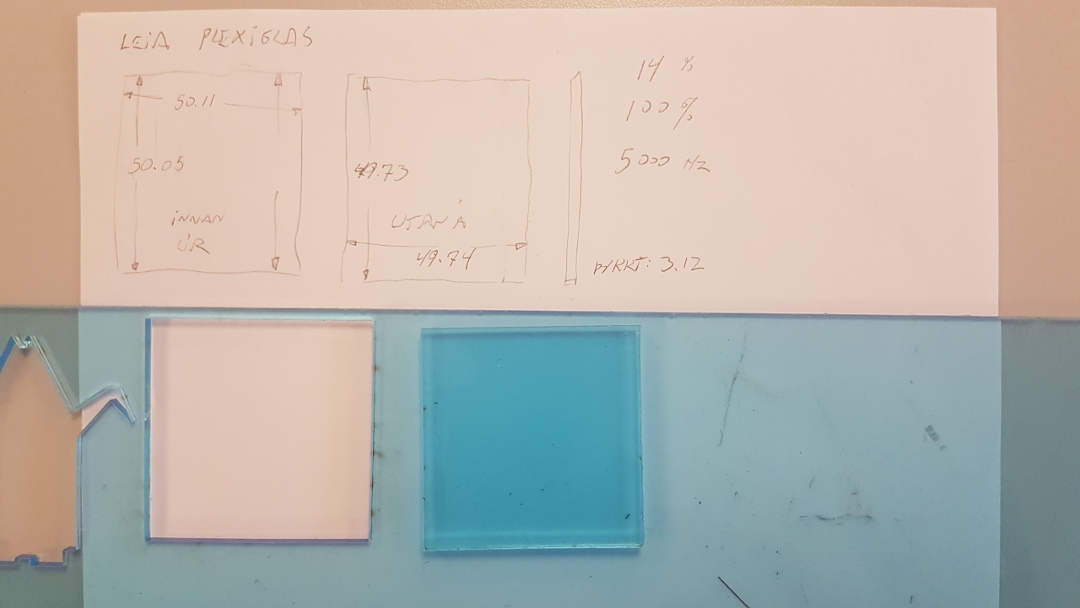
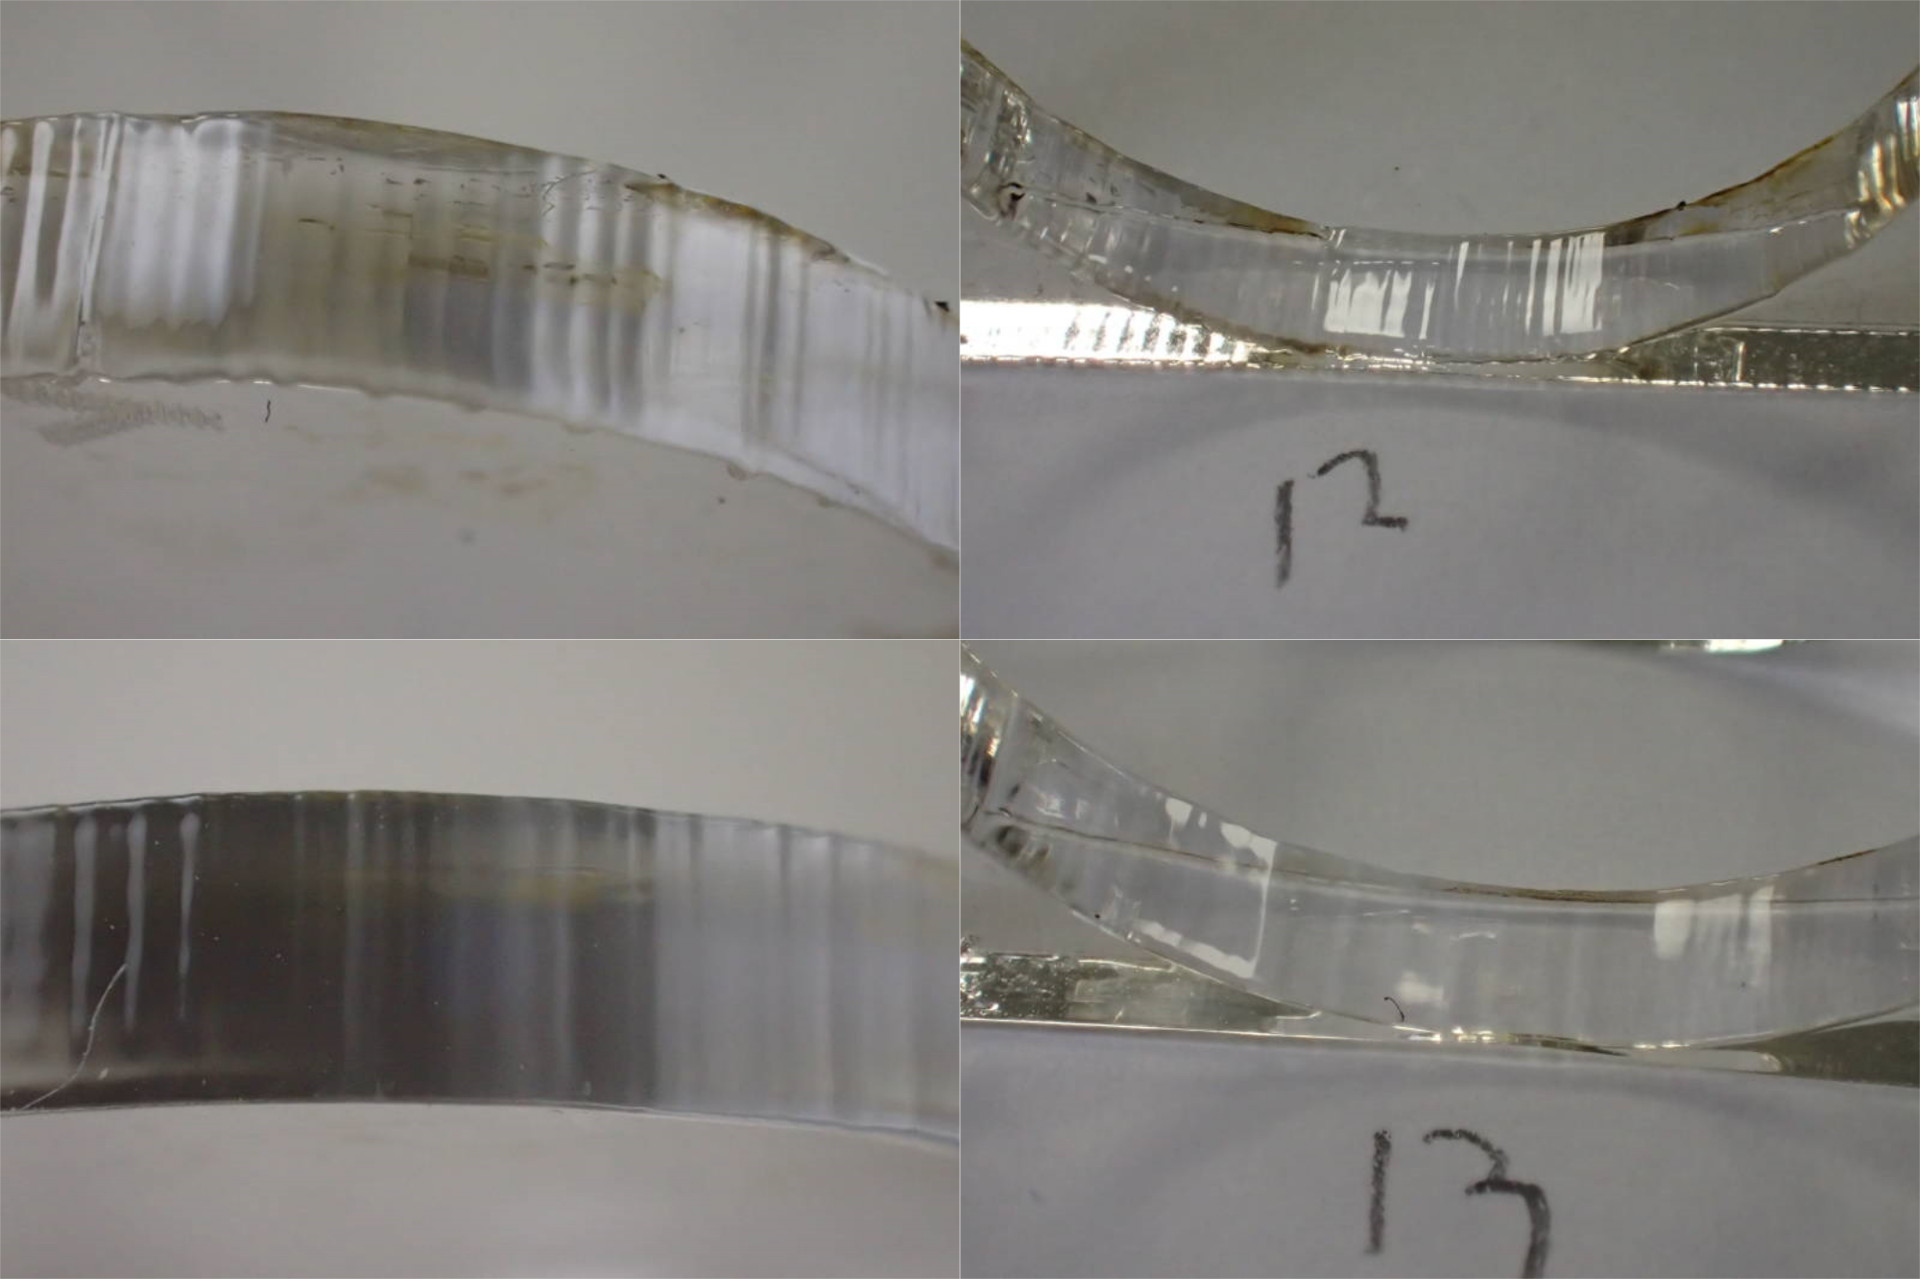
 The same with plexiglass.
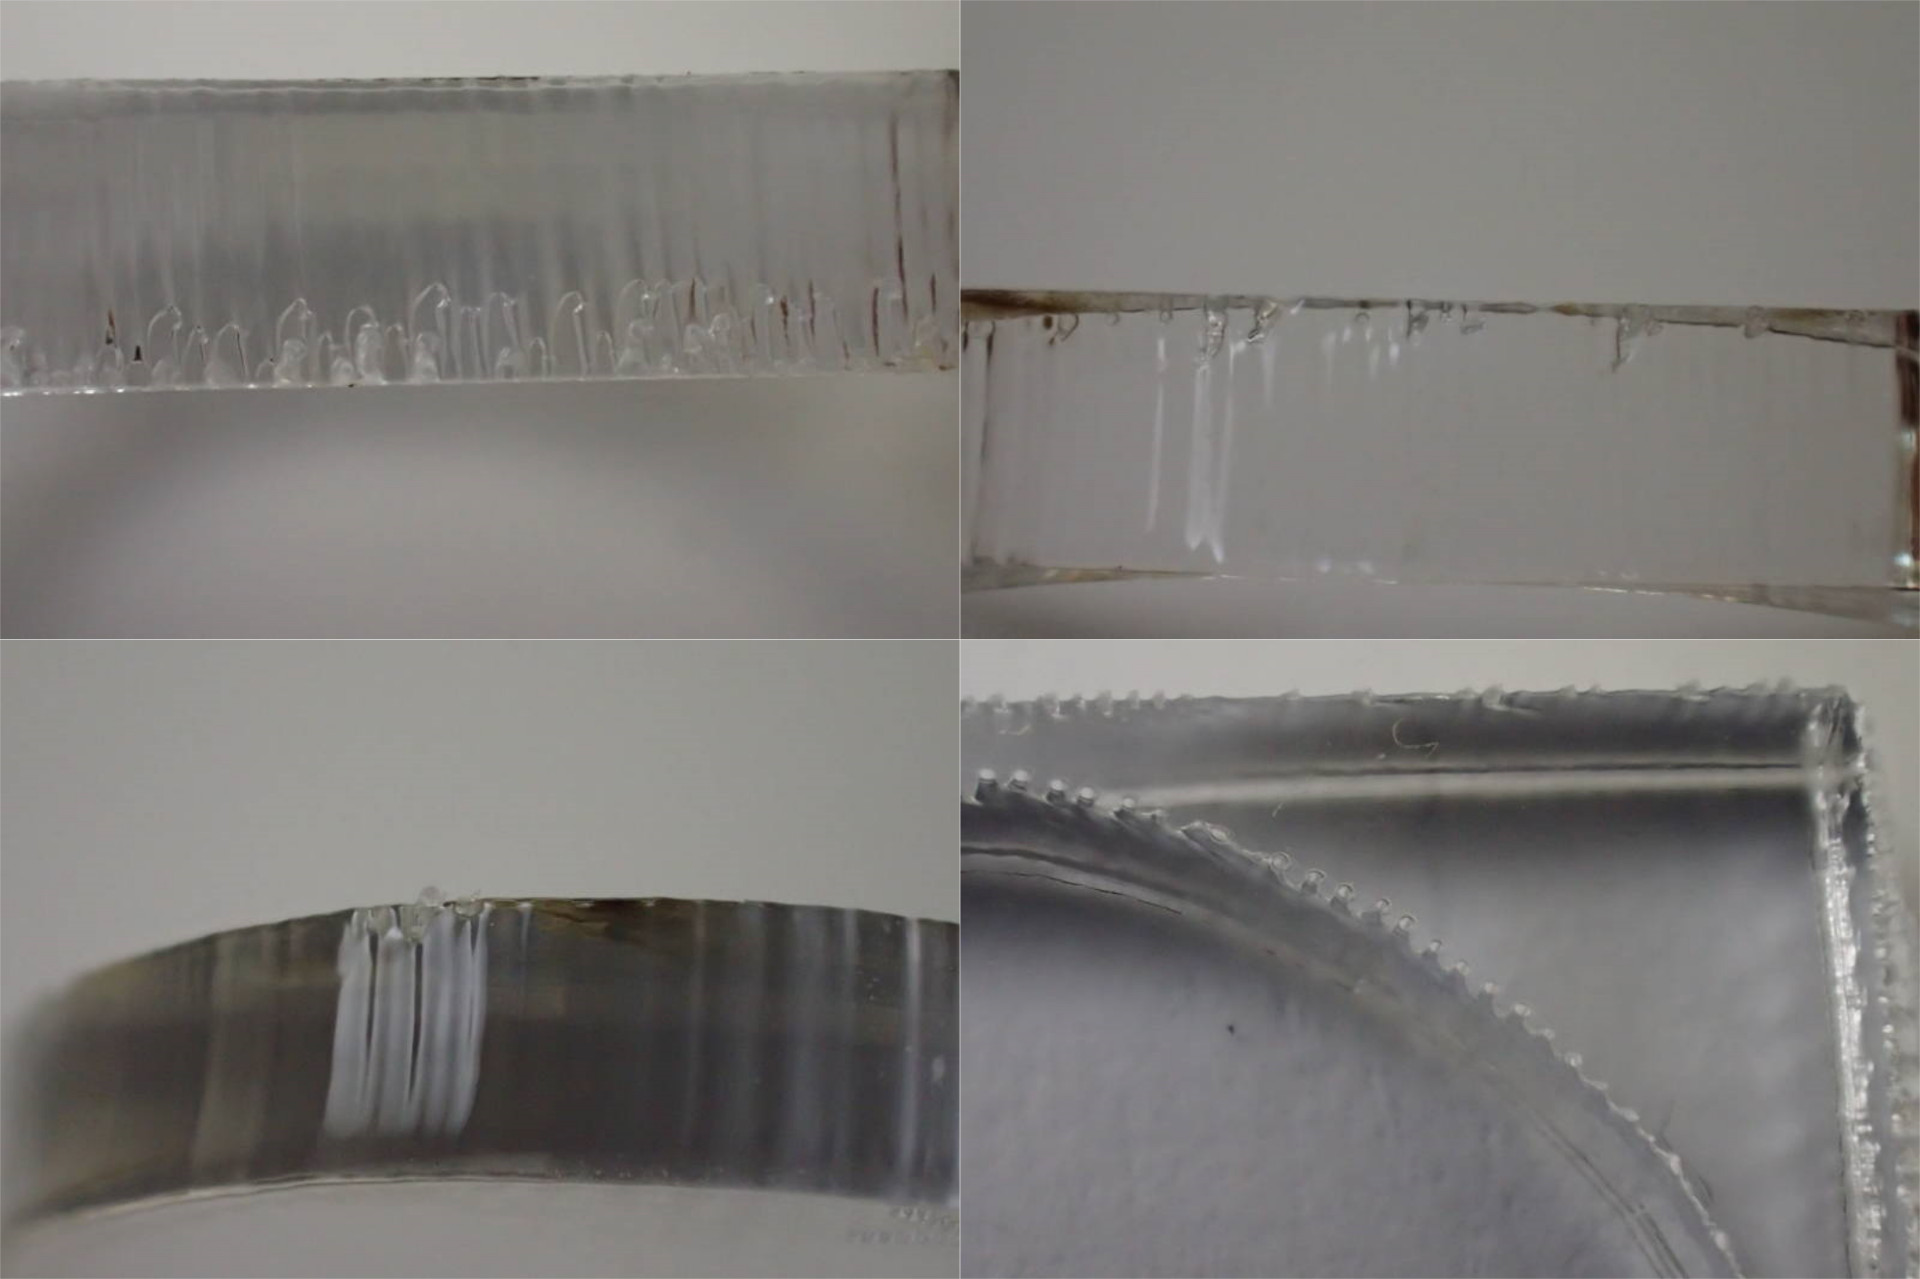
 Here we went a little faster so it left a little material behind because if it goes to fast it doesn't have time to go through the material.
 We always have the frequency at 5000 when cutting plexi but with mostly everything else at 500 but I will have to later on look more into it. The frequency setting is just how often it fires the laser and on different settings you get different resaults as with the speed/power settings and they are self explanatory.
Parametric Pieces
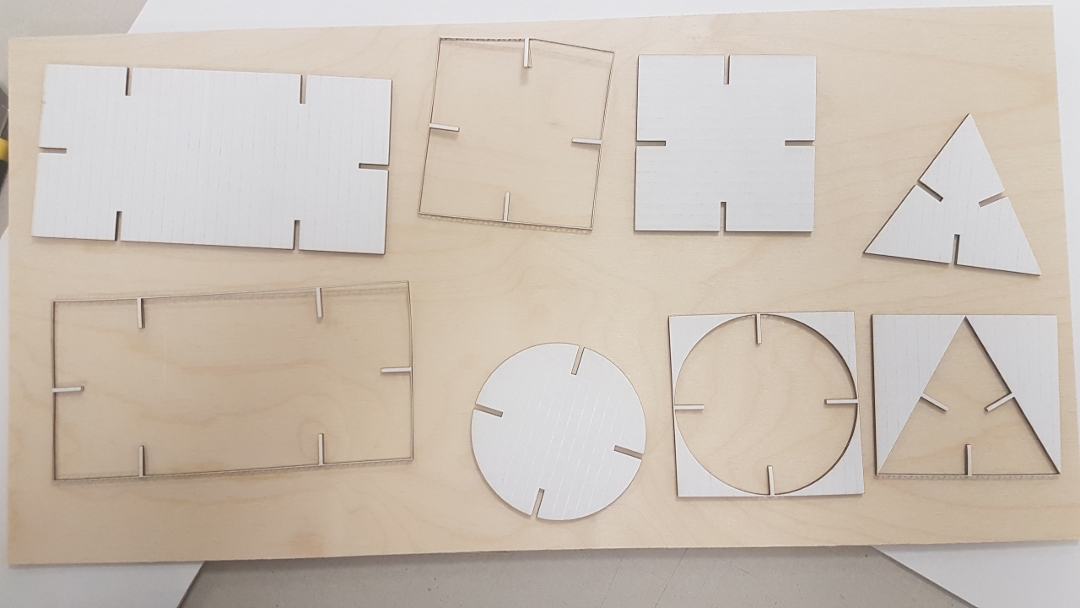
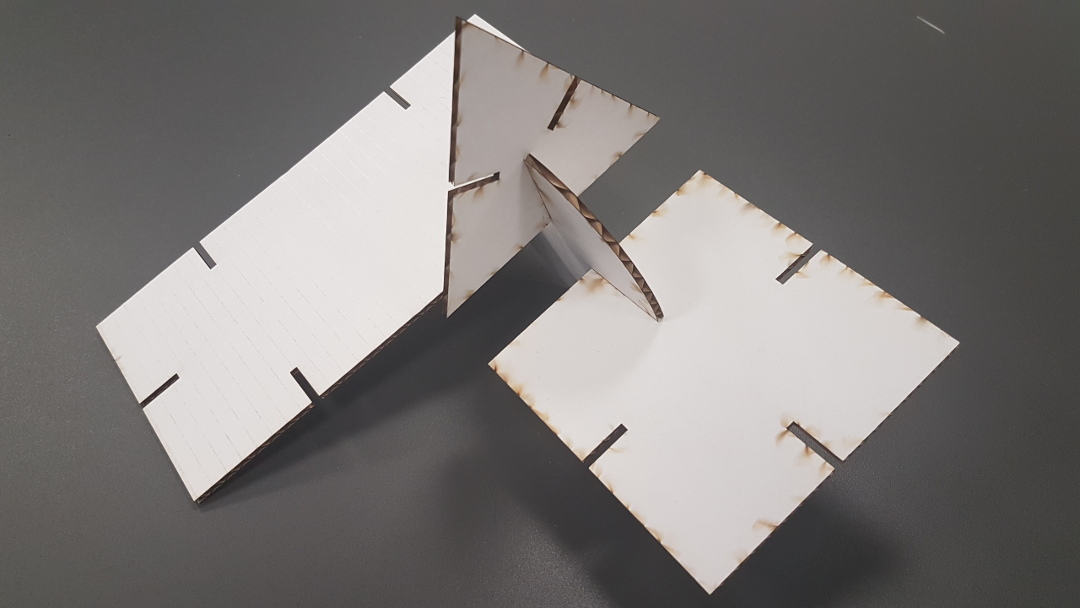
For this weeks indivitual assignment had to make press fit pieces with parametric design so I went to Fusion 360 to make simple shapes and make slots in them so they would fit together. There were alot of tinkering with the sketch palette and Linda (instructor) linked our group a tutorial video for
Sketch Constraints.
With the boxes I had no problem with but when it came to sketching other shapes I ran into problems with the slots staying in place so I made lines and changed them into construction lines so the slots would stay in place when changing the size but sometimes when changing the size the shapes rotated and the slots didn't so I used the sketch constraints to make the parallel to the shape and that seemed to fix that and everything didn't rotate like last time. So next was to export the sketches to DXF files so that they could be converted to vectors so I could save them as PDF files so that They could be cut out.
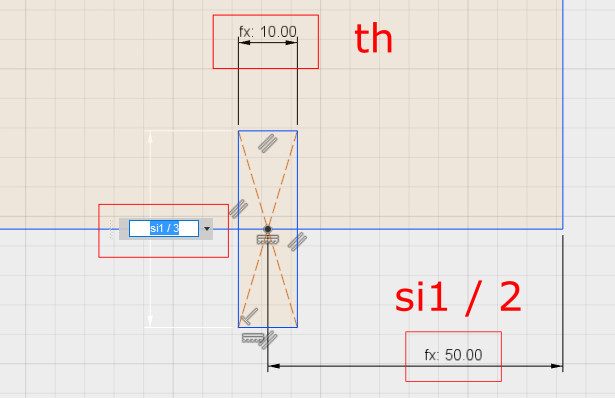
With the parameters option I can change the size of every individual element in the design.
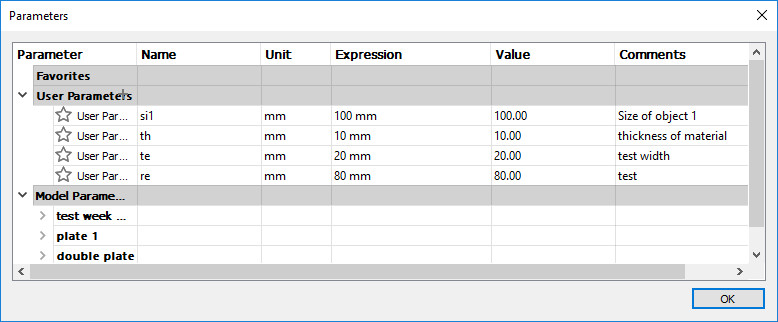 It is possible in fusion to add equations in the dimensions so you can change one parameter and all the elements change with it.
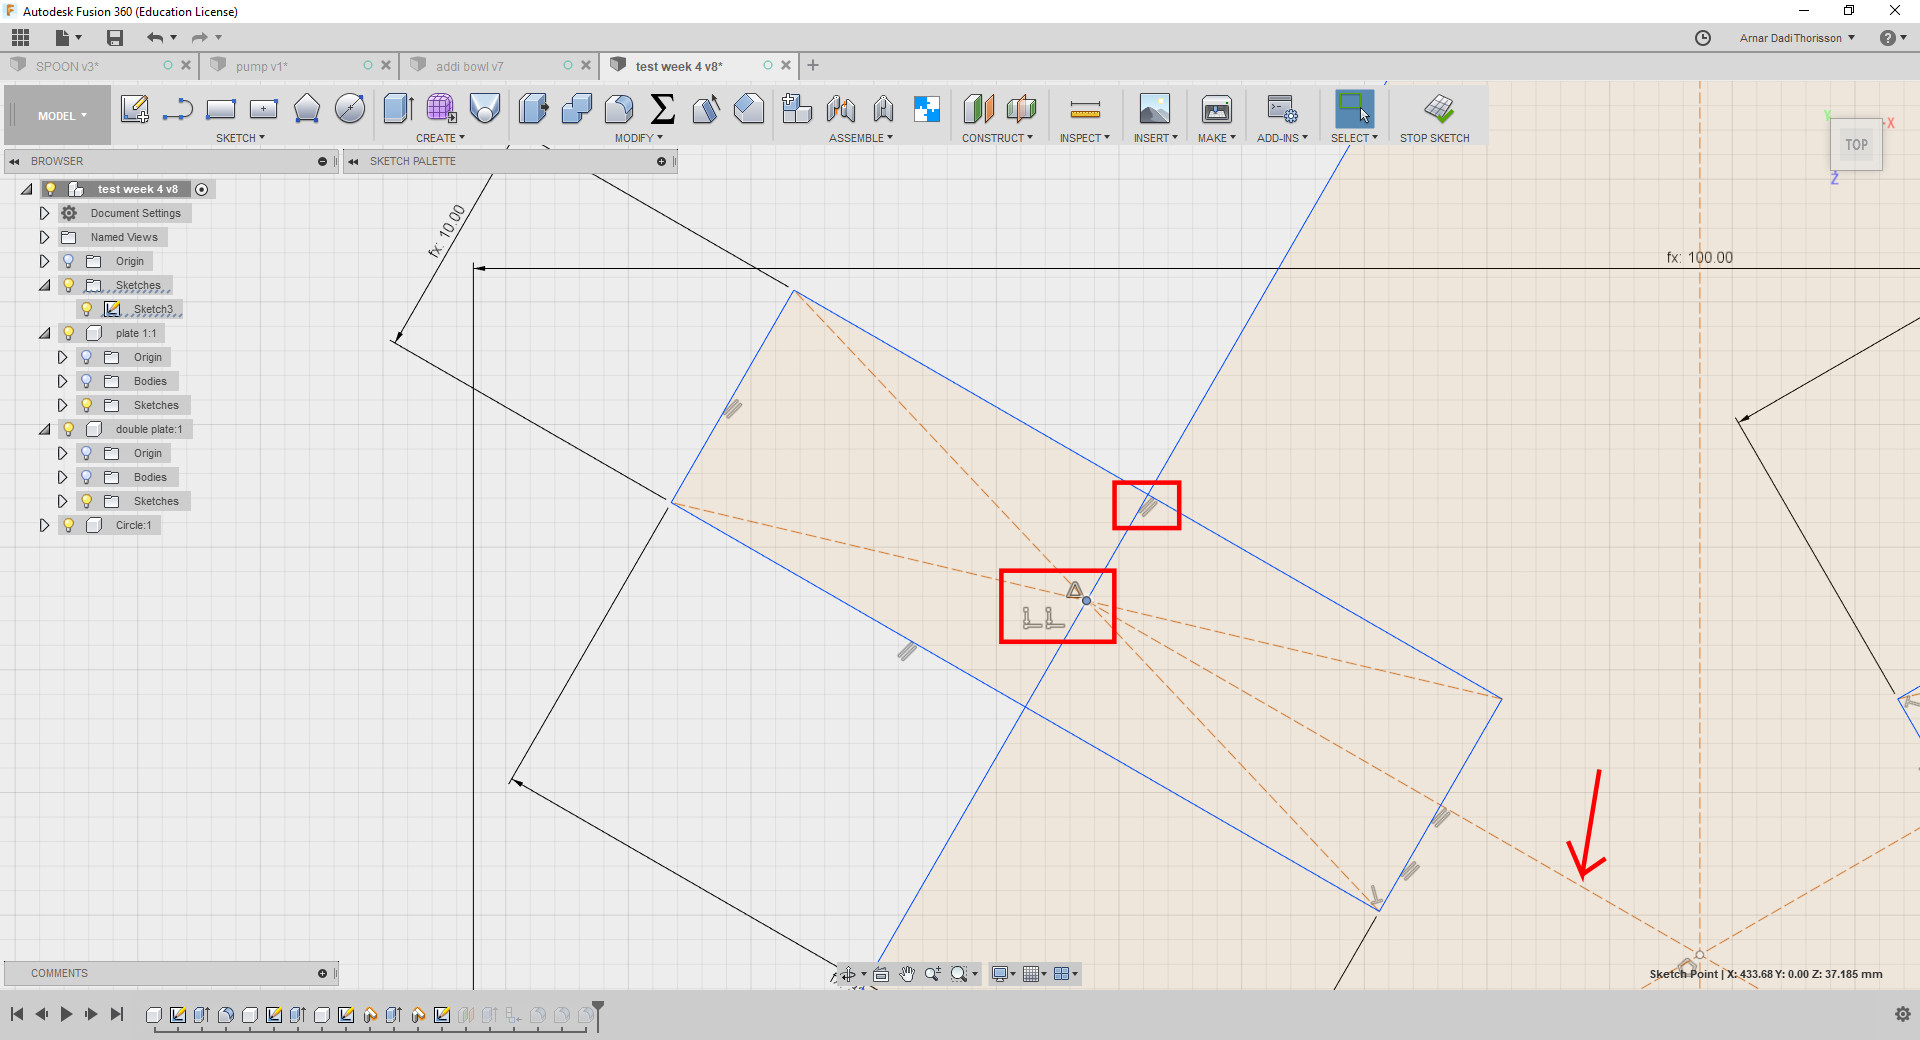
 Here you can see the constraints that I used for the triangle so if I would change the parameters they would stay in place. The arrow points to a line that is changed to a construct so the constraints would stay in place.
With the kerf added to the equation, the cutouts matched perfectly but somehow the laser cut out a box surrounding the shapes and the fillets that I made weren't present in the sketches so I will look into why that happened soon.
The dxf files need a little editing in Inkscape if you don't want the extra box that sticks out of the designs.
Big Rectangle dxf file
Small Rectangle dxf file
Circle dxf file
Triangle dxf file
Fusion File
Vinylcutter
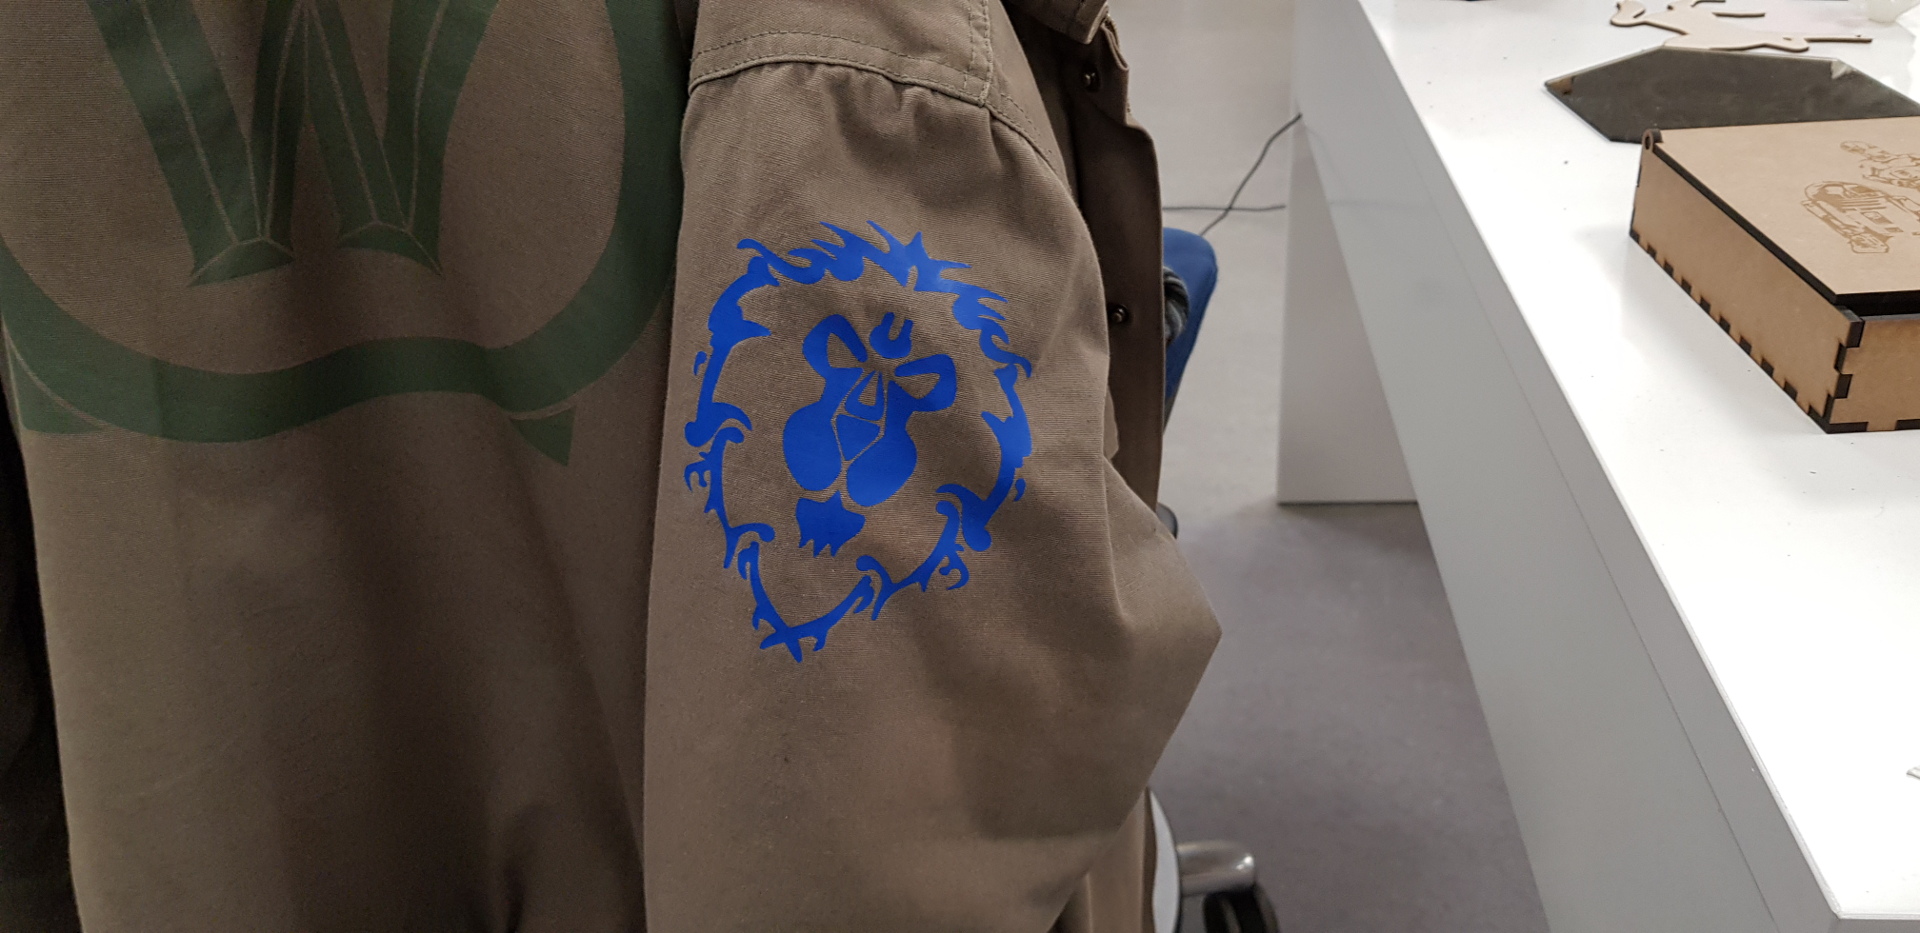
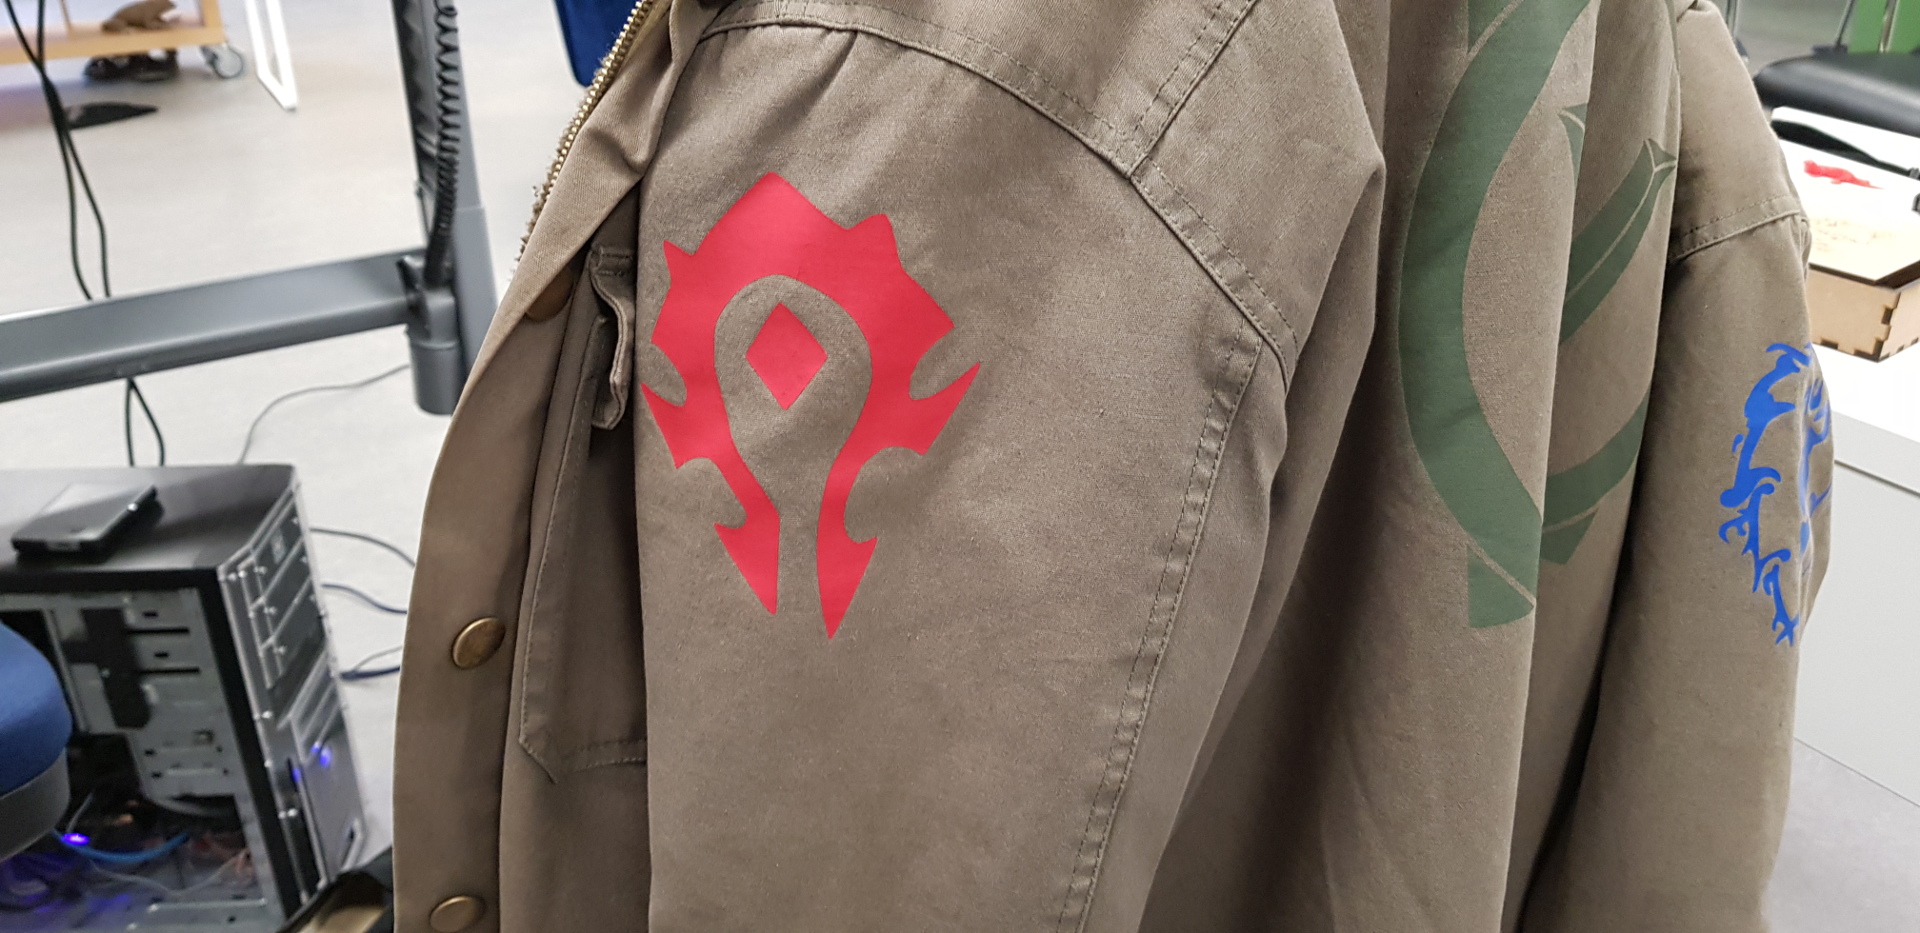
For this week's vinylcutting I made stickers that goes on my jacket and I got that at a game convention and it's theme is World of Warcraft and I wantd to make it more personal like with many other thing that I own so I decided to put both factions on the shoulders. I simply made a trace bit-map. I know it's a short way to complete this weeks task but I've made in the past a more complex and time consuming vinyl cut and wanted to use the time efficiently.
So for the vinylcutter, the workflow for our lab is to have the drawing in outlines and we have to vectorize them and set them to 0.02mm thickness and save them as pdf. I used
Inkscape
to vectorize the images and the quickest way is to go to "Path > Trace Bitmap" and it's best to have monochrome pictures and the bigger they are the better it is at creating the outlines. To get the outlines go to "Object > Fill & stroke" and take the fill out and enable the stroke and make it pure red (255,0,0 in the RGB table) and change the stroke style to 0.02mm and I recommend doing that after putting the design in the desired size.

SVG File (right click on the link and save link as.. to download it)