Week 6: 3D scanning and printing
Group assignment:
Test the design rules for your 3D printer(s).
Individual assignment:
Design and 3D print an object(small, few cm) that could not be made subtractively.
3D scan an object (and optionally print it).
Testing
For testing purposes, we took a test piece from Thingiverse and printed it out with three of our 3D printers. Results can be found in here(when it's ready).
3D Printing
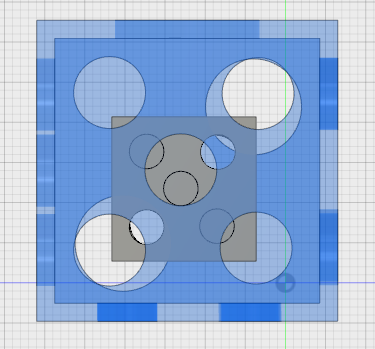
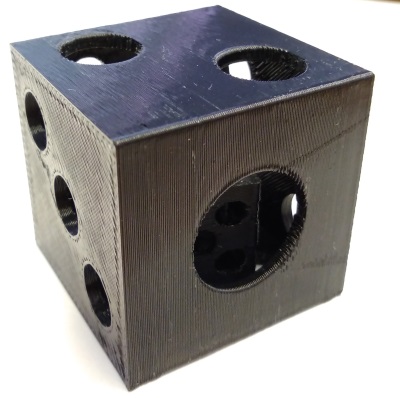
For the designing part, I wanted to make a dice within a dice. It all started with a box...
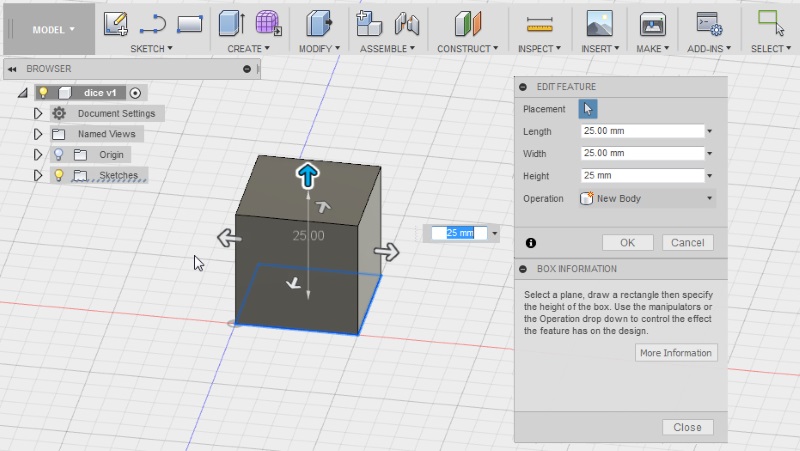
Next step was to make it hollow, using the shell command. Wall thickness was set up to 1.5.

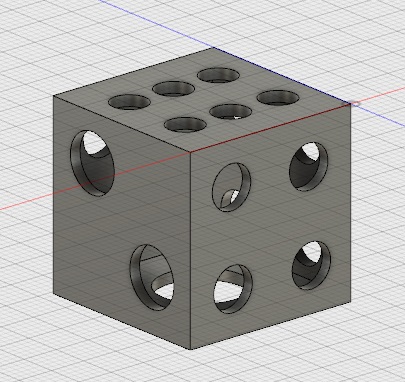
For dice to look like a dice, it need holes. So I started with a big one.
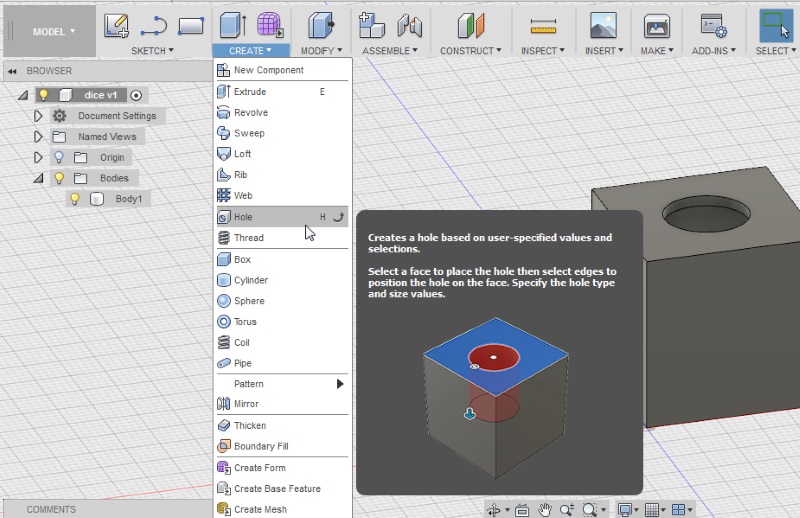
And in the same go, add a lot more holes to make a dice.
Copy/Paste gives another dice. Scale and move so its inside.
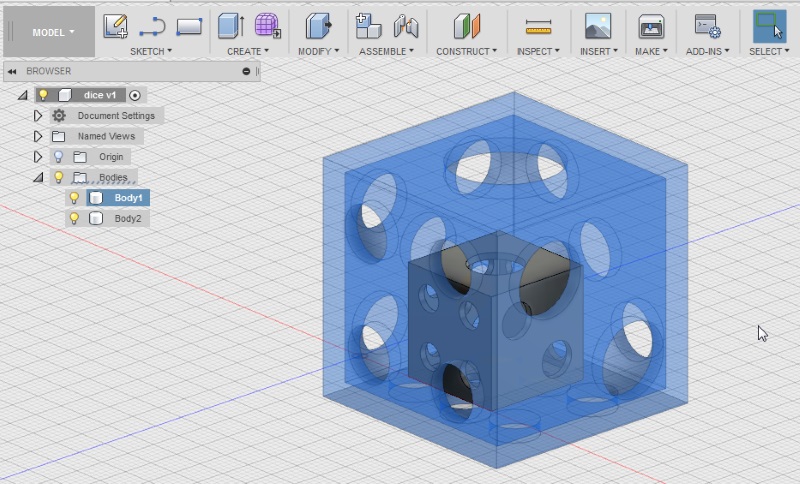
And for last bit, lift it up a little.
Now select the project, top most of browser window. Hit Make and 3D print.
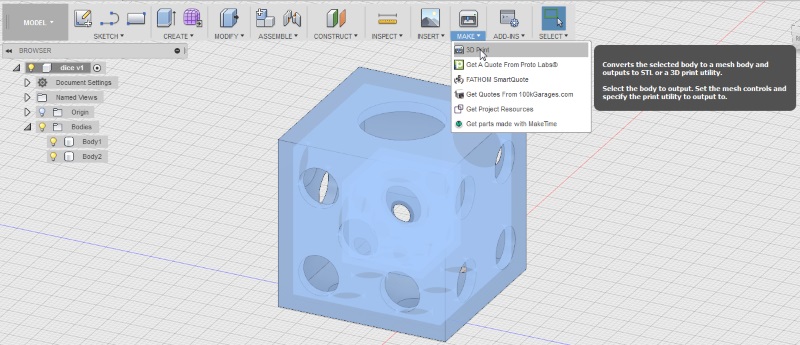
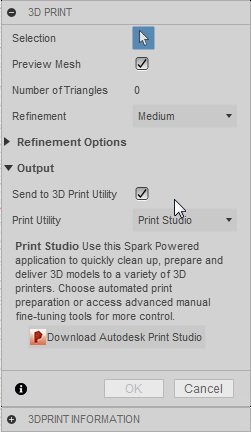
Since I didnt want to print yet, I unselected 'send to 3D print utility' and hit ok. This saves the project in .stl file, which can now be transferred to the printing station.
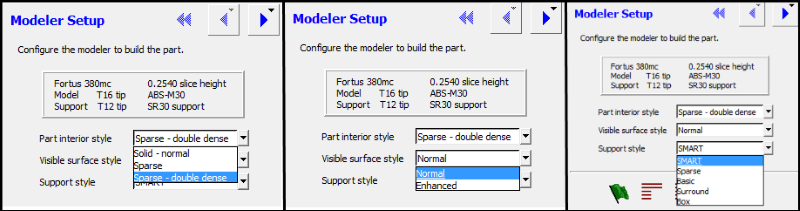
For printing I opened my design in Insight, which is the software for Stratasys 3D printer.
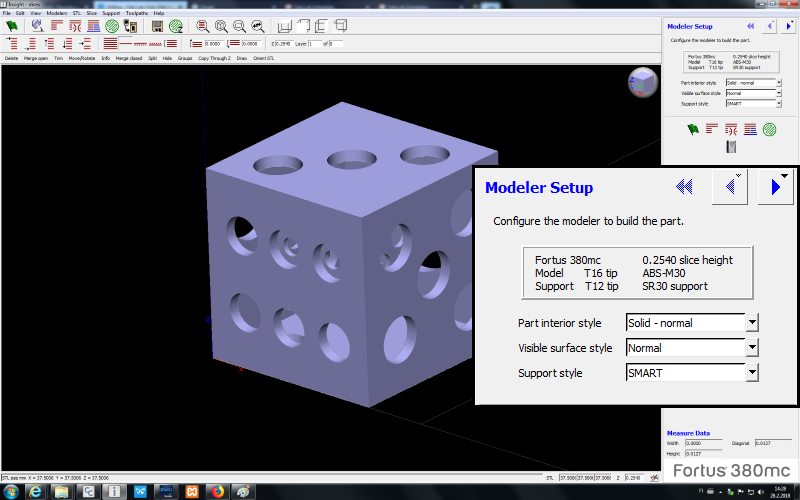
Going through various options in modeler setup. Part interior style means how solid or hollow for example the walls are. Didnt need them to be full solid, but firm enough, so picked sparse - double dense as a mid ground. Visible surface style was how smooth it looks outside. In retrosepect, this should have been enhanced, but I went with normal. Support style were told to leave as SMART.
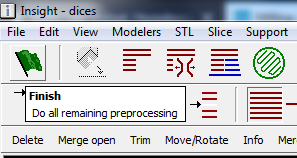
Clicking green finish flag does all preprocessing, like applying the support materials.
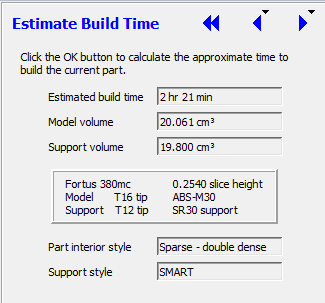
Estimate build time shows printing time to be 2 hours and 21 minutes. Also supporting material volume is ok.
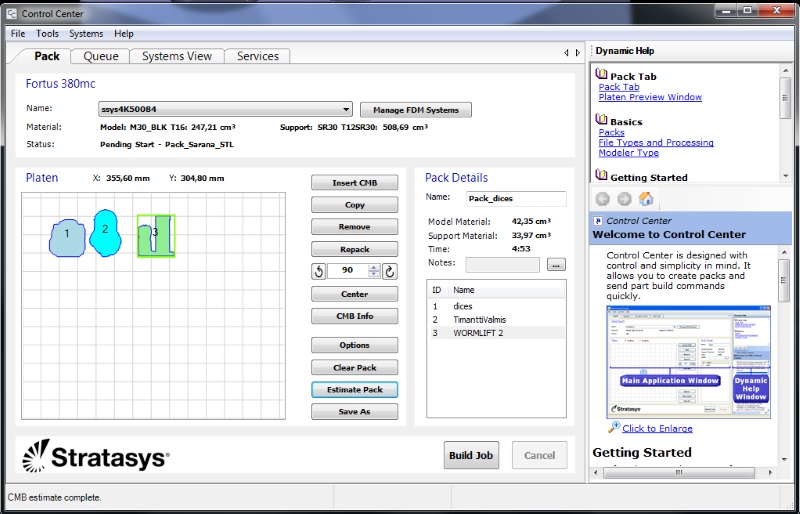
Clicking Build opens Control Center and puts my object to the print plate. In here, you can open up saved projects and put them on the plate so multiple objects can be printed at once. Build Job now sends the info to the printer.
Plastic sheet(build plate) needs to be placed on the printers printing base. If printer doesnt give any errors and it is heated up, clicking play on printer will now start the printing.
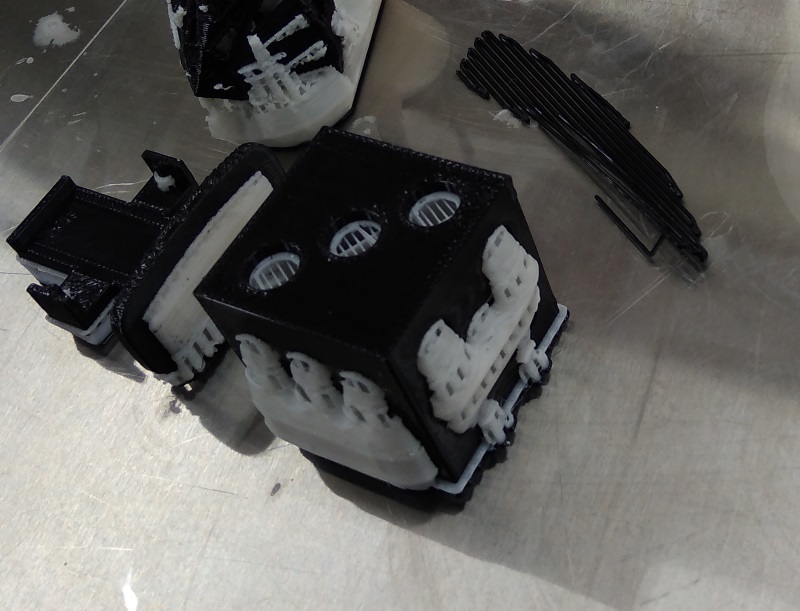
My dices after printing. A lot of support materials showing, but this can be removed by putting the print in lye tank for a day. Lye is very hazardous so protective gloves must be used when putting something in the tank or taking it out. When object is removed from the tank, wash it, dry it, and put it in paper, because some lye will still seep out of the structure. After a while, wash it again.
Finished project.
Afterthoughts
This job could not be made subtractively with conventional methods, as the inner dice could get loose at some point and milling bit could not reach corners/certain areas. On cartesian milling machines, you can only work from one direction(which is usually from top), and if you want to mill on the side instead of top, object have to be rotated manually and toolpath created separately for that side. 3D printing advantages are clearly that it is not limited by such things and thereby makes seemingly impossible constructions possible. You can quickly and easily make prototypes. As a downside, 3D printing can be quite costly, and machines themselves are not cheap either. Making small spare parts that can be found on your local market could become many times more expensive by 3D printing it. And when concidering small objects, precicion isn't that great when it comes to details, especially with small angles or very thin parts.
3D Scanning
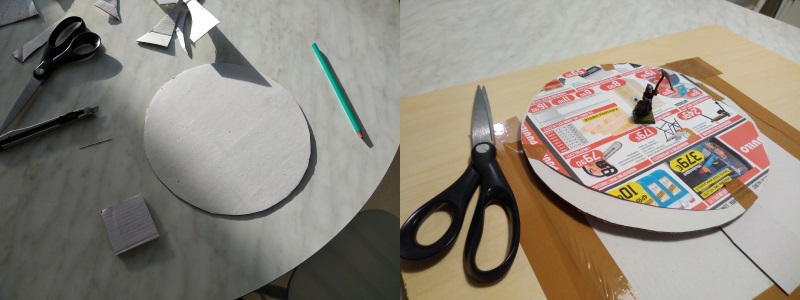
For 3D scanning, I went with photogrammetry. First I installed Autodesk ReCap Pro, which included ReCap Photo for 3D image construction from photos. When that was set up, I constructed makeshift spinnable platform from cardboard, so I could rotate a small object and keep taking photos with still camera.
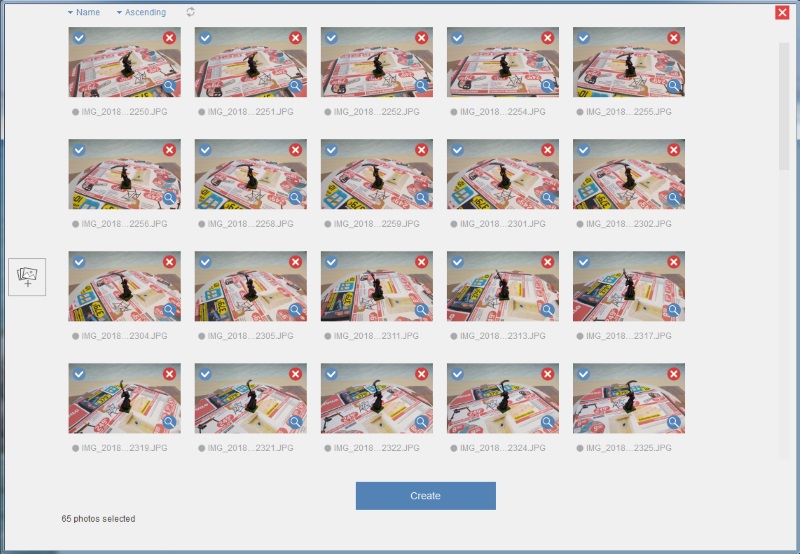
After 65 pictures taken and transferred to my computer, I created a new object project with ReCap Photo and added the all images.
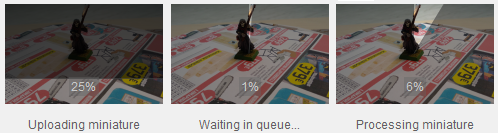
Had to wait for a good bit after that, since uploading, queueing and processing took its time.
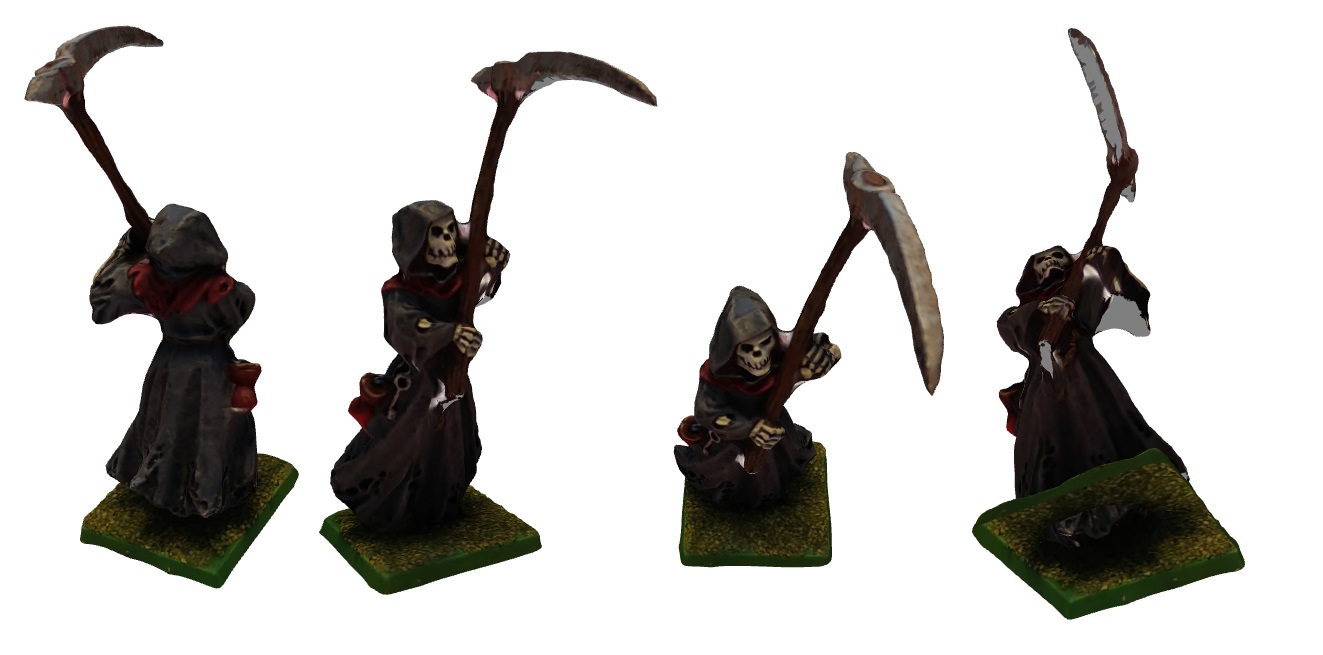
With ReCap Photo edit > slice tool cut out bottom and few odd pixels. It is a really clumsy tool, but in this case it's enough. Result itself looks mostly fine, but under the scythe and in other low perspective places it shows lack of texture.
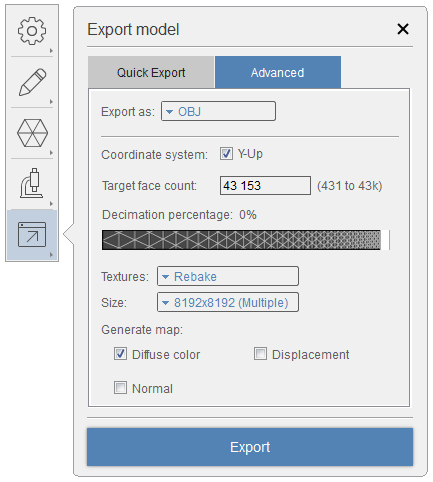
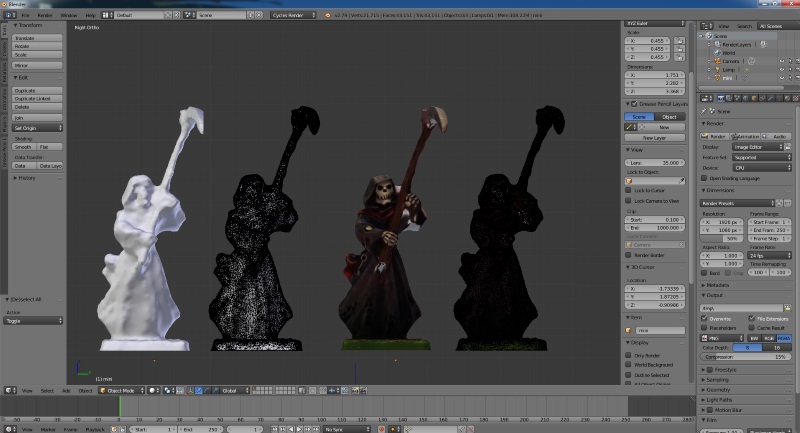
Tried exporting the model to see how it looked in a 3D modeling software, like in blender.
It actually looks kinda nice!
Files
Fusion 360 design for diceBigger dice as .stl
Smaller dice as .stl
Unmodified Recap Photo export as .stl