Week 2: Project management
Assignment:
You must build your website in such a way that the following content is clearly visible and accessible:
- About me: Information about you.
- Final project: A description of the final project (you should start with and introduction of what you are planning to do). Later you should provide detailed information on the different processes you have utilized. You should also mention how the different weekly assignments have contributed (if any) to the final project.
- Weekly assignment: You should list all weekly assignments and provide a unique webpage for each individual assignment.
I started making my website locally and opened up w3schools for reference. I installed brackets, since I saw few recommendations and had never tried it. Install went smoothly, going with default options. Grabbed a simple CSS template and went for it.
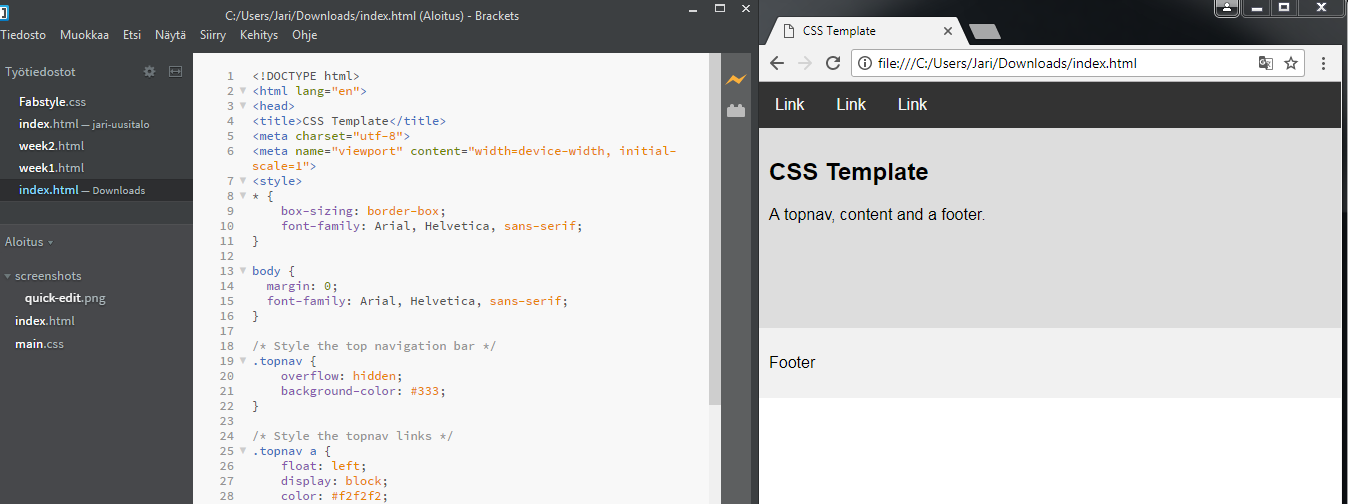
I've previously used notepad and notepad++ for html and css editing, or some platforms own editor inside web browser. I like brackets working file listing on the left, can easily swap between files. I also like folder or files popup offering when adding links or images to the page. Not huge fan on automatic closing tags, have to manually remove it and put it in the right place. Didnt really use that preview button on right side of the screen, as it opens new browser for it. I usually have my files open on a browser already and alt tabbing to it and hitting refresh does the trick.
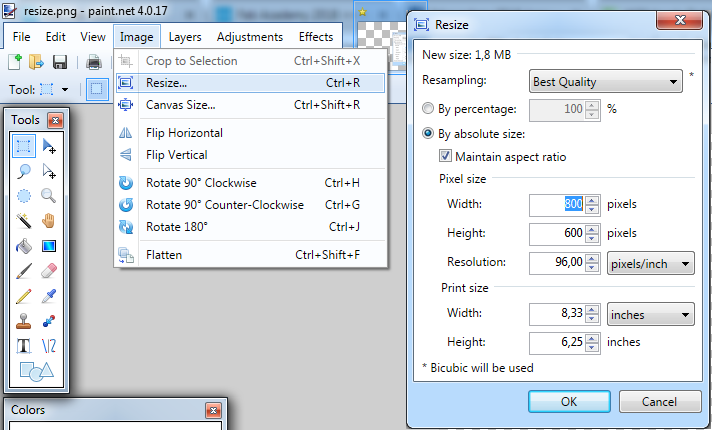
So made up few pages, with just css and html. My idea for site structure was very simple; four main pages, and one page for every week linked in assignments page. The template I used was just above starting from scratch, but couldnt remember what to put in the first few lines. Modified it a bit, adding new division(wrap) for making one big column, leaving body for background only. Added active class for navigation, styled the site with borders and box-shadowing, and added overlay features to images. And changed the font and colors. I used paint.net for image resizing and editing. It's lightweight and very easy to use.
For uploading files I ventured to class site which hosts all student project pages. There I found a dropdown menu which allowed me to upload files. Note that this was done BEFORE we had our project management lecture.
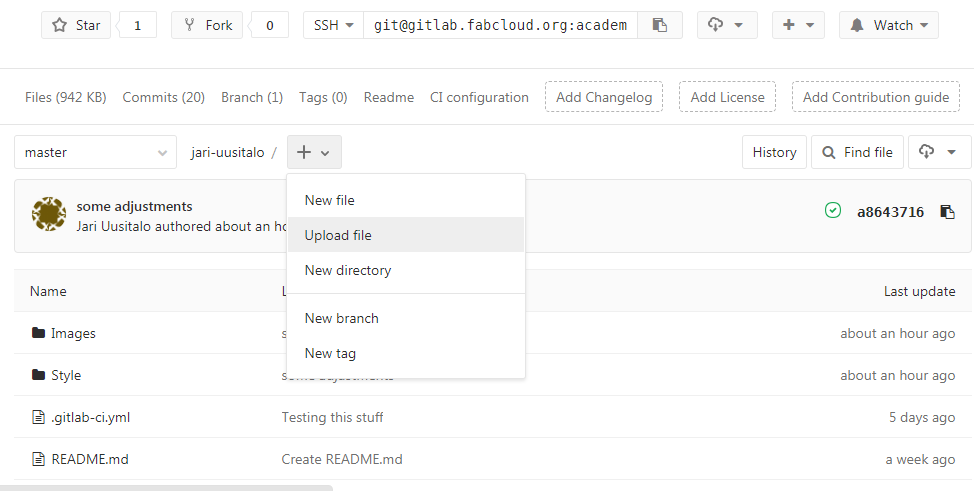
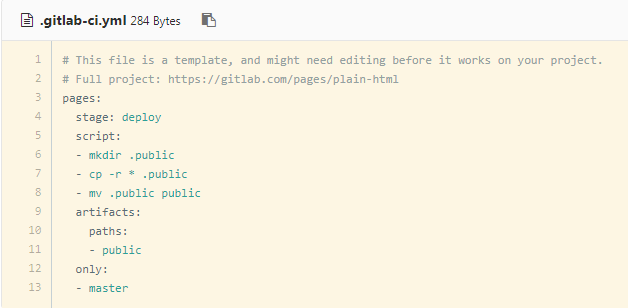
So I uploaded my files one by one and built the same structure with folders as I had locally. Though something wasnt right since my pages werent showing. I looked up some other student sites, which already were up and running. It seemed I needed to have .gitlab-ci.yml file on the site. After some research, I found out that it is a GitLab CI configuration file, which configures how your website will be built by a runner. From same dropdown menu as before, I chose new file, .gitlab-ci.yml as a type and html as a template.
Later on, when we actually had lectures on the subject, I found out I had done it all wrong(or atleast, beside the point). I was suppose to use Git, so I went and installed it. I only changed two from the default options; use notepad++ instead of vim as a defaut editor(If you dont have np++ installed, you cant choose that option before installing it), and use bash only for command line tool. On next lecture we learned how to generate ssh keys and during that class I had trouble to get it to work. After few tries, I didnt give the key any name, just hit enter and went on with defaults and it worked. After that everything was easy, using the Git Bash with Git cheat sheet.
The process for setting git up is; tell git who you are, by usinggit config --global user.email "your.email@somewhere.net"
Generate SSH keys with:
(help here)
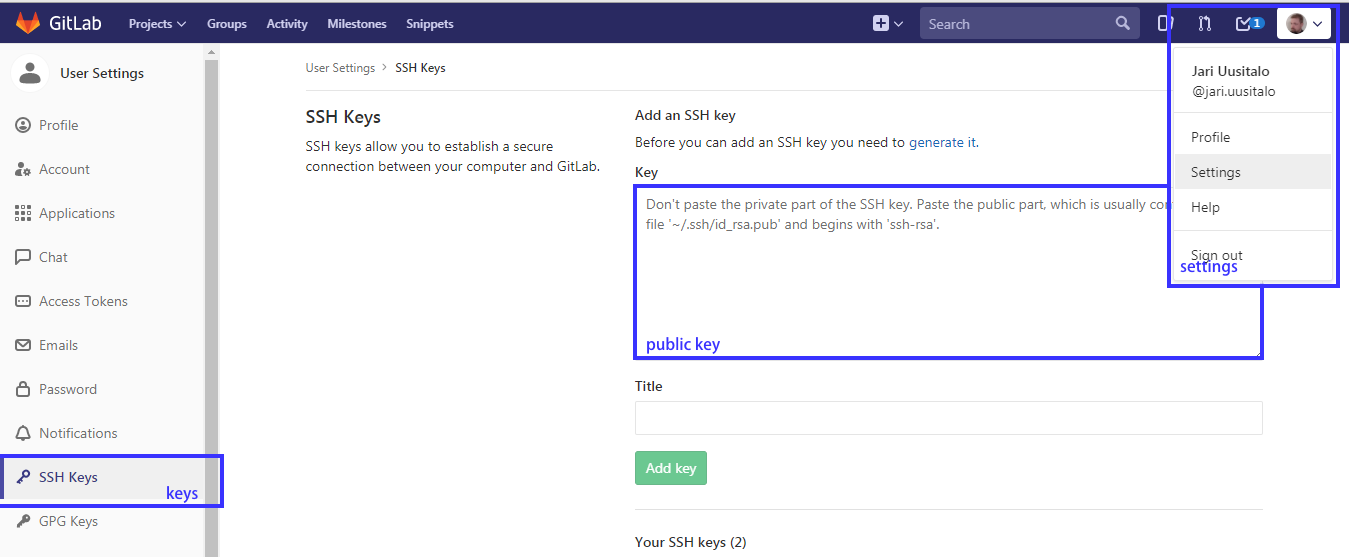
Go to your class site and paste your public key through Setting->SSH keys->Public key and add key:
If you modify or create files at some point and later continue, you can view the changes you've made with:
Now you add the files you've changed. This snapshots the file(s) to the staging area, in preparation for versioning.
After you are done, you can commit changes. Commit takes the staged snapshots and commits it to the project history. You should add message with -m stating what is changed or what is the reason for the commit.
And finally, push the commit(s) from local repository to the remote repository;
It's always good to check if your local repo is up to date, so you should pull before add to avoid making branches.
Thats it. Just repeat the process(pull to check if your up to date, add the changed files, commit the files for versioning, and finally push to the remote repo) after each session of (succesful)modifications.