Week 14: Interface and Application Programming
Individual project:
Write an application that interfaces with an input &/or output device
that you made.
Group project:
Compare as many tool options as possible.
Attiny44 and temperature sensor
For building this UI, idea was to make a simple graphical display of a temperature, which is read from external temperature sensor by Attiny44A board(both from week 12) and passed on to a computer through a serial line. On computer end, program made with Unity 3D will interpret the serial line data and display it.
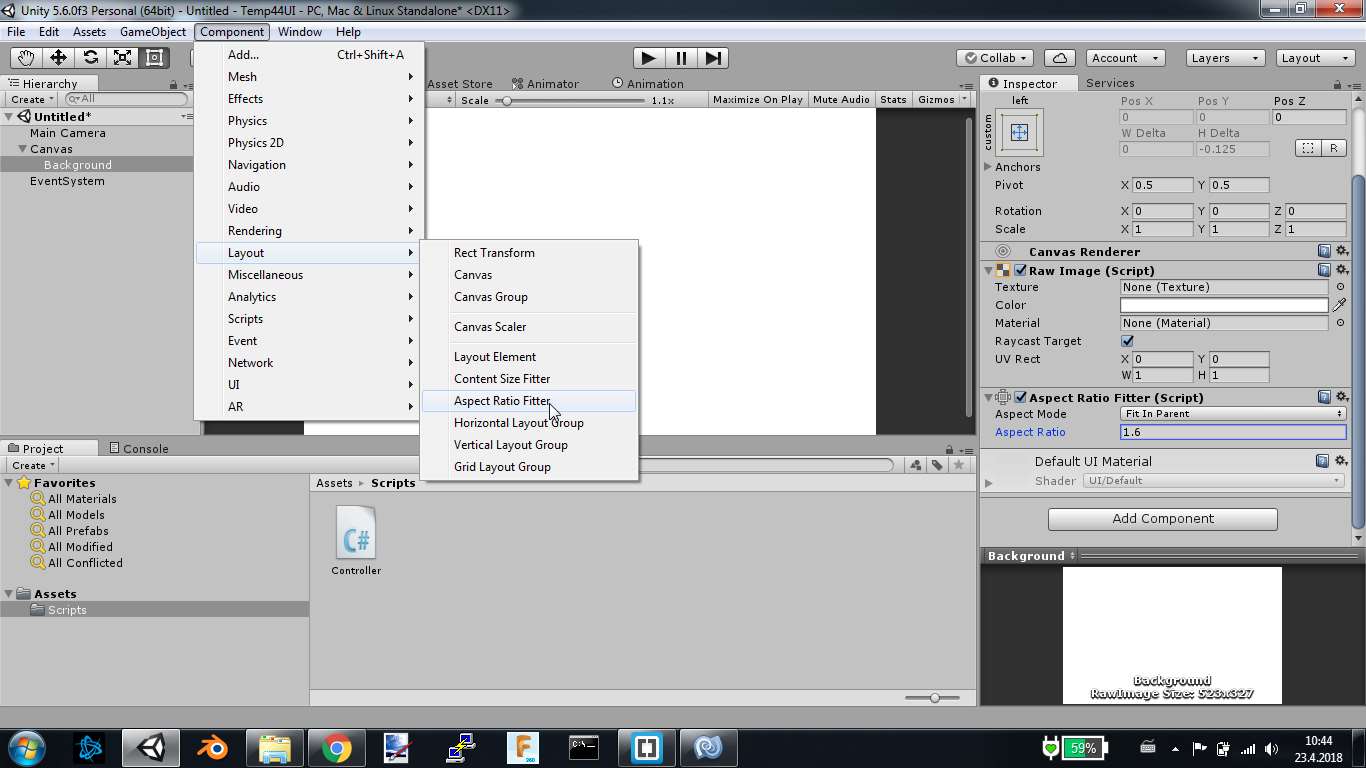
I fired up unity, and started with creating 2D project. First thing to add was background, so from Gameobject menu -> UI -> Raw Image and name it Background. Before adding an actual image to it, it is a plain white box. Later added an image from our lab as a backround.

To make background scaling,I added aspect ratio fitter with 1.6 value.
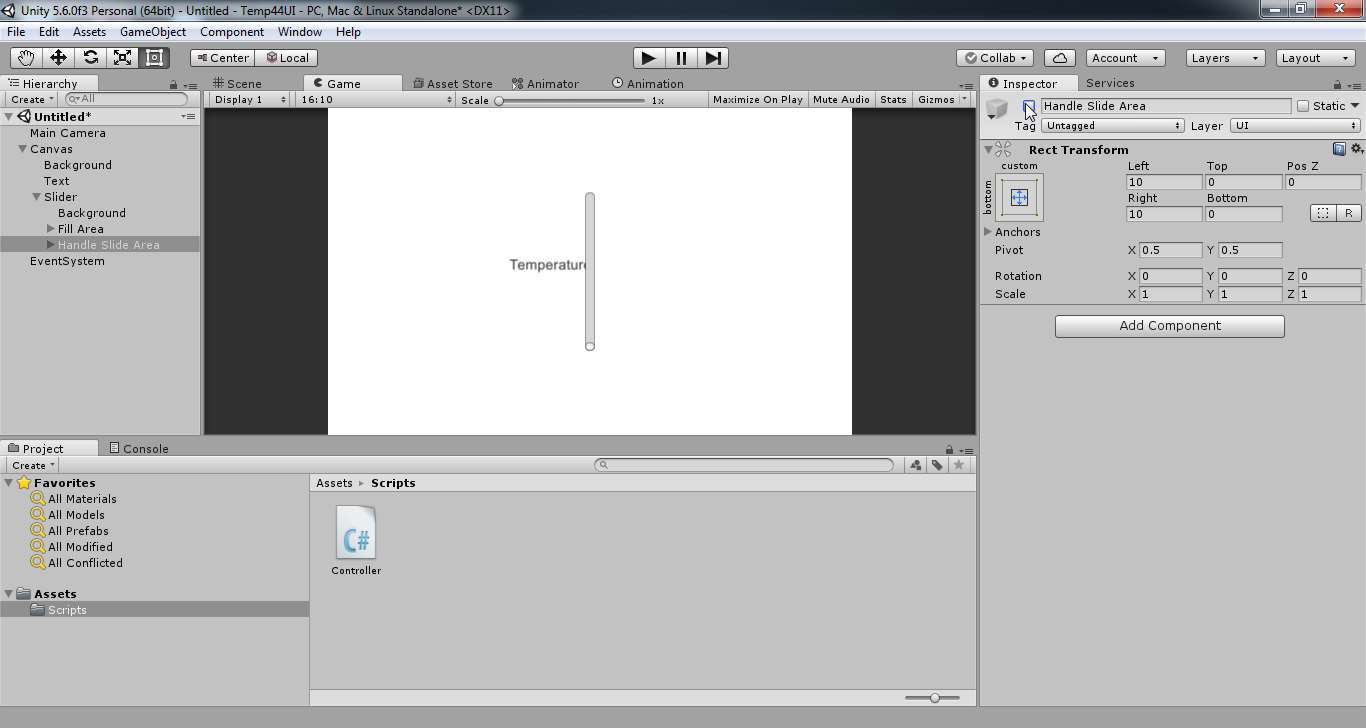
Adding text element and changing the text Temperature.
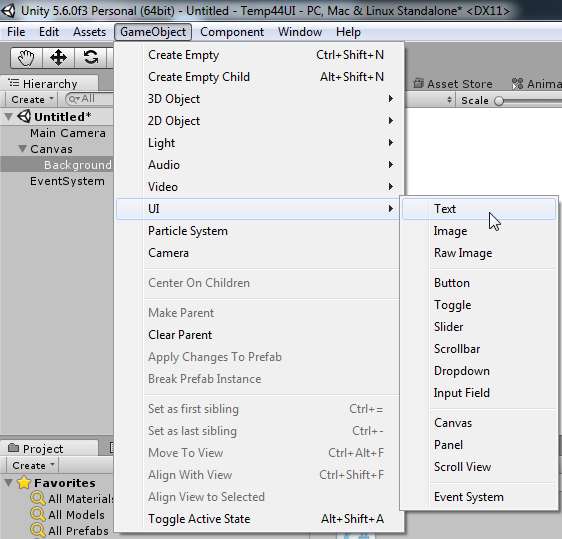
From GameObject > UI select Slider. This is for the temperature bar. Then Disable handle slide area.
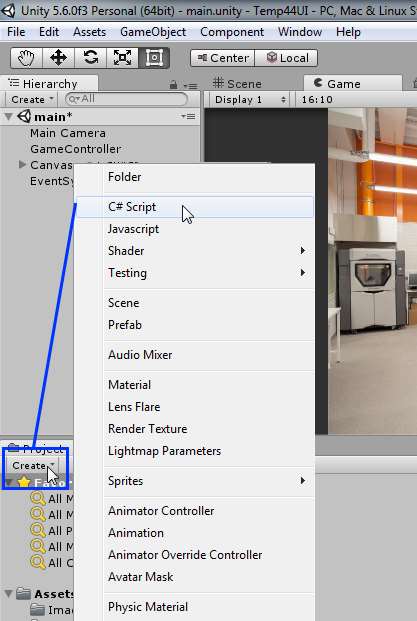
For the coding part, I created the script by clicking create menu and create c# script. By double clicking on it, unity opens it's default programming environment, usually visual studio or monodevelop.
First created handlers for UI elements. These should handle the drag and drop UI elements from Unity.
public Text values; // creating handle for value text
For serial communication added the following line:
And for that to work, needed to include IO/Ports.
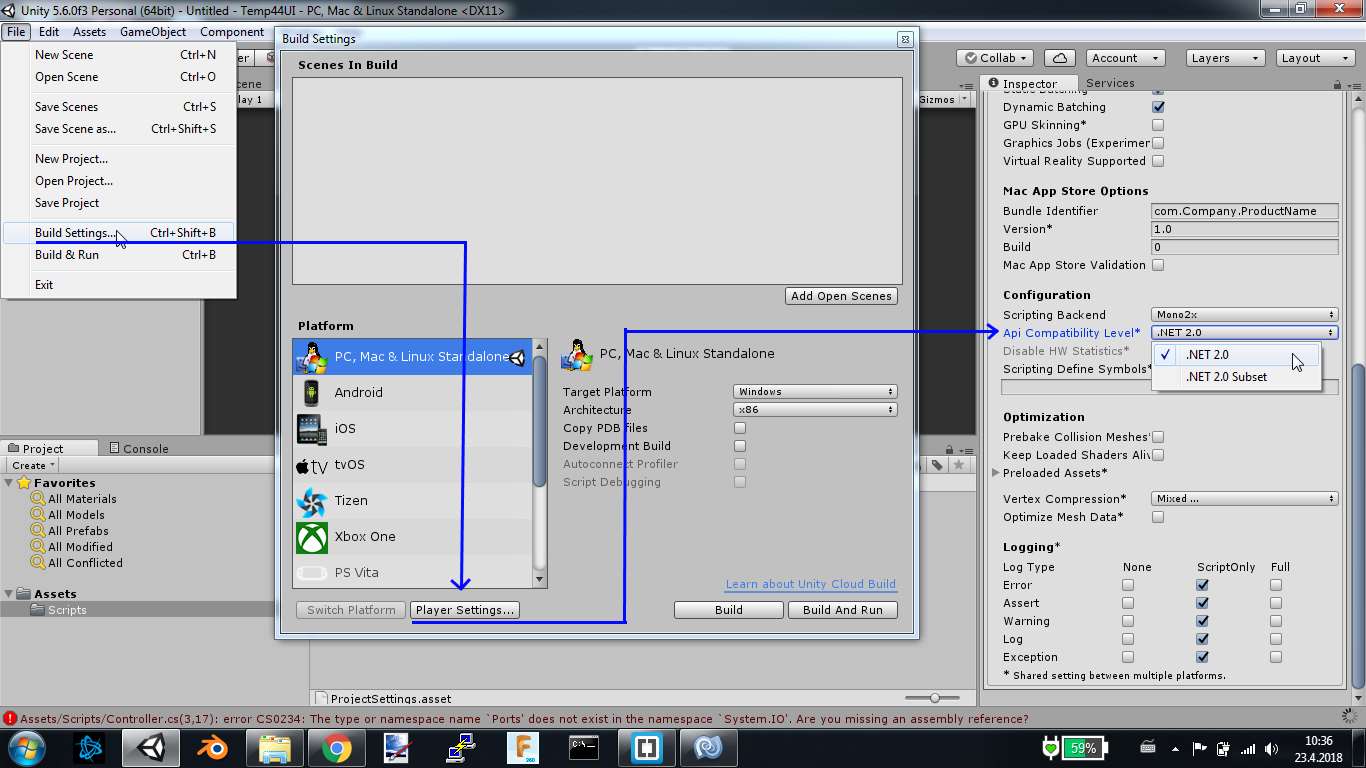
Unity didn't want to work with defaults on this one, so had to change .NET 2.0 subset to .NET 2.0, from File > Build settings > Player settings > Configuration > Api Compatibility level.
After that just open the serialport.
Then there is a lot going on. First checking serial data, to see when right information is arriving by matching the framing bytes. Then reading the two parts of sensor data and make it one, and run it through a formula. This part is neatly adapted from Neil's python script. In the end is a temperature value in celcius. Complete code can be found in here and in the end of this page.
And the last thing to do was to update the UI elements.
values.text = "" + Temp.ToString("F1") + "°C"; // updating temperature text value
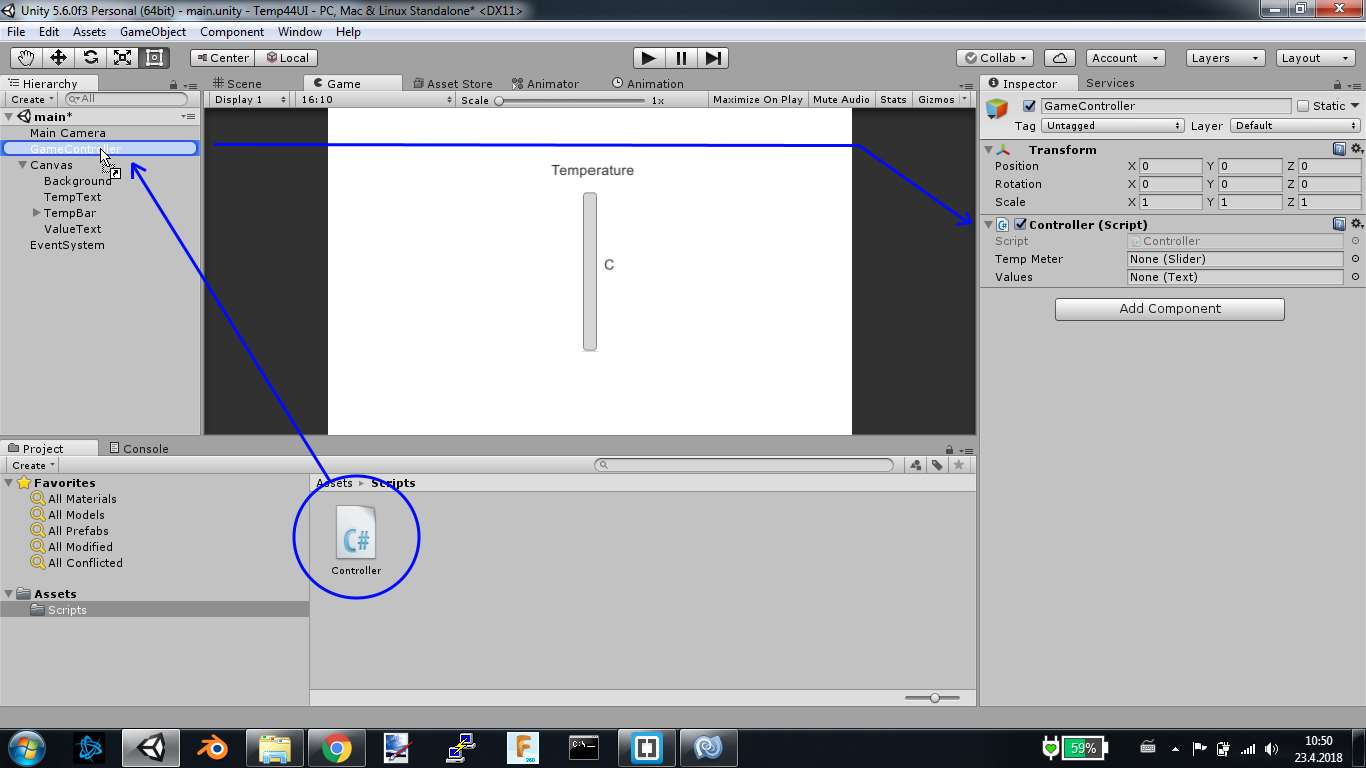
With script done, I switched back to unity and created an empty gameobject from GameObject menu and named it GameController. Then dragged controller script to it.
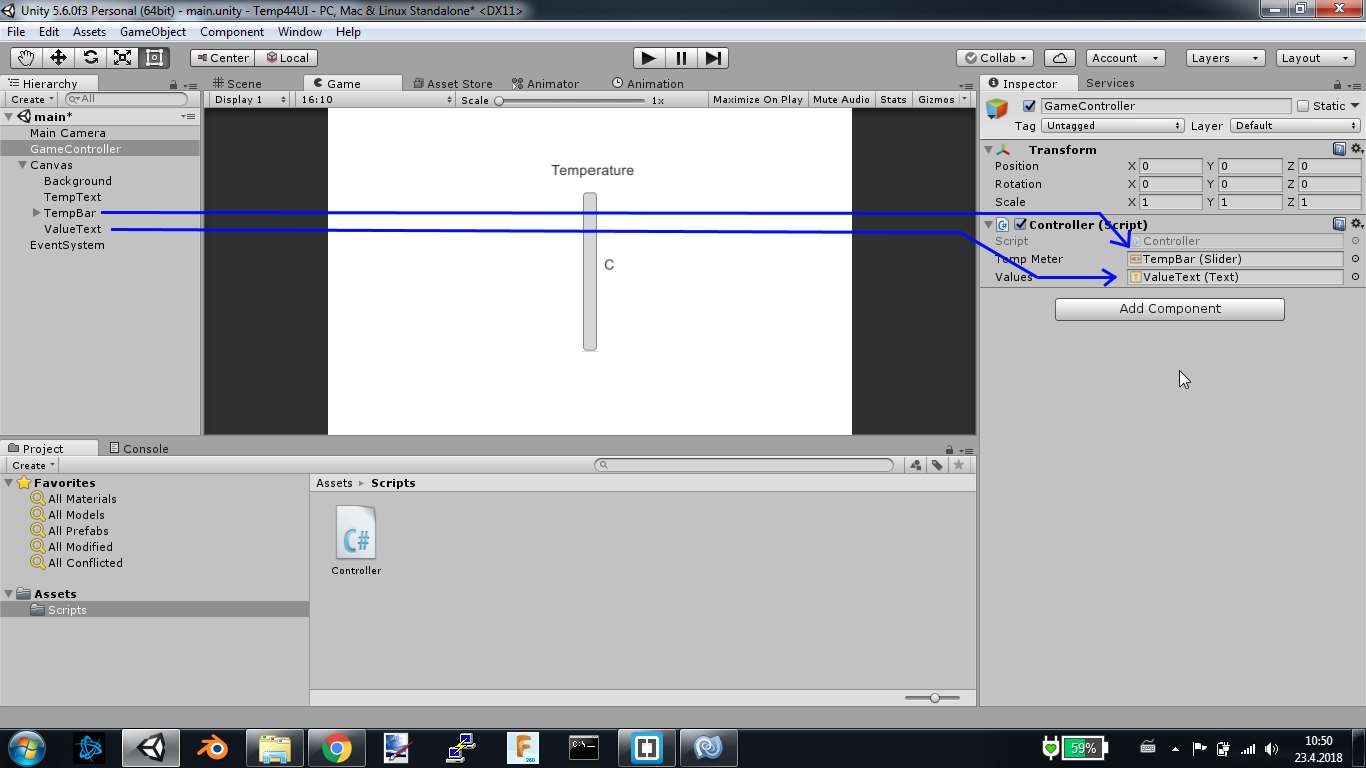
Dragged and dropped TempBar to its appropriate section(temp meter) in Controller script. Same goes with ValueText. This allows UI element's value to be changed from the Controller script.
For the C code in Attiny44, it is the same 44_temp.c from input week.
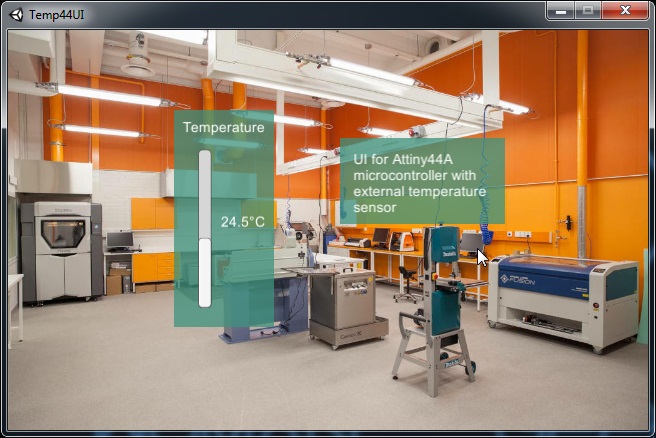
And after some stylings, mainly 2 image boxes without images, changed color and little transparency, the Final UI.
Atmega328P and bright lights
For things not to be too easy, I finally managed to make a working Atmega328P board, with onboard RGB LED and two normal leds. And as I succesfully got myself to unity business, I decided to continue with it.

This time I wanted to make a 3D project and to get it more graphical, I took a dive in the unity asset store, with FREE setting enabled.

I picked up the following:
Medieval town exterior, nice and idyllic.Chibi the Mummy, because mummys and mevieval towns go together so well?
Power Up Particles for collecting them and lighting up LEDs.
Button collection for... buttons.
After smashing them all together, I got the following picture:
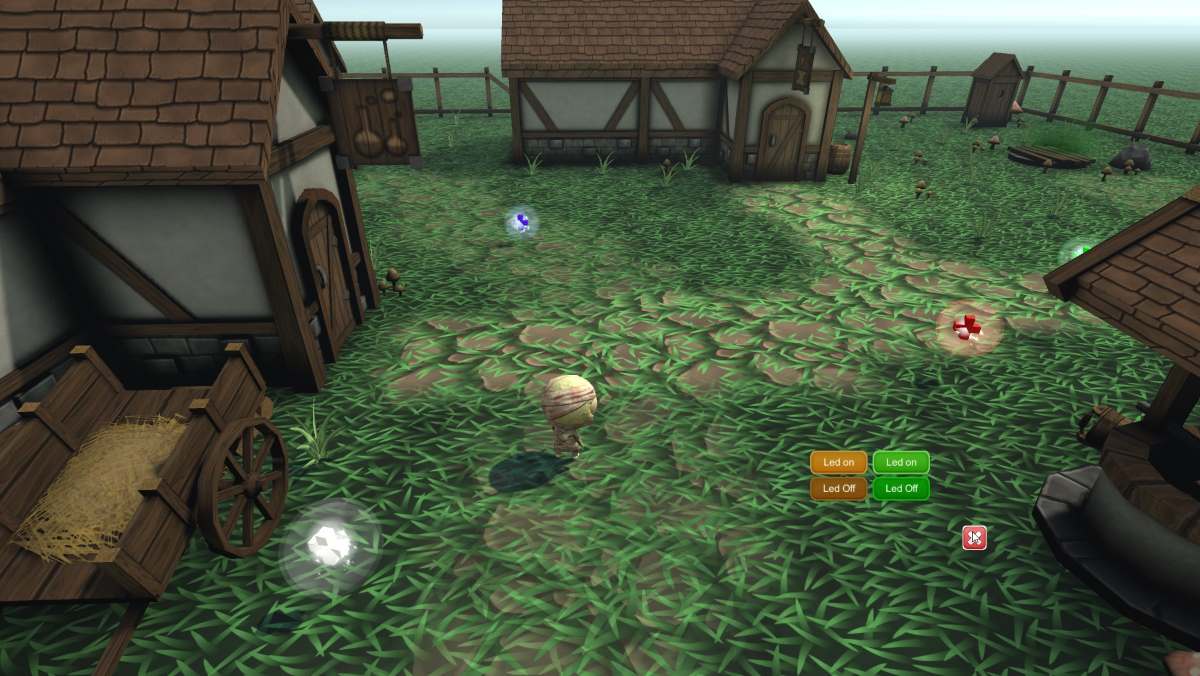
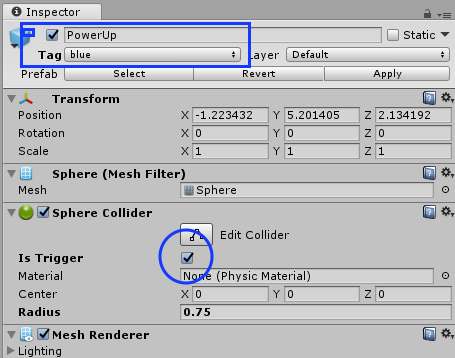
To make things interact with each other, Unity uses colliders and collision detection. So I made a collision script and dragged it to my protagonist. I tagged my power up particles with color names, to match the RGB LED on the board. Also made sure that Power Up's Sphere collider's "Is Trigger" was toggled on.
Now when I move my character over power up particle, collision is detected and depending on the tag, response is send via serial line.
For the serial line information itself, I used plain characters. For RGB led, I had corresponding letter for each color, like 'R'for red. Then depening on the situation, to turn led on or off, number was added, like R1 is red on and R0 is led off. On the board itself there was options for more, like 'L' and 'O', for two onboard normal leds.
I built a quick menu scene(with dropdown menu, button, text, background) where it checks out COM ports available and offers them for selection.
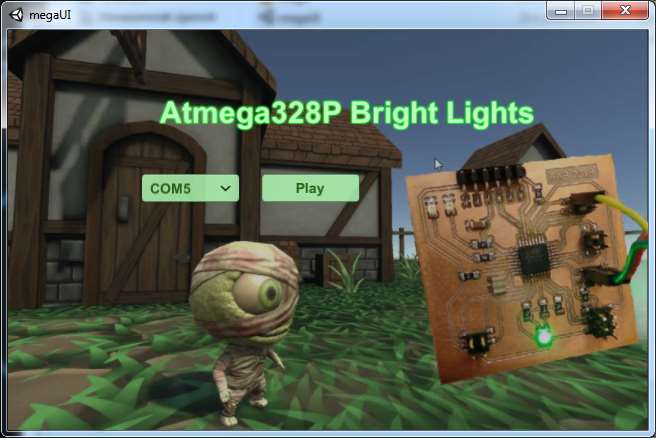
Video of both the UI and the board.
Problems
I had only one problem during this. As Unity's built in Update function updates 30 times per second, and if in each frame serial line is read, the game will stutter. Solution for this was to read serial line in a thread of its own.
Group project
Group efforts can be found here.
Files
Temperature UITemperature UI scene: temp.unity
Temperature UI script: Controller44.cs
Attiny44A code: 44_temp.c
Game UI
Menu scene: menu.unity
Menu script: Controller.cs
Game scene: main.unity
Game script: GameController.cs
Character movement script: CharMovement.cs
Collision trigger script: collision.cs
Atmega328P files: code, schema, board, traces.png, outline.png, trace.rml, outline.rml