Week7
Electronic Design
additive vs subtractive processes
Assignment:
Use the test equipment in your lab to observe the operation of a microcontroller circuit board(group assignment):
You can see the complete documentation of group assignments on the opendot website at this LINK.
Eagle for redraw the echo hello-world board
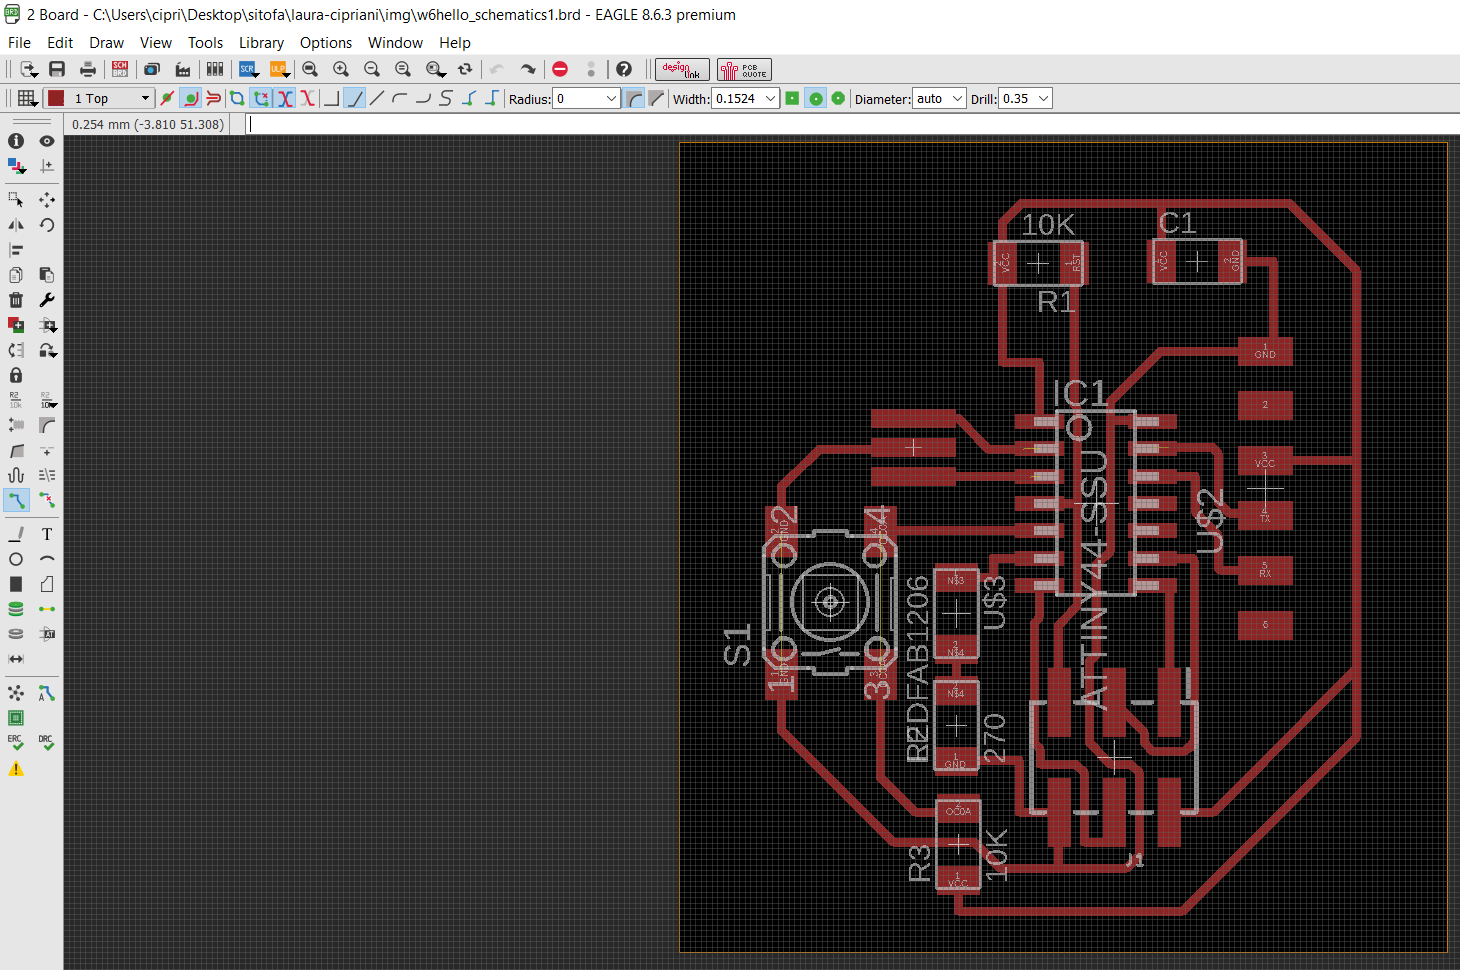
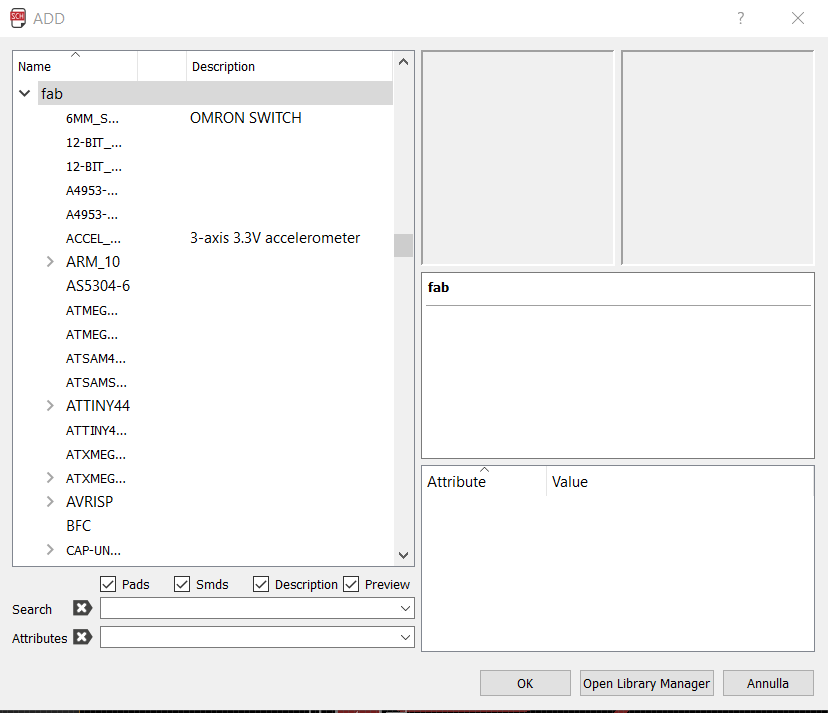
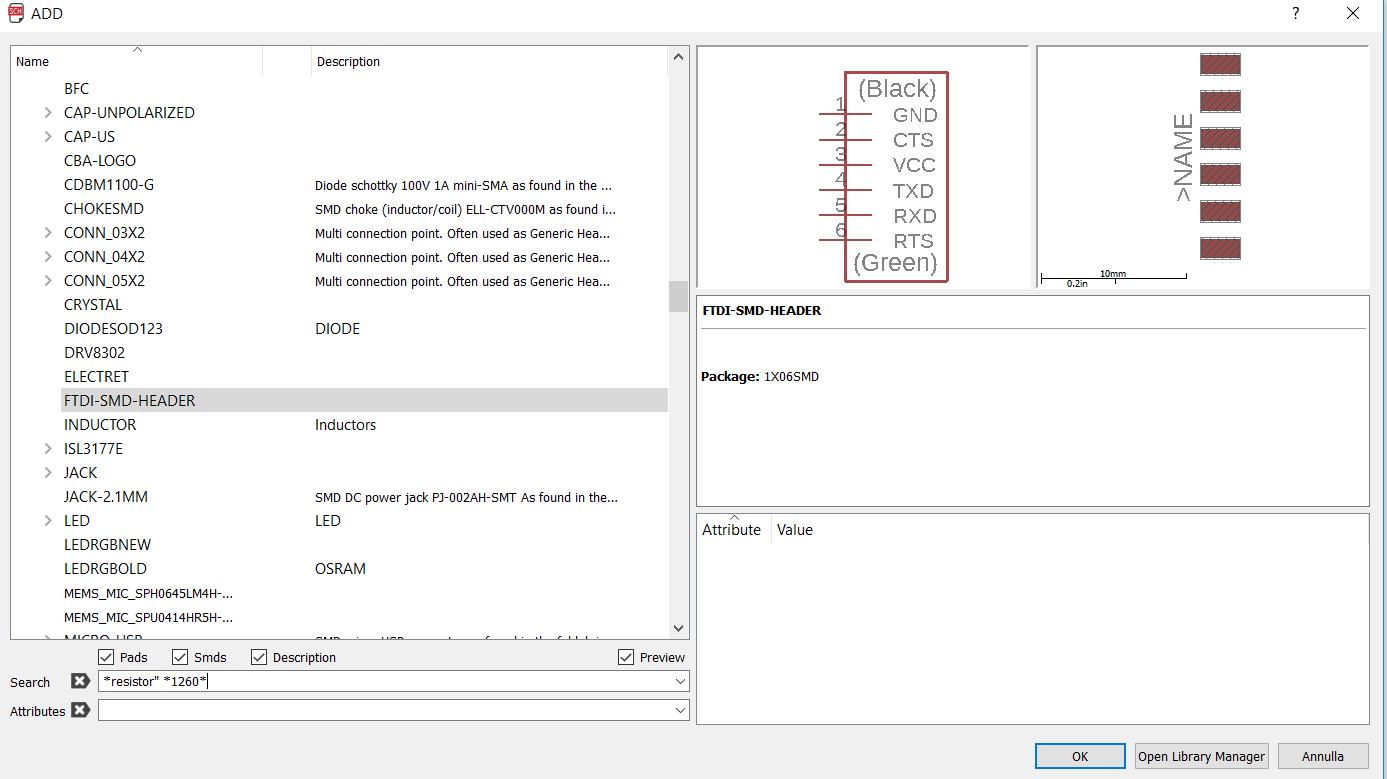
Before starting, I download and add the "fab library" inside the eagle Library. In this step I undestand the importance of PACKAGE of the components and I read for the first time an electronic component's Datasheet.
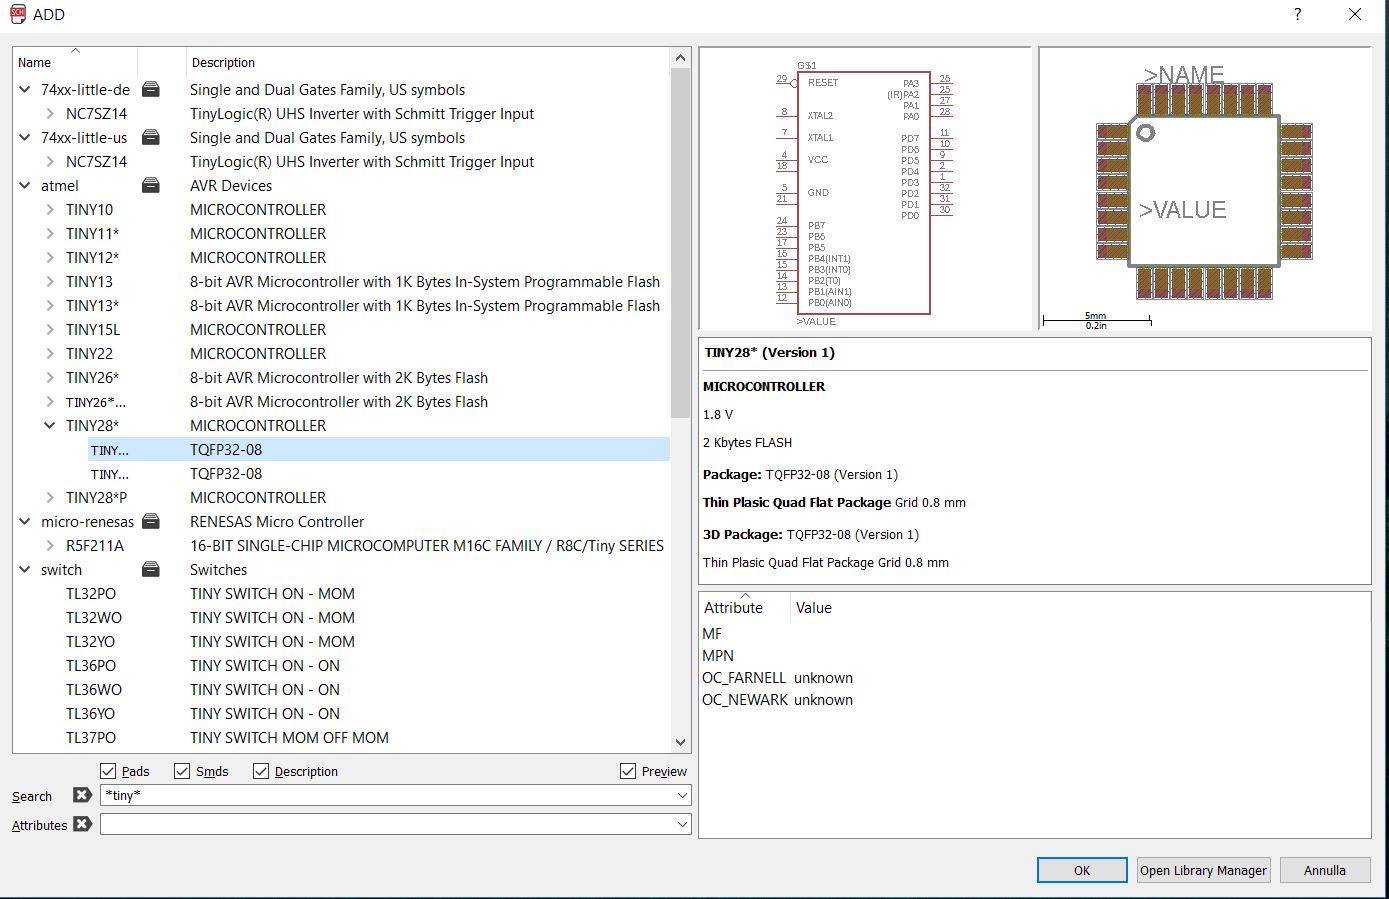
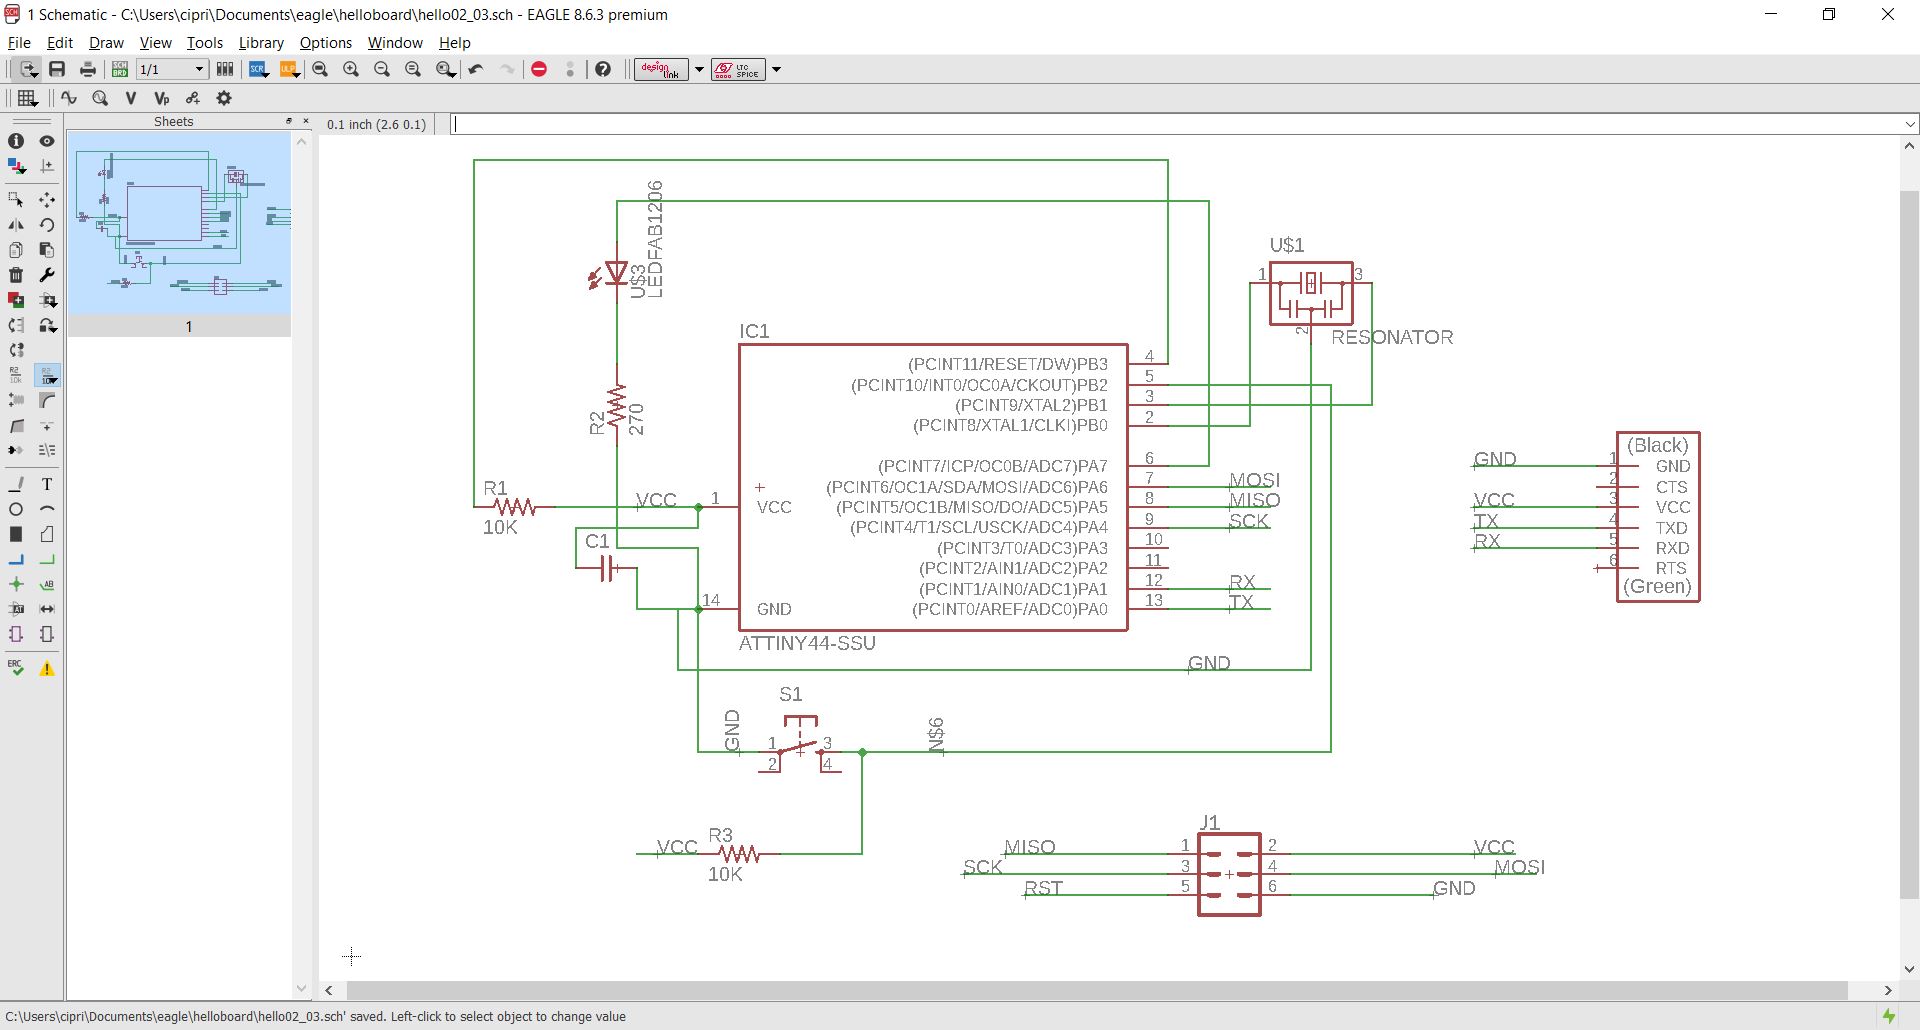
Then I start to add on the schematic page, the different components of hello board.
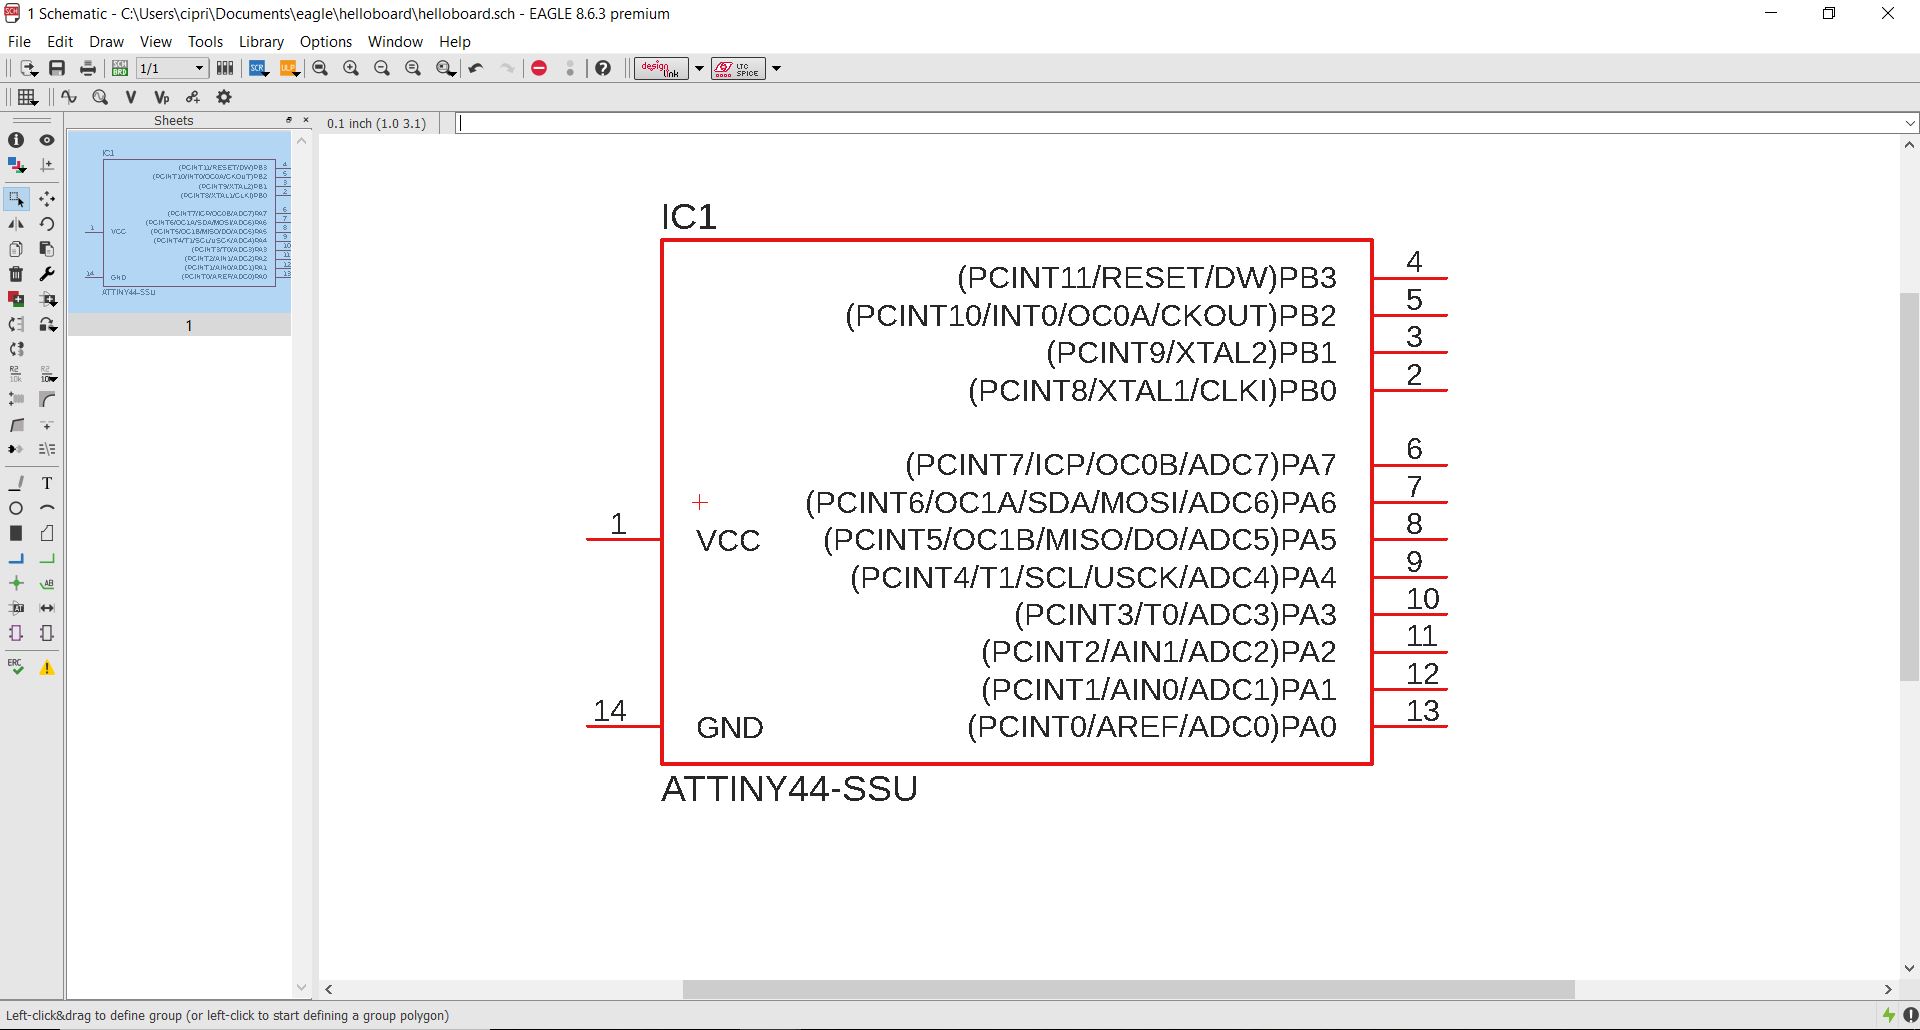
I'm not very sure I understood what the different "hello boards" are different from, but I'm sure I started with a micro "attiny 44".
For this I follow this schematic of Fabacademy page.
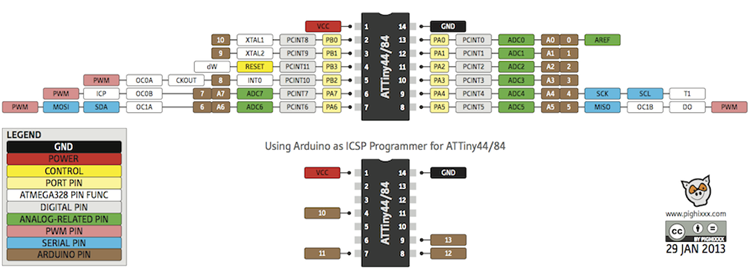
I understood that there are very convenient schemes that can indicate the Pinout of microcontrollers and other components. In recurstering my card in addition to the schematic swallowed I followed this.

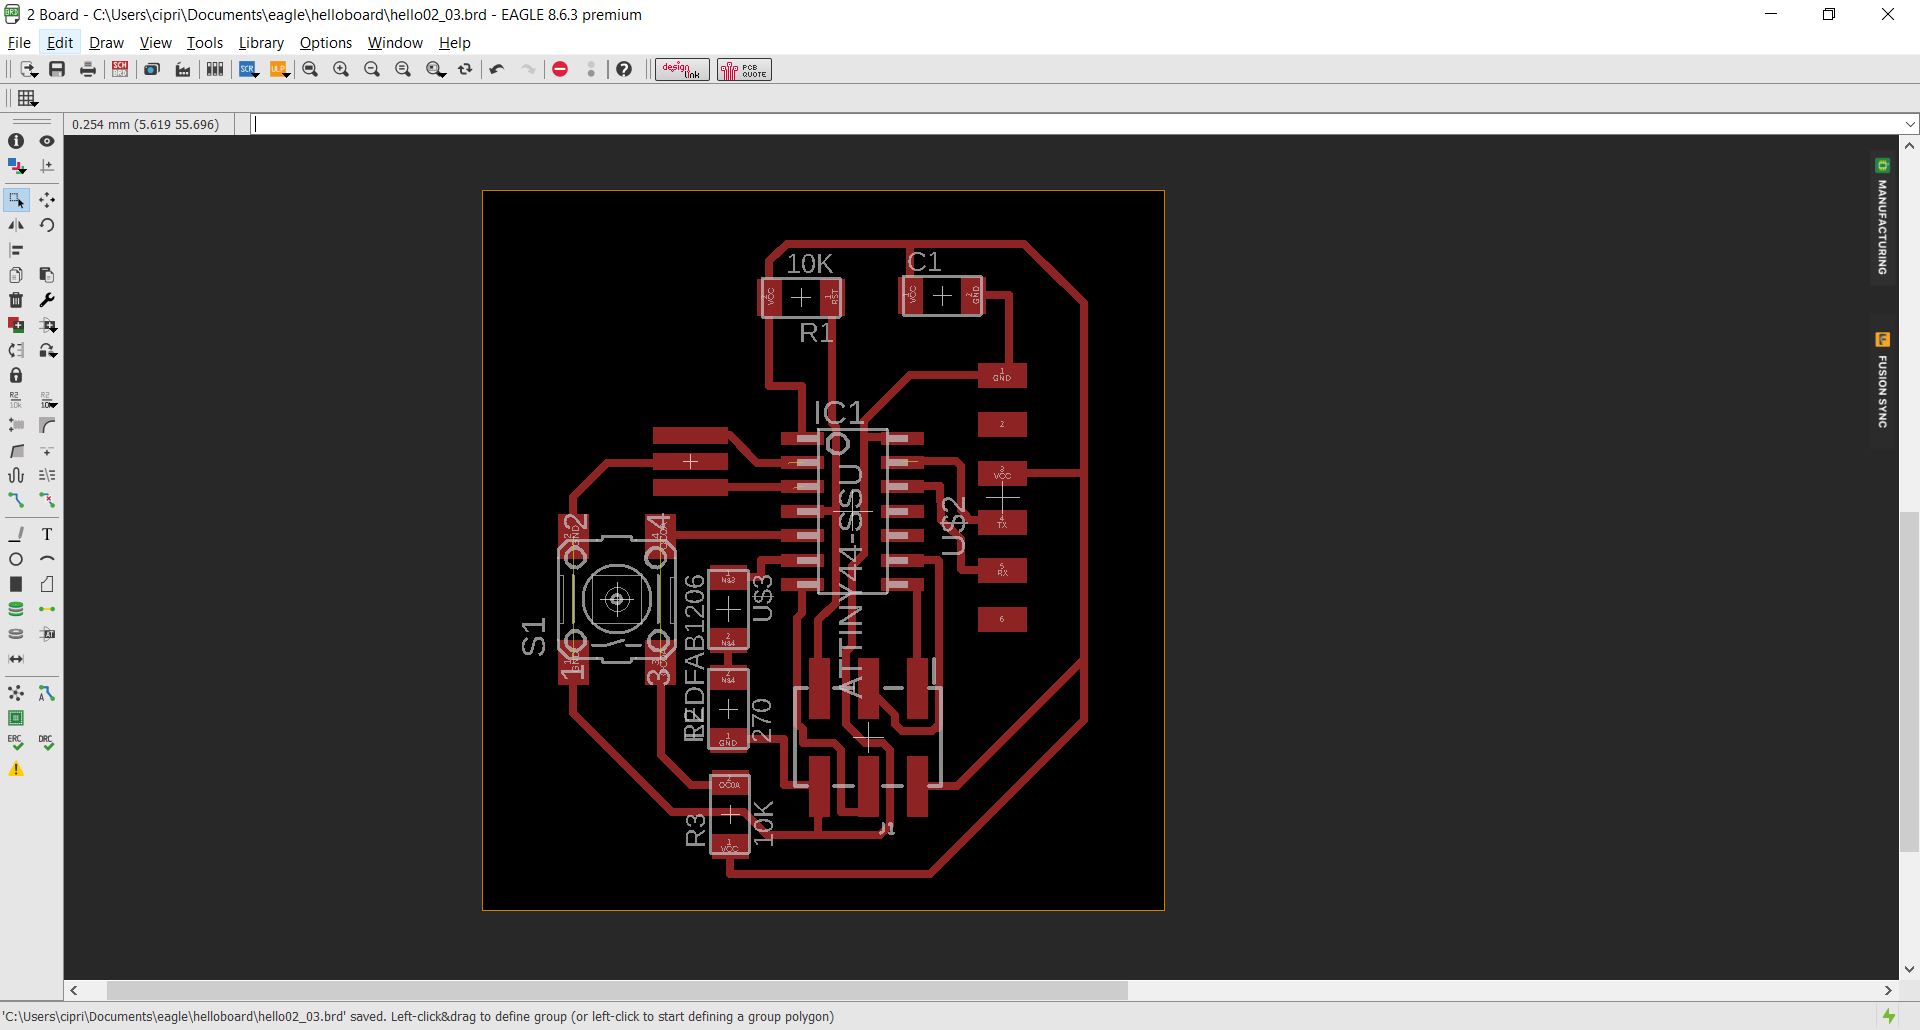
Then I created and rename all the net before passing to the Board part of software. The part of the connections was the longest but also the most fun part. In my first test I tried the command "Autorouter" and came out a mess, plus I could not go back ..
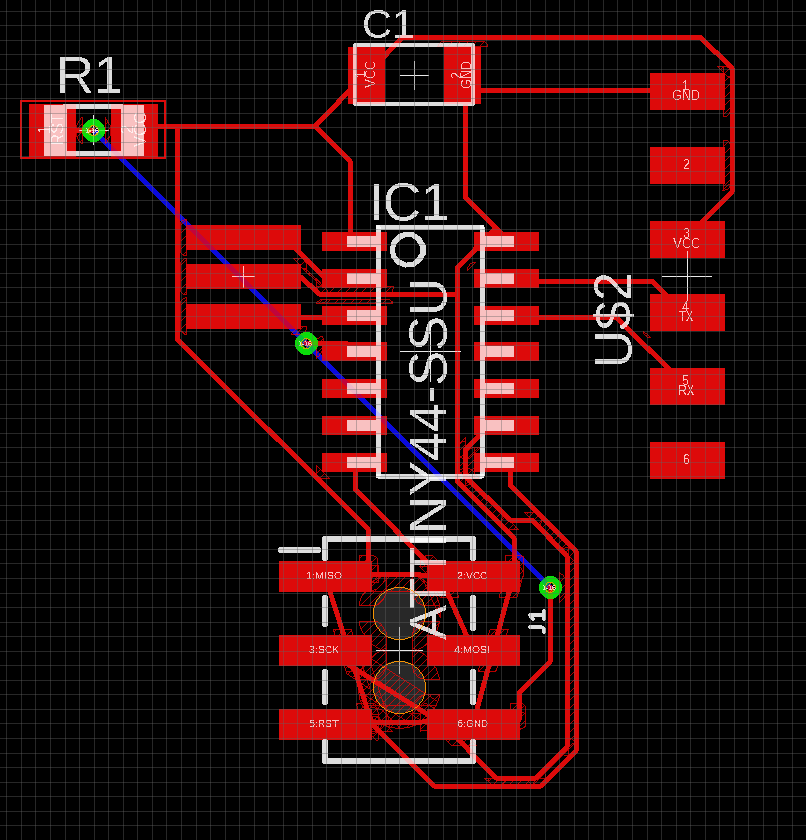
Then the next day I started again and at the end it worked.
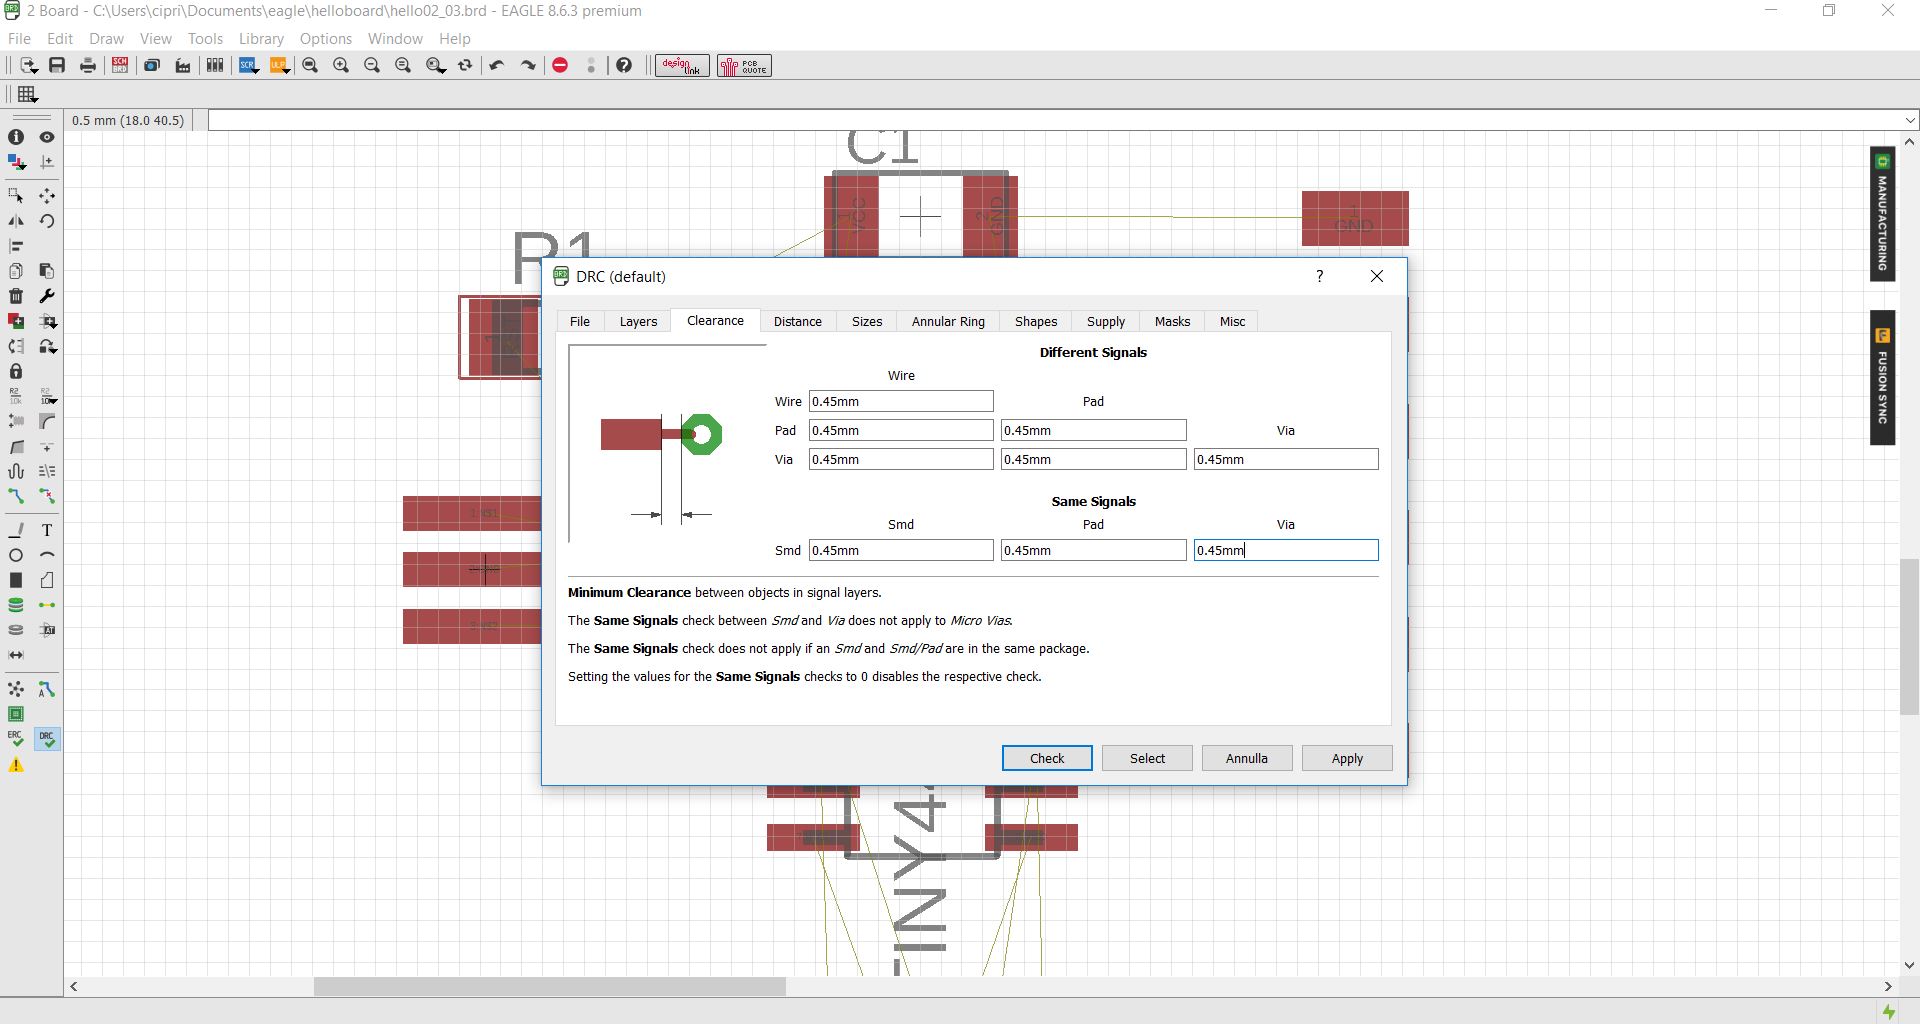
The problem is that the day before I had already set all the parameters recommended for milling the board (Tiziano docet) and when I opened the software I had to set everything up again: every time it does so and I do not know why.
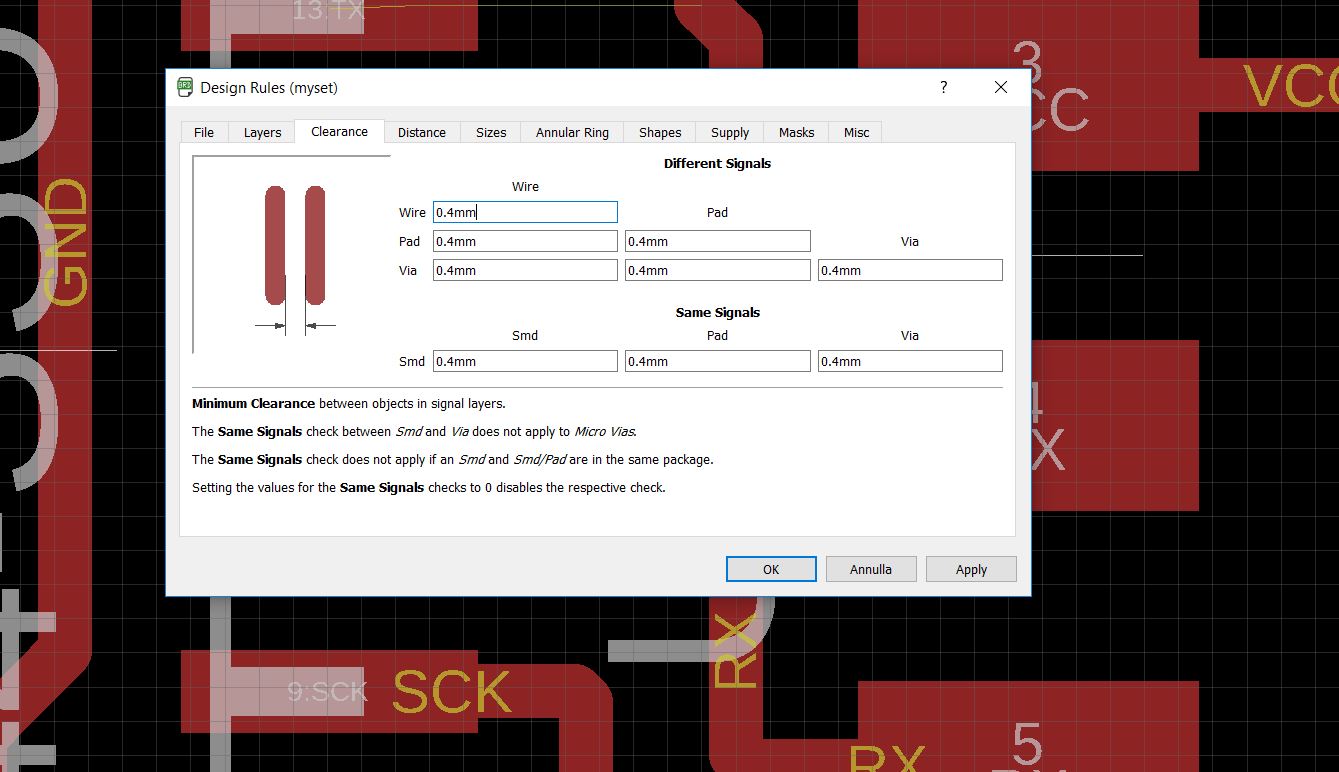
In the end I found a way to save the settings. So every time I just have to recharge the setting: I took advantage to establish the constraints on the basis of the cutter that we use to opendot: with this type of production the tracks must be around 16 mils, about 0.4 mm (attention Eagle measure in mil).
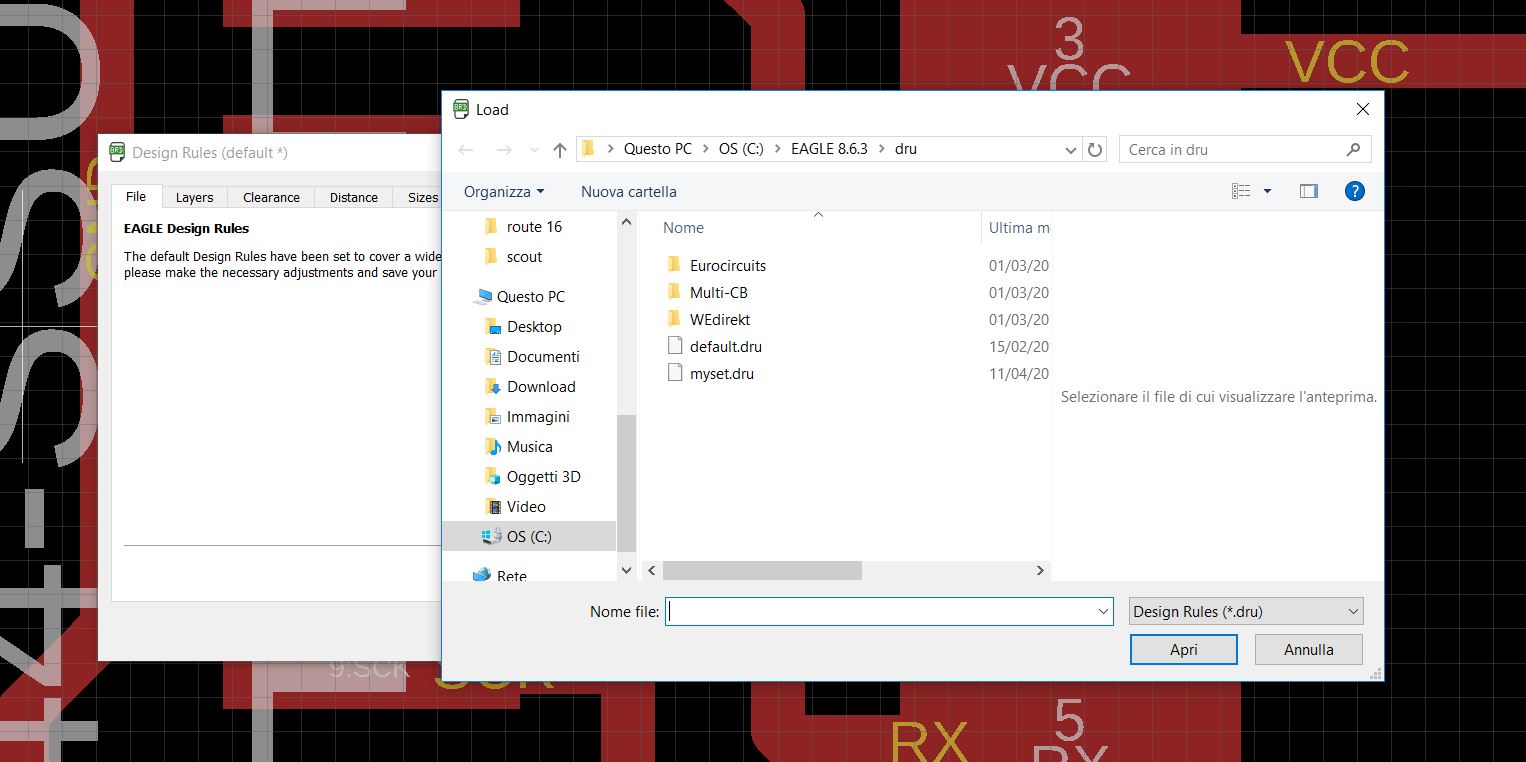
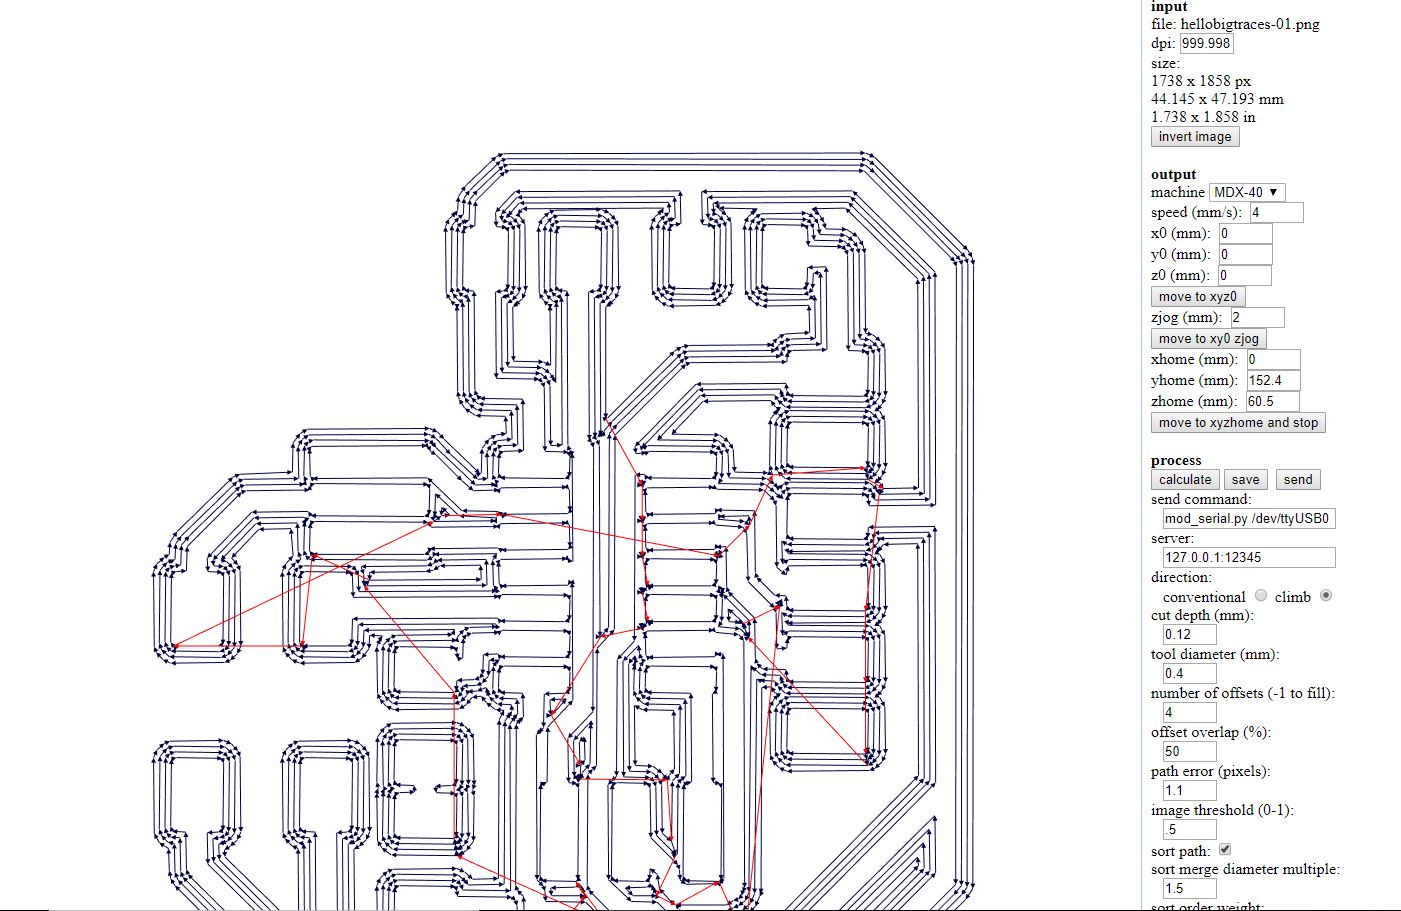
Then I upload the png from Eagle to fabmodules and set the file for milling.
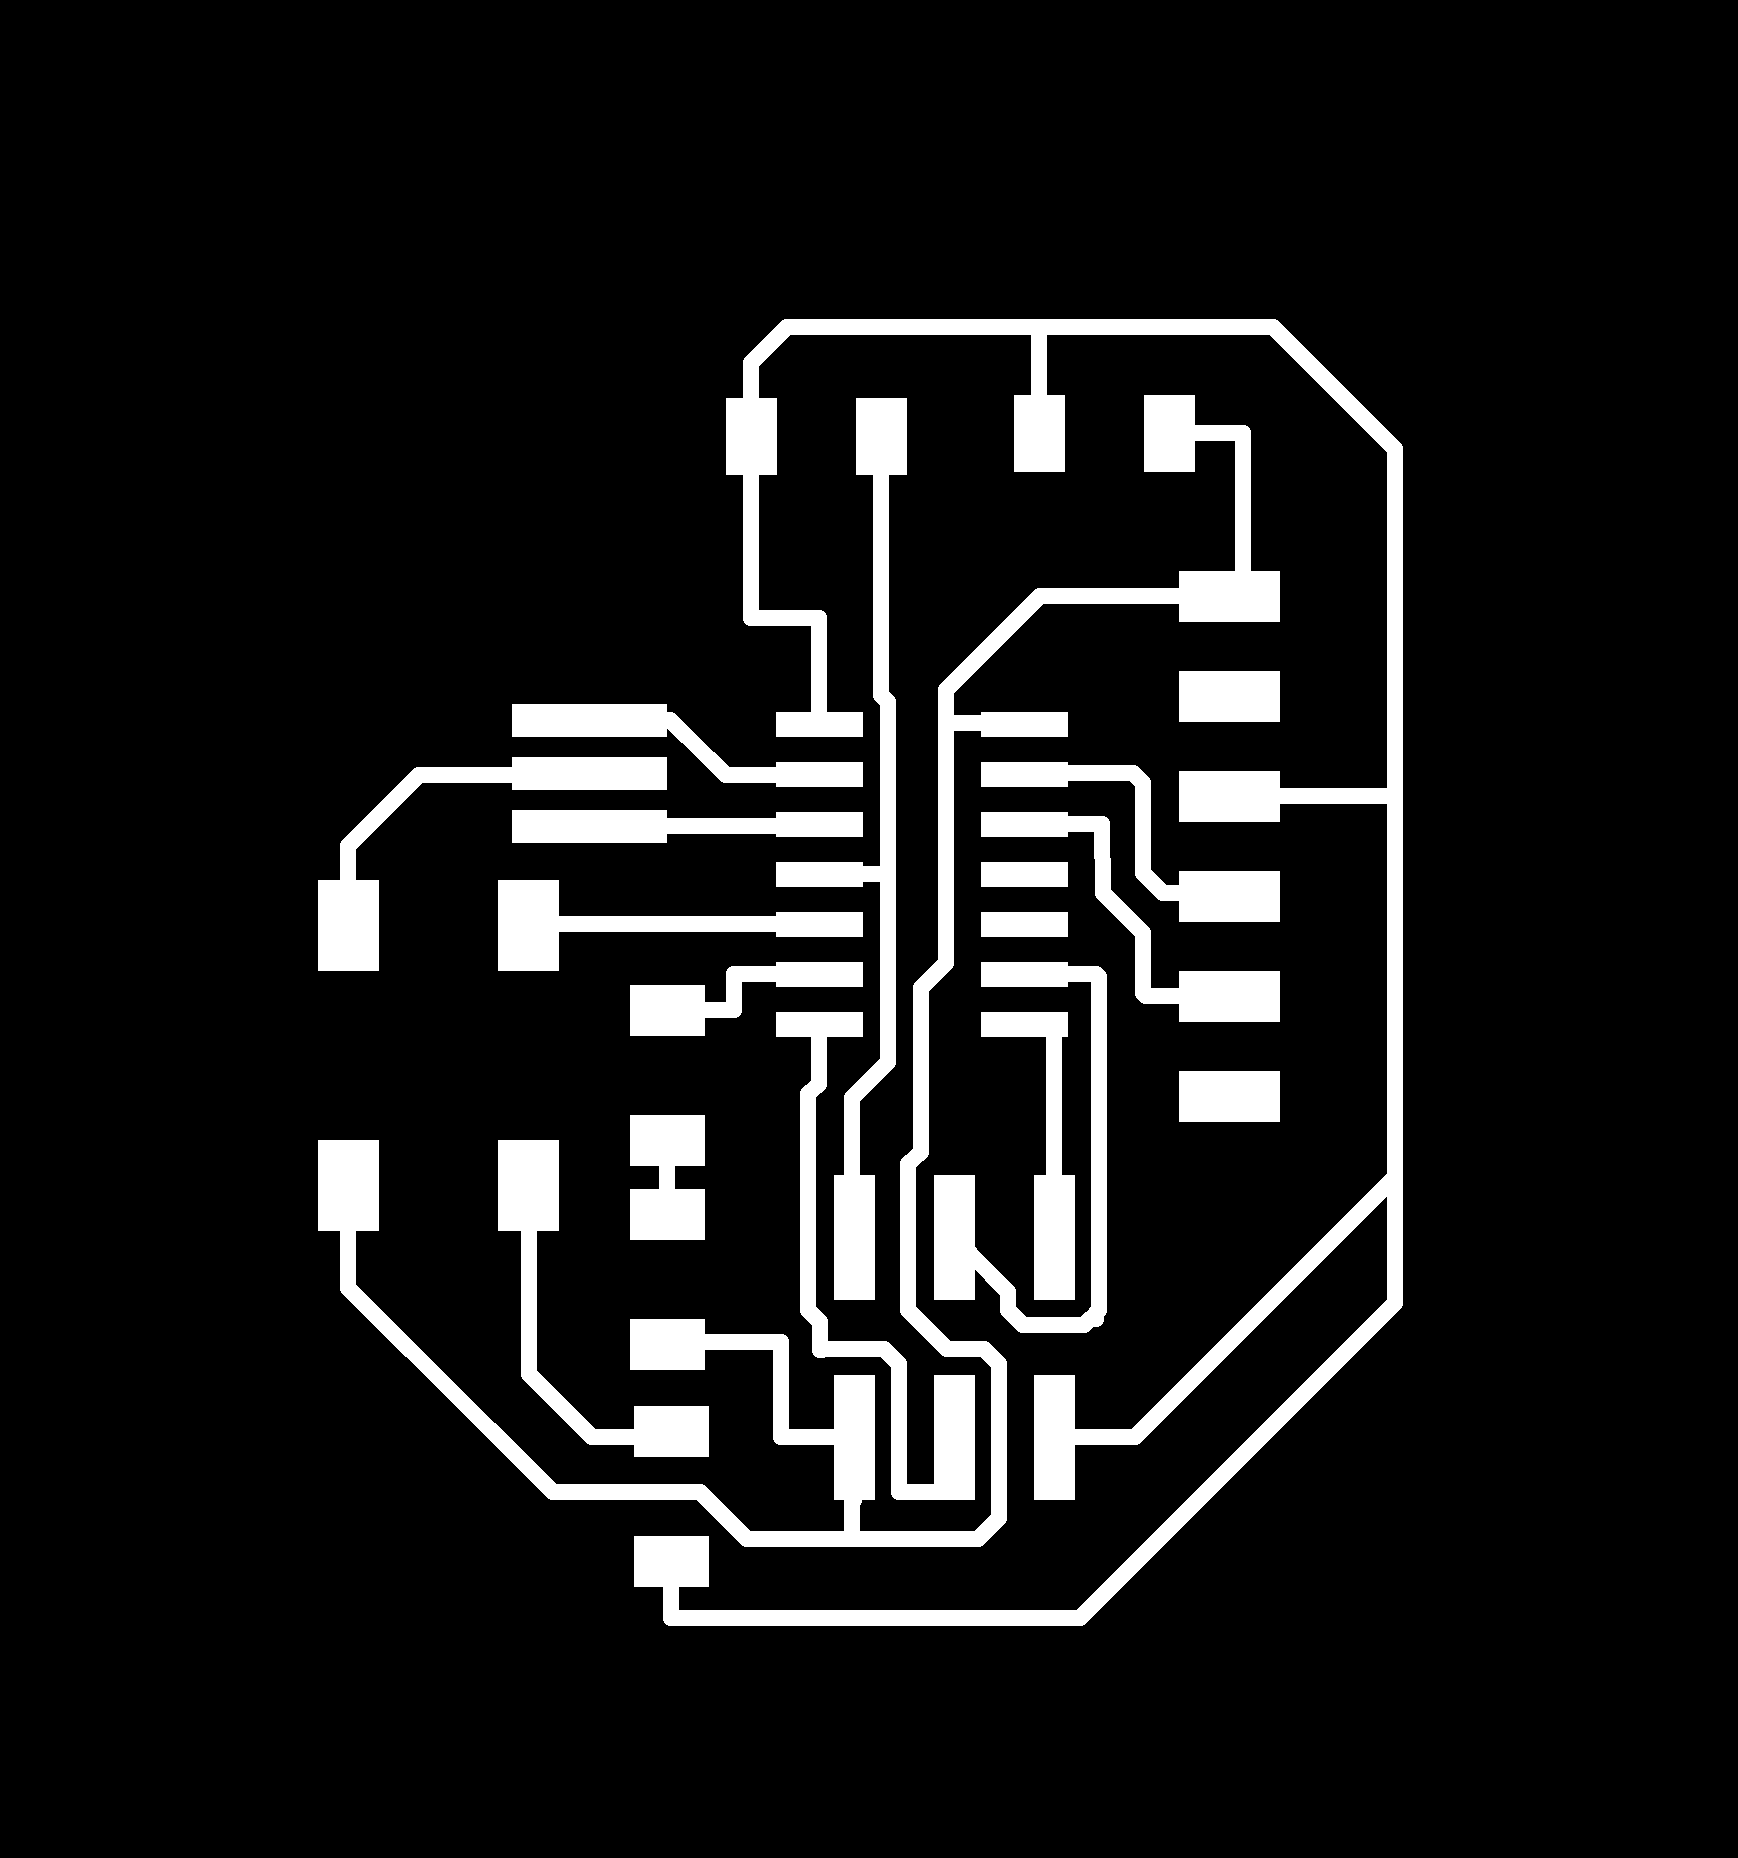
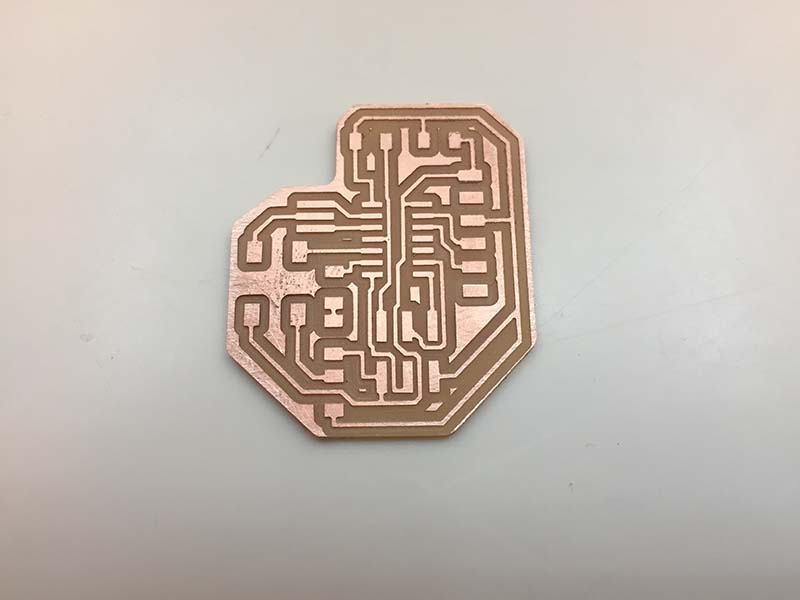
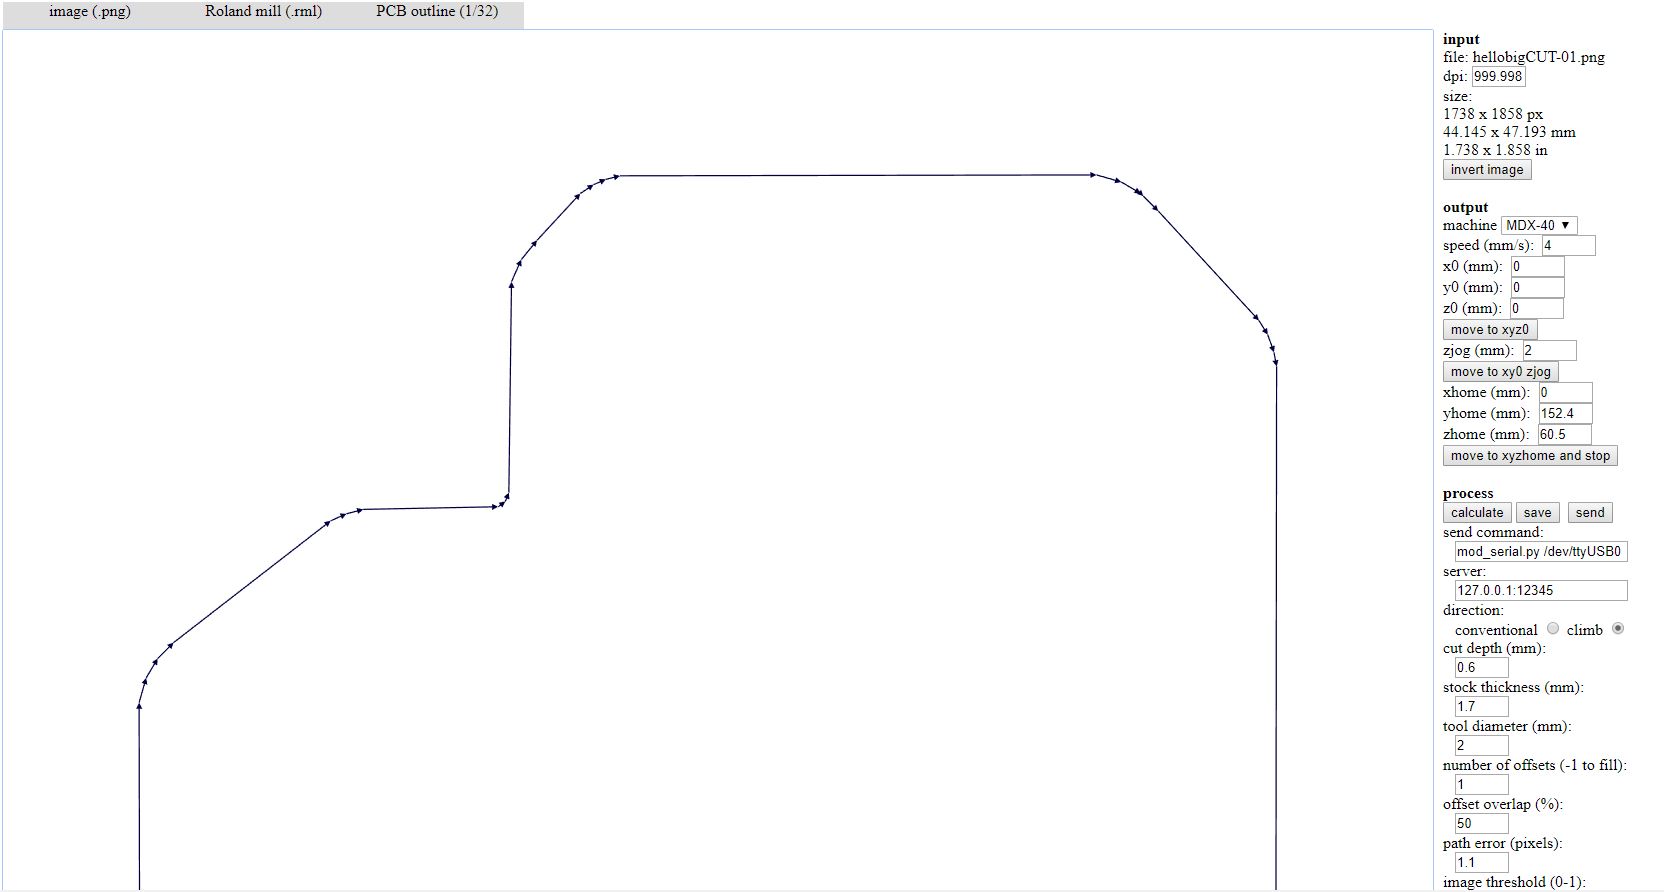
Production process is the same as in the "electronic production" week.
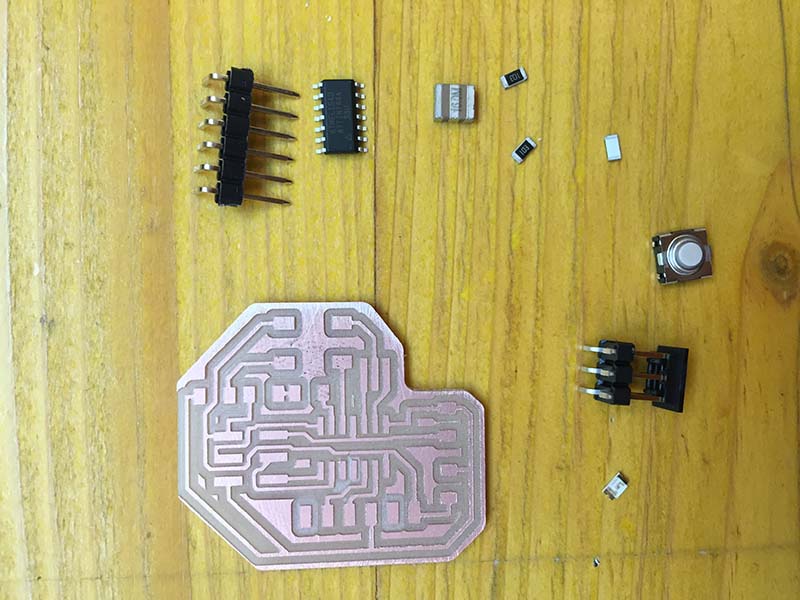
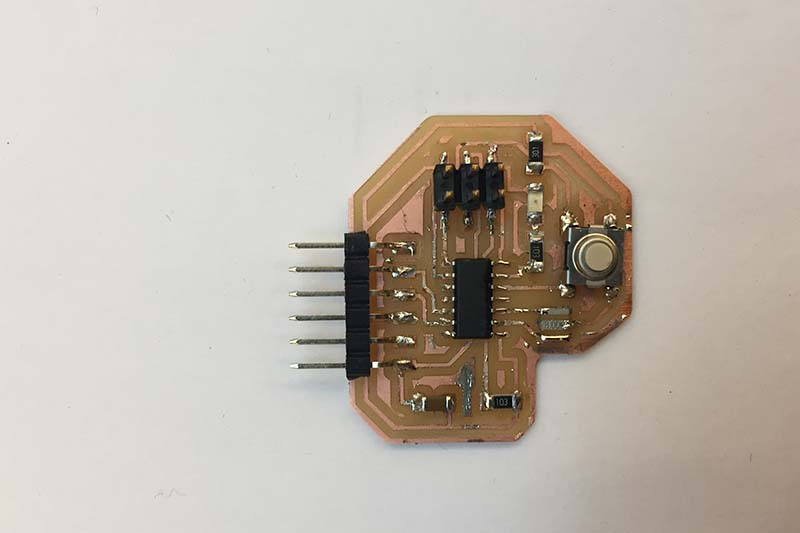
Programming with Arduino IDE
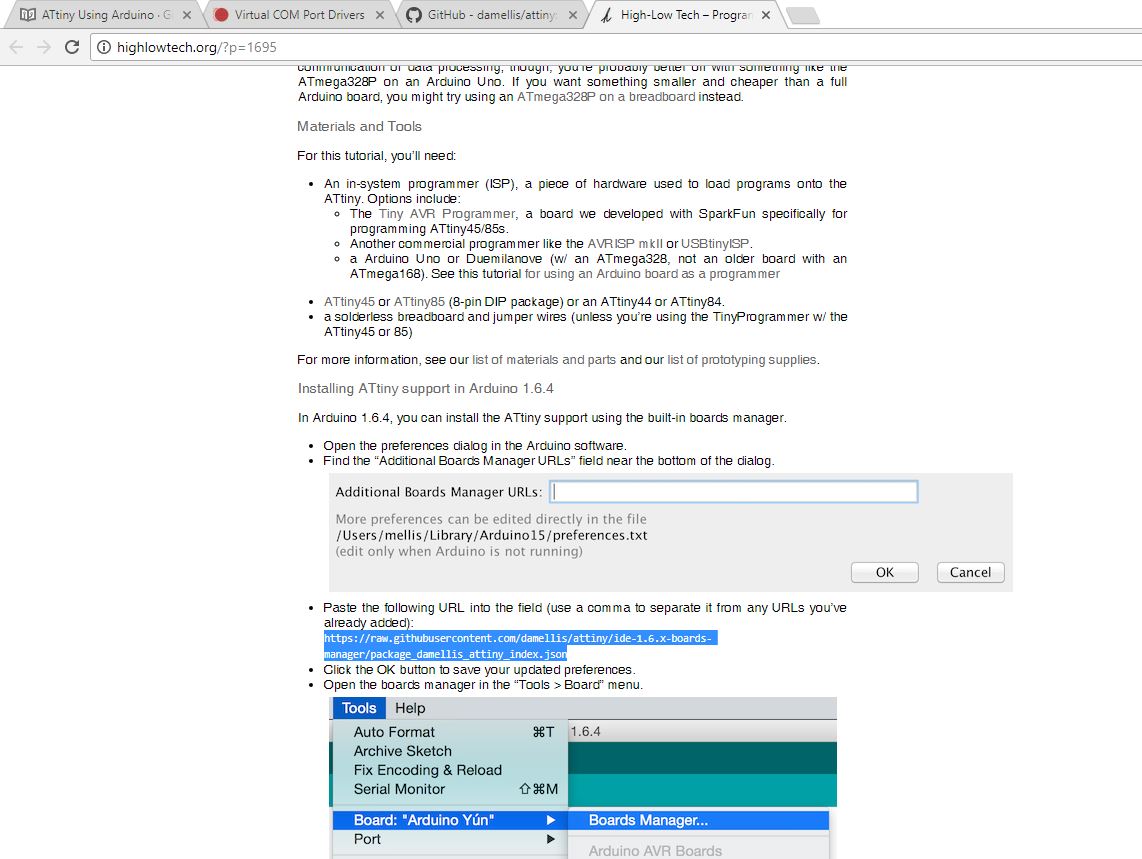
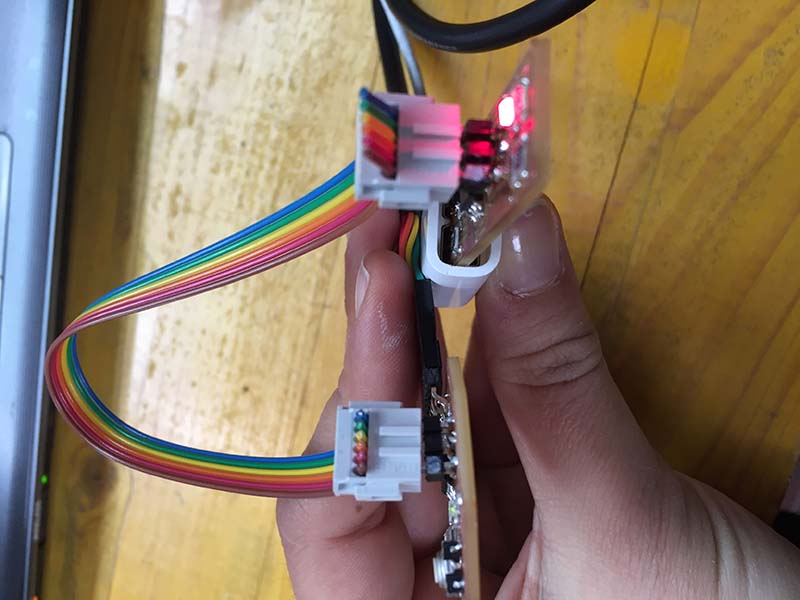 for programming my tinyboard, I follow this tutorial. As programmer, I use my aTtiny (view my electronic production page).
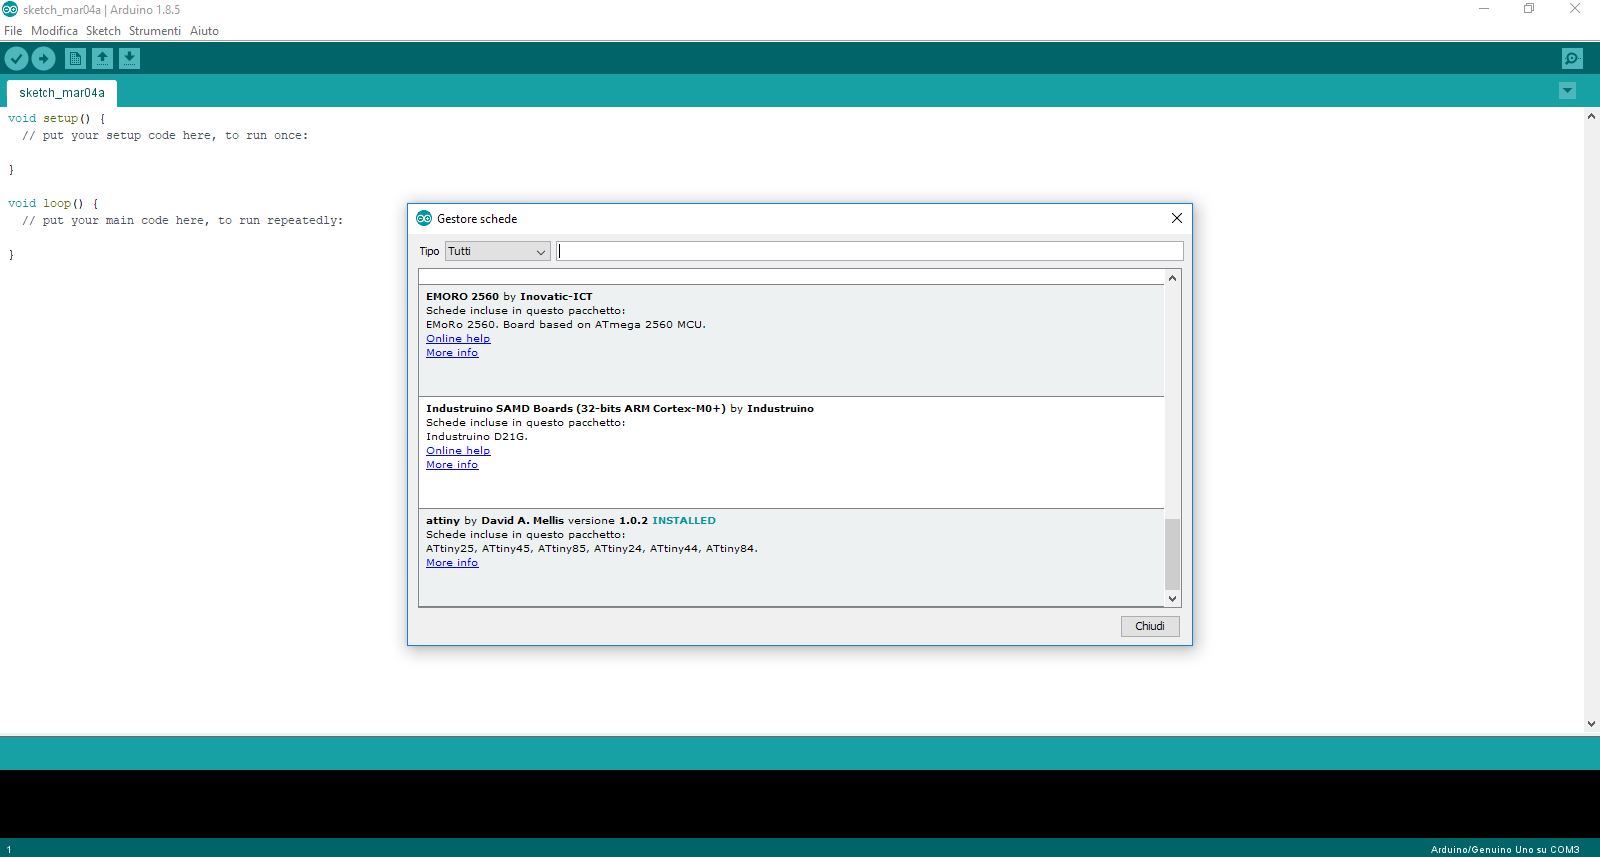
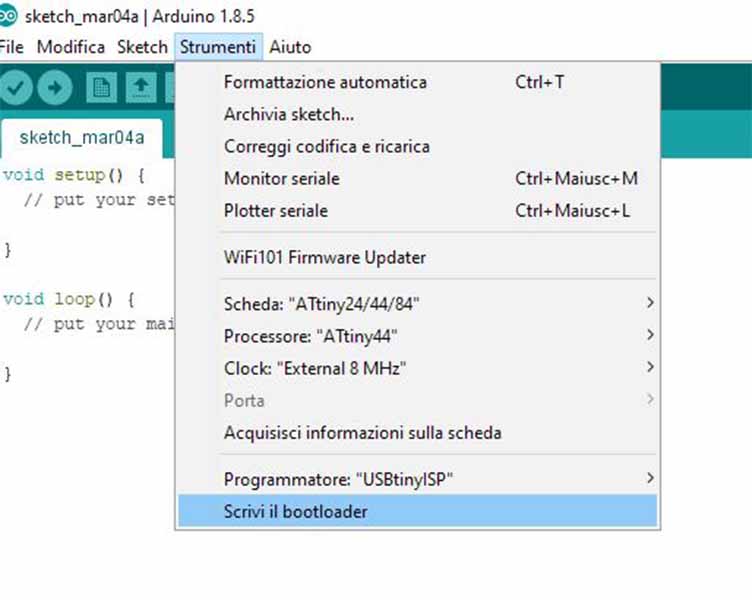
I open arduino IDE, install driver, and complete the setting. In this moment your can connect the programmer to the laptop.
 Useful link:
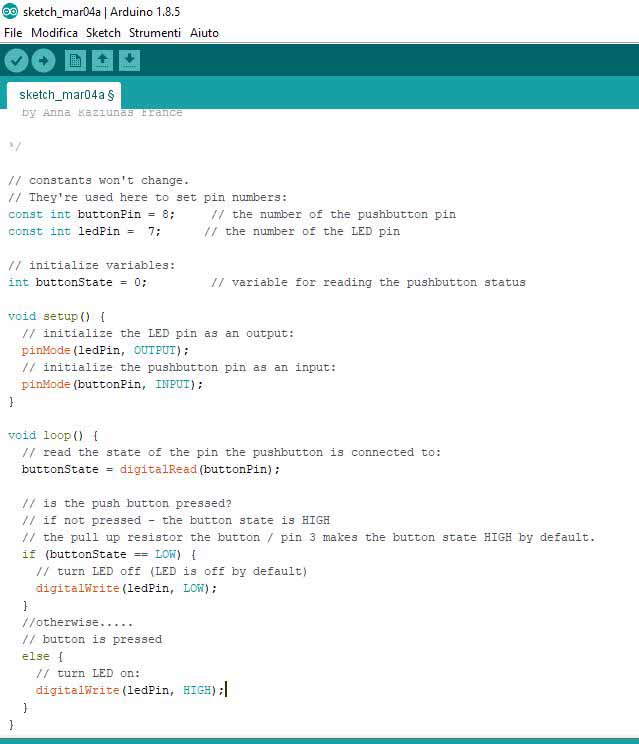
test board from lauracip on Vimeo.
testboard2 from lauracip on Vimeo.