Week10
Molding and Casting
Assignment:
Review the safety data sheets for each of your molding and casting materials, then make and compare test casts with each of them:
You can see the complete documentation of group assignments on the opendot website at this LINK.
Getting started
The objects I have chosen for molding and casting are dice for play.

I chose this item because:
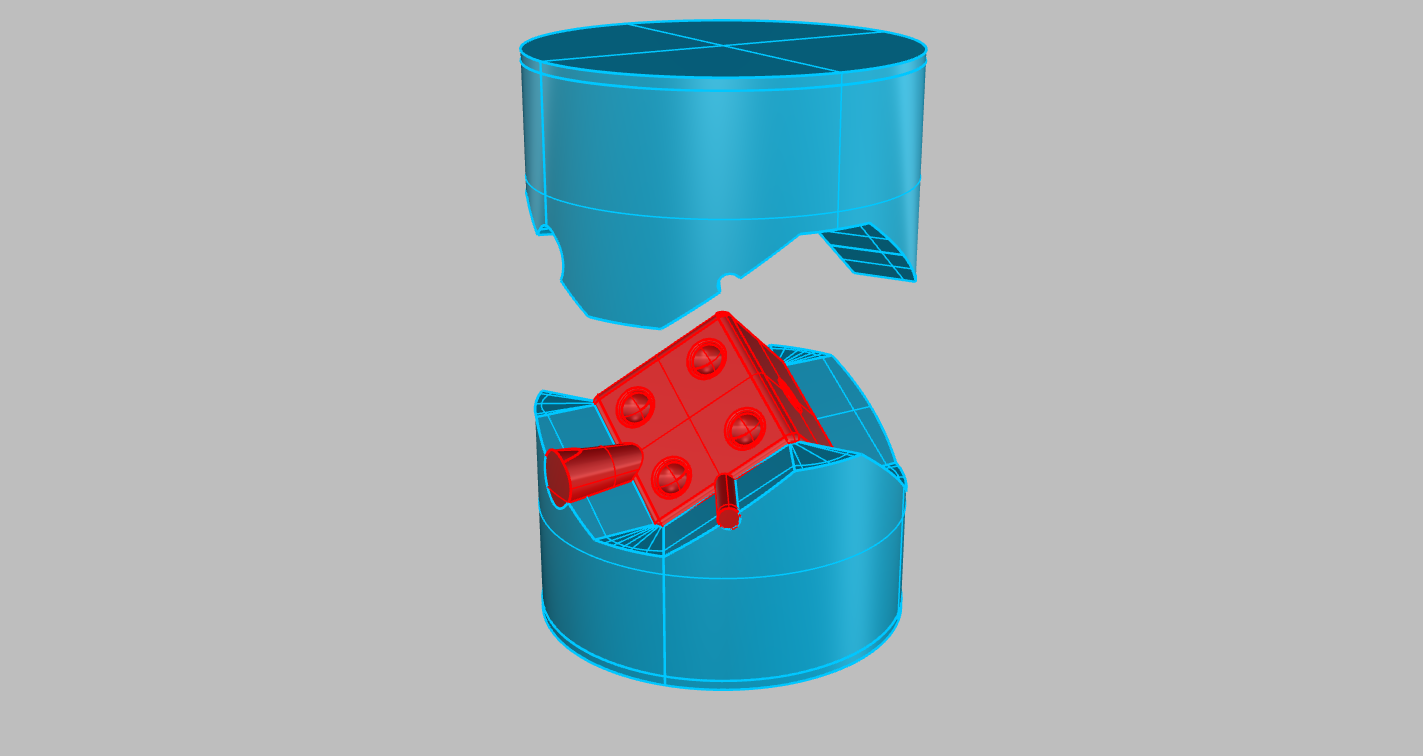
Mold model: version 1 and 2
I decided to use Rhinoceros for crate the 3d model and Fusion for the CAM.I spent a lot of time figuring out what could be the best way to make the mold and the master of the mold.
The first form seemed to work but it was very complex and risky to mill.
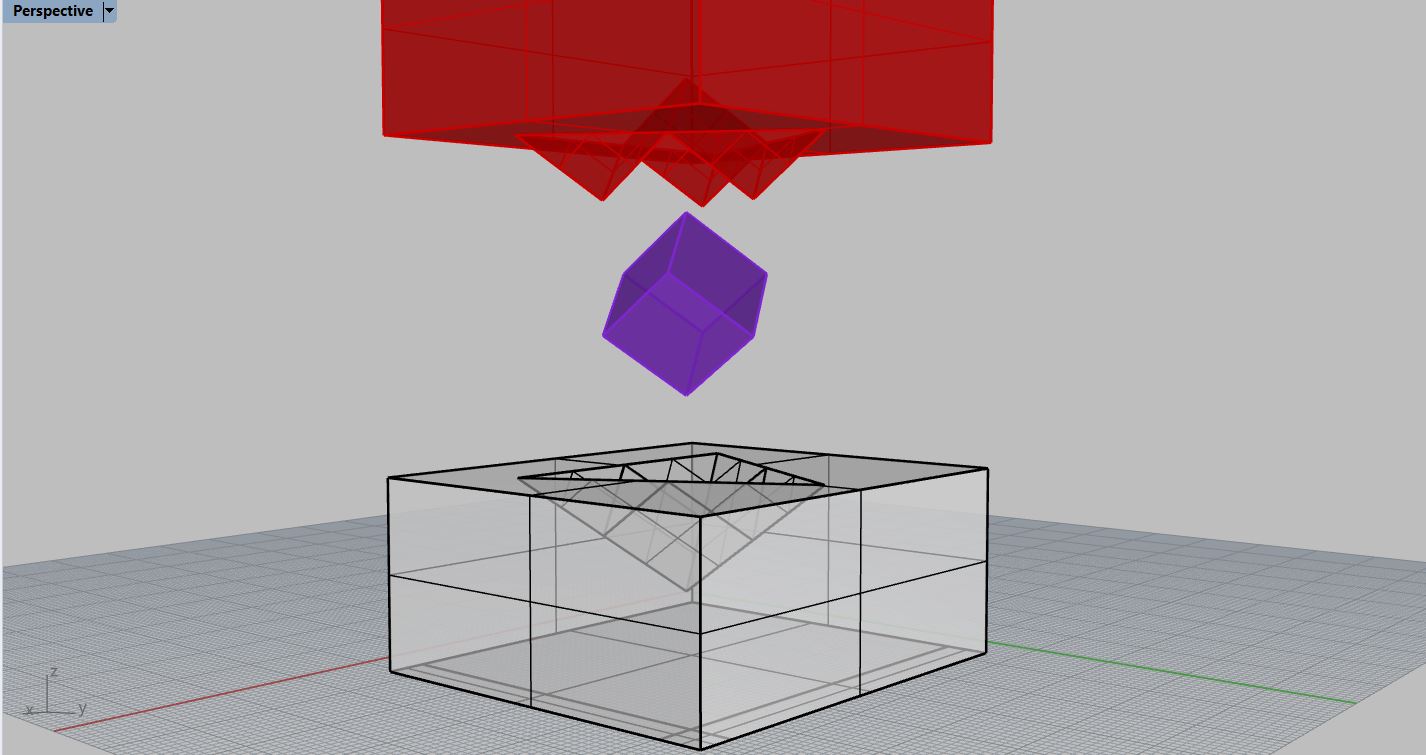
The second seemed suitable, much simpler, had no problem except that the die in this mold would have come out without fillet edge:
So I finished the second model as a reserve, and I started to rethink from head mold and master to get a better result.
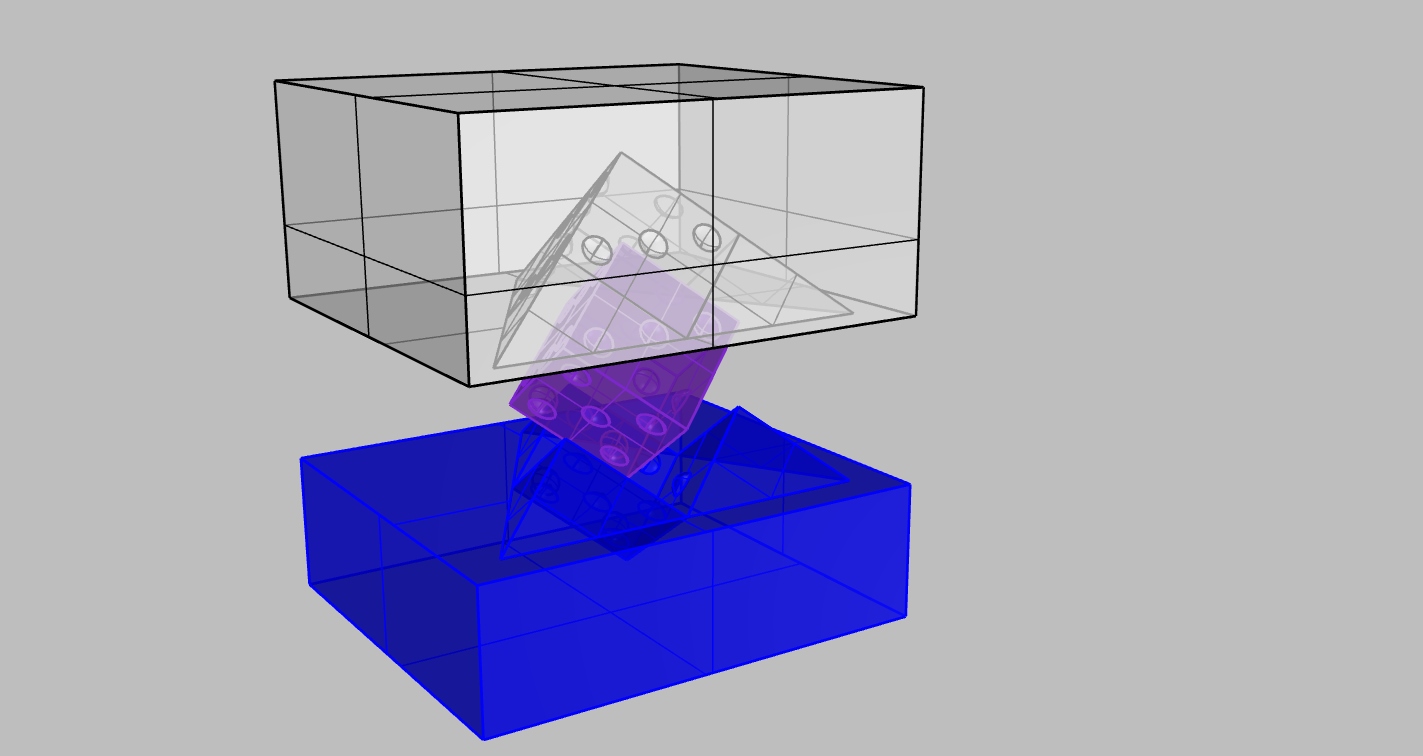
Mold model: version 3
The approach I used this time was to start from the already blunt die and create the division of the mold along the fillet to avoid undercuts.
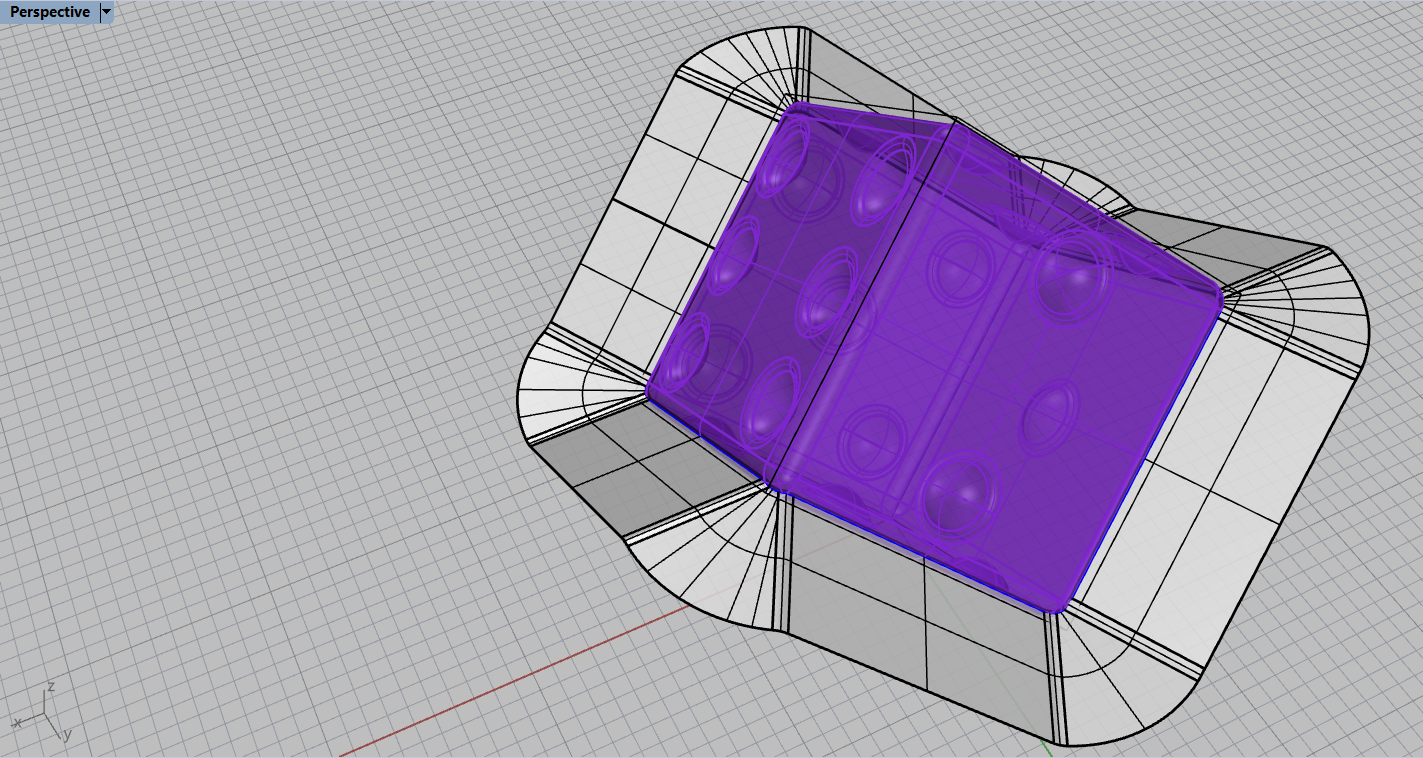
During modeling I checked every step that the final piece was correct, and that even the mold was.
Unfortunately, before exporting the master I mirrored one of the two parts.
I realized that the mold did not fit correctly after only having extracted the silicone mold from the master!!!
Milling the master: an intro
I made this step three times to achieve the desired exercise.
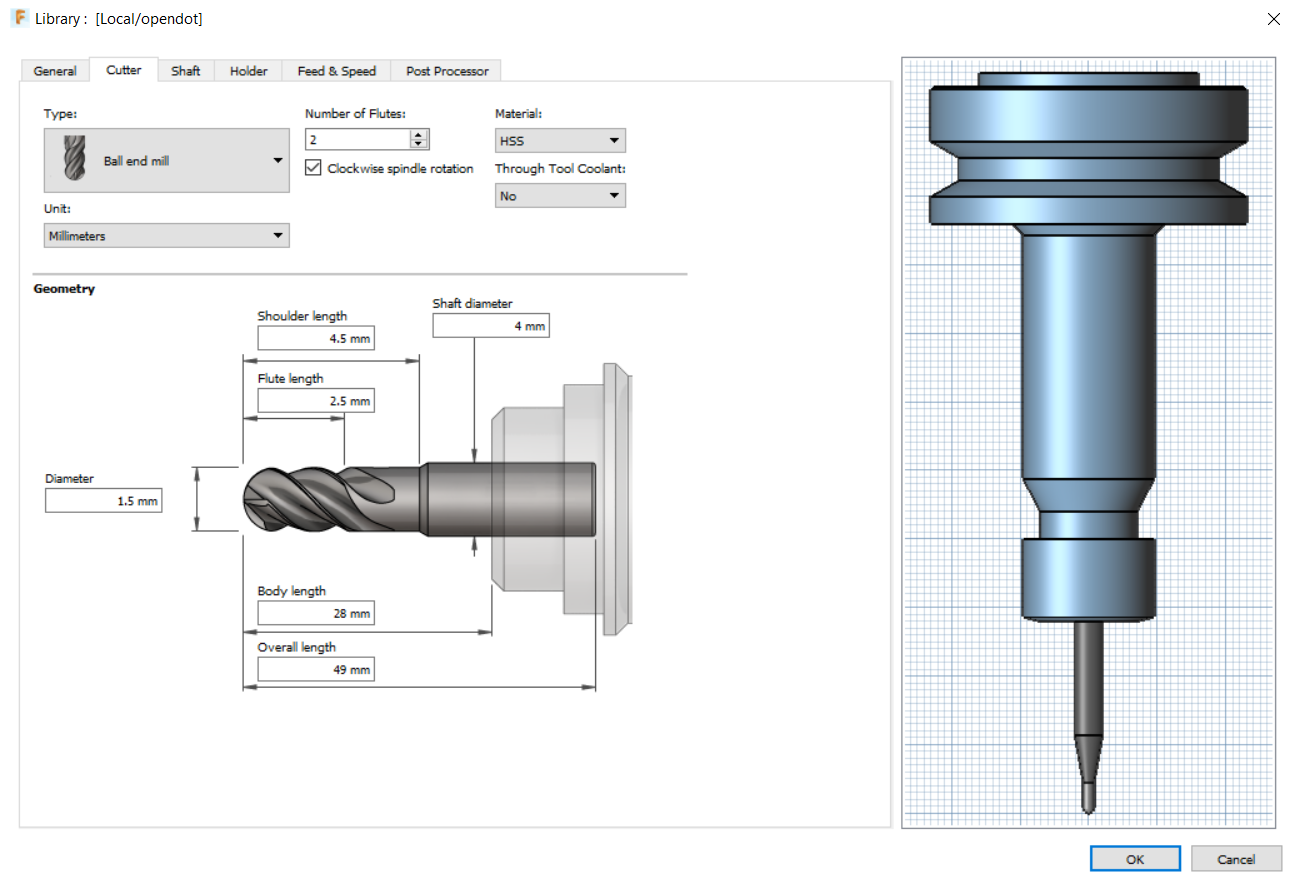
Milling CORRECT master: Tools library
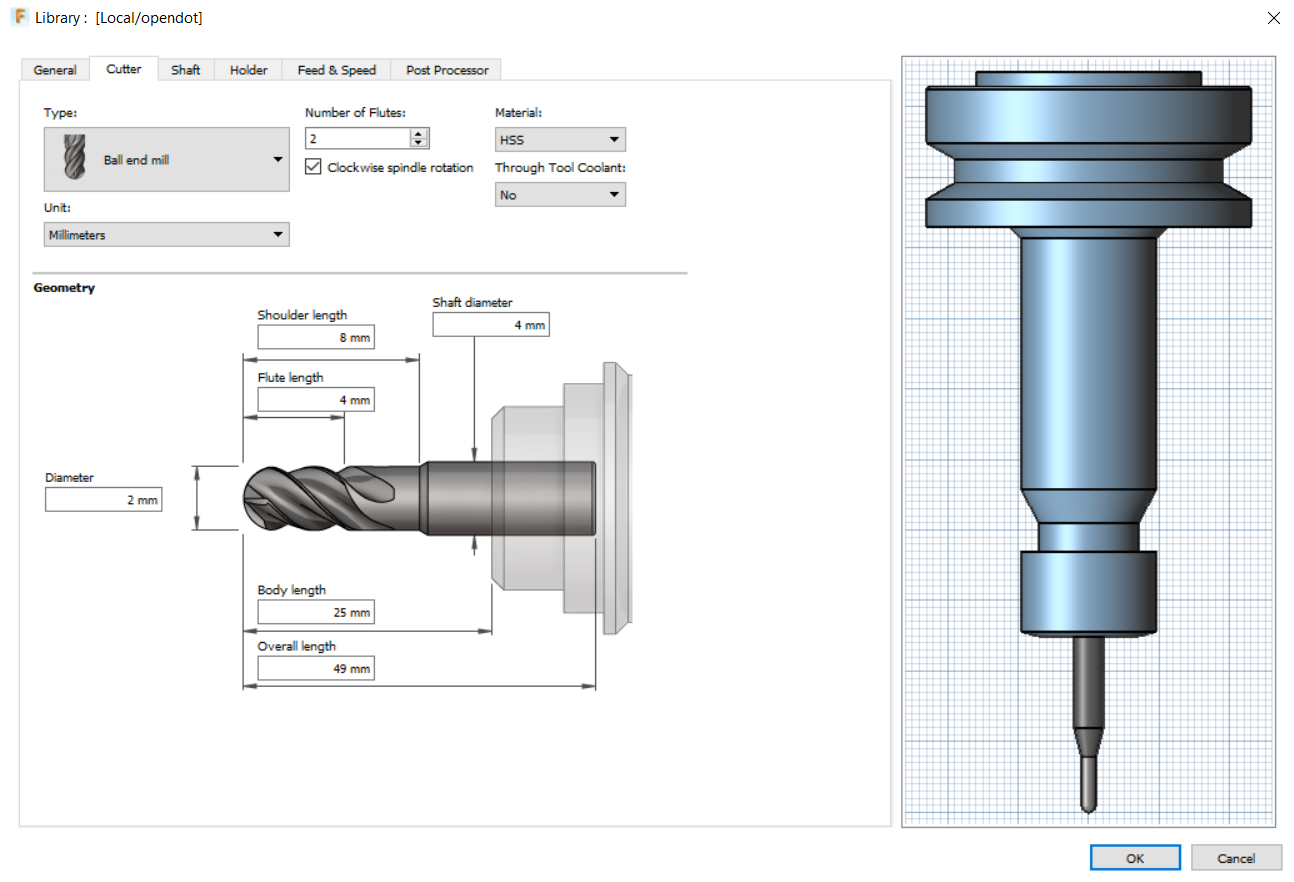
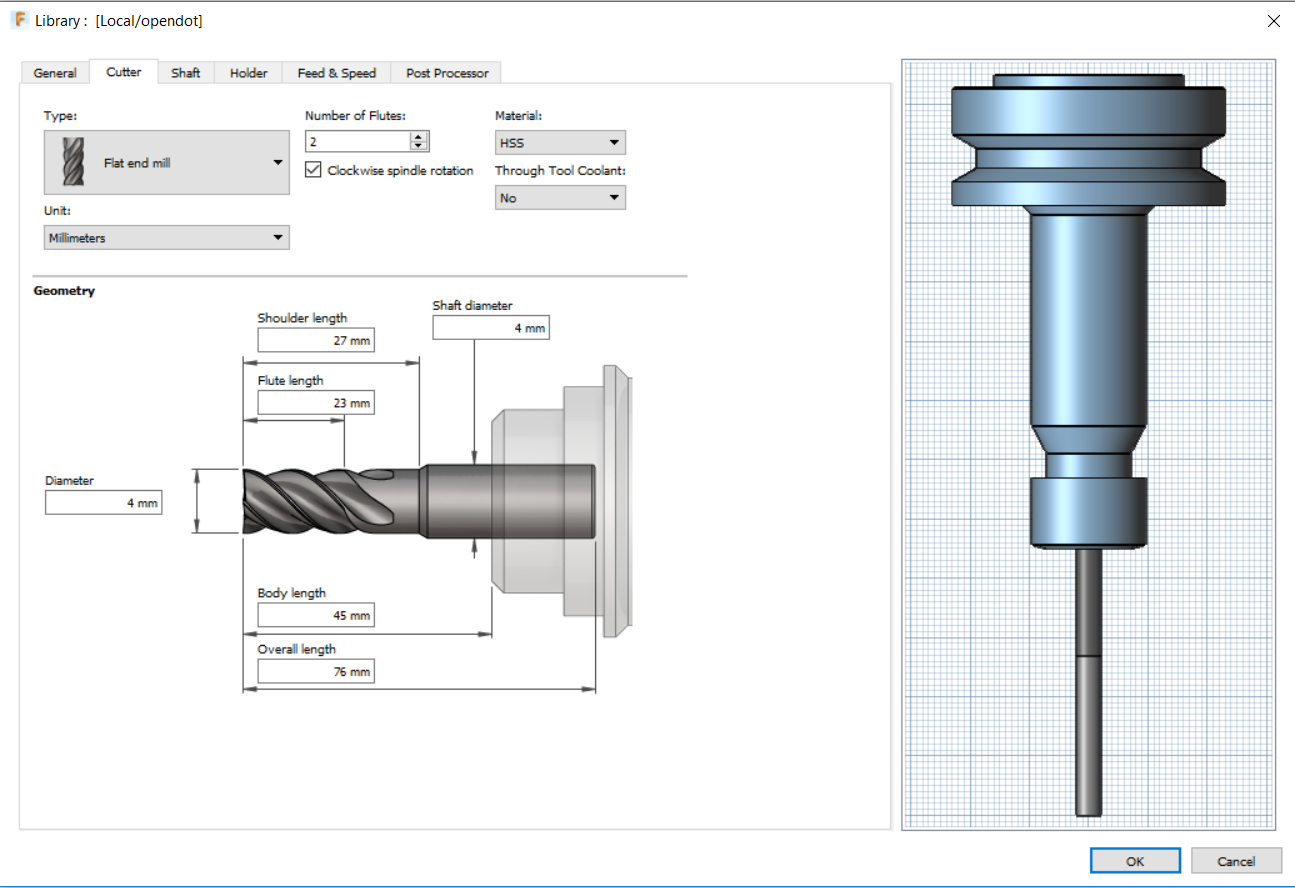
Before starting to set the workings for the cutter, I designed the tips that I had decided to use inside the Fusion library.
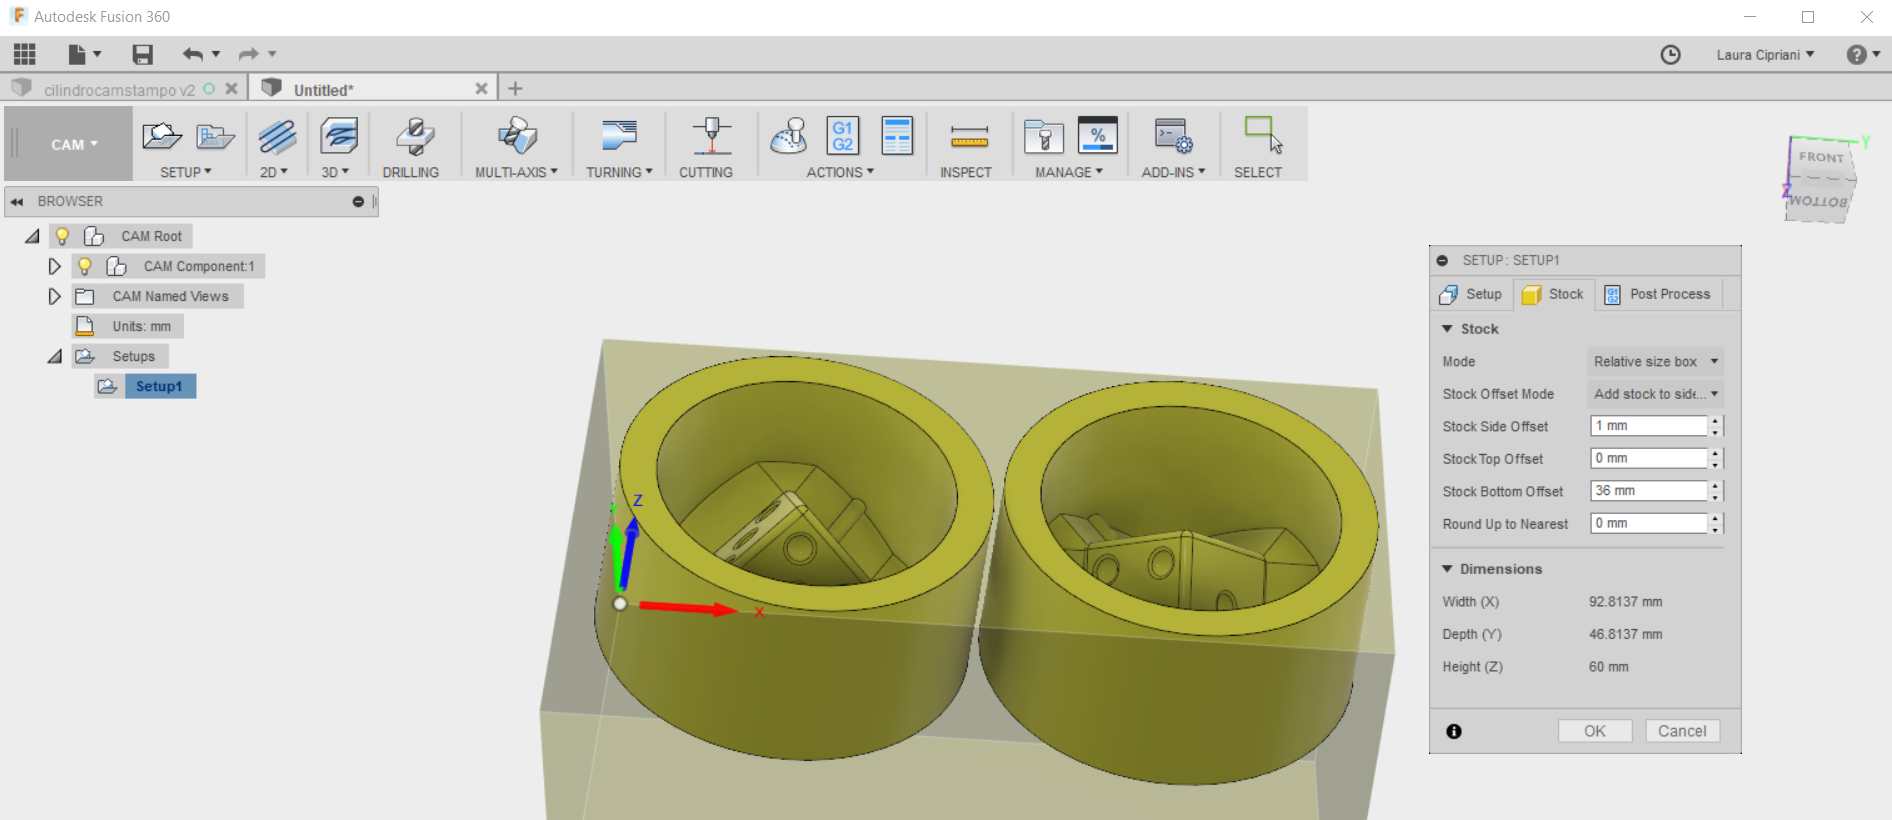
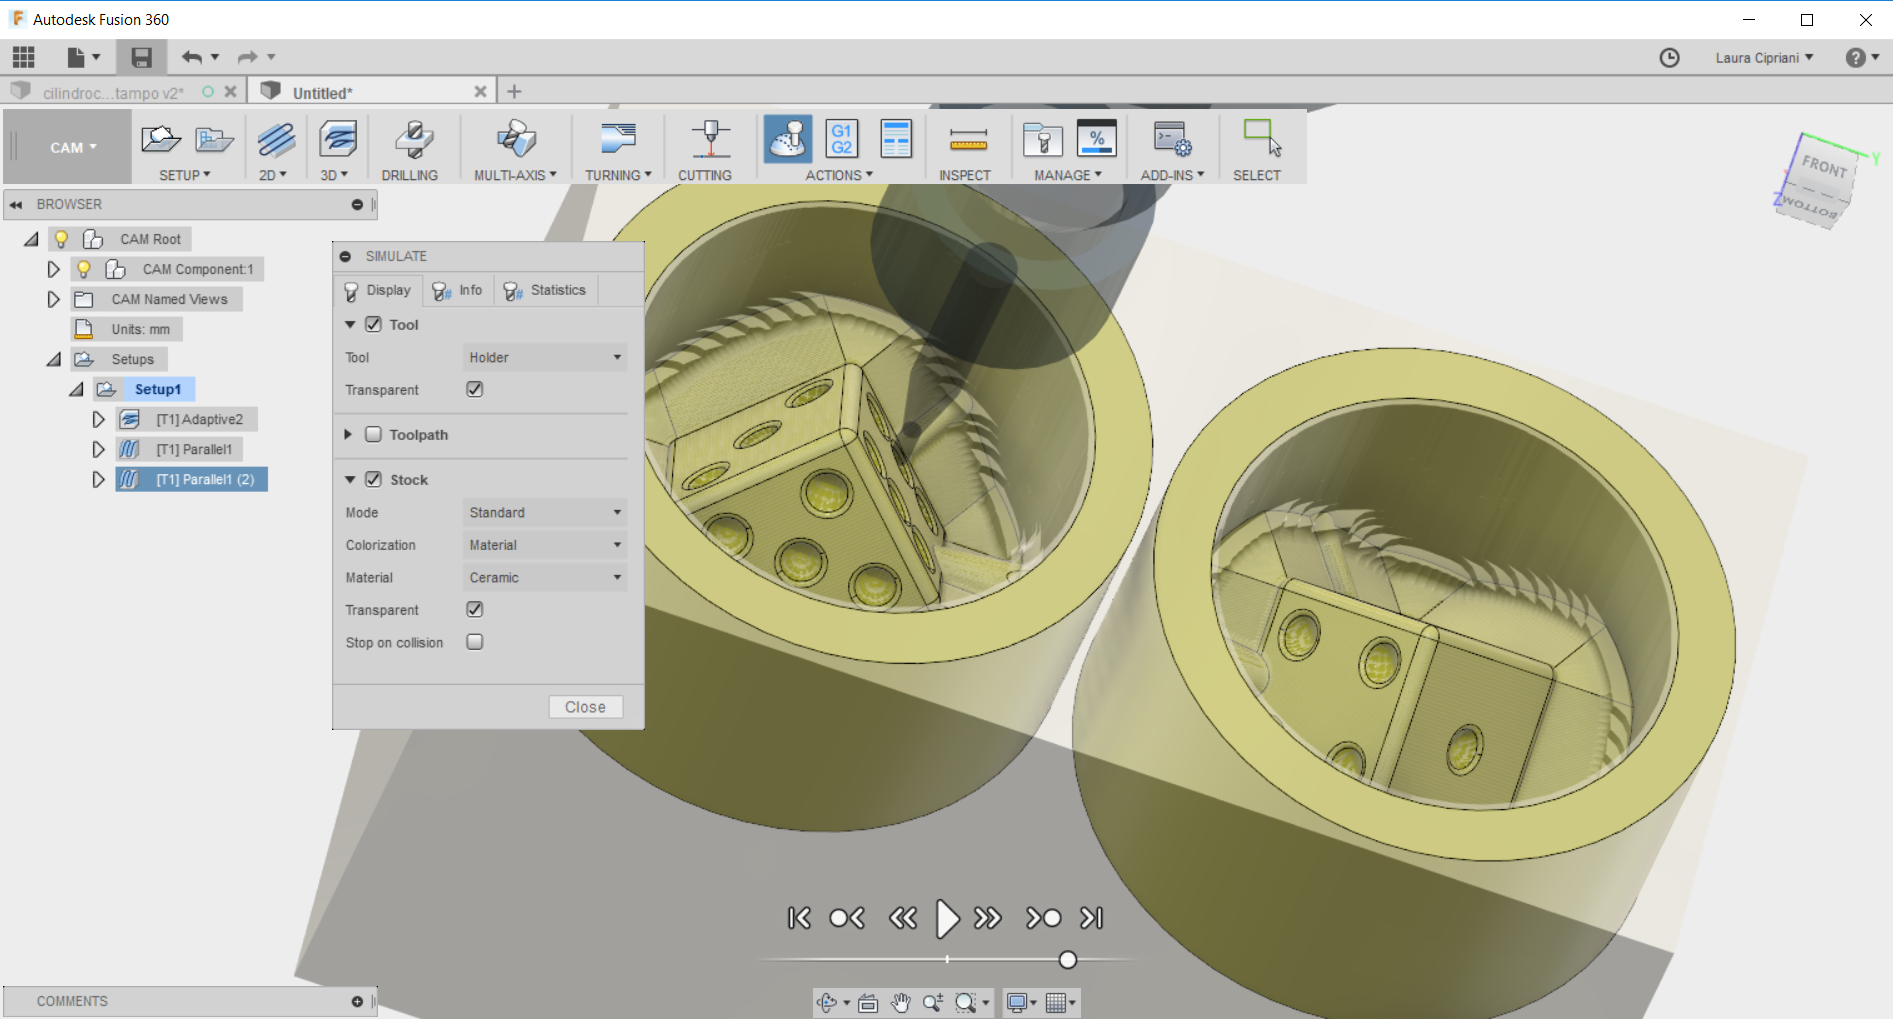
Milling CORRECT master: SETTING
The first and fundamental step was to set the workpiece setting. this is important for establishing milling coordinates.
REMEMBER WHEN IMPORTING THE FILE .NC FILES IN V.Panel, YOU MUST USE THE G54 COORDINATE SYSTEM!!!!

CUTTER: for this piece I decided to use a flat-tipped cutter for roughing.
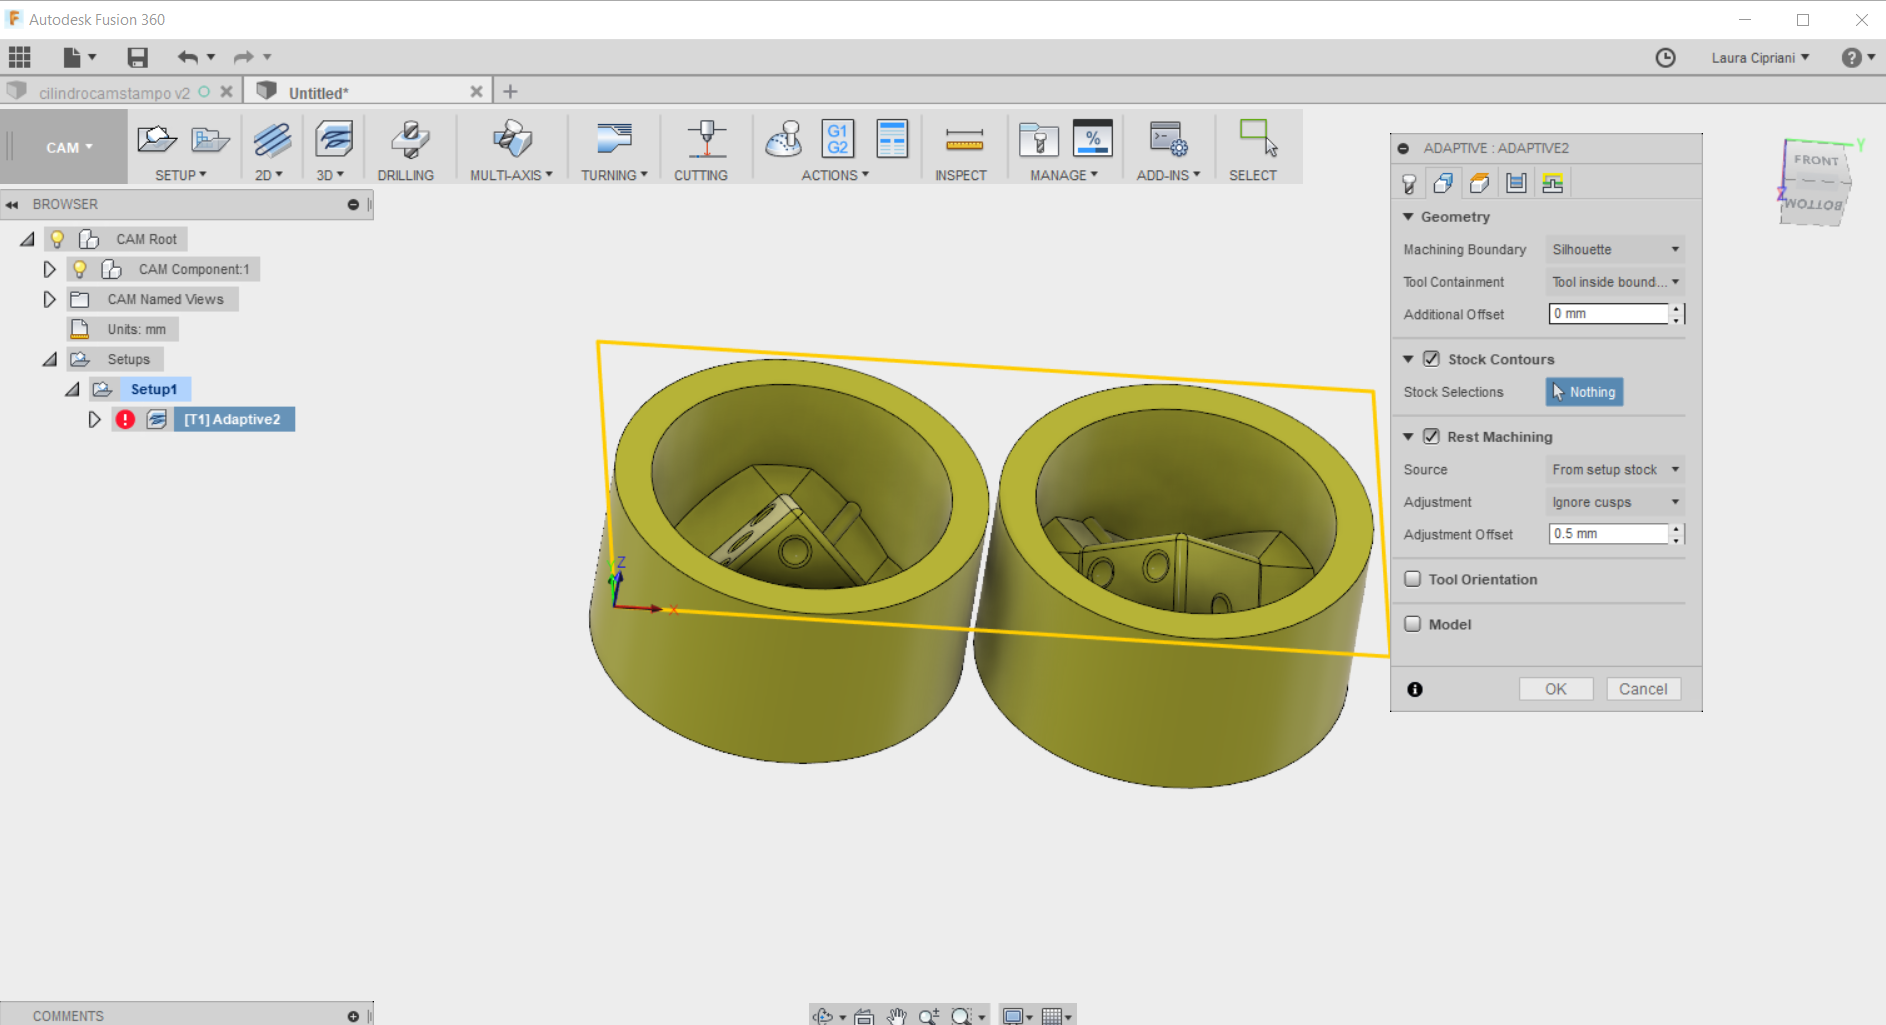
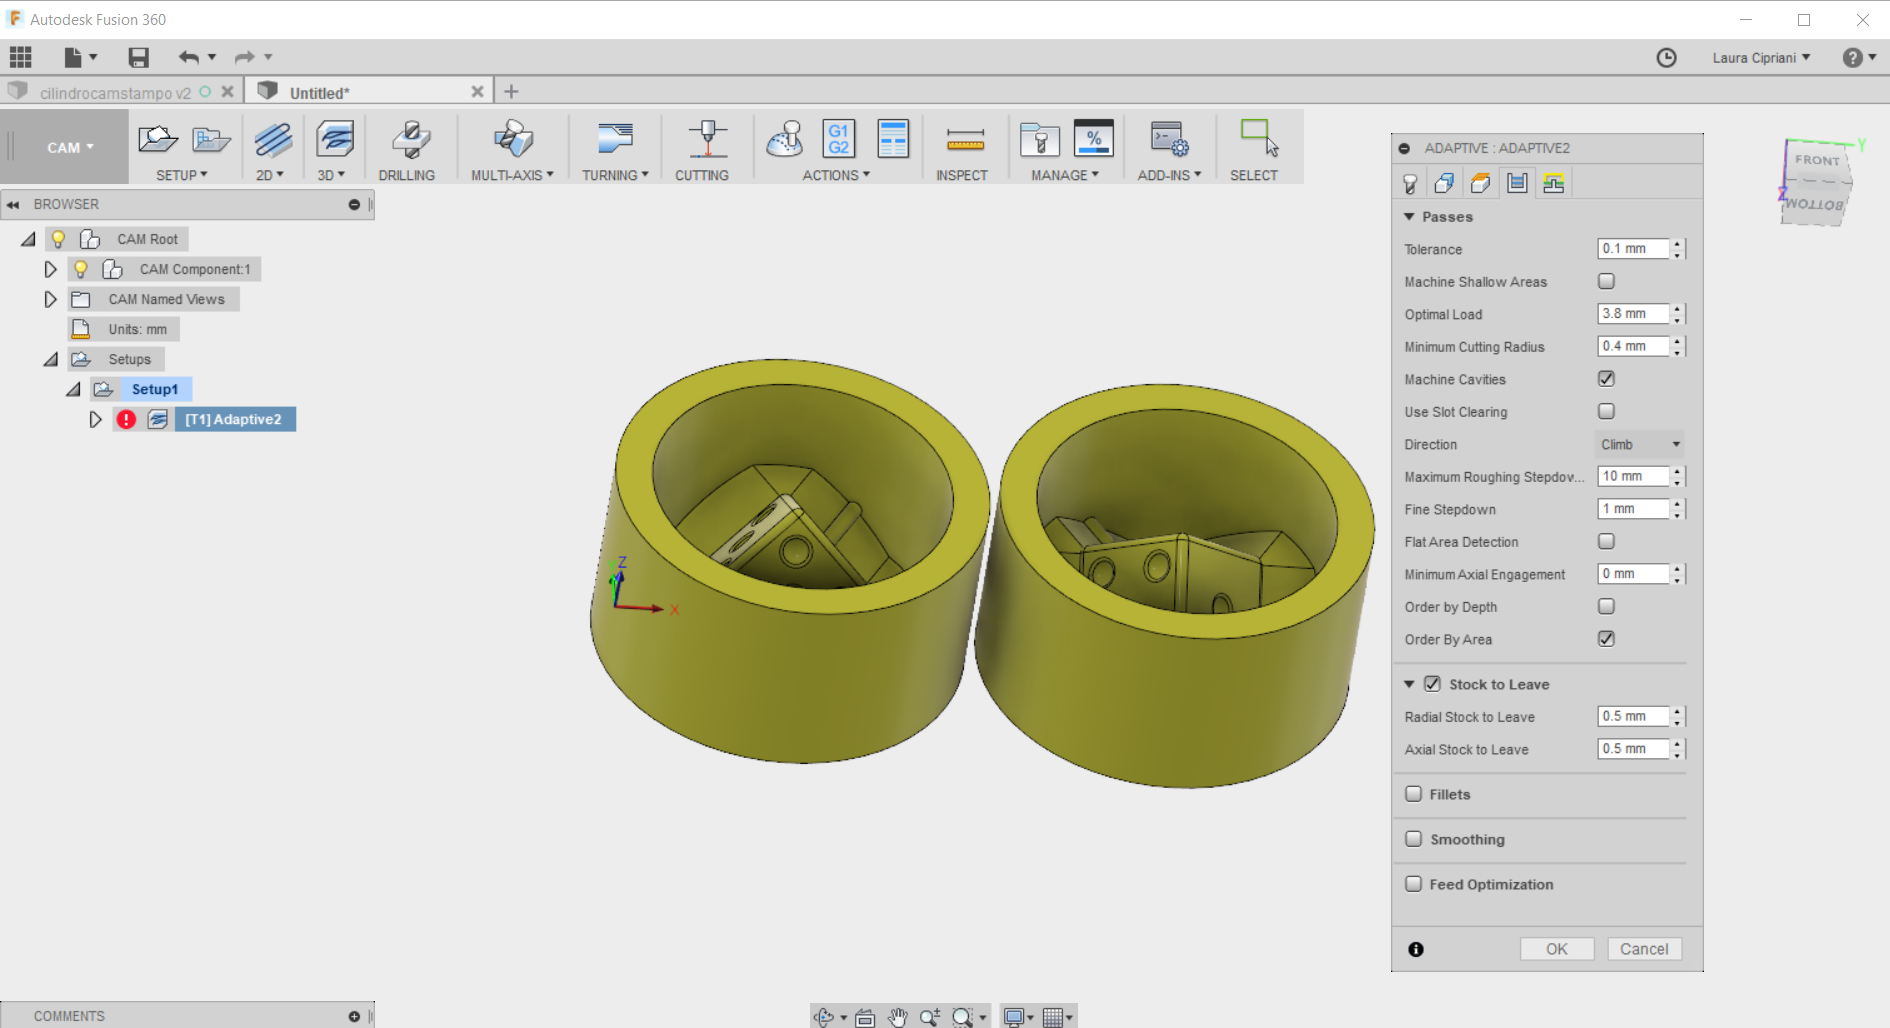
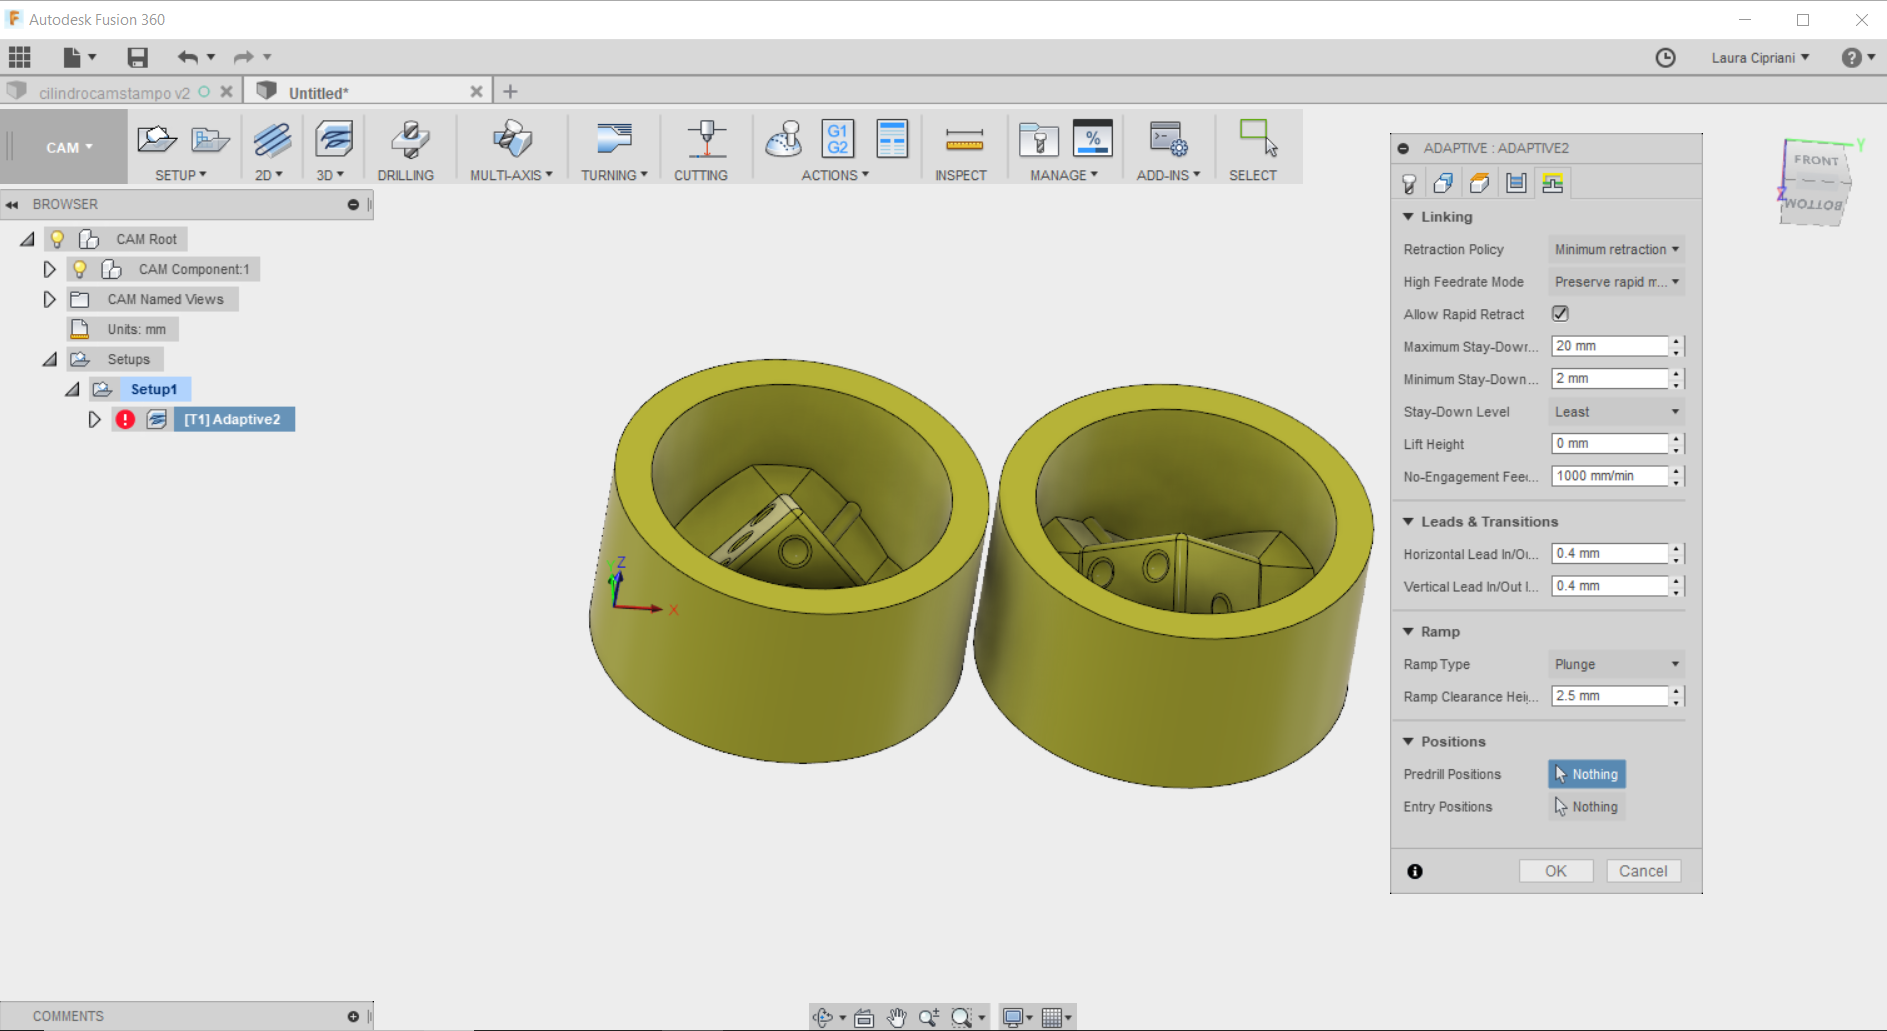
ADAPTIVE OPERATION:
below the screenshots of the roughing operation performed on both master pieces.
!!!Being the silicone rubber mold, in this master there are no draft angles. It can not be used to form rigid molds.
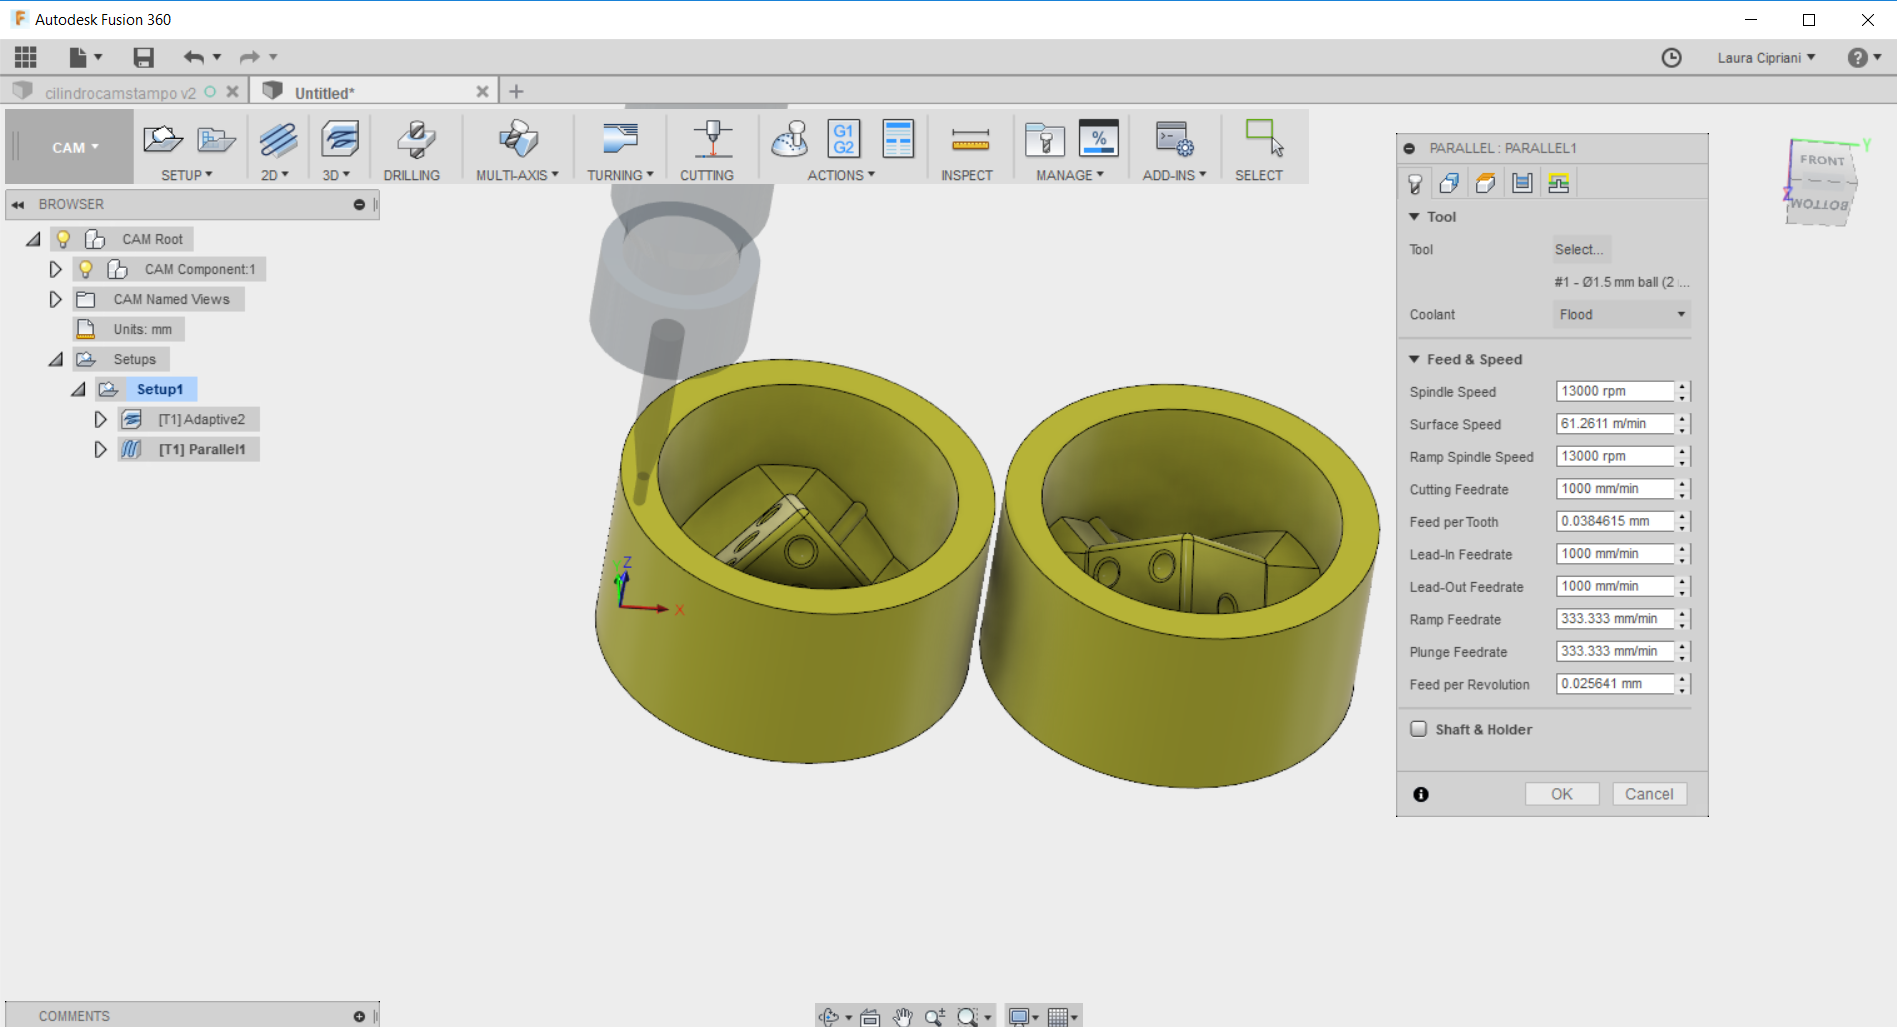
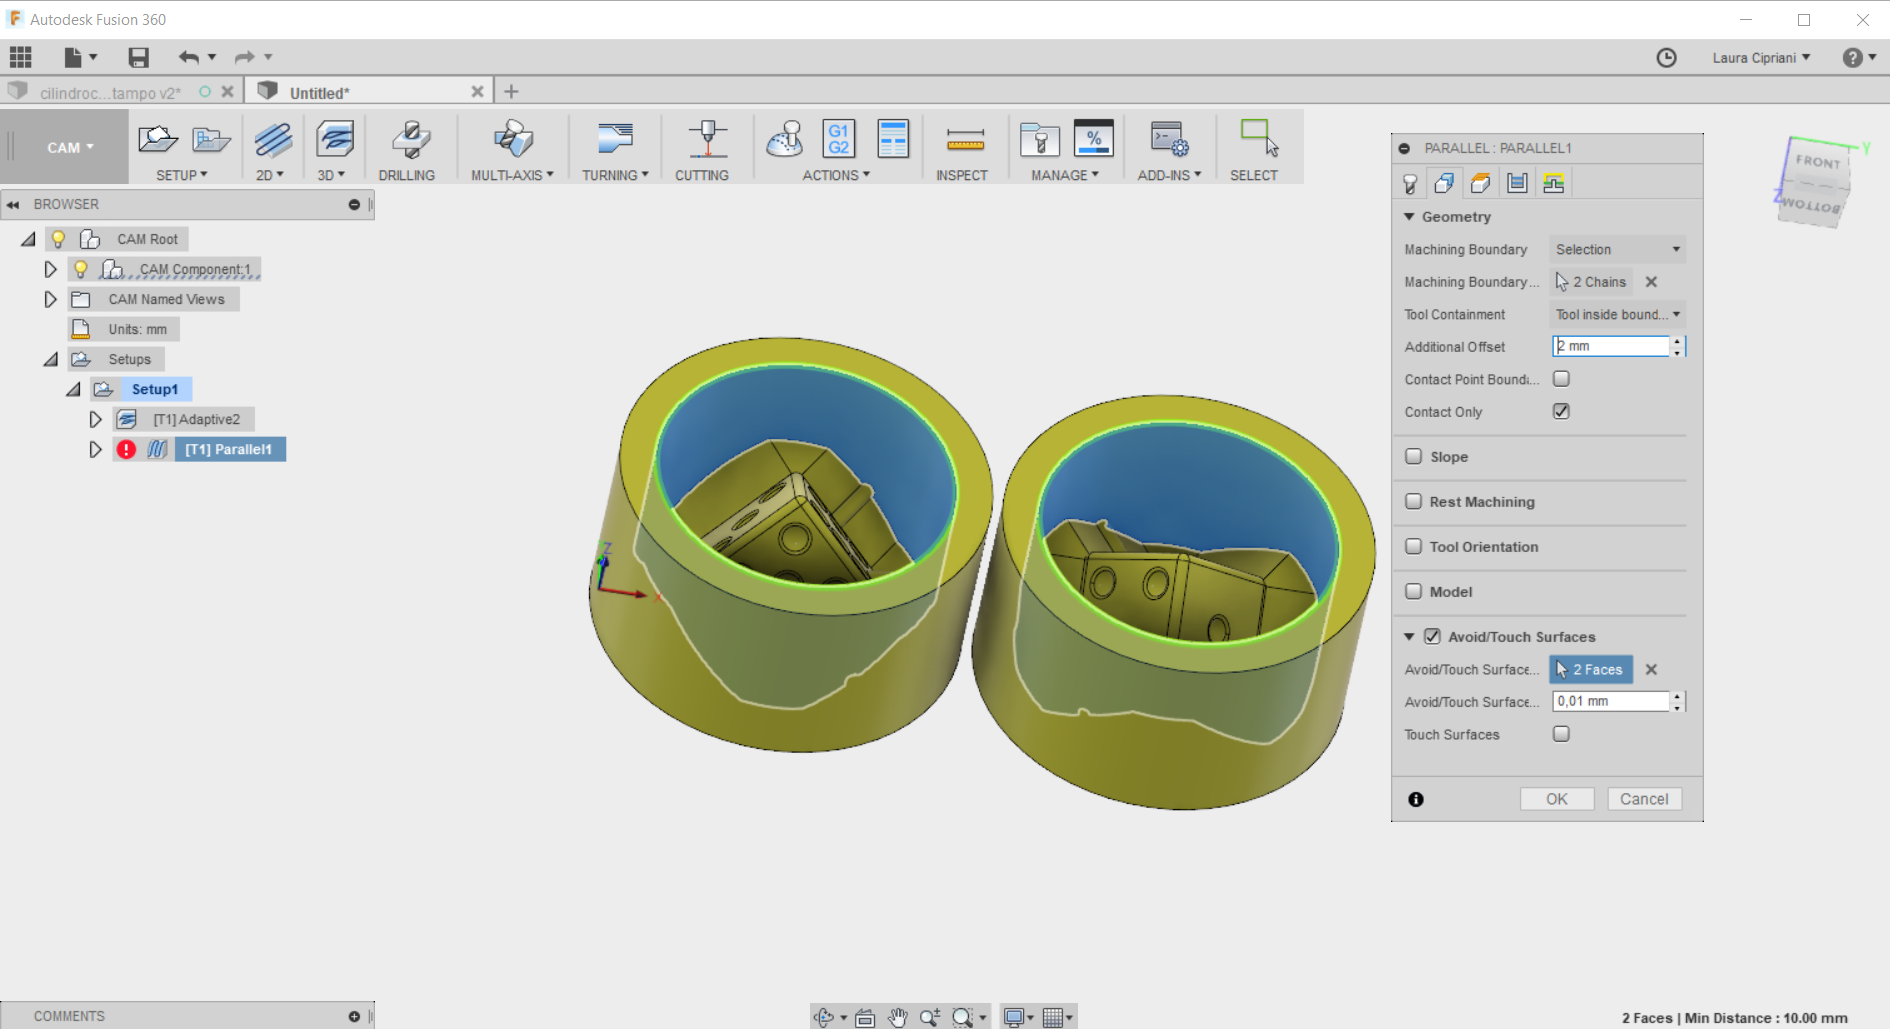
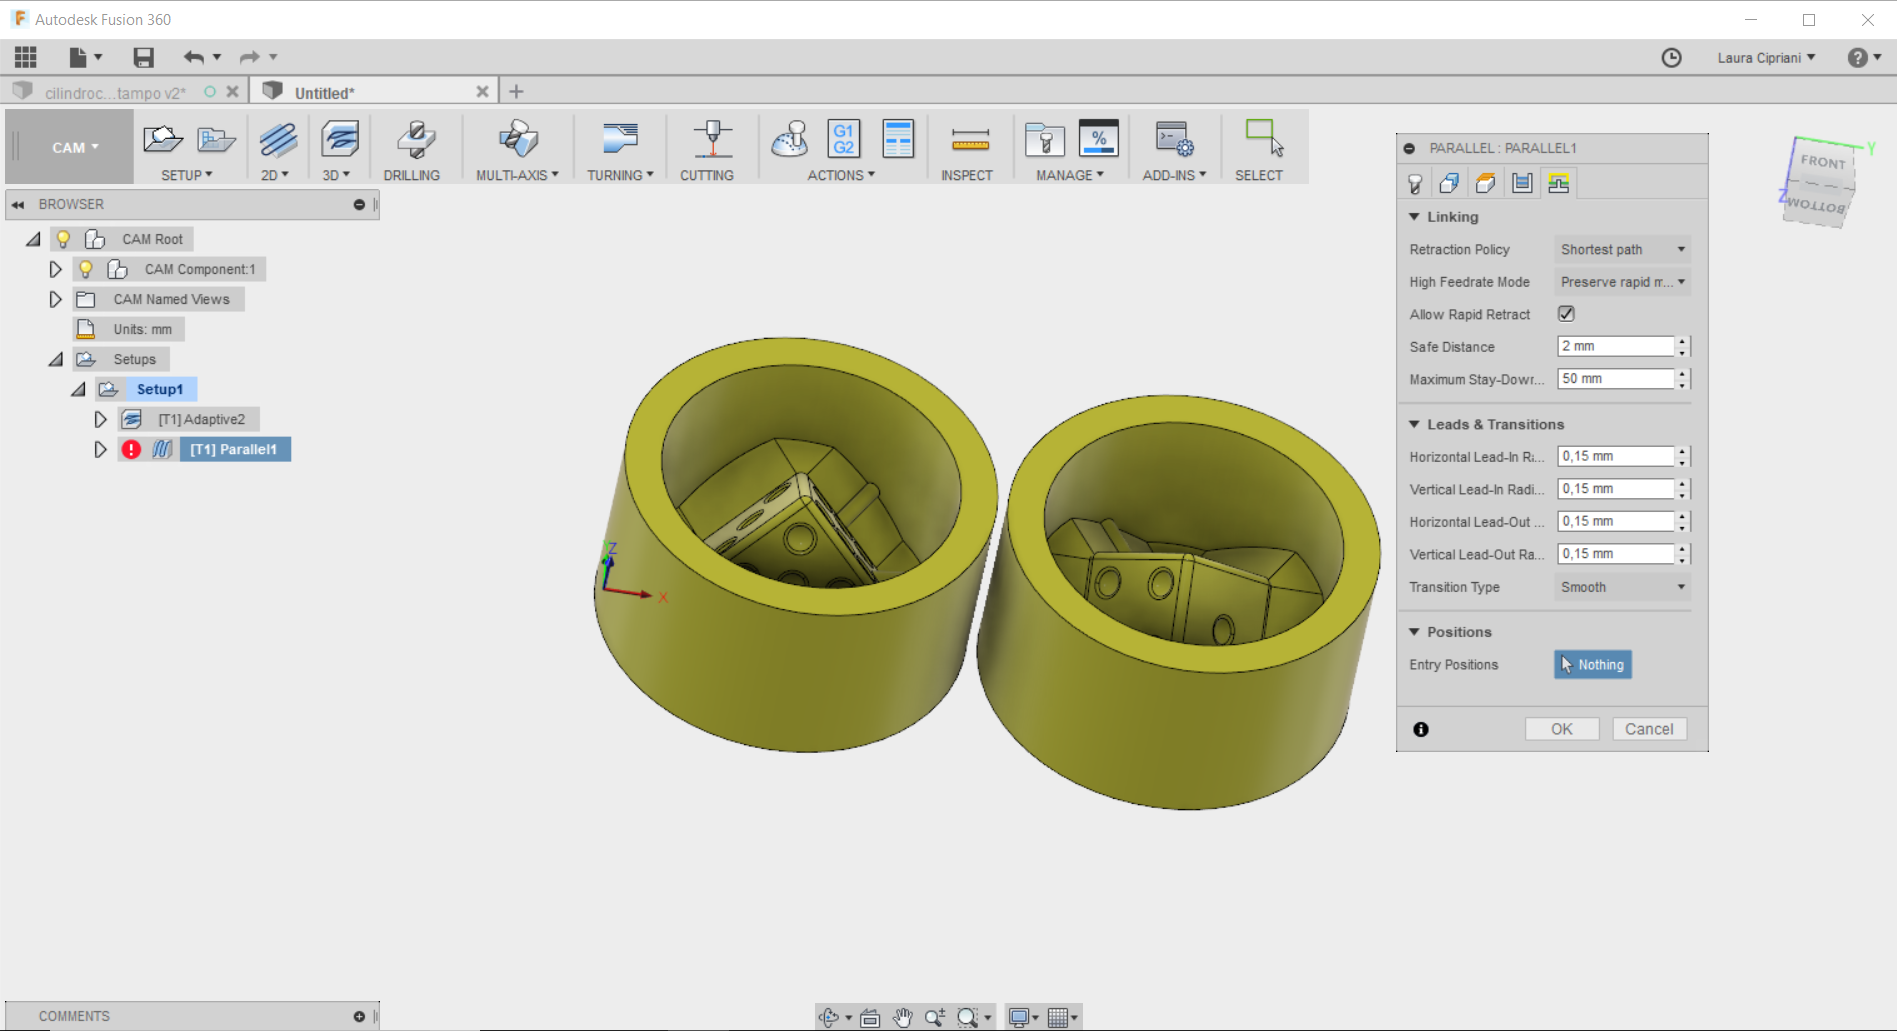
PARALLEL OPERATION (direction 1): Below the screenshots of the first finishing operation carried out with a 1.5 mm diameter drill

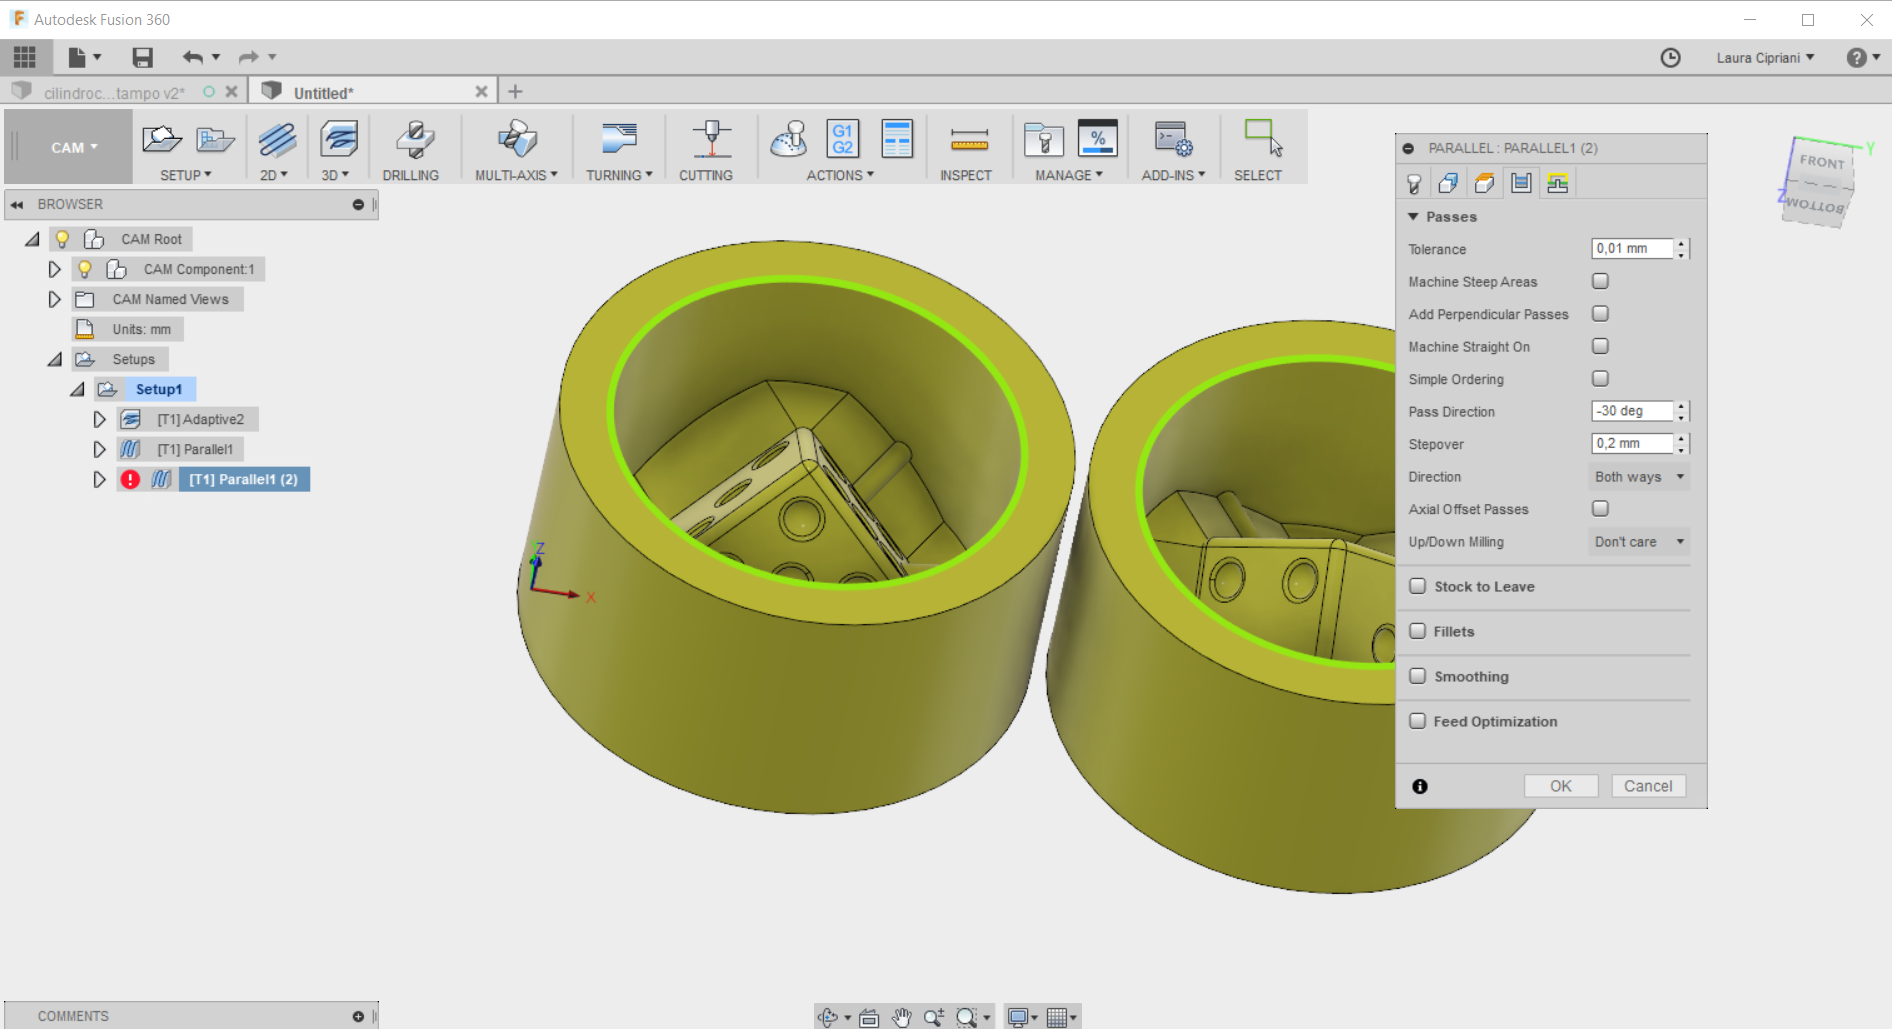
PARALLEL OPERATION (direction 2): This operation is exactly like the previous one but with an inclination of -30 rather than 30 degrees. Thus the piece is completely finished.
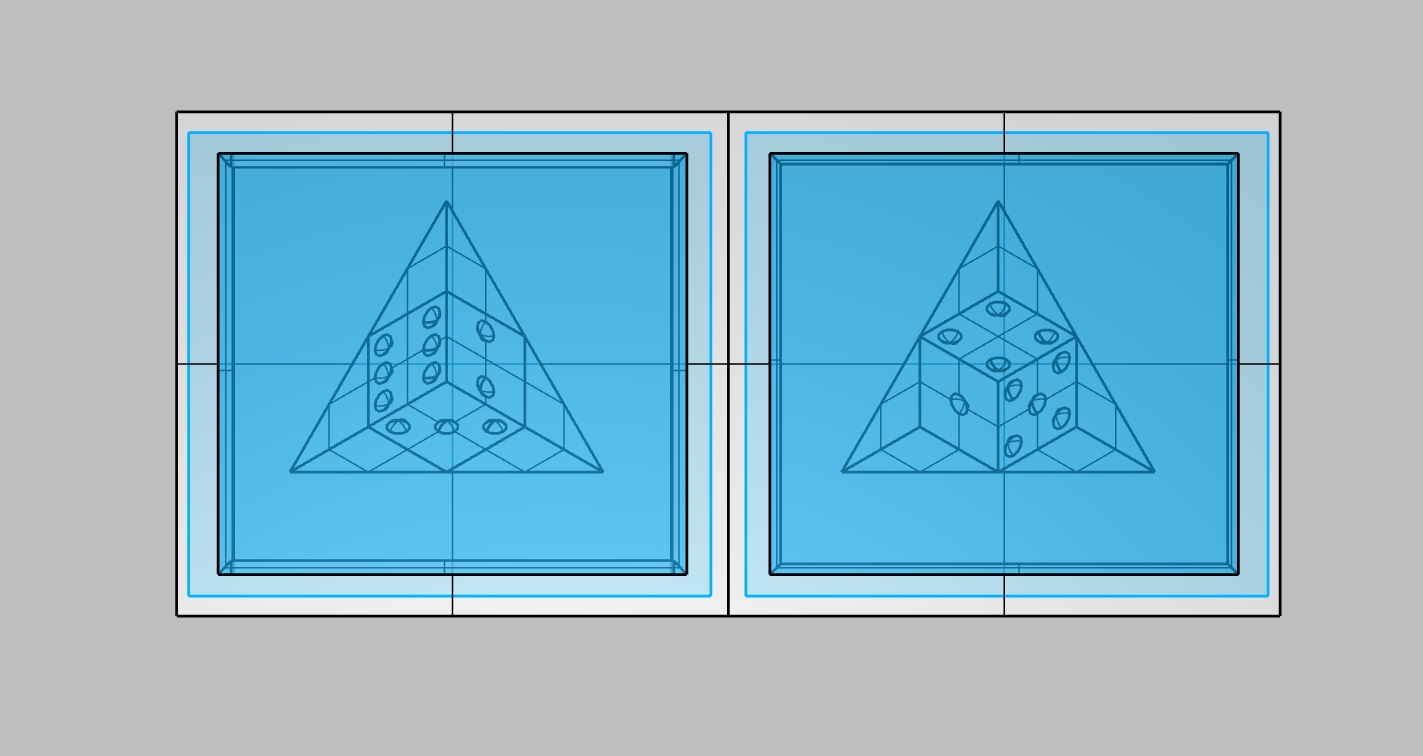
PREVIEW
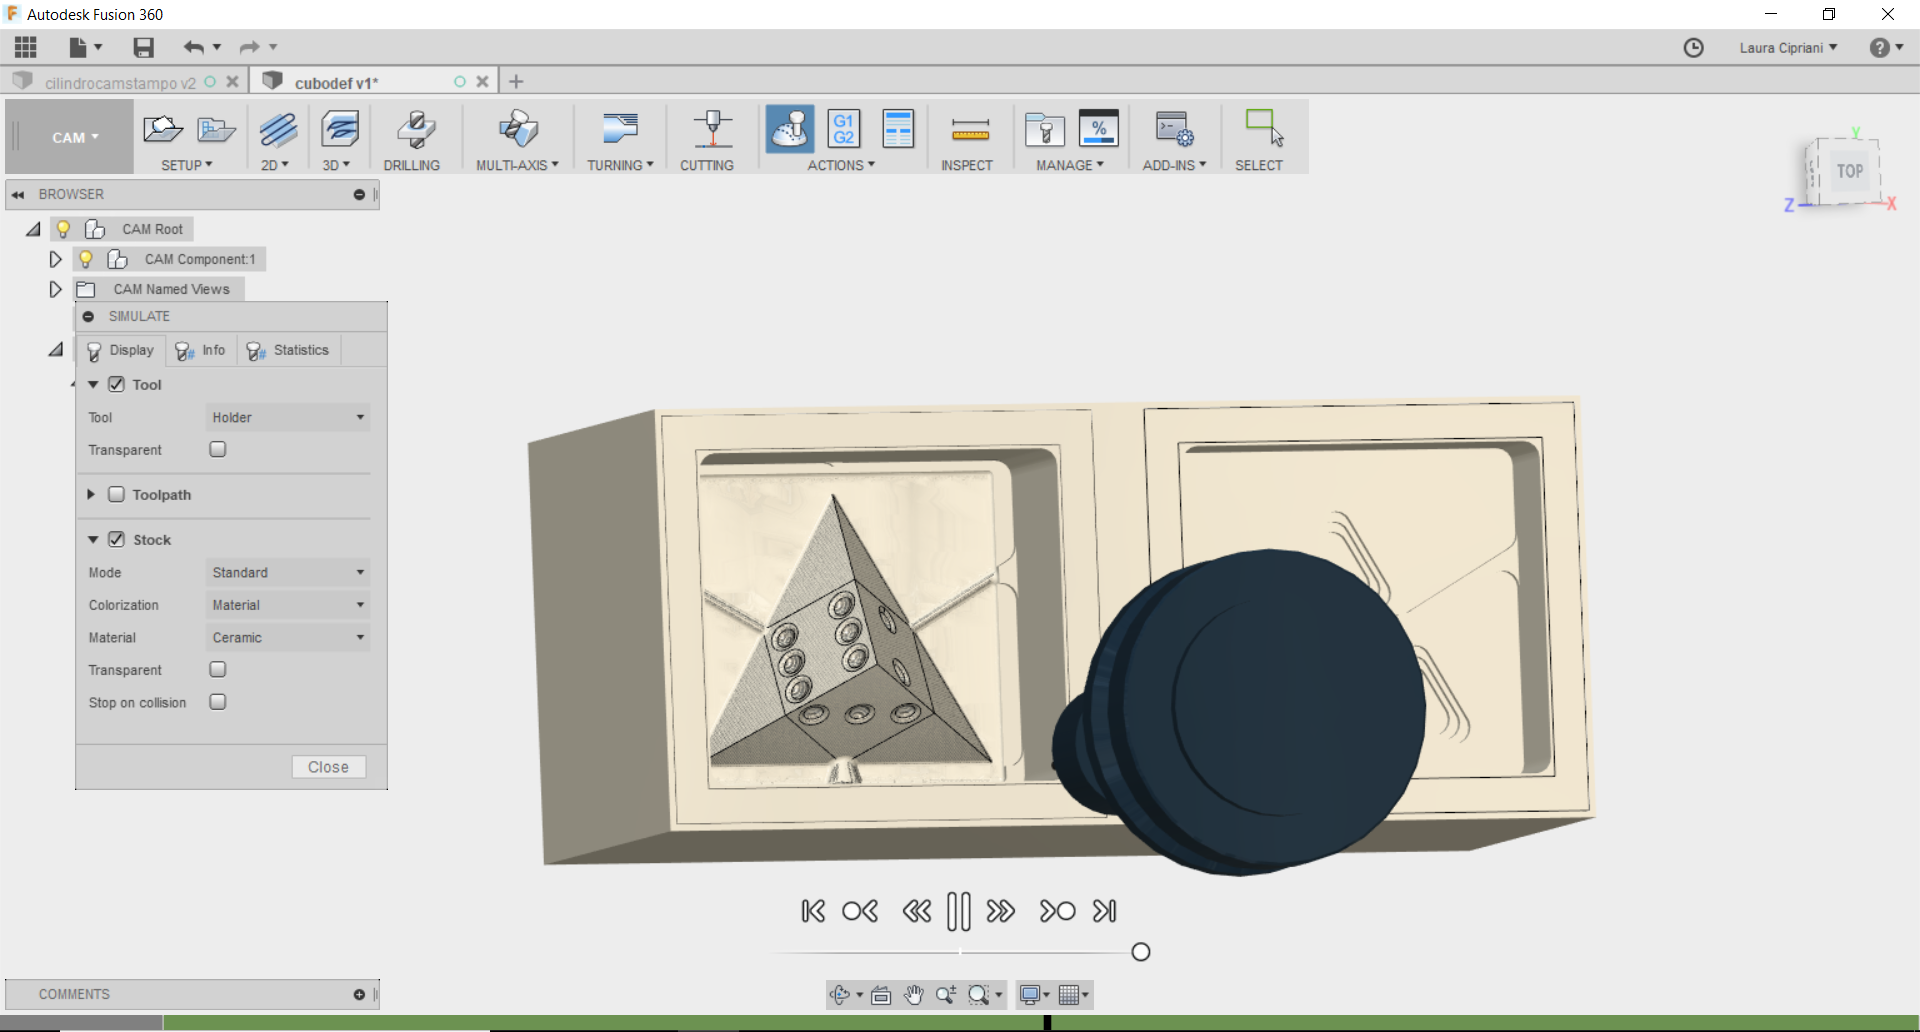
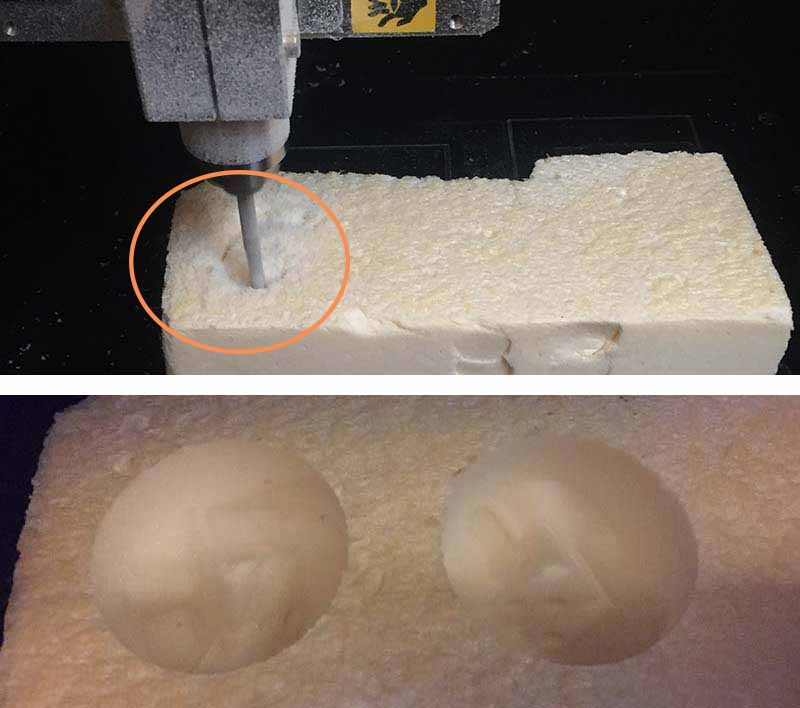
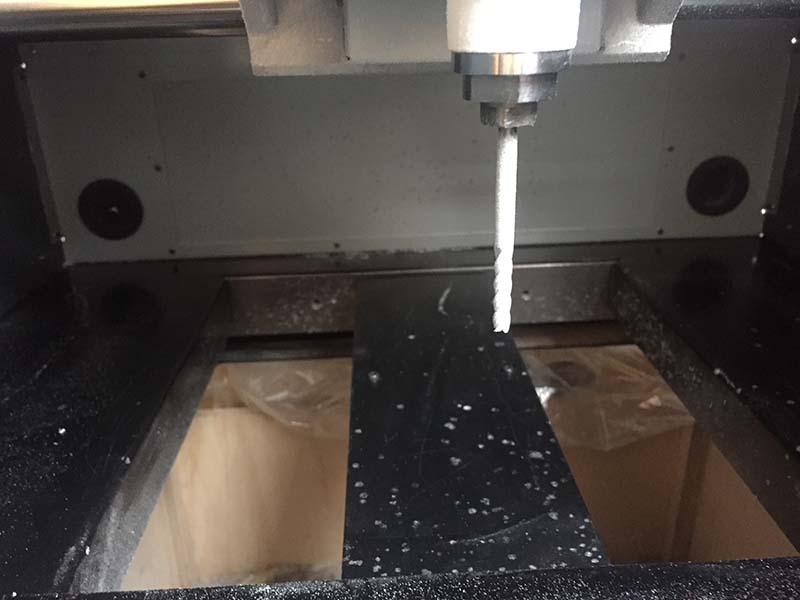
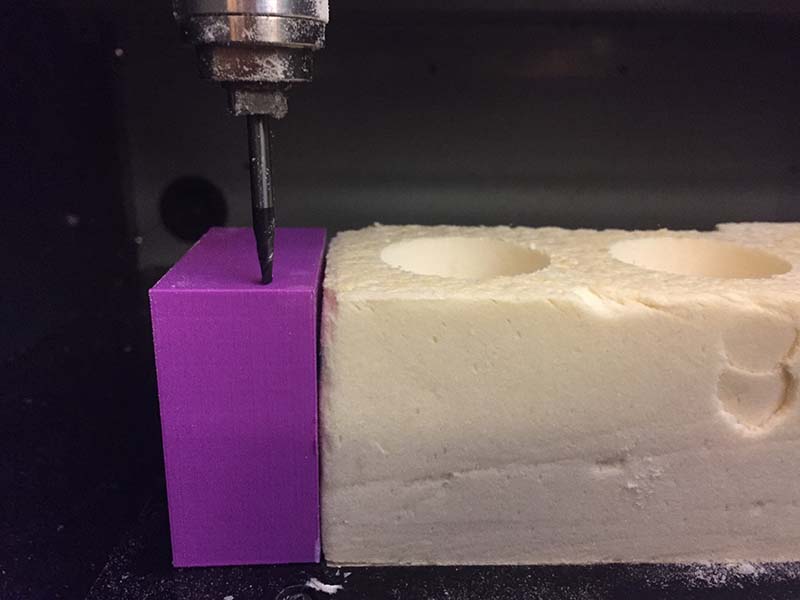
Milling the master: Milling part
MILLING ADAPTIVE OPERATION:
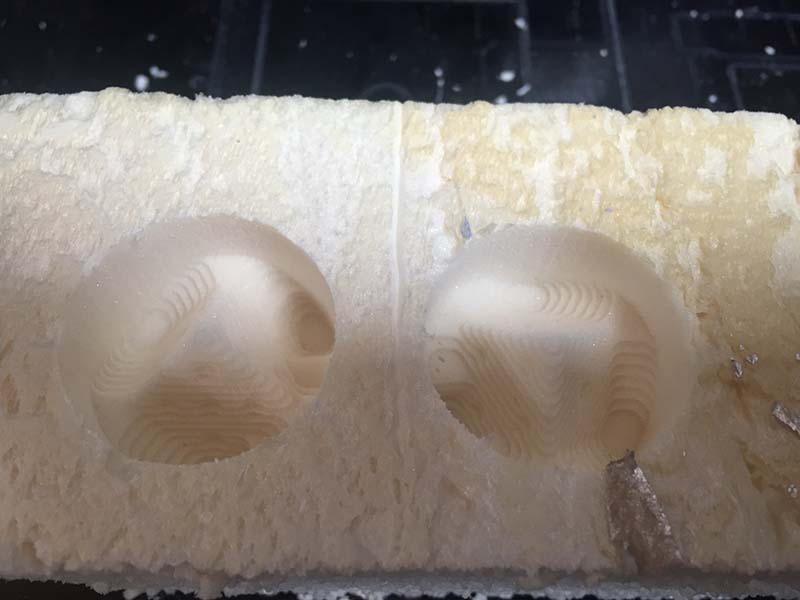
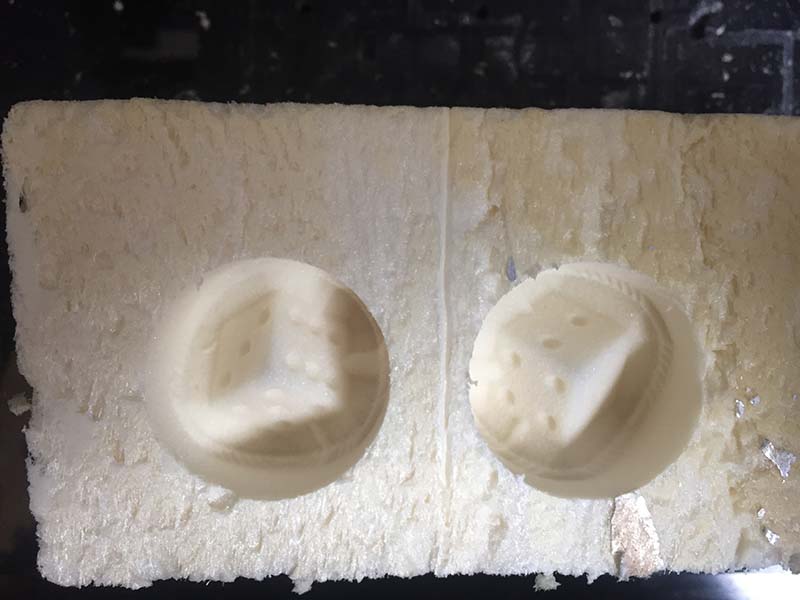
MILLING PARALLEL 1 and 2 OPERATION:
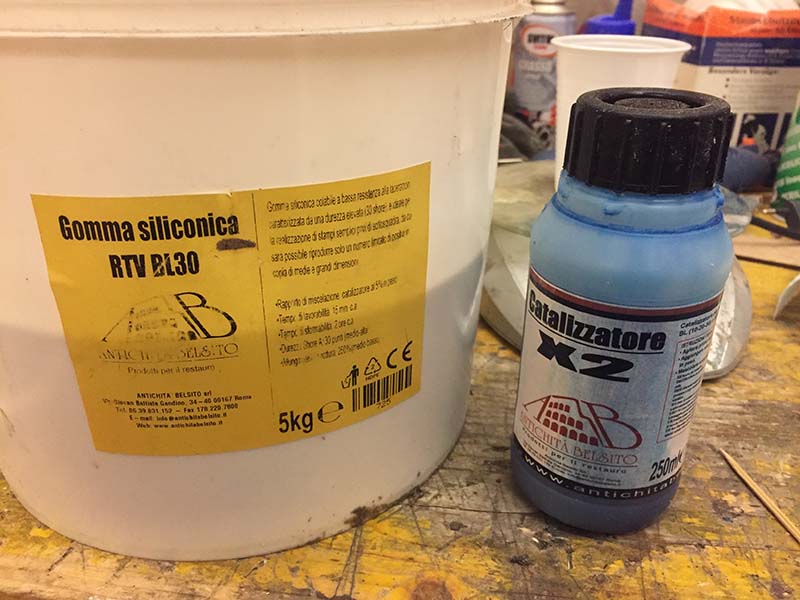
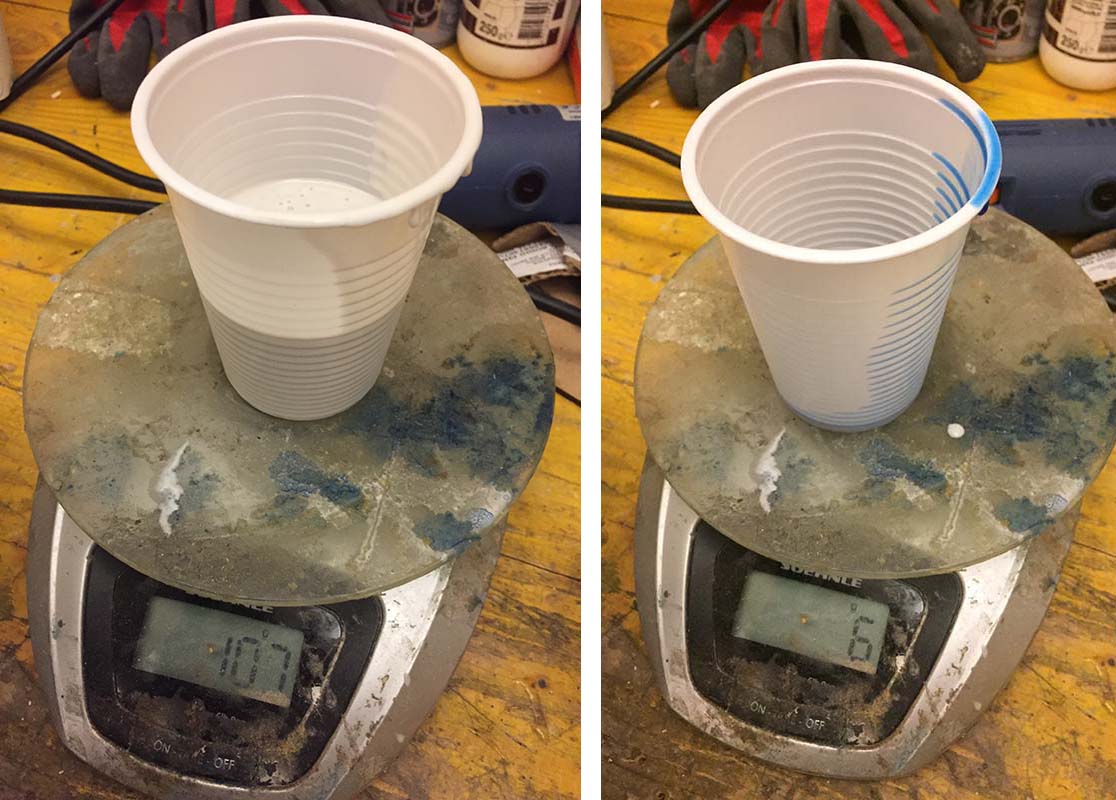
Molding: silicon rubber casting
Datasheet of material, link to shop.
Casting: ceramic plaster casting
In Group assignment we test different material but I chose this mainly because it is not a plastic material. I decided to use ceramic plaster because it is very effective on small objects, it's cheap, easily available, easy to pour and safer than resins. I also like sound of the final resoult. The technical data sheet of this material is in Italian, I translate the most important information to explain the casting process.
Datasheet of material, link to shop.
This material is convenient because it can dry very quickly (it is mixed with water that is always available) it is not toxic. Warms during the hardening process but not enough to be considered dangerous in these quantities, it is suitable for children (who do not have to inhale it).
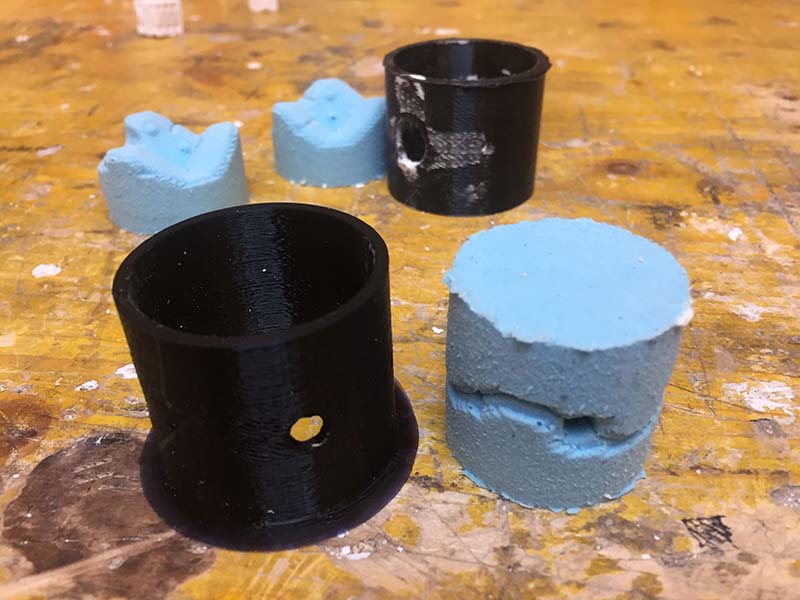
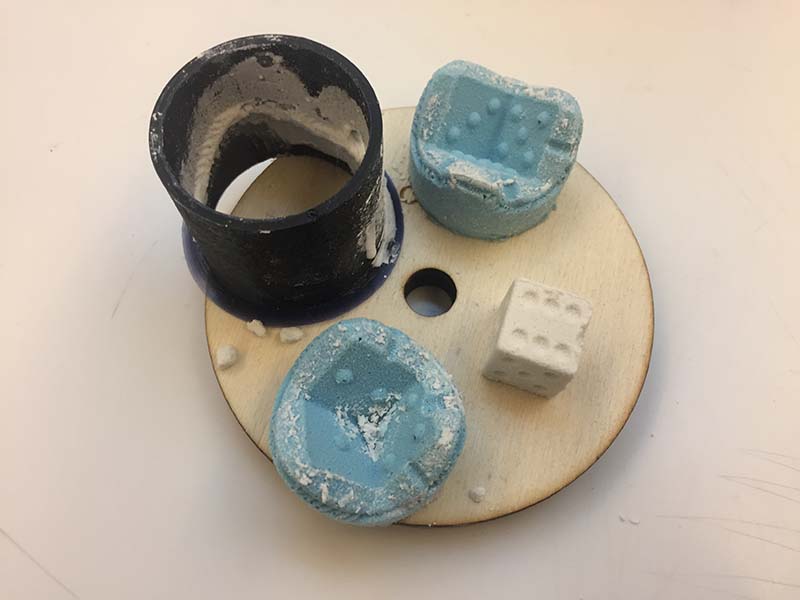
Once it has been mixed, it is sufficient to close the mold, place it in the specially printed support in 3d and pour it from the hole, with a syringe if it is not very precise. The difficulty is that this mold is very soft so you have to be very careful not to deform it so as not to deform the piece. (The plaster tends to open it).
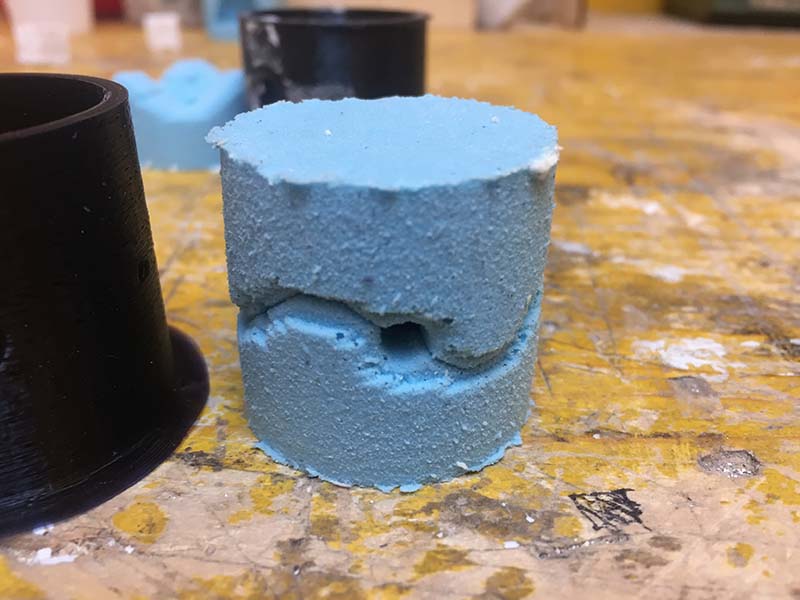
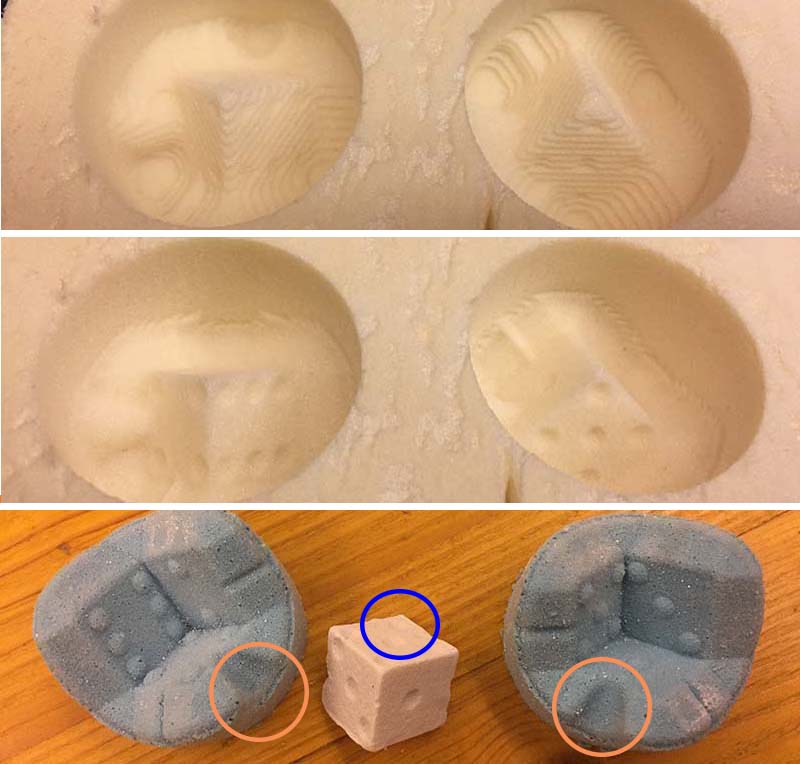
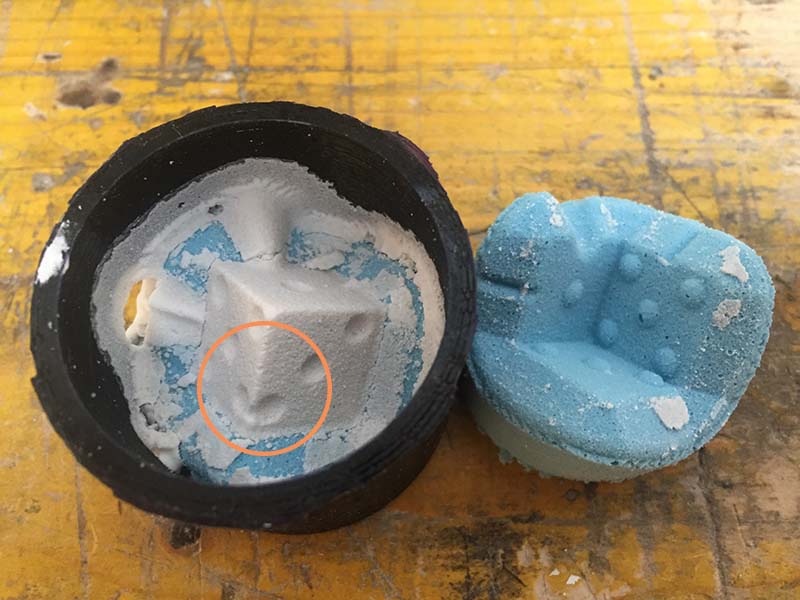
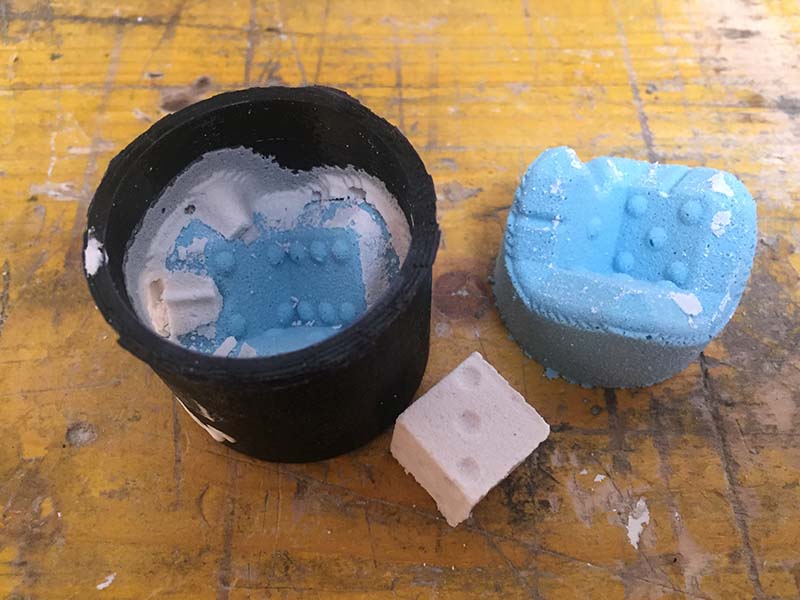
Result VERSION 1: (not correct)
Only once removed the piece from the mold I realized that the income of the numbers were too close to the edge and therefore could "eat" from the casting.
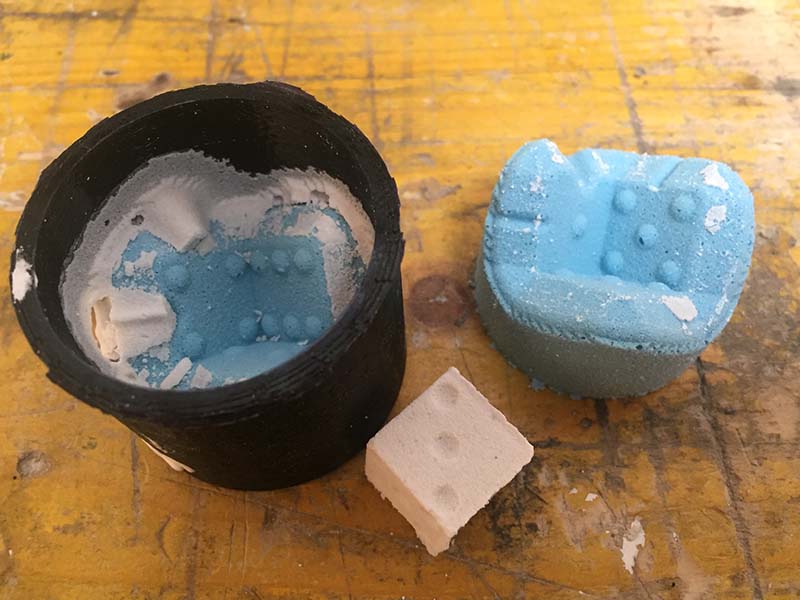
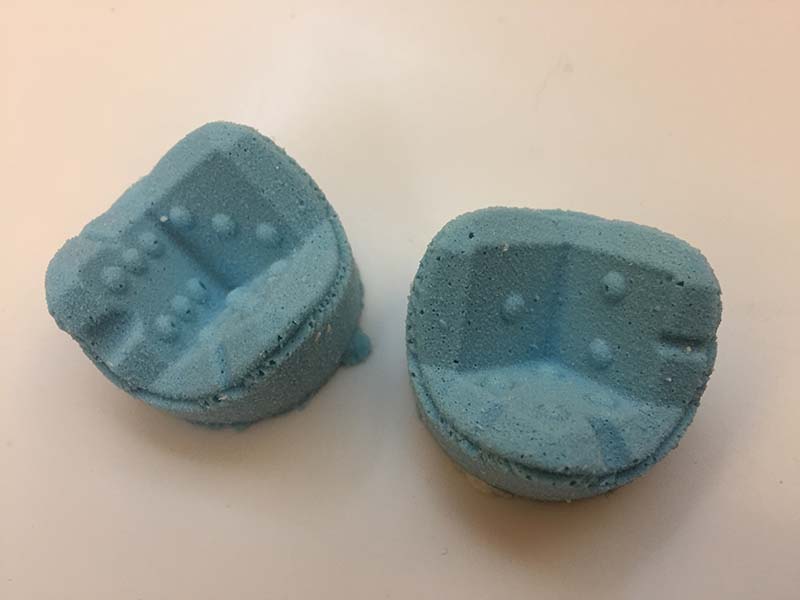
Result VERSION 2: (CORRECT)
I milled a new Master, cast a new mold and tried again with that. The difference in the picture seems very little but I guarantee you that you can perceive from the truth.