Week 13

interfasing and prorgamme
This week we got introduced into the interface application and also communication protocols.The assignment in this week is write an application that interfaces with an input or output devices that i made and compare many options.
My idea for this week is to create an app and a board which can talk together with the help of bluetooth.So first I started to make the app.
introducing mit app inventor

MIT app inventor is a place where we can make apps which can connect to wifi servers and even bluetooth modules.
App inventor have two parts,the app inventor designer,where you select the components for your app and the app inventor blocks editor,where you assemble programme blocks that specify how the components behave.
I am using the MIT app inventor to control a led with my phone.
UI Design
The App Inventor Components are located on the left hand side of the Designer Window under the title Palette. Components are the basic elements you use to make apps on the Android phone. They're like the ingredients in a recipe. Some components are very simple, like a Label component, which just shows text on the screen, or a Button component that you tap to initiate an action.
here we are using hc05
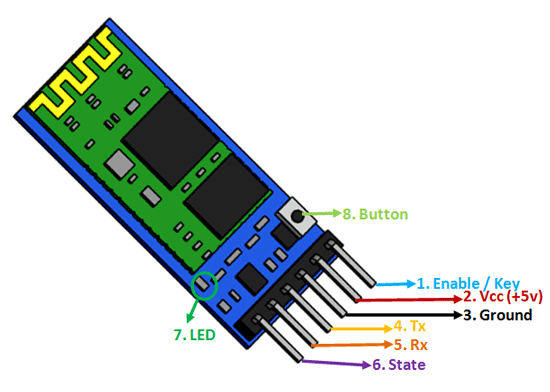
HC‐05 module is an easy to use Bluetooth SPP (Serial Port Protocol) module,designed for transparent wireless serial connection setup.The HC-05 Bluetooth Module can be used in a Master or Slave configuration, making it a great solution for wireless communication.This serial port bluetooth module is fully qualified Bluetooth V2.0+EDR (Enhanced Data Rate) 3Mbps Modulation with complete 2.4GHz radio transceiver and baseband. It uses CSR Bluecore 04‐External single chip Rluetooth system with CMOS technology and with AFH (Adaptive Frequency Hopping Feature).

steps for making an app in MIT app inventor.
1.Take all the blocks which you want and keep it wherever you want.
2.Change the button colours and shapes to which you like.
3.You can change the text of the button.
now we are in the progamming block
1.First you should know what is your app for.
2.You need to drag all the blocks which you want and arrange the blocks in order..
3.You should change the options which is given in the box.eg. if you are writing or sending a text you should write the text in the bracket which is given in the text block.
4.attach all programming blocks together to make the programme.
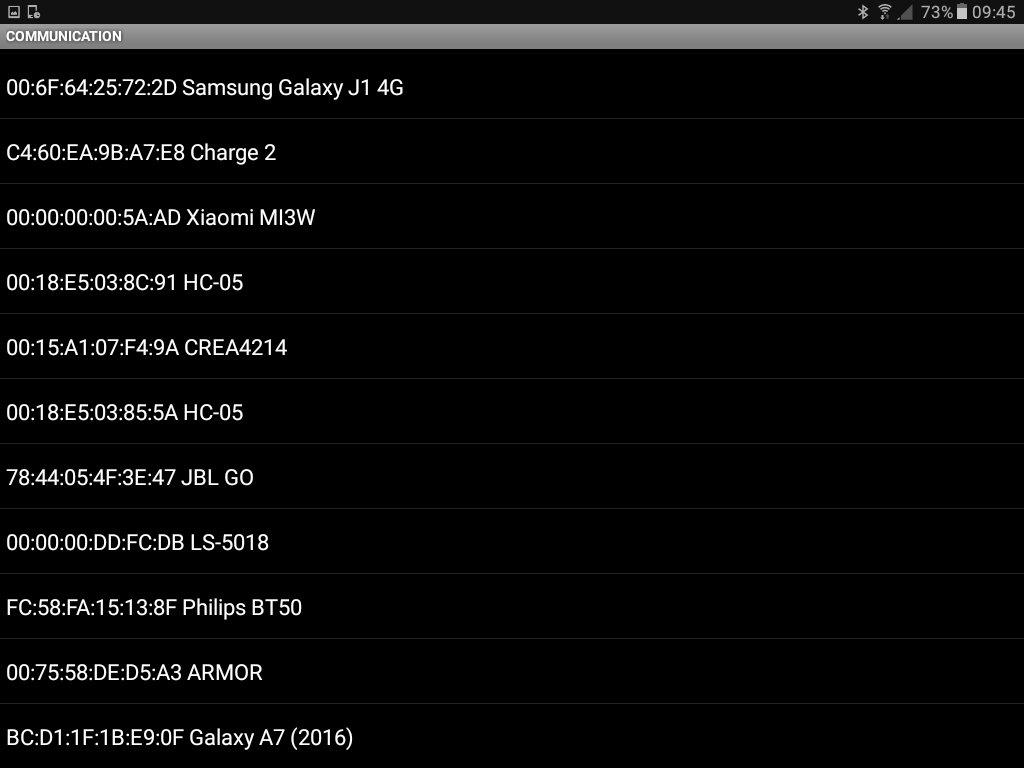
I used the listpicker for slecting the blue tooth module.List picker are in two states,one is before picking in which we are loading bluetooth names in the list,and the other is after picking here we are connecting the bluetooth device that loaded on the listpicker.
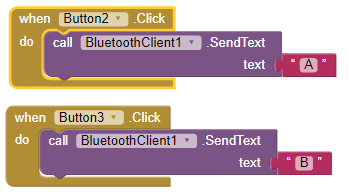
The two buttons are used for controlling LED.If we click a button bluetooth will transmit the message.
going to build the qr code and instal the app.
first you press this
Building Apk qr code will take less than one minute time.
now the qr code is ready
I decided to build a new board in this week
the board which i designed
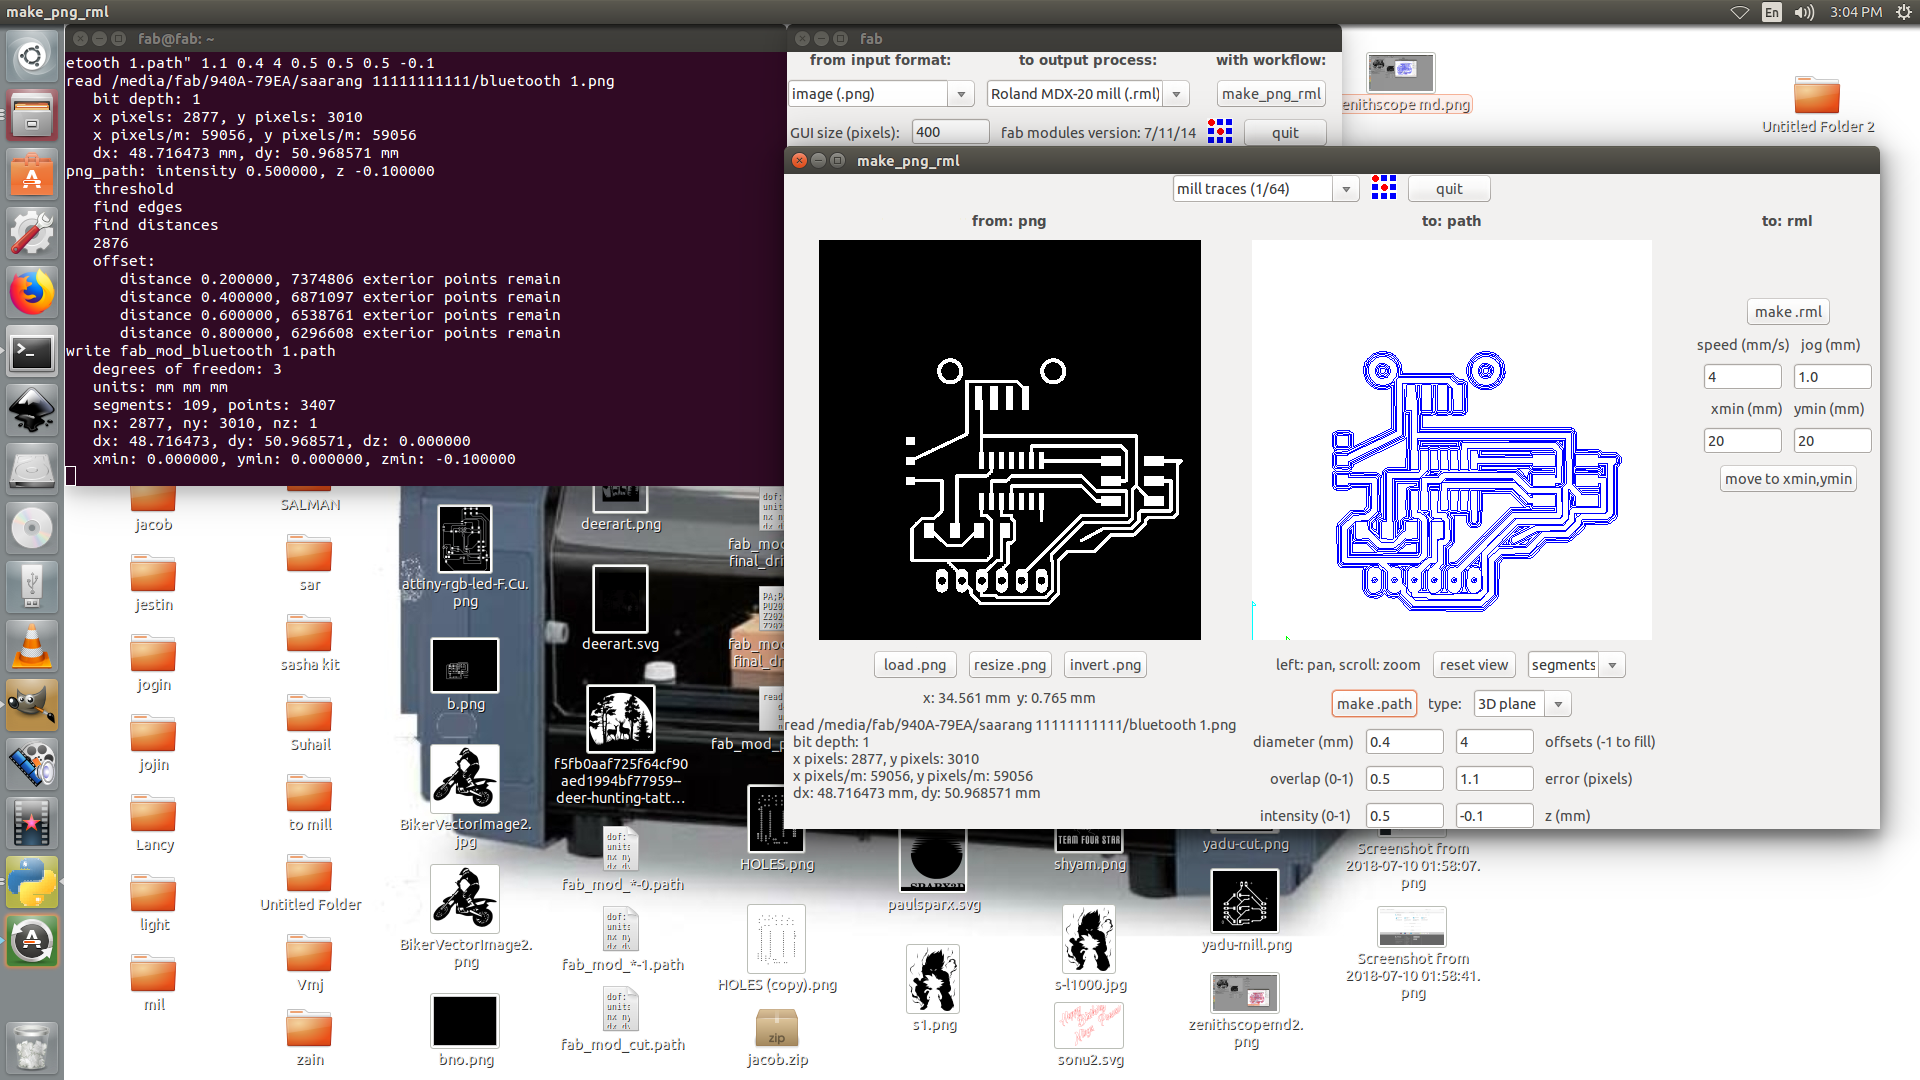
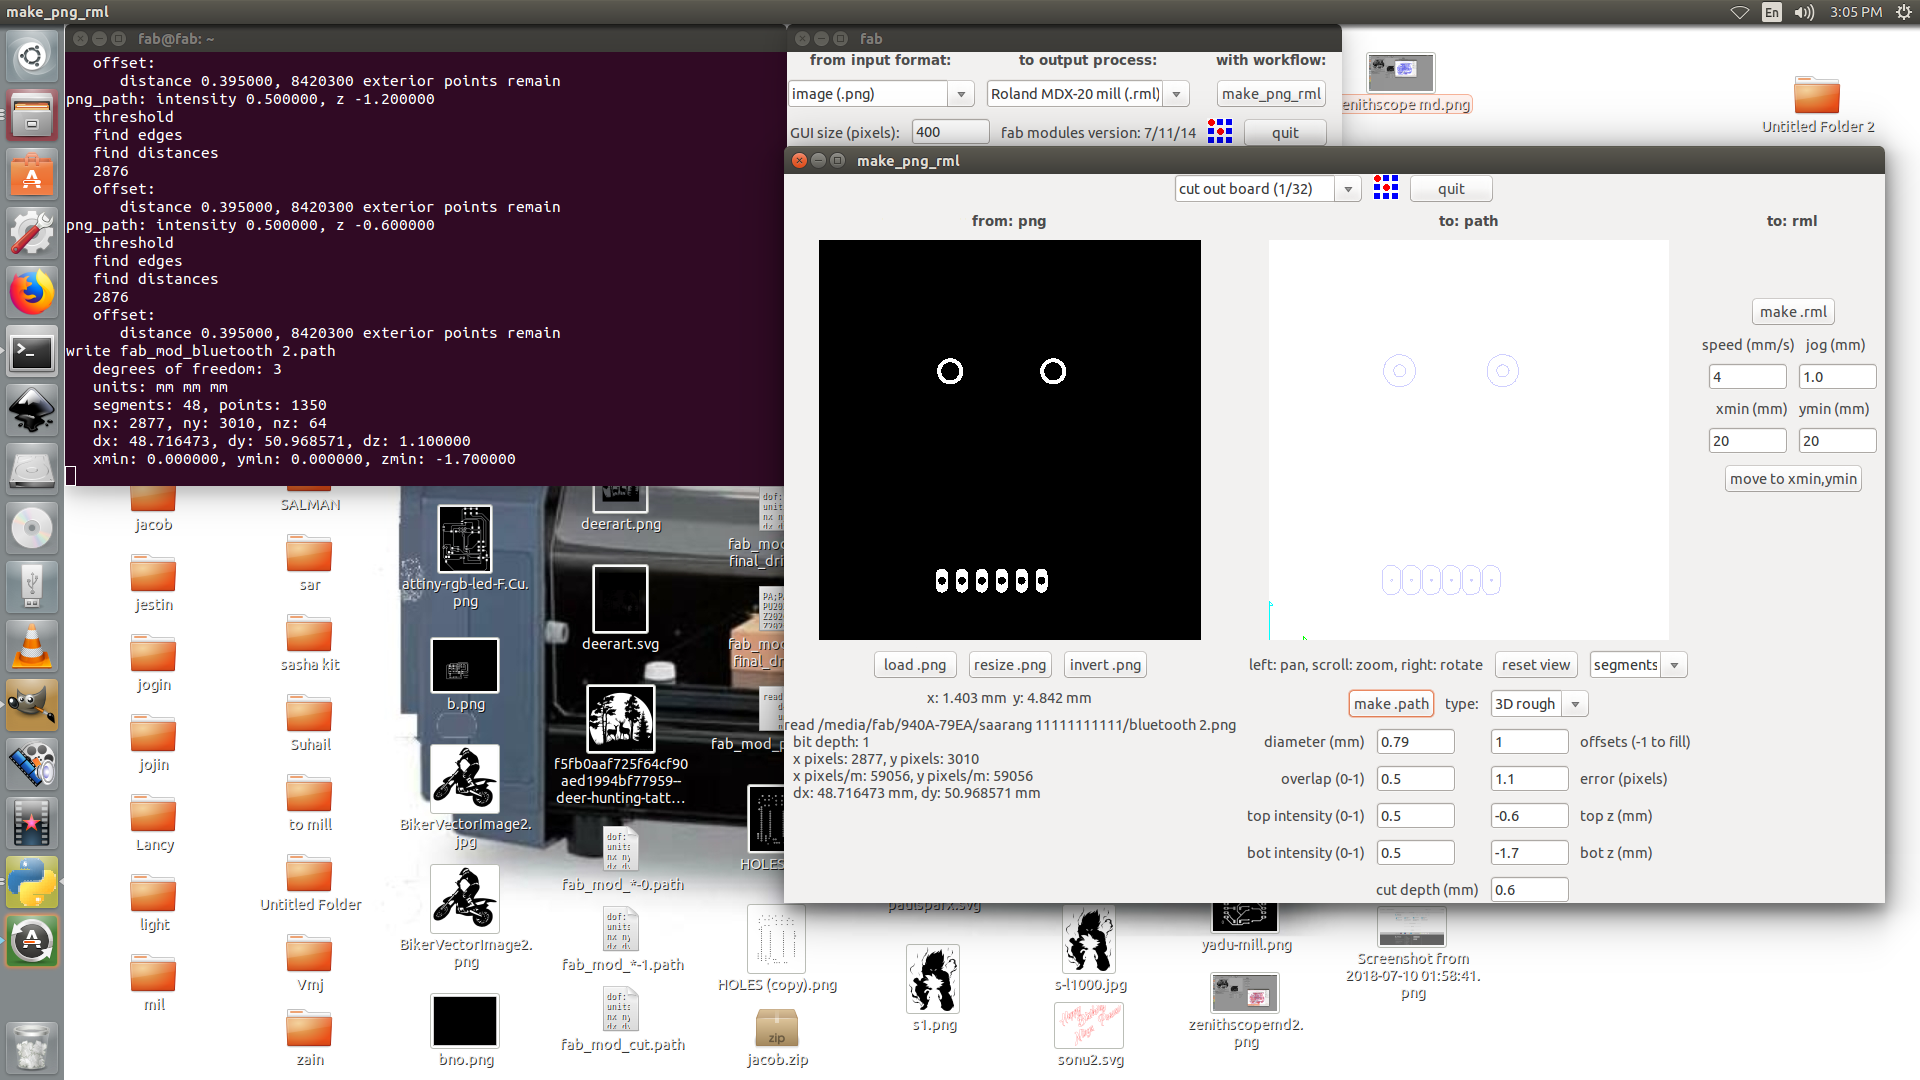
fab modules of the board
components used are
1.Attiny44
2.HC-05 bluetooth module.
3.2x3 ISP PinHeader.
4.slide switch.
5.blue LED,
6.resistor.
the final output

the programme
I am using arduino Serial.write function insted of Serial.println beacause i can't read the data from the other side using the Print beacuse it's send ASCII charactersso we can read easily but for passing the value to processing we need to make it bytes so that's why i used Serial.write .