
|
| Sukkur IBA University Merit, Quality, Excellence |
WEEK-4
Computer-Controlled Cutting
Lecture & Recitaton of a Week:
Lecture on 7th of February, 2018: Computer-Controlled Cutting by Neil Gershenfeld
Recitation on 12th of February, 2018: FAB Cities by Tomas Diez
Tasks for a Week
- group assignment: characterize your lasercutter, making test part(s) that vary cutting settings and dimensions
- individual assignment: cut something on the vinylcutter design, lasercut, and document a parametric press-fit construction kit, accounting for the lasercutter kerf, which can be assembled in multiple ways
Group Assignment
It is my first time to work on American brand laser cutting machine. This is 75 Watt CO2 laser cutting machine with a bed size of 32x20 inches. I am very much satisfied with the quality assurance and safety measures taken by Epilog (especially limit switches which prevent machine if someone opens the top cover while machine is in function). I already work on chineese brand 80 Watt 40x60 cm laser cutting machine. They are cheap in prices, work bit same but no safety measures.
For group assignment, we are using a material test card which we found from Material Test Card for Laser Cutting and Engraving. This card is helpful to document the machine performance on any material. We are using 4mm cardboard to test machine parameters. In this test we are checking its engraving power, engraving performance on different font sizes, cutting accuracy by cutting different size shapes and, parabolic and straight line flexes by varying line spacing.
Steps For Laser Cutting Machine
As per instructions we set cutting line strokes to 0.001 inches. Other vectors except 0.001 inches set to engrave with respect to their greyscale color. Then we convert our SVG file into PDF while setting page size to 32x20 inches from document properties and selecting 600 dpi as resolution for rasterization
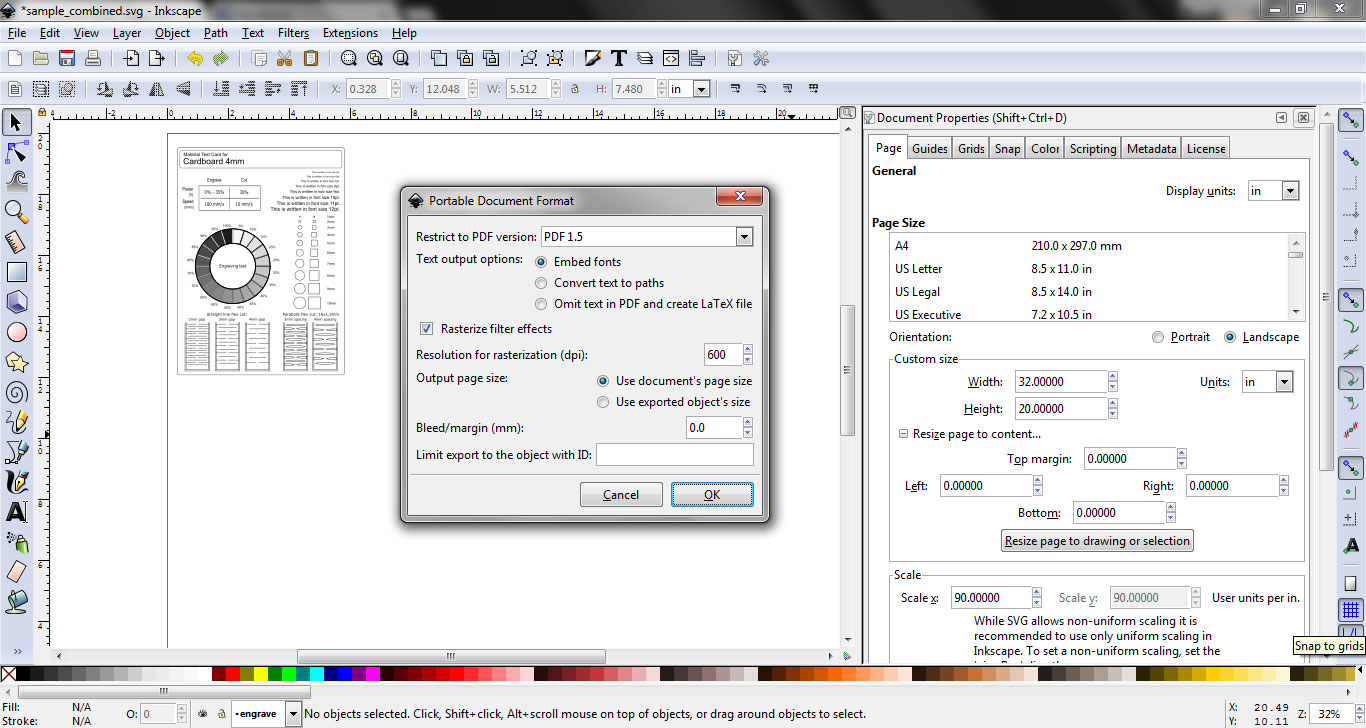
setting up file in svg and convert into pdf
After that we open PDF file and press Ctrl+P to open printing properties, we select "Epilog Engraver WinX64 Fusion" in Printer box and click "Properties"
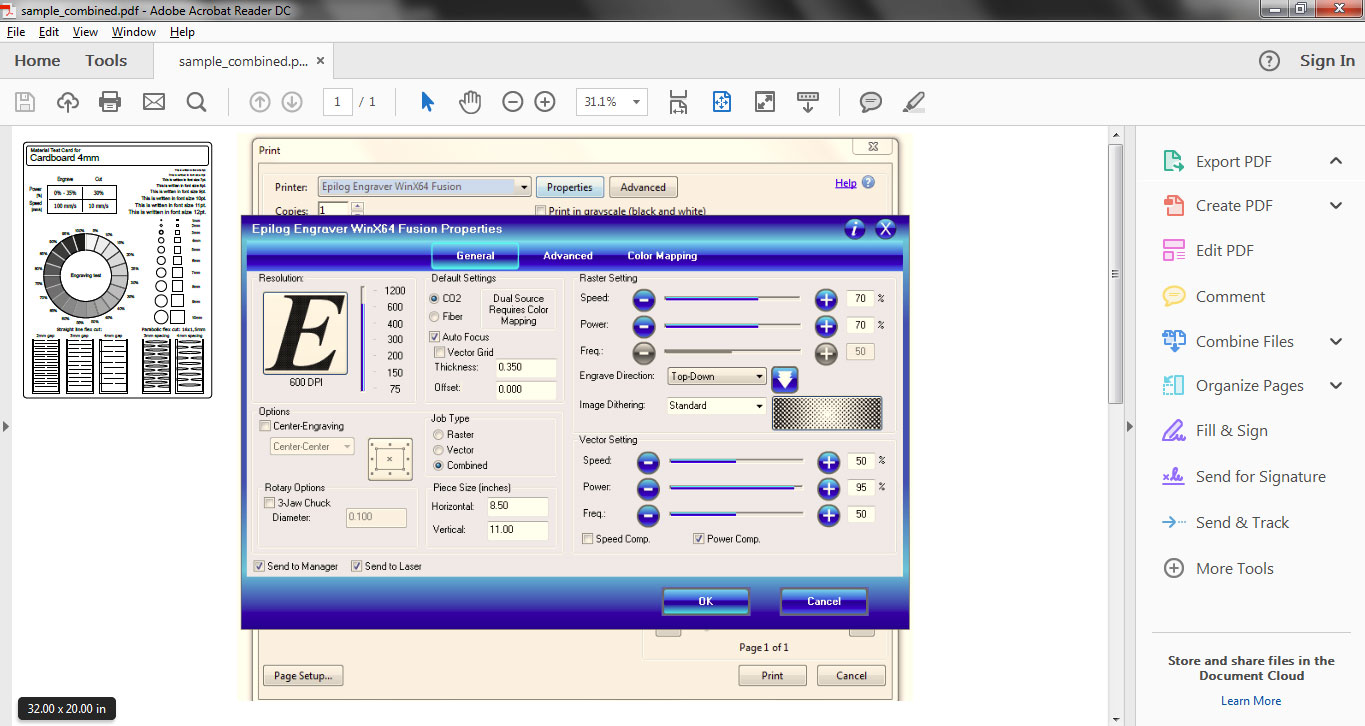
Epilog file properties menu to set Raster/Vector power and speed settings
We click on Combined in "Job Type" tab, then we set cutting power and speed to 30% and 10% respectively. We set raster power and speed both to 100% to judge full engraving power on engraving test. After setting up parameters for the job click "OK" and the job transfer to Epilog Job Manager.

Job information in Epilog Job Manager
For setting up our given job on machine bed, we clicked on "preview" and change the location of the job by dragging the image in preview menu and set where we need it on Laser machine bed.
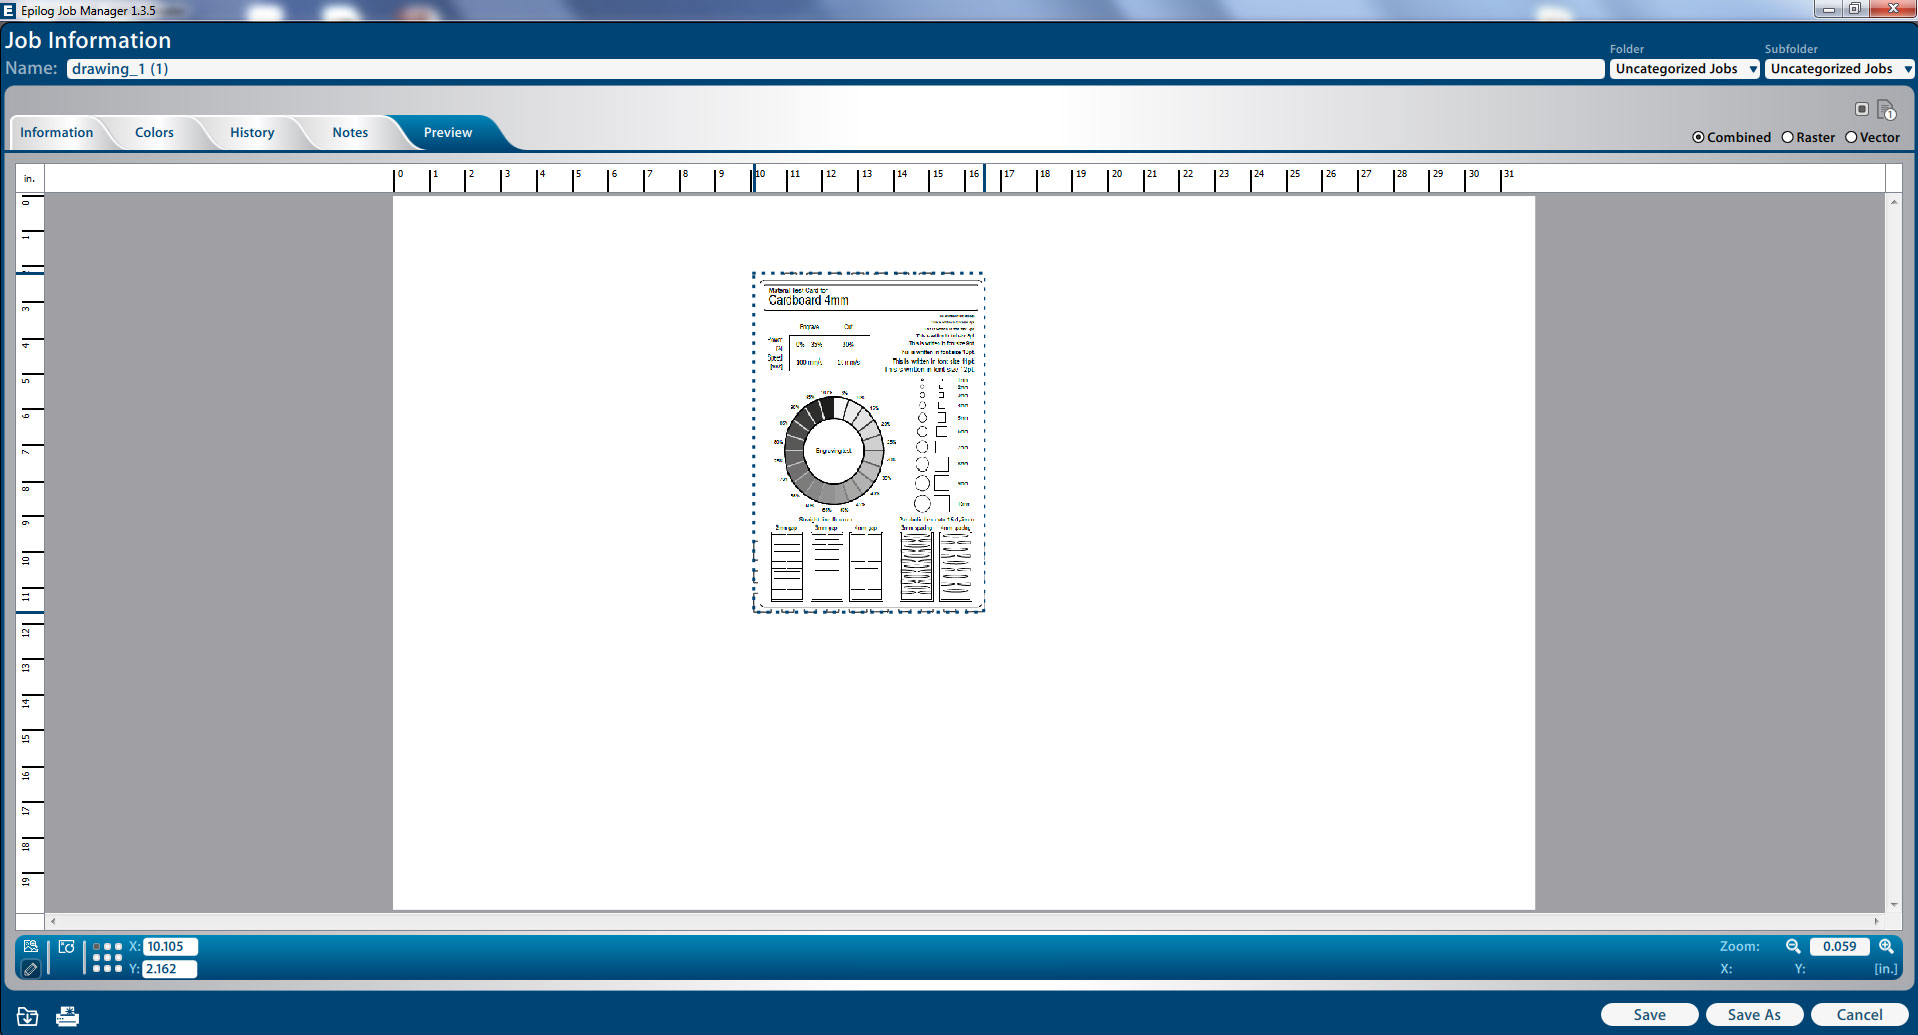
Job Preview Window
After selecting the location click "Save" the new information will save in job, click on "print" (top left corner in Epilog Job Manager) to transfer job to laser cutting machine.
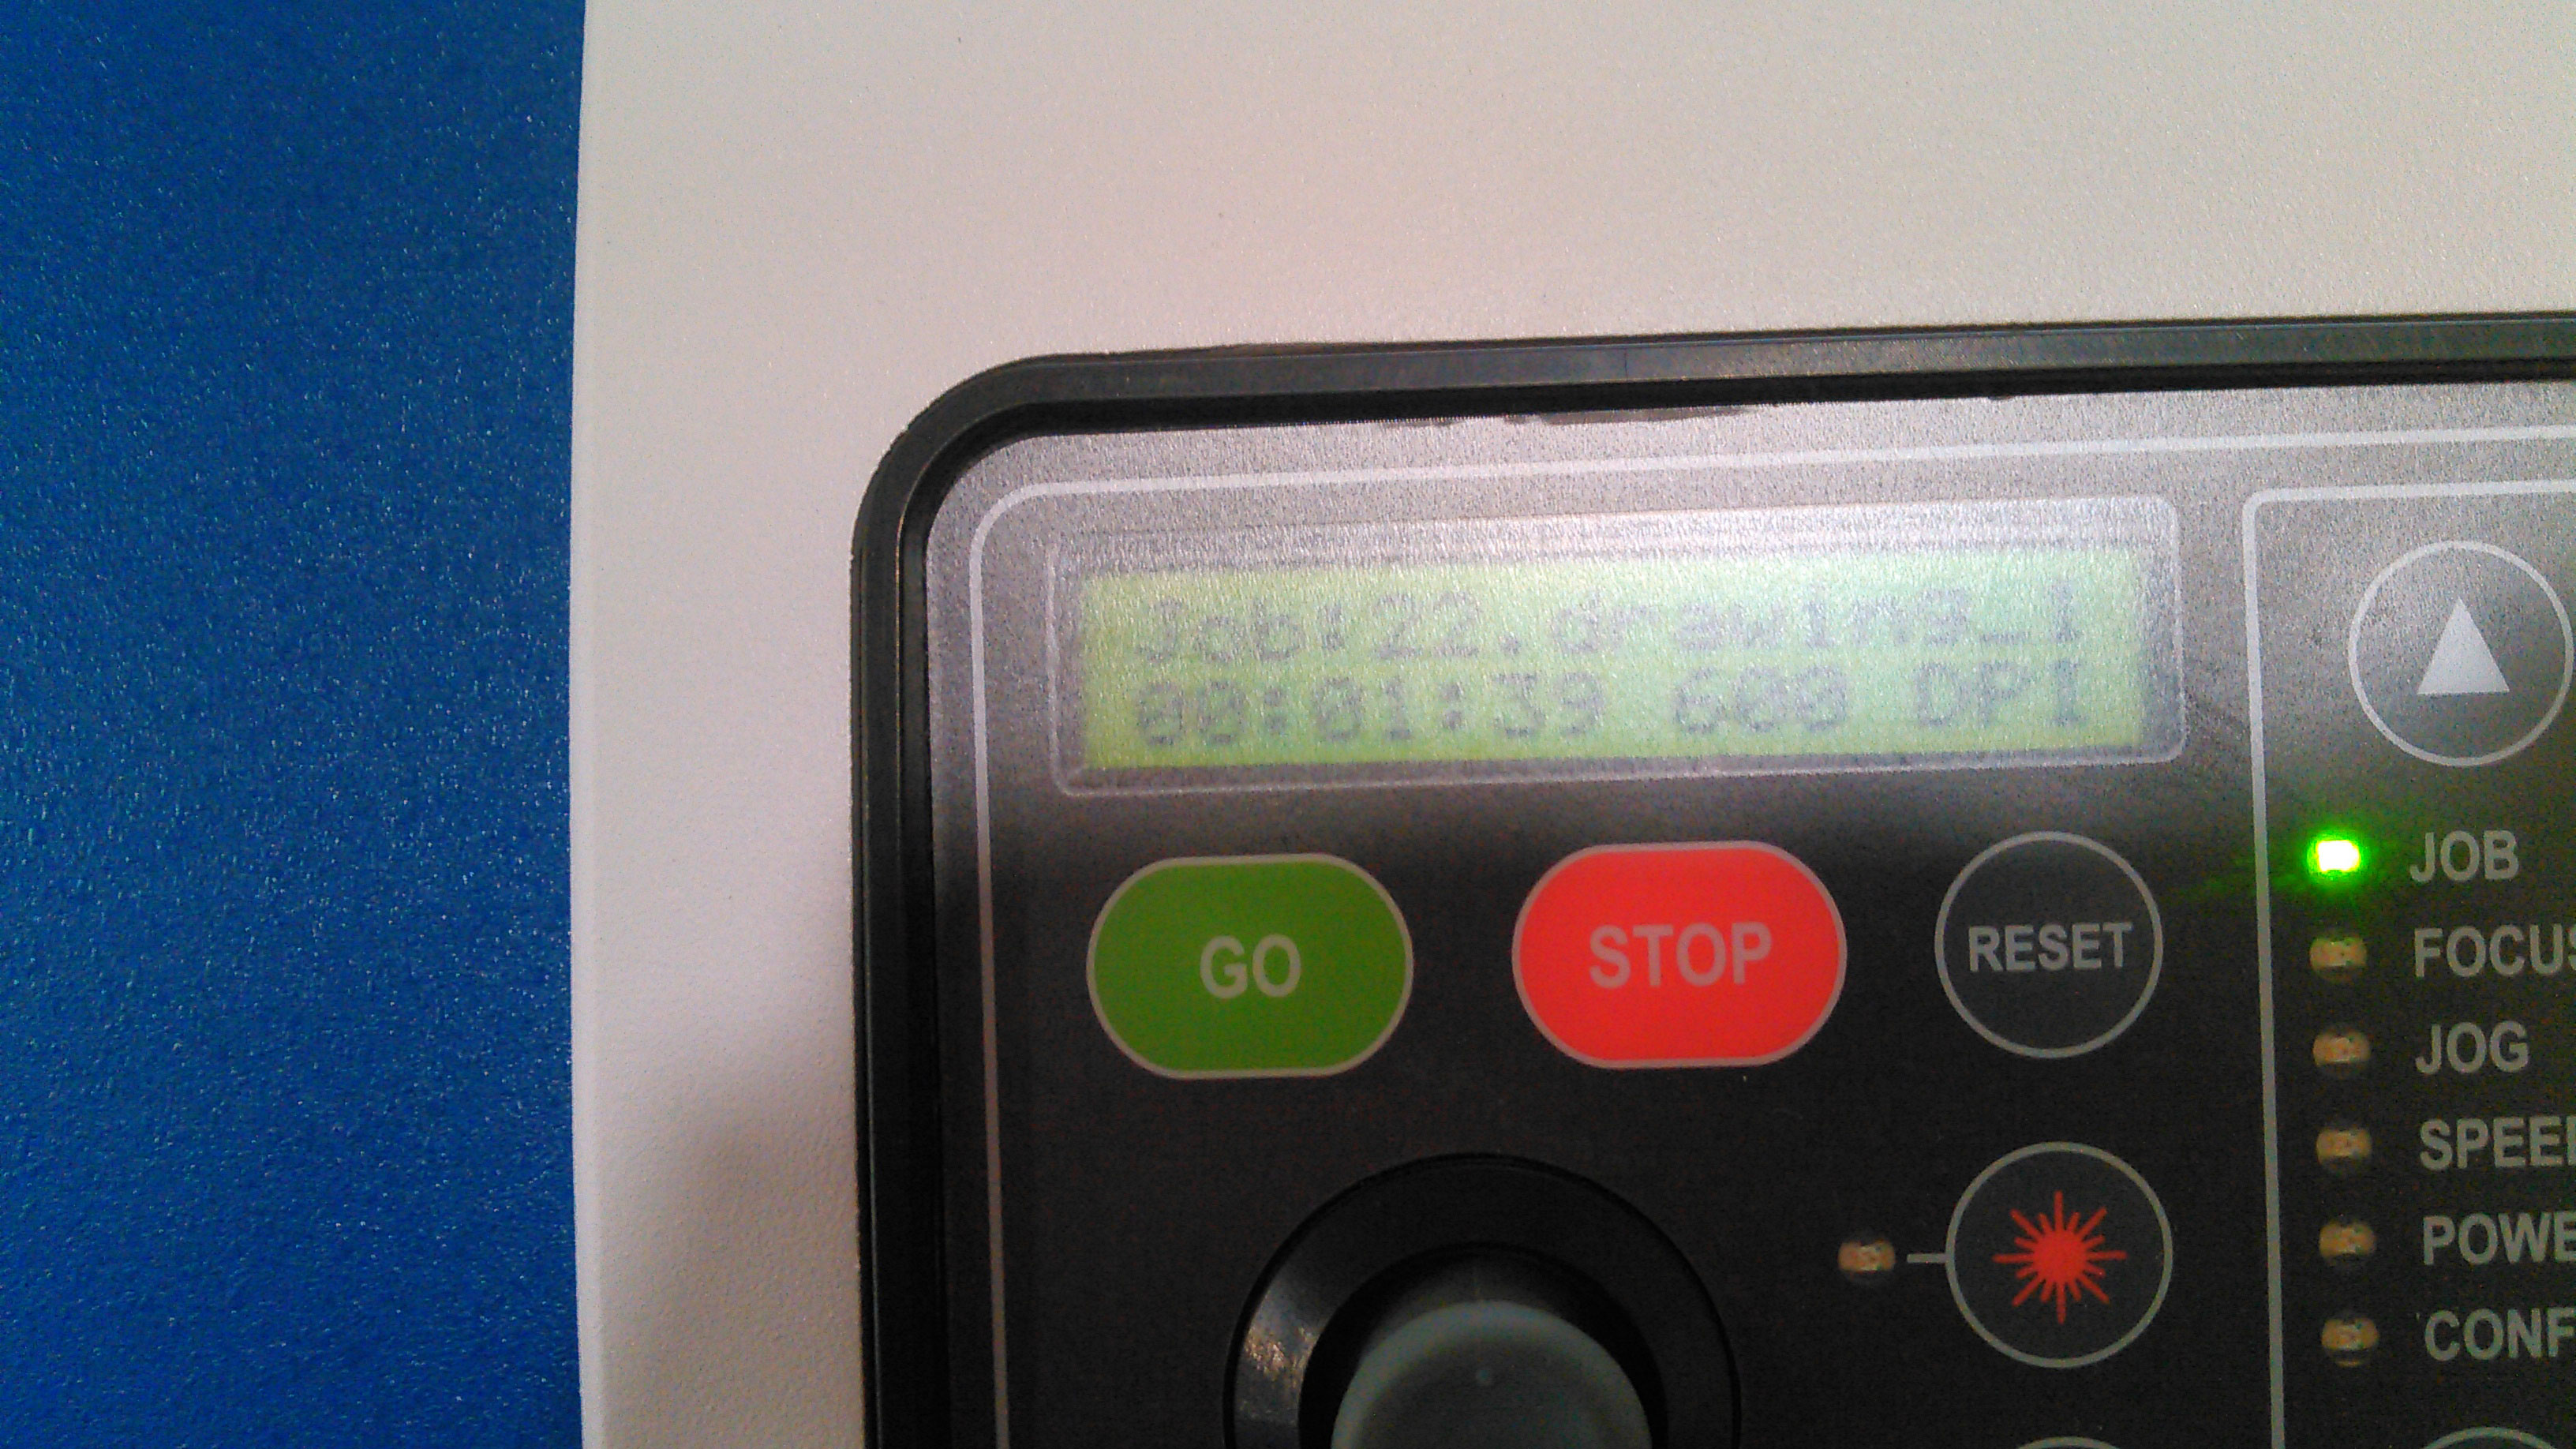
Display of job information on Laser Cutting Machine panel
Press "GO" on machine panel and leave rest of the work on machine.
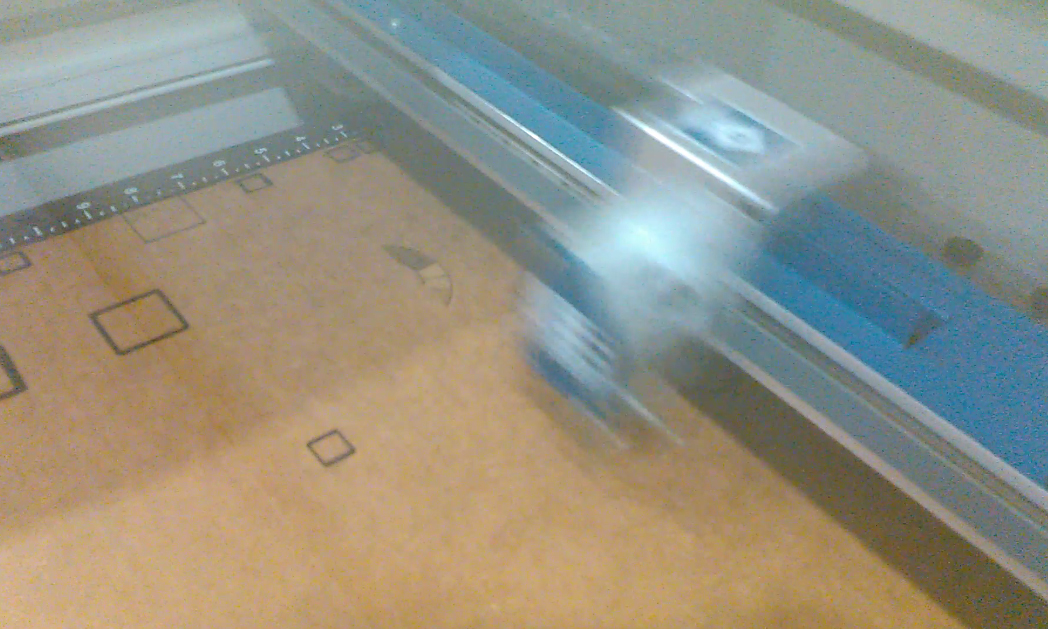
Laser Cutting Machine while working on Job
The perfect End Result.
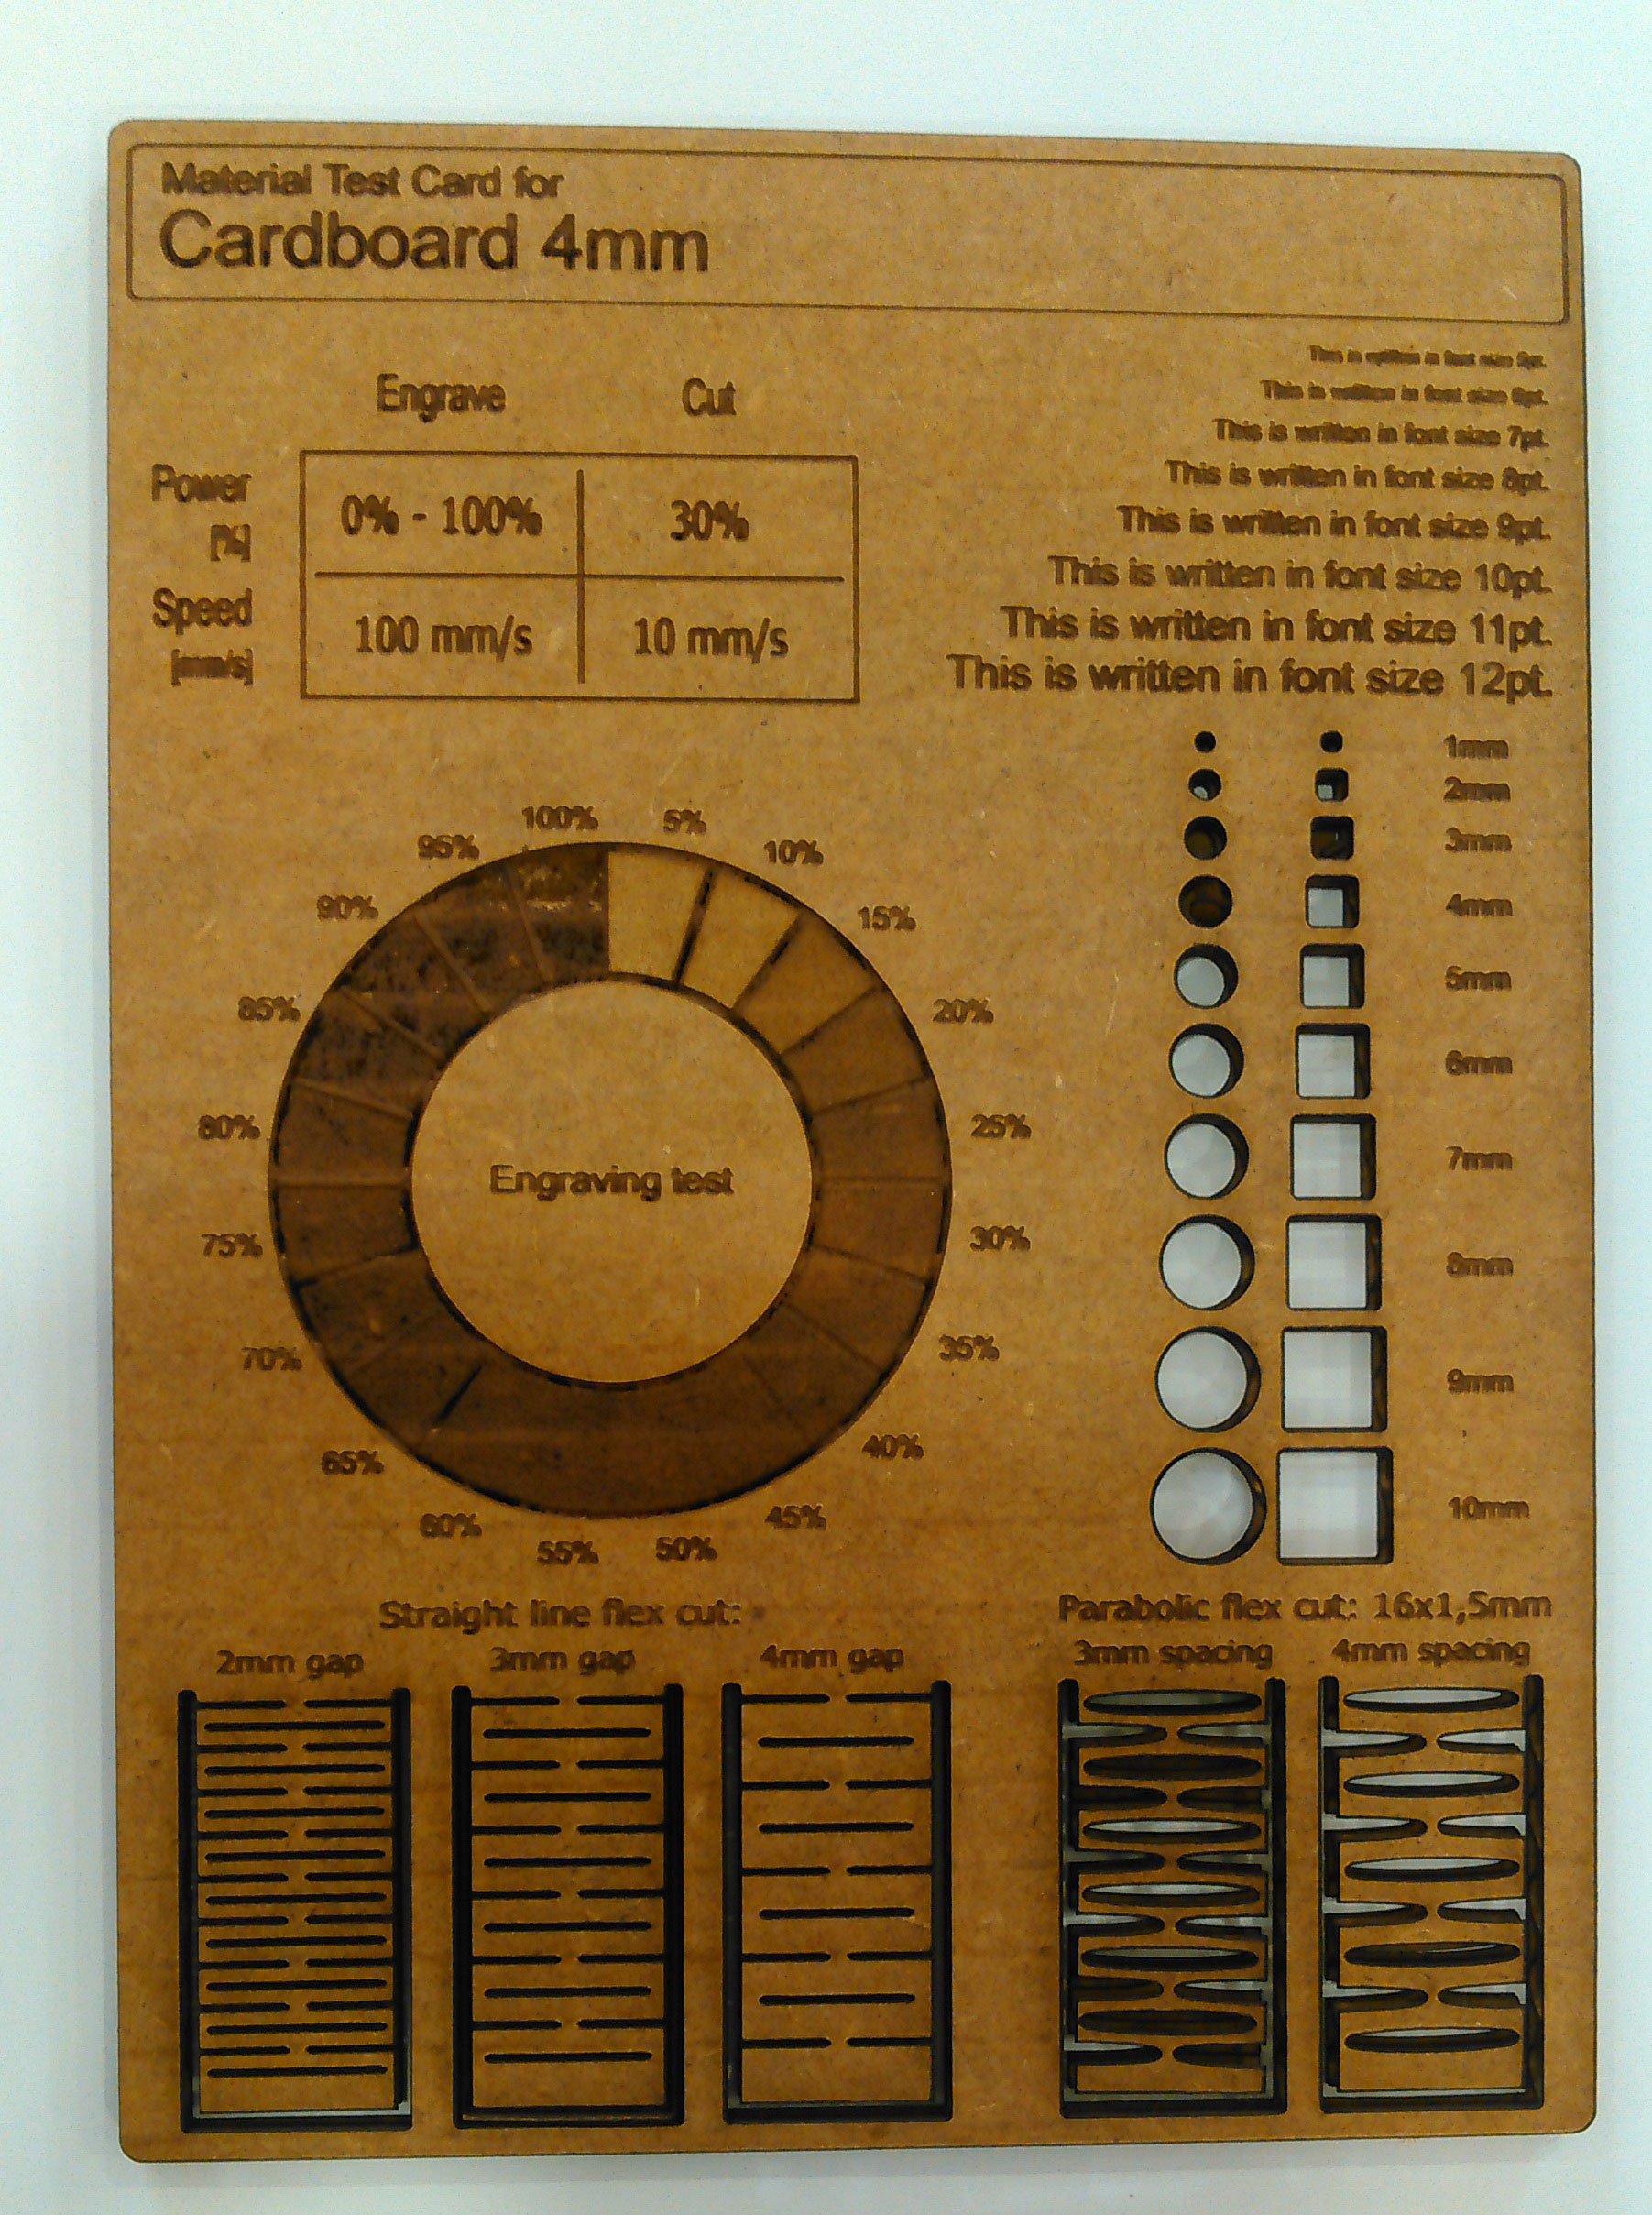
Final Product
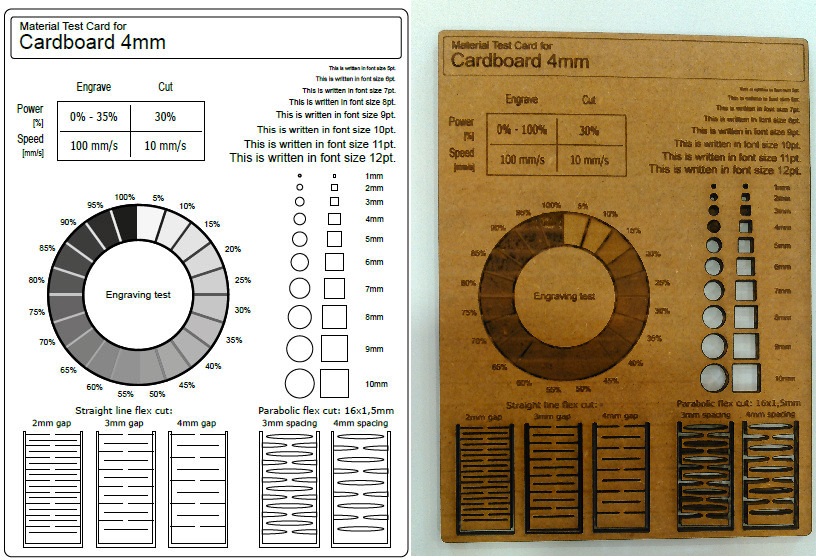
Find the difference :)
From this group project we learn that after all process and operation laser cutting machine is based on 2 things laser power and speed. We have to set the exact ratio of power and speed for engrave and cut which is based on material thickness and material type. More power with slow speed can burn the material and fast speed with low power can engrave but it maybe lighter enough to do job again.
Individual Assignment
Vinyl Cutting
I love to place my affilations and milestones on my laptop, I took the advantage of this assignment and decide to draw FABLAB Khairpur logo from this.
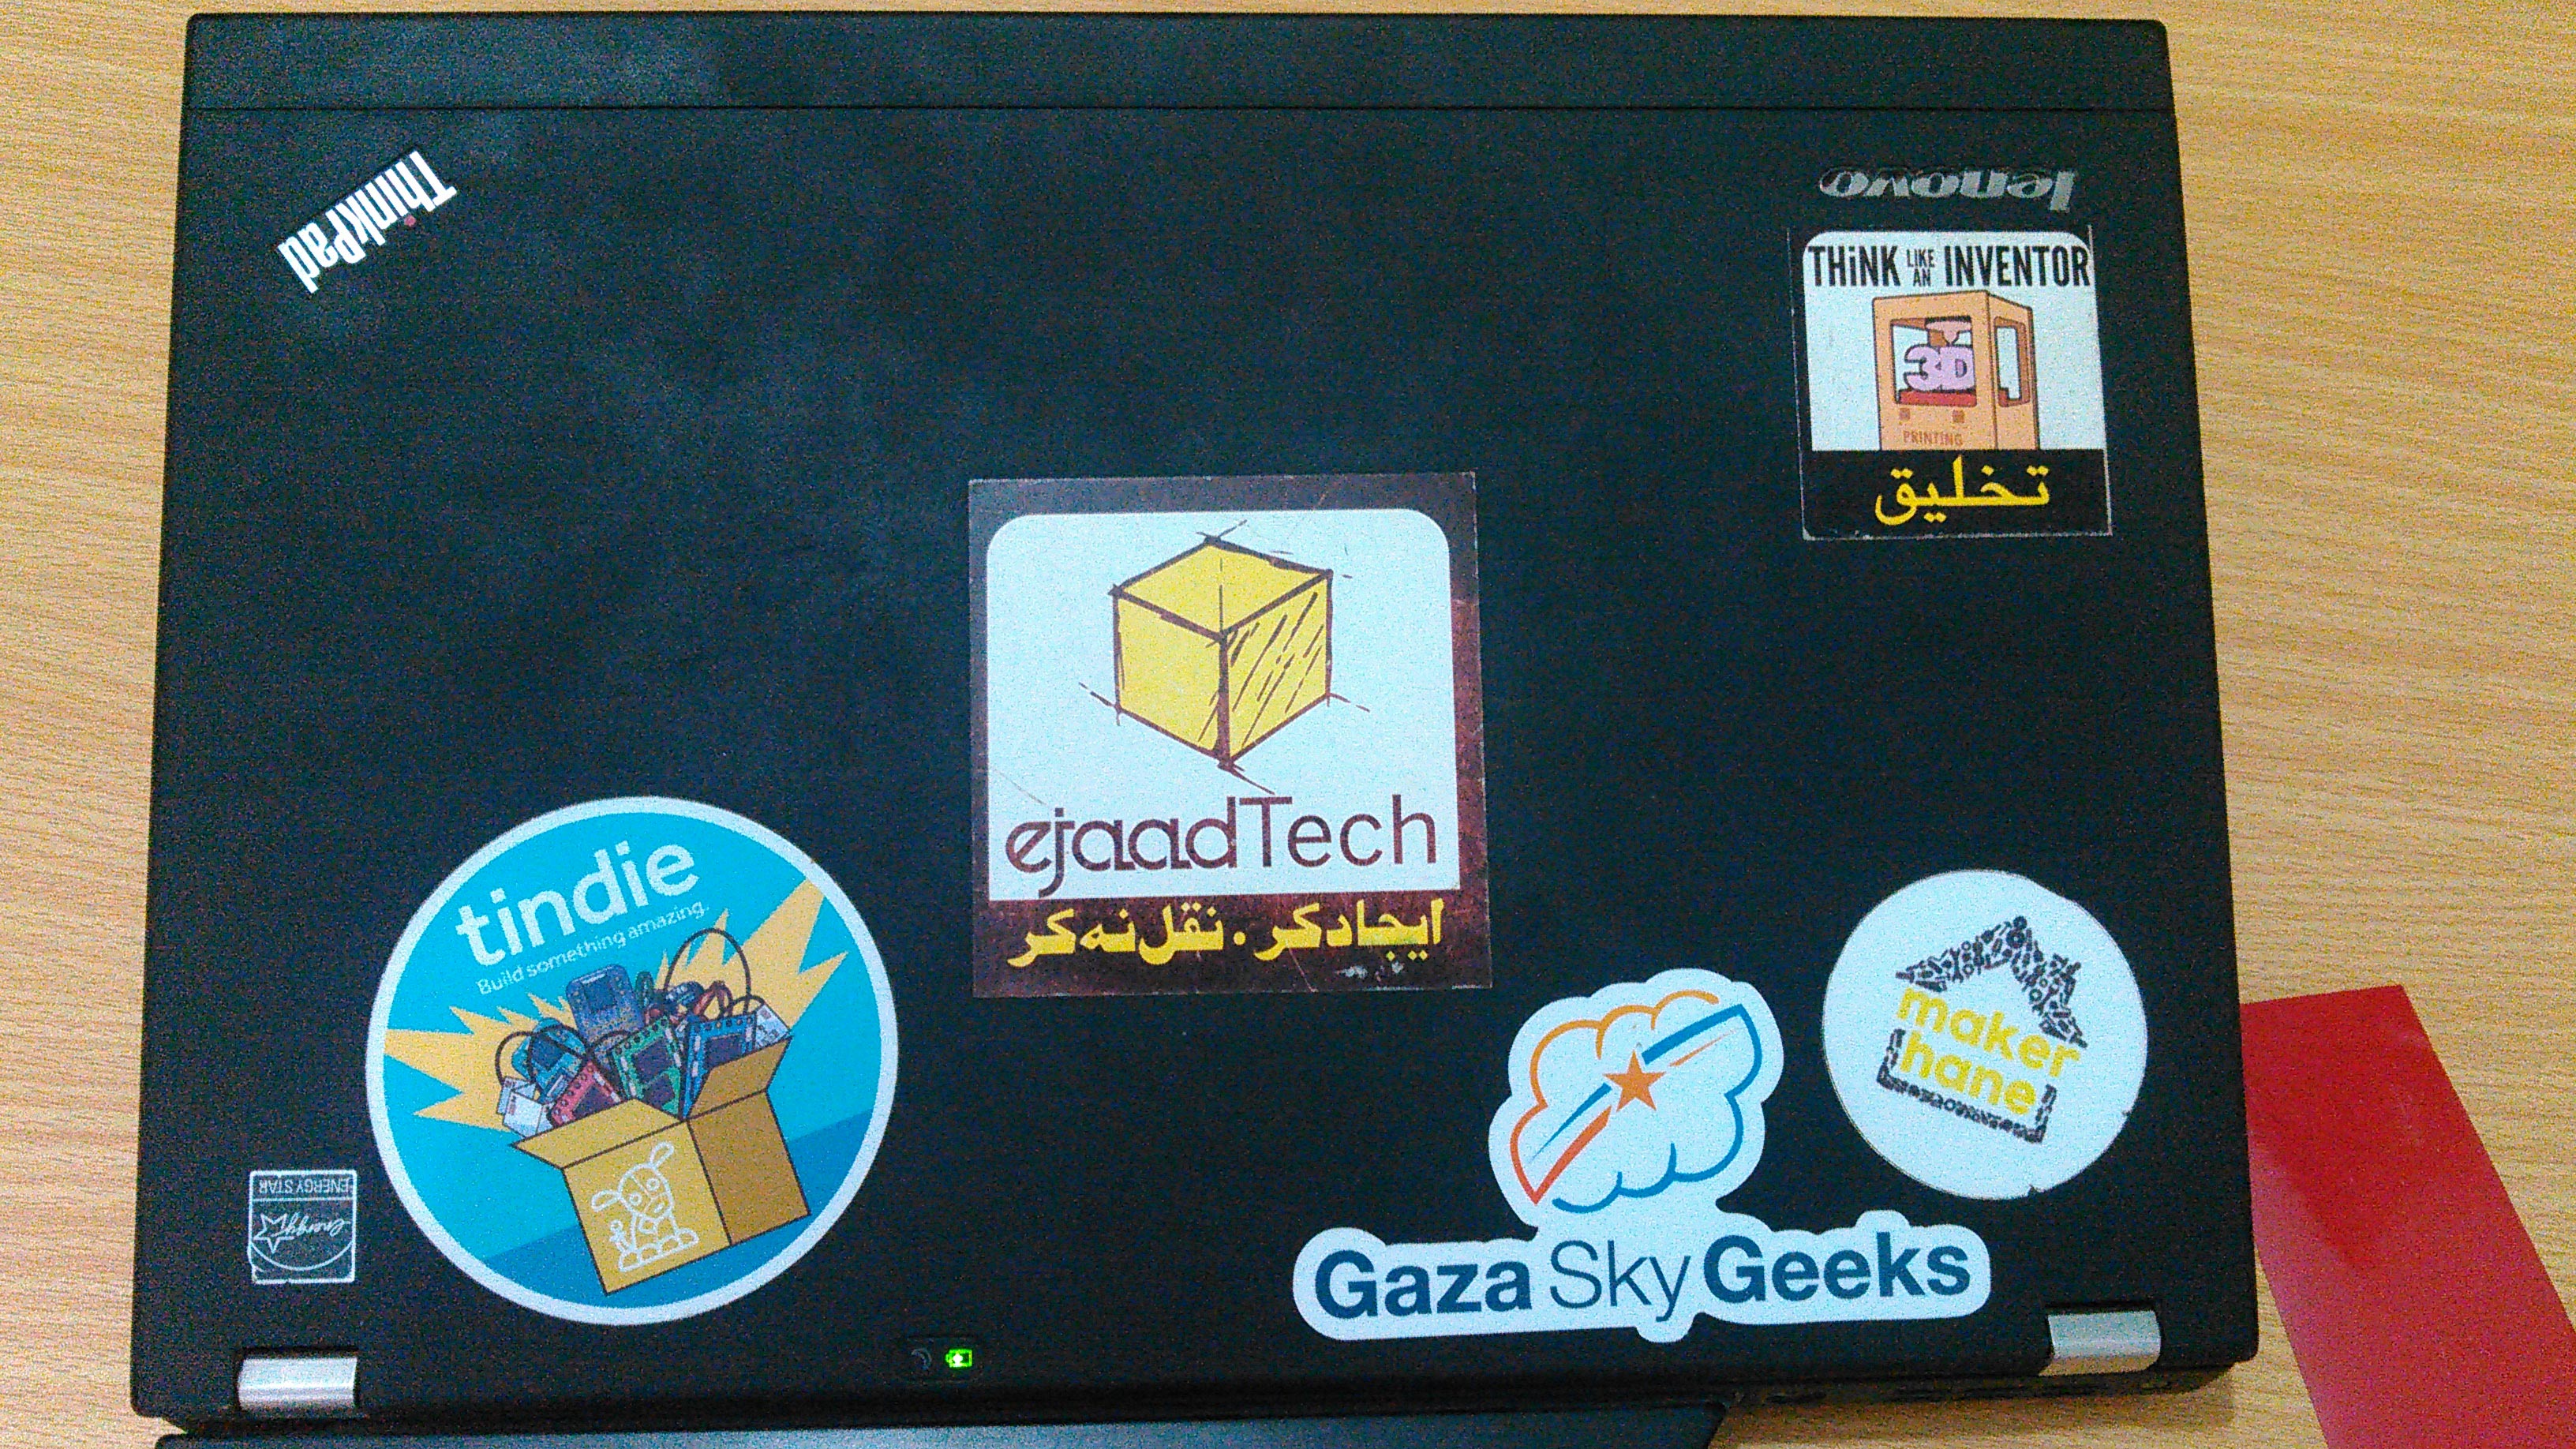
My laptop top
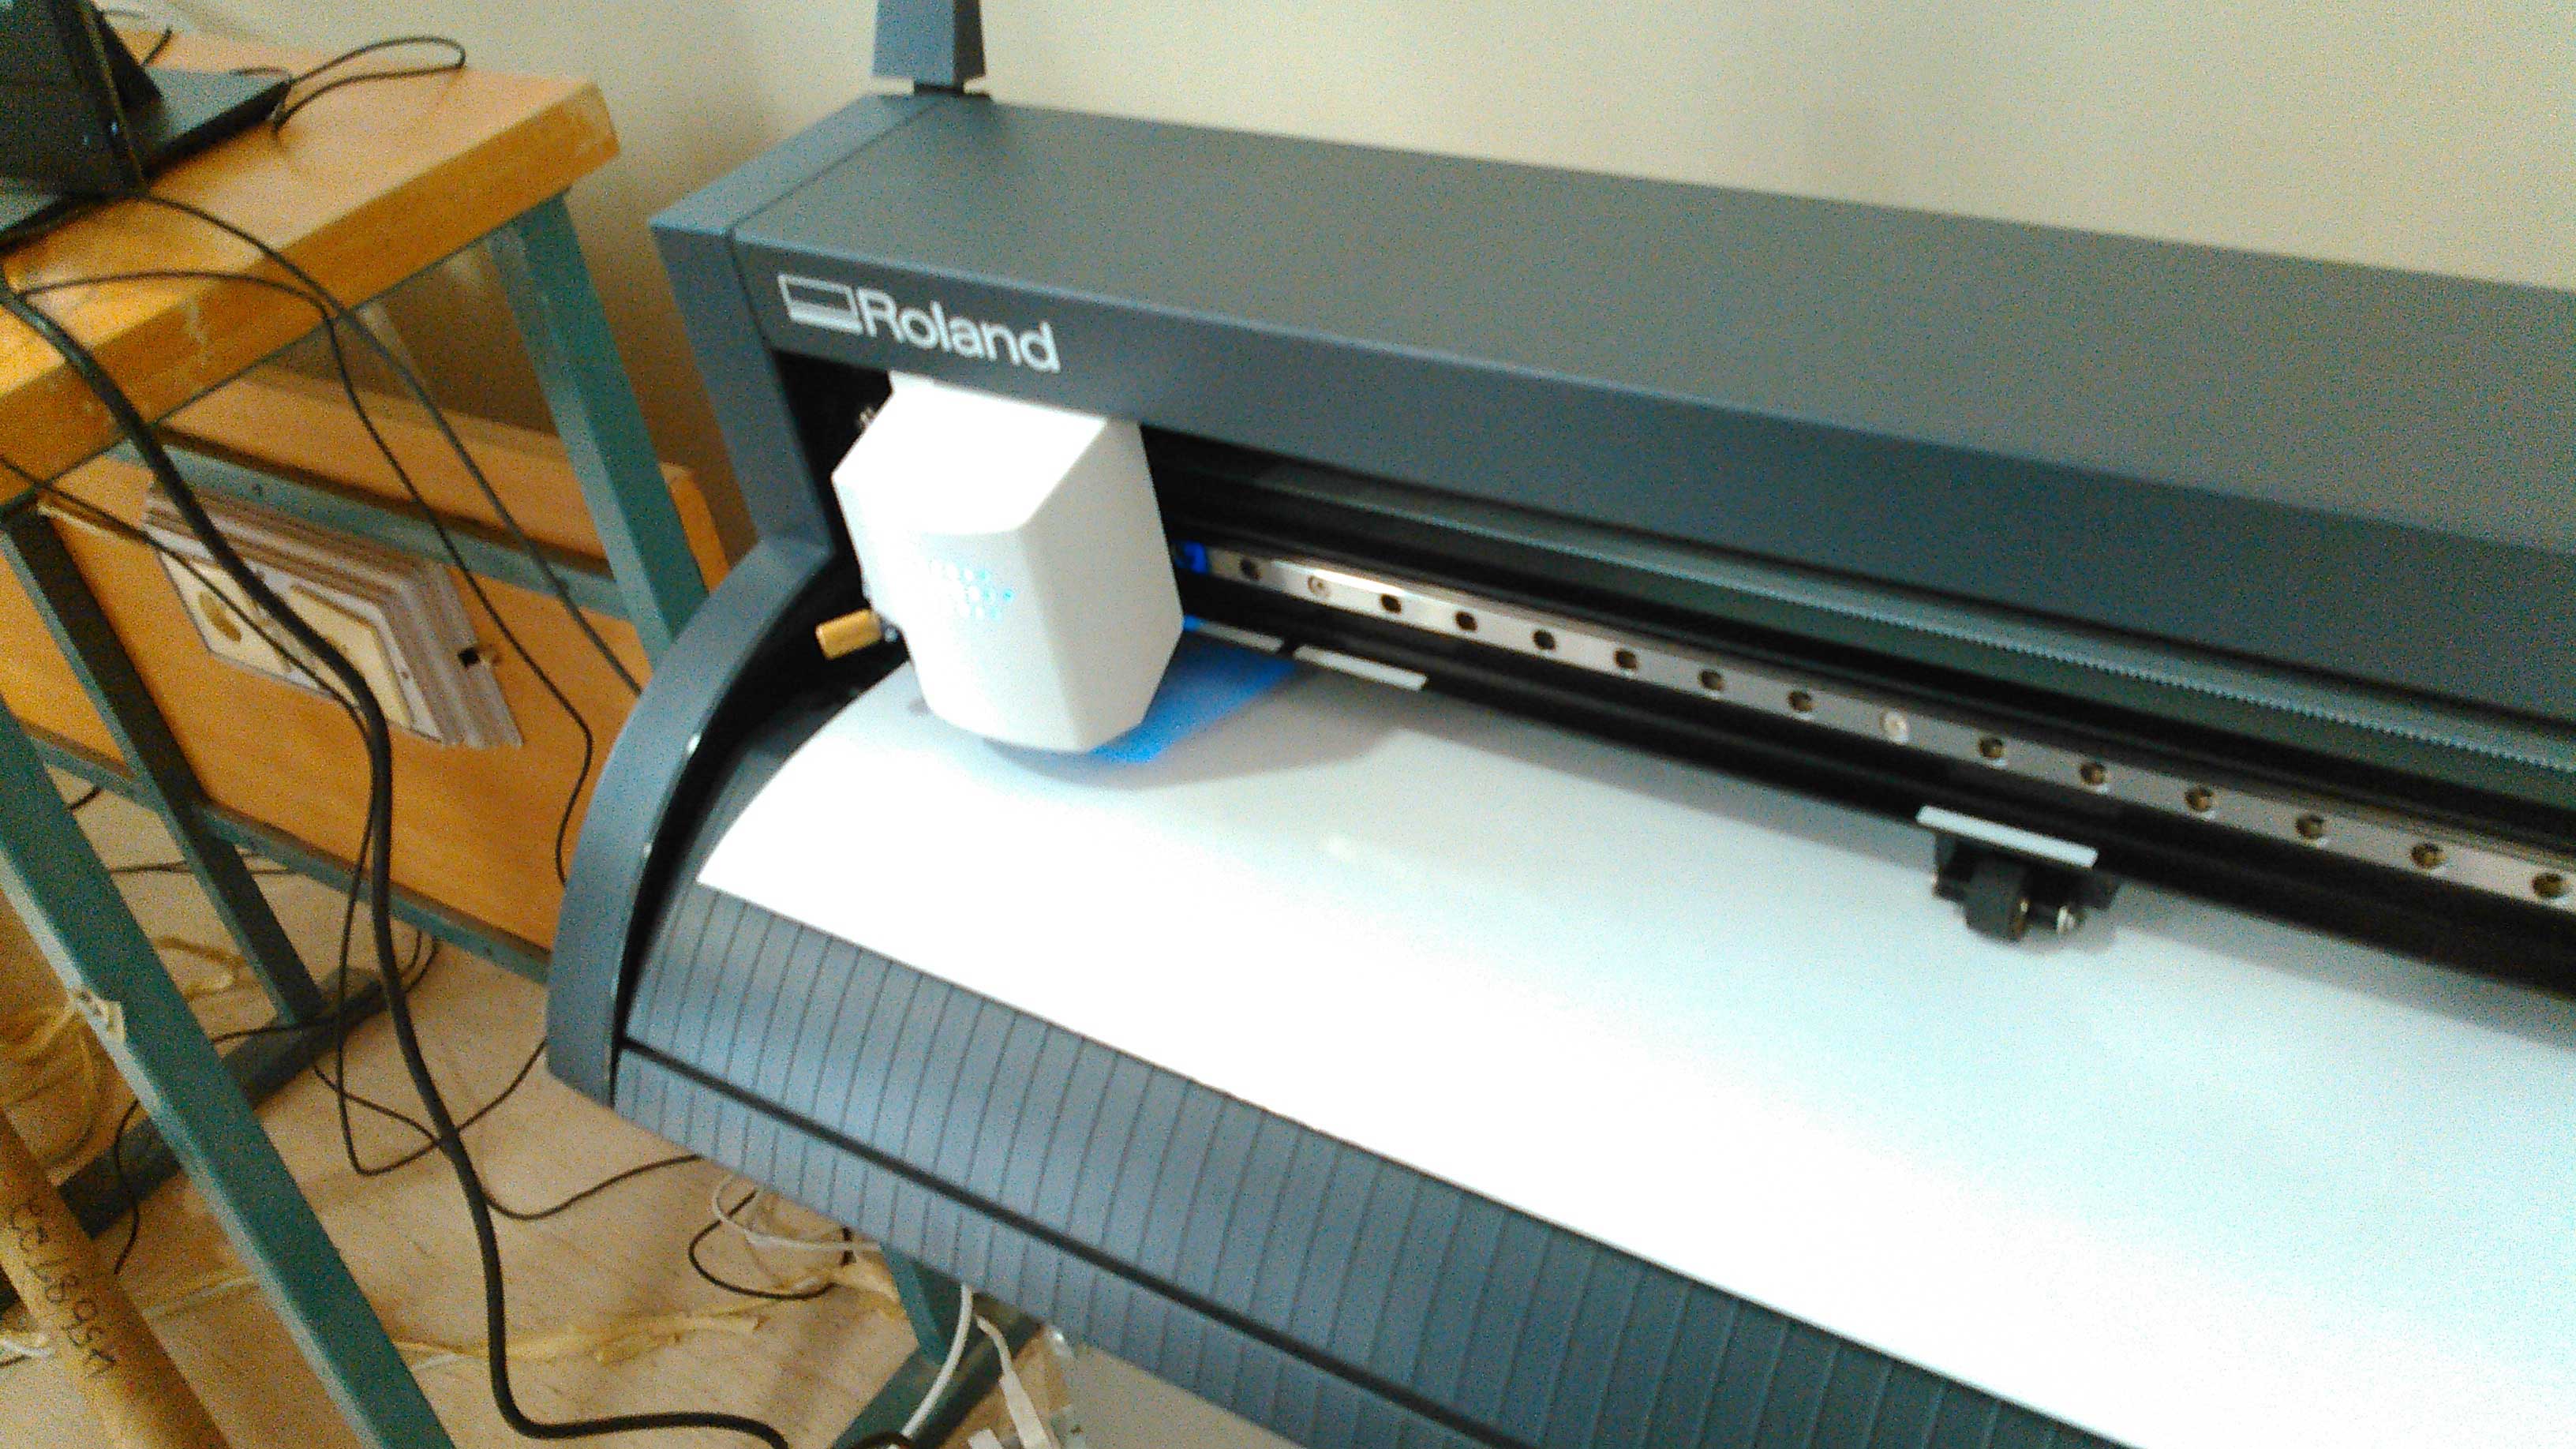
Roland GS-24 Vinyl Cutting machine is very simple to use, less harmless machine in FABLAB. To cut something from this machine we have to prepare an image first and then open that image in sofware named CutStudio for further process
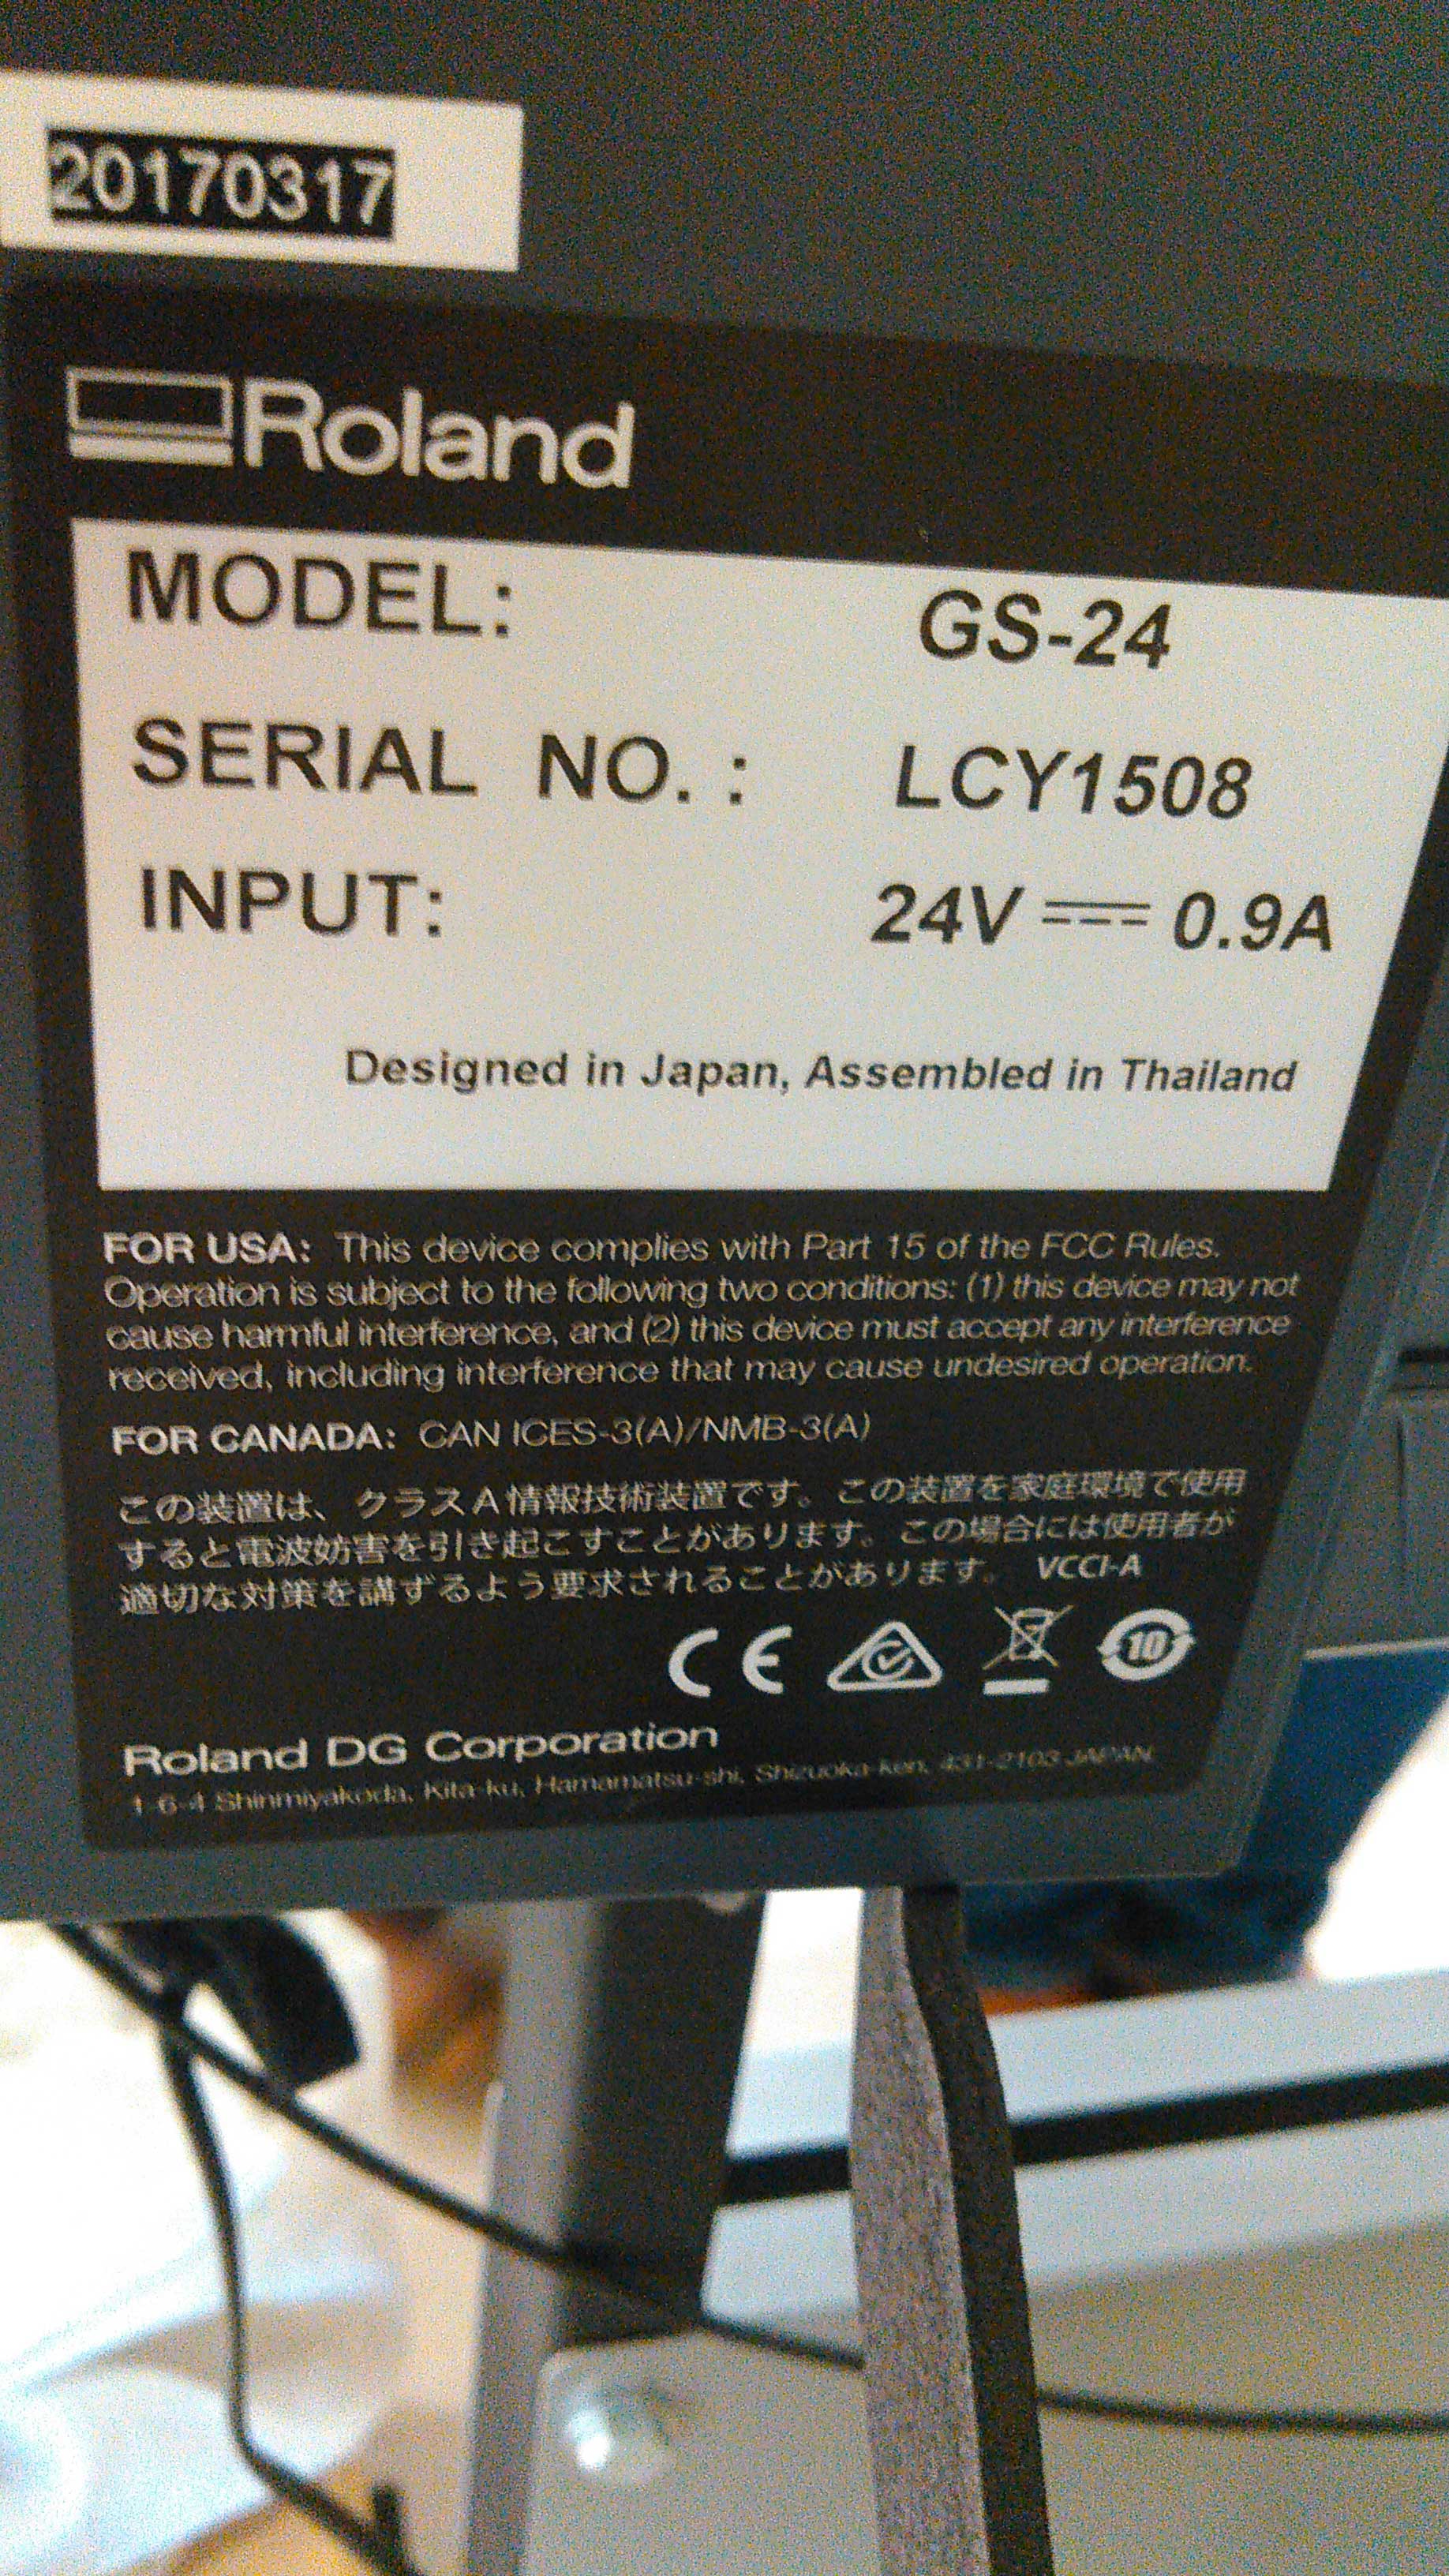
Vinyl Cutter Machine Details
Prepare an Image
Steps for Vinyl Cutting:
- I download FABLAB logo from fablab Khairpur website
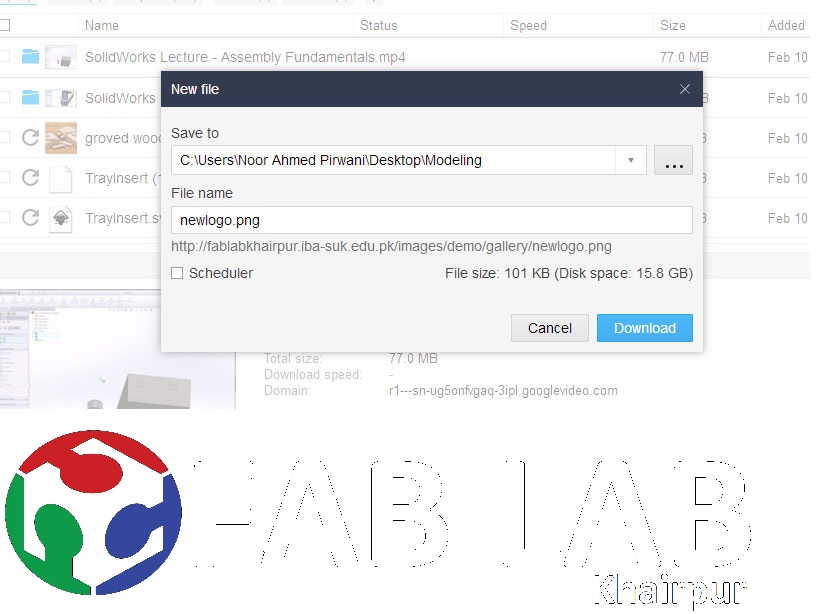
FABLAB Khairpur logo
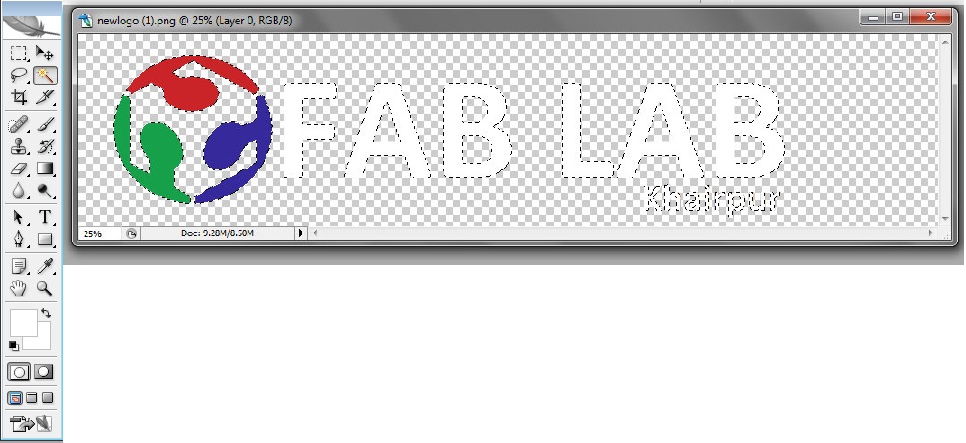
- Then I opened the logo in Adobe Photoshop CS2
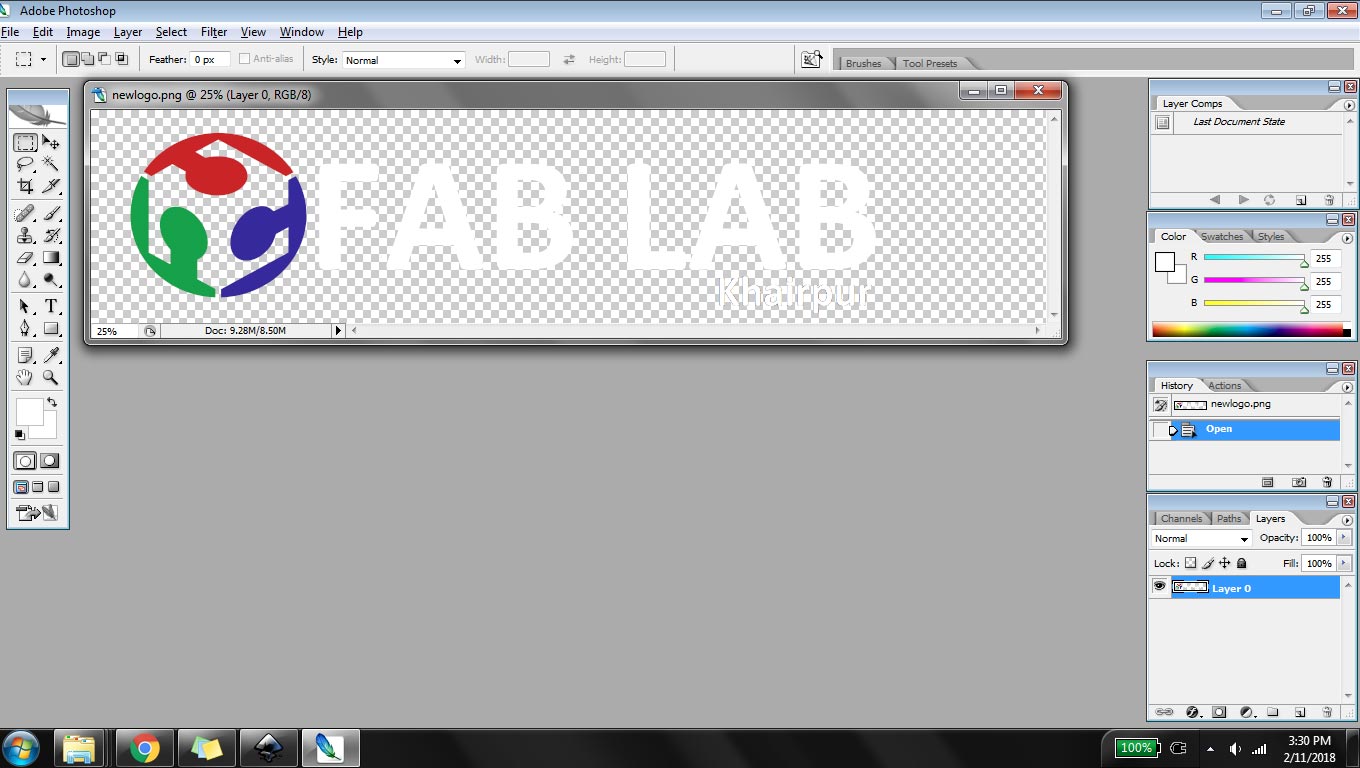
Adobe Photoshop screen with logo
- using magic wand tool to select the background part except logo
Selection with magic wand tool
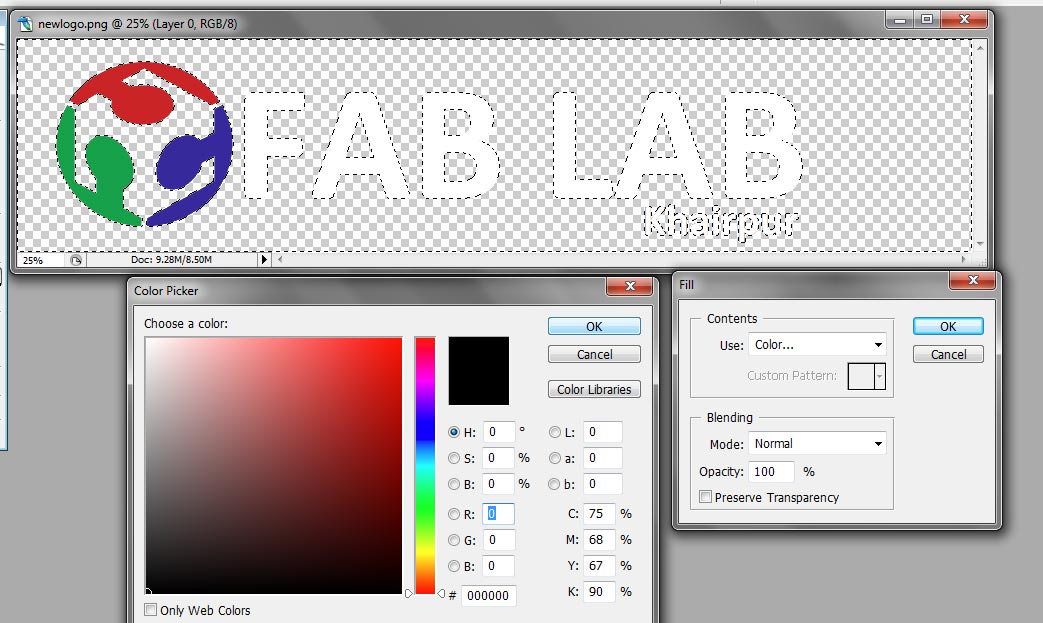
- To select fill goto Edit> fill...
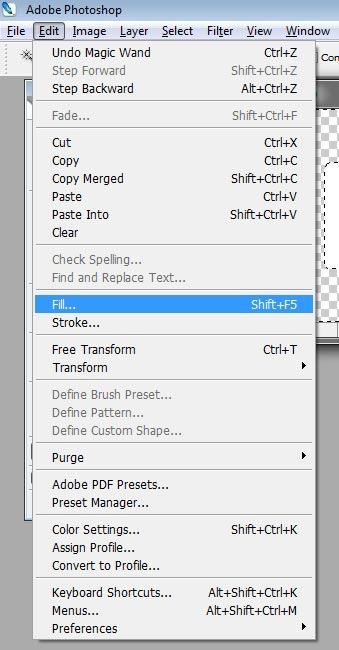
to change the color
- Use "Color" in fill menu and pick black in color picker. Click "OK" in color picker then click "OK" in fill menu
Changing color of logo
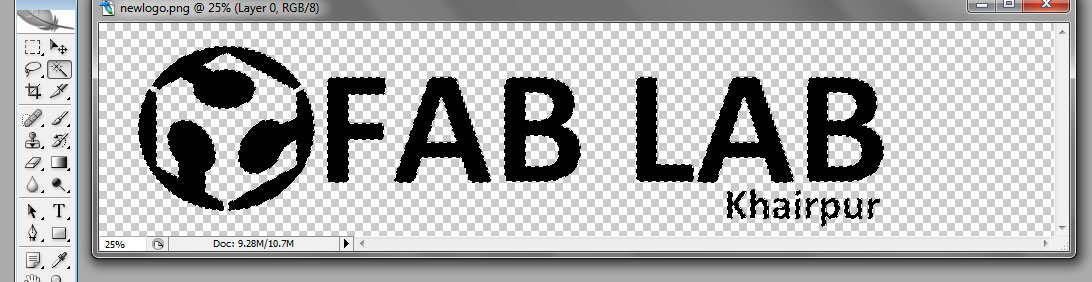
- As result:
changed after selecting color
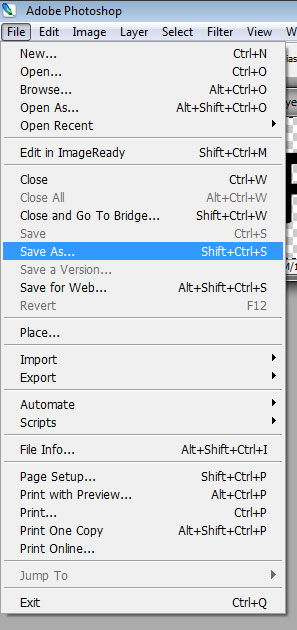
- Now to save image as jpeg or bmp in Adobe Photoshop
Save as to another image format
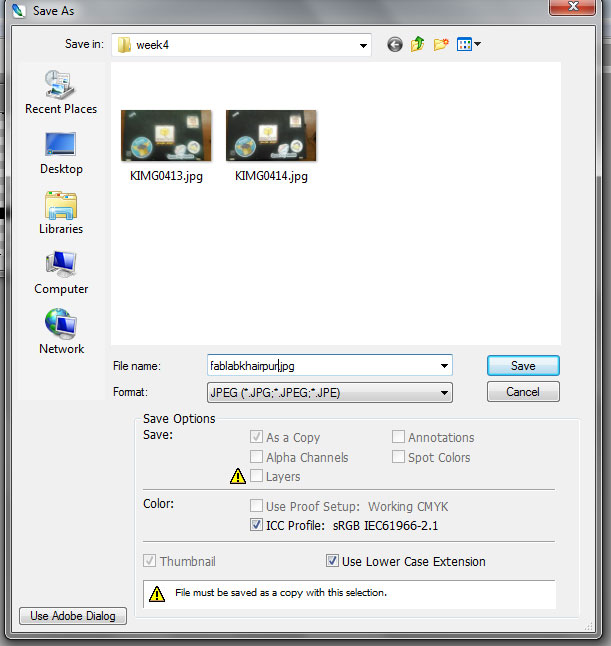
saving the image
Setting up Machine and Software
After saving image in jpeg or bmp, open the Cutstudio software and import image file in it.
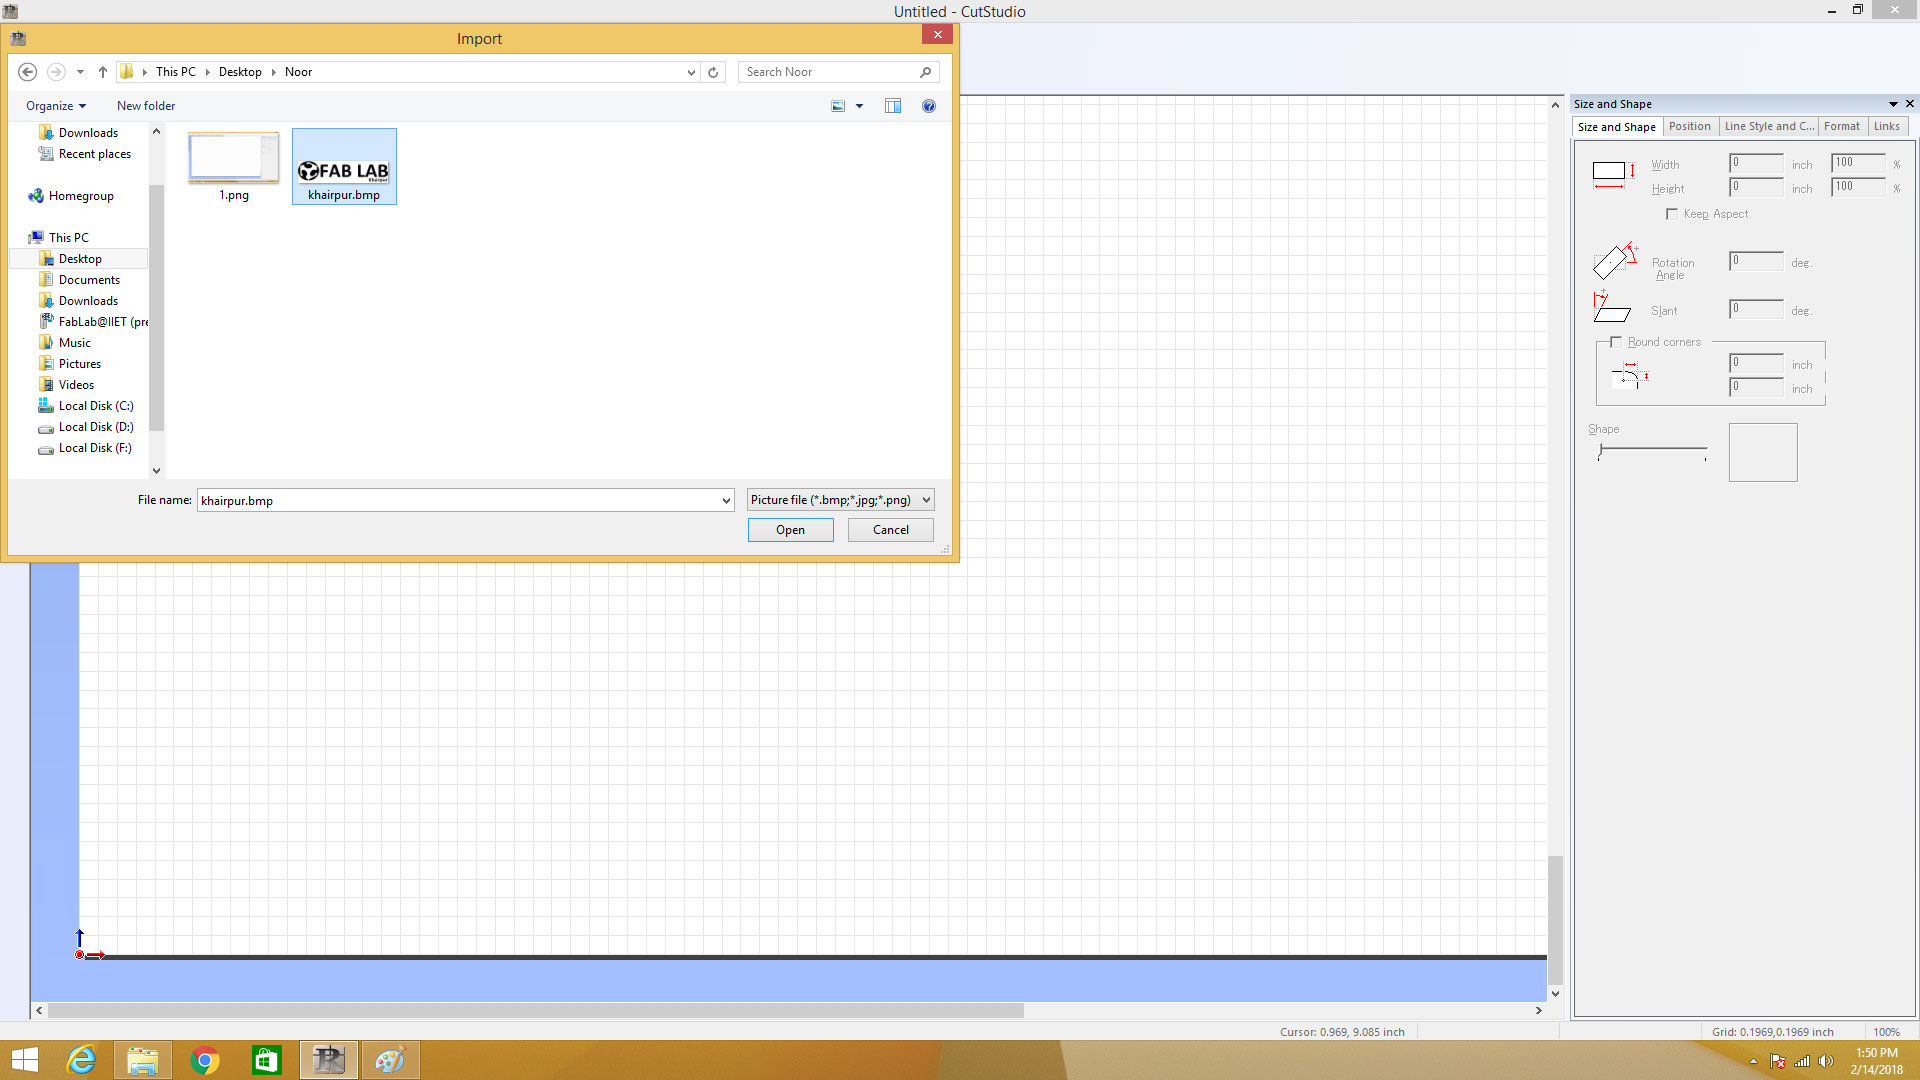
Importing file into CutStudio
Now right click on image and select "Image Outline..." and select "Extract Contour Lines", then click on "Cutting" to send image to machine.
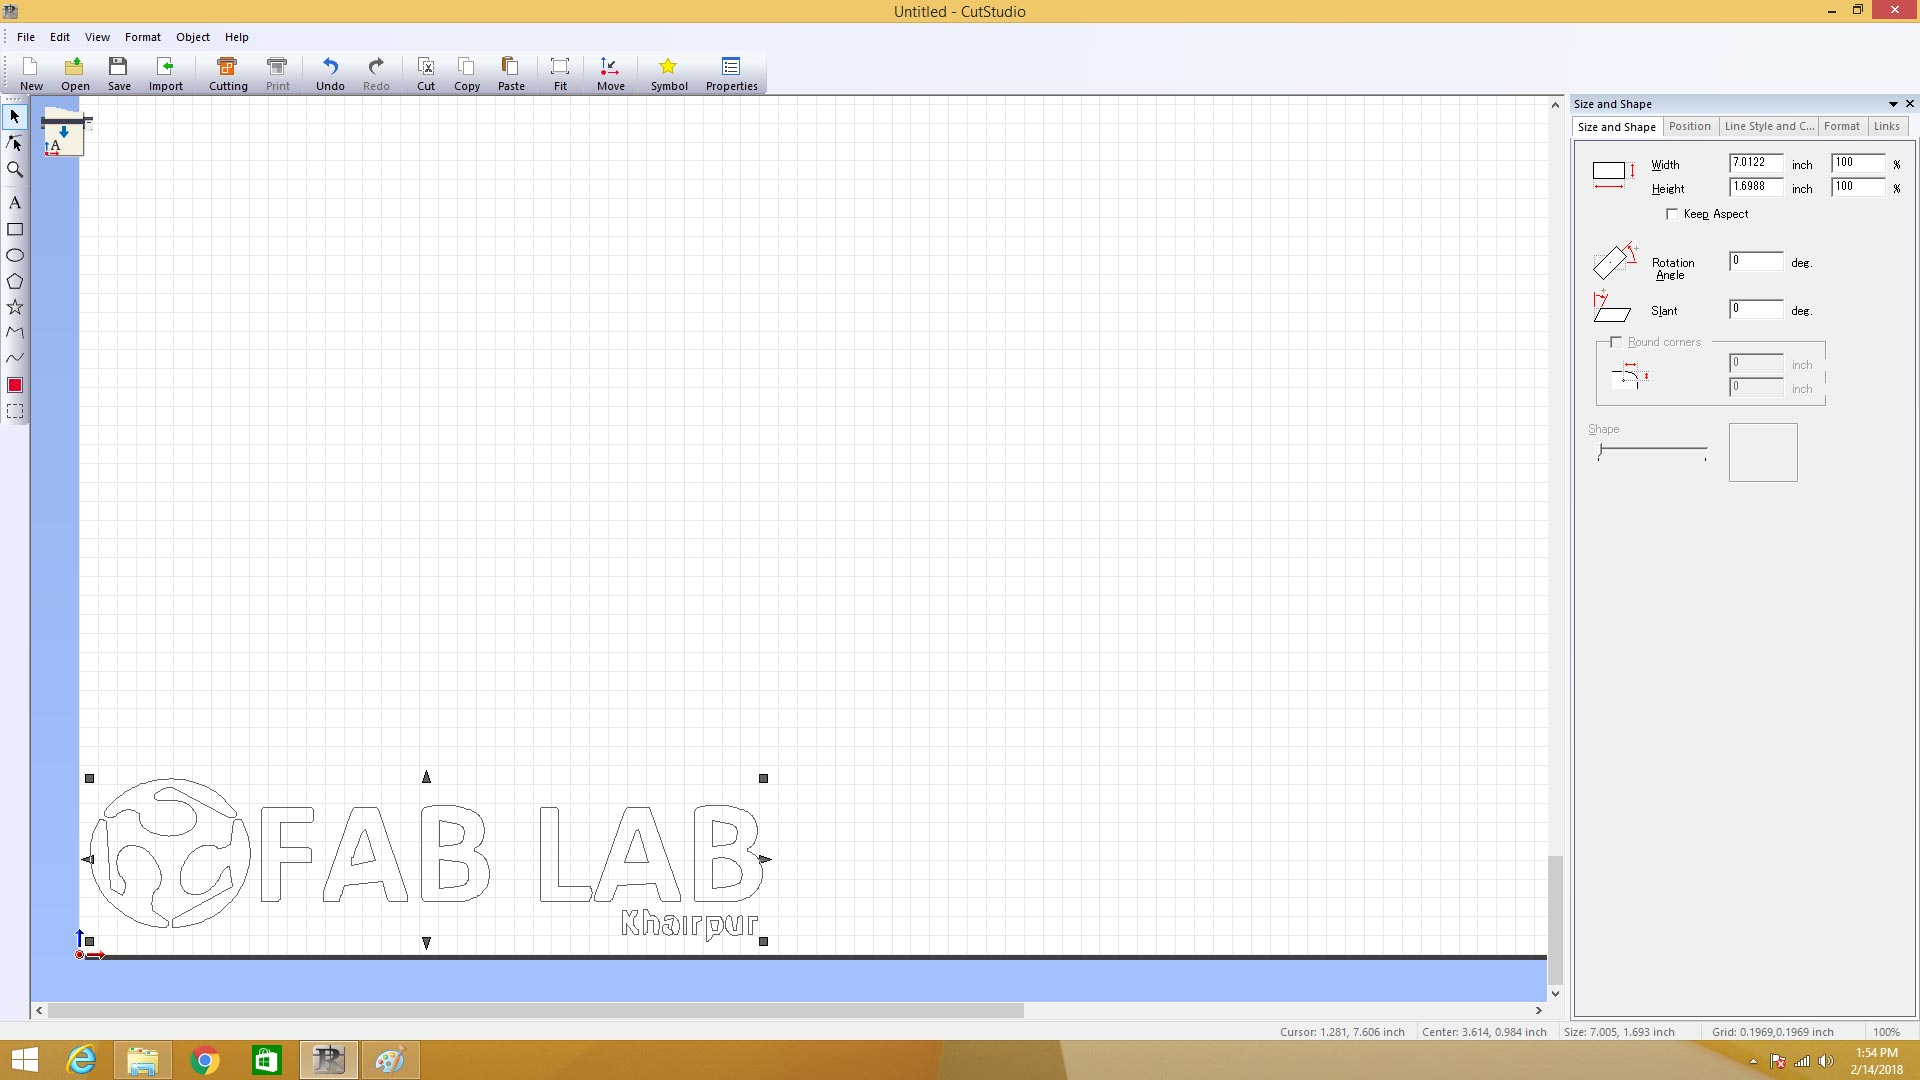
Image Outline
For setting up the machine make sure that the latch is set to back position and power is off. Now set the piece or roll of vinyl and fix it in machine by checking the sheet will start from white space shown on vinyl cutter

Latch is unhinge and set to back position
The machine accepts 3 types of input of sheet. Roll, edge and piece of sheet. I selected piece for my sticker. Turn on machine and select "*PIECE" in SELECT SHEET option.
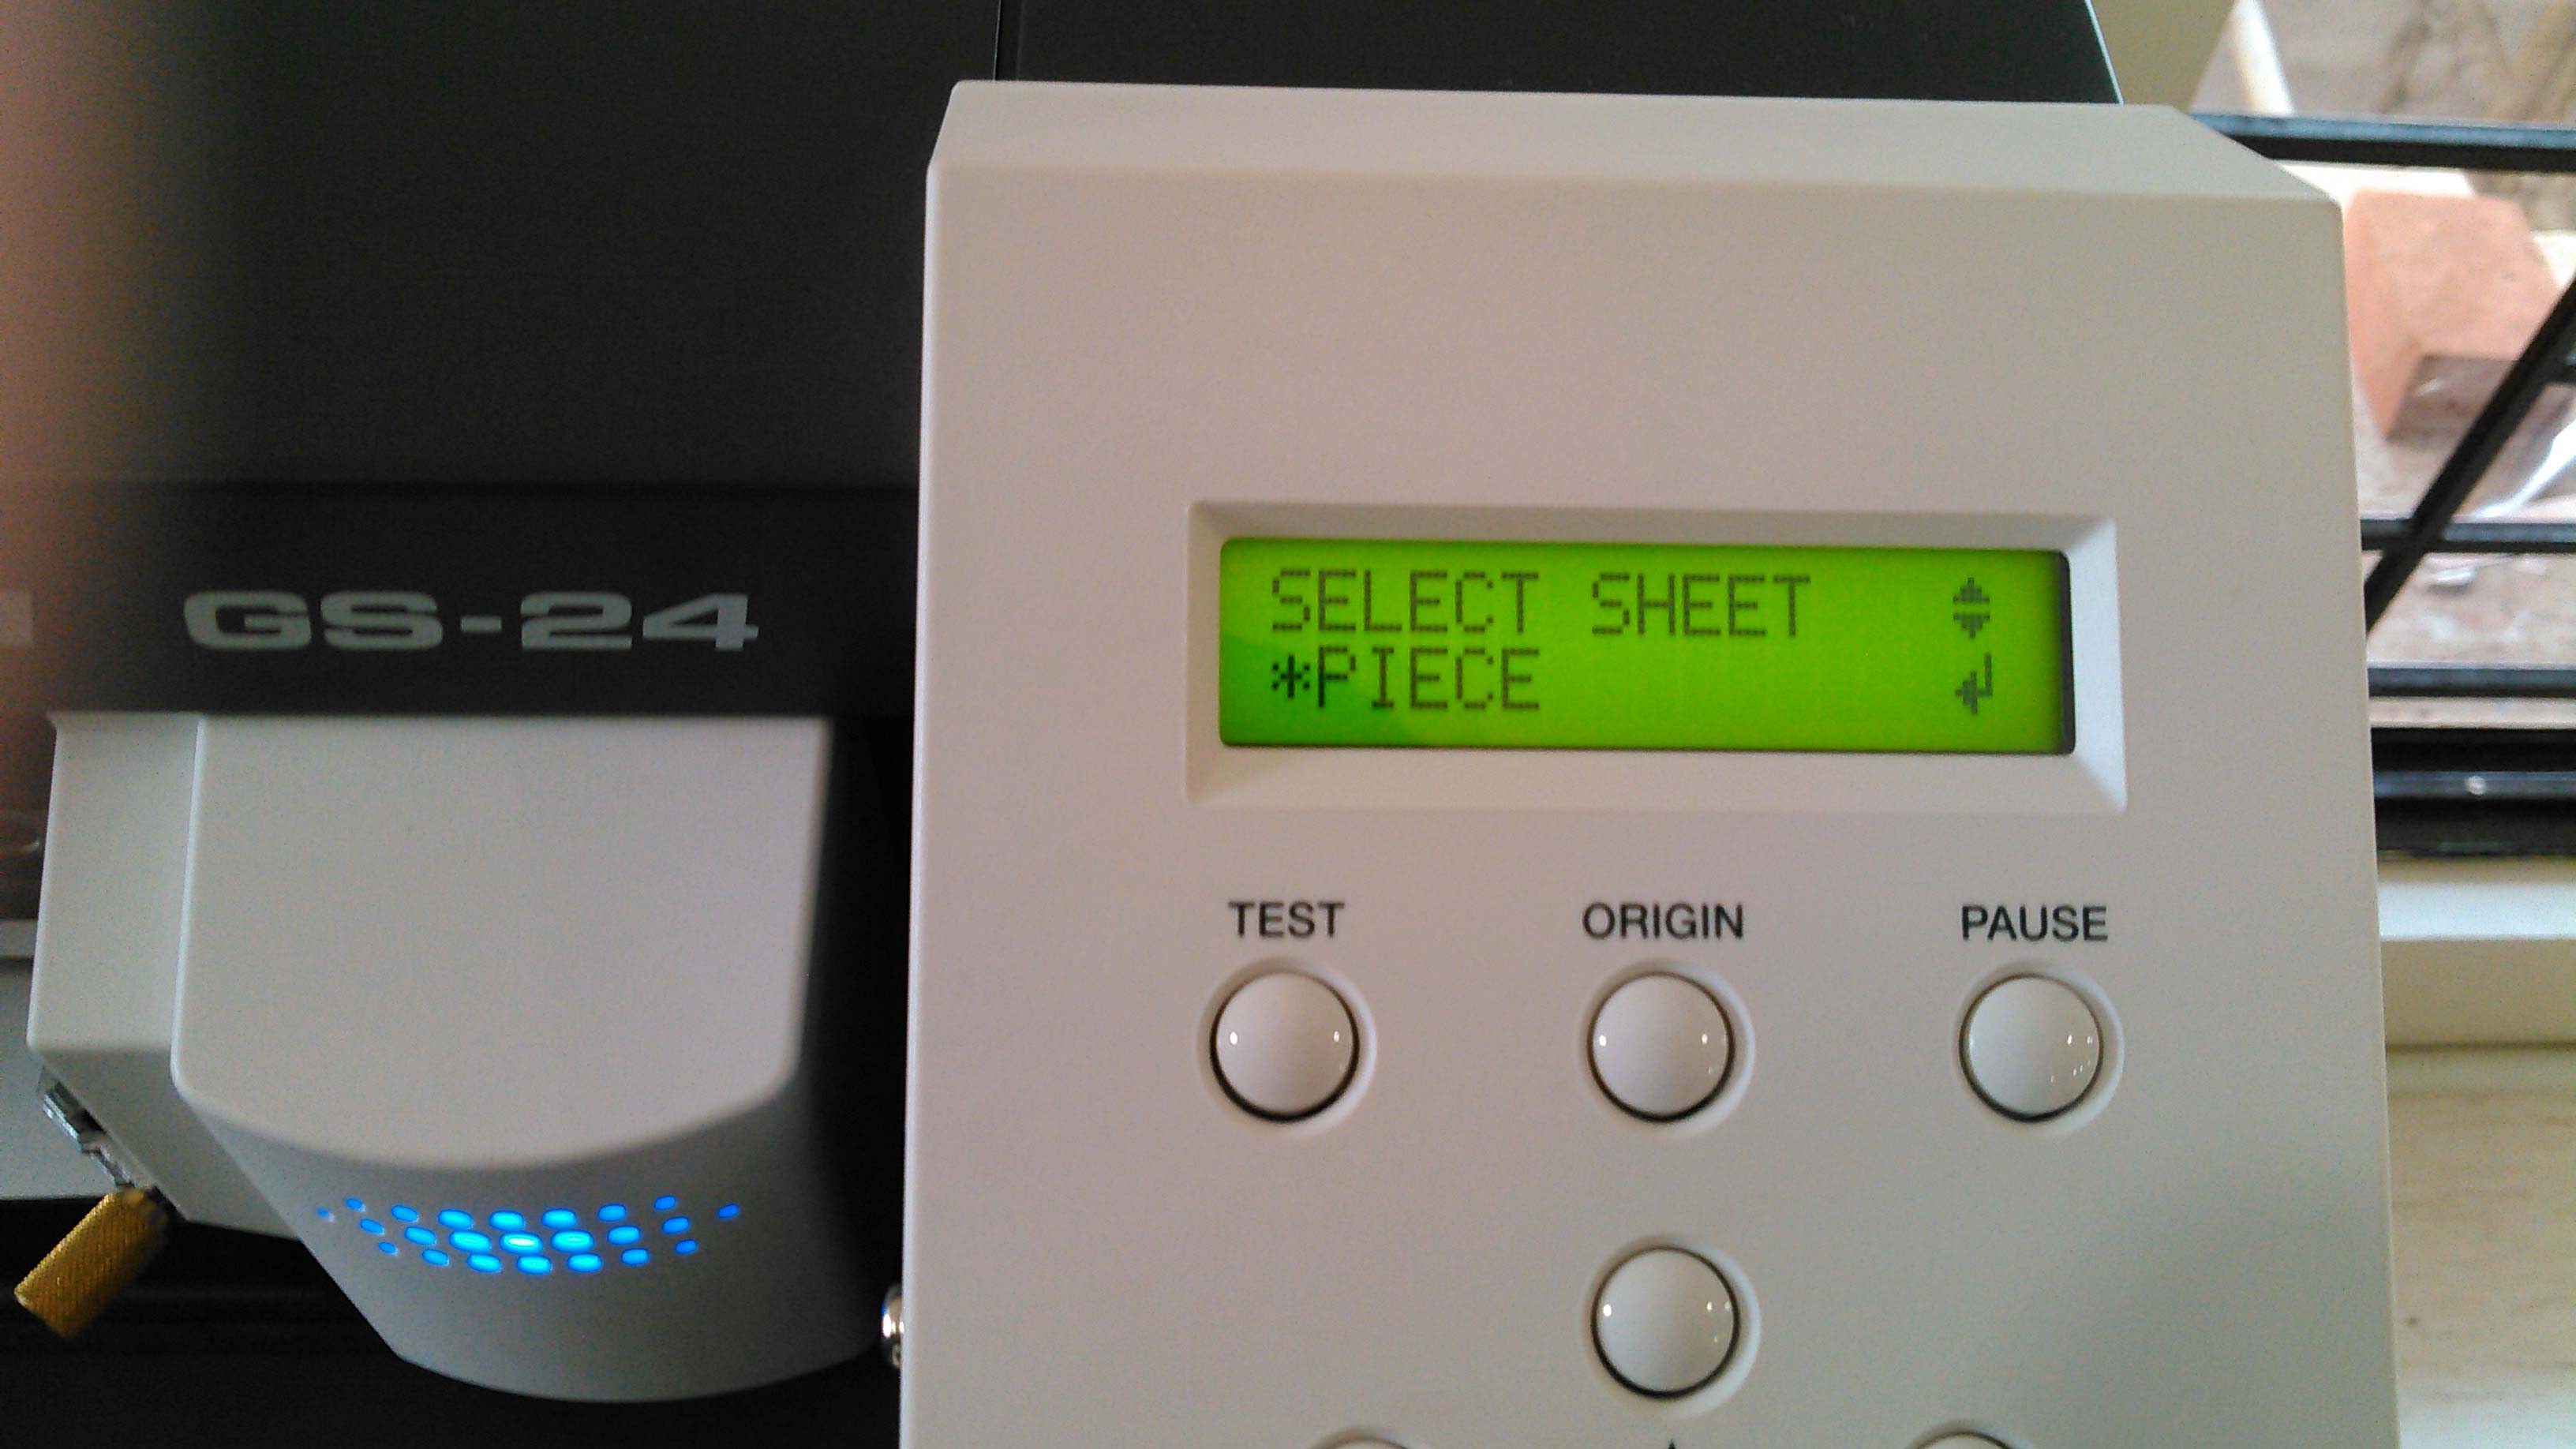
Display of panel while selecing Piece as Sheet option
After selecting type of sheet, move the latch in up position and press "Enter". Machine header move to check the dimension of given material and shows dimension on screen
machine measures the material while hingle is in upward position
After cutting vinyl from machine, I cut the extra part from it using scissor.

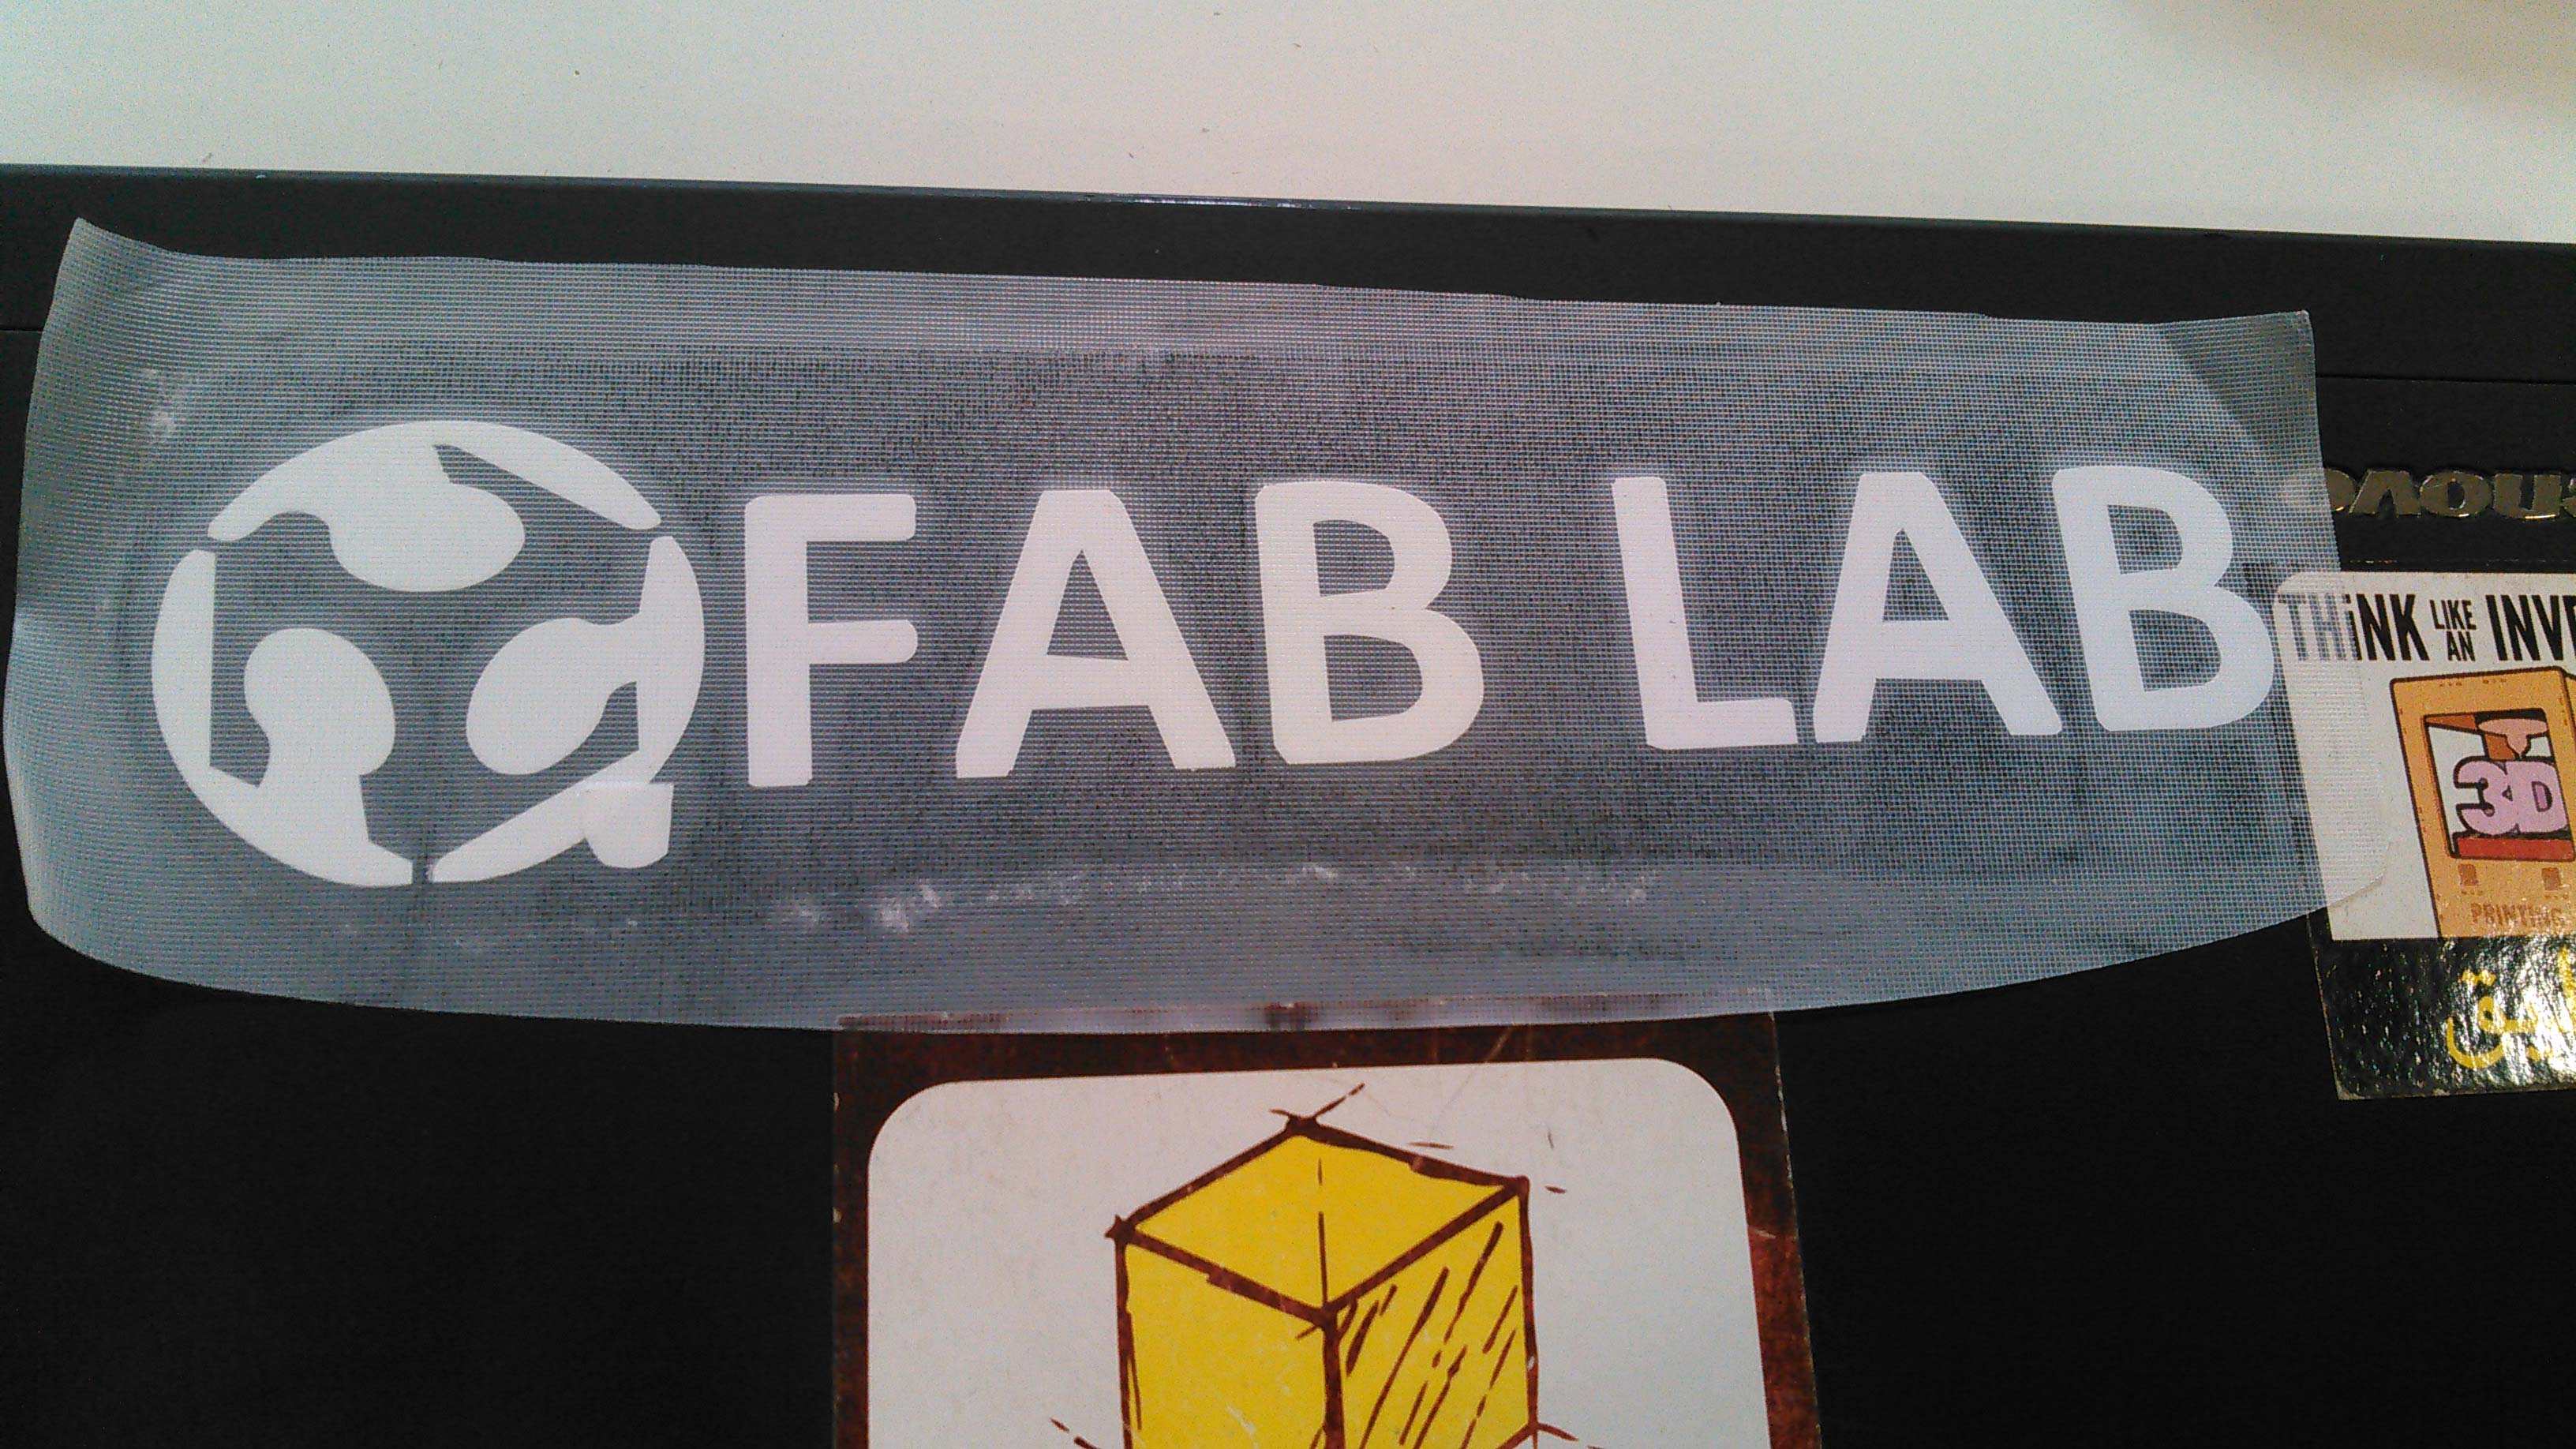
Vinyl cutted part
then I removed all the unwanted part using blade and stick transfer paper on the desired vinyl sticker.

Vinyl Sticker
After this I clean the part of my laptop where I need to put that sticker, remove the back side of sicker so that my sticker will remain only on transfer paper and place it gently on laptop.
Sticker on laptop with transfer paper
In last I gently removed the transfer paper from laptop while checking the sticker will not come out with it.
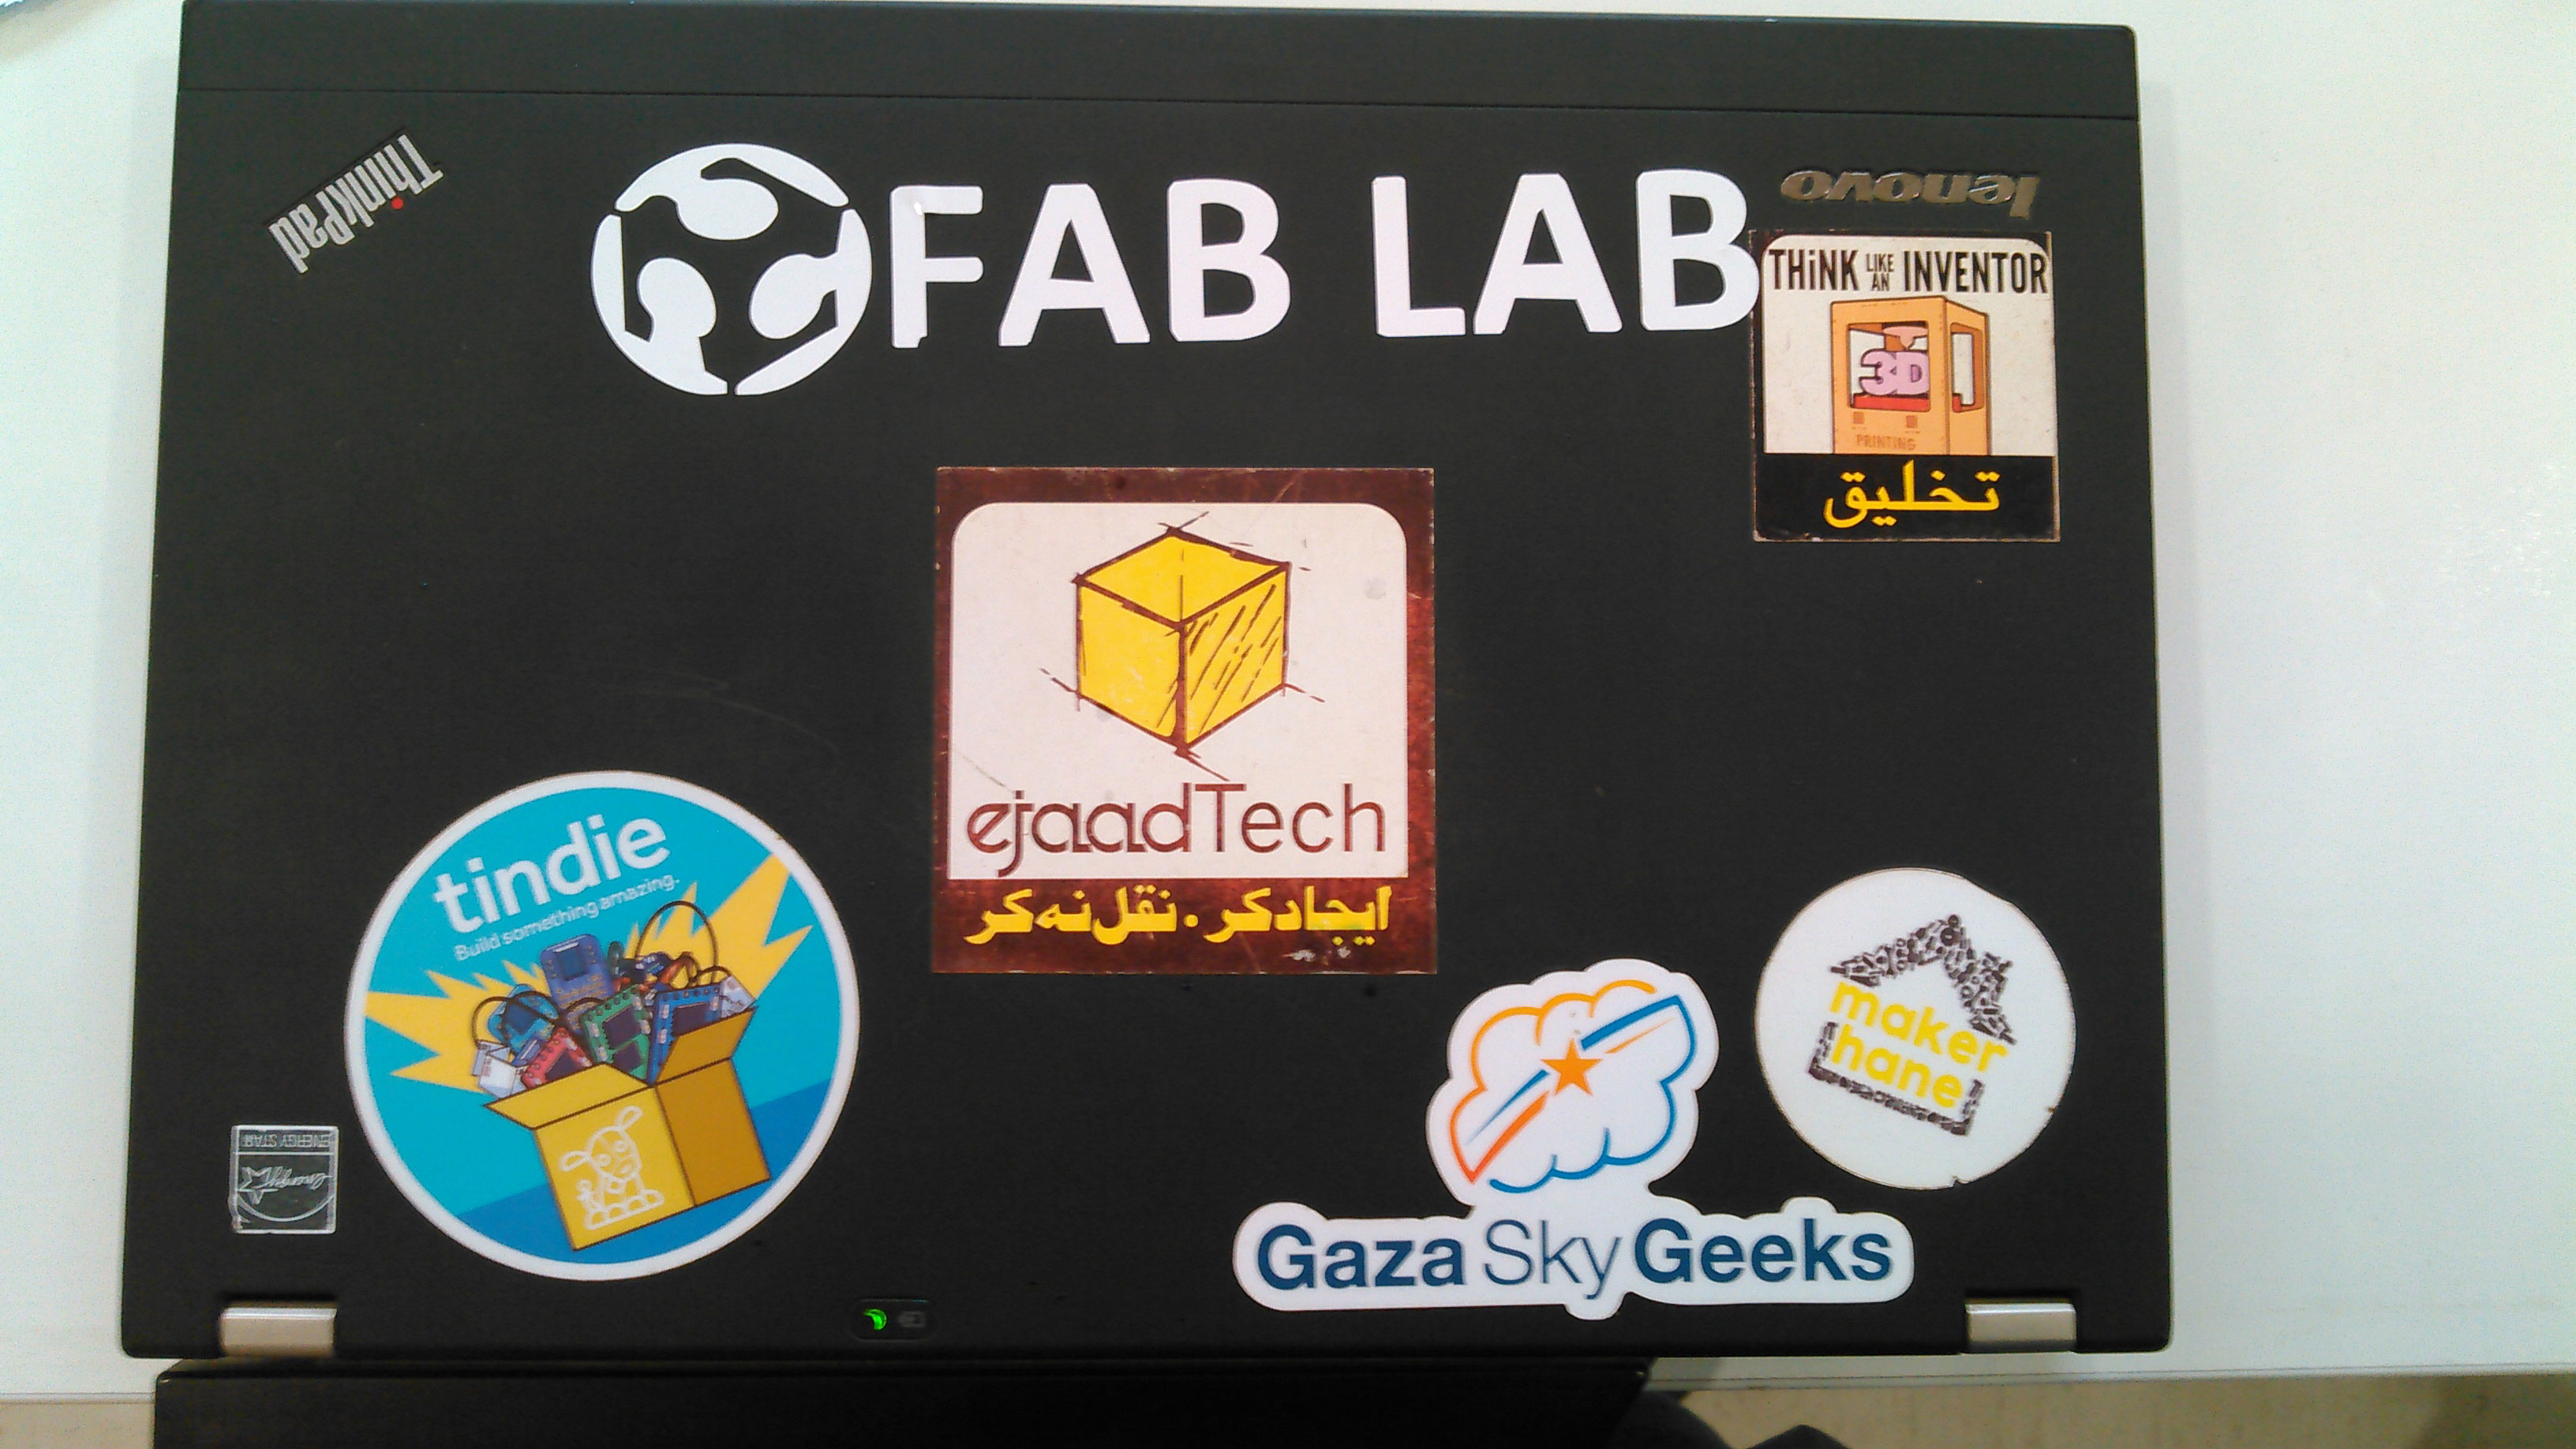
My laptop with one more sticker :)
Laser Cutting
I want to make a smart cabinet for small components in my final project which has a capacity of 40 boxes. For this assignment I wanted to make something which further helps me in final project. The task for a week is to deisgn, lasercut and document parametric press-fit construction kit, so I decided to make a press-fit inner part of shelf and box on 4mm cardboard, I made this for 16 boxes but the design is parametric so for final project we just change values and make it for 40 boxes.
For making 3D Model of my shelf inner part I decided to work on SolidWorks 2016. My model is consist of 2 different parts which can assemble to make 3-D Models. So firstly we start with selecting "Part"
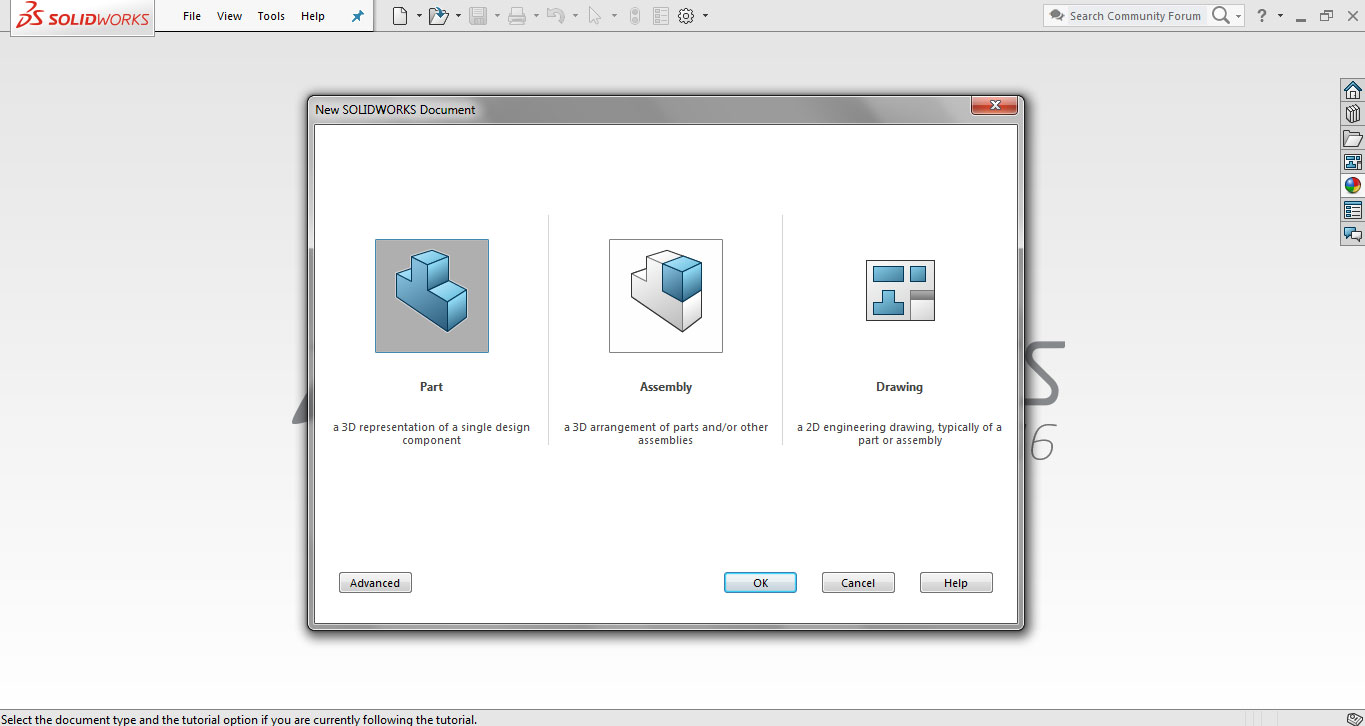
Selecting document as "Part"
I selected front plane for sketch and for starting I use line tool
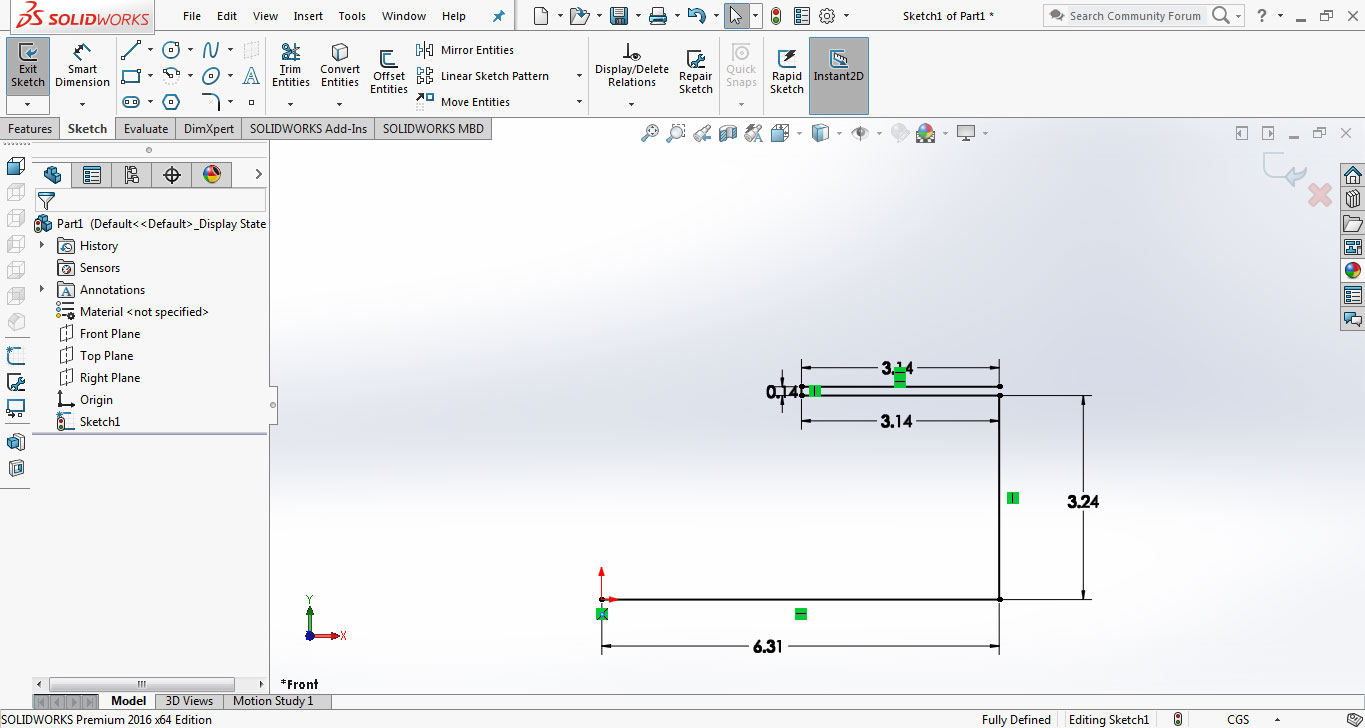
Starting sketch with lines
I select some lines which I have to copy and use tool "linear sketch pattern" to copy them. In linear sketch pattern menu set Y axis as pattern direction and add distance 3.38inch which is equal to the distance of the lines which I use to copy so they not collide with each other.
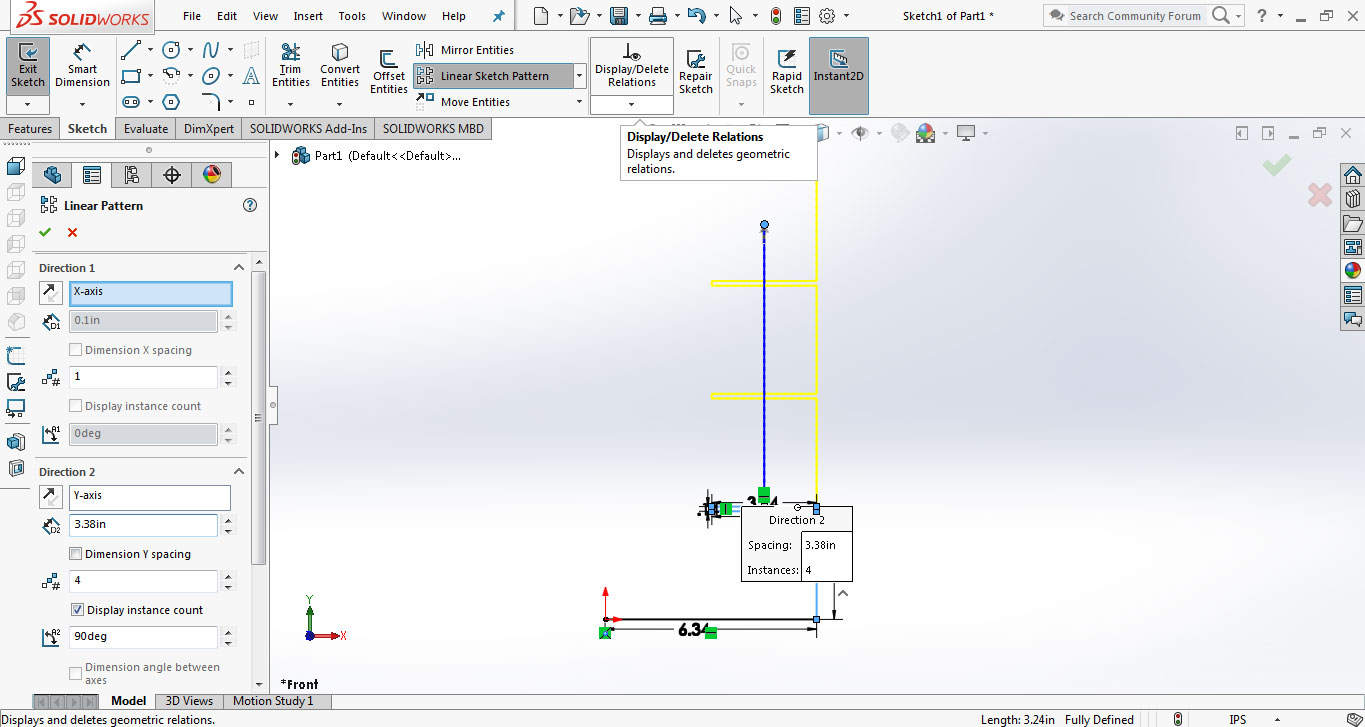
using linear sketch pattern to copy lines
then again I use line tool to complete the shape.
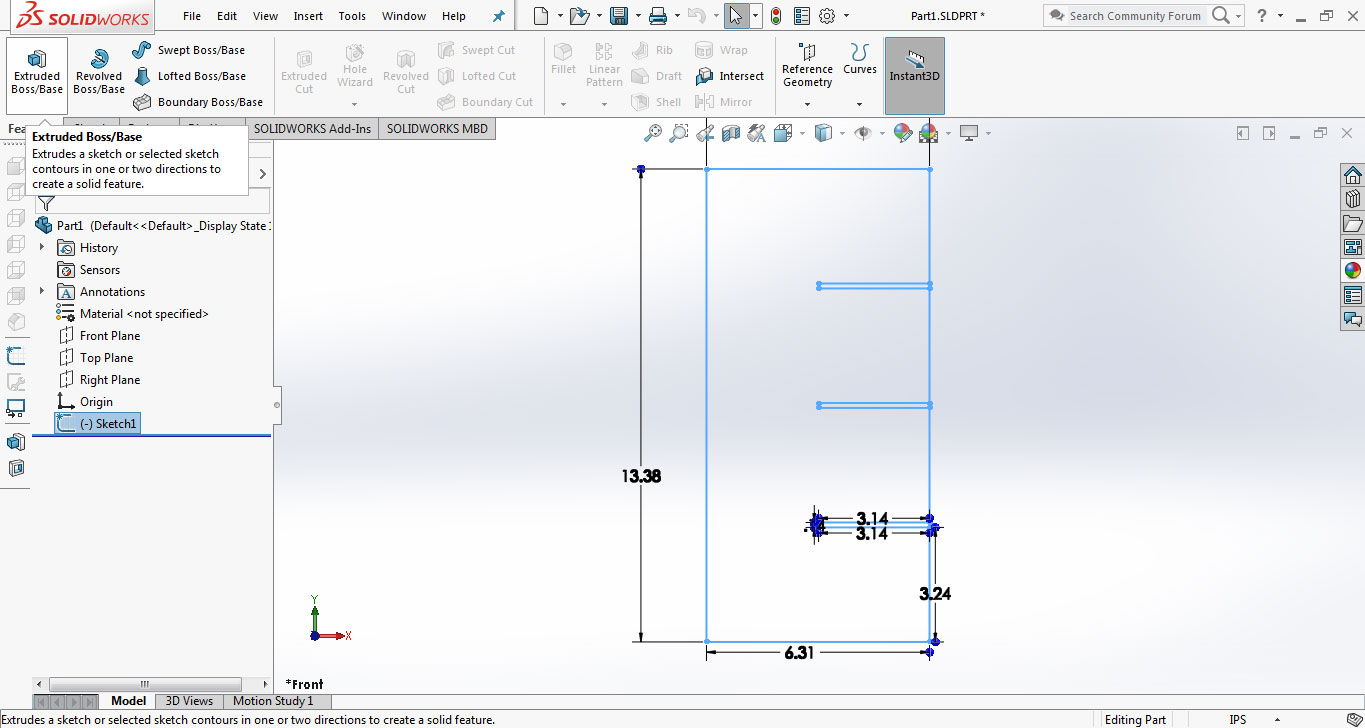
a complete 2D Sketch of Part 1
Now for making it 3D I use "Extruded Boss/Bass" tool and select 0.14inch as extrude value
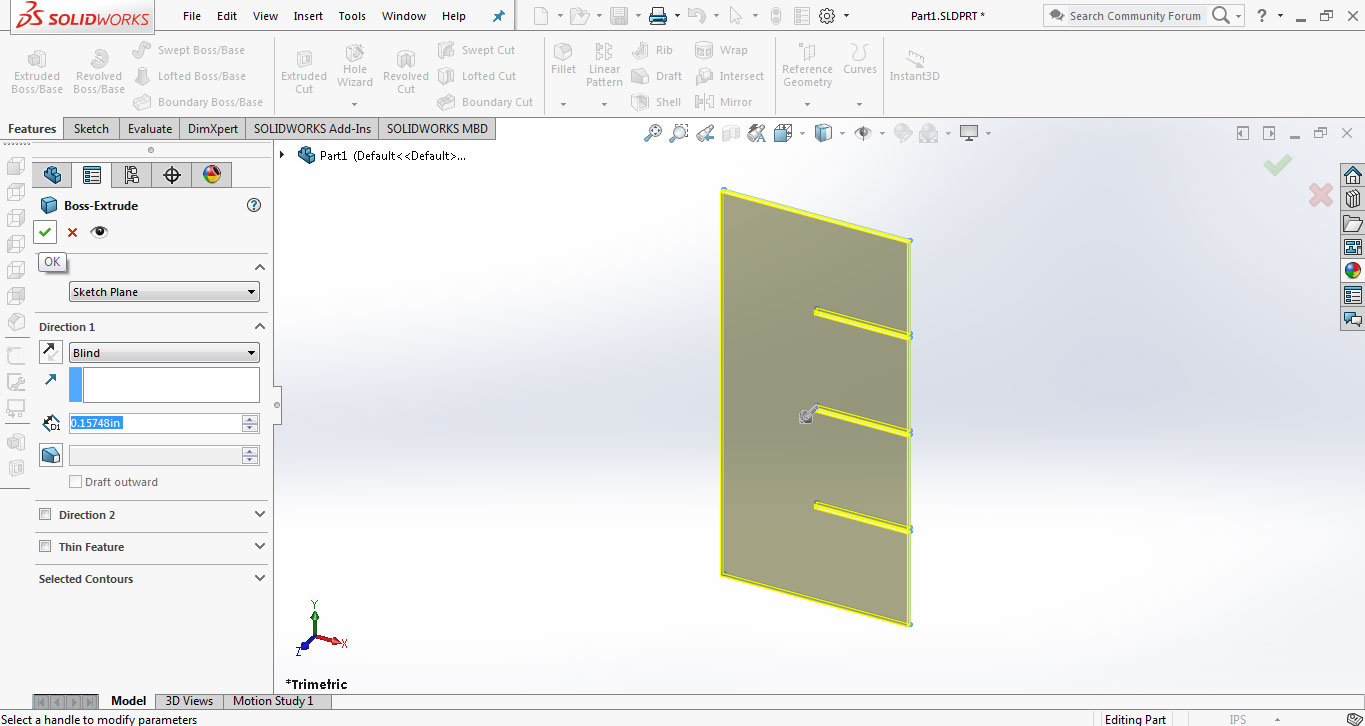
3D Model of Part 1
after making 3D model of part 1, I use same technique to make part 2 and save them both in a differnet folder
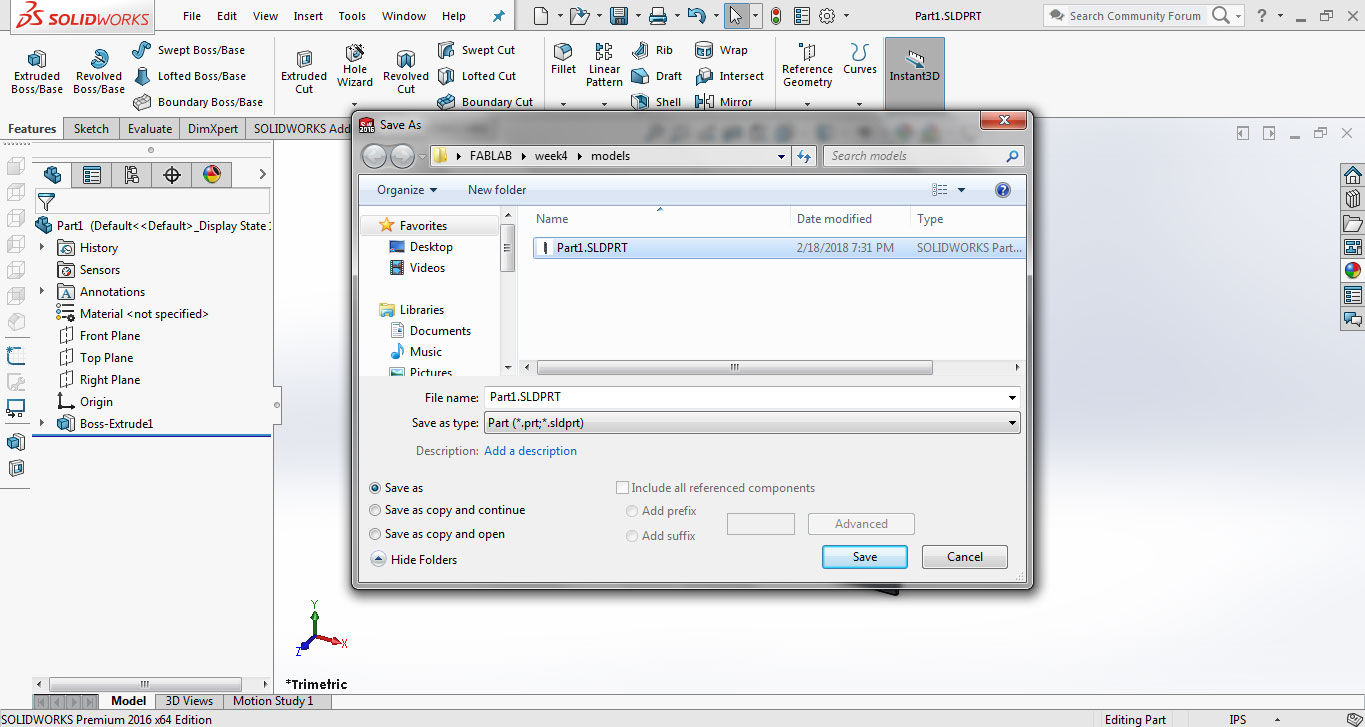
Saving part 1
After making both parts it is time to assemble and duplicate them and for this I opened new file and use "Assembly" as new document
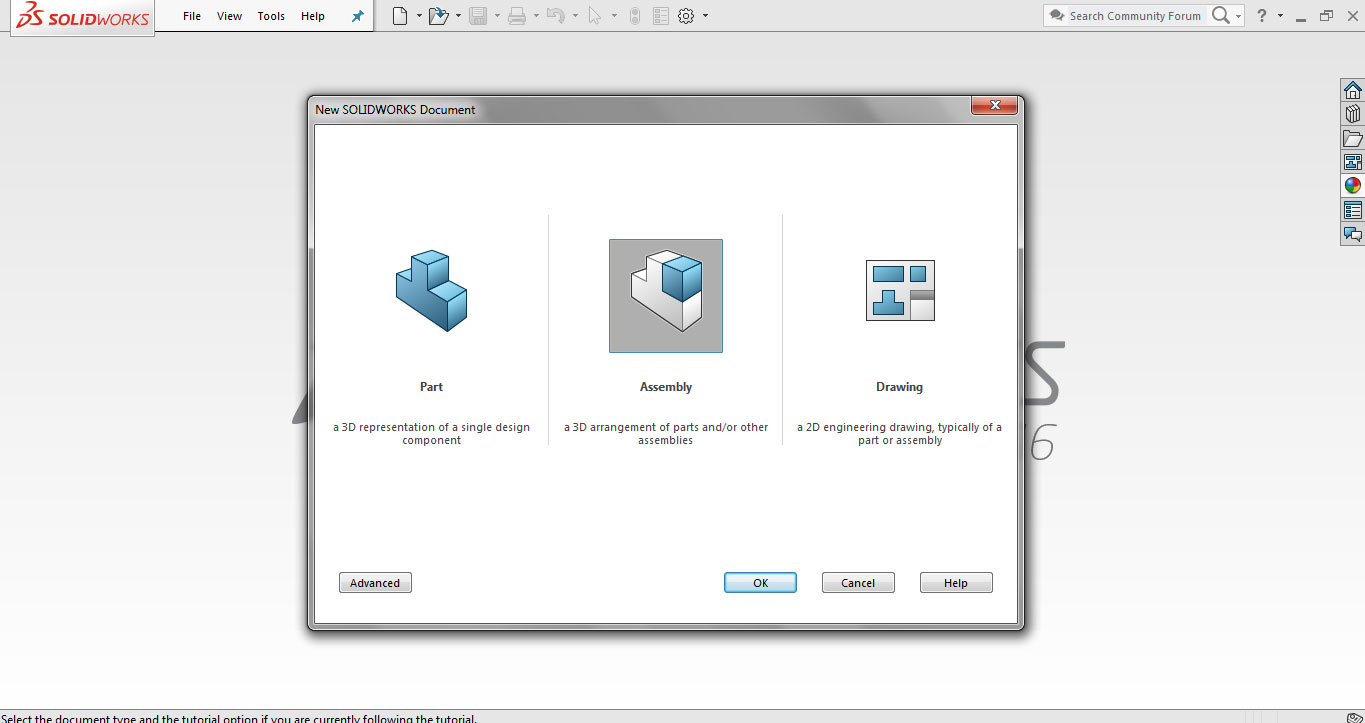
selecting Assembly as new document
First I open both parts in Assembly
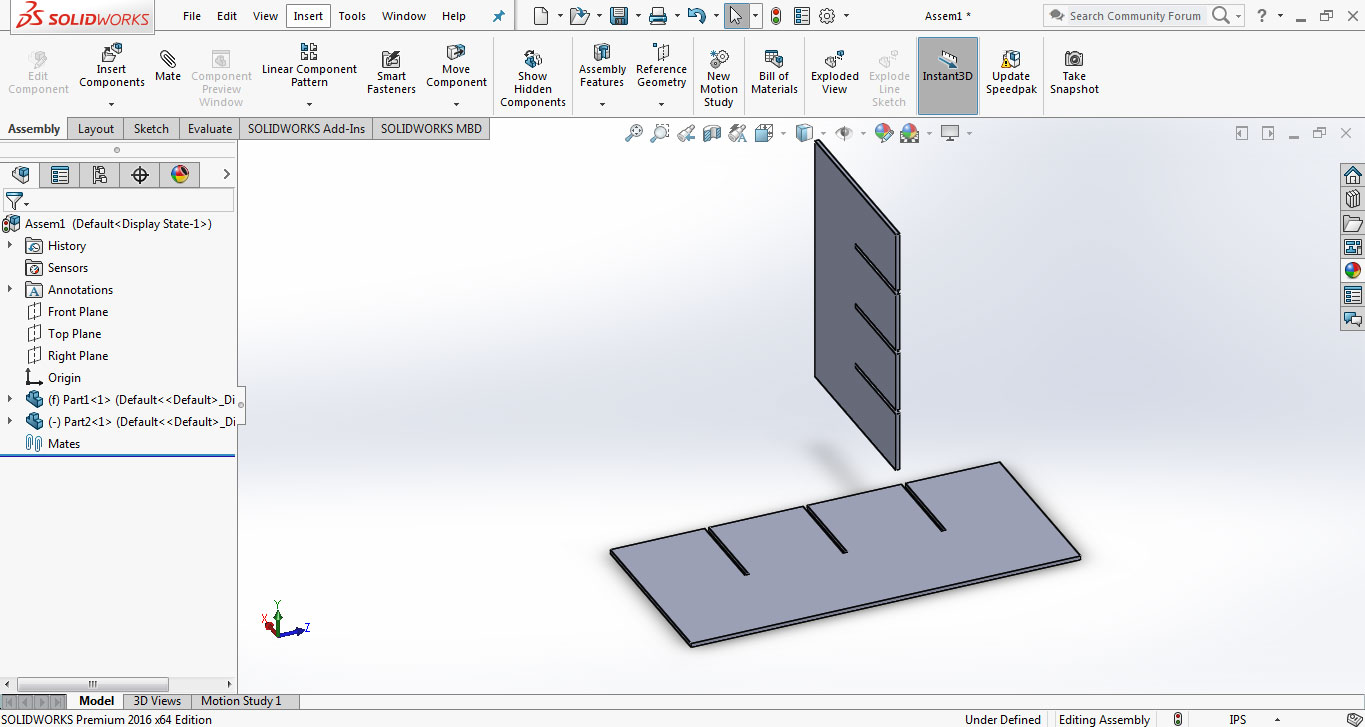
both parts going to assemble
using "Mate" tool several times I lock them together in a desired position.
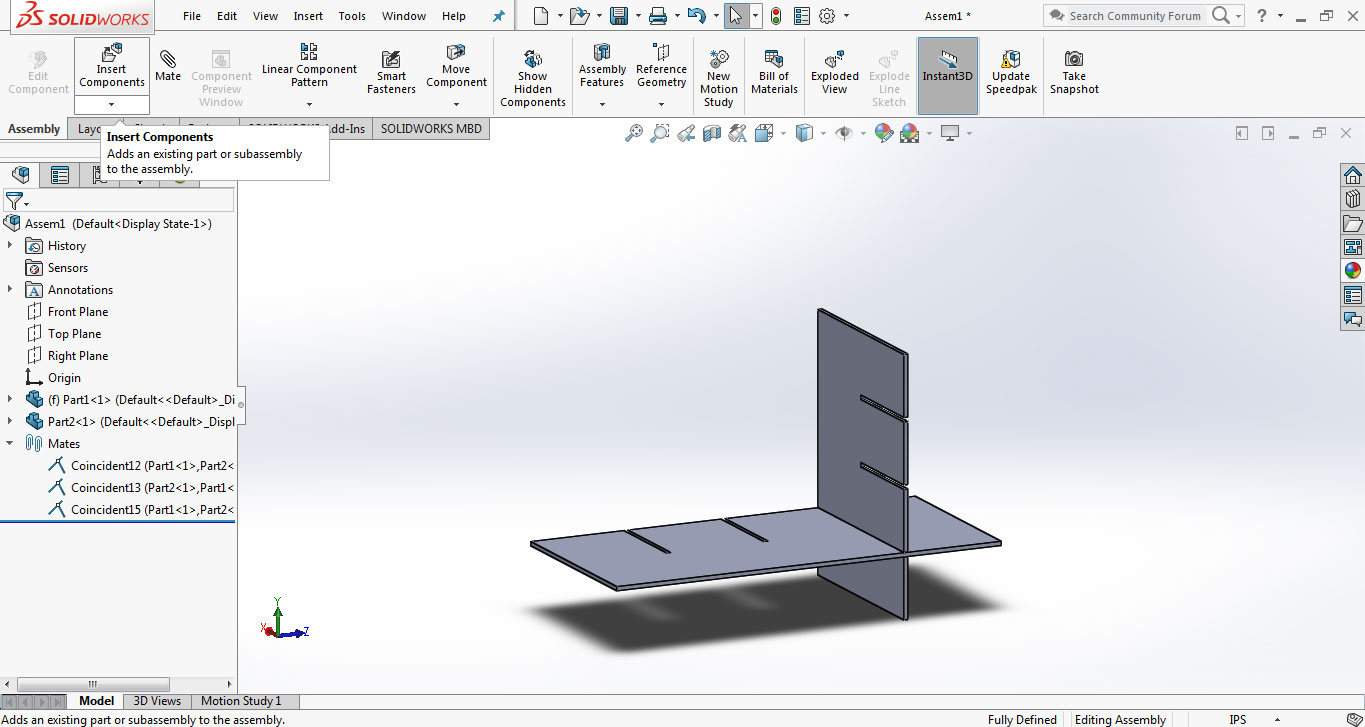
using Mate tools both parts assemble together
then I select "Linear COmponent Pattern to copy them while maintaining the distance of 3.38 inch so they can fix on exact slits.
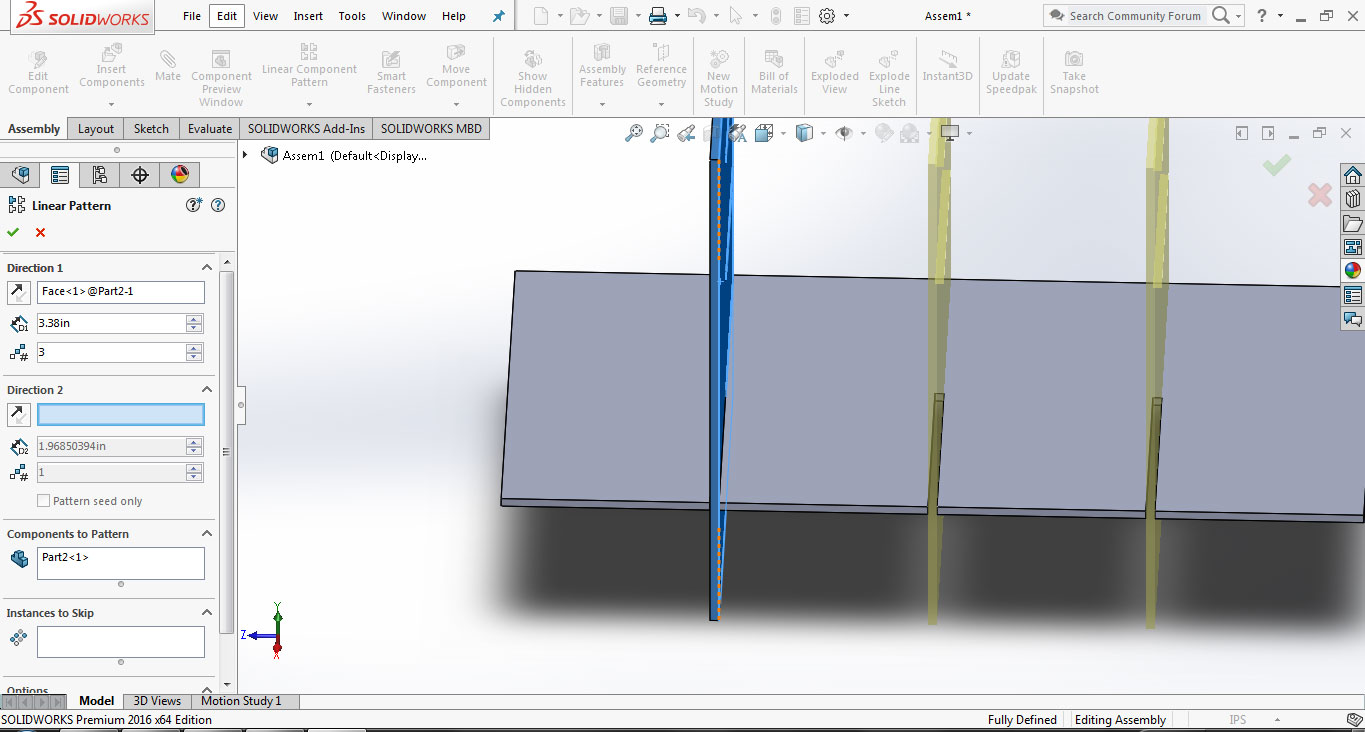
duplicating part 2 on exact place to fit them in part 1 slits.
Completed my 3D model using same above method with part 1.
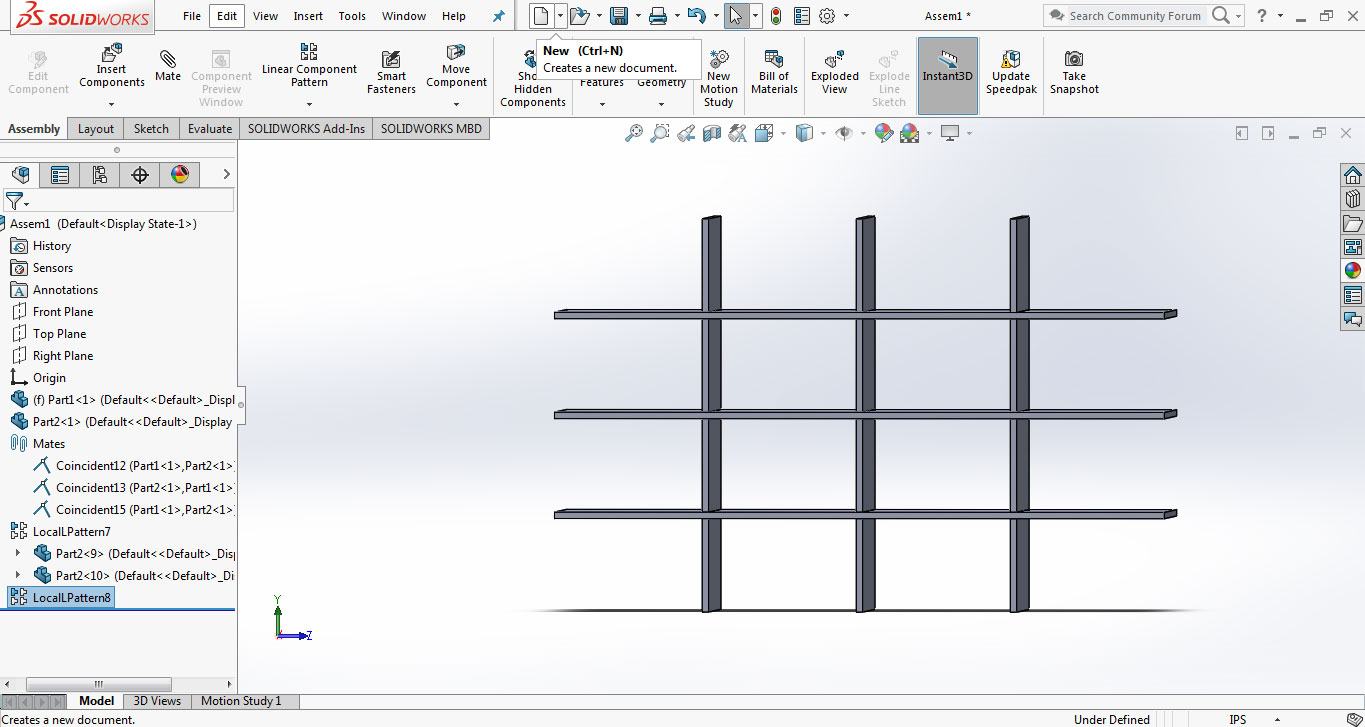
3D model of inner part of smart cabinet sample
For testing shelf size with box I made 1 sided open box in InkScape using same method which I used in Week-3 for making box. After making models it is time to laser cut them, using same method we use above I used 75Watt Epilog M2 Fusion laser Cutting Machine.
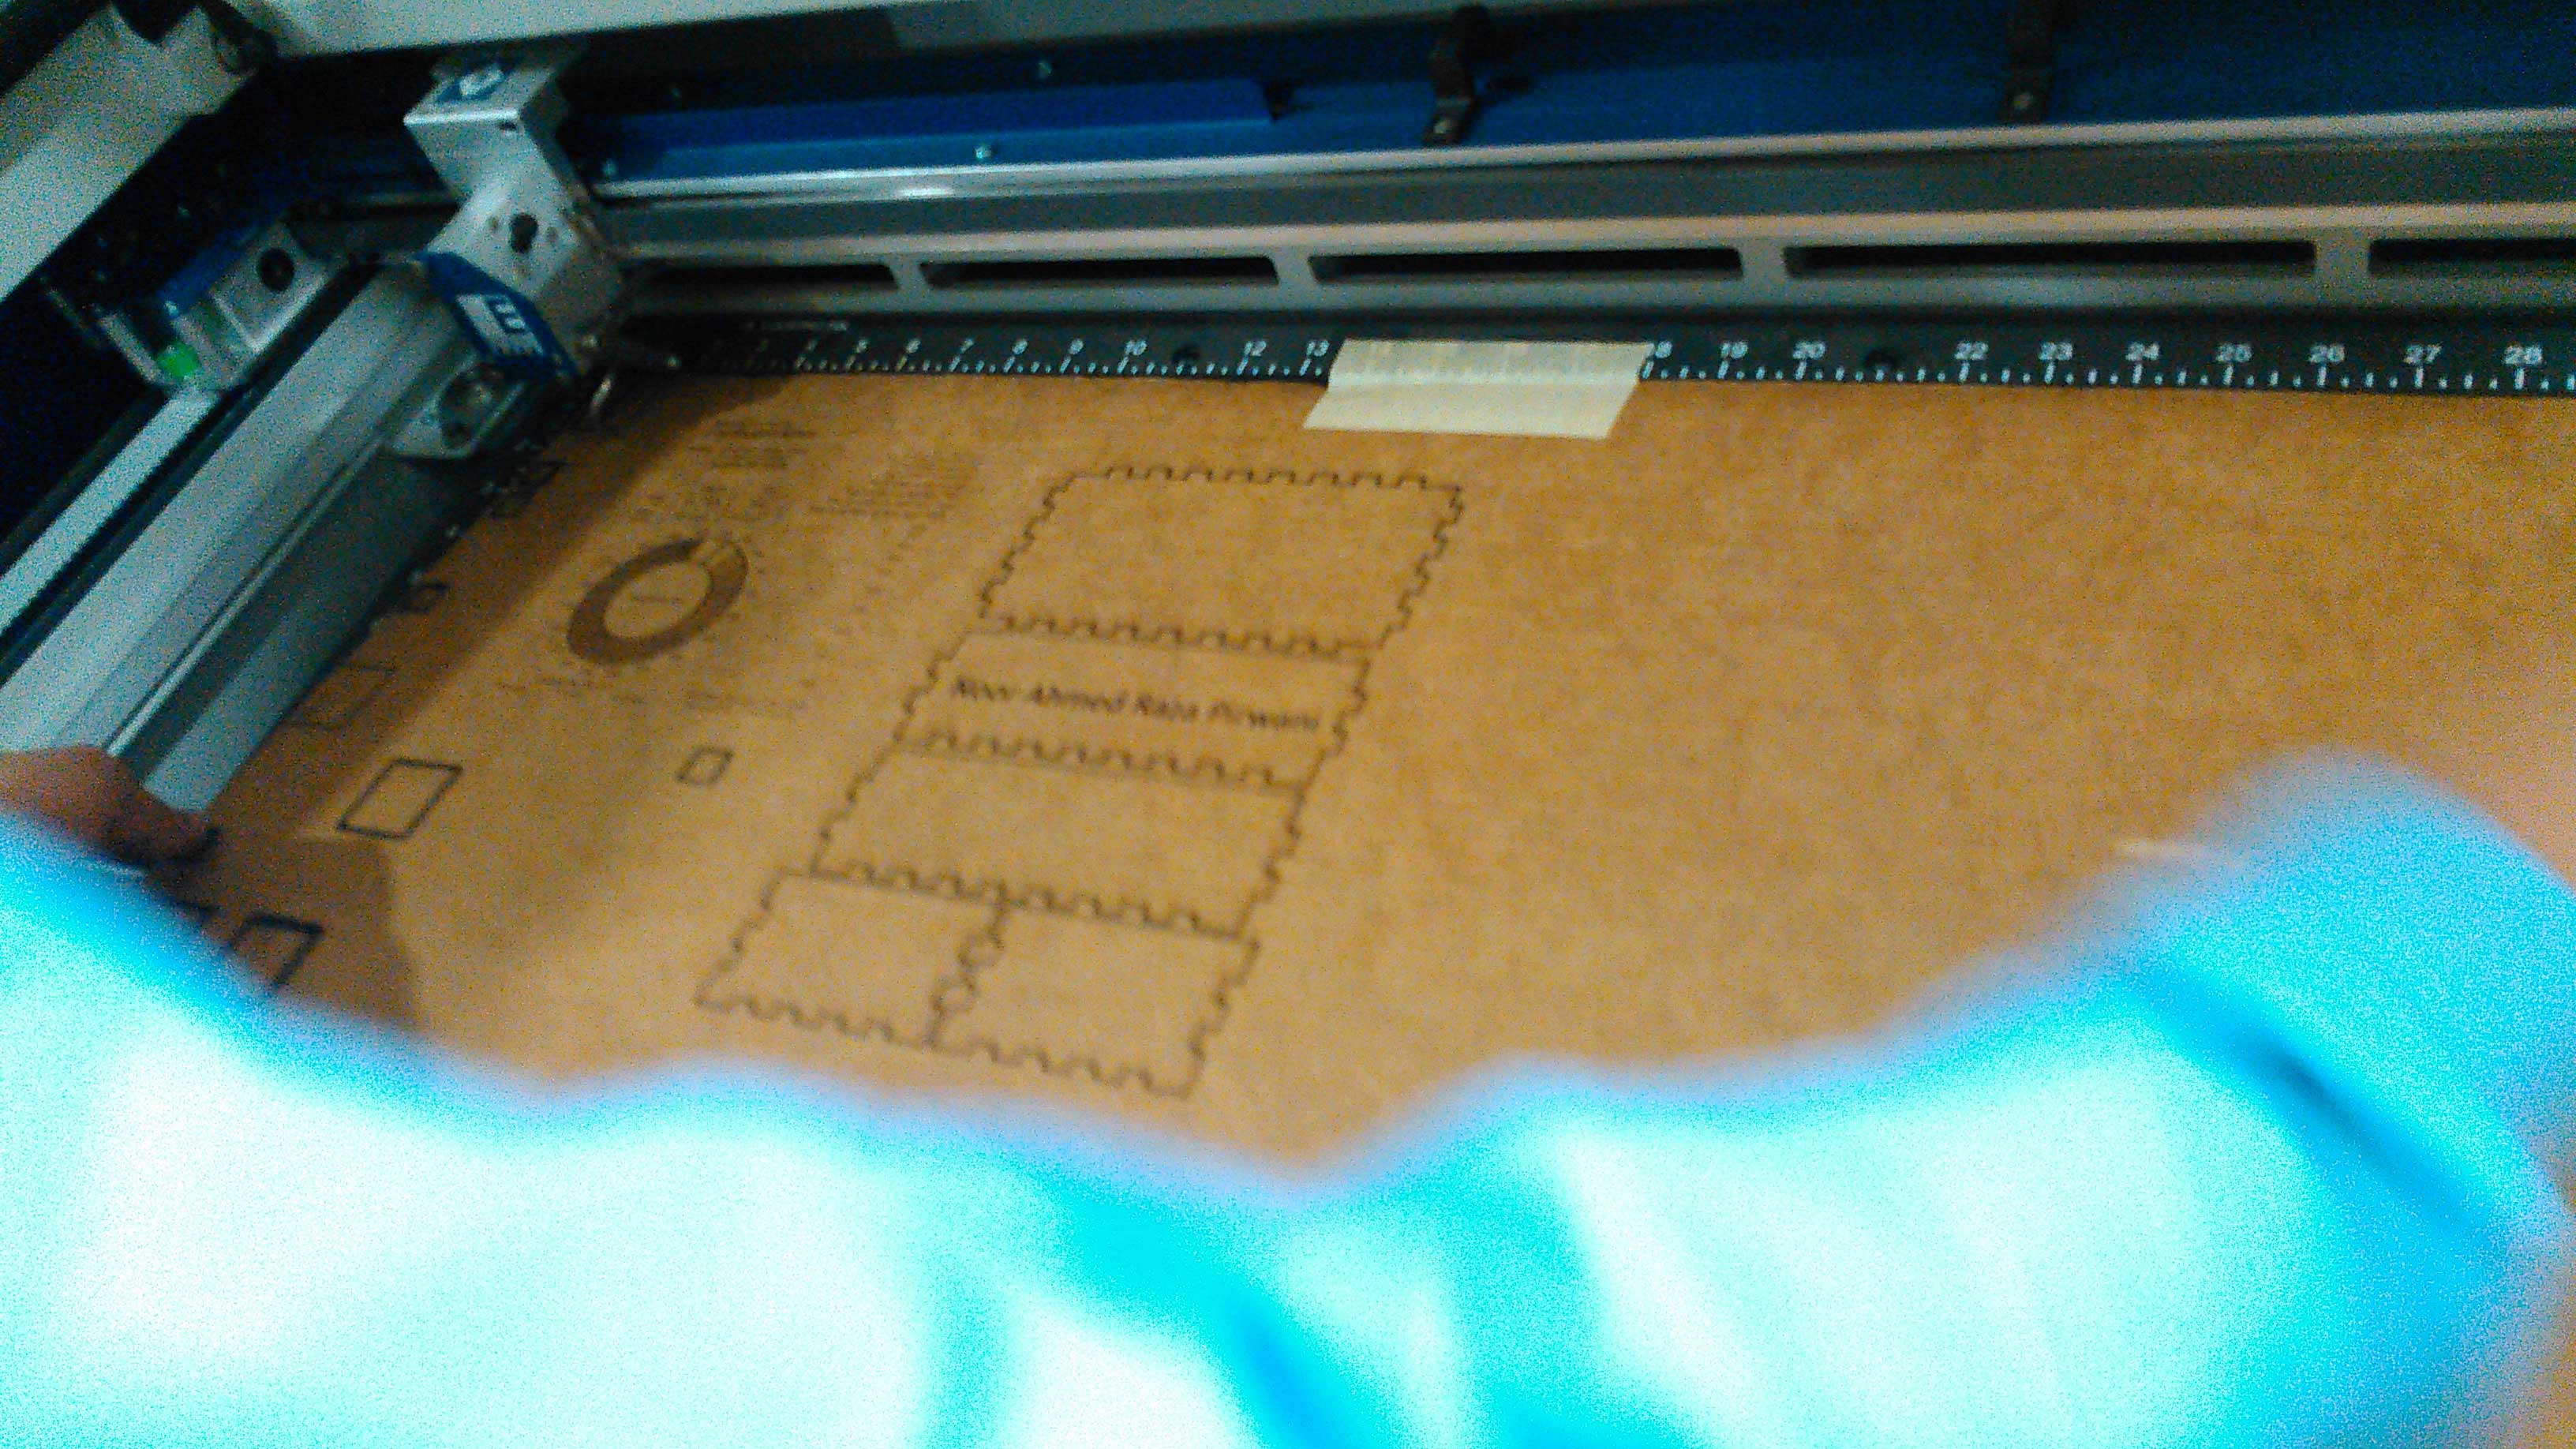
box cutting in Epilog Machine
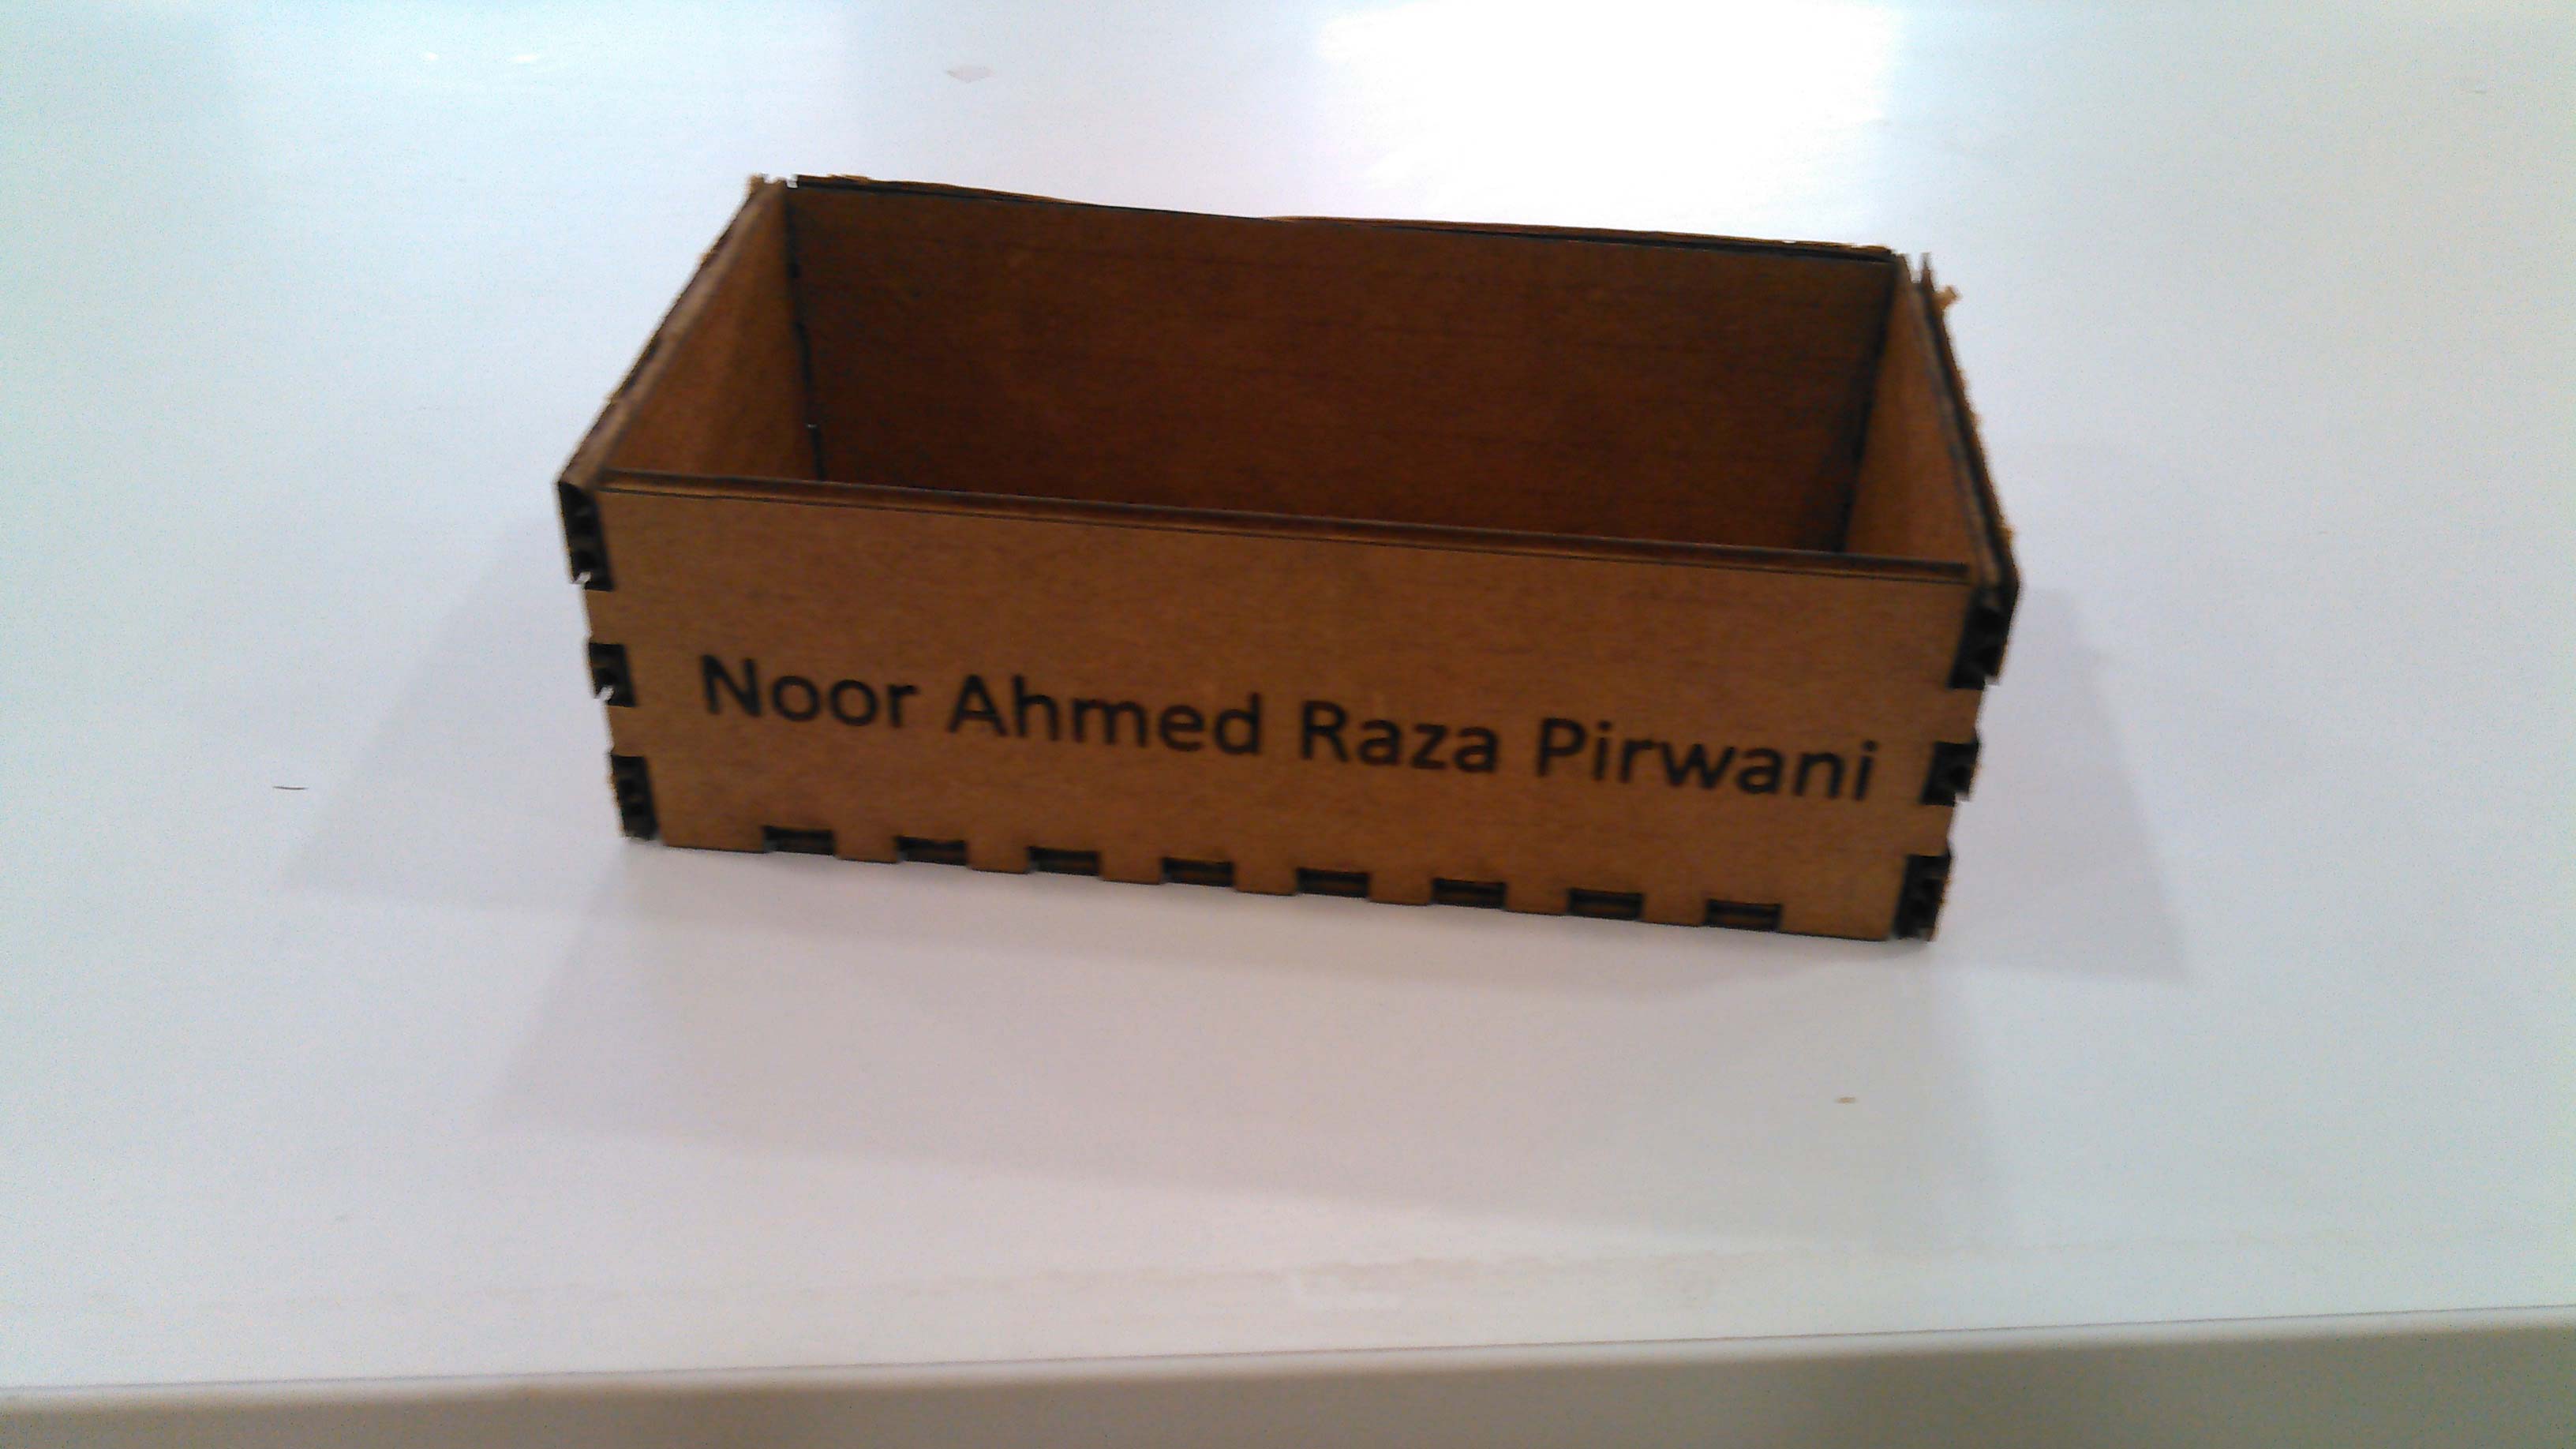
Press fit box
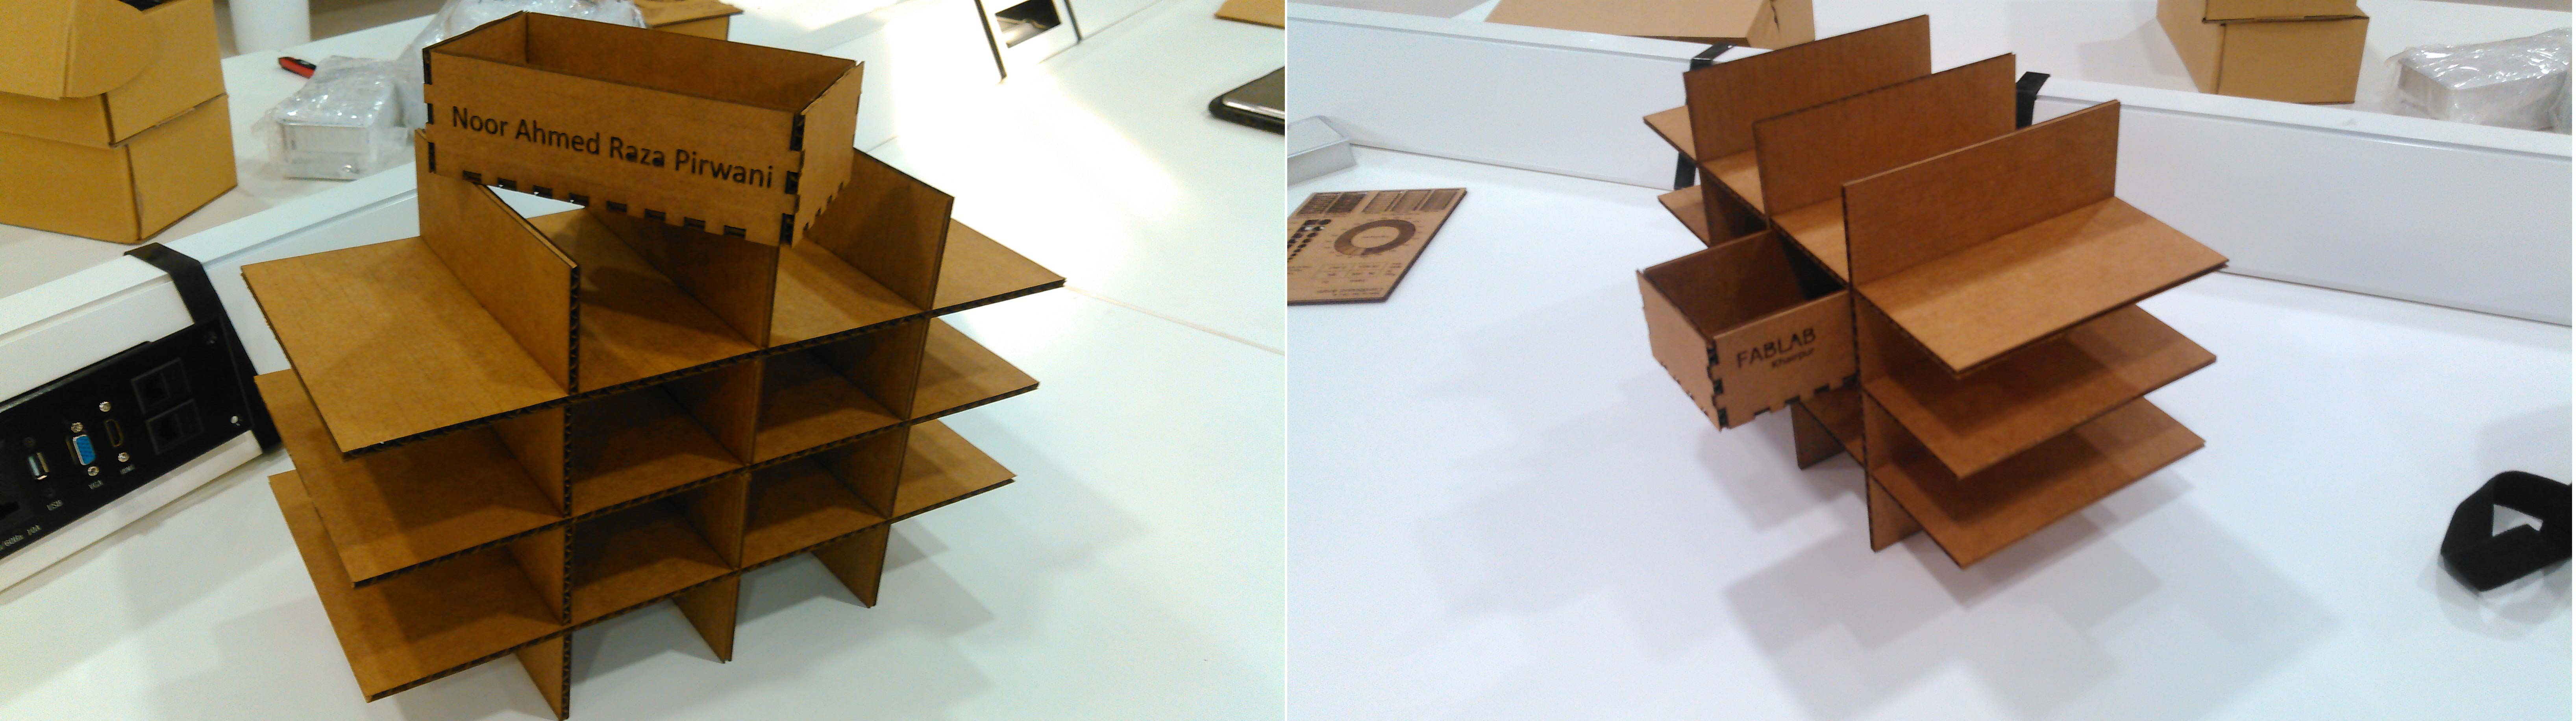
Laser Cutted inner part of a shelf with box
"Click here"to download all files of this week

This work is licensed under a Creative Commons Attribution-NonCommercial 4.0 International License