


Machine Design
Group Assignment
Group Assignment Part2: Machine Design
In the previous week we completed the mechanical part of group assignment. This week , we have to control and program the robotic arm and set the initial positions of servo motors, then include the pick and drop functionality . Firstly, the robotic arm will be controlled via HM-10 BLE 4.0 Bluetooth and then it will be made to work automatically.
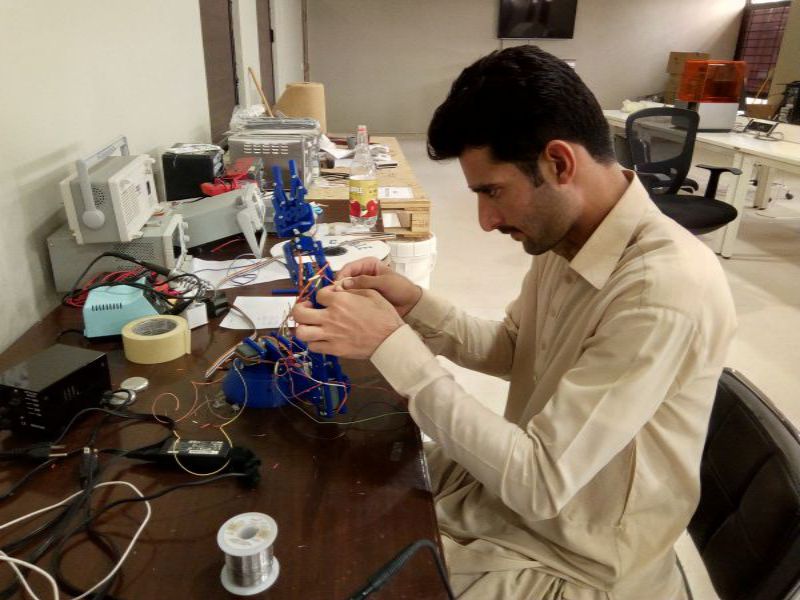
Wiring of the hardware components:
For testing purpose, we connected the wiring to each hardware component. All the VCCs and GNDs were made common.
Controlling the Servo Motors:
There are seven Steppers used in making the robotic Arm. The necessary details about each servo is given below:
- The 1st servo or the 1st degree of freedom is obtained through Hking HK15138 Aanalog Servo, is attached below the base, and it is able to rotate from 0 to 180 degrees. Its main function is the rotation of the whole robotic arm.
- The 2nd and 3rd servos combinely render the 2nd degree of freedom through Hking HK15138 Aanalog Servo and are attached at the shoulder joint . They rotate from 0 to 180 degrees. Their main function is to lift the robotic arm from ground to initial position that we have set.
- The 4th servo render the 3rd degree of freedom through Hking HK15138 Aanalog Servo and is attached at the Elbow joint . It rotates from 0 to 180 degrees. Its main function is to support the upper part or the end factor.
- The 5th servo is responsible for 4th degree of freedom is obtained through Hking HK15138 Aanalog Servo. It is attached at the wrist joint, and it is able to rotate from 0 to 180 degrees. Its responsible for the linear movement of wrist.
- The 6th servo is responsible for 5th degree of freedom, obtained through Corona CS-939MG Aanalog Servo. It is attached at the wrist joint, and it is able to rotate from 0 to 180 degrees. Its responsible for the angular movement of wrist.
- The 7th servo or the 6th degree of freedom is obtained through Corona CS-939MG Aanalog Servo, is attached at the gripper, and it is able to rotate from 0 to 180 degrees. Its main function is to pick and release the object. This is responsible for the movement of base.
The microcontroller used is Arduino Leonardo with (ATMEGA32U4 : 8-bit Microcontroller with 16/32K Bytes of ISP Flash and USB Controller).Arduino Leonardo is a customized version of Arduino, having 44 pins as shown below:
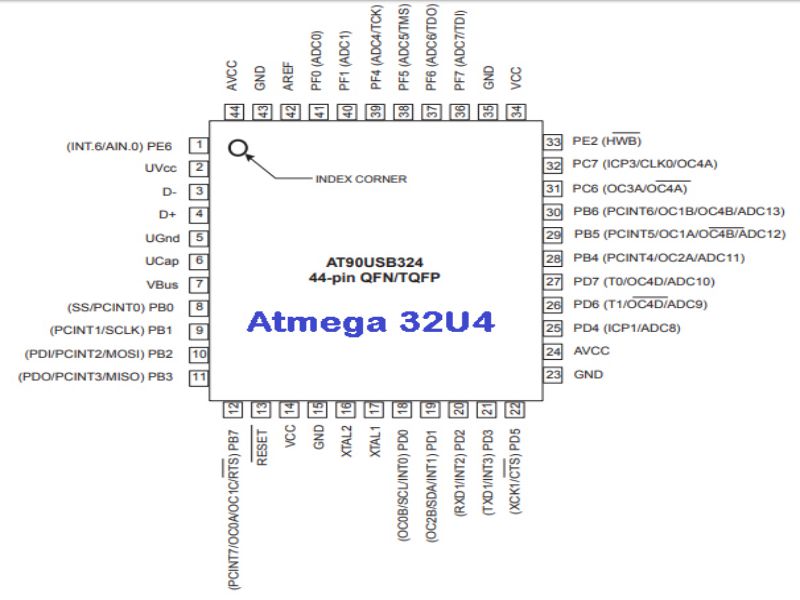
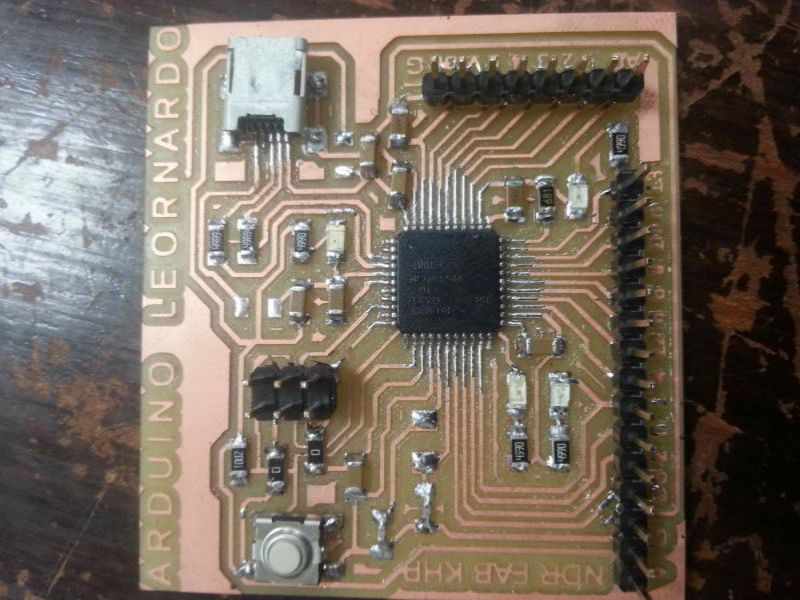
The Leonardo gives almost the same functionality as Arduino UNO but Leonardo has an extra serial communication pins. Since we are not allowed to use commercialized boards , so one of our colleagues Mr.Nadir Ali had made his leonardo board in week 9. To read more about this board, the link of his version of leonardo is given HERE.
The whole functionality of the robotic arm is electrically manipulated using the Arduino Leonardo board. Following pins of Arduino Leonardo are used to connect and control the Servo motors and the Bluetooth module.
| Name of Motor/BT Pin | Wire Color | Arduino Leonardo Pin |
|---|---|---|
| a | Brown | 3 |
| b | White | 5 |
| c | Orange | 13 |
| d | Yellow | 9 |
| e | Green | 6 |
| f | Dark Yellow | 10 |
| RX | Yellow | 0 |
| TX | Orange | 1 |
Programming:
The programming has been done in C language using the Arduino IDE. The bluetooth module(HM-10 BLE V 4.0) has been interfaced and Bluetooth Serial Terminal application has been used for giving the commands from the android phone. The arduino codes have been attached at the end of the documentation.
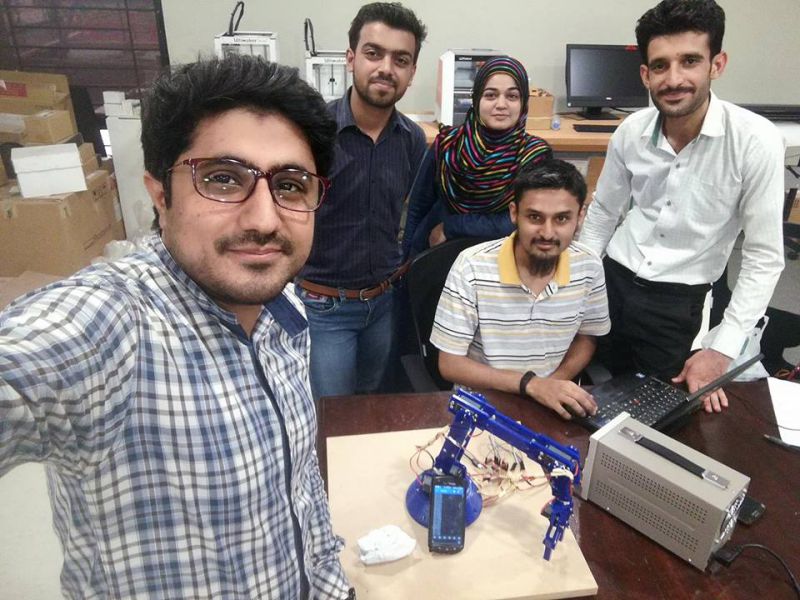
Working of Robotic Arm
Initially we were controling the robotic arm using the HM-10 BLE 4.0 Bluetooth module, for obtaining the values of servos to set the initial positions. Once we achieved the initial positions then we moved to programming it in a way so that it performs the task of pick and drop the object automatically. The video showing the working of robotic arm is attached at the top of page:
My Individual contribution
As, this week's task is done by mutual collaboration of group. We all worked together in almost every part. Here, Wired the robot by soldering wires to and from servo motors. Electronics production part was mine, as I already designed an atmega32U4 board in week 9 embedded programming. We used this board instead of commercialized arduino board. Designing of the controller also was my part. This was the perfect example of group work.
Further Improvements:
Although the robotic arm works ery well but still it needs to be improved in following terms:
- Efficiency: The robotic arm performs the pick and drop , but it takes time.
- Application development: We are planning to develop pplication using MIT App Inventor.
- High Torque Servos: In order to increase the weight handling capability of the robotic arm , servos handling better torque can be incuded.
Conclusion:
This was our first group Project of Fab Academy, so it was a nice experience of collaborating together to make something. Moreover, we learnt about the working and controling a robotic arm; the basic factors like its kinematics, degrees of freedom, selection of hardware components like servos, and its limitations.
- The arduino Code is attached HERE
- The arduino Code for Setting the Initial Position of the motor is attached HERE
- The arduino code for making the automated pick and drop funtions in the robotic arm is attached HERE
Click HERE to see the complete documentation of group project.

This work is licensed under a Creative Commons Attribution-NonCommercial 4.0 International License.