2D and 3D designs (Final Project )
I have various designs and finally I have decided to go with this design as it goes through different steps like 3D printing, laser cutting, metal & wood.
I drew the design on Solidwork software also I have downloaded some parts designs like screws and couplers as they being hard and takes time to design so I have downloaded them from Grabcad also it helps with the assembly process.
Another site Sketchfab I have used which was very helpful and exciting as you can upload your design as STL file then you go to embed so you copy it and past it in your HTML page to give you a 3D image.
I did my first part for my final project on Solidworks which is the Funnel

Then I added holes for screws as
I made the funnel. This part I printed on FDM printer using WOODFILL filament and after installing I sprayed it with silver color to give a metal look
Download Funnel Design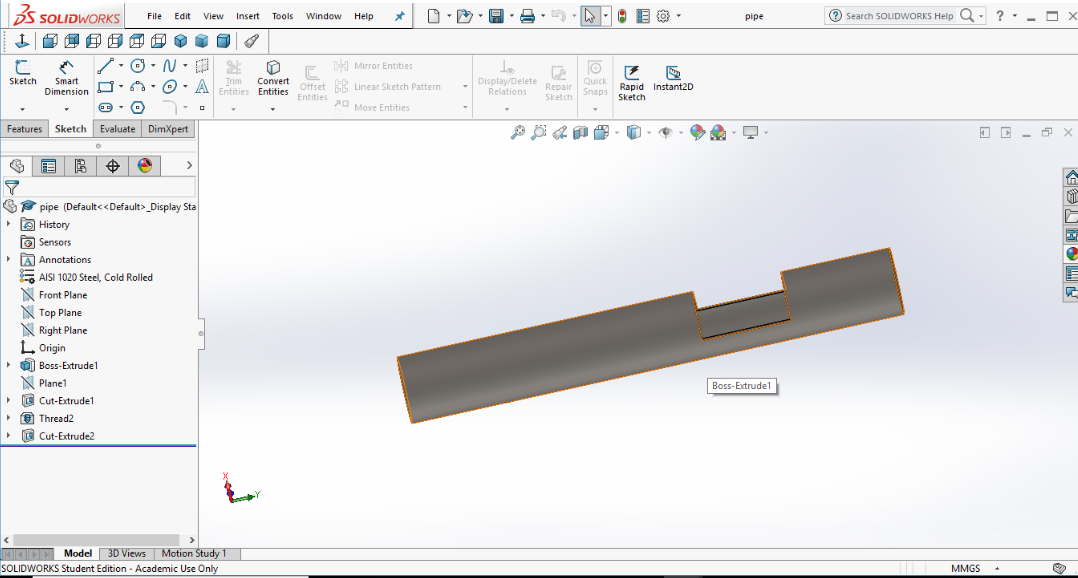
I made the design for the pipe as a cylinder which the funnel will be fitted it on it. I made manually with metal parts with a diameter of 27 mm. I made a thread on it so to screw to the nozzle holder.
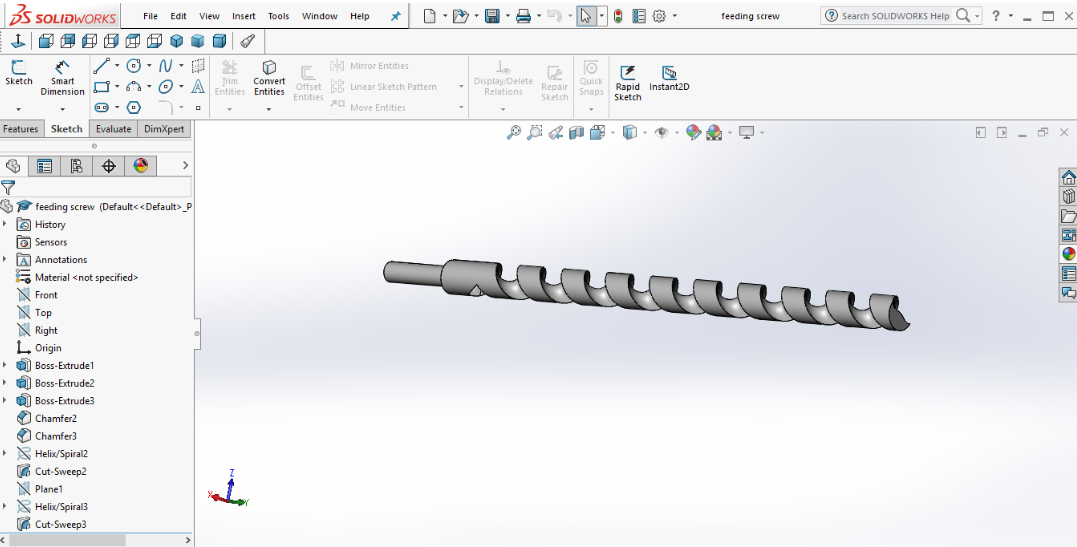
First I made a drawing for the feeding screw with a diameter of 25 mm which is less than the cylinder by 2 mm so it can move easily. As I found it is rather difficult to make it in our lab I bought from the local market.
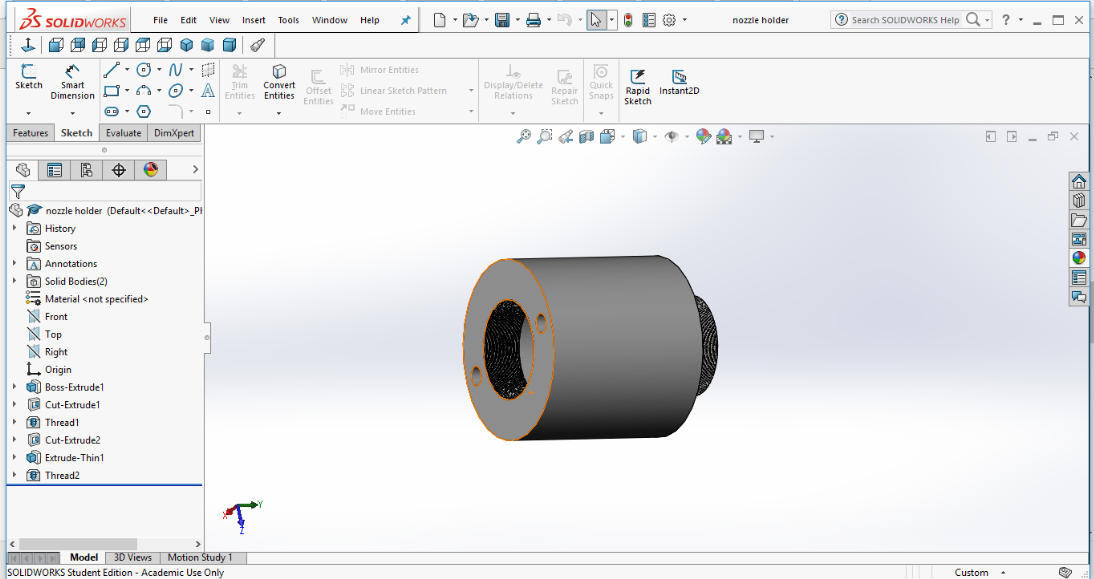
I designed the Nozzle holder I made threads from both sides one inner which the nozzle will be screwed in and the other one outer which the pipe will be screwed in. Also I made on it 2 holes to fit the thermocouple in them. I made it from metal using lathe milling machine.
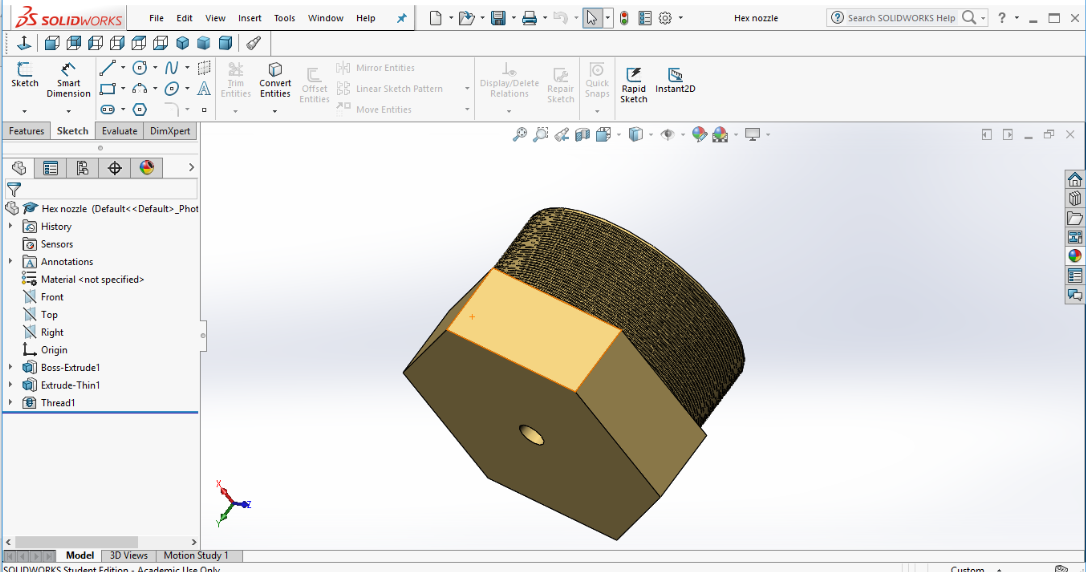
This is the nozzle which I designed as copper rod shape also I made a thread on it and made cut extrude for it. This part also I made on lathe milling machine and using CNC Tormach. For the holes I made them with 2 diameters one with 2.85 mm and the other one 1.75 mm so to be able to give two different diameter of the filament.
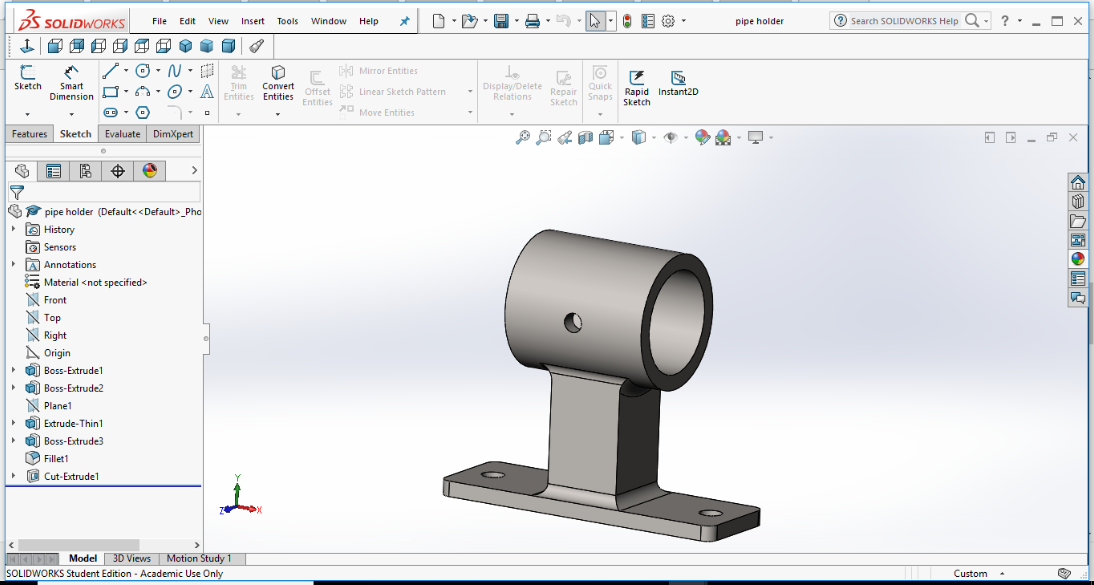
This is the pipe holder which I designed with a diameter of 28 mm and made holes on the sides and bottom for screws. This I made manually with metal.
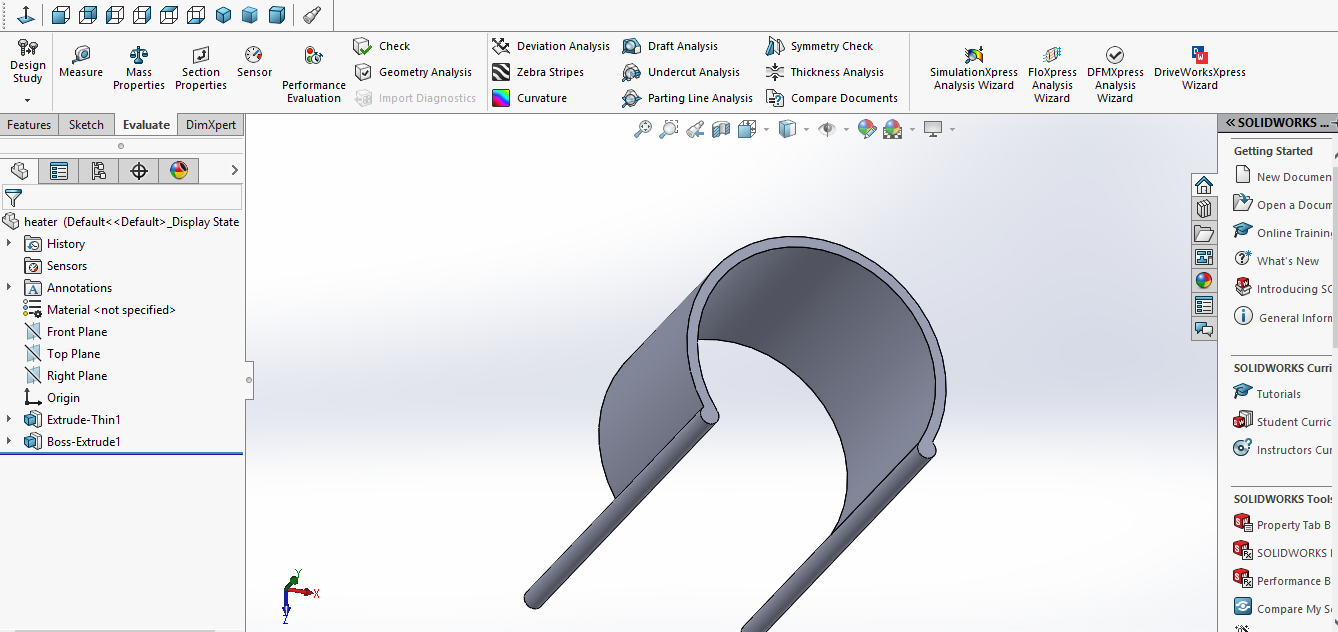
I have made a design for the heater which will be fixed to the nozzle so to help me in the assembly process as the heater itself I bought locally.

This is the motor holder which I designed to have from one side the motor and coupler the other side for the feeding screw as a delta shape. Also I have made on it holes for the screws.
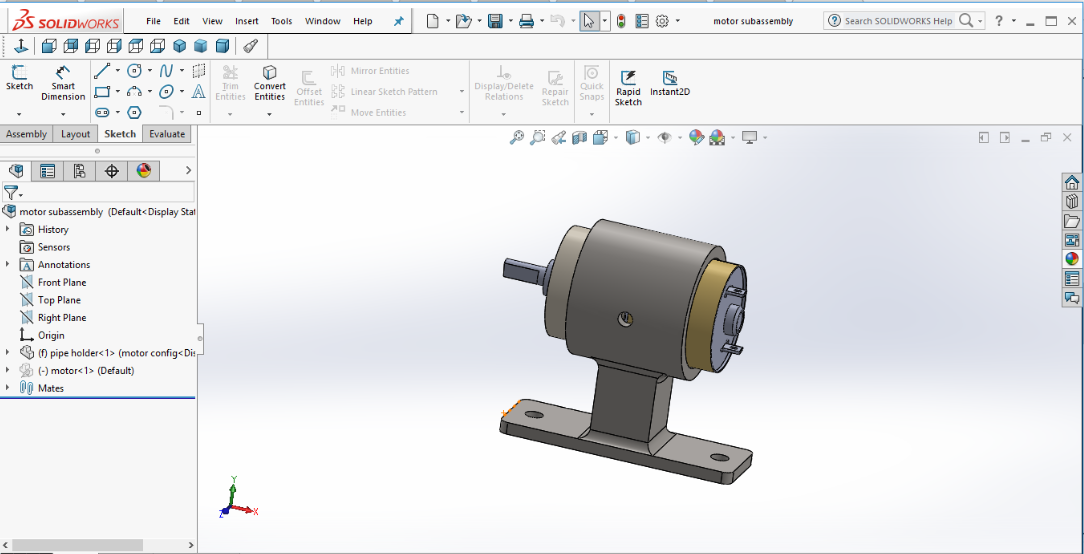
This is the Motor holder which I designed with 45 mm diameter also made on it holes for the screws so to be well fitted.
This is an example for the screw which I downloaded from Grabcad.
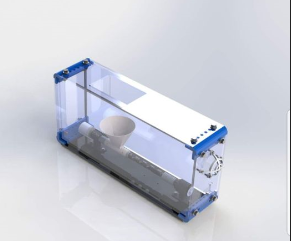
Casing
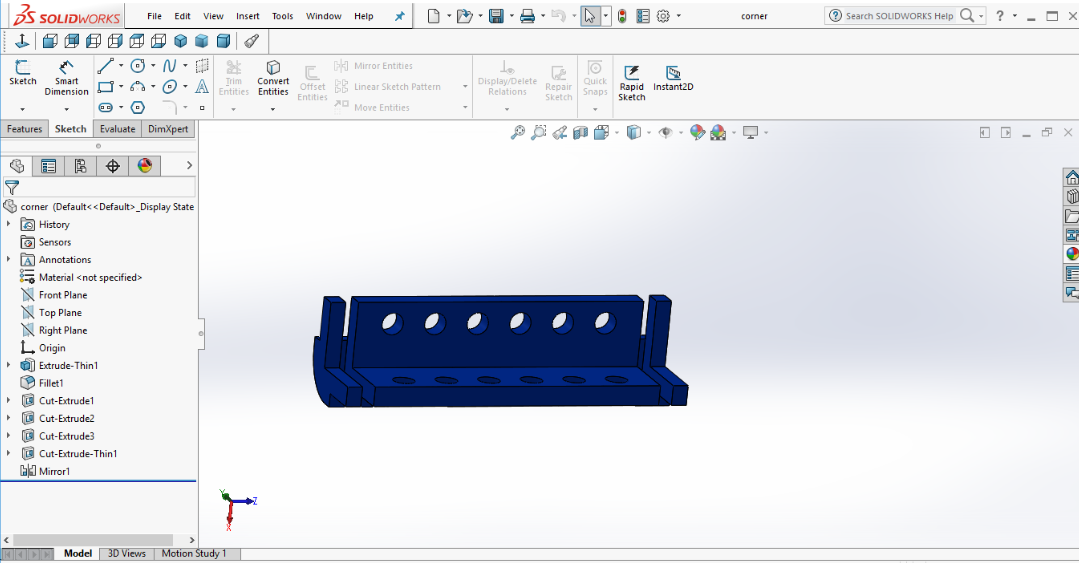
I made a design for the 4 joints with 3D printing PLA filament which will hold the casing of the machine with holes for the screws of 10 mm but I made them 9 mm as the 3D printing is not accurate 100% so I’ll be making threading manually to fit the screws and from the sides the acrylic will be 6 mm.
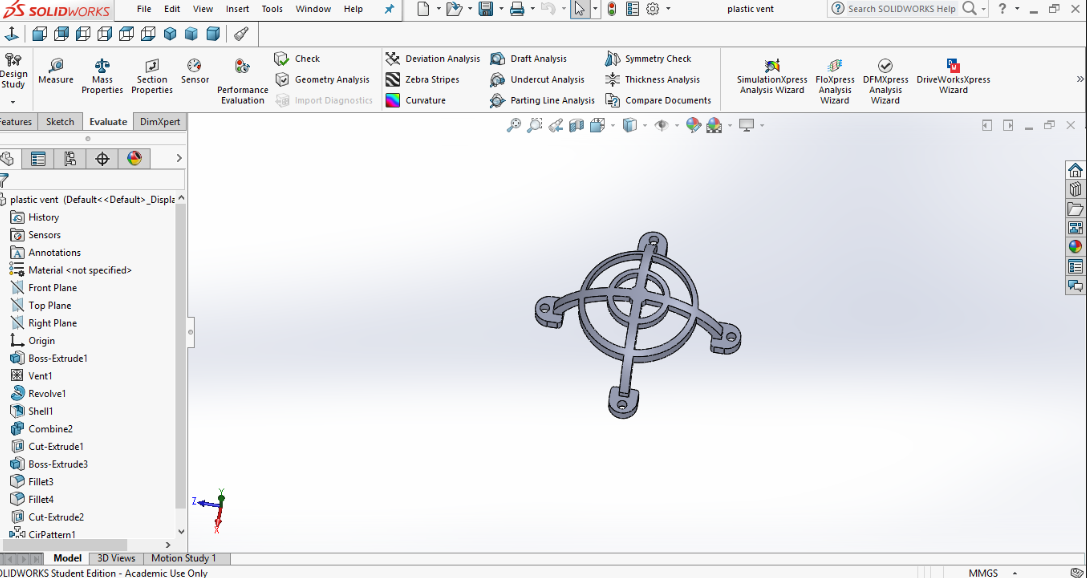
This piece I designed so to be on the side of the casing for ventilation and for decoration and good looking.
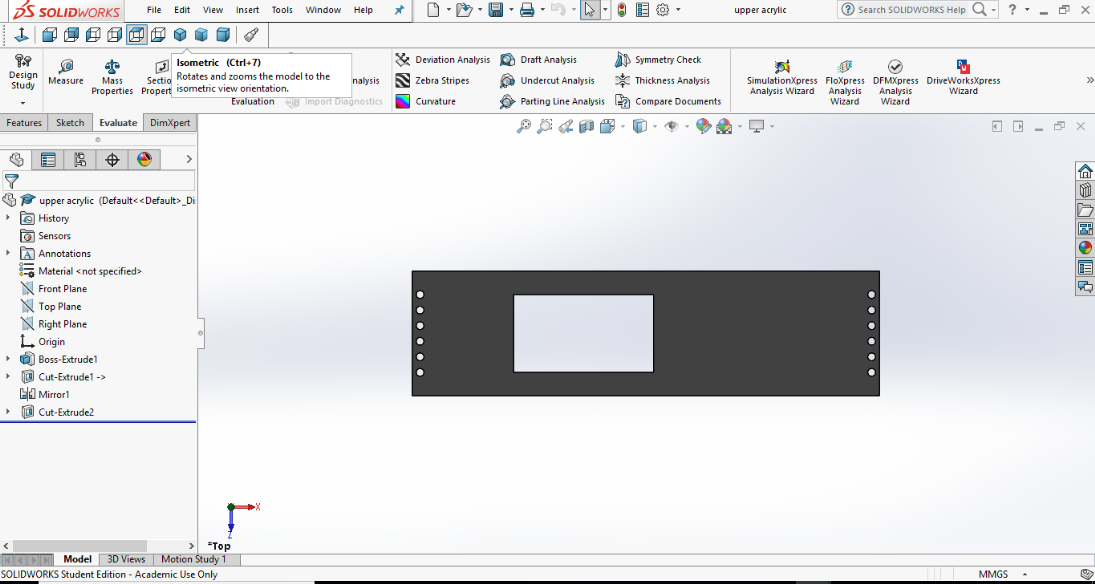
This is the top of the casing which I designed as 2D as it will be acrylic with large opening so to put the used filament inside the funnel easily.
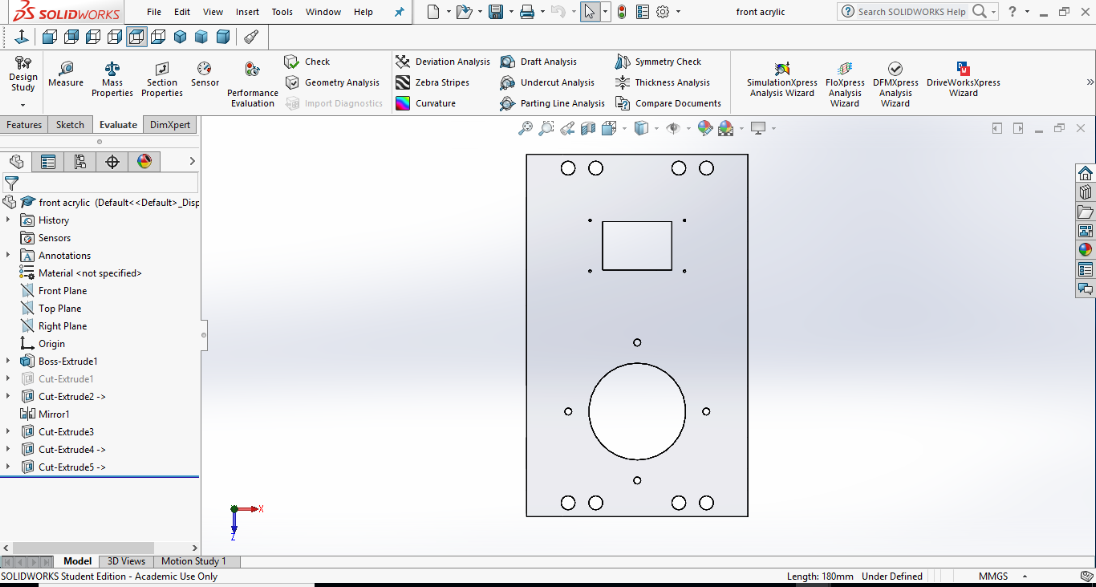
This is also a 2D design which will be acrylic and the screen will be fitted on it.
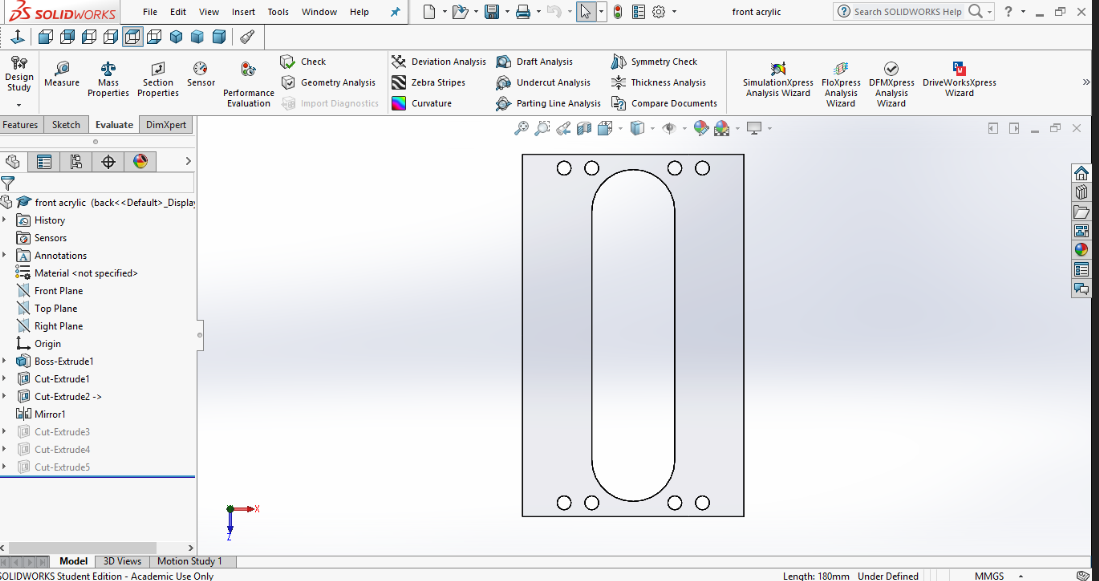
This is also a 2D design with big opal shape opening which the filament after recycling will come out of it.
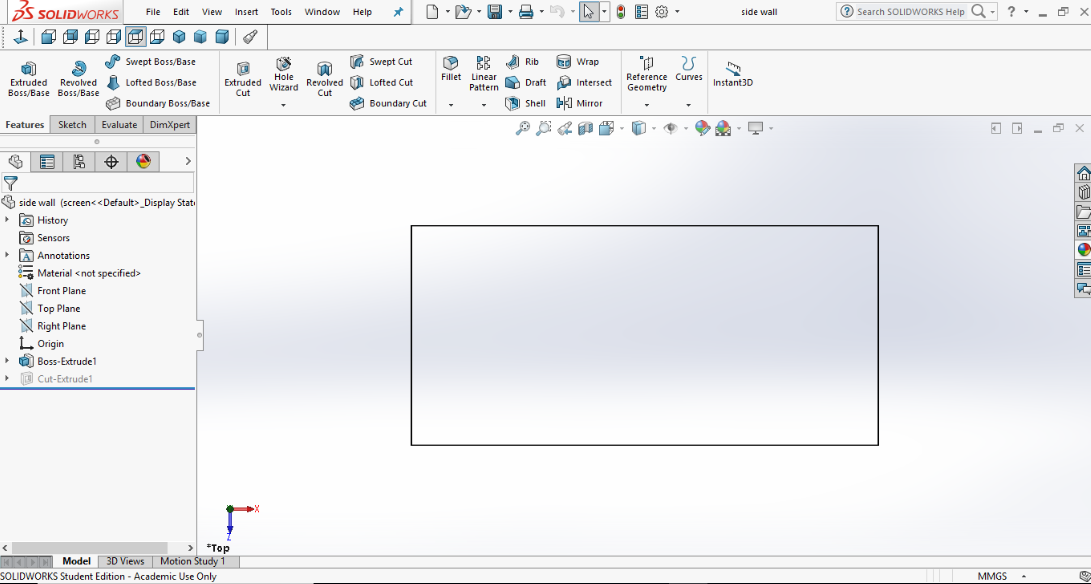
This also a 2D design which will be 2 pieces one from each side and it is acrylic 6 mm.
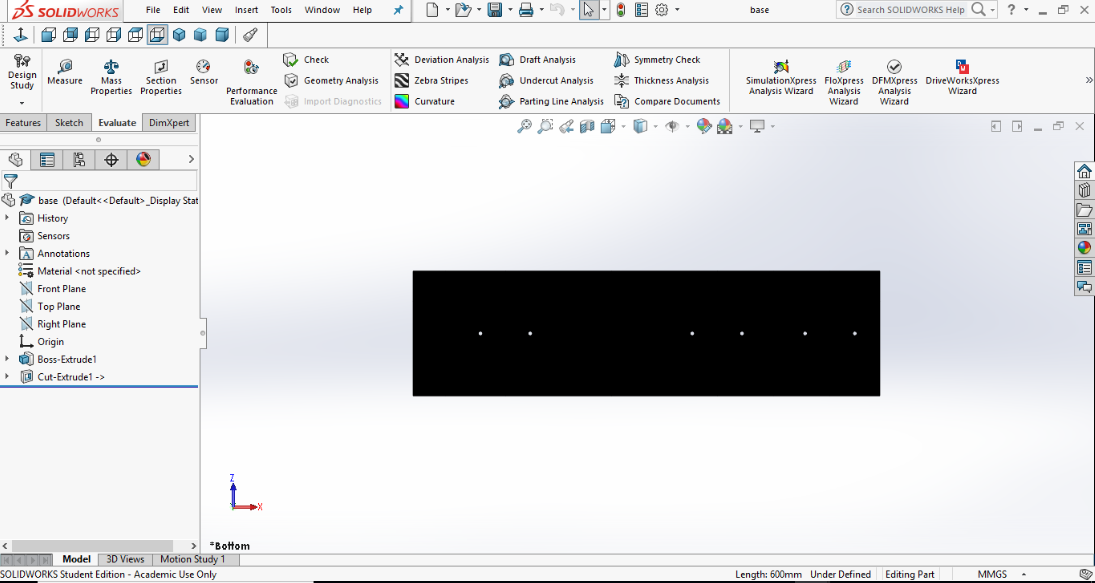
This is the base which be plywood with a dimension of 16 * 60 mm and I’ll make it manually using Makita wood cutter.
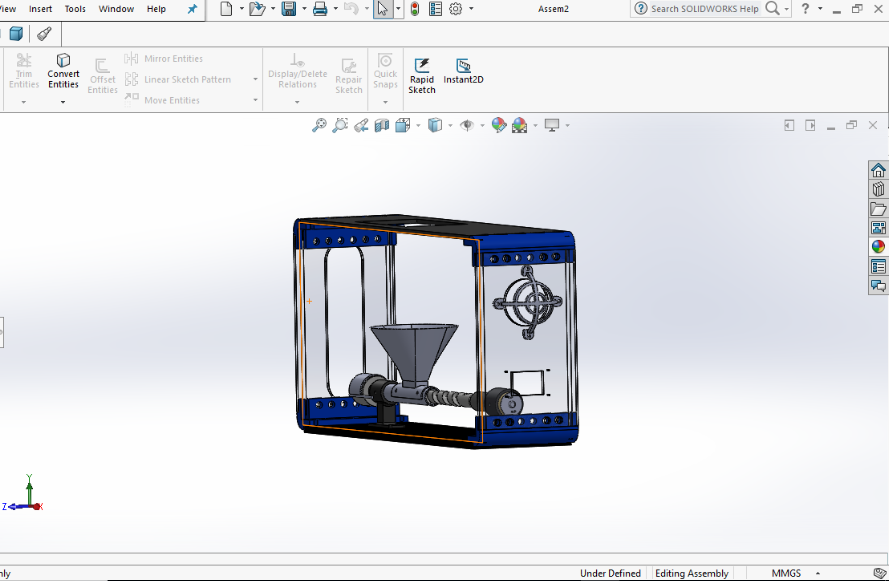
Here is the assembly and now ready to be made and assembled. For more details you can download the file which will take you step by step from the beginning till final project.