 Laura Cristina Massaglia
|
|---|
| HOME |
ABOUT ME |
ASSIGNMENTS |
FINAL PROJECT |
 ASSIGNMENTS
- Use the git clone command git@git.fabacademy.org:
fabacademy2017 / <your_fablab> .git to clone the existing
virtual repository. Remember to change <your_fablab> with the name of your FabLab that you can find in the GitLab page. - Verify that it worked by going to your local repository folder through your operating system (i.e. Windows Explorer). If the <your_fablab> folder is there, then it worked. Step 7 - Where should I upload my stuff? - If you look in the pages of students http://archive.fabacademy.org/archives/2017/master/students.html you will see that each student already has a folder reserved in the repository as: <your_fablab> / students / <your_id> For example here is my number and page: http://archive.fabacademy.org/archives/2017/fablabfacens/students/265/ - Look on the student pages and identify their number, or ask your local instructor. Step 8 - Create a simple homepage - The start pages on a web server should have index.html file name - Windows Notepad serves as a simple HTML editor. You can create an initial file with just a few commands. Below is a template for you to do a test of updating your page in the repository and see it working on the internet. 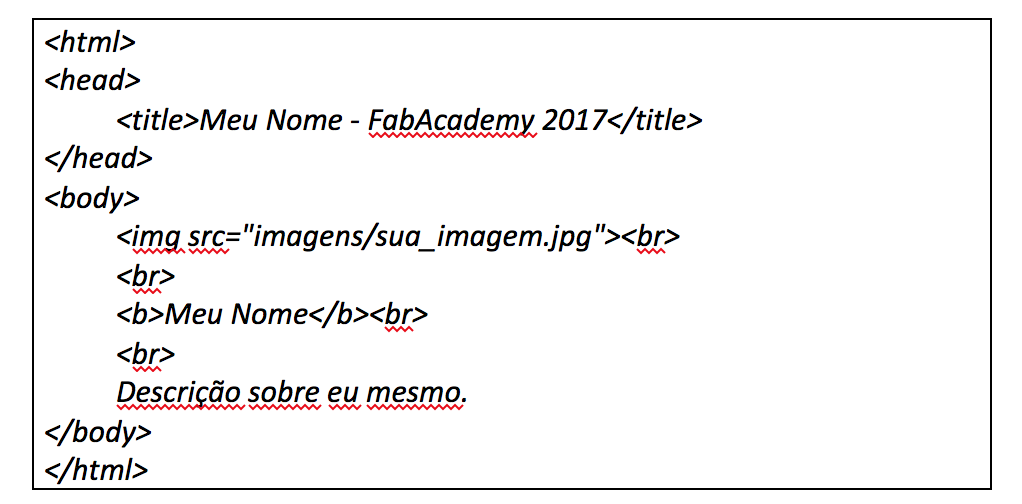 - Find the folder of your local repository (step 4). If you followed the recommendations you will be in C: / fabacademygit /<your_fablab> / students / <your_id> - Save your notepad file to this folder. Remember to change the save option to "all files" and put the name as index.html - Within the <your_id> folder, create a folder called "images". Enter this folder and paste any image with a name you chose for your image. Step 9 - Updating Your Site: The Git Mantra - If you did everything right in step 6, when you open Git Bash and access the <your_fablab> folder using the cd <folder_name> command you will see the word (master) at the top of each line in Git Bash. - Verify that Git recognizes the modifications you made using the git status command.
- Status command will show you a message with some instructions to do. In general after adding, deleting or
modifying a file in the local repository, you will want to send it to the virtual repository, however you need to make it clear to Git. Before doing so,you need to copy course colleagues on their pages.
- At this point type the command: git pull. This
command "pulls" all files from the virtual repository on the internet,
updating your local repository - Then type the command git add * and this will add the files shown previously when you ran the git status command to the local repository. - If you are certain of these modifications, you should commit to them and advise your team that you have made some modifications on the server. To do this use the command: git commit -m "your message" - At this point you have committed, but have not yet uploaded the files to the remote repository. Still in Git Bash, enter the git push command to "push" the files you have modified to the server. - These commands form the GIT mantra: PULL ADD COMMIT PUSH Step 10 - Checking Your Page - If you did everything right, check out by accessing the web page. - Go to http://archive.fabacademy.org/archives/2017/master/students.html and look for your FabLab and then your name. - Click on your name - If your page opens and the image and its description appear, then you have done everything right.
Also here is a step by step guide to GIT:
http://docs.academany.org/FabAcademy-Tutorials/_book/en/week1_principles_practices_project_management/git_cheat_sheet.html Learned how to create a website: I didn't know much about html so, I decided to start
my website on WordPress. Then my instructor told me that it wasn't a
good idea because, the html could change a lot when I push on GIT. He
told me about KompoZer which, is a complete web authoring system that
combines web file management and easy-to-use WYSIWYG web page editing.
Instantly I realized that it would be the best way to create my
website.
Here is an image of what KompoZer looks like when you first open it: 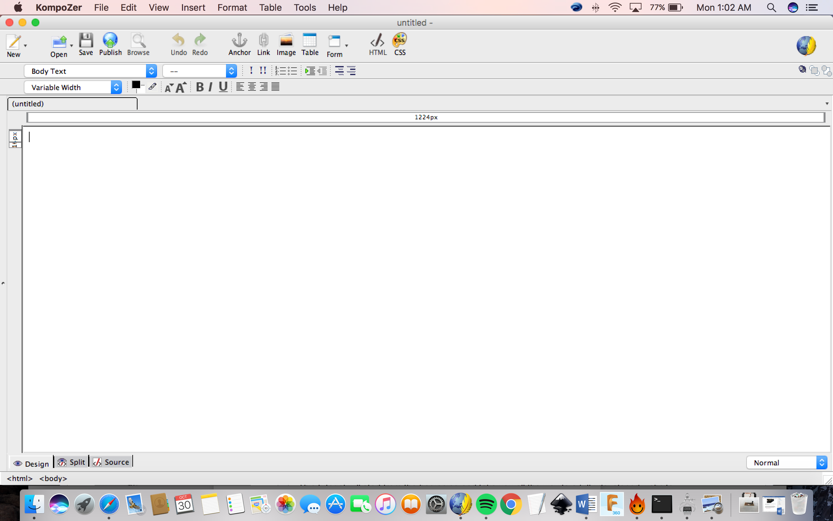 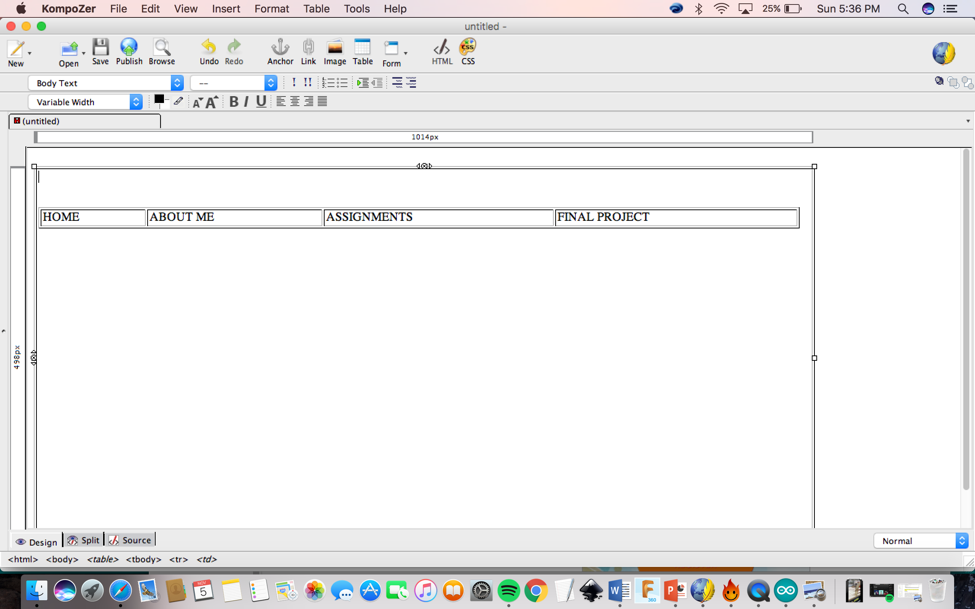 Then I wanted to make the HOME, ABOUT ME, ASSIGNMENTS, FINAL PROJECT cells the same size. I right clicked on the table and then selected “Table Cell Proprieties> Cells (change the width to 25 %of the table). You need to do these steps one by one for each cell. First I clicked on ABOUT ME, then HOME.  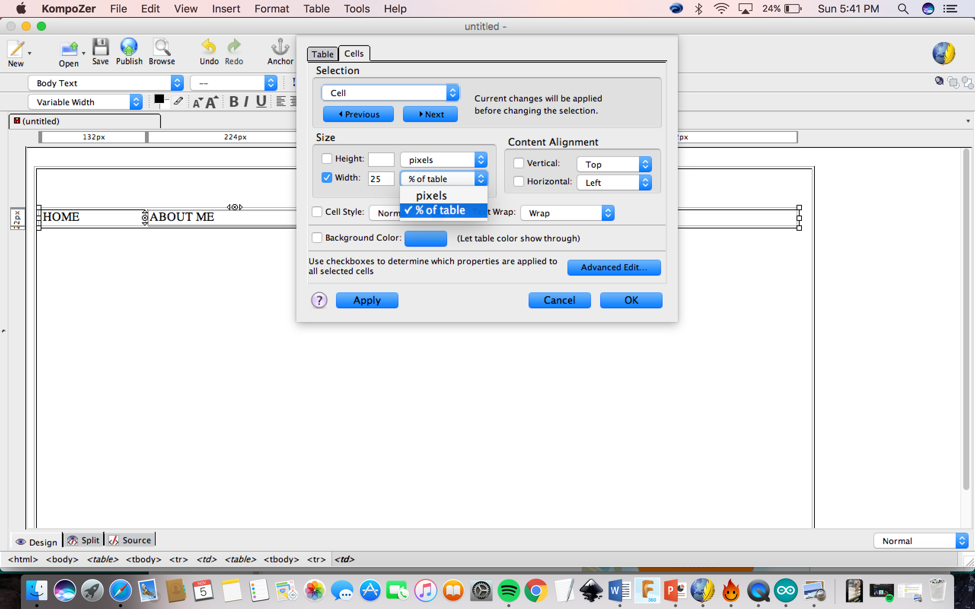 I have my four cells now with the same 241px width as seen below: 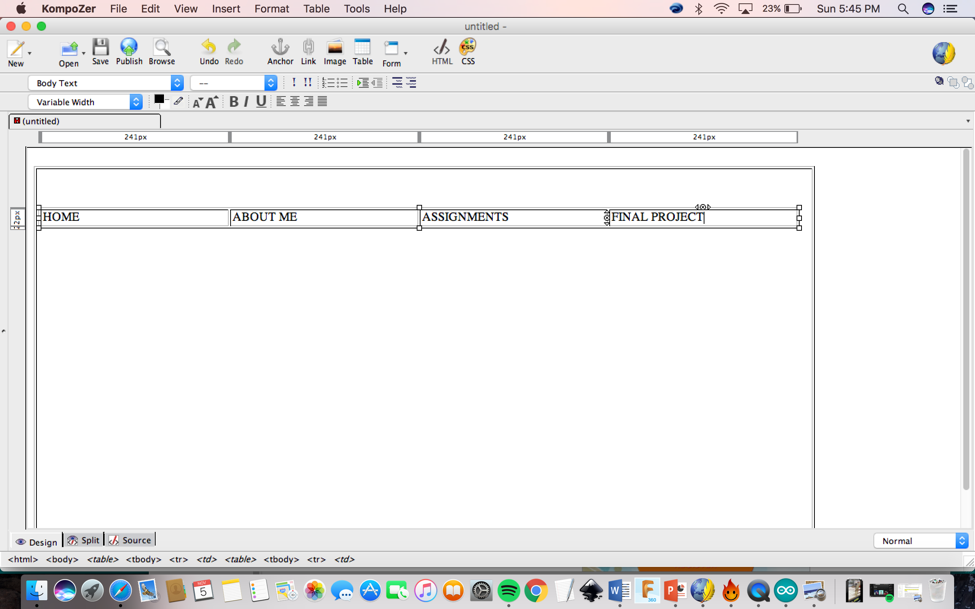 Now I wanted to put the table in the middle of the screen. Right click again on the main cell you click with the right side of your mouse and then select Table>Table alignment> select center> width put 80 %of the table> apply>ok. 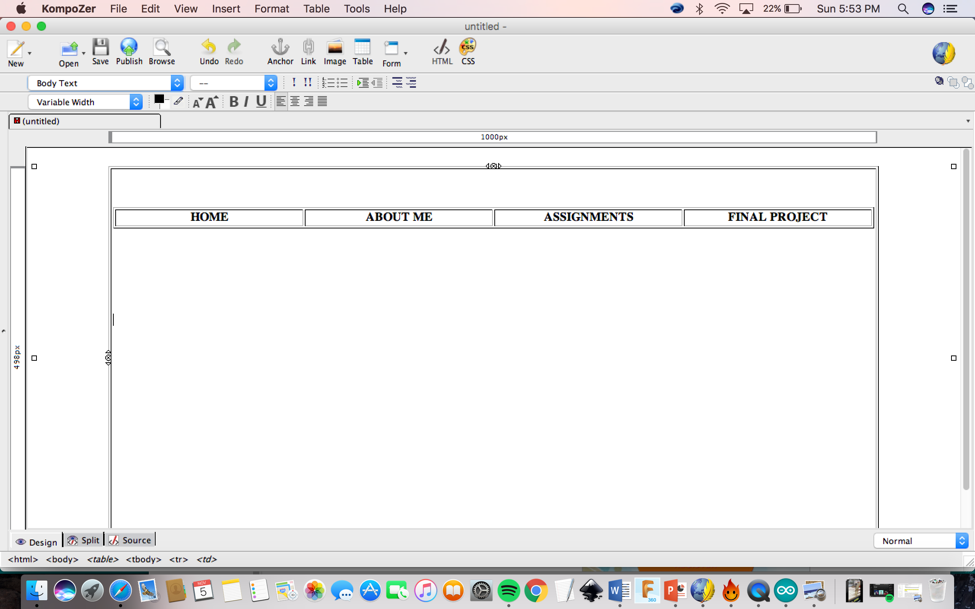 Then I wanted to save the work that I did. Click on Save, then a window is going to ask for the page title as your fab academy directory number. Then chose index. Make sure you save in the correct file, in this case I saved as 265. Then you can see if your page is working. Go to the file where you saved it and open the file.  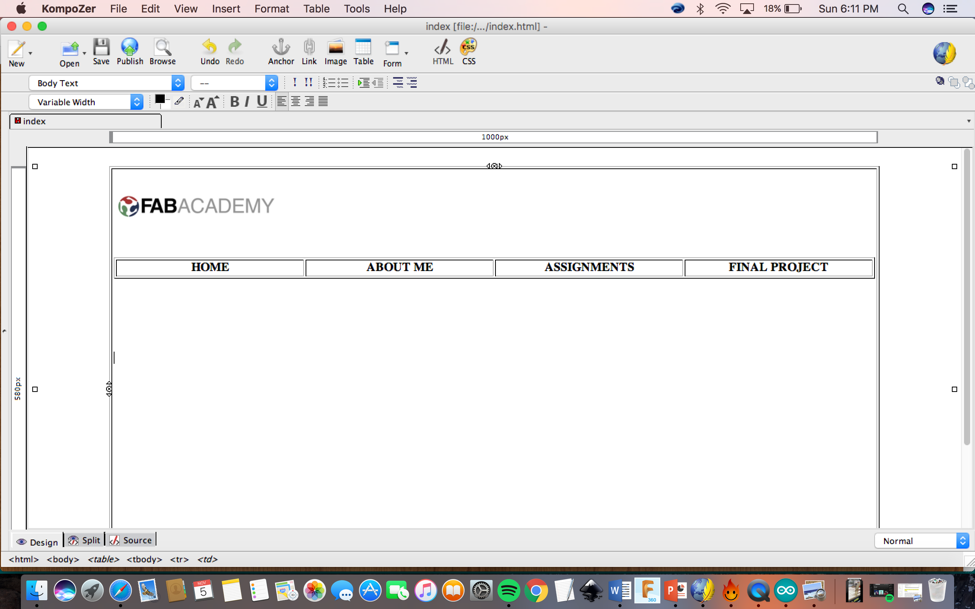 I now wanted to put my name at the top of the website, near the logo, so I created a table 1x2 and I put the logo in one cell and my name in the other. 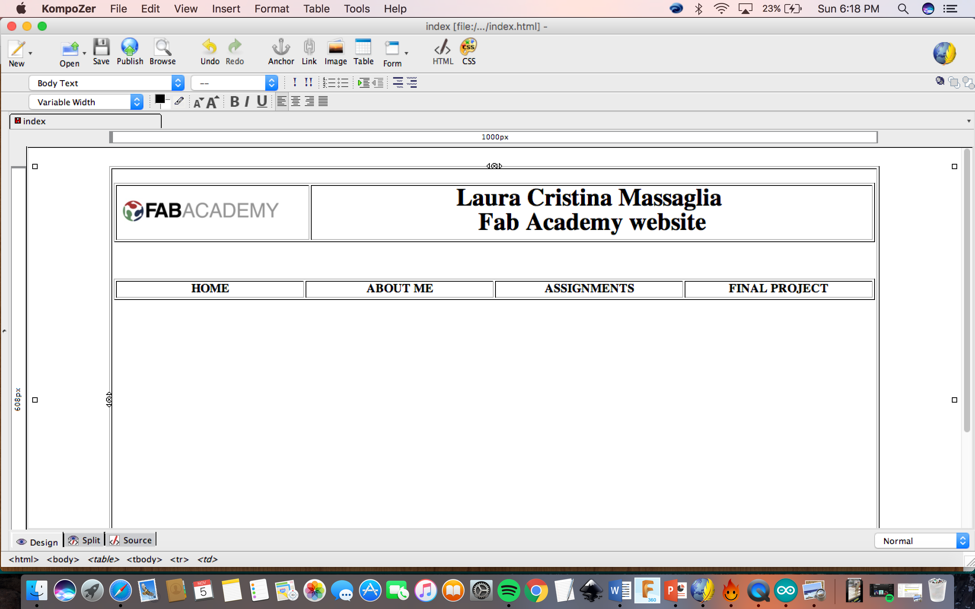 After that I wanted to change the background color: format>pages colors and background> You can download the image you wish to use from the internet. Make sure you save the image in the file that all your website stuff goes in. First I changed the outside color by clicking out of the table Format> Page colors and then background> choose your file. I left the inside white for now. 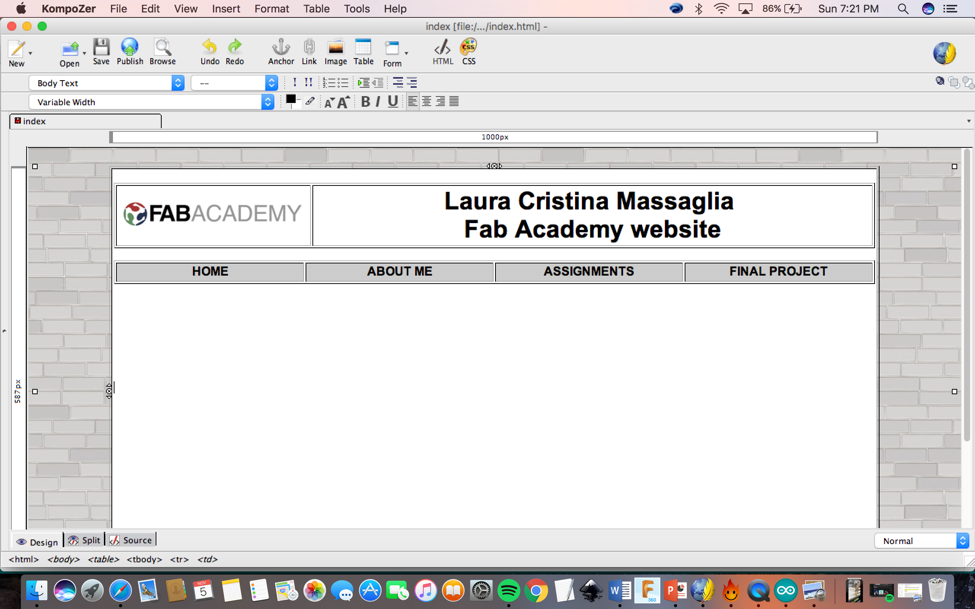 I then wanted to
remove the lines between the names. I first right clicked > Table
cell proprieties> table> change Border from 1 to 0>
apply>ok. I also changed the brightness of the white in color
background. So it was easier to look at. I clicked save and then I
opened webpage in safari.
Here is what it looks like: 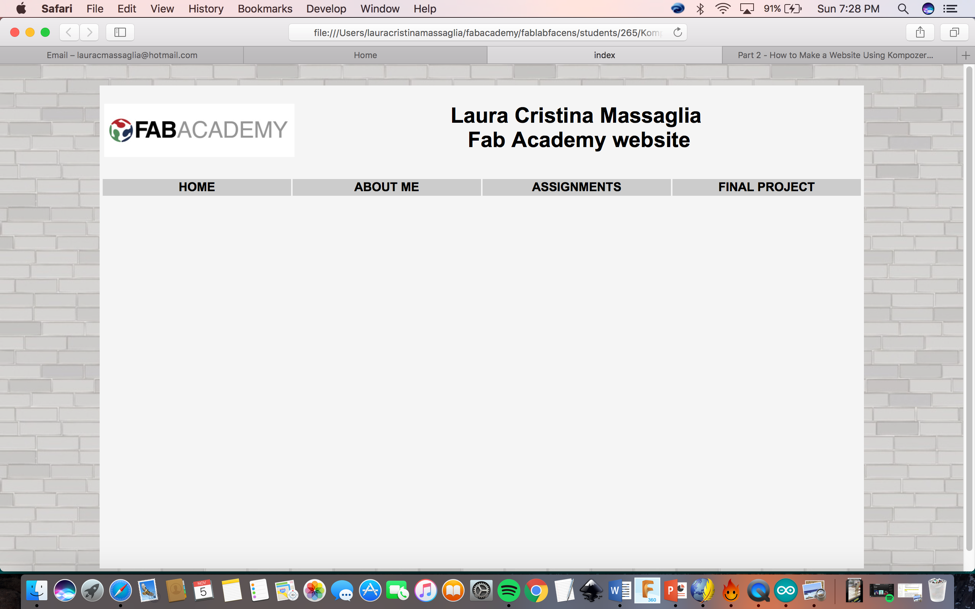 I
then wanted to create links for the HOME, ABOUT ME, ASSIGNMENTS, FINAL
PROJECT tabs. I clicked on HOME (for example), go to link on the bottom
of the page, then I wrote index.html. I did it for all four tabs.
Note: Don’t forget to put .html!. It will not make the link if you do not. Here below is a picture of my first commands using KompoZer: 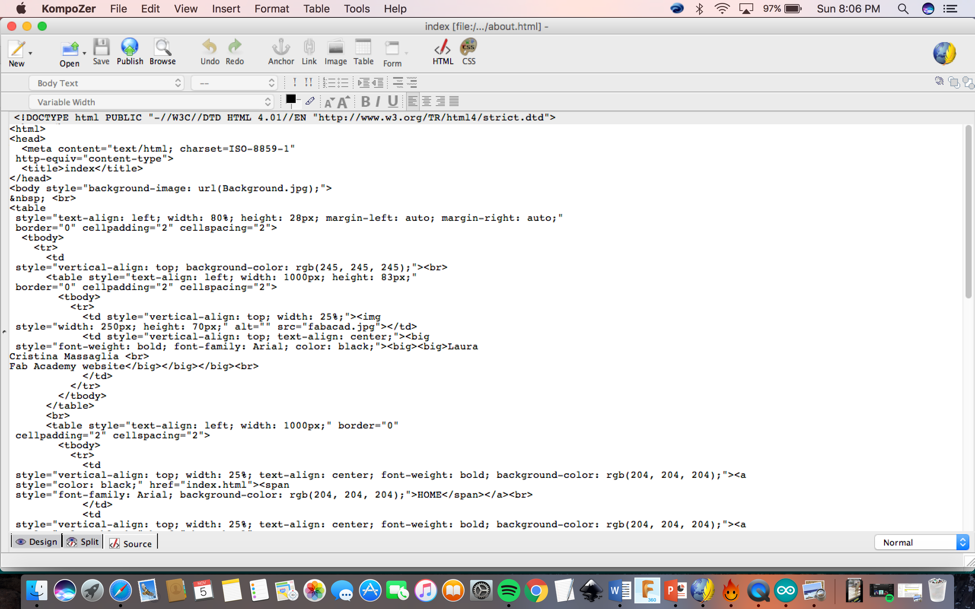 The web page isn't complete yet, but I am going to finish it during this course. Also, here are three very good and in-depth tutorials I read and watched to learn more about KompoZer: https://www.thesitewizard.com/gettingstarted/kompozer-tutorial-1.shtml http://www.charlescooke.me.uk/05-on/ugs03.htm https://www.youtube.com/watch?v=BftzHR4Tlng&list=PLCD1DB1C5BA1572FC&index=2 Design sketches: During this week I came up with a sketch for my final project based off of the designs from the previous week as you can see below. 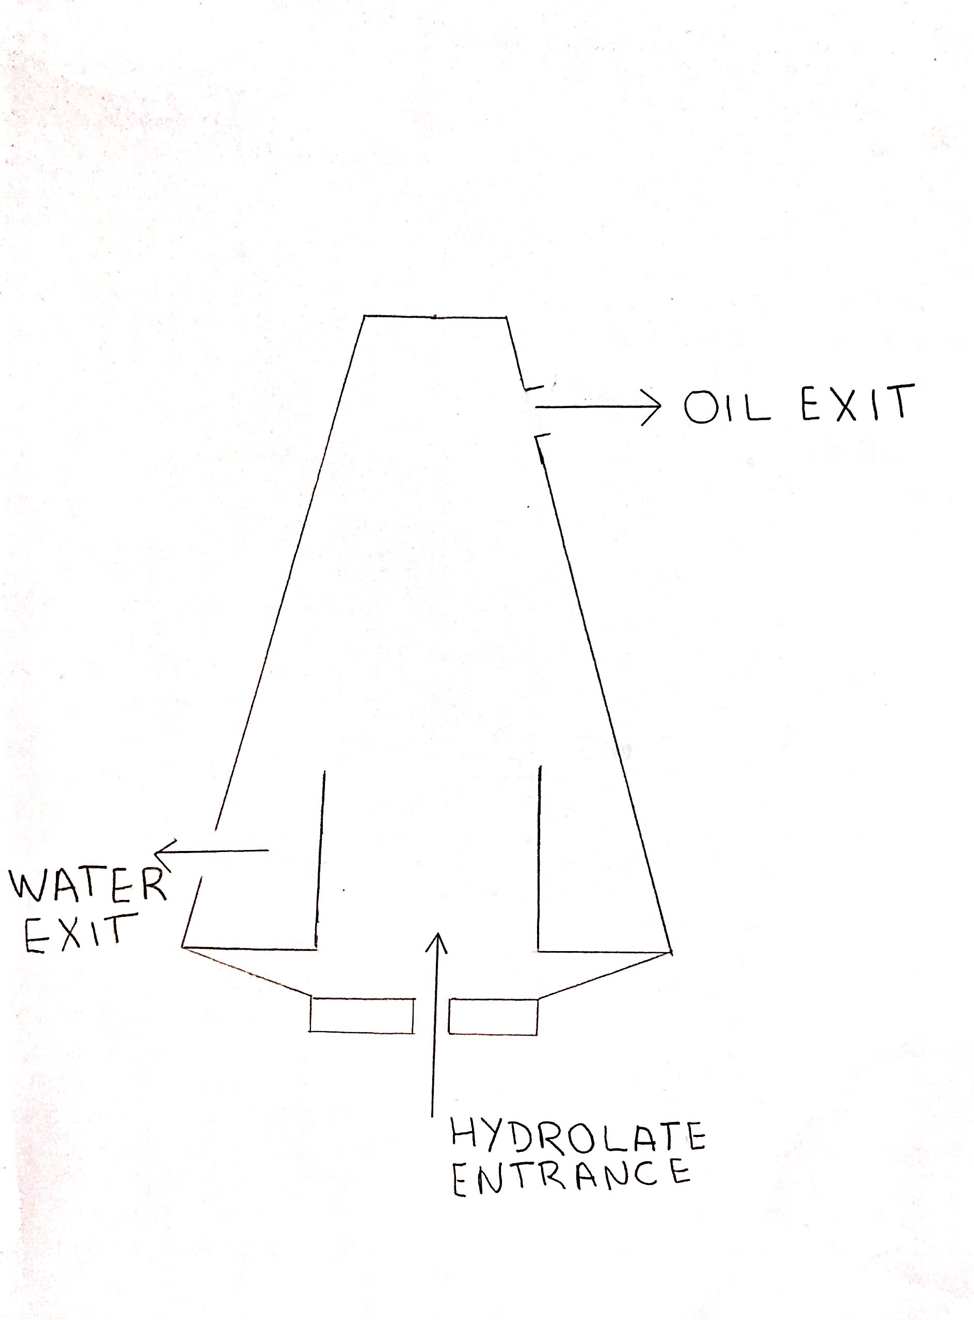 My hope is that I will finish this course and the final project before the deadline. There are a lot of weeks and I need to be on top of this project at all times or I can see myself falling behind. Also that the project works perfectly by the end. |
