1. Test CNC machine
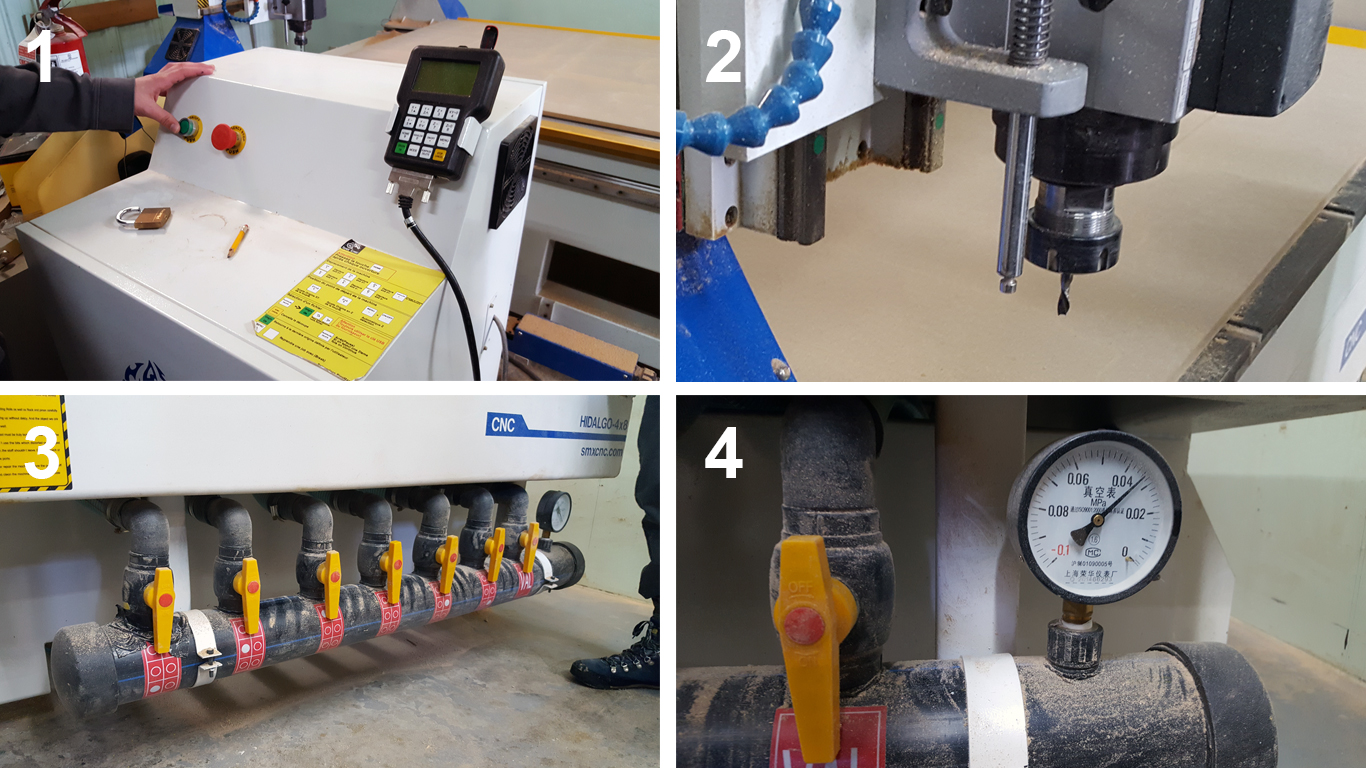
As a team, we have access to the machine for one day this week, so we receive a short and practical presentation of the CNC machine. We go rapidely on making our projects because we are 4 students in Montreal.
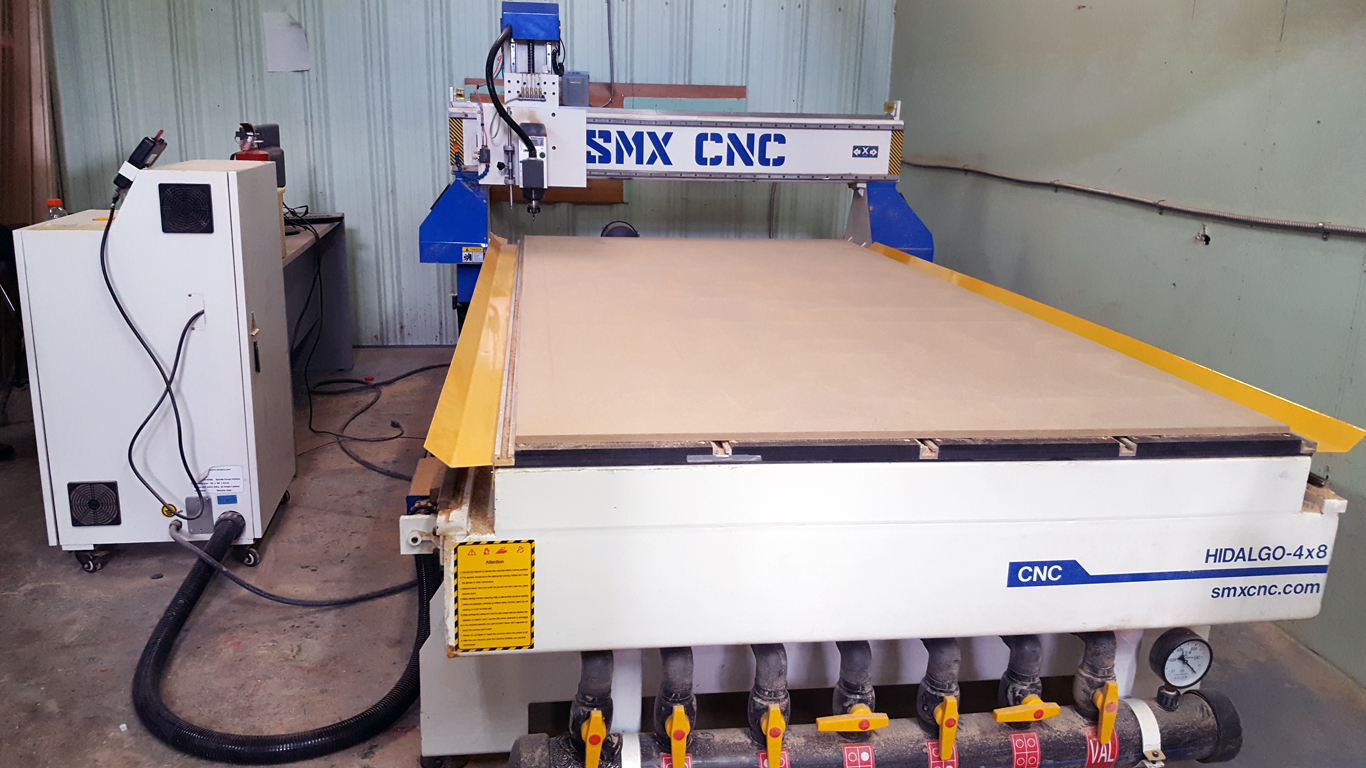
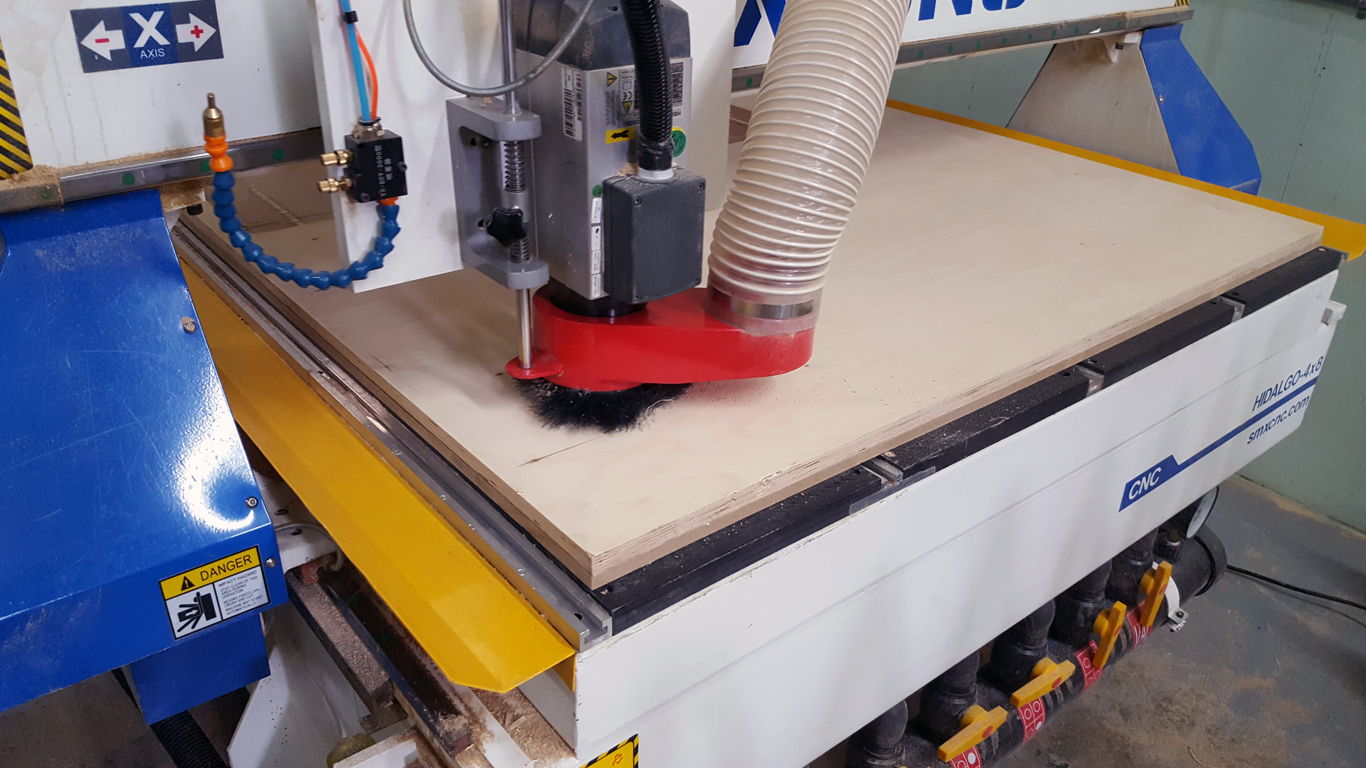
This is the CNC machine we have access for the Fab Academy 2018.
- Control machine
- The mill 3 axes (x, y, z)
- 6 zones Vacuum controller
- Pressure above 2+
2. Make something big
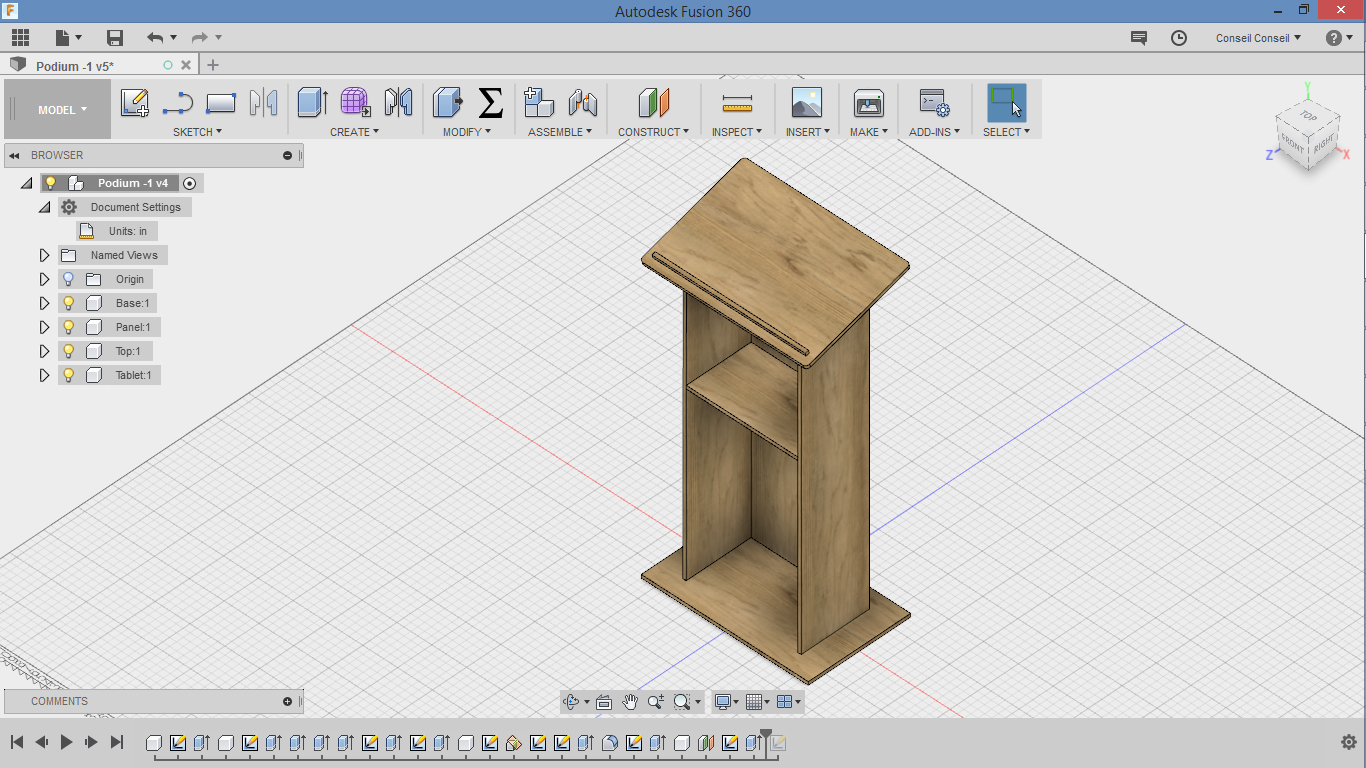
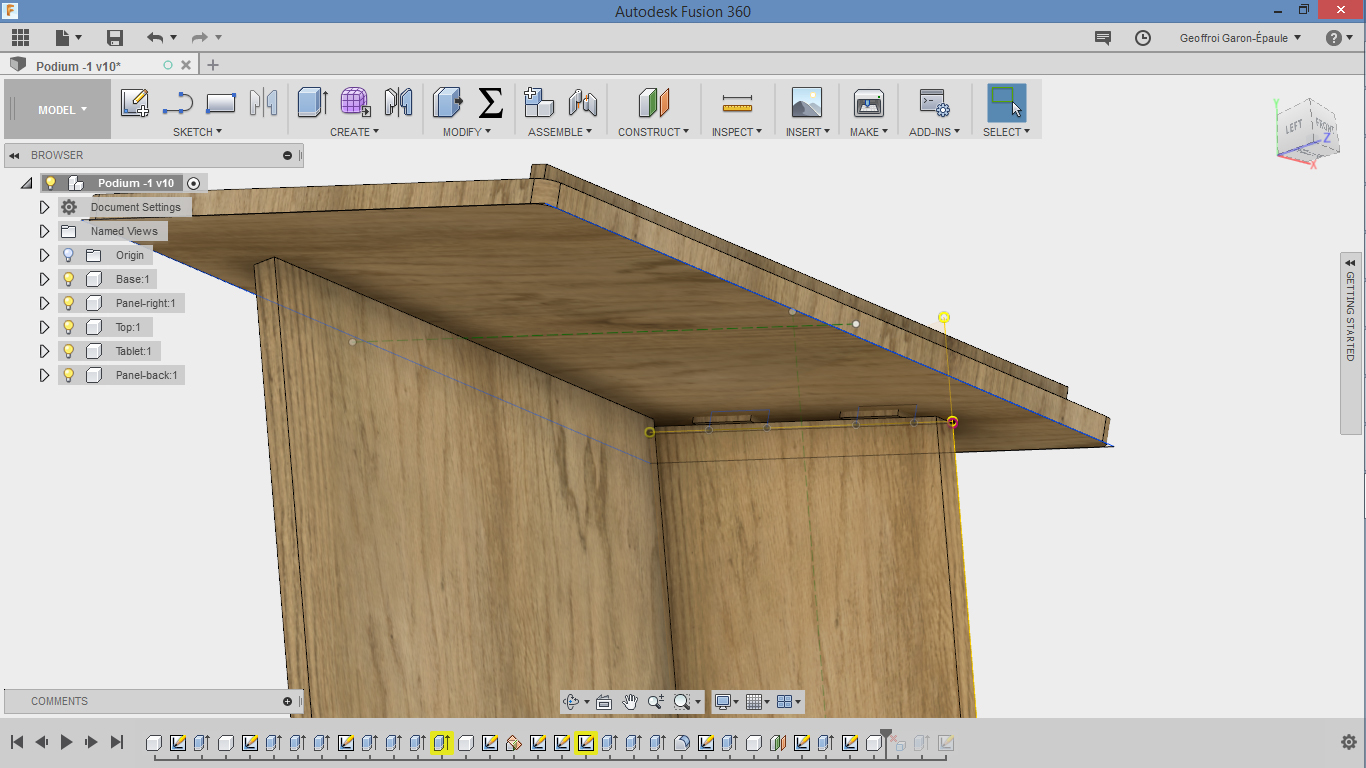
To maximise my learning and project, I started this assigment by the idea to create a podium for official presentation. I will be able to reuse the base of the podium as part of my final project.
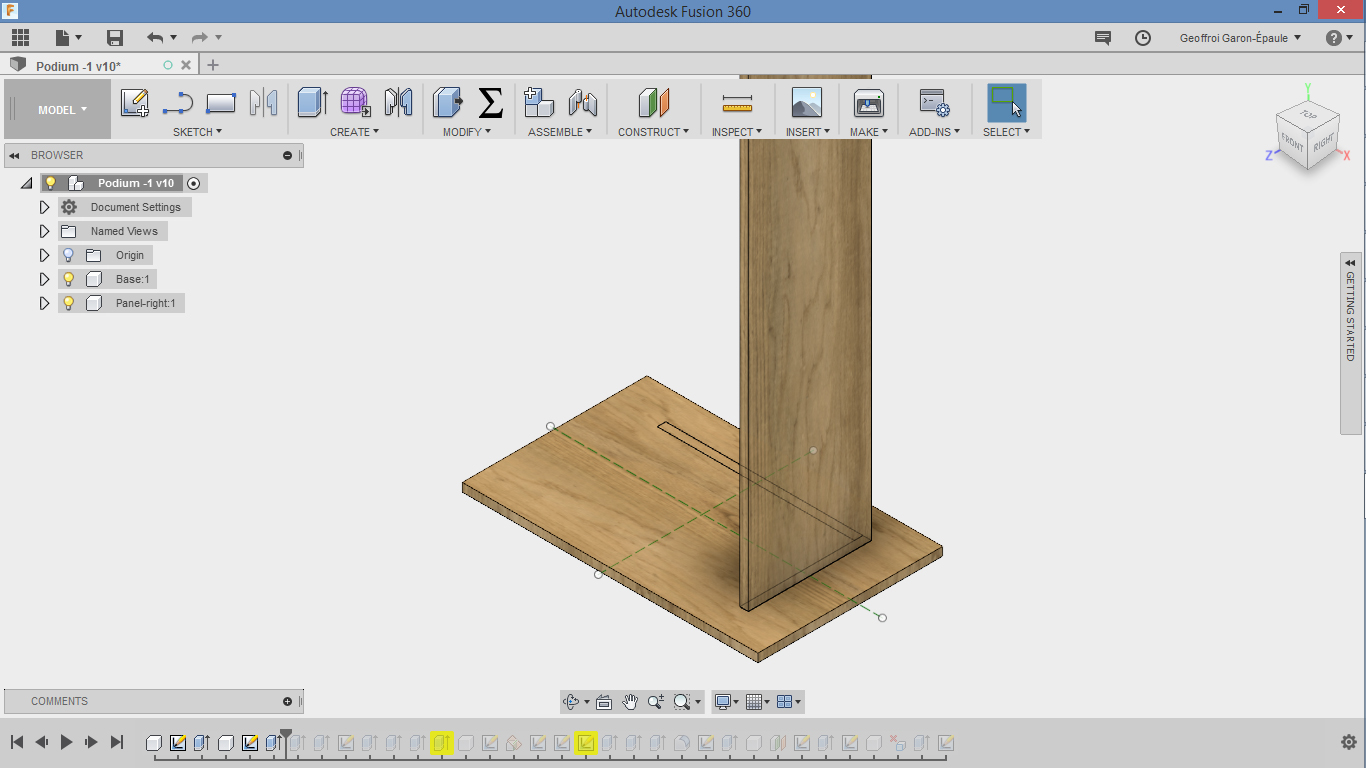
I design and create a podium in wood. I started by placing things one over another to get a realistic design.
But after these steps, I realized that the design by visual had great limit because it is difficult later to add anchors for assembly. This design stage is more of a prototype phase to see the technical challenges in the design related to the use of the CNC machine. So, I tried to continue the project, but errors quickly appeared.
After several tests and since the time was short that day to access the CNC machine, I decided to move to Plan B with a "stool project".
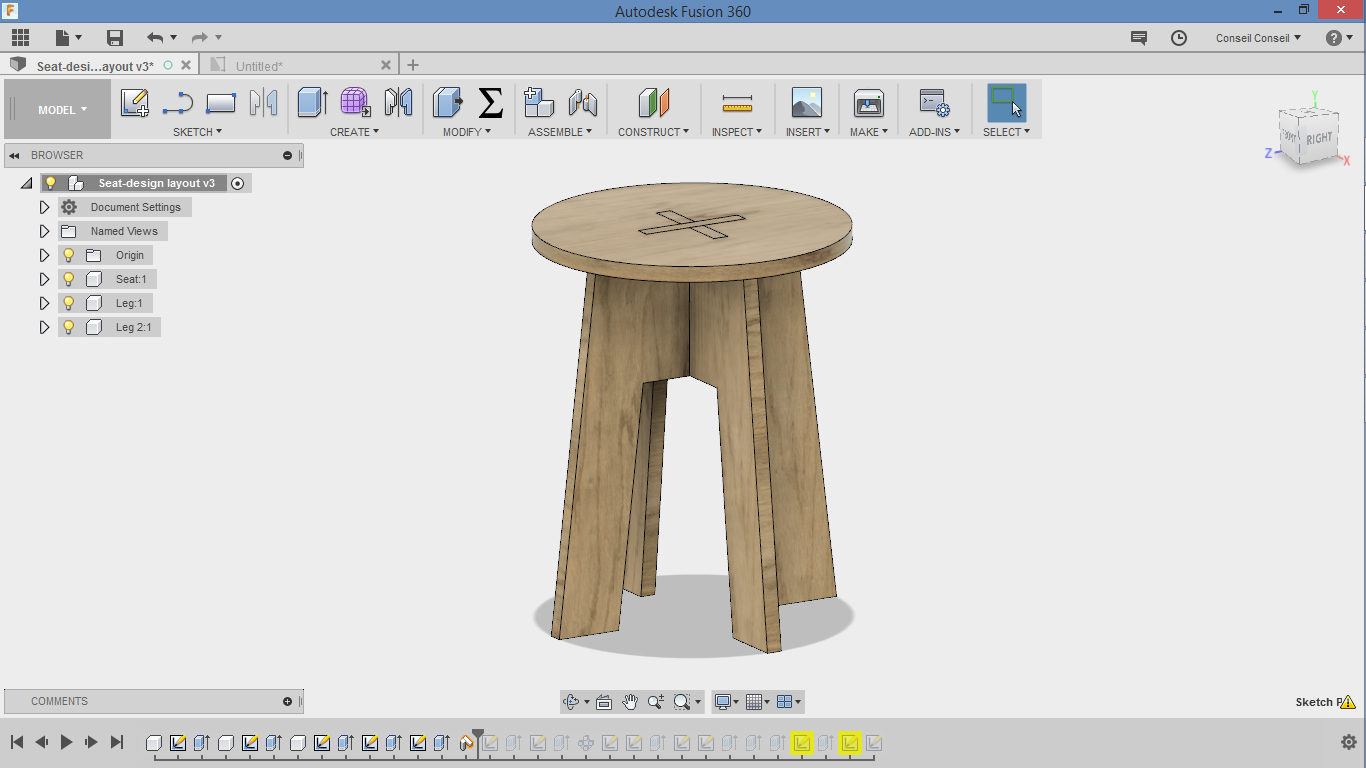
Make a "Big" stool
So I use a tutorial project in fusion 360 to develop my skill in parametric design and create a CNC project. I made the excellent Fusion 360 tutorial Flat-Pack Fourniture design by Taylor Stein.
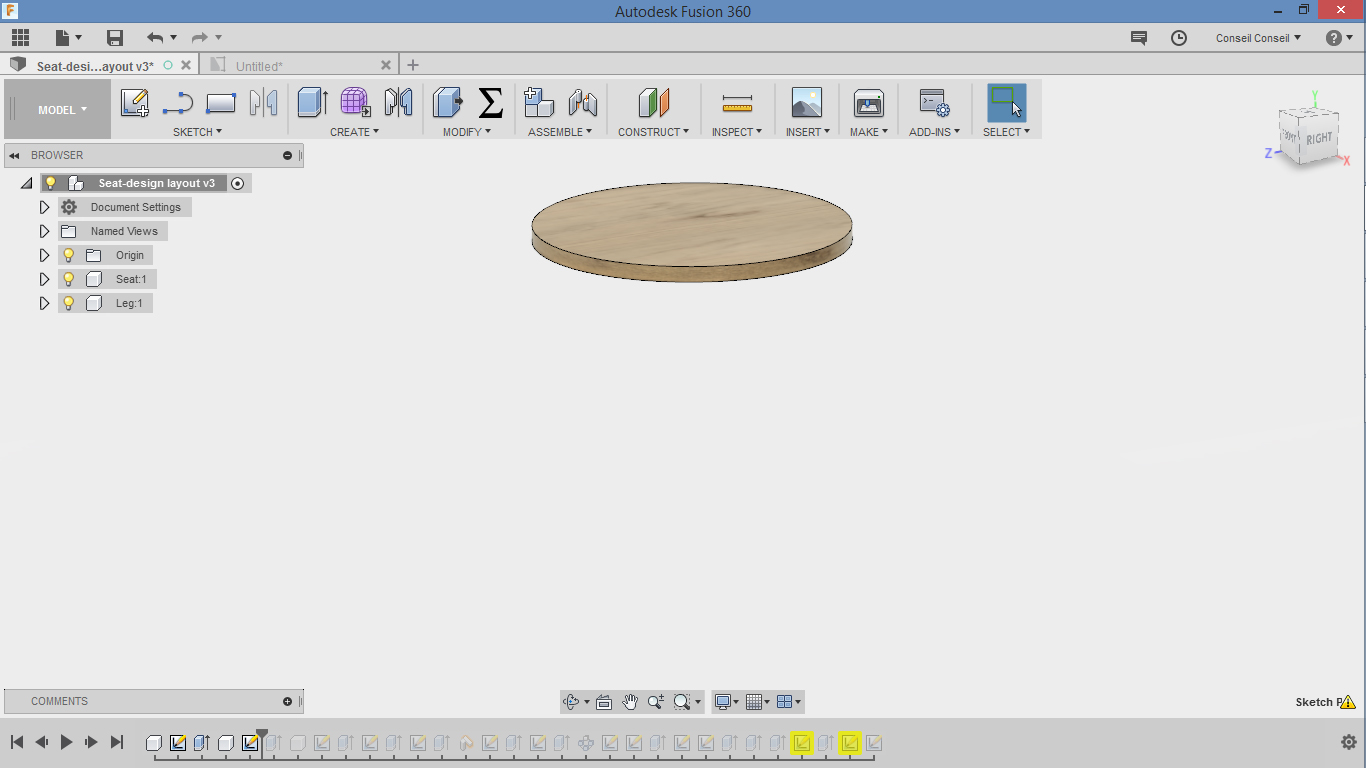
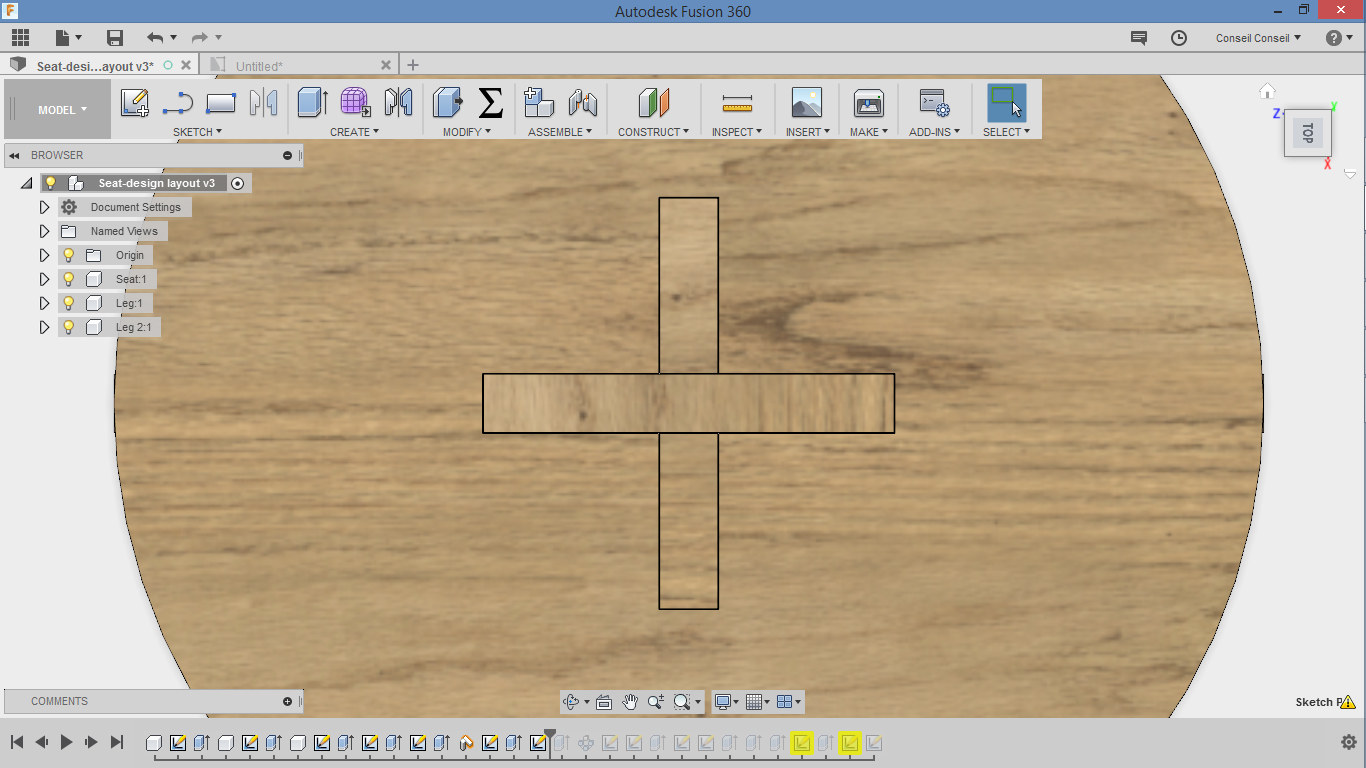
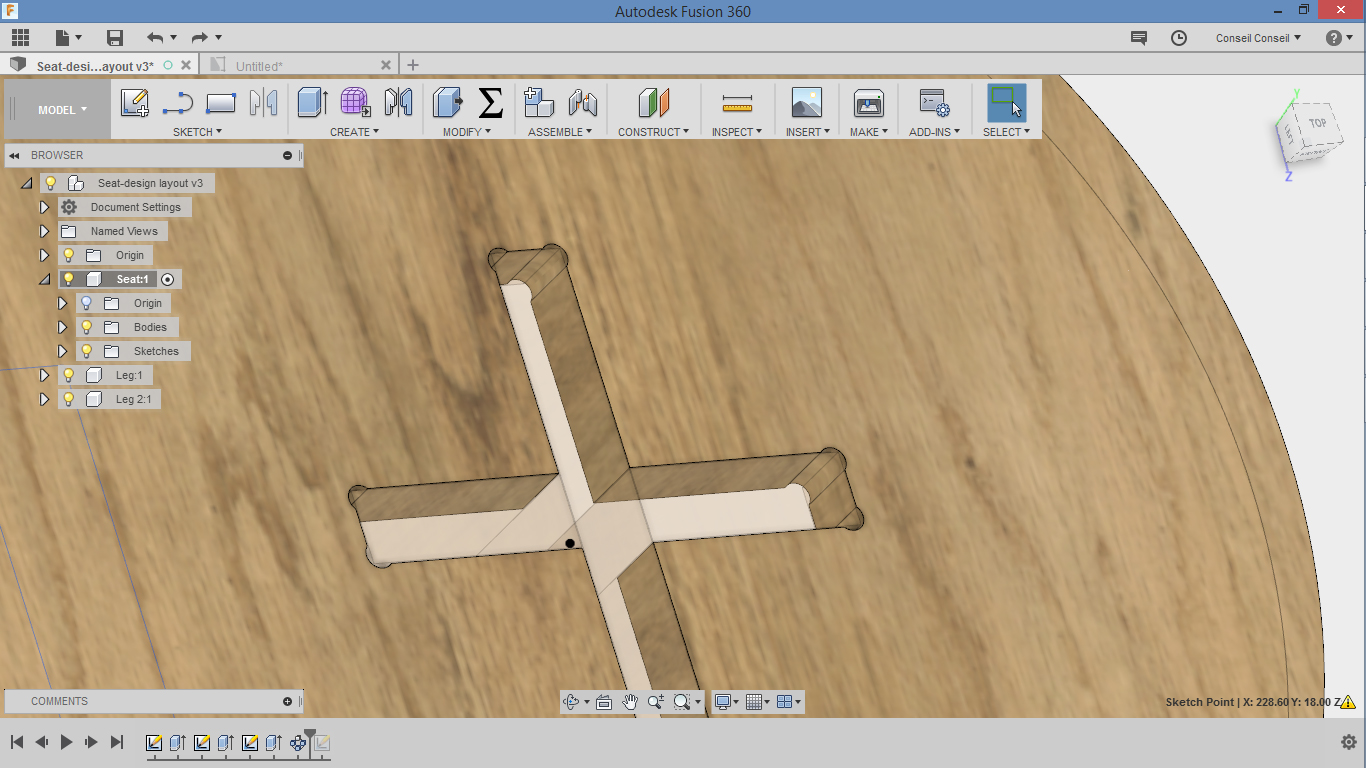
I create the stool step by step.
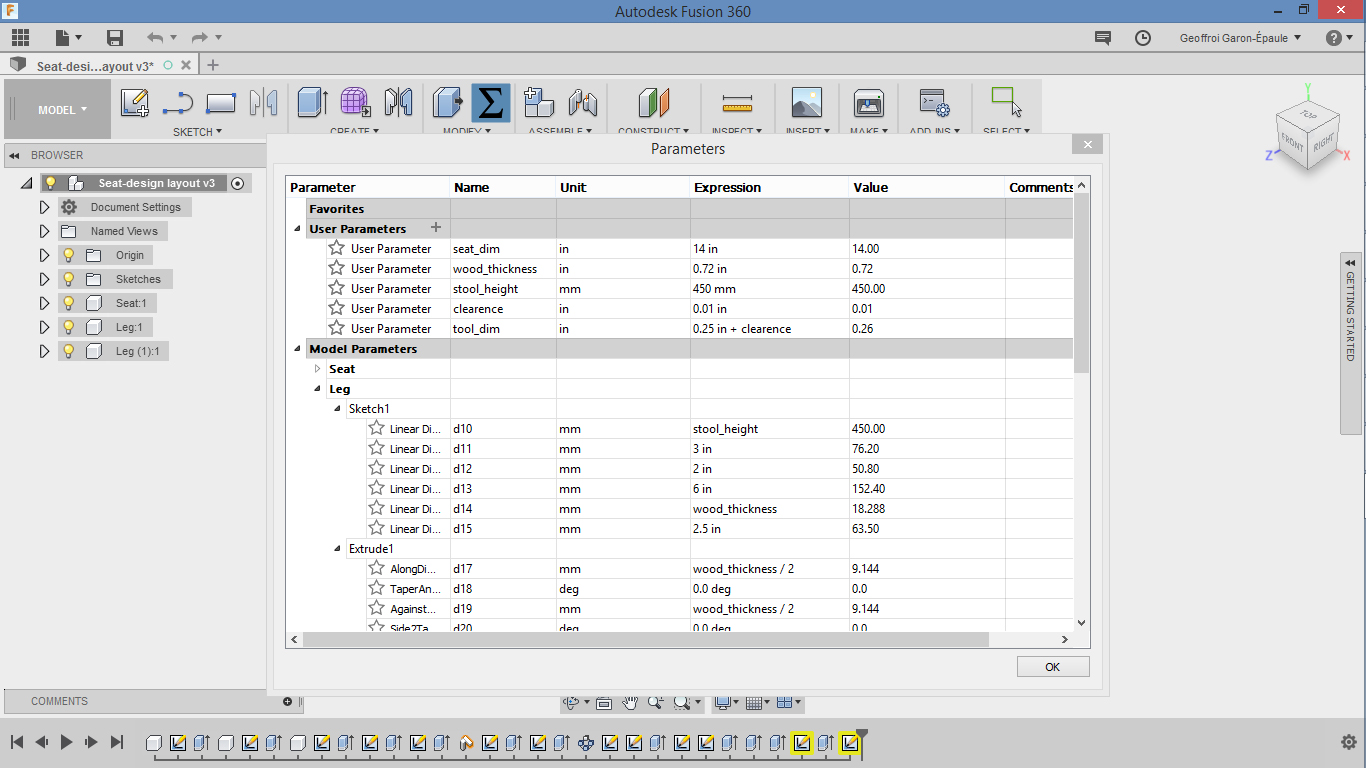
With this tutorial, I practice a lot the parametric design setup. I was very impressed by the ease of structuring the elements of a design and even being able to add formulas (addition, subtraction, division, etc.) directly into a sketch.
I add the dog bones joints to be able to make strait angle with the the CNC machine mill.
Initially, the format of the wooden board was 8 feet x 4 feet with a thickness of 0.75 inches. But finally, they were 18 millimeters thick. The parametric design allowed me to quickly change the configurations of my stool design.
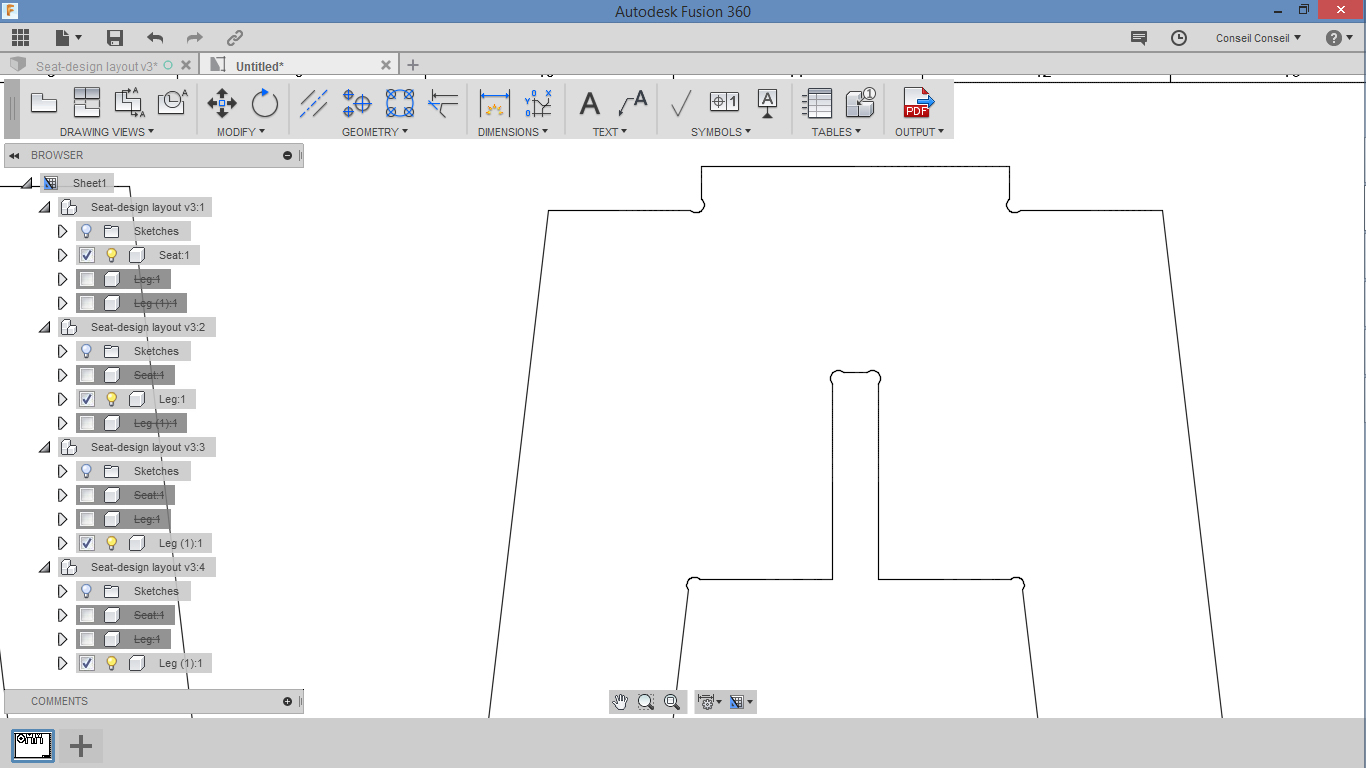
After that, I use Fusion 360 to create a drawing from the 3D model design. In this step, I place all 3 elements in 2D with a ratio of 1:2. I export the result in PDF format.
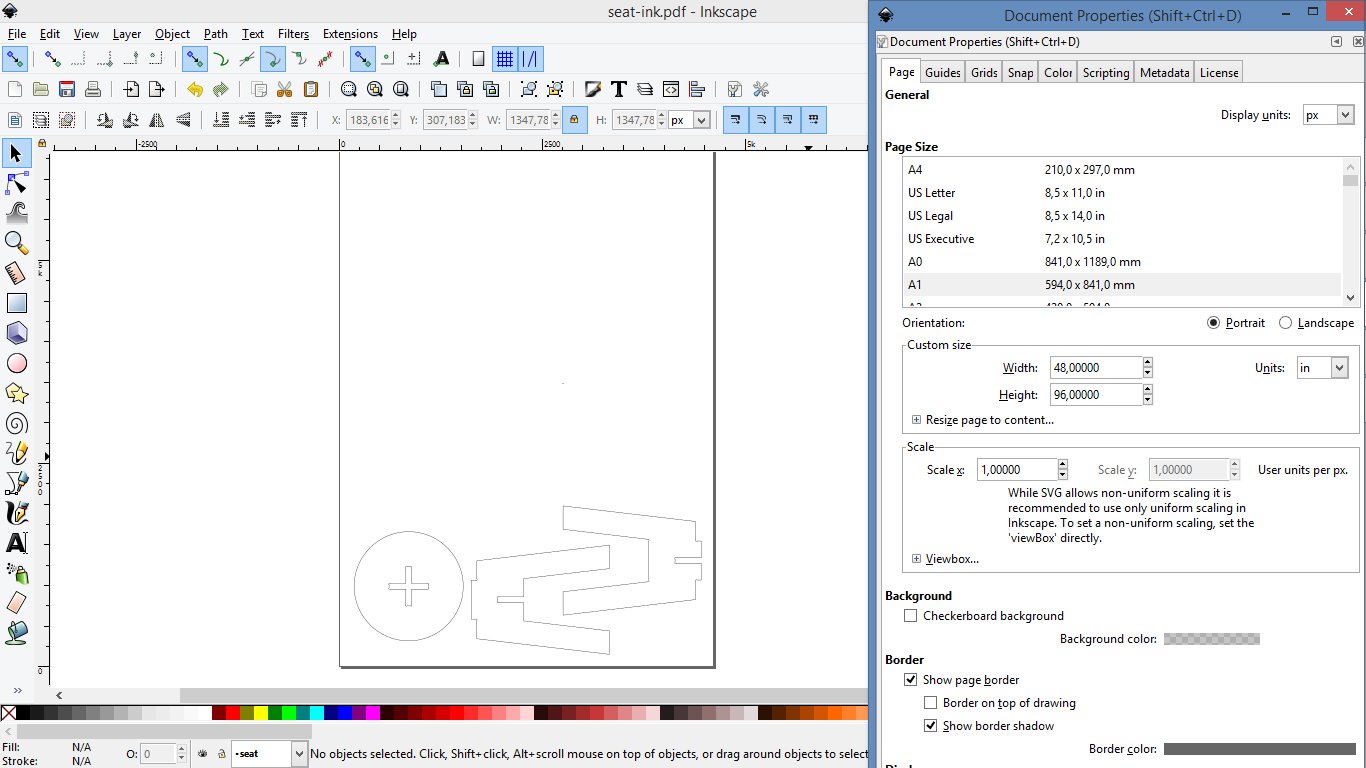
After, I use Inkscape to prepare the final file in real size of my wooden board, 8'x4' or 48"x96". I ajust the ratio to 1:1 and place the elements to save some wood. I save again in PDF.
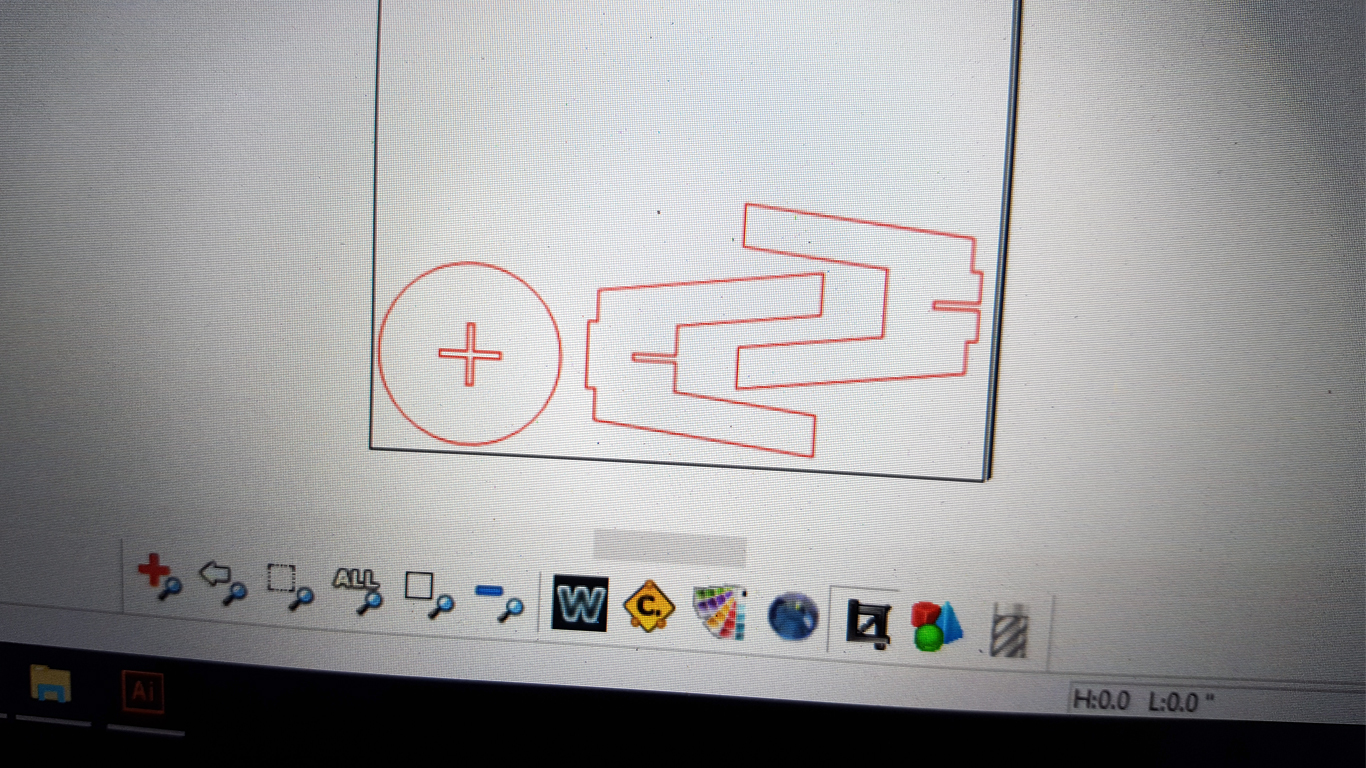
Then, I open the file in the software WinPCsign CNC to configure my job on the CNC and generate the Gcode.
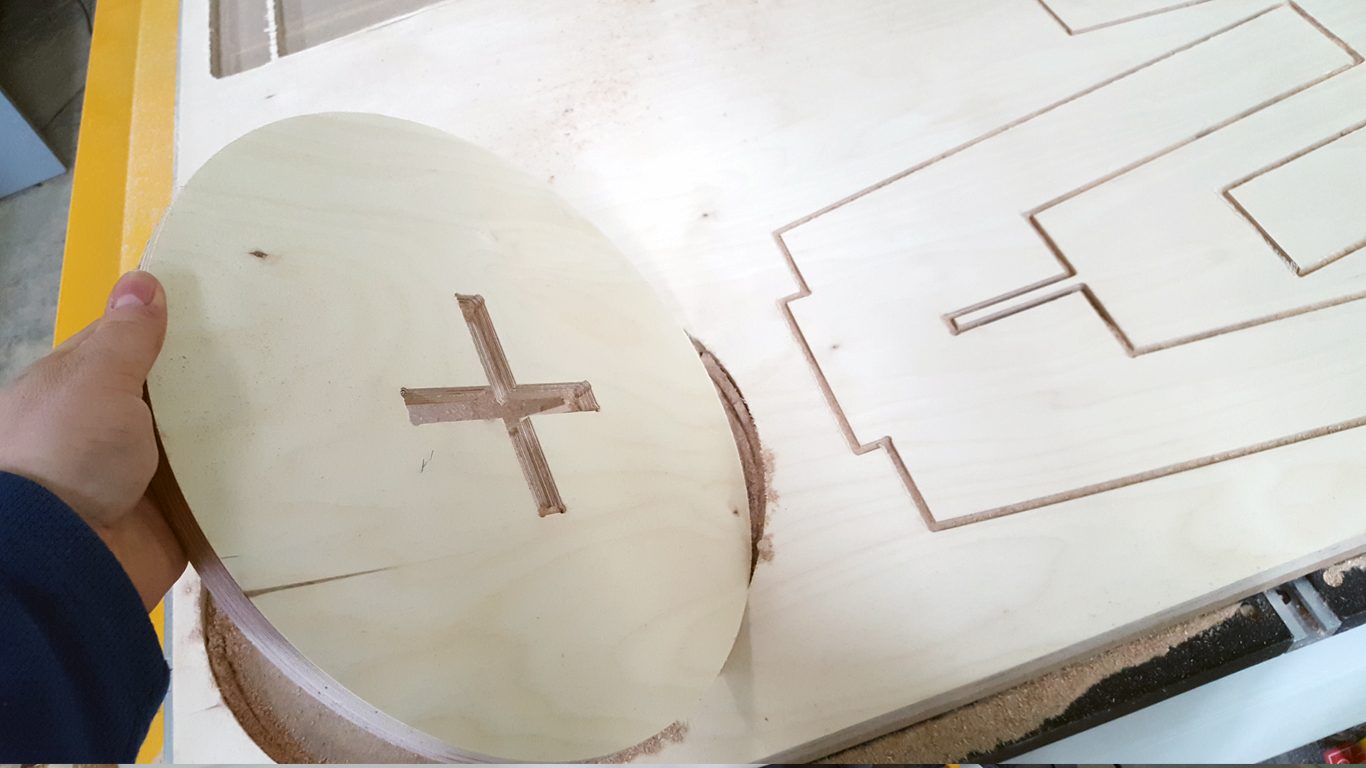
On the shop where the CNC machine is, I place the material, place the bit 0.25in, open the succion valves where the materials will be placed, set the 0 point in X, Y, Z, upload the code to the machine and start the job.
Finally the moment of truth, I made the assembly of the stool ... And it was an unequivocal pressfit success.
After sanding, I was able to put it at the disposal of the pianist of the house.
