Week 15: Wildcard Week
Design and produce something with a digital fabrication process not covered in another assignment, documenting the requirements that your assignment meets, and including everything necessary to reproduce it. Possibilities include (but are not limited to) composites, textiles, biotechnology, and robotics.
Learning outcomes:
- Demonstrate workflows used in the chosen process
- Select and apply suitable materials and processes to create your project.
Have you:
- Shown how you made your project
- Desscribed problems and how you fixed them
- Included your design files and ‘hero shot’ photos of the project
My Process
The truth is, during Wildcard Week this is mostly what I was doing. But Neil says that doesn't count unless I post the design files, which is beyond the scope of this class (though maybe not forever beyond the scope of Bio Academy!)
Background
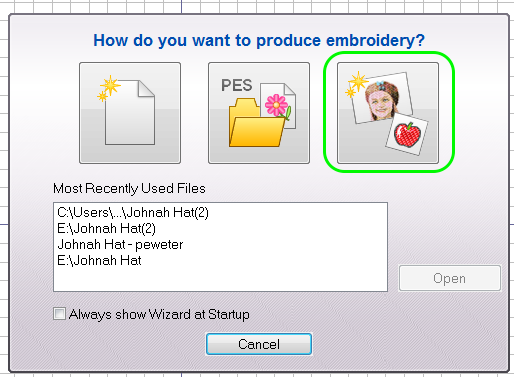
For this week I wanted to try something completely new, so I went for digital embroidery. I started with a very simple design and attempted to digitize it using the Brother PE-Design software. I put my design together in Inkscape. I downloaded this basic SVG from the web:
![]()
I added some simple text to name Lena Park Fab Lab in the logo:
![]()
I exported the logo to a .png file for import into the digital embroidery software:
![]()
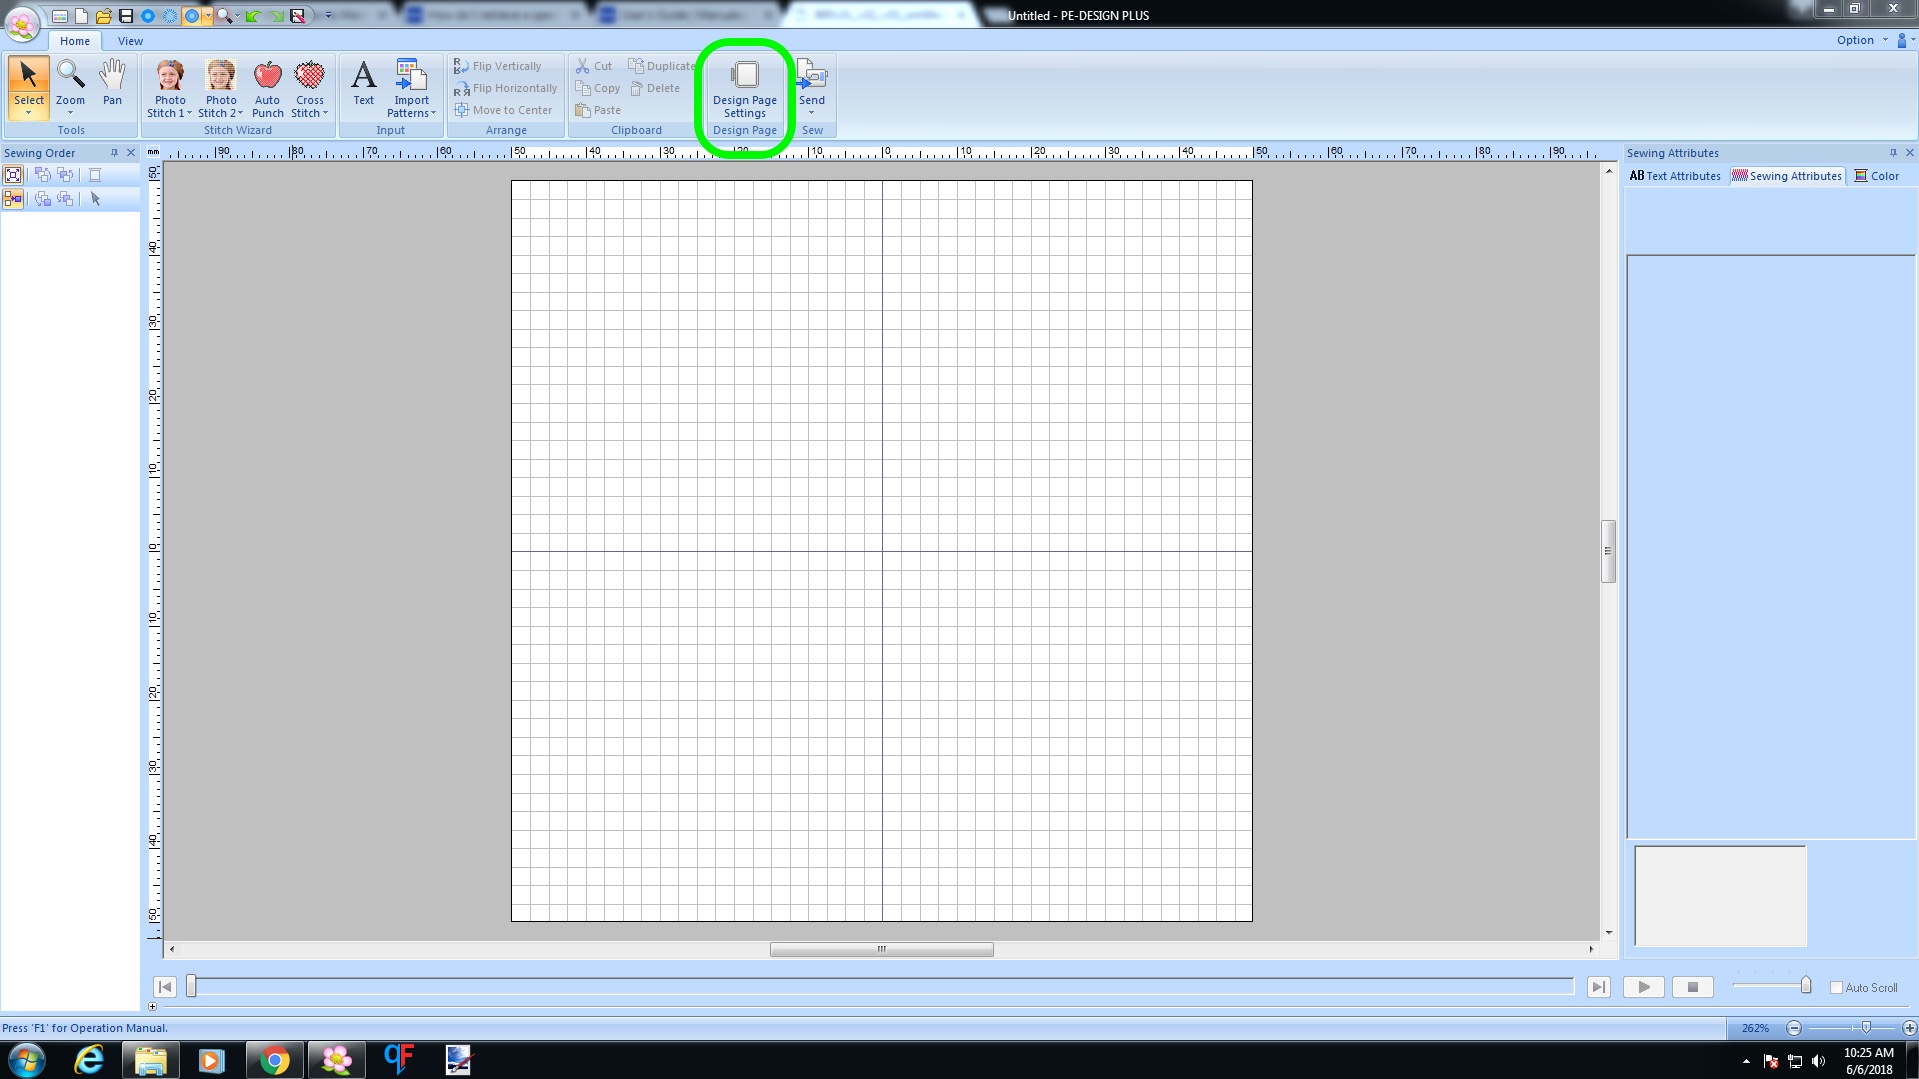
I then brought my file into the Brother PE-Design software. In PE-Design I selected the hoop size I wanted to work with (100mm x 100mm).

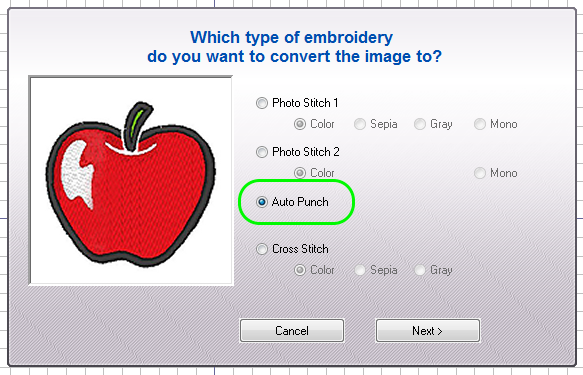


I really wasn't satisfied with the result though - especially the lettering. It really looked wonky, especially considering what a basic design it was. I was not thrilled with this Brother software. (Incidentally, I also tried SewArt64 and was equally unimpressed - maybe consumer grade digital embroidery software just isn't very good?)
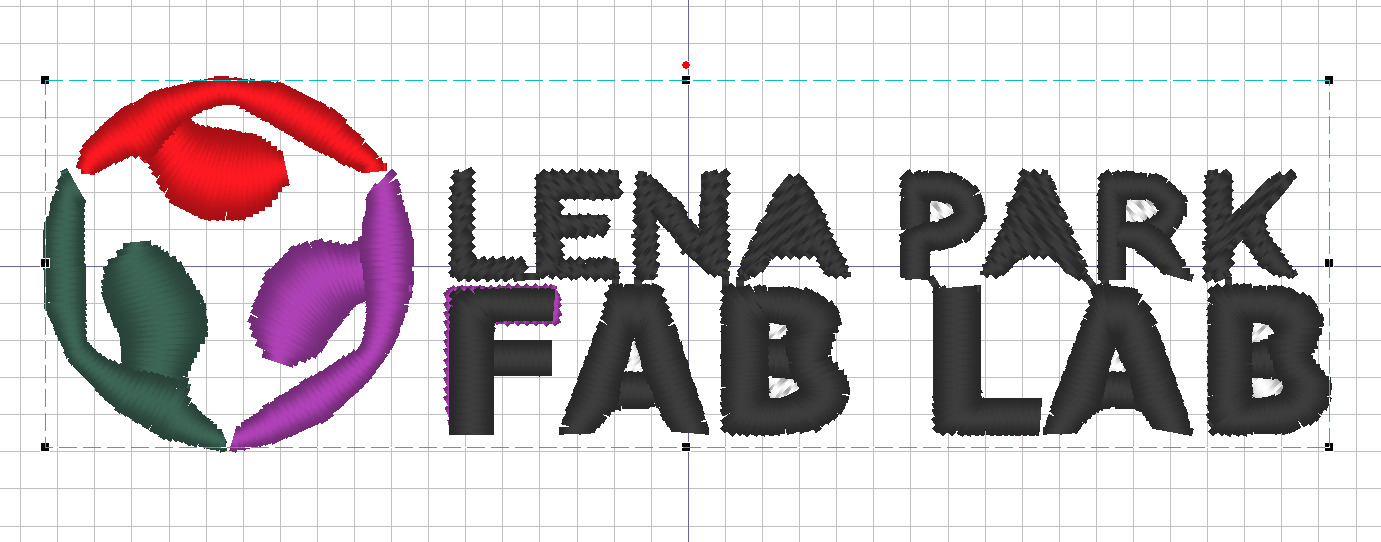
I decided instead to just import the logo, and add the lettering using the software's text tool.
![]()
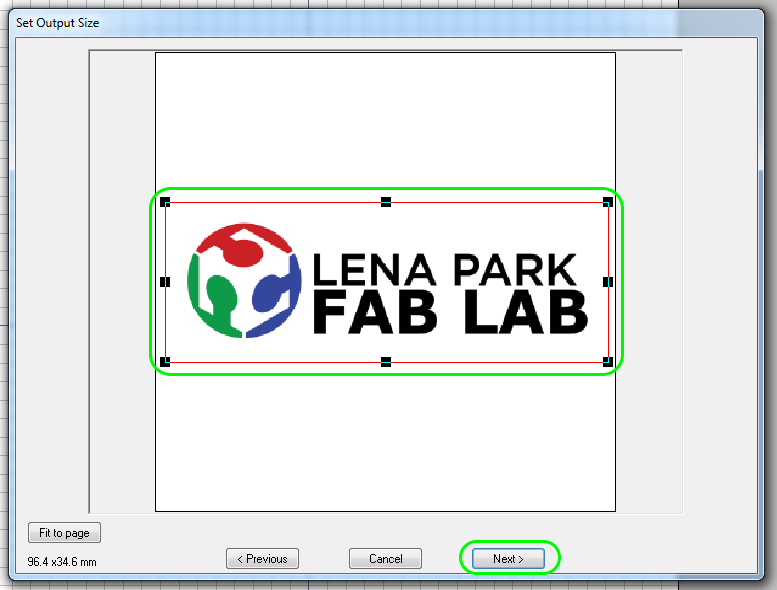
I made some adjustments also, because as it turned out, the Brother digital embroidery machine was in use all day, and so instead I had access to the Pfaff Creative 3.0 machine. I adjusted my design size to 80mm x 80mm to fit the Pfaff hoop I had on hand, and then exported my design as a .VIP file to be compatible with the Pfaff. I saved the .VIP file onto a USB stick, plugged that into the Pfaff and got started. I loaded the design into the machine, and it prompted me to load in the blue thread, so I loaded the blue thread (following the instruction manual for how to route it and how to thread the needle). I checked that the bobbin had sufficient white backing thread, I loaded the material into the 80x80 hoop and loaded that into the machine. I lowered the presser foot, and pressed "Go" (the button with the PLAY/STOP symbol on it). The blue color embroidered pretty well:
Not shown in the video, the thread broke several times and had to be rethreaded and restarted. The issue was that the spool of thread had some plastic barbs on it which caught the thread and caused it not to unspool freely. I smoothed out the barbs with my fingernail, and it worked fine from then onward.
The machine prompted me to load the red thread, so I did, and then pushed "Go" again:
Red worked OK. Then I did a timelapse to show the rest of the process:
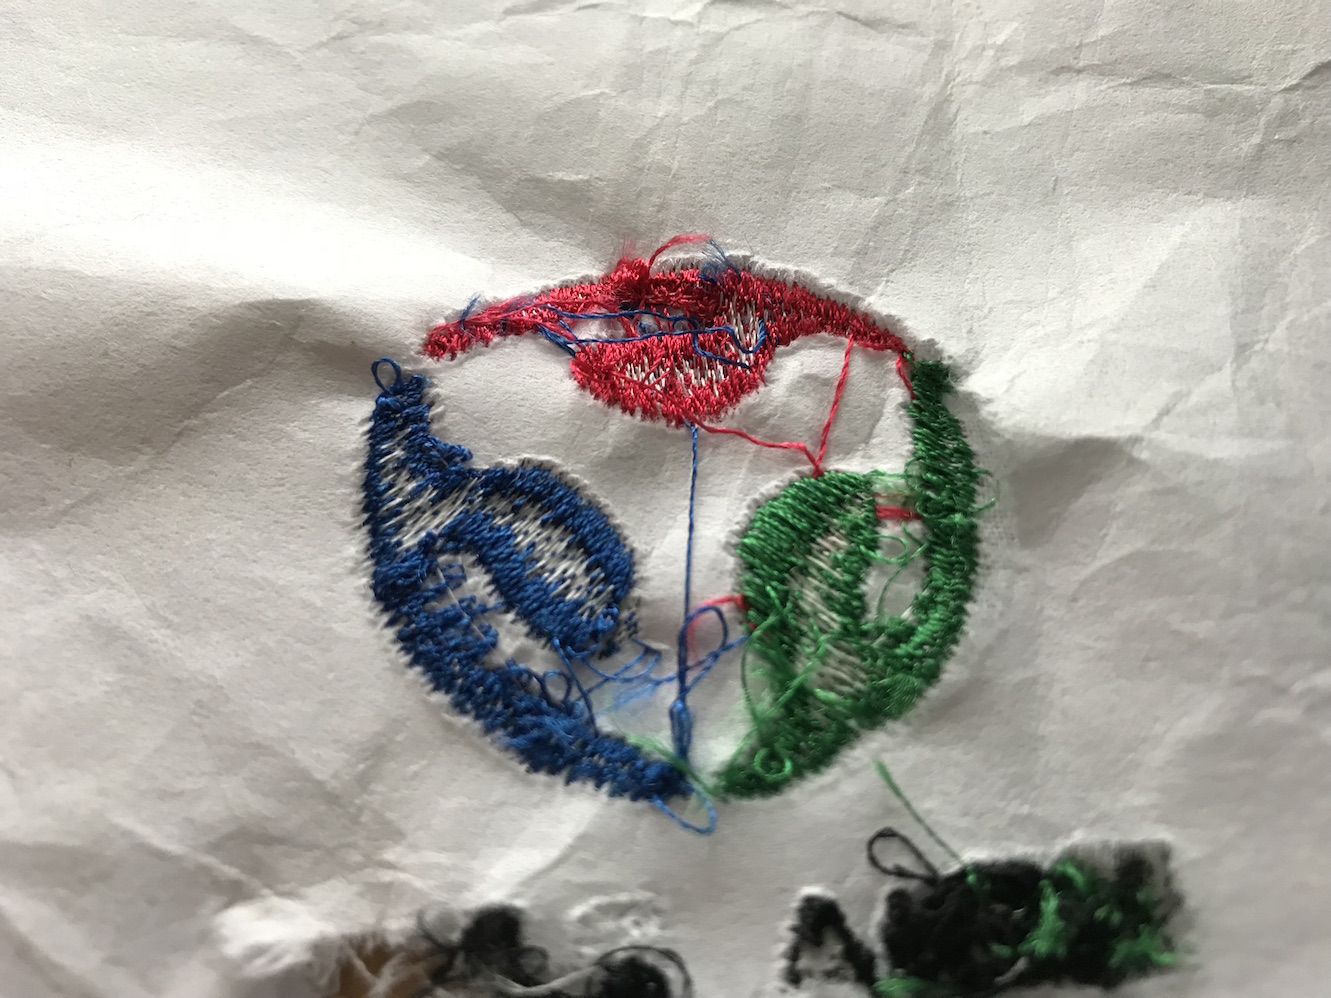
As you can see at the end of the timelapse, the machine was unable to successfully stitch the lettering portion of the design. It handled the graphic portion OK - I'm reasonably happy with the results - but it jammed up badly on the lettering. The underside of the embroidery was a "bird's nest" of gnarled, knotted black thread, and the material got completely stuck to the sewing plate. I had to cut and tear the workpiece to remove it and then remove the bobbin, bobbin case, and bobbin plate to untangle and remove the "bird's nest". You can see the final result here:

I did some research on this, and found a variety of sites suggesting that my problem was one of thread tensioning. Basically, there is a tensioner set on the bobbin thread, and another tensioner set for the top thread, and these two need to be in balance in order to get a good result. I found this graphic helpful:


In looking at my embroidery, it looked to me like my upper thread tension was too loose; I had a bunch of the top thread showing underneath, and not enough of the white bobbin thread showing:
I adjusted the thread tension upward on the machine (from the previous setting of 3.9 upward in increments to the maximum of 9.8) and retried. None of the settings worked to prevent the birds nest knotting when the machine got to the the lettering. Here's one of the tighter attempts:
If I had more time, I would create a file that is just a series of thick blocks, and test out the tension settings more methodically, like this:

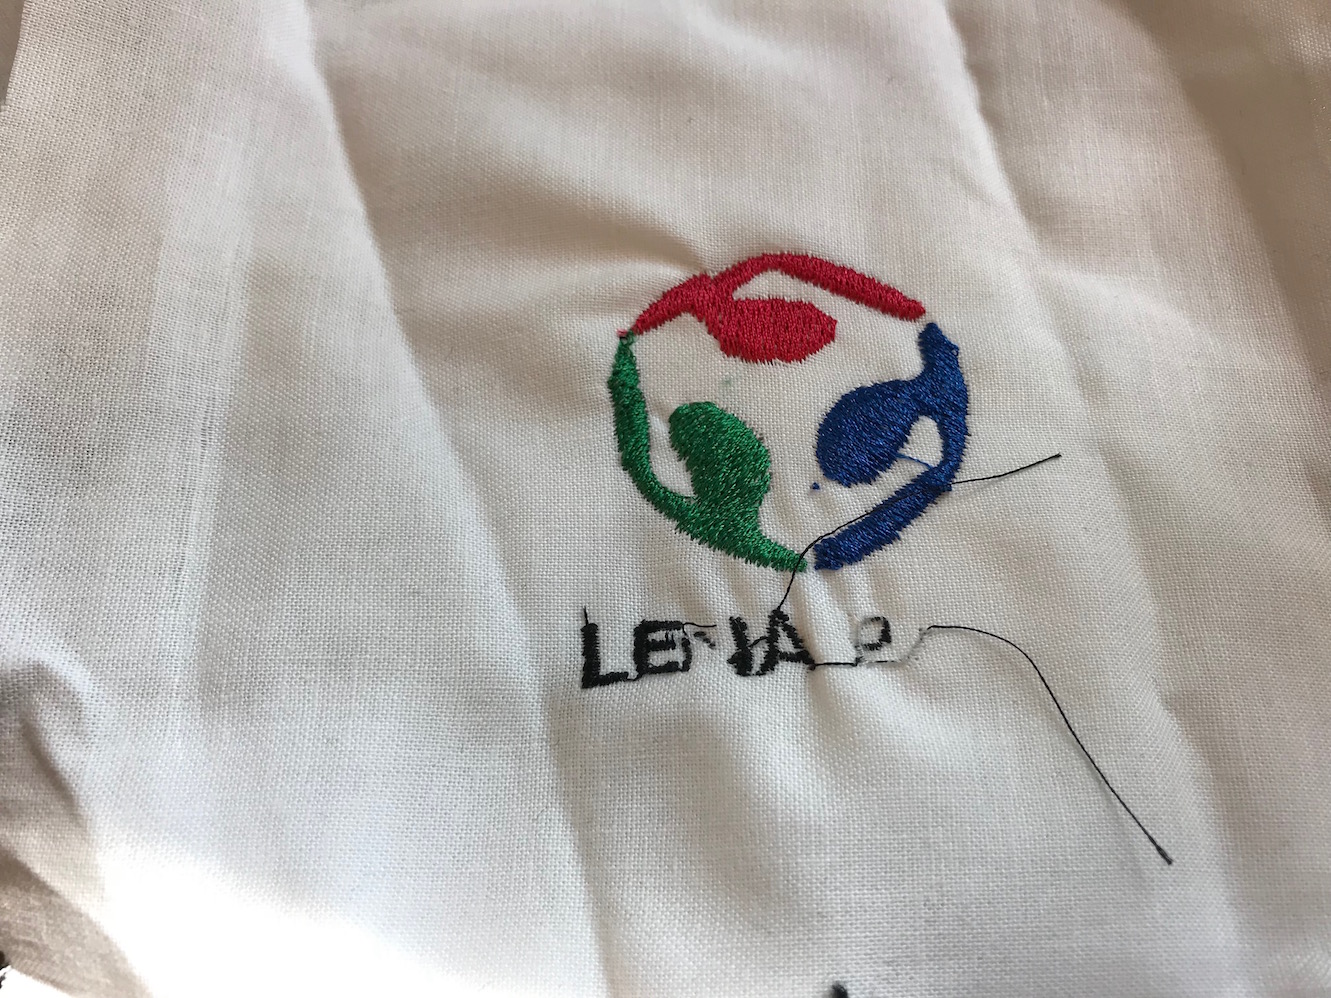
But unfortunately, I ran out of time, and because I am using "supply side" time management, I have to move on. Here are my final, imperfect, results:
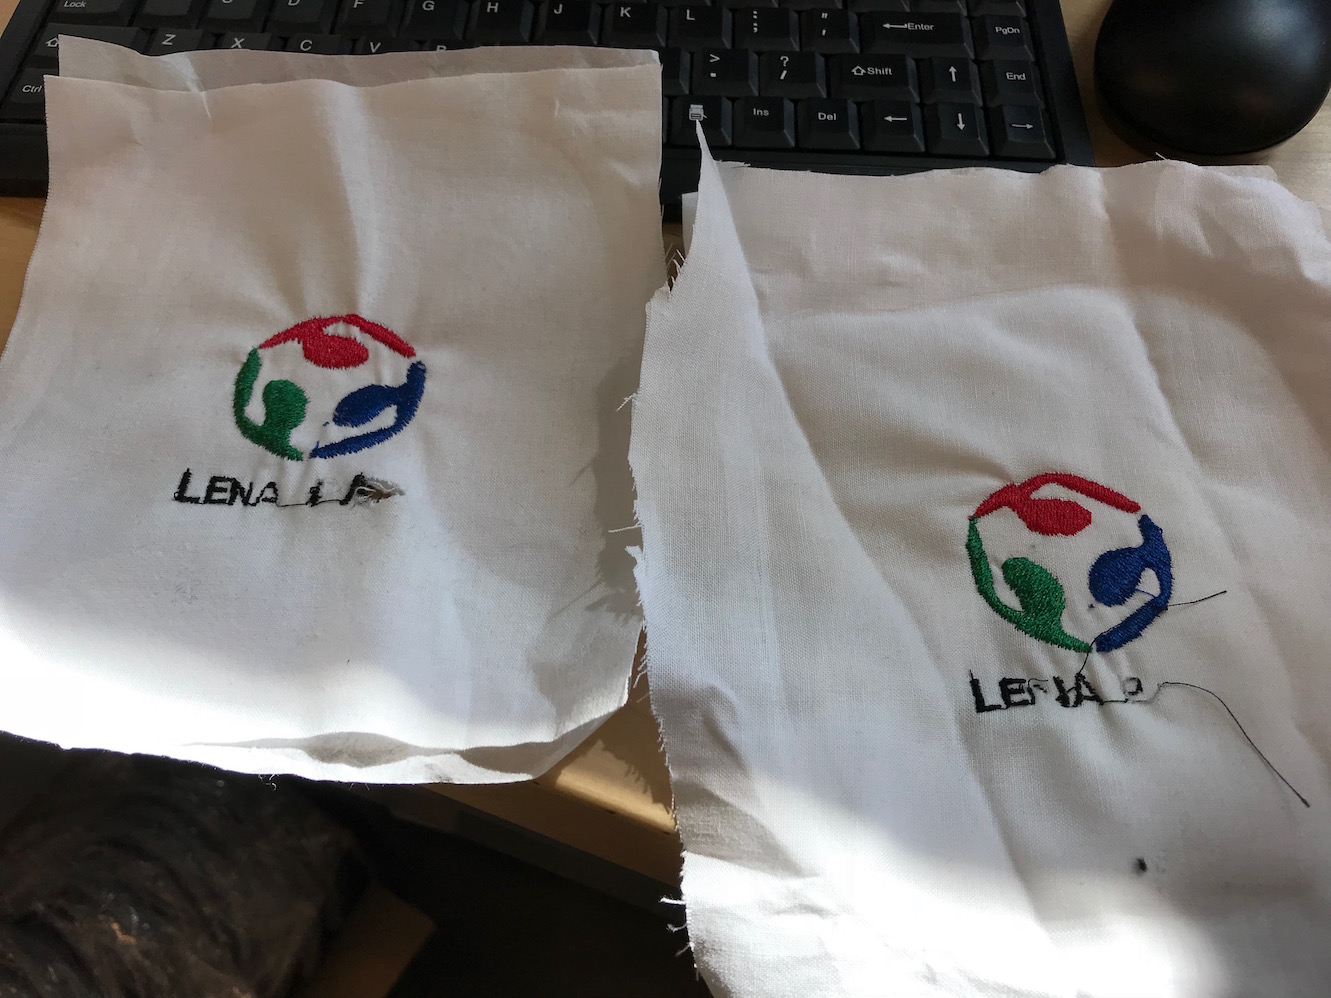
I am fairly happy with the graphic portion of the logo itself:
![]()
Some other things I would try if I had more time is to try using a) thicker letters, b) different threads and c) the Brother embroidery machine or d) try to use Pfaff design software to digitize the design.
Design Files
Lena Park Logo (.SVG file)
Logo 100 x 100 Brother digital embroidery file (.PES) file)
Logo 80 x 80 Brother digital embroidery file (.PES) file)
Logo 80 x 80 Pfaff-compatible digital embroidery file (.VIP) file)