Week 8 - Make something big
Making furniture-sized pieces on the flatbed CNC router
The tool
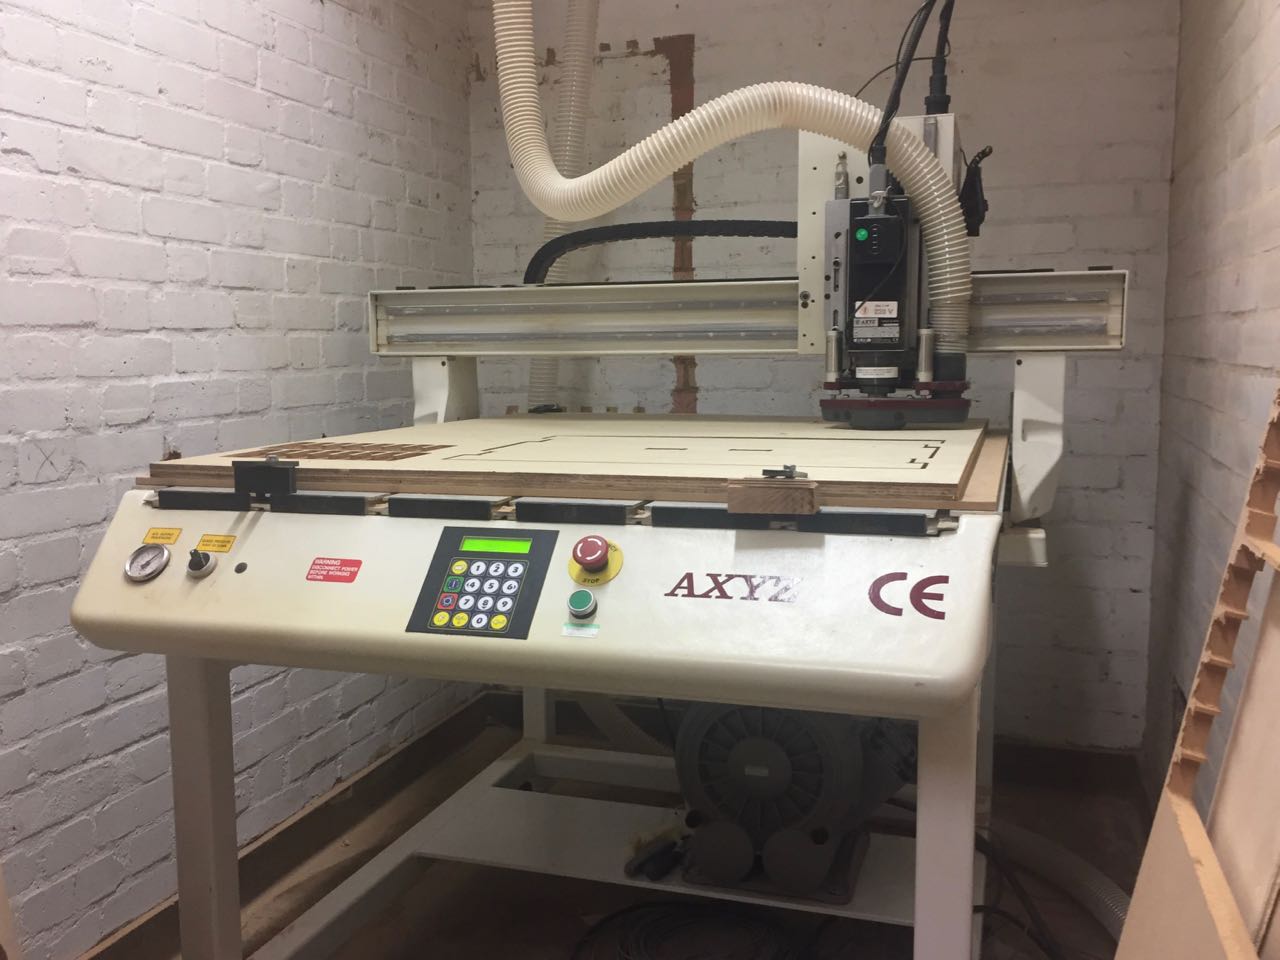
This is the machine we’re working on. It’s got a 1m x 1m cutting bed. As with other machines, we collaboratively made some instructions on how to use the machine and software (Also see Group Assignment PDF at bottom of this page).
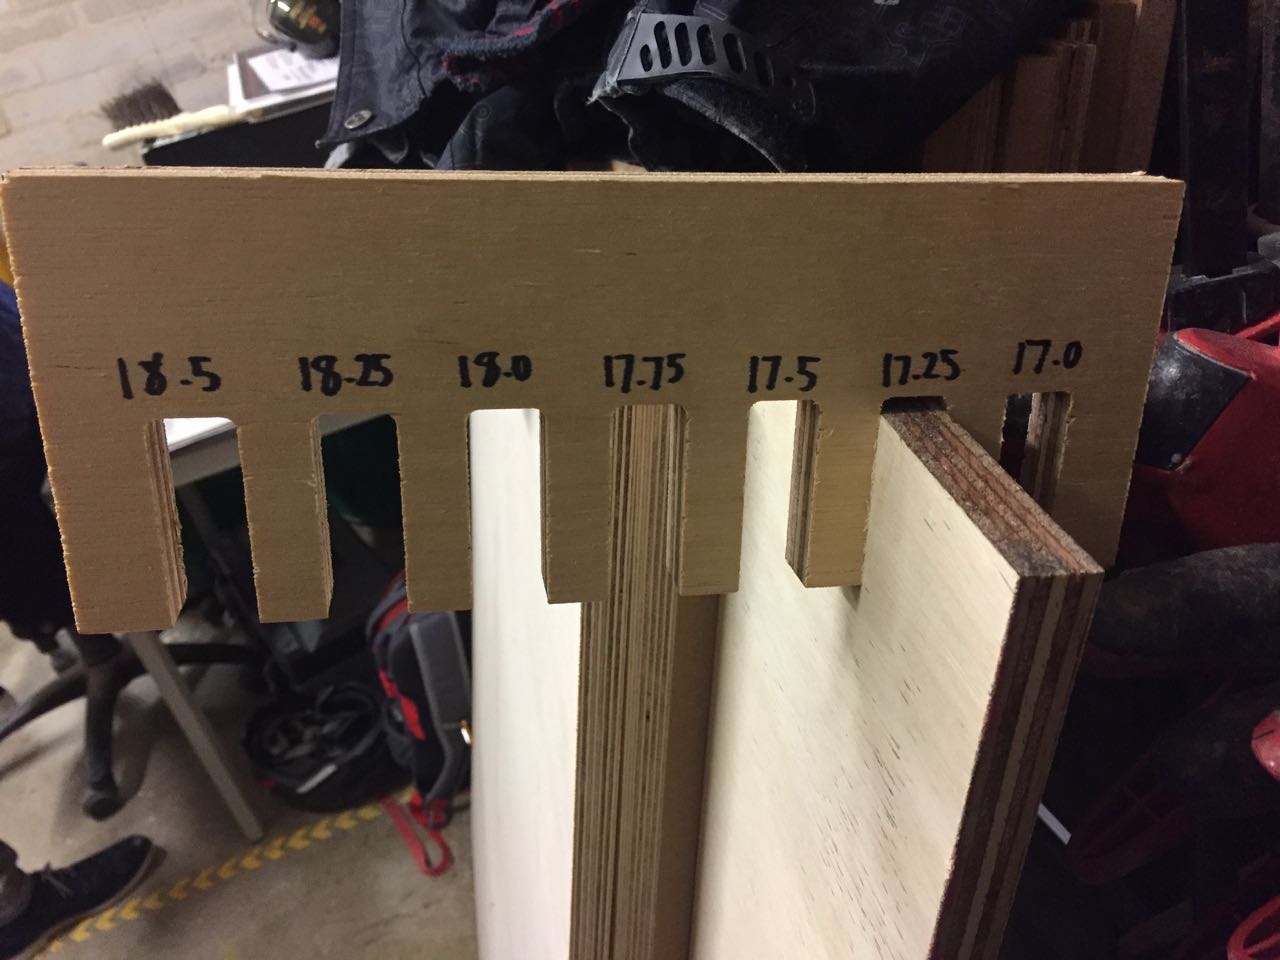
We made a test comb to figure out what slot thickness would work with our 18mm plywood.
Designing my table
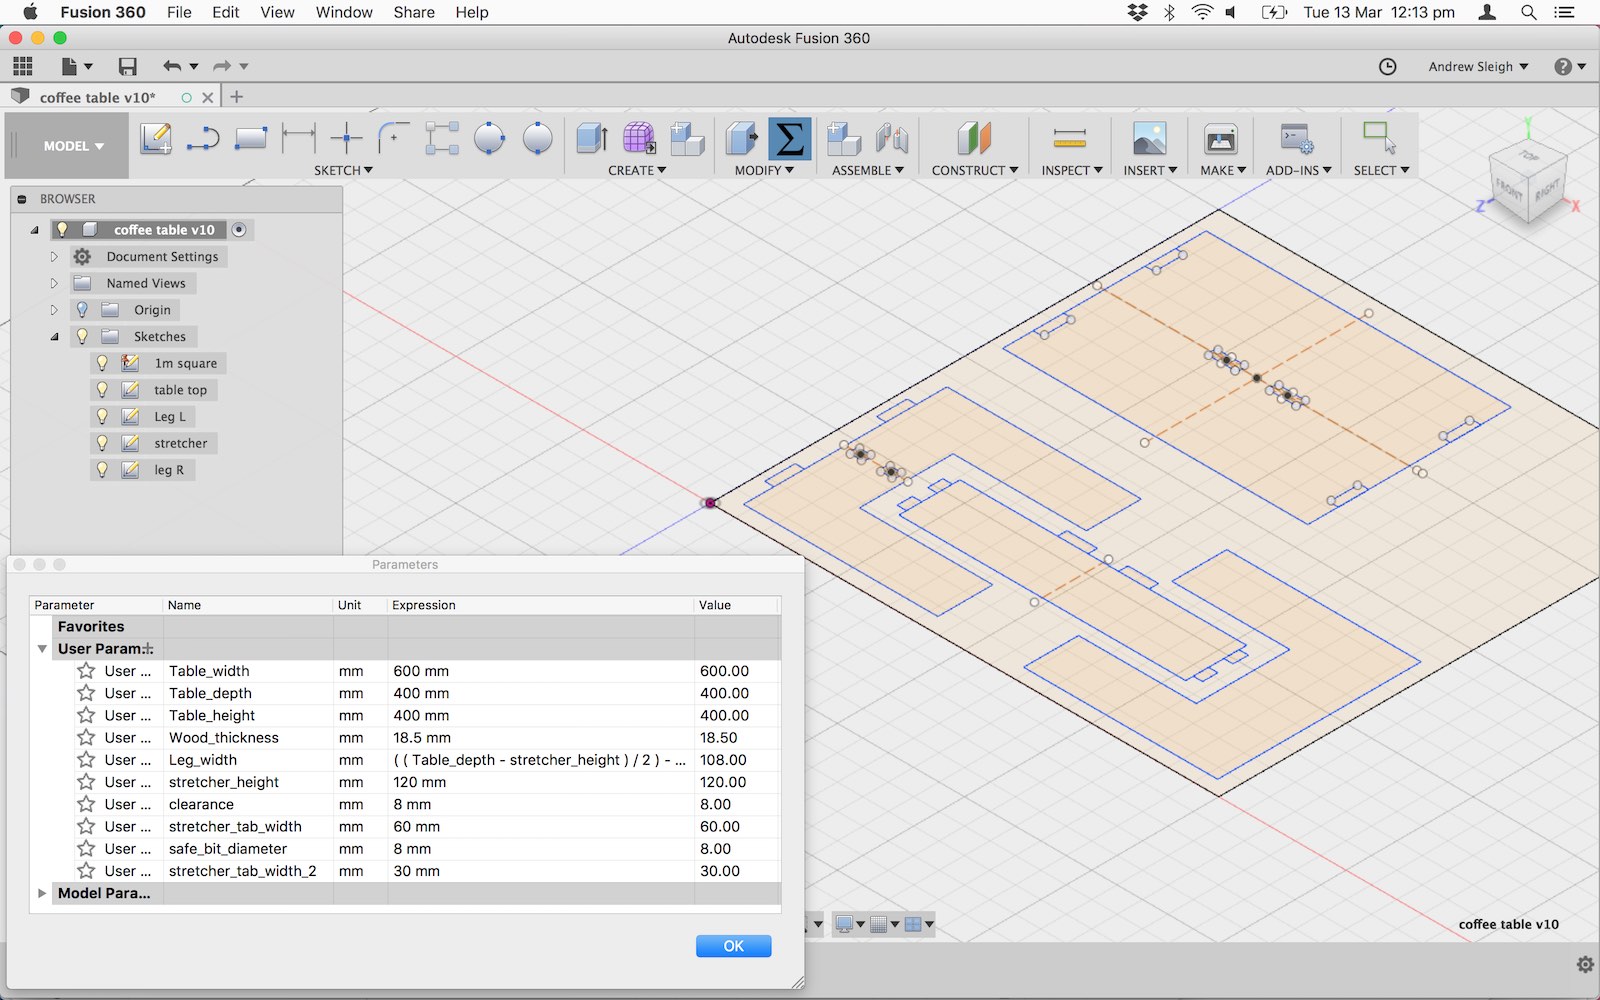
I used Fusion 360 to design the flat parts, so I could used the parametric tools to make changes on the fly. In this way, I could adjust the sizes of the parts so they would all fit on my limited sheet size
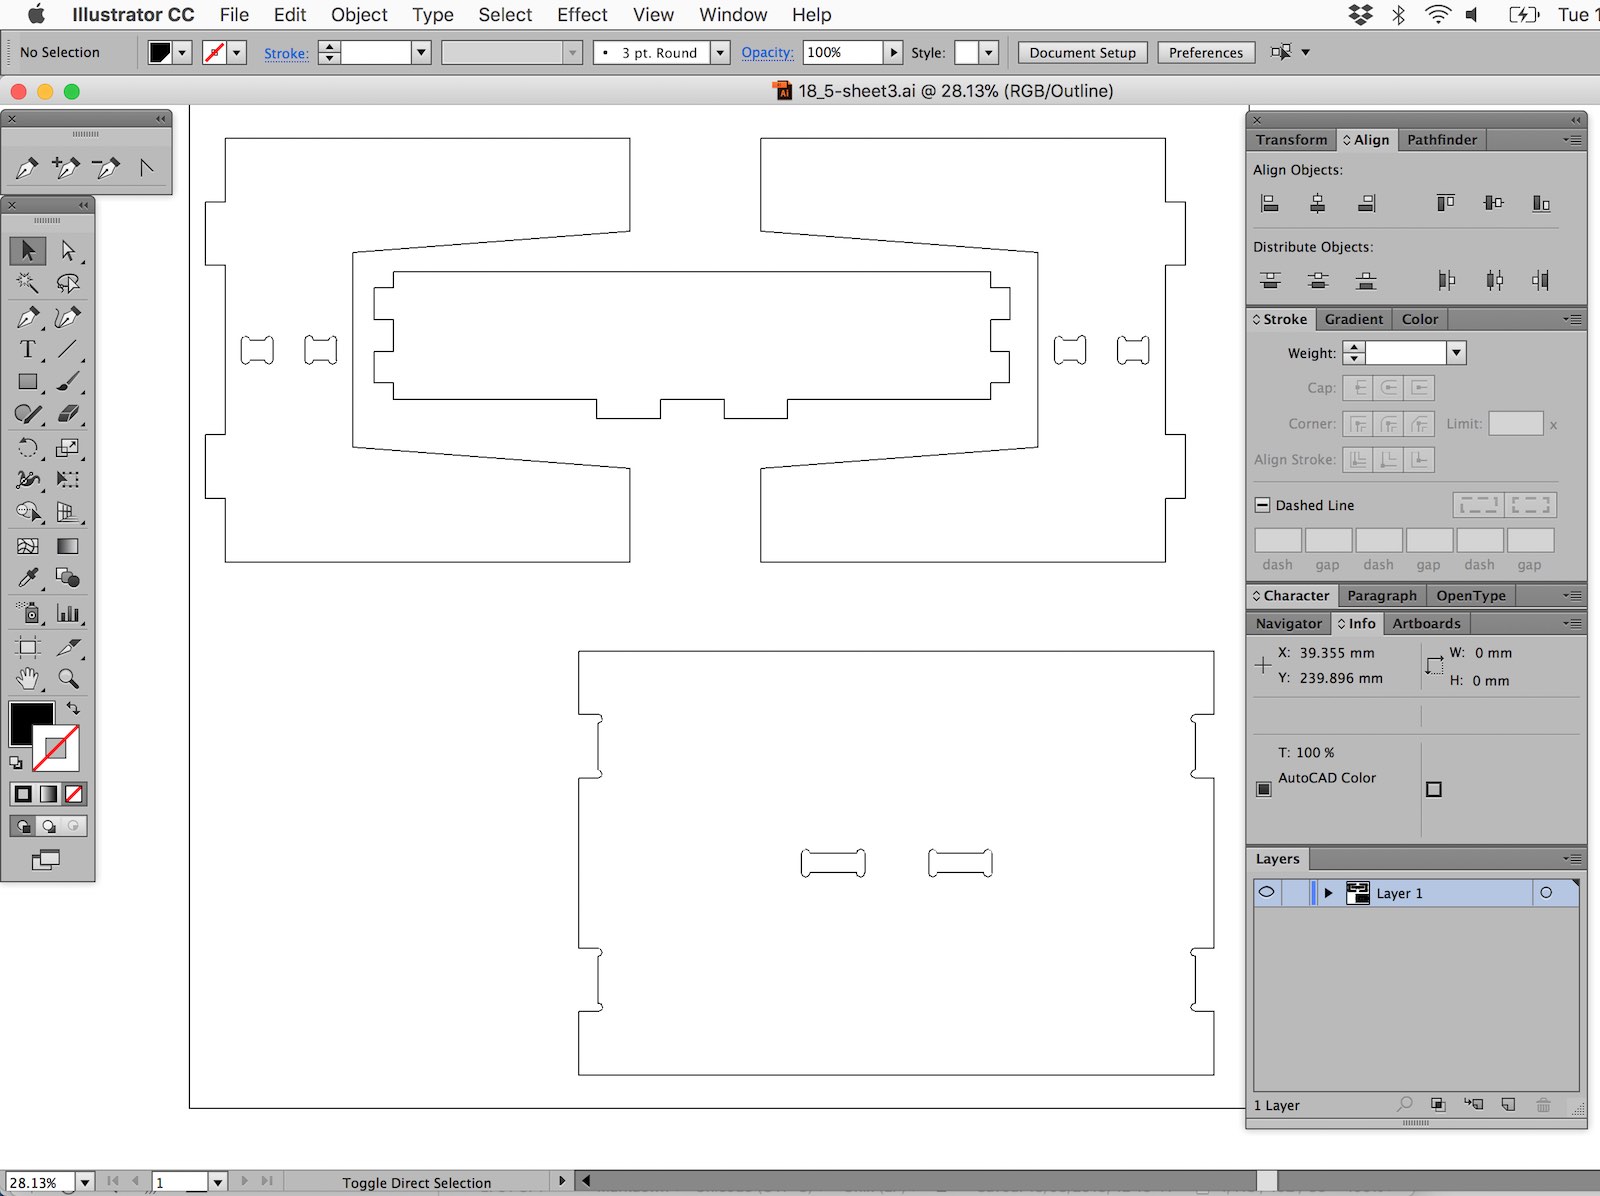
Then I exported the sketches as DXFs and opened them in Illustrator to tidy up the paths and check my design.
Setting up the file for cutting
I made a couple of customisations (and checks) while setting up the file in VCarve.
I checked that my slot cut paths were on the inside of the slots, so the holes would end up the right size.
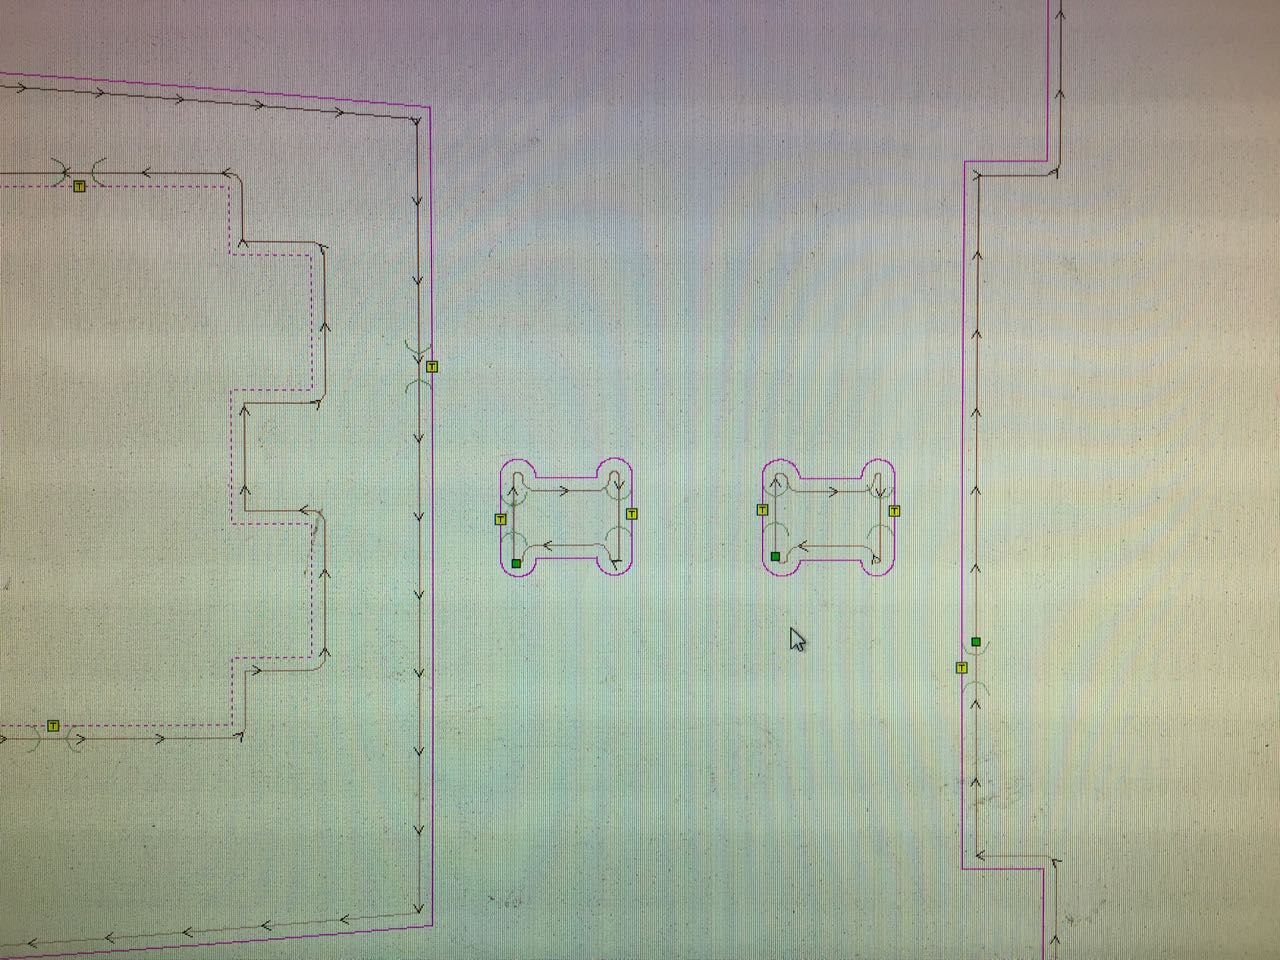
I added tabs around all the parts to keep them secured in the sheet while cutting – more on this later.

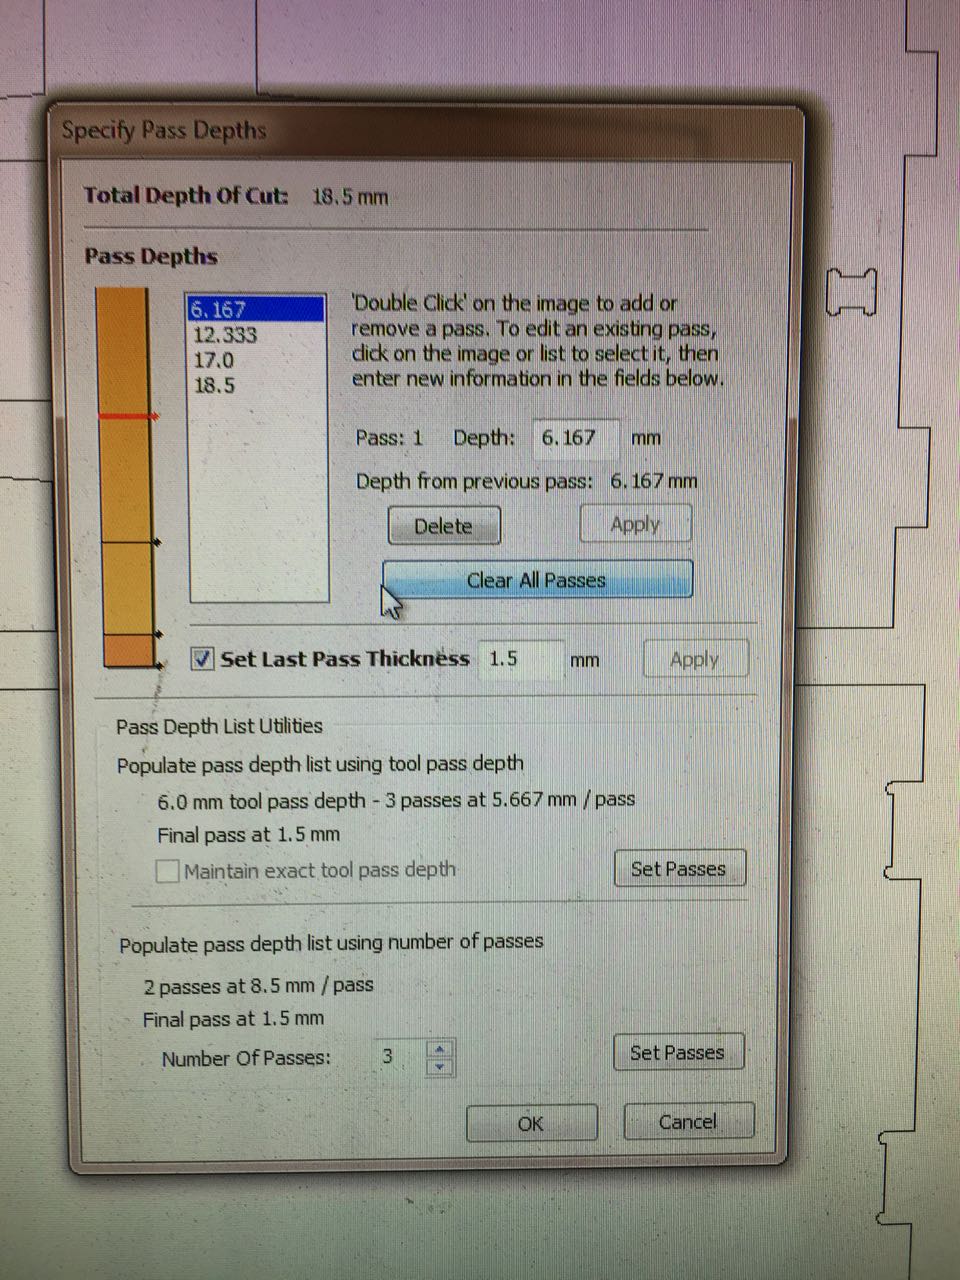
We didn’t have time to change te bit for an upcut tool, but as a test, I did try doing one final pass at a very shallow 1.5mm to try and minimise tear-out on the lower face of the sheet.
## Cutting and finishing
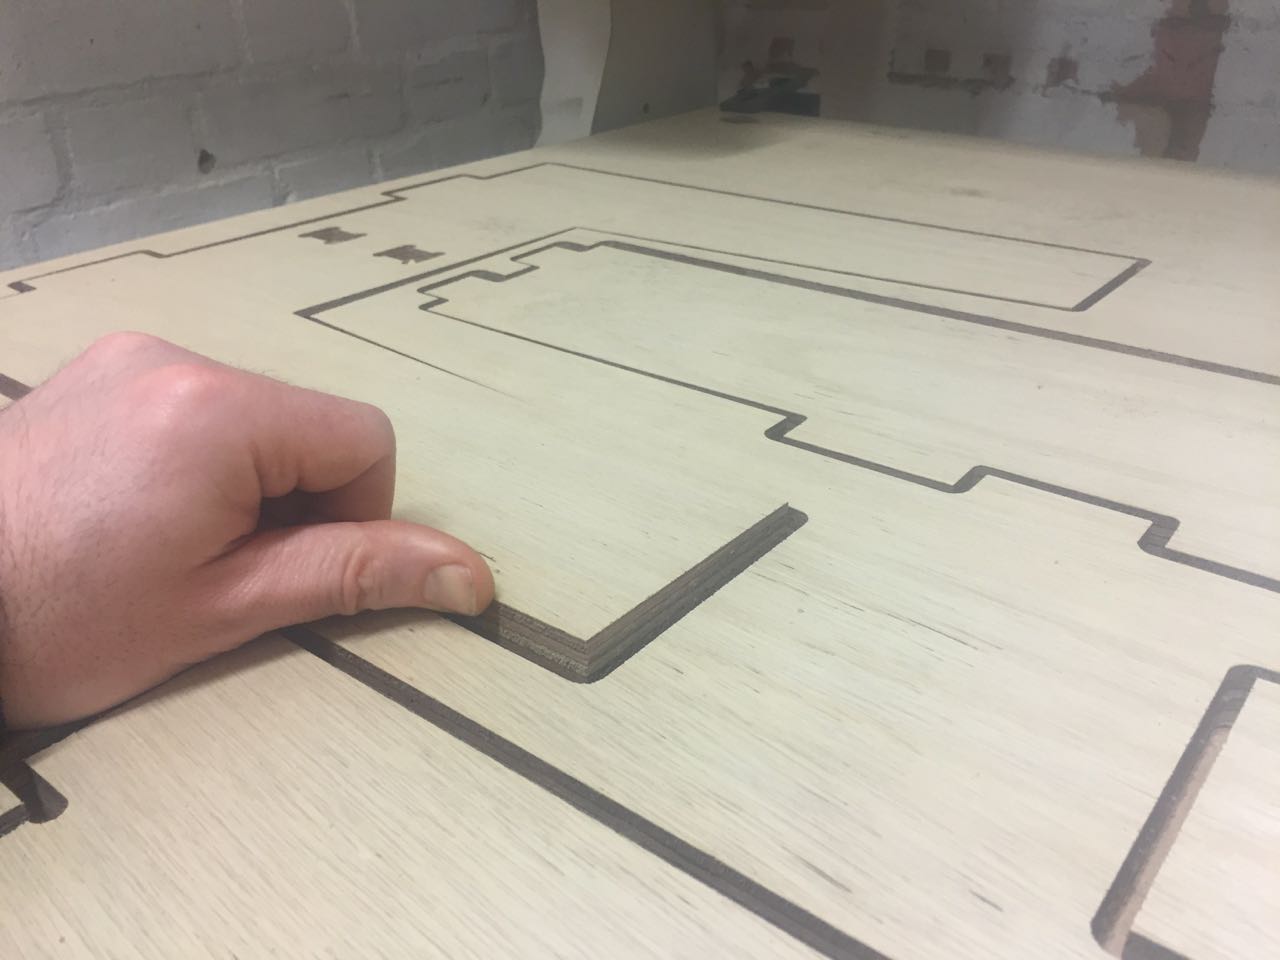
The parts cut fine, but I did find that my tabs were too thin to hold the parts in place once cut.
Although the tear-out was acceptable for this quality of plywood, there wasn’t much difference between my cuts and those done on our test pieces with just 3 regular passes. If I was using nice plywood, I would like to try the upcut tool.
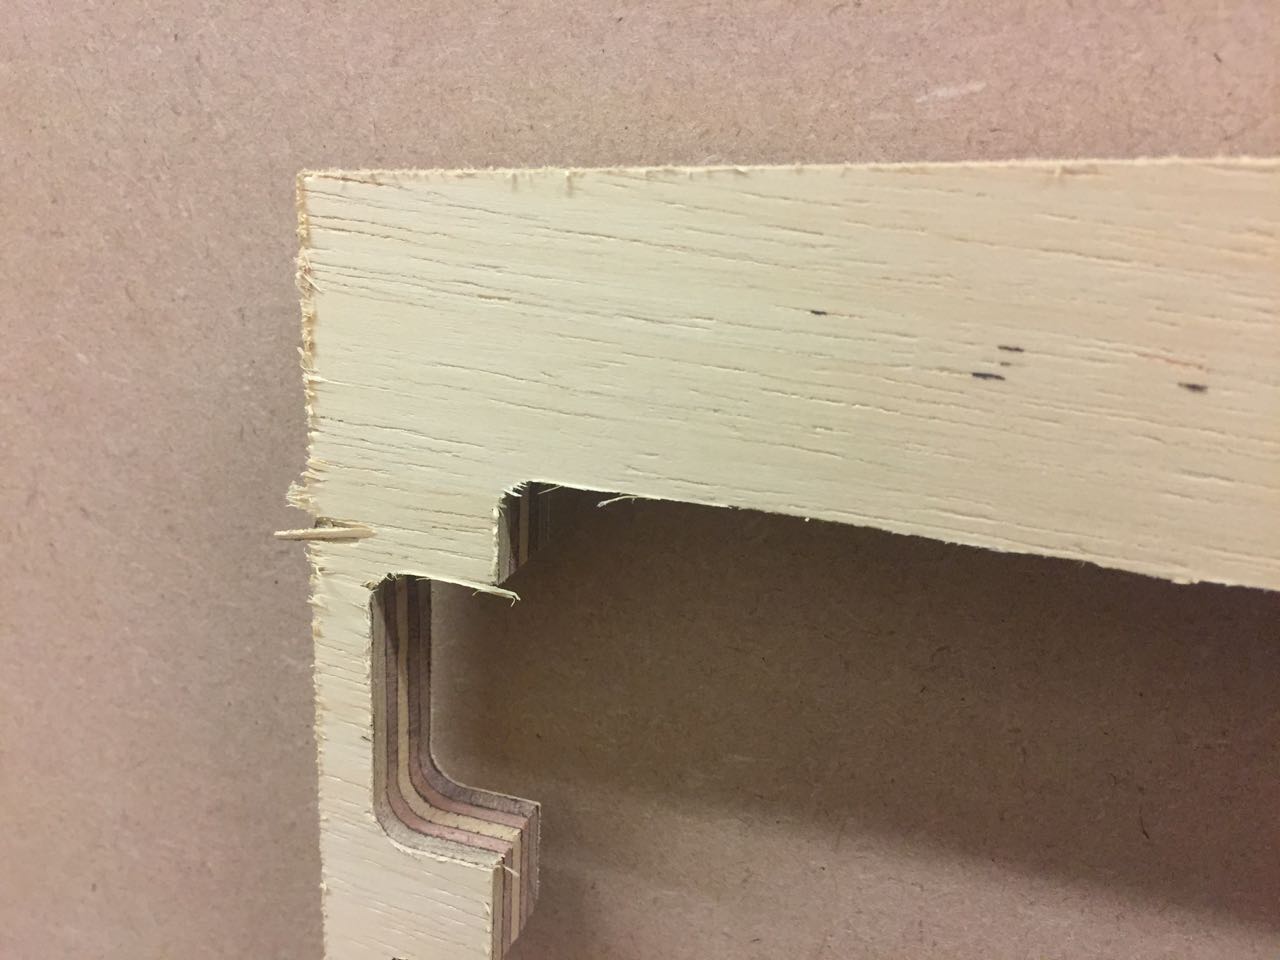
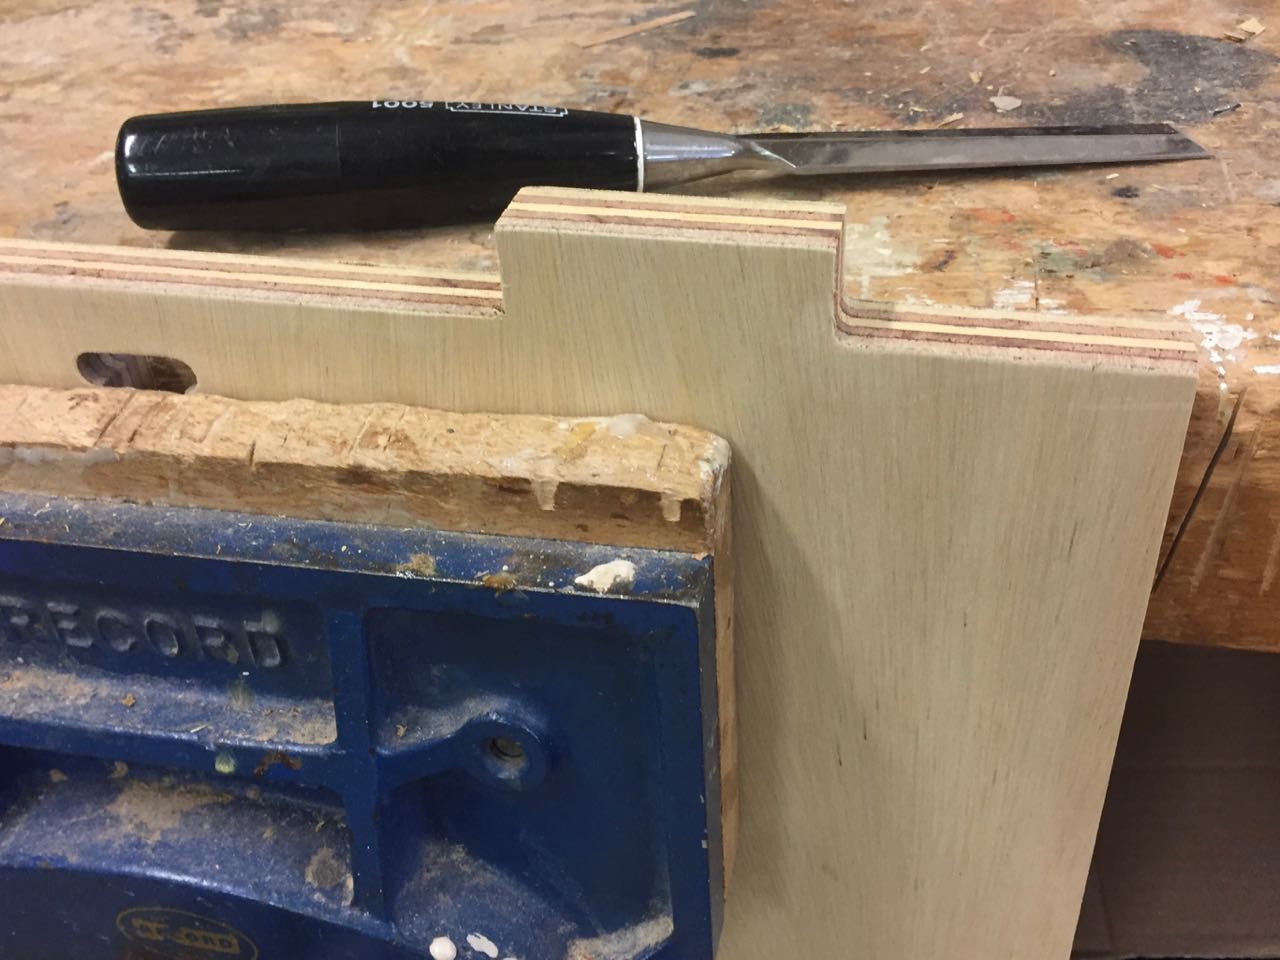
After cutting, I noticed that I had forgotten to add t-bones to my tabs, so I had to use a chisel to square out the corners.
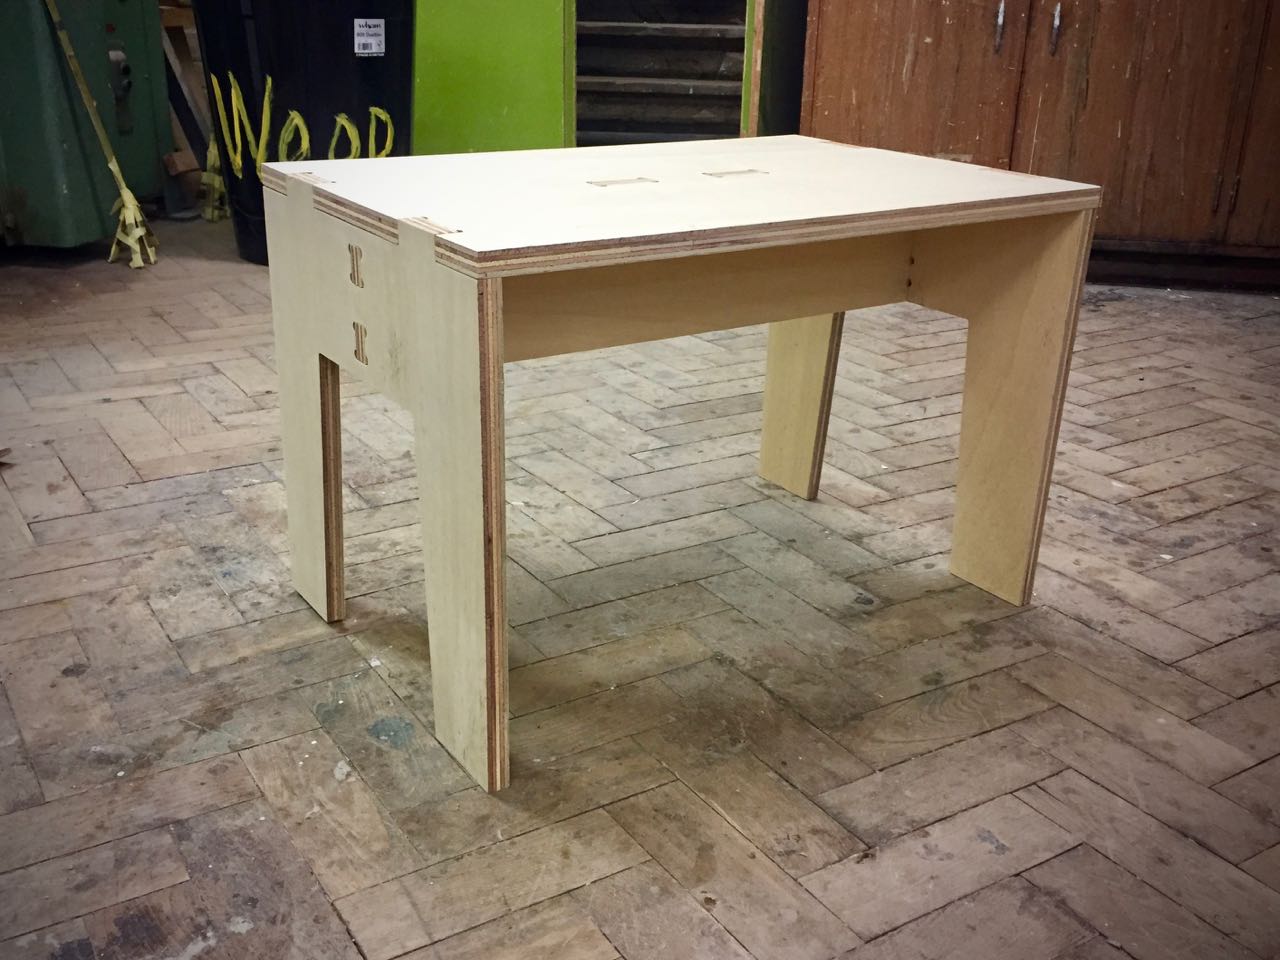
The finished product
It works! The parts are a good fit, though if I was going to use this in anger, I’d assemble with some glue.
Files
My Assignment:
Group Assignment