Week 9: Moulding and casting
This week we followed the Moulding and Casting class (see video here)
- A simple object: Yin-Yang symbol
- Casting from a 3D print
- A multipart object: anatomical heart
- Next steps
A simple object: Yin-Yang symbol
For this casting process we use ‘three steps’. This means we create an intermediate extra mould that we can reuse to generate multiple parts.
In a three steps process we start milling a wax block from a ‘positive’ design, than from this mould we cast another intermediate ‘negative’ mould made of silicone, this last mould will be used to cast the final parts.
The advantage of this process is that the silicone itermediate material is simpler to demould and could be generated multiple times for scaling casting in parallel.
Based on the need and conditions we can also use a simpler ‘two steps’ process directly milling a ‘negative’ mould.
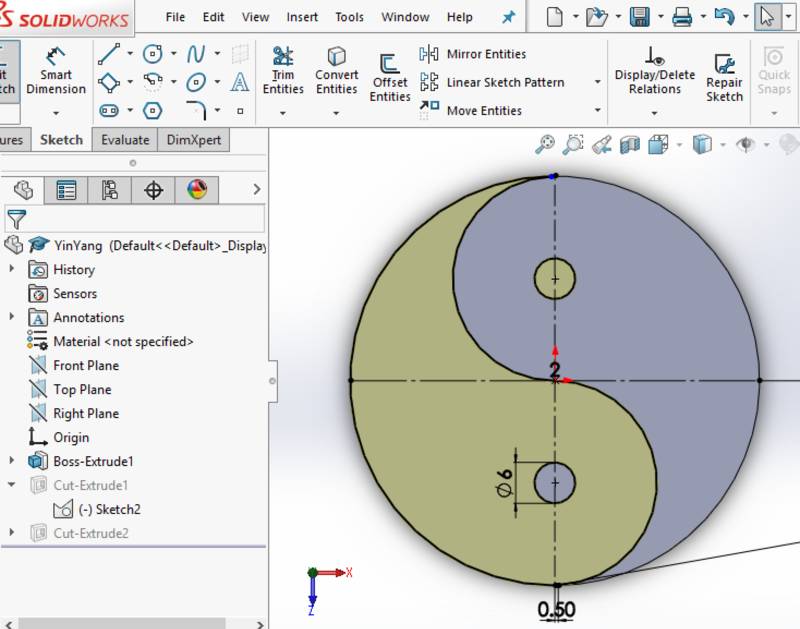
Design
I started thinking about a simple design and came up with the Yin-Yang symbol also known as Taijitu. Read the origin and different names of the symbol on Wikipedia.
I thought that if I invert negative and positive in the mould by mistake no-one would notice :D
Jokes apart… I thought I could build a 2-sided object made of 2 parts that I could interlock together to have the simbol on both sides… but I came to the conclusion it might be actually impossible.
So I ended up with a single 2-sided object with different thickness for the black and white parts.
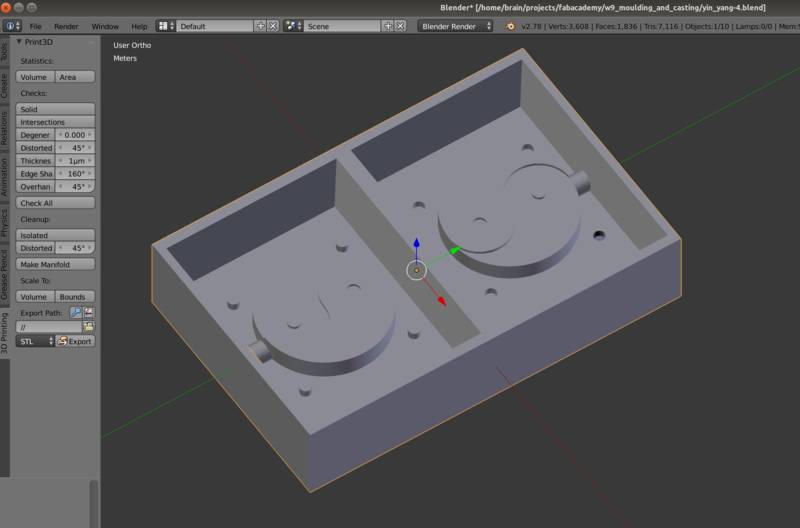
In blender I designed the mould box.
I had to fix minor design tangency errors and surface holes in the design the create the mould box.
Registration marks are not exactly cylindrical but the positive hole are on a slight slope (like a cone section) to make the fitting process easier.
I designed the pouring hole as a cilinder but realised later that it could be conical as well… oh, and that I forgot the air exit hole :/ 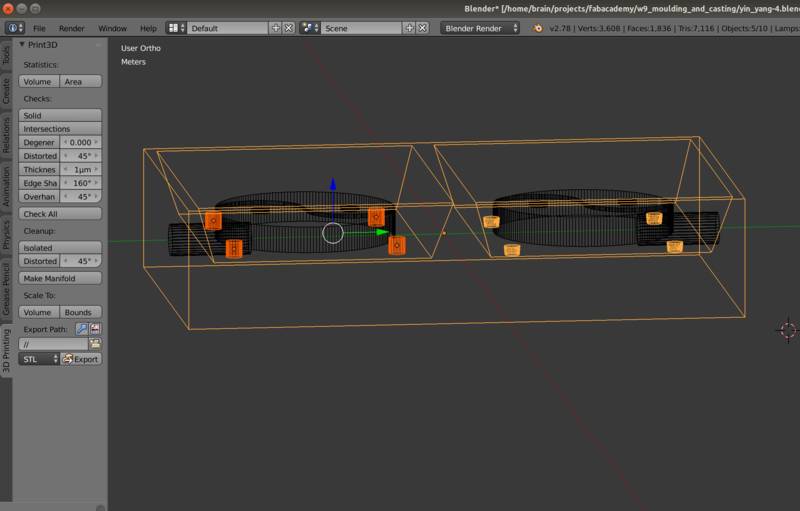
Mould design checklist:
- Design the part as it is (not the negative)
- Identify projection directions and split the part along these lines
- Add complementary and asymmetric registration marks
- Add 2 holes for pouring material and air exit
- Based on material choice size accordingly expansion chamber and pouring holes
Download Yin-Yang design (.zip archive)
Milling the wax mould
The wax block is made of a recyclable material that we can mill in a [Roland SRM-20] machine.
The material is a Ferris “Blue” wax. Ferris offers materials of different colours that correspond to different characteristics: Flexibility, Hand Carvability, Hardness (Shore D), High-Speed CNC. Green wax was also available in our lab.
| Material | Blue | Green |
| Flexibility | Excellent | Fair |
| Hand Carvability | Good | Fair |
| Hardness (Shore D) | 52 | 57 |
| High-Speed CNC | Poor | Good |
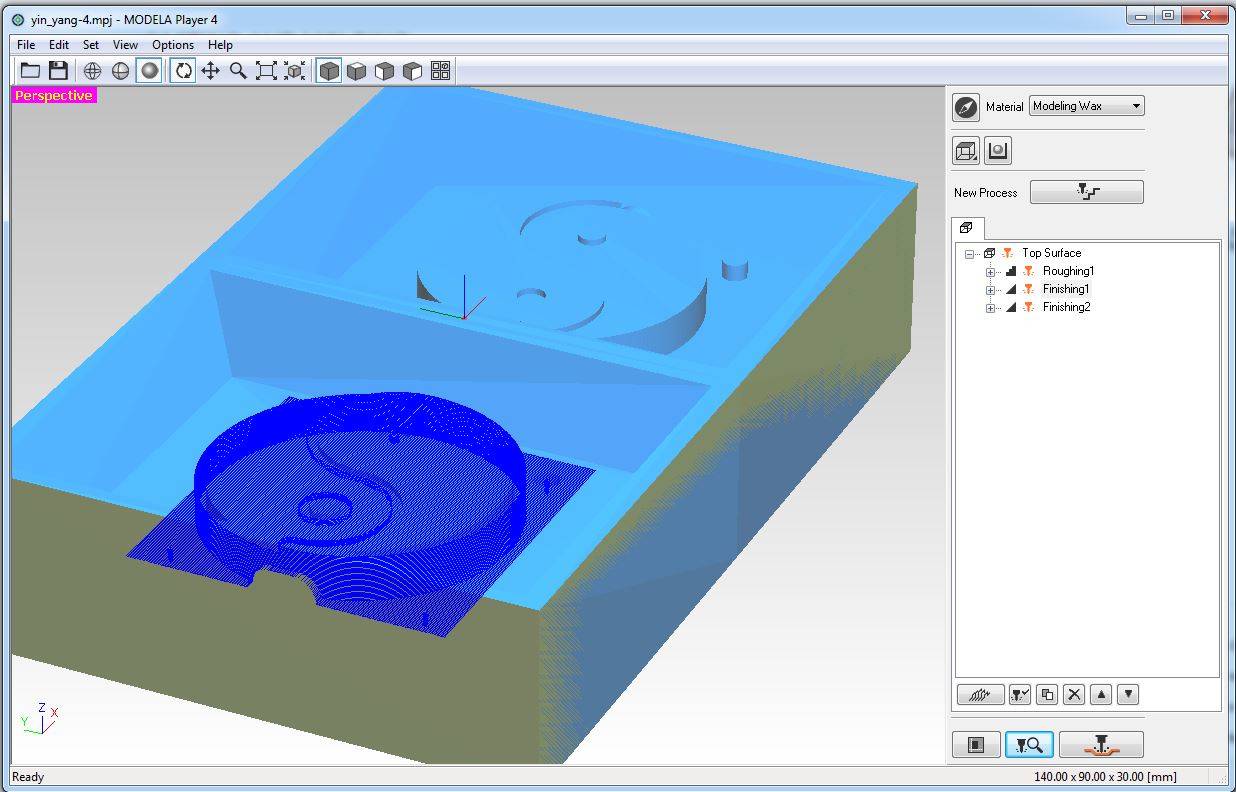
We used the Roland proprietary software Modela Player to generate the machine toolpaths. A very good Fab Academy tutorial is available here.
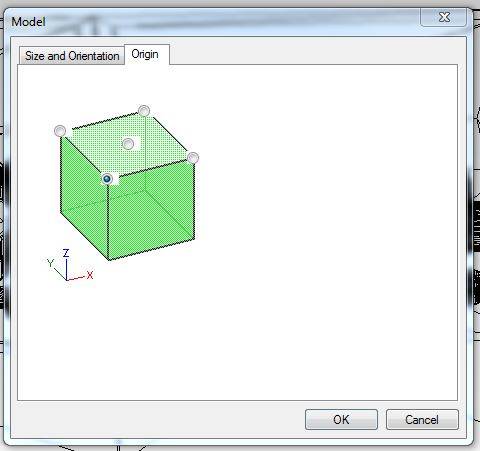
The toolpath setup screenshoots below consist in few steps:
Importing the design and setting the relative zero coordinate
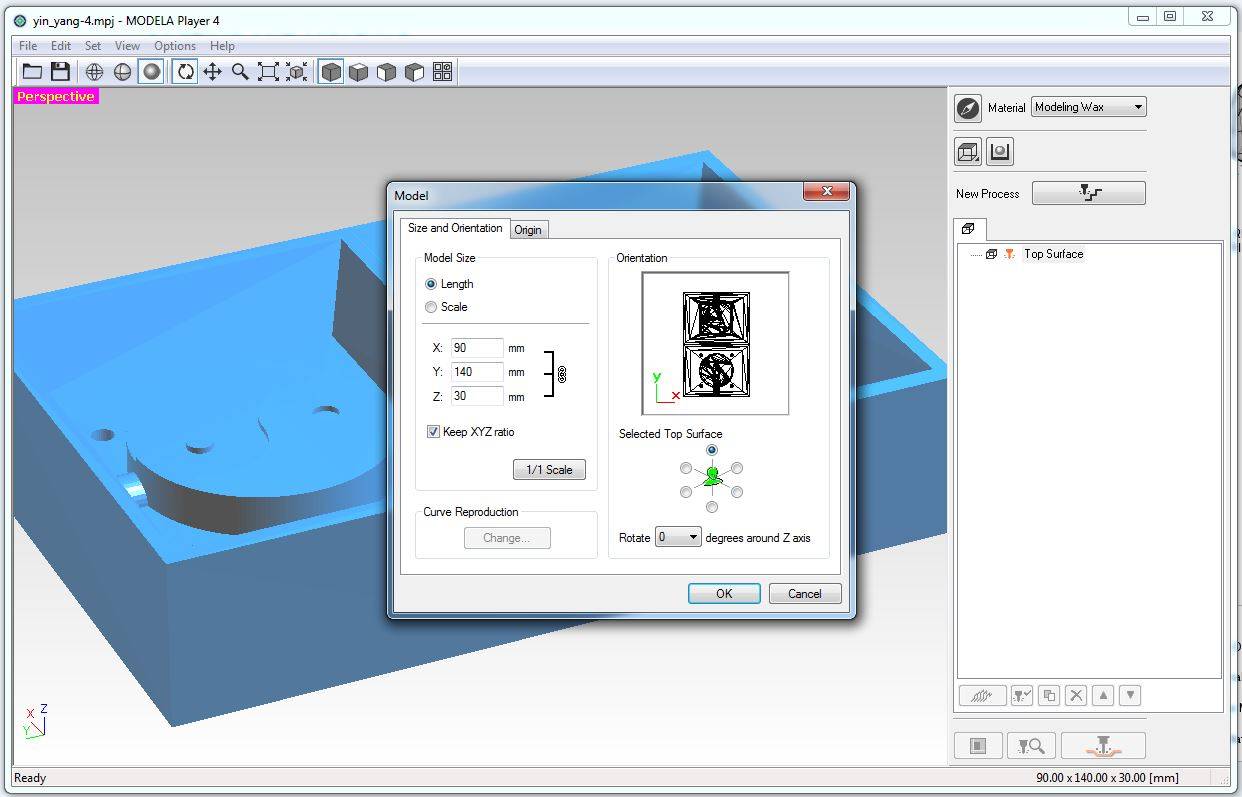
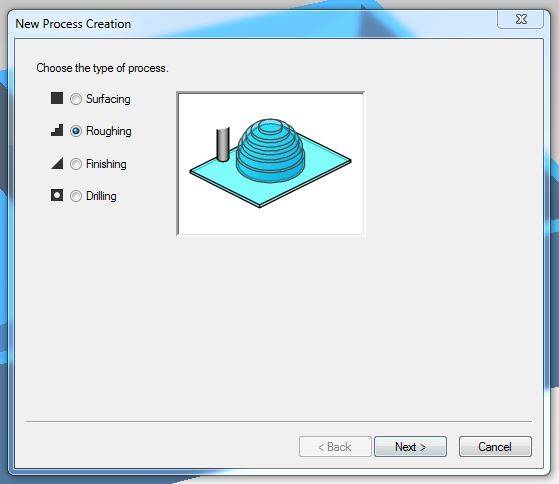
Creating a roughing process to remove most of the material
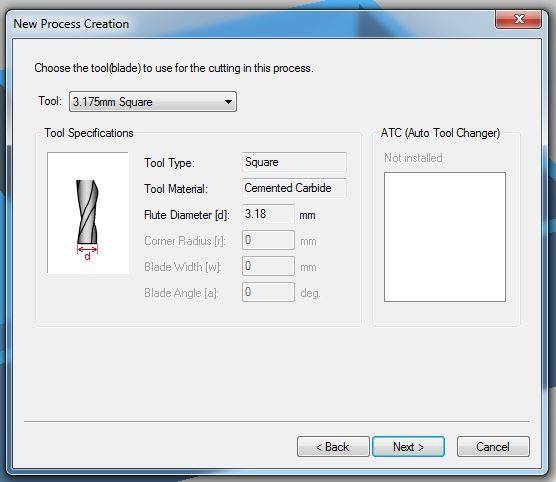
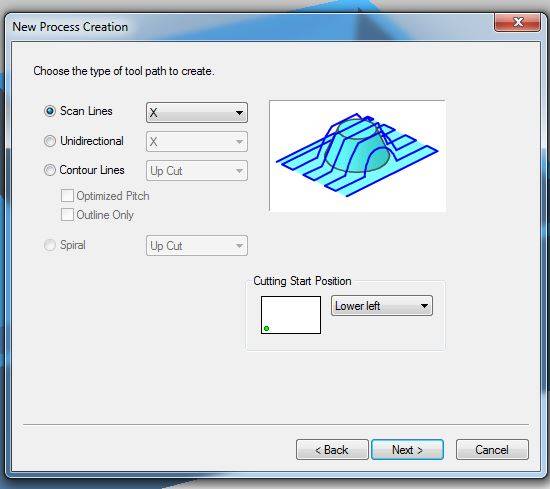
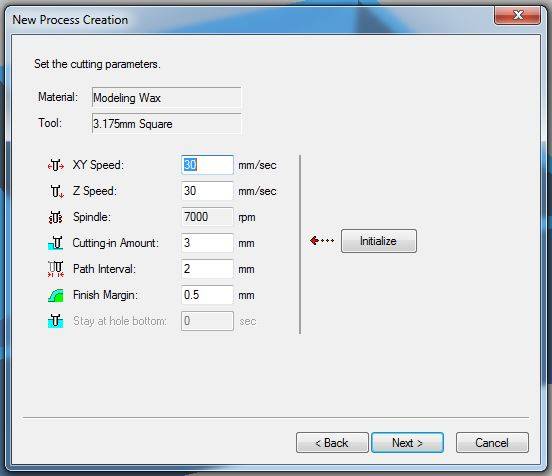
Create a finishing process in the partial areas to be refined
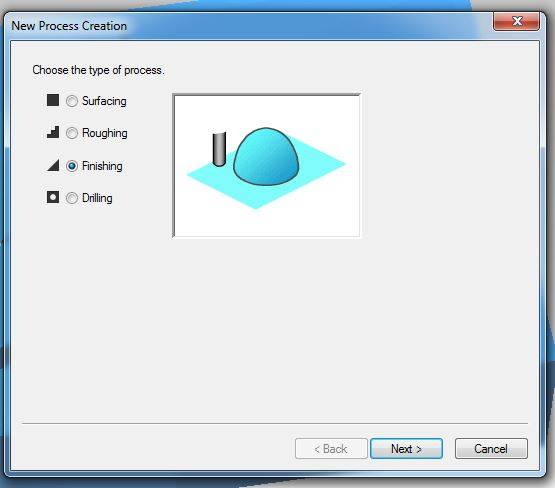
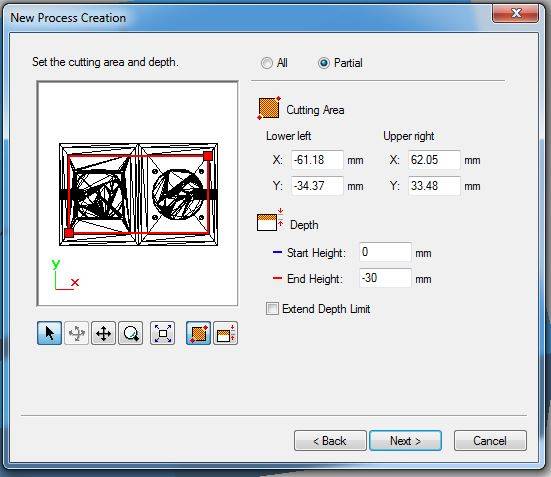
Preview and exporting the toolpath files (.prn)
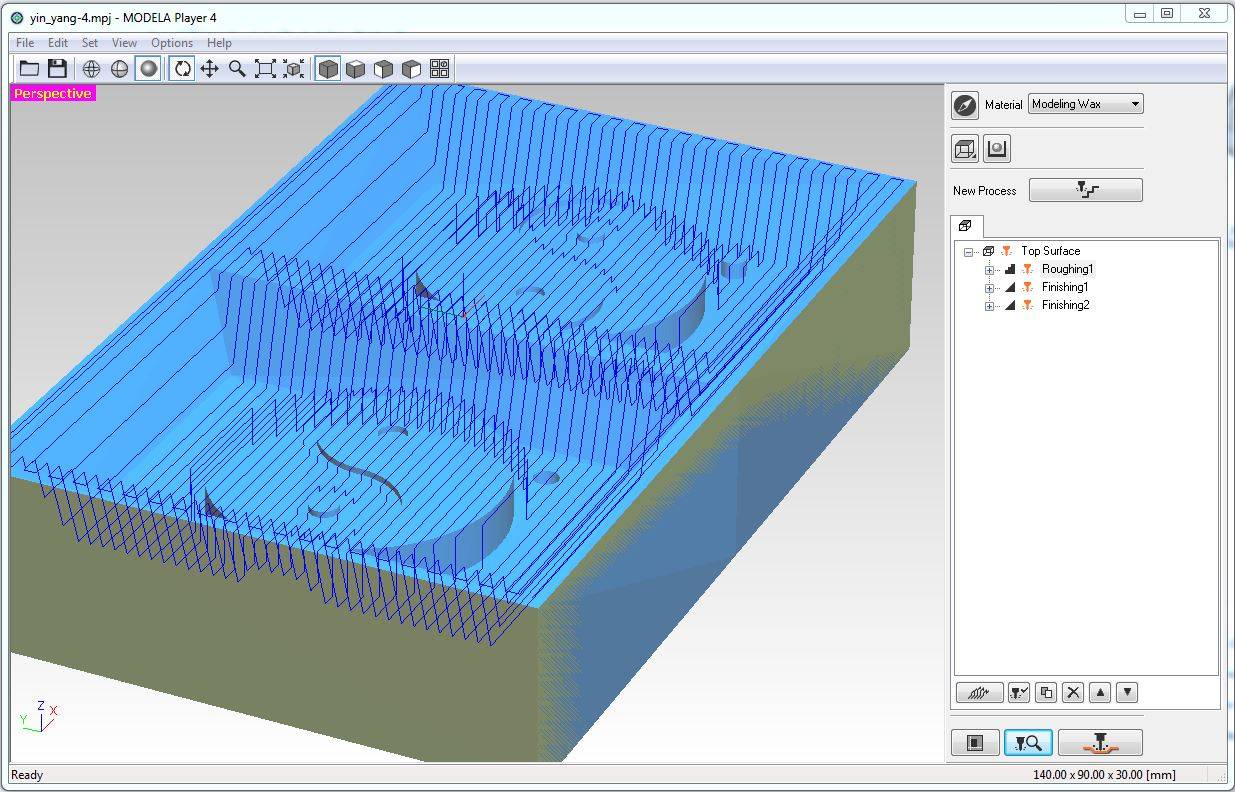
Download Yin-Yang toolpaths (.zip archive)
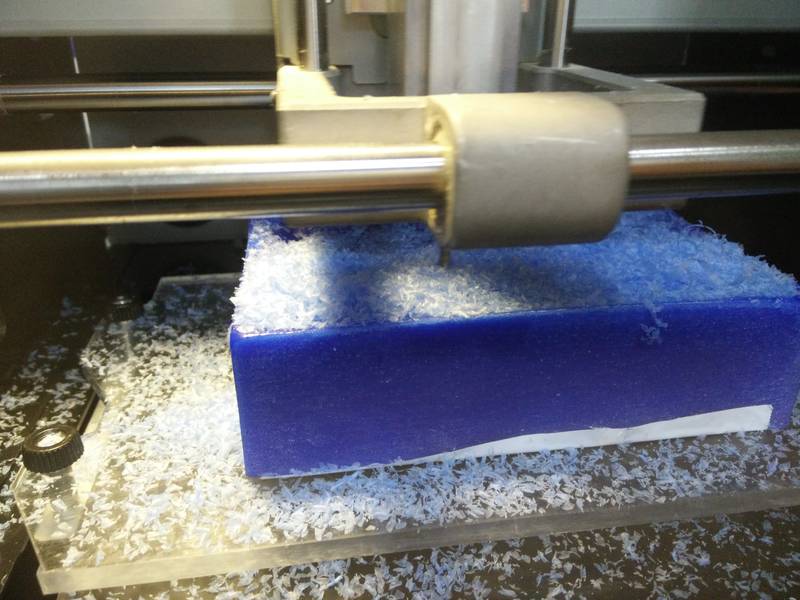
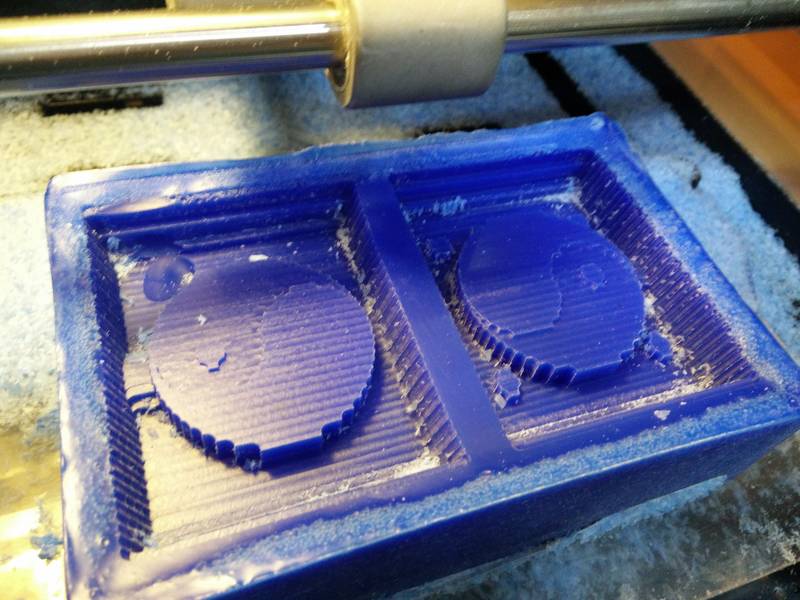
We then produces the mould using the milling machine using the same process as in the electronic production week but with a different cutting tool and sacrificial layer (to save space).
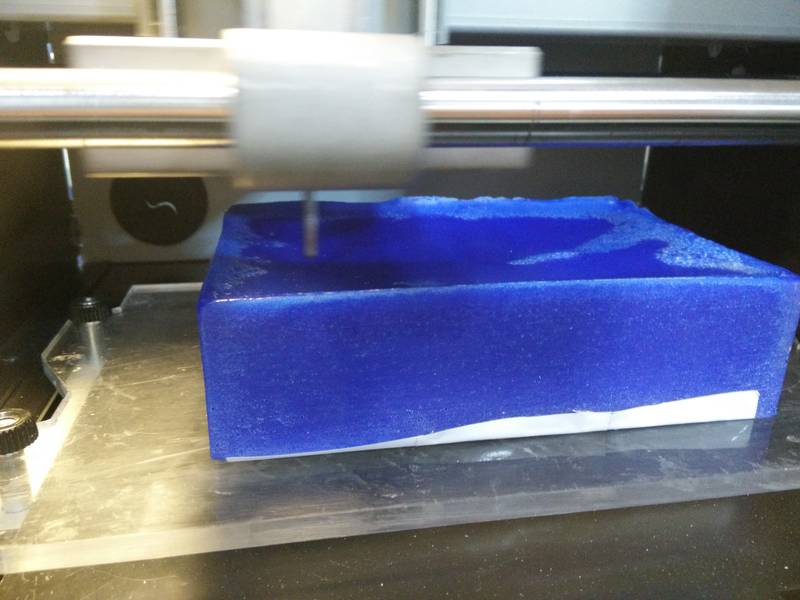
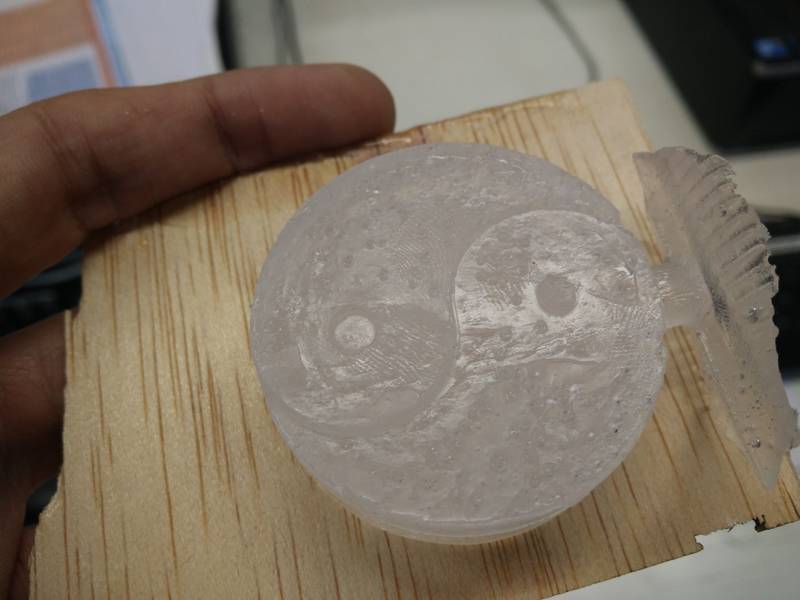
The cutting process produced a lot of chips that makes difficult to see the result. I’ve been lucky that a defect bubble in the wax did not affect my shape in the mould. I will later fill this defect.
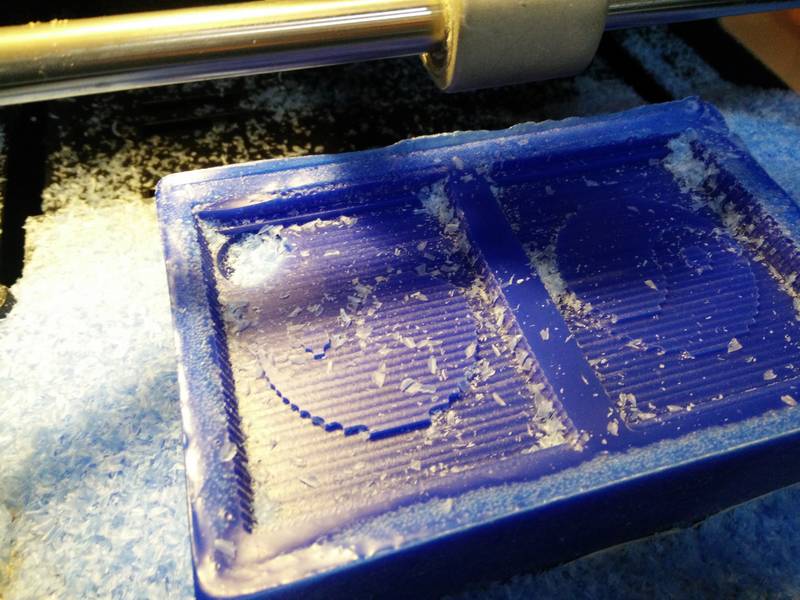
This is the resulting mould at the end of the roughing process.
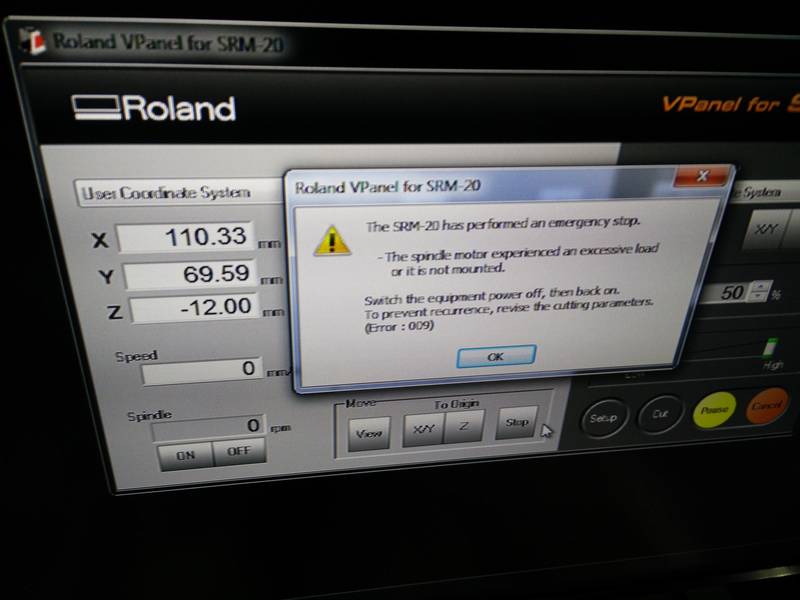
During the process I faced a couple of emergency stops from the machine because the tool was getting stuck and slowing down too much the spindle in the process. Each time I had to restart and that took a lot of time and tried to reduce the tool speed below 70%.
I once lot also the zero coordinate during the finishing but I was able to recover it with only manual adjustments.
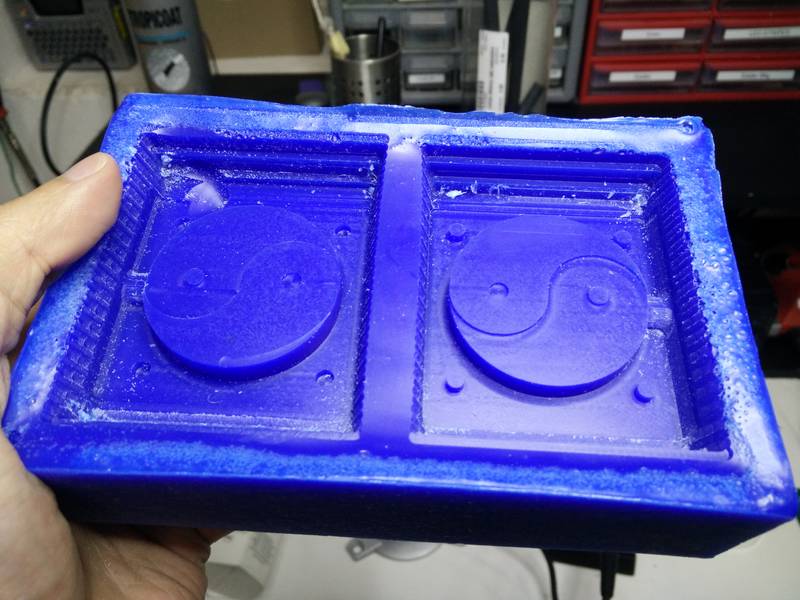
And here the final mould ready for casting.
Casting the silicone mould
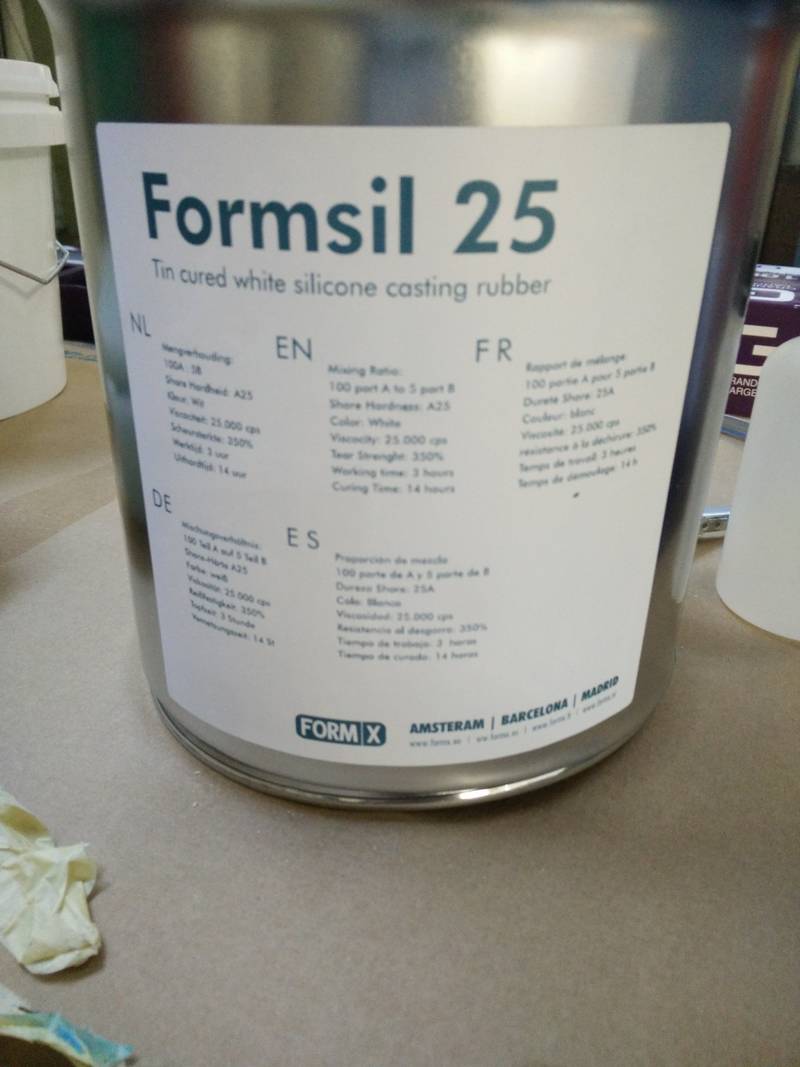
We then moved in producing the silicone mould. We used a Formsil 25 material.
The safety data sheet (MSDS) and technical data sheet (TDS) for the Formsil25 are not available in our lab (bad… ) or couldn’t find them online. In this process we will wear protective glowes and goggles and rely on the instructions and warning on the label.
We can read from the label the characteristic of the material. We need to mix the Part A with a 100-to-5 parts ratio of the catalyst (Part B).
We have a 3 hours time to work on the part after mixing (pot time). We will have to wait 14hours before demoulding (curing time).

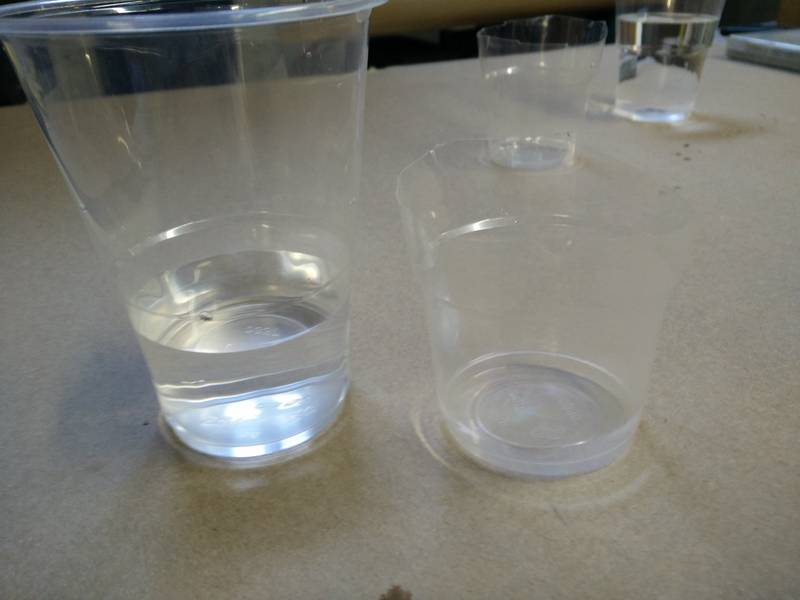
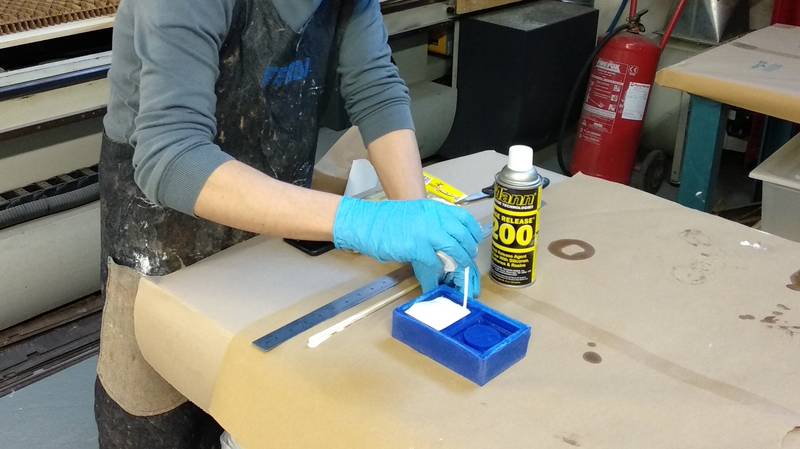
We can use a glass of water to have an indication of how much material volume we need to pour into the wax mould. Based on that volume we can weight the Part A component and add a 5% of Part B.
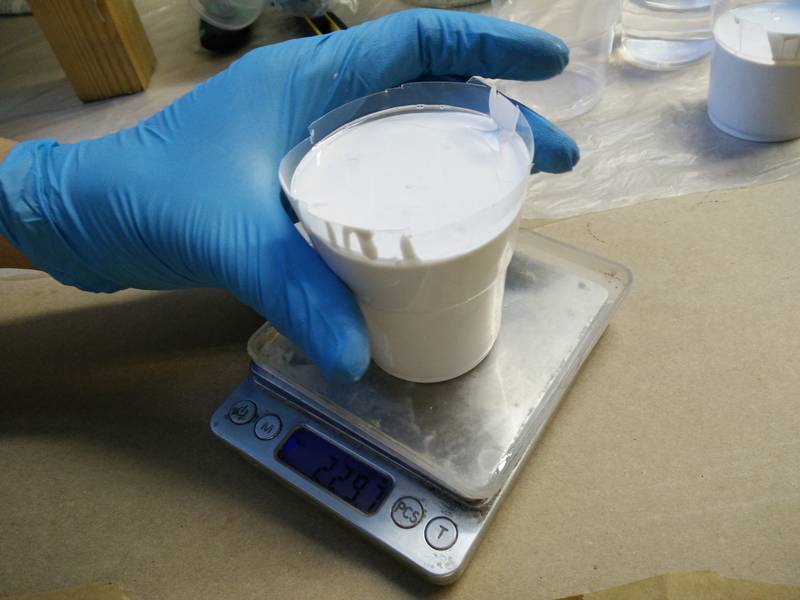
We need to mix carefully the components avoiding to generate bubbles and put the pot in a vacuum machine to make some of the bubbles emerge.
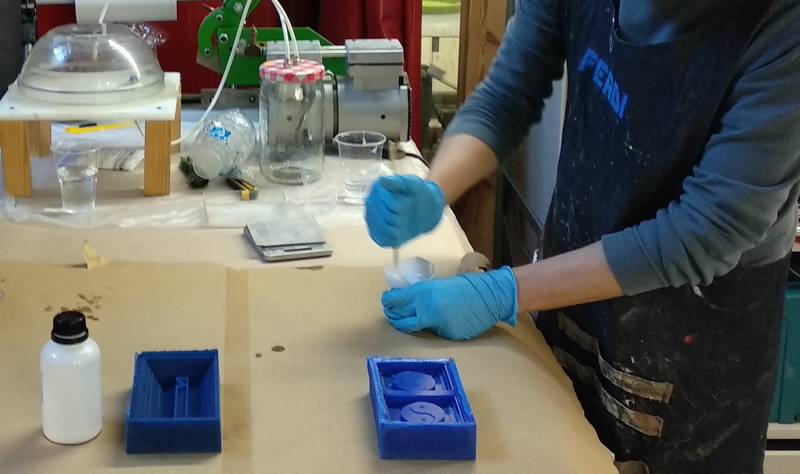
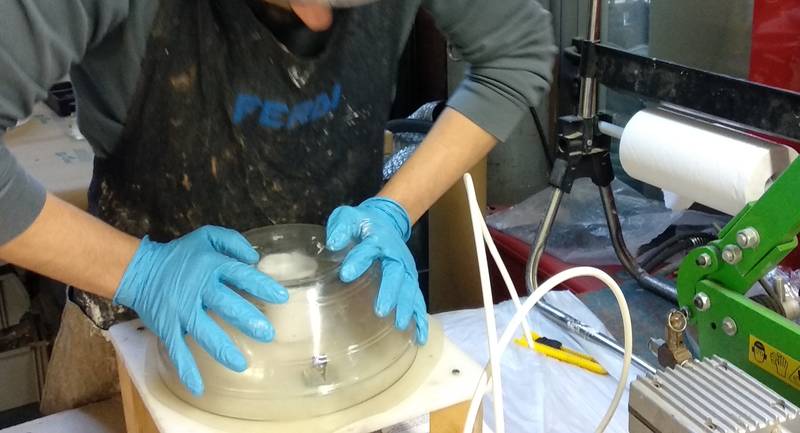
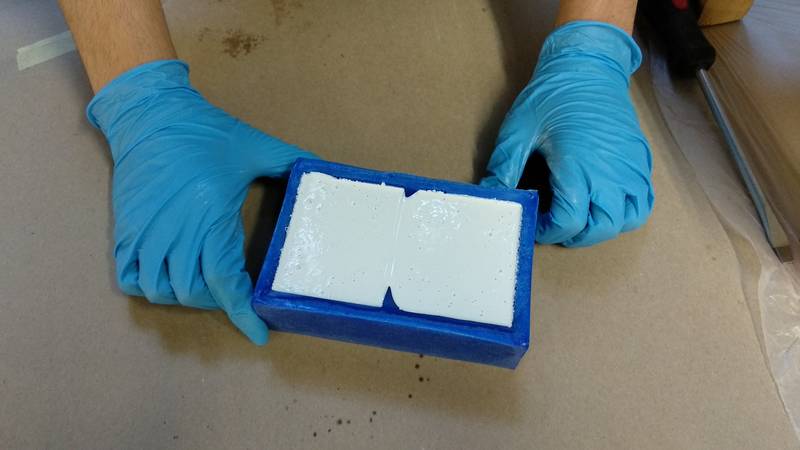
We can then pour the silicone, making a thin thread can help avoiding big bubbles. We can put the mould inside of the vacuum machine again to pull up some of the bubbles.
You can see in this picture the bubbles surfacing after the process in the vacuum machine.
And now we wait for just 14 hours… I’ll leave here a gift song that you can loop in the waiting time :)
Casting the final objects
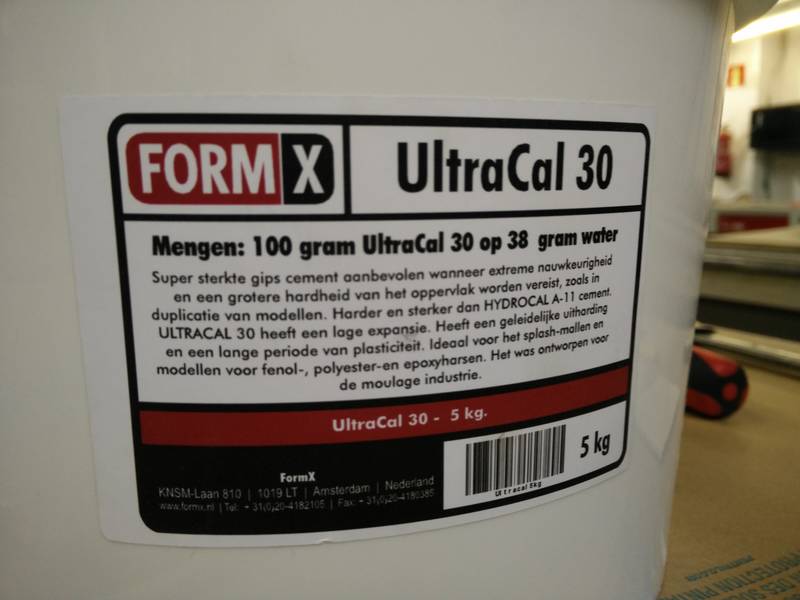
For the first casting process I choose FormX UltraCal 30 material.
UltraCal 30 is a cement product. The preparation is made with a mix of 100/38 parts of cement/water that makes the process simple. There was no indication of “pot time” or “cure time” in the instructions available. To hold the two mould parts together I used clamp and poured the material in the hole.
The first test had disappointing results :(
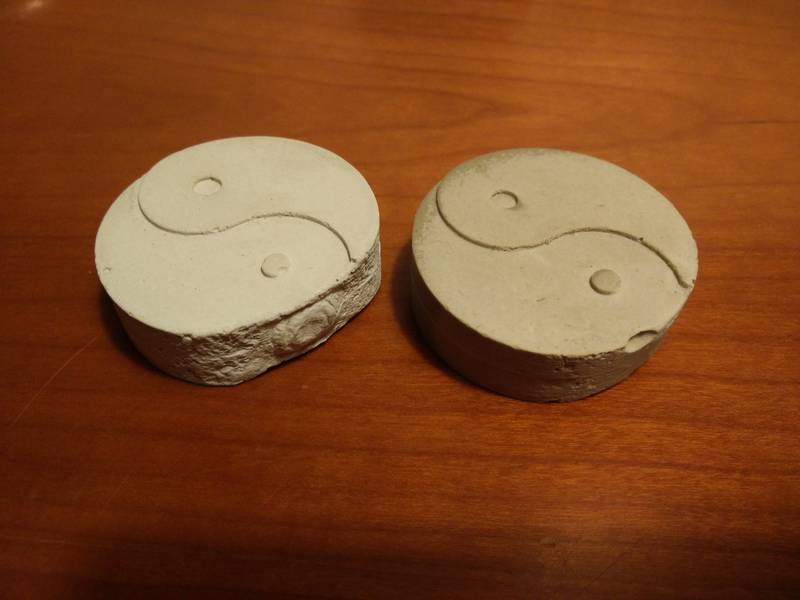
After the pouring the material tends shrink, bubbles come to the top and in particular a part of water separates from the cement leaving an empty hole! Are also visible tiny bubbles in the horizontal sections of the mould (eg. the two tiny dots).
Despite the process issues the resulting material is surprisingly smooth and with clear details.

I repeated the process 2 times. The last time I added a bit less water than what specified in the instructions. Additionally after few minutes from puring I absorbed the layer of water that separated and poured additional material. If I had to redesign the mould for this material I would consider adding an expansion chamber at the top to avoid this problem.
Here is the final result! :)
I later decided to try a different material: I choose for this last process the Smotth-on Sorta Clear-40 material.
Sorta Clear-40 is translucent silicone rubber. The preparation is done mixing Part A and Part B with a 100 / 10 weight ratio.
The “pot time” is 60 minutes and the “cure time” is 16 hours.

Being the material translucent I took extra care with the vacuum machine to remove as much bubbles as possible.
The pouring process with this material was much more difficult (almost impossible). The material is less fluid then the cement and the hole too small.
Additionally with the material the lack of an additional hole for the air to come out blocked the flow. To avoid this issue I created a manual hole in the mould by slightly separating the 2 sides with a stick and allowing air to flow.
After a long weekend of waiting I demounded the cast.
The resulting object had lot of bubbles, but not many more than the glass where the material was mixed.
The details were well captured by the object but the surface was still sticky and touching it left fingerprints. I suspect the composite mix of the two parts was not sufficient.
Lessons learned
- Thinking about positive-negative can be confusing but I realised that with a 3 step process is always good to start with the existing entire object and then split it or apply transformations.
- Creating a parametric 3D model of the wax mould that can be adapted for laying different parts can save time for future moulds.
- In the design process is forgot the 2nd hole for air to get out of the mould during the casting process. I decided to create a checklist for the process to not forget that in the future.
- The pouring holes and expansions chambers can vary a lot based on the material: Non-fluid material require larger mould holes/sink. Materials that shrink-or-expand during the curing time require expansion chambers in the mould.
Casting from a 3D print
As an initial step before casting my “anatomical heart” I decided to take a smaller example to test the same process and material.
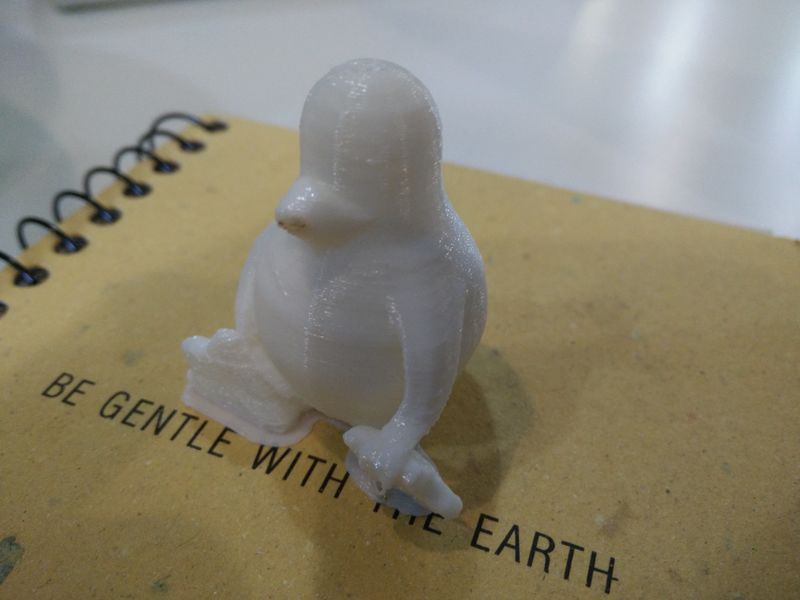
I took the small Tux pengiun that I printed on week5 as starting point (see link).
To improve the object finishing and also to make the demoulding/casting simpler I tried different postprocessing to smooth the model surface.
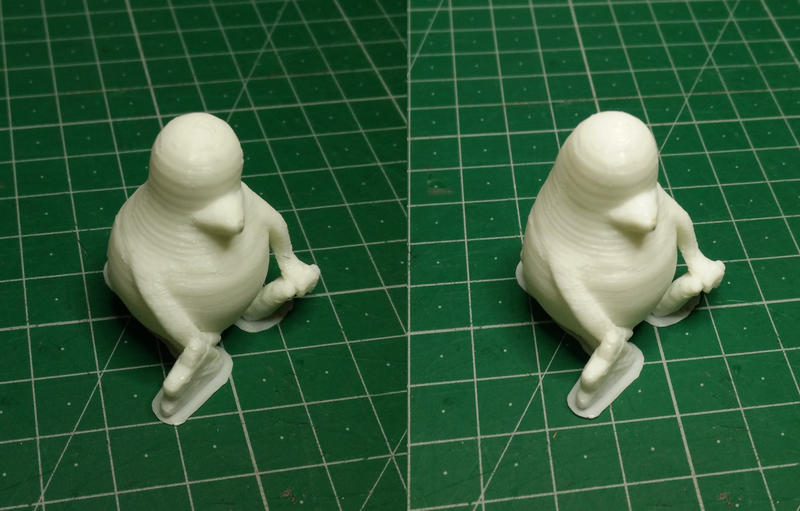
- First I tried with an hairgun to heat the surface. While the surface became slightly smoother the resulting problem is that the model started bending and deforming in few areas.
- Second I tried a smooth-on 3D print coating paint.
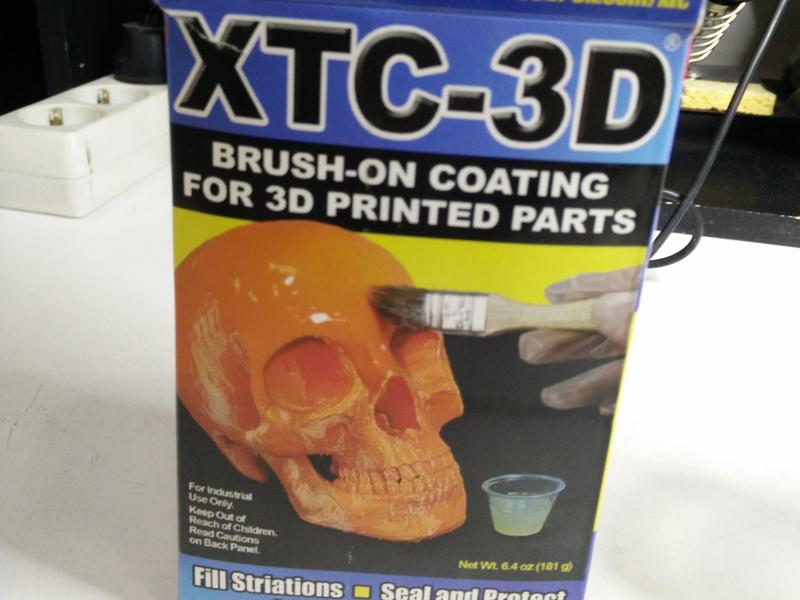 The final result was much better with a smooth ans shiny surface… unfortunately the paint gets solid very quick (be fast!) and you will have to throw away your bush at the end.
Mould creation
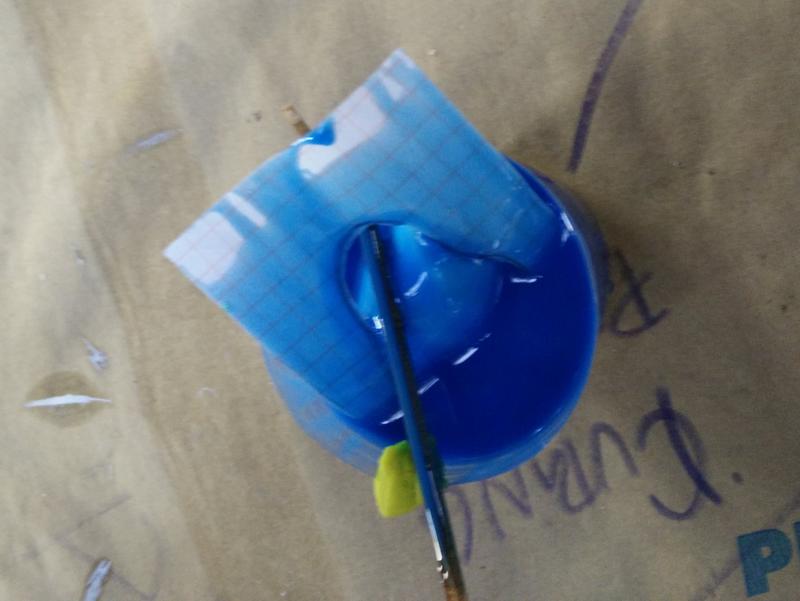
To create the mould I put the object inside a container like a transparent plastic cup.
At the bottom I added a later to keep the object raised from the bottom of the cup so that the silicone mould could go below the object.
Around of the object I put a piece of paper that surround the silouette of the object along the layer that later I’d like to use to open the mould and help the demoulding process.
Here is how the composition looked like :)

The material used for the mould is a “Smmoth-on platinum silicone”, differently from the other standard silicones, the platinum one in compatible with “rubbers” (not silicone!) materials used later in the casting process.
Unfortunately when I started pouring the silicone I realised that the desity of the 3D printed part is lower than the silicone of the mould and the part started floating ![]()
I ended up just putting a weight with cube shape on the object and hoping for the better…
This ended up a lucky combination! Because the hole produced by the object ended up forming a funnel shape that helped the pouring process later on! :)
Here is the demoulding of the object and the mould broken in two parts. 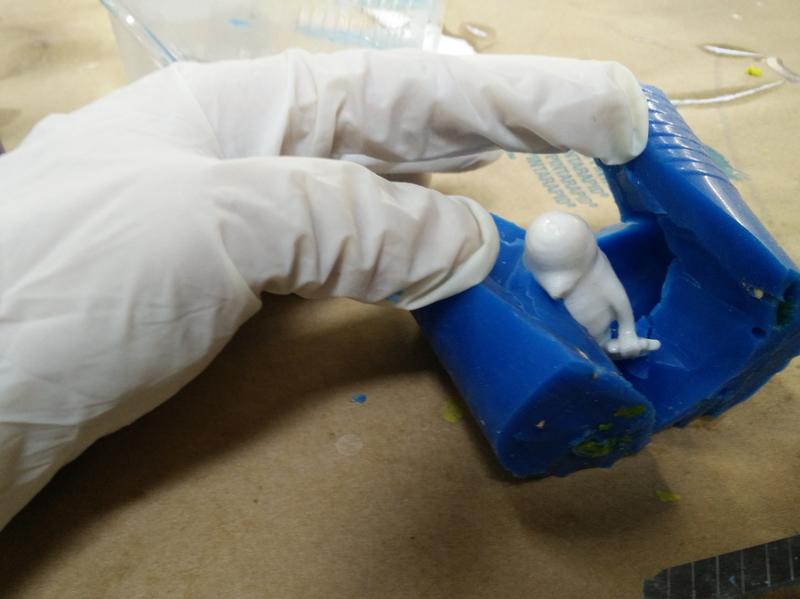

The nice part of breaking the mould in this way is that it is easy to put it perfectly back in place.
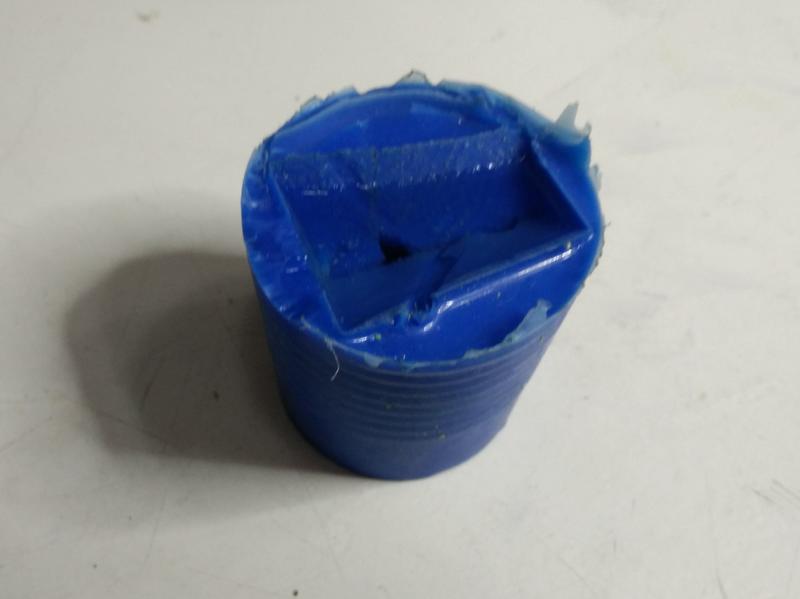
And the final result with the mould back in place in the container that helps it going back to the original shape. 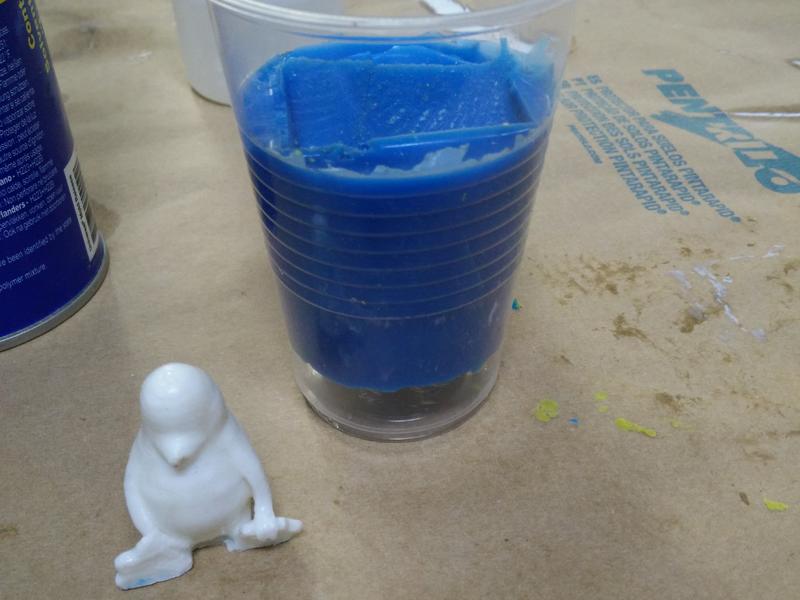
Casting
For the casting I used a “SORTA-Clear 37” translucent silicone rubber.
Is important to note that this rubber has special safety requirements. To handle it is recommended to use a full mask, glasses, gloves and protective long sleeves clothes!
TODO: Add picture of mixing
To prepare the mould I created an extra hole on the top not far away from where material was going to be poured.
After mixing the material for the rubber I poured the material in the mould. Here it accidentally became useful the funnel shape of the weight I put over the printed part.
This rubber material is very fluid and more easy to pour than I was expecting so this process was very easy.
The day after I started the demoulding process. 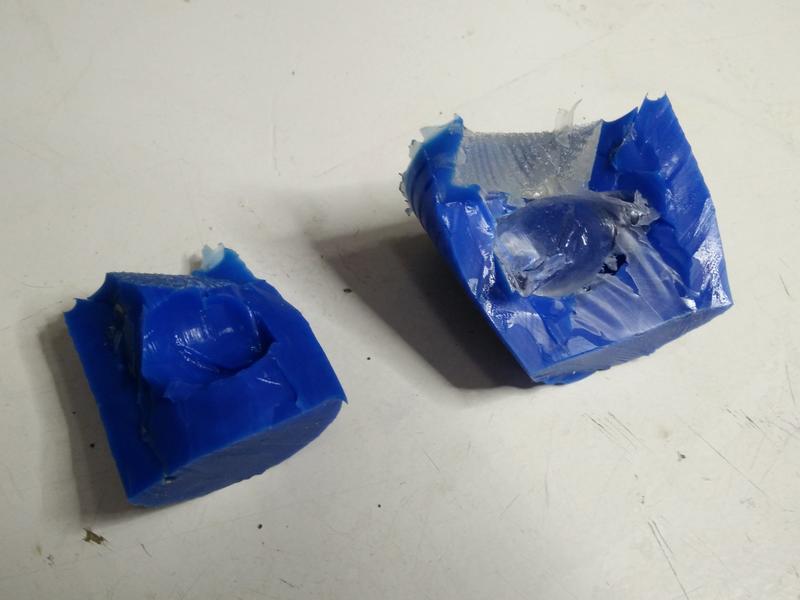
Is interesting to note that the silicone mould and the caster rubber are very sticky to each other. In one of the small details this caused the object to tear apart the mould (see as example between the Tux wing and feet) 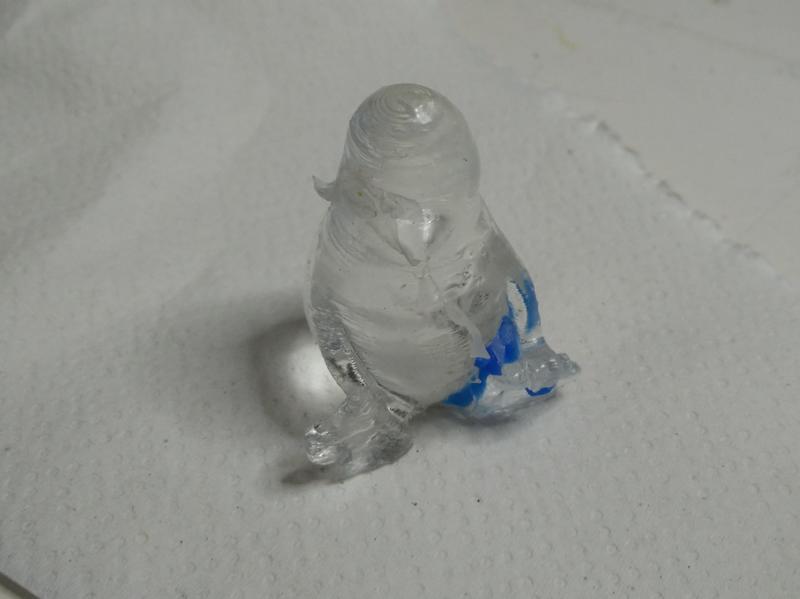
After cleaning this is the final result! 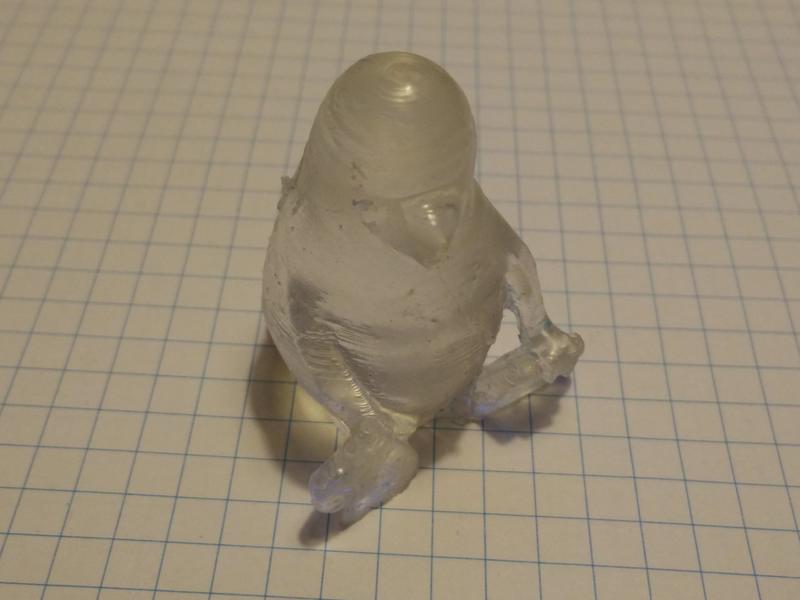
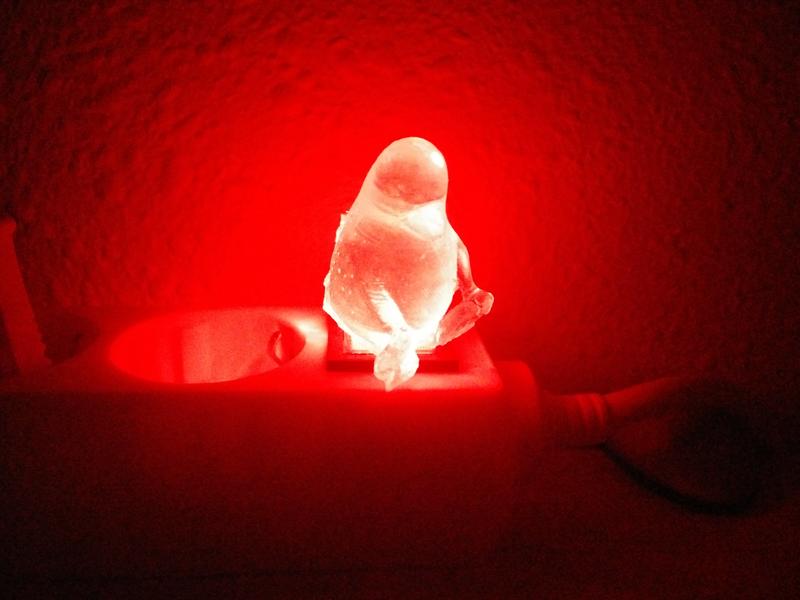
And some special effects with lights! ![]()
Lessons learned
- The mould generation process is much simpler than the above. There is very little complexity in dividing and generating positive/negative moulds.
- The process to smooth the surface of a 3D printed object with heatgun is not effective and can be destructive of the object.
- When using a smooting paint be careful to leave uniform layers of paint with the brush. The paint becomes solid very quickly so be fast! …and oh, you will have to throw away the brush at the end :(
- Remember to check the density of the material compared to the desity of the part: Create an harness that will prevent the part to either sink or float.
- Try some demoulding products to improve the demoulding process of the final part.
A multipart object: anatomical heart
For this casting process I wanted to try producing an anatomical heart that could be used as potential part for my Privacy Seed final project.
Details can be found in the separate page for the final project “casting a heart shape” here
Next steps
- Try building a more complex object with >2 faces
- Try process for casting translucent silicon objects fixing the issues found in this week
- Try process for casting metal objects