Casting a heart shape
In this page I’m going to show the design and creation of and heart anatomical shape for the Privacy Seed project.
The requirements for this object would be to be ideally translucent, to hold the electronics inside with red lights and ideally to be flexible.
When the participant squeezes the heart could be used as switch to turn on the interactions and measurements.
The two options I thought about:
- to directly 3D print the shape with translucent and flexible PLA. 3D printing a translucent but not flexible shape is possible also with our FormLabs resins 3D printer.
- to post-process the printed model, making the surfaces smooth and create a silicone mould & cast.
Shape design
During the moulding and casting week I’m thinking to create a heart mould. Will start from sample shapes available on thingverse (eg. Solid Anatomical Heart by huntgather98 - CC-BY-SA): 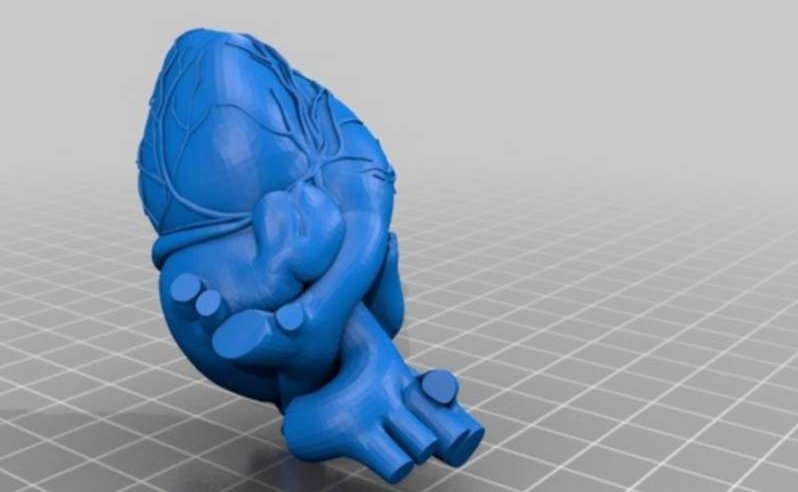
The shape is made of two parts (top & bottom) that can be printed separately and assembled so that can be used as case for the electronics.
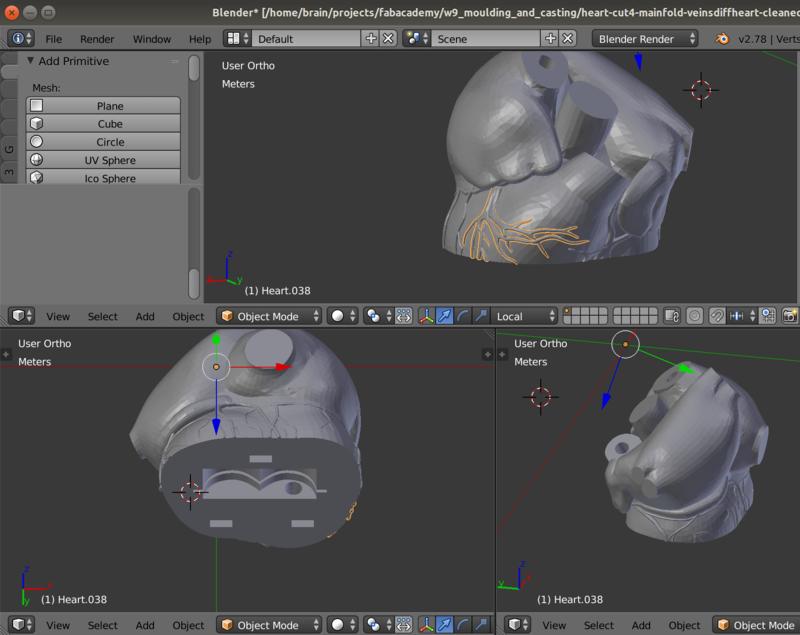
It took me a very long time to fix the holes in the mesh!! :(
In particular I also used this useful technique to make wires holes.

TODO: add .STL files (too big)
3D Printed model
I then 3D printed the shape in a first test sample with standard PLA 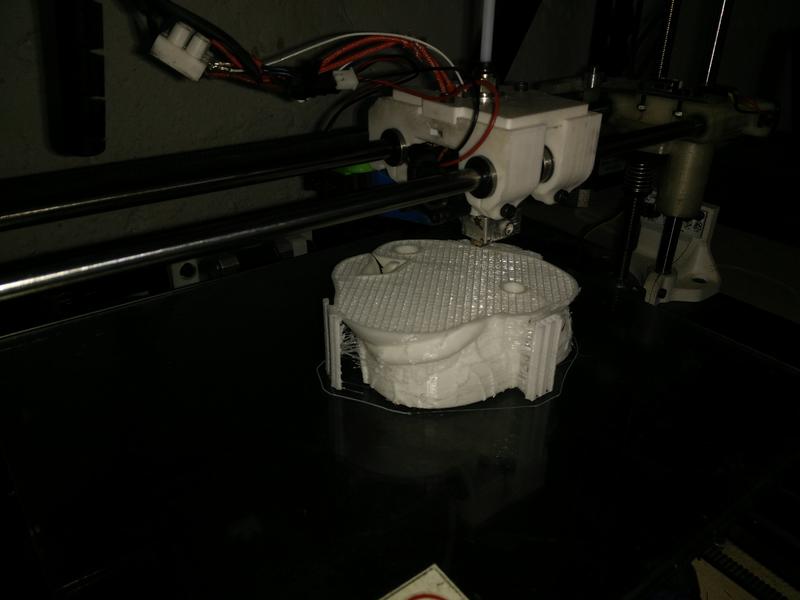
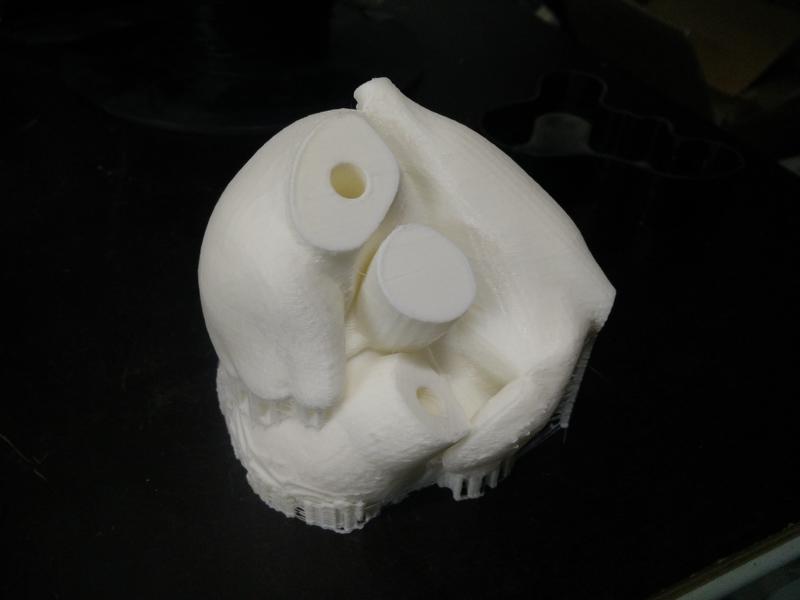
The final result allowed me to already realize some design mistakes: 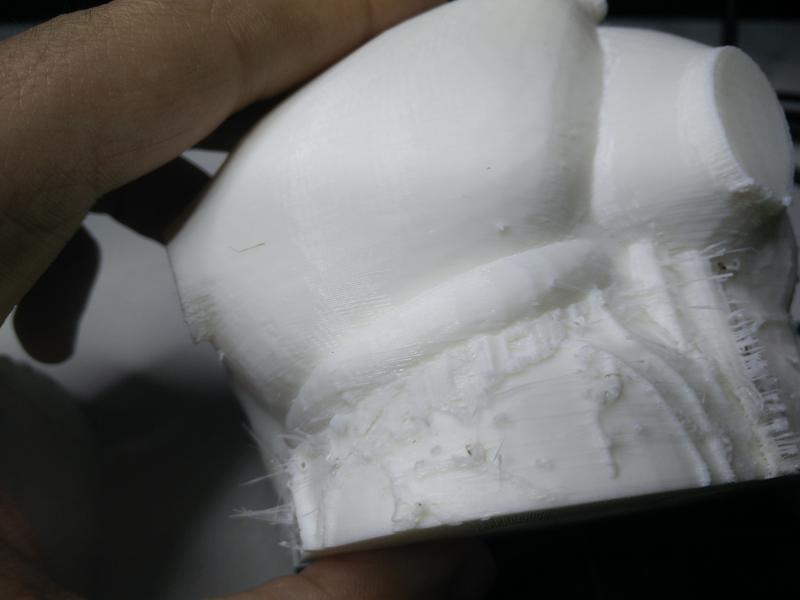
- In few areas of the top side the 3D model could be fixed to avoid the quantity of print support needed.
- In sizing the hole to put electronics inside i forgot to take in account tolerances.
Here is the assembled 3D printed shape: 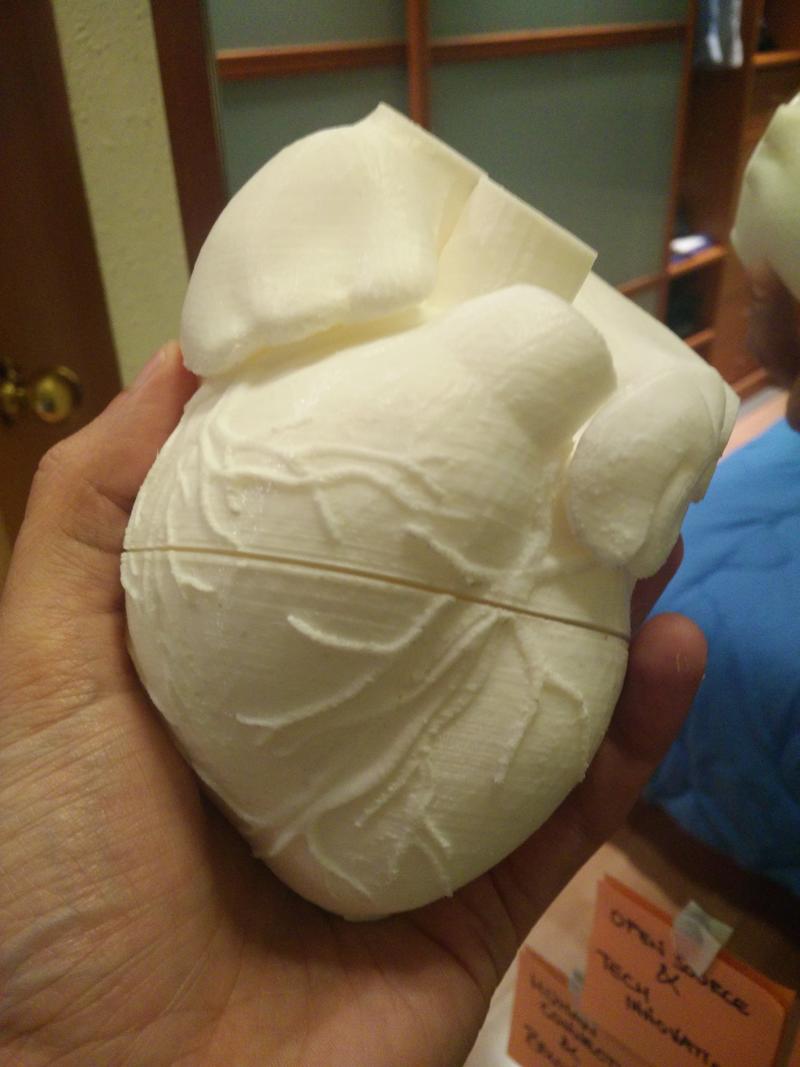
The scale used for printing corresponds to the size of an average real human heart.
It fits easily in one or two heands and shows that can be confortably squeezed and be used as support for the sensor electronics.
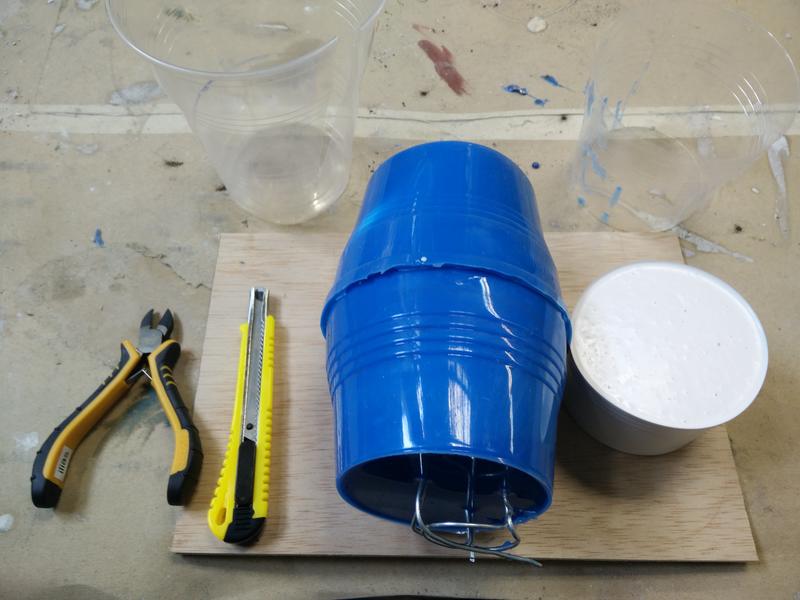
Casting with transparent rubber
I then decides to create a negative mould for my object. I choose the following materials:
- Smooth-On Mold Star 30 rubber (mould)
- Smooth-On SORTA-Clear 37 rubber (cast)
After a first small test I selected but realised that the cast is probably too rigid and too transparent.
I first applied a 3D print coating on my printed object, sealed holes and added a layer to help separating the mould after pouring. 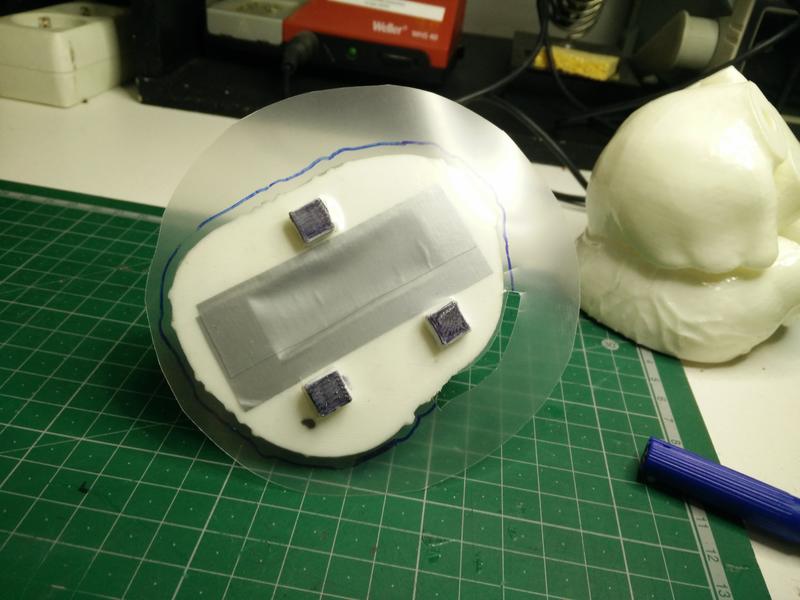
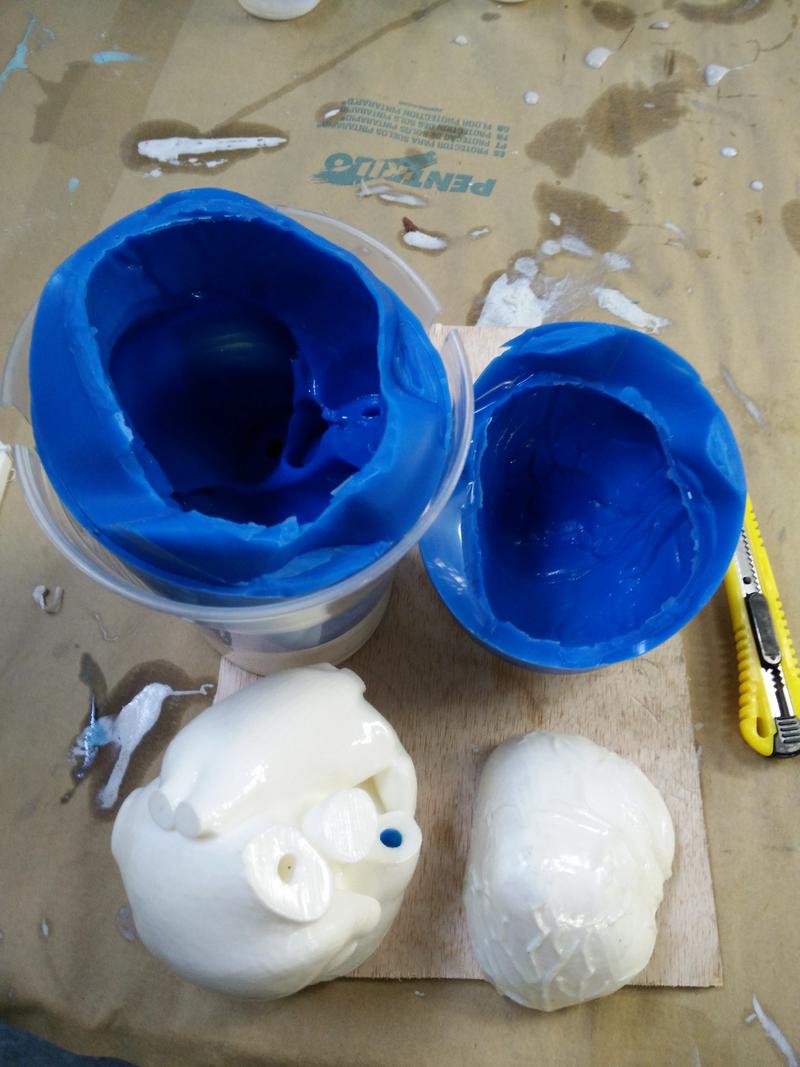
Here the mould pouring: 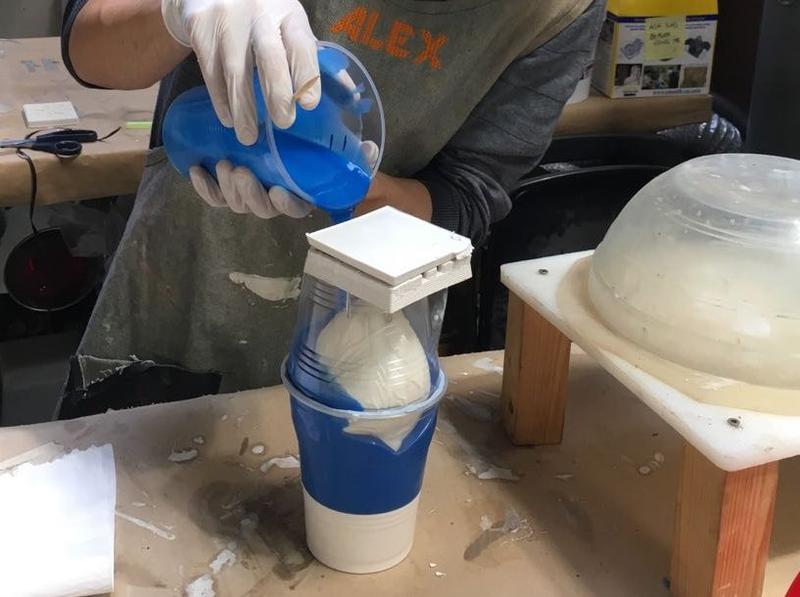
And the result after demoulding:
…WORK IN PROGRESS…
Lessons learned
- Remember to account for tolerances when 3D printing objects (eg. 0.5mm extra).
Next steps
- Fix the 3D design to reduce the amount of support needed.
- Rebuild a print to hole inside of a cast as a case for the electronics board.
- Make a mould with silicone and immersing the 3D printed heart in it.
- Try transparent flex 3D printing material.