Composites Class
12th Worldwide gathering for Fabacademy 2015 feat. prof. Neil Gershenfeld
22 April
7 weeks to Final project
Light, strong structures with fiber composites
As a similar method and outcomes to the ones explored in Molding and casting week this week we were presented with the world of composite materials. The significant difference lays in the physical properties of the mixture of both a fiber and a matrix that result in a highly resistant material. The matrix materials used are good in compression and adding the fibers makes it also resistant in tension.
So having this material's dynamic in mind I got started:
- on design:
Trying to push the technique's advantages and weaknesses to the maximum test my idea for this week's assignment was to design a minimal shaped lounge chair for the exterior terrace of the Beach Lab.
- 1st MODEL: one continuous void loop in shape of a chair (model scale)
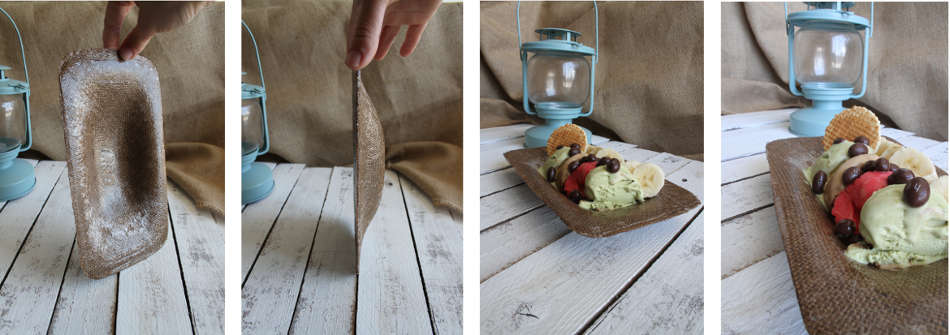
- 2nd MODEL: one simple double curvature surface in shape of Ice cream bowl (real scale)
- Software used - Rhinoceros 5.1
- on mold:
- material - rigid foam board
- Software used for G-code - Cut3D vectric
- CNC machine - Probotix Fireball V90
- Software used cutting CNC - USB controller
- on objects production:
- Burlap natural Fibers + Clear Epoxy Resin (part 1 + part 2)
- Software used - Rhino + Inkscape
- laser-cut object's 4 layers of distinct fiber grid directions
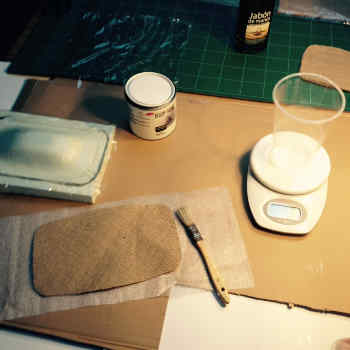
- scale, measurement cup, brush, gloves, mask, surface protection film
- milled mold out of the insulation rigid foam board
- 2 layers of food transparent film previously perforated
- one fabric breather - towel
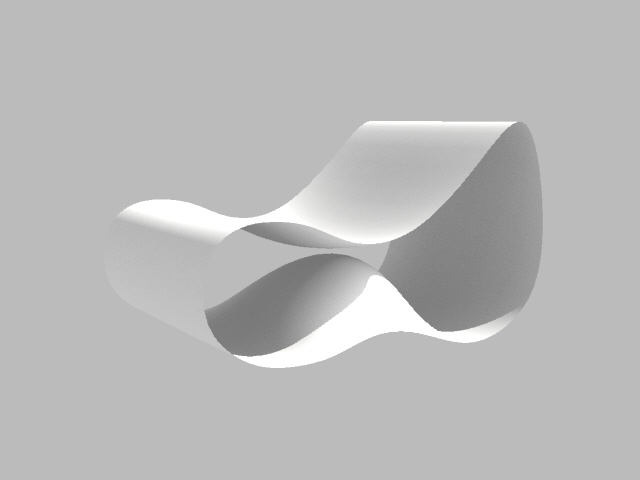
voidloop rhino model
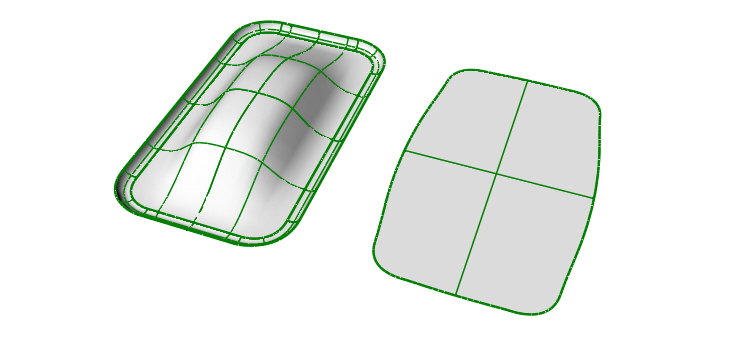
icecream bowl rhino model
For technical reasons our CNC machine kept behaving hectic all week giving us bad unexpected results every time. As clearly it was stated as damaged goods we just tried to work with the best results possible taking into consideration all the set backs. In a summarized way this was this weeks work:
It first started apparently OK, but then we notice that measurements in the drawing and actual milled object were diverse in around 5.5 cm in both x and y axis. That was already wrong but not so problematic so I left it continue for the sake of testing but then the nightmare began.
Machine starts loosing steps and at this point the stepper motors are making really unpleasant noises even worst when the 3 axis are working at the same time.
After that bit of everything happened. It was an exhaustive week for that reason and very time consuming with every bad outcome produced or destroyed in the process.
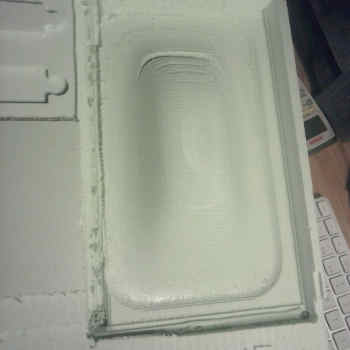
We fixed the over dimensioning by calculating the difference of the results and drawing units by adjusting the software settings on all axis, leaving that problem solved.But then as it kept running the job it was loosing steps several times what ended up in layer sliding in X axis whenever a new value of Z was read in the G-code. Regarding the rough-cut for that the outcome was useless presenting it self as a series of sliding layers overlapping each other, as shown in the picture.
Besides all that Francisco pointed out the need of increasing the speed on the bit tool so it wont cause hairy cuts on the surface while in cut mode. Profiling at this point was impossible to preform since it would block the motors forcing us to emergency stop it.
After many hours of readjusting, the machine even had to be opened. For the purpose of adjusting power and the micro stepping mode some hacking was preformed so overall the general settings would be more accurate. During the open chest surgery the power was readjusted to 4.6 ohms for each stepper board and switches where set.
Still behaving strangely and as time was running out I just decided to run it as good has possible regarding circumstances. So for the roughing path when set to do the raster in both x and y that went OK with the profiling coming out fine until it reached the 4th layer of 6 loosing a step and going over the cutting limits. Repeating the job it went to deep.
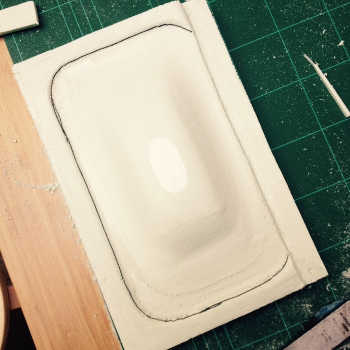
After 4 days producing defected outcomes I could finally have it milling at least a simple double curvature surface just for the sake of this weeks assignment completion. what I did was use the last more or less good rough cut and mill the finish cut directly. As the biggest amount of depth had been removed on the first round of cuts the finish cut ended up offering the solution for the final produced piece. Making it run just y axis direction saved me from anymore troubles. The little adjustments and corrections where then done fine sanding by hand.
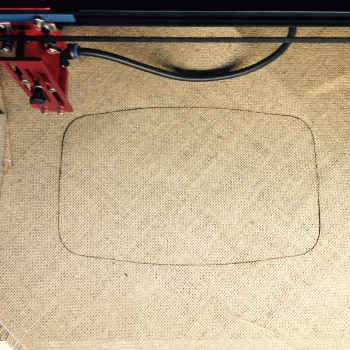
The overlapping of layers was calculated with the squish command in Rhino that assumes your double curvature surface is made out of a floppy material and according to the settings you give it it will calculate the equivalent flattened surface. That way I could cut out the layers with accurate dimensions and extended curvature that for the nature of my objects surface it didn't need any extra cuts for adapting correctly.
Next step was exporting the cut line as vector to .pdf and take it to the laser cutter. For the different layers I used different fibber directions for stronger reinforcement of the piece. The last layer I did I increased its size by 3% so that it could better cover all the surface since layer after layer there is a slight increase of volume.
Next steps where covering the mold with a first layer of food transparent film.
For more adhesion of that first film I covered the mold with a thin layer of glycerin soap and that way It wouldn't move while I was layering the first burlap layer previously laser cut
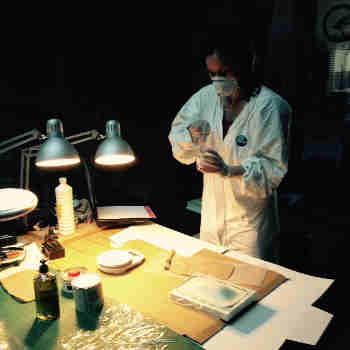
With all the safety measures being respected regarding covering the work area, protection suits and masks as well as using the appropriate measure p/volume needed of epoxy vs material thickness (2 units of PART1 1 for 1 unit of PART2) the rest of the layering went smoothly. One by one the 4 layers of burlap sent down adapting very easily to the curved surface.
It worked nicely only with pressure being done against the mold during layering of each of the 4 layers previously brushed with the epoxy mixture.
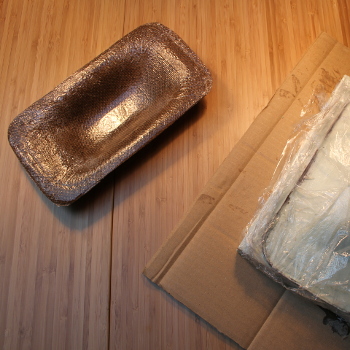
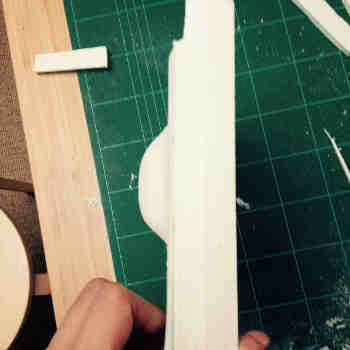
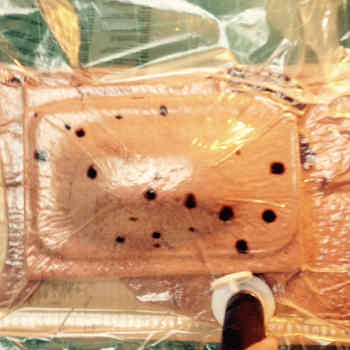
The last layer of food film was applied previously perforated so it could bleed onto the last disposable layer protecting the objects surface from the following procedure - the vacuum bag. While vacuuming the epoxy bled out as expected showing itself as little spot bleeds in the towels surface - as shown in the picture.
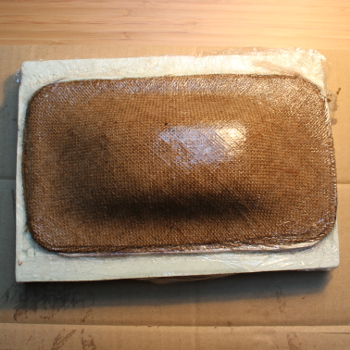
For guarantee I left the soon to be ice-cream bowl curing overnight. The next day it was class so I only had time to remove it from the bag, remove the transparent film and knife cut some excess burlap on the edges.
The initial idea was to finish this with a vinyl cut mask for spray painting decoration and branding. But just couldn't make it during this weeks time frame.
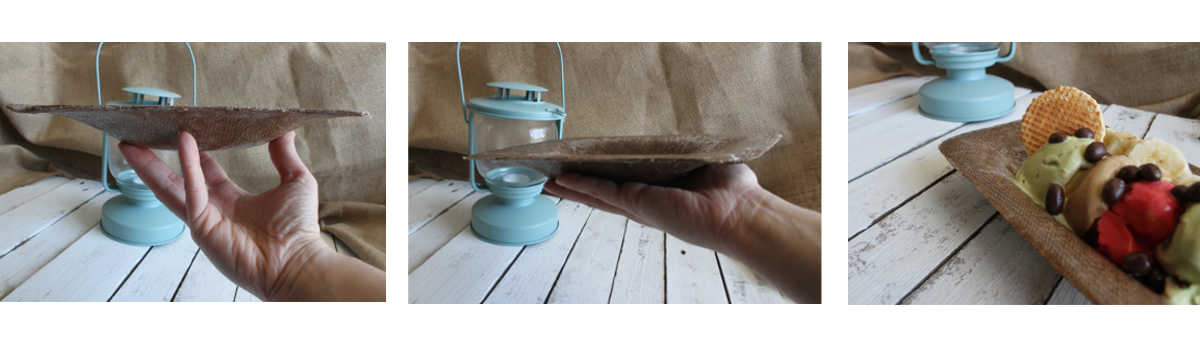
Overall I think that the result came out pretty fine taking into consideration all the events during this week.