week 5
- 3D scanning and printing
- Assignment: design and 3D print an object
This week we have been experiencing scanning tools and 3d printers, with PLA/ABS wire layering process, a Z-Corp powder/glue machine and a stereographic Project machine that work with resin.
First, I've been scanning trying both hard-surfaces and organic shapes. This second appears, with our Kinect/Arduino scanner, to be the ideal type of object. While my Phone was almos invisible to the scanner, the output of a body was well rendered. However the mesh result always needs a post production phase for fixing holes in the surface. I used Sculptris that perfectly works on the organic shapes.

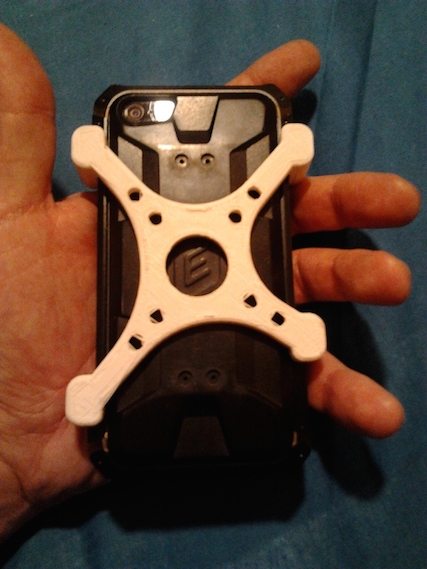
As my idea was to create a custom mount for my mobile case, scanning resulted to be useless. I had to take manually the measurements of the case in oreder to build the mount "around" it.
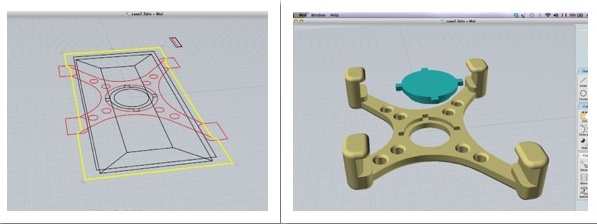
 Then I created in Moi 3D the shapes into a solid trying to be minimalist in the amount of material to use.
Regarding the 3D printing technology, I decised not to go with powder layering (which by the way offers the chance to work better with negative angles) as I need a structure strenght that the glue (which hold the powder together) can't satisfy.
 Material is always the main issue.
The entire designing workflow depends on this decision and I would check a little more the extrusion of liquid polymers.
Powder is for me very interesting if applied to metals, with no glue but a melting process.
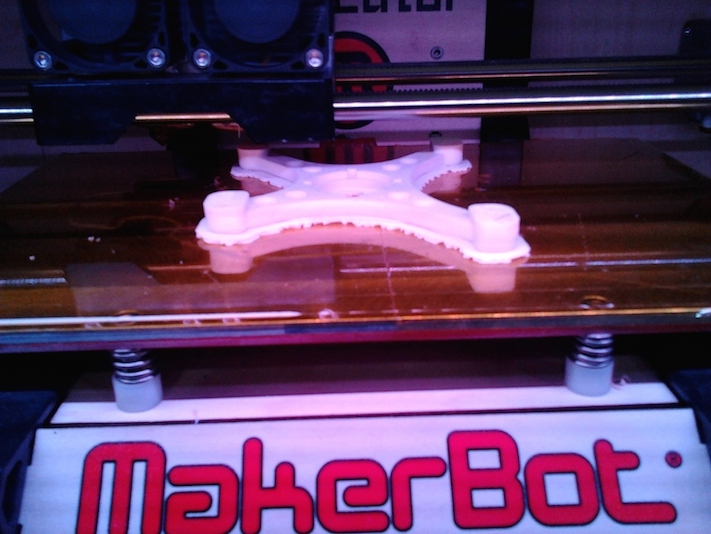
The printing operations were a little hard as a couple of times the Makerbot just printed the base. With the shape of the "X”!
Temperature of both platform of the 3d printer and the one of the nozzle where the PLa filament passes through, is basic for a good result.
After the designing it is to pass on MakeWare app to transform it in the proper format the machine uses for setting its pattern of building.
55 minutes and this is the new multitool base mount.
cell_mount.stl

