
For Composites Week, I decided to make a simple cylindrical planter using burlap and epoxy. The shape of the model was fairly simple to figure out once I determined what size I wanted my planter. I opted for an 8-inch diameter, 8-inch high planter that will hopefully hold some fresh herbs and can site on my bench that I made during Week 8:Computer Controlled Machining.
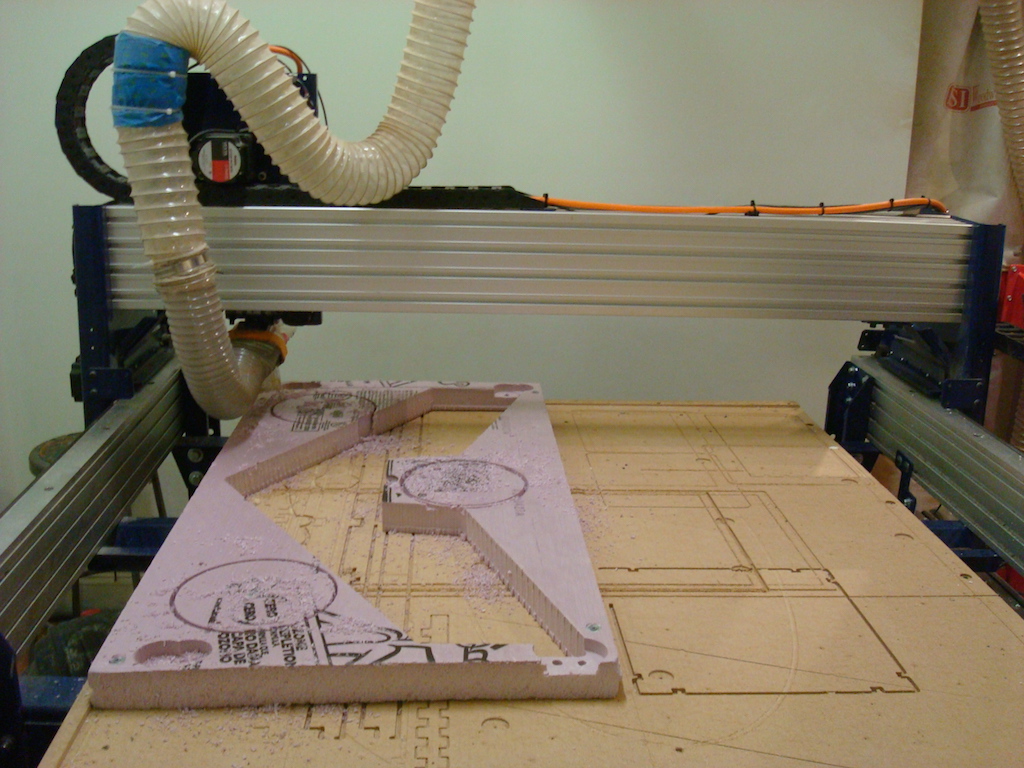
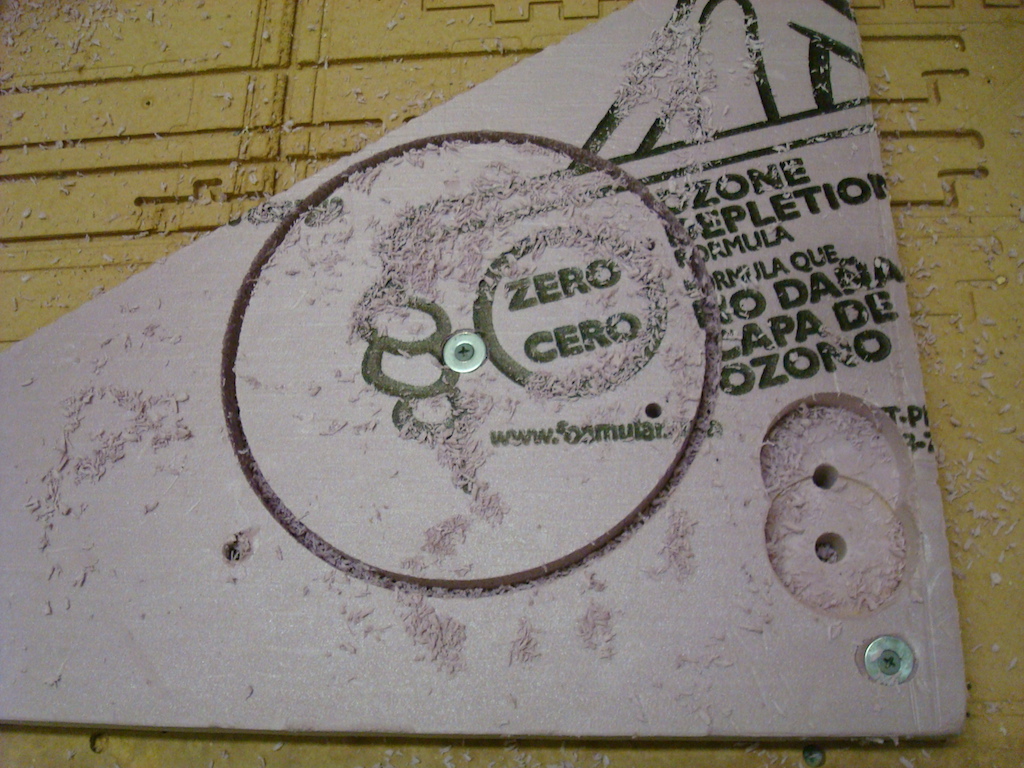
Using the ShopBot, I milled out 5 disks. I remembered that I needed to stabilize the pieces so I screwed them down with a washer to keep from destroying the foam. Trying to be conscious of materials, I cut 3 circles from a previously used board before moving on to a new piece.

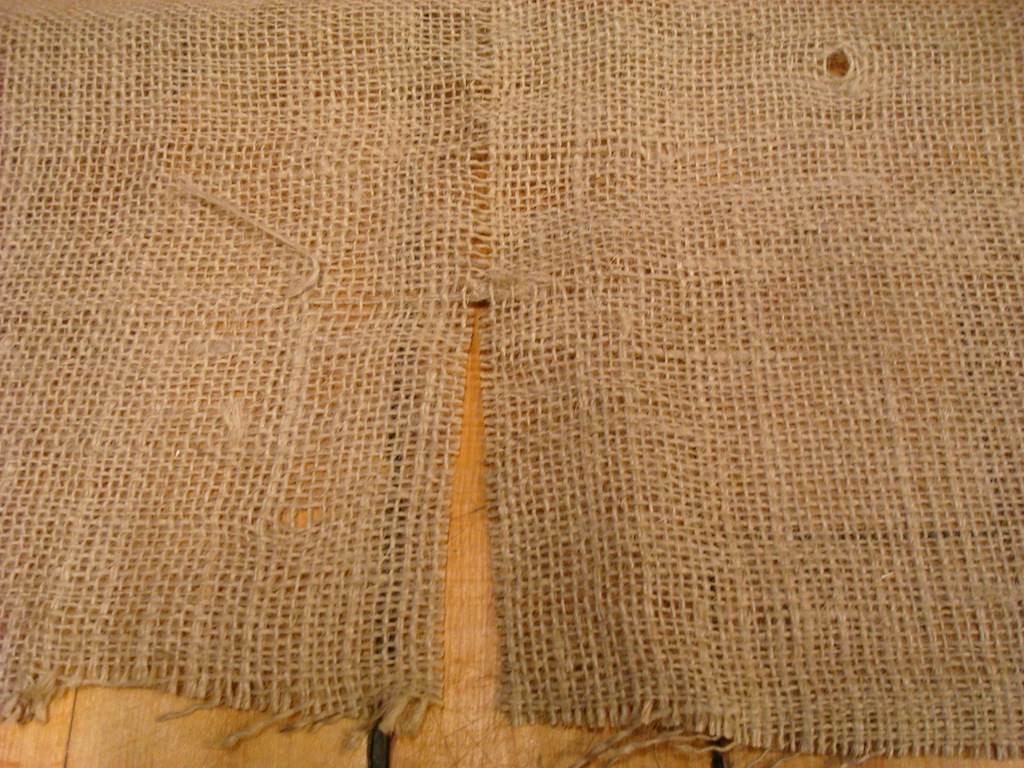
I measured and cut out my burlap pieces. To ensure I cut straight lines, I pulled out one string and was able to follow the void left behind.
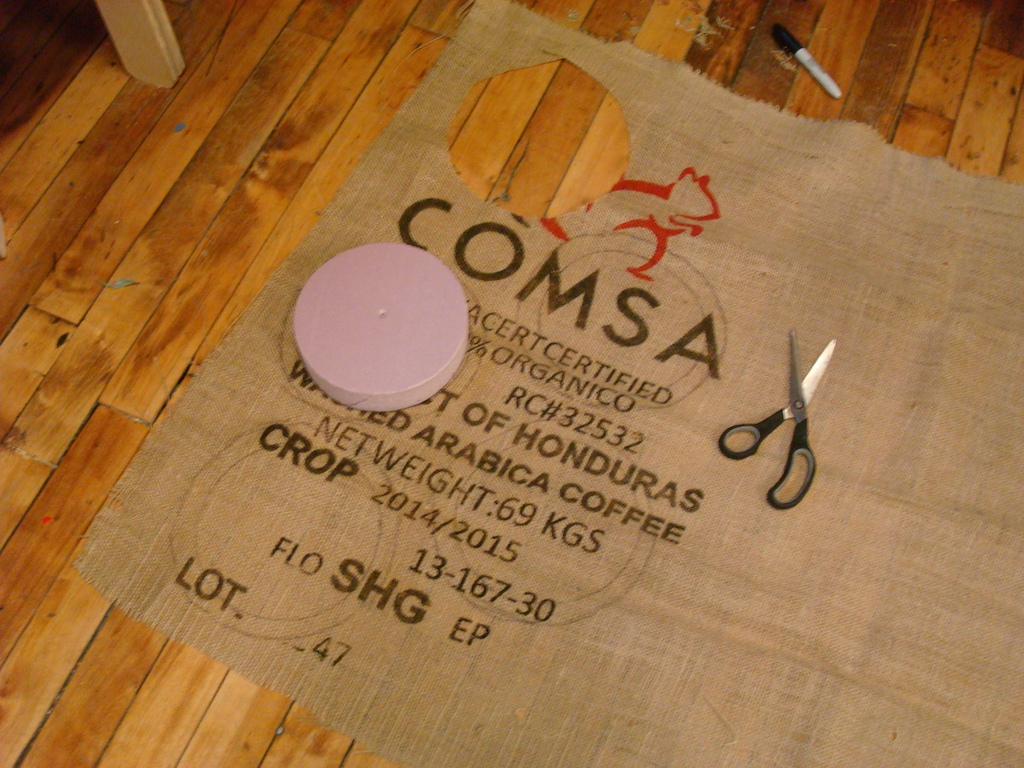

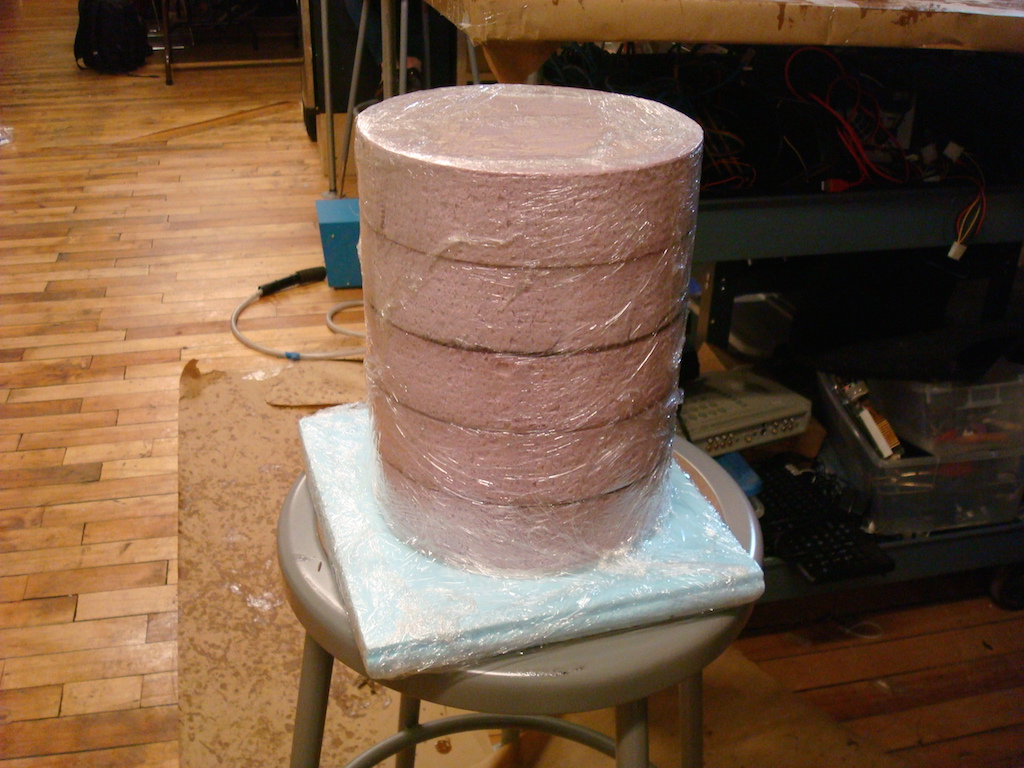
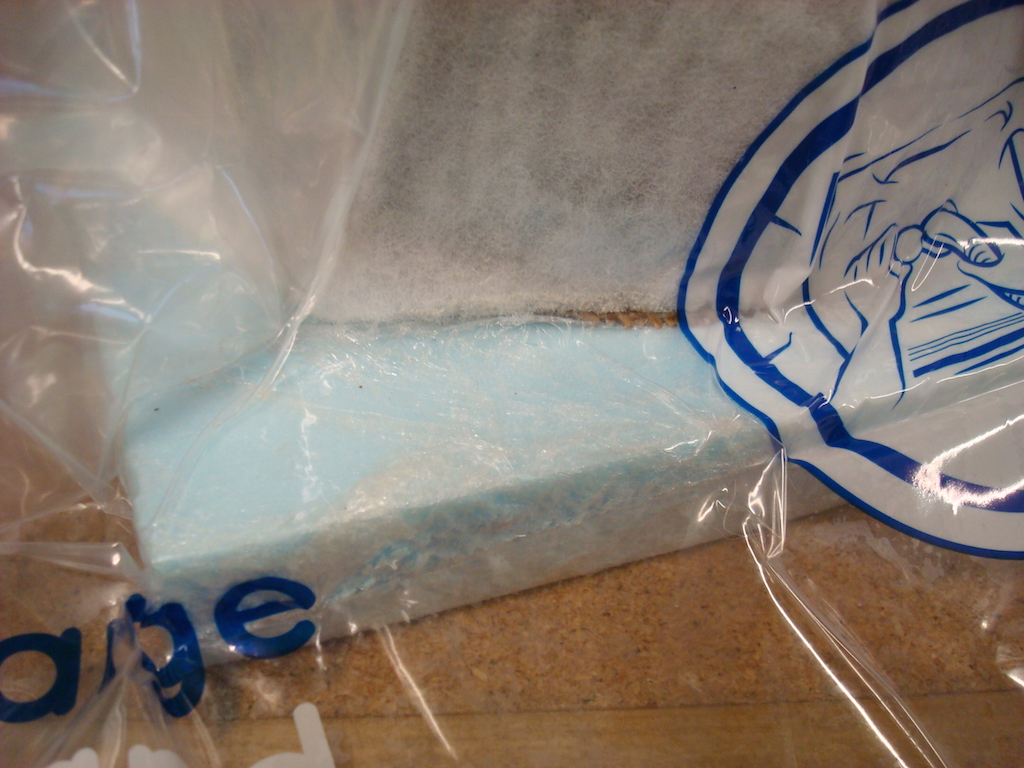
I used 2-inch thick pink foam board insulation and a foam insulation base. Since I wanted the planter to be 8 inches tall, I chose to build up my mold from 5 layers of the pink foam board, making the mold a total of 10-inches tall. I wanted to give myself a little wiggle room for mitigating mistakes. I hot-glued the circle pieces together to make my form, which looked like a pink layer cake. I covered the entire thing with plastic wrap as the release.
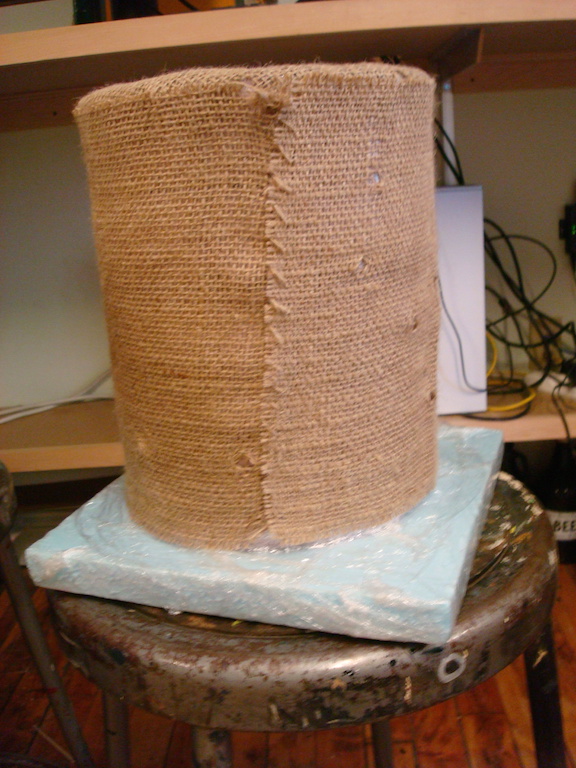
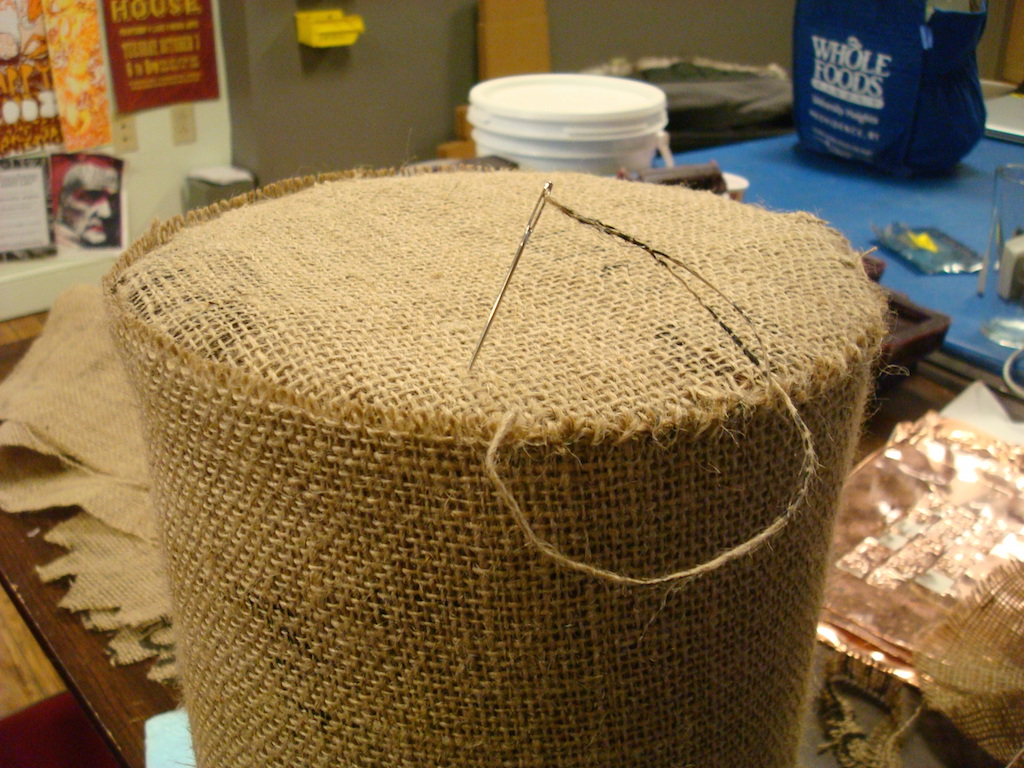
I struggled a bit getting the burlap to stick to the mold shape while I built up the layers. Ultimately, I decided to sew the pieces together with burlap strings and that worked well. This allowed me to build up four layers of burlap.
Once the layers were sewn together, I moved forward with the AeroMarine Epoxy Resin and Hardener. I mixed them together according to the insturctions - 1 part hardener to 2 parts resin. I mixed this together and massaged the mixture to help the mixture saturate all four layers. I also used a scraper to ensure that an even application was applied to the entire form. Once I was confident that the epoxy had penetrated all the layers, I wrapped it in plastic wrap. I used the spiked roller to create protrusions in the plastic wrap; this allows for excess epoxy to bleed out. Then, I covered the form in a breather layer and put it in the space bag. I used a vacuum to remove the air from the bag and left it to cure.


The epoxy is curing! I have to leave it for 24 hours and will proceed tomorrow.
001_Principles + Project Management
003_Computer-Controlled Cutting
008_Computer-Controlled Machining
013_Networking + Communications
014_Mechanical Design + Machine Design
015_Interface + Application Programming
016_Applications + Implications
Jessica Metz Fab Academy 2015