Class Assignment #15
(App/Imp)lications
Final Project Prep

(App/Imp)lications
Final Project Prep

Of great importance in any home is ventilation and air movement. Whether in the bathroom, kitchen, or any room with plants, moving air can be instrumental in preventing mold and improving overall air quality.
i will make a mini-fan that can sit in a bathroom, kitchen counter corner, or on a shelf with plants, that will turn on automatically according to its reading of ambient temperature and humidity.
the next question for me is: what is the most aerodynamic fan shape? ie. most bang for your size "bucks" ... i want to make a fan with a really tiny motor... so if i were to make fan blades out of something really light what would the ideal shape be?
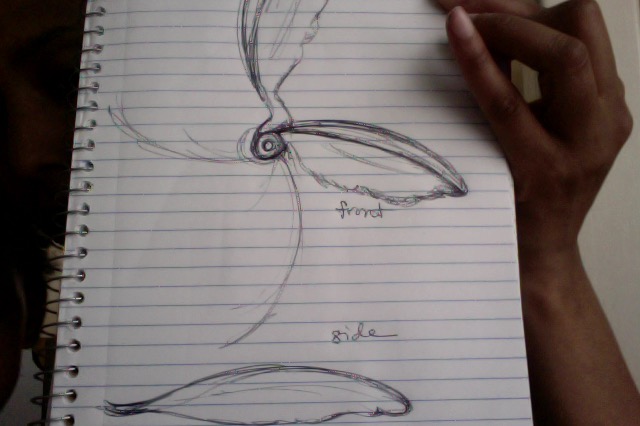
after some research i am thinking a whale-fin or leaf-of-life shaped blade is the one i will start with.

i am aware that temperature-sensitive automatic fans exists inside computers and machines, however on a larger, more humanoid-personal scale i found only automatic fans that sense when a person is present as the trigger to come on... not the temperature and humidity have reached a threshold like the ones below.

2 networked PCBs + components
motor
power supply
fan blades
cardboard or wood casing
and tutorials like this one.
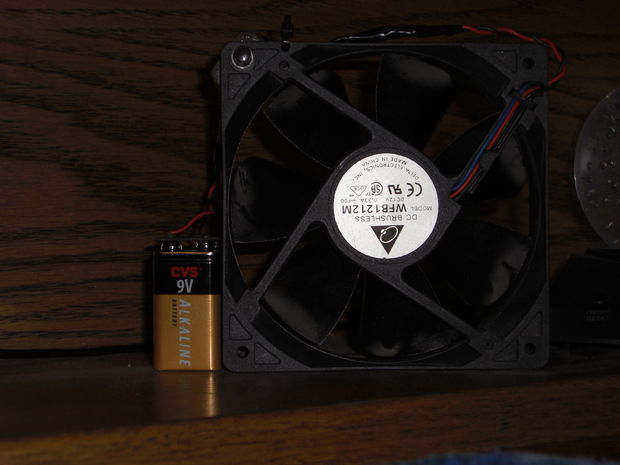
example of fairly large (small fan) running on 12 volts. i plan to use (2) 9-volt in a series as the power supply for my fan.
parts + processes::
2-D + 3-D Design of casing, blades, and PCBs
3-D Printing for blades
large scale machining for casing press fit set
milling + hand soldering for creating PCB
arduino environment for programming
tasks + timeline::
*now* find all parts including motor etc. + design casing
6/3 design and cut blades
6/4 create press fit kit for casing
6/5 design, mill, stuff boards
6/8 programming
6/9 test + tweak
The next step would be to run this on rechargeable batteries which power source is solar, that way this small device will be an example of an off-grid solution for the home. i found this example of a pocket solar 9-volt battery charger on solarhome.org.

i was stuck on the idea of a heating element for a while... until i realized how much power is used in electric heating elements. after researching heating elements, i decided to go in the opposite direction and do a cooling element. although i recognize a huge chunk of my carbon foot print is utilized in heating, i realize that this can be addressed outside the context of this class with an integrated approach of insulation, air sealing, and alternative heating models... and we'll stick to building this fan for now.
PROGRESS as of 6/3::
i ended up starting with a few false notions... 1. that input and output boards could be easily linked and communicate with each other, 2. that alkaline 9volt batteries could work in a series to provide 12 volts safely, 3. that a larger DC motor would work from the H-bride board built for a smaller DC motor.
glad i decided to start with the bits-side of things, as i am more inclined on the atoms side of life. if i can get the network working and the motor to run based on the temperature reading- the blades and casing are a piece of cake.
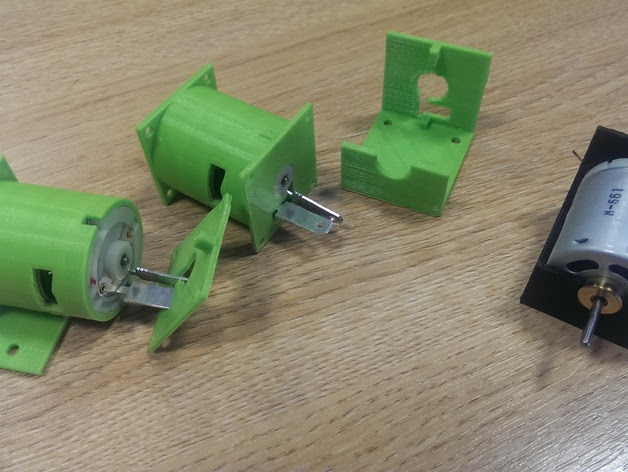
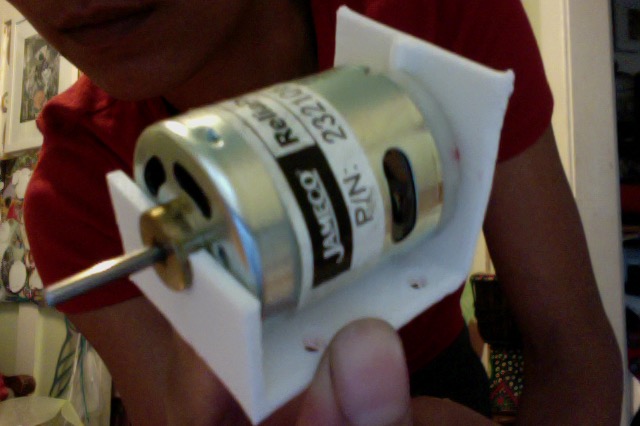
i downloaded makerbot files from thingiverse.com for a motor casing (click above photo with green for files) and then printed one so that it would not spin away from me once i got it going.
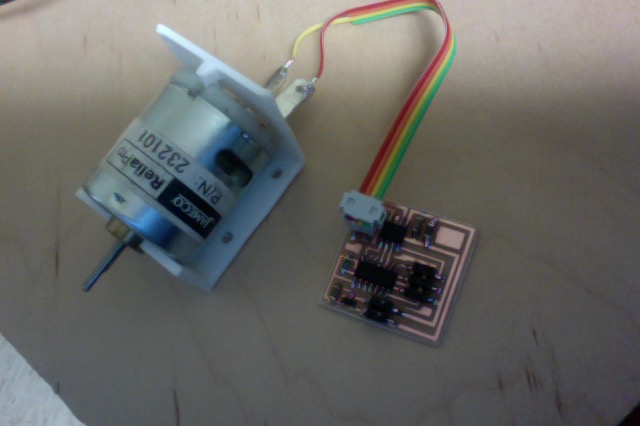
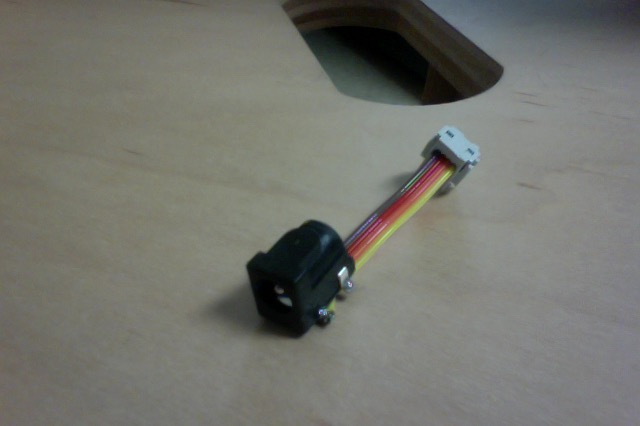
realized that the motor i have is larger than the example, so i made this to connect to 12 volt power supply from wall... decided to keep as 4-pin header so later i can connect with a 12 volt rechargeable battery- so realize the dream of a fan run off grid since the battery charger will be solar.
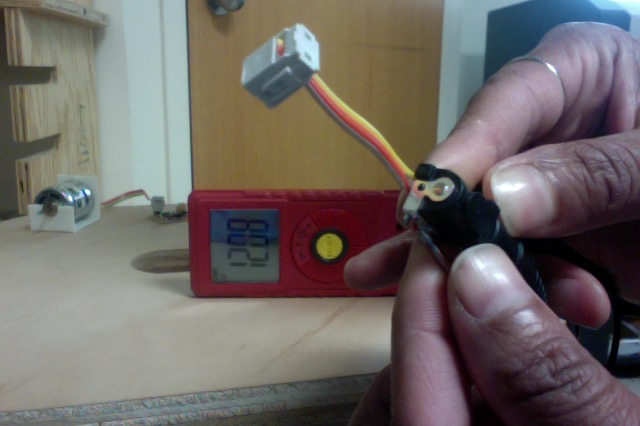
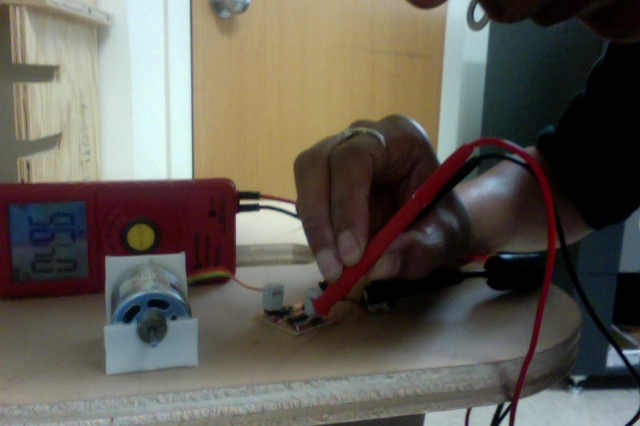
then connected to board and tested the spot after the regulator to see if it was modulating the voltage down to 5 volts. great! it the powr is flowing! ... after programming and many hours of testing we realized the motor needed a different program, and set up if its not going to be modulated, ie come on at a certain temperature, and then go off...


so i decided to make the ap network boards and then a seperate board to control the fan directly with a MOSFET and 6-pin connection, and use my thermistor board as input.
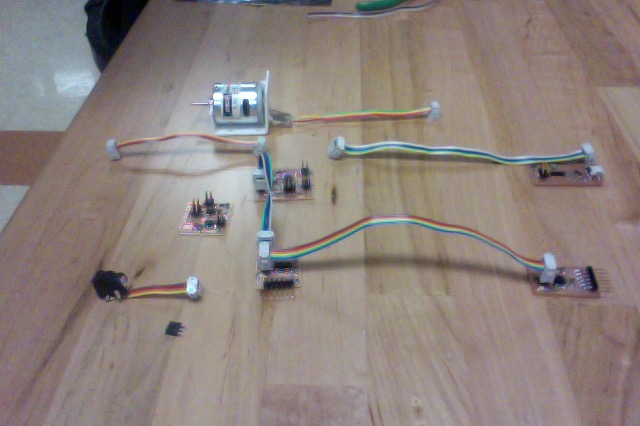
so far, here is what i have, a network waiting to be connected... planning to complete and program today, and get started on the blades and casing on Friday.

