Fab-Bs Project
Working with bees
This week goal is to 3d print something interacting with bees. The idea is to create “design-seeds” to put in GreenFabLab's beehives and let the bees complete them.
3d scanning investigation
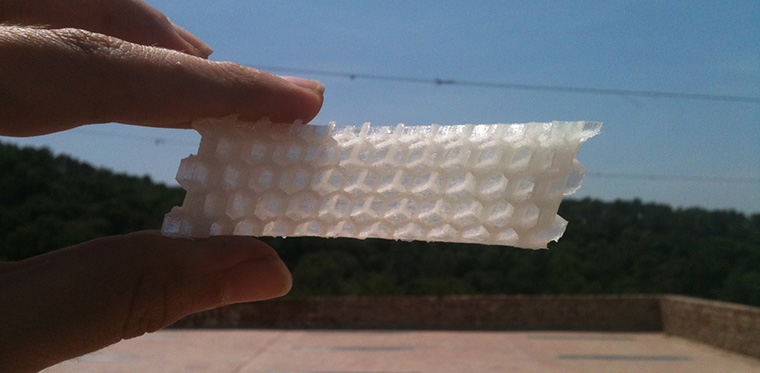
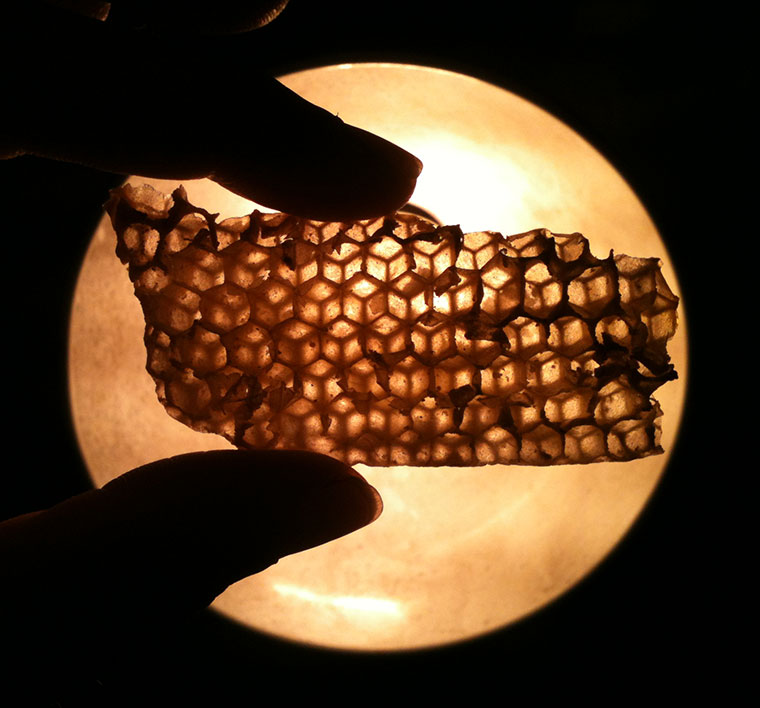
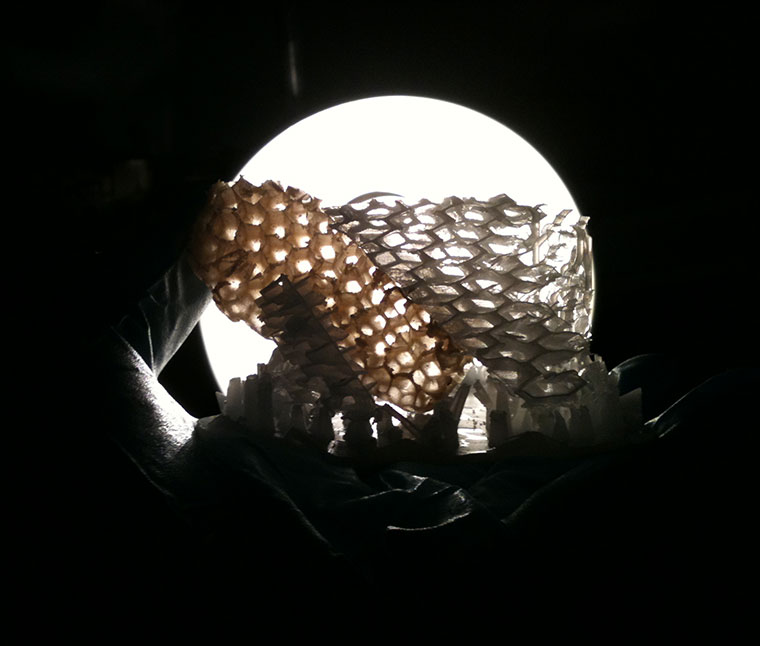
I started studying the way of bee's fabrication. First of all I scanned a piece of honeycomb using the Roland Modela MDX20 scanning tool. Due to the extraordinary thickness of the wax structure I set the Picxa software at is maximum resolution: x, y scan pitch 0,05 mm, and z at 5mm to scan just one of the two faces of the honeycomb structure. I take care to scan a border potion in order to have a boundary reference to superpose the second face scan. A portion of 15 X 25 mm took 20 hours of scan. So I choose to not scan the back side and use the surface already scanned as reference for a parametric tassellation.

3d scanning investigation
I started studying the way of bee's fabrication. First of all I scanned a piece of honeycomb using the Roland Modela MDX20 scanning tool. Due to the extraordinary thickness of the wax structure I set the Picxa software at is maximum resolution: x, y scan pitch 0,05 mm, and z at 5mm to scan just one of the two faces of the honeycomb structure. I take care to scan a border potion in order to have a boundary reference to superpose the second face scan. A portion of 15 X 25 mm took 20 hours of scan. So I choose to not scan the back side and use the surface already scanned as reference for a parametric tassellation.
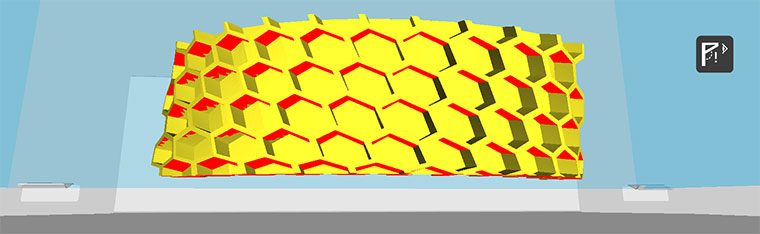
Honeycomb's design
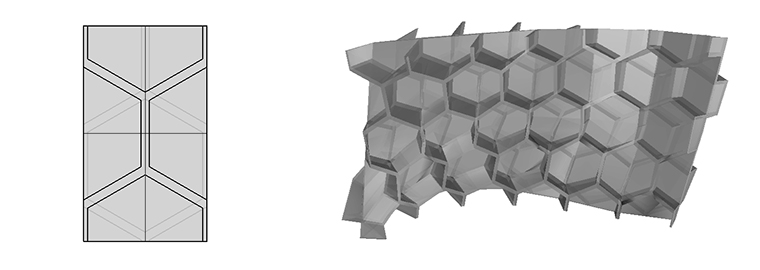
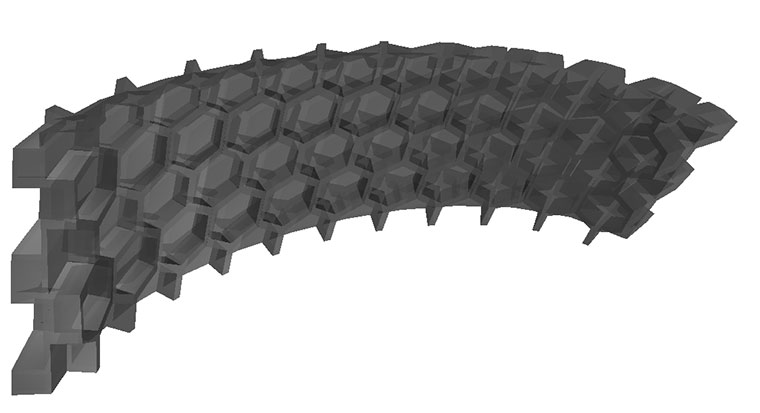
The design is based on a 3d tessellation. Based on two module. The first trying to reproduce the honeycomb in a mimetic way. The second is a net based on the honeycomb but equivalent at two modules of the first one, that is going to be the structure suggesting to the bees the new shape to build on. The paneling tessellation gave me several problems at the moment to join all the separated closed modules in an all inclusive closed mesh. By the way I choose to make a 3d printing test of a small piece of pattern to verify the thicknesses being working in the minimum resolution supporter.
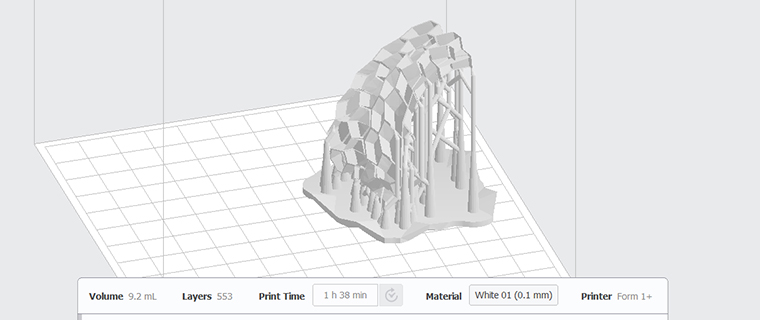
3D printing test1
I choose to print with a Form Lab 3d SL 3d printer because a needed a really high resolution and in order to have a reference of wax printing technologies. I was printing with withe resin setting supports at the minimum aloud from the machine. The result was quite satisfactory but a little bit over scaled compared with the real honeycomb.
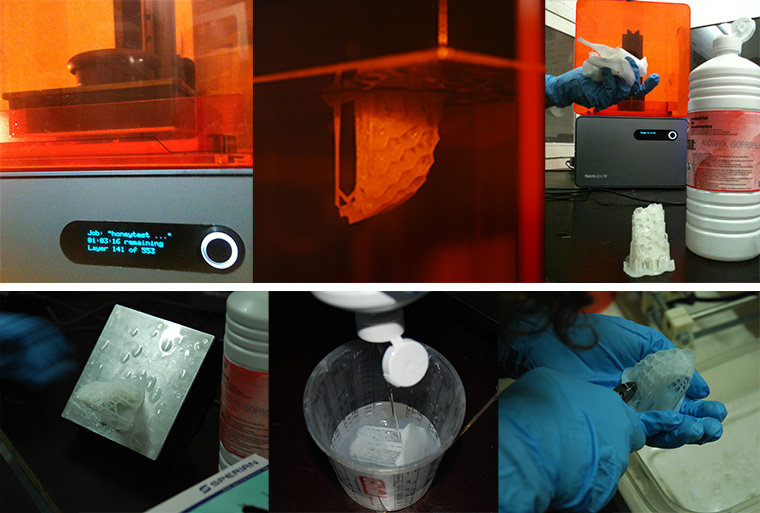

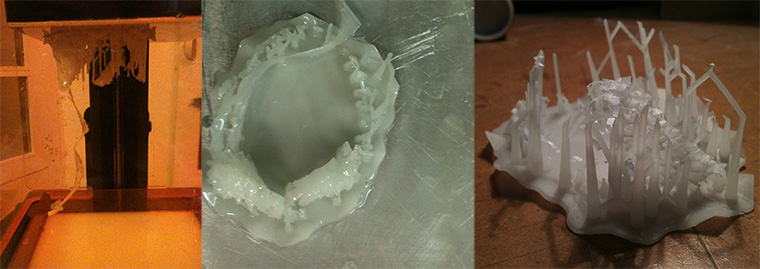
In the next printing the design has been scaled at 50%. but that gave some trouble...

work in progress...
Bee-back diaries
Some weeks after people working in Fab Lab Barcelona found that the problem that withe resine that was making trouble with any kind of print.
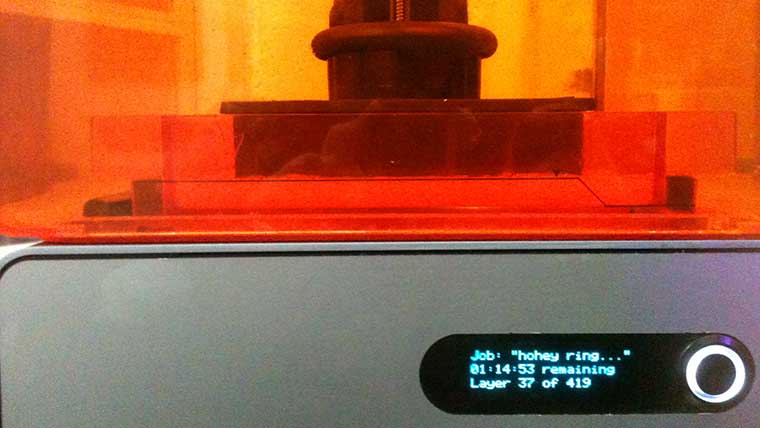
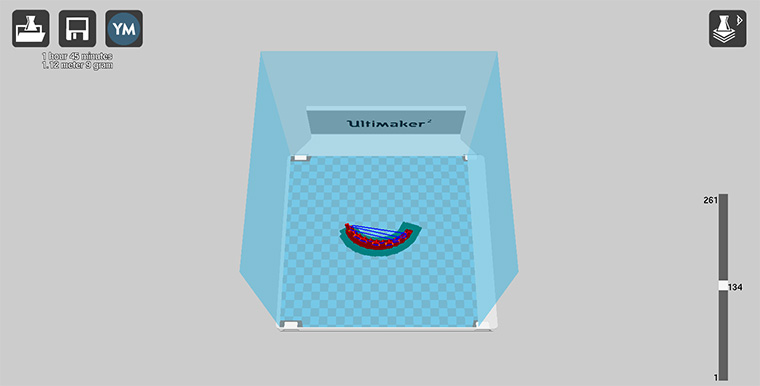
By the way a new Ultimaker 2 3d printer was coming to the Green Fab Lab and I get completely in make it a friends. Starting from make a new honey comb design easily compatible with the extrusion 3d print. The new design is mostly vertical with minimum thickness of 1mm and a middle structural wall. Reducing the curvature was easier for rhino to make it solid, so the resulting stl file is one single polysurface.
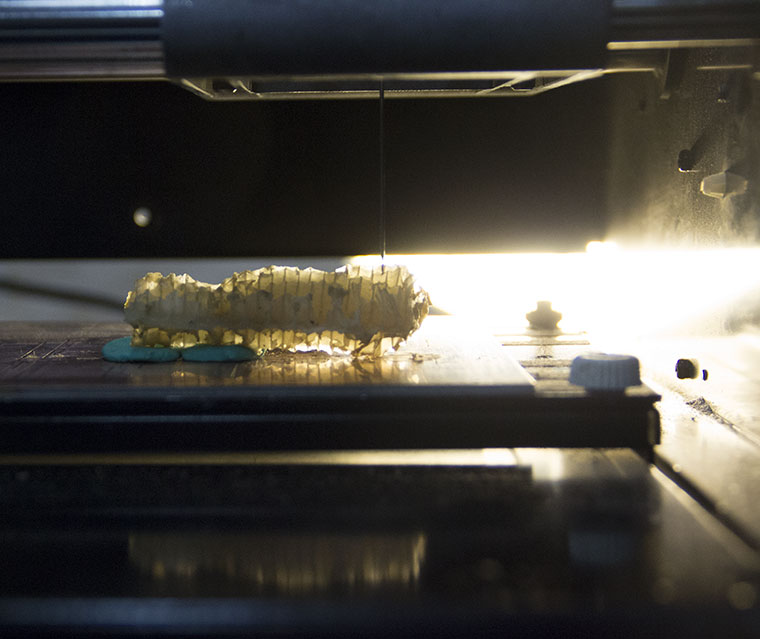
I start making the first test with ASB filament. Using the ABS setting from Ultimaker2 software adding a pre-heating building plate at 270°C. fans off and retraction enabled.
In that period was winter in the Collserola park and inside the Green Fab Lab the medium temperature was under 15°C. To help temperature control we built a foam-box around the 3d printer. In that was taking constantly that the filament were not grabbing , after some day of test we rich some nice result.
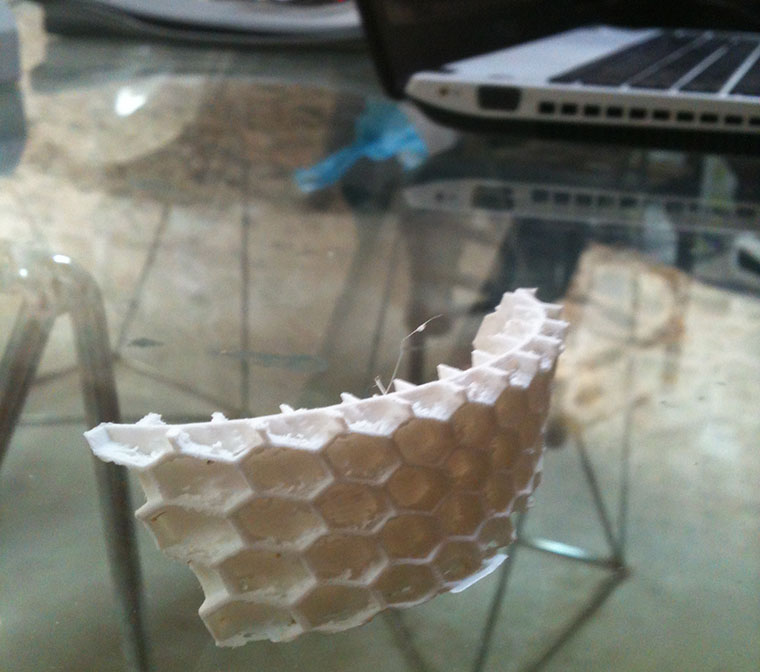
The best print of my design was the next picture, but other design were randomly having perfect or hairy results.
So we choose to pass to PLA filament. From the first print with the Ultimaker standard settings for that material prints were going good. A lot less grabbing events and nice printed object.
Double checking the Cura's analysis I found that , has preventable there was a design issue. The geometry is overhanging in the bottom side of every cell. That design is definitively not compatible with the 3d printing technique so I will try to realized it in molding and casting week .