The concept of 3D printing is quite interesting and conversely other DIY is small enough to have it on my desktop. Being aware of that, I decided to build my own 3D printer. The idea of building a machine is very motivating. I will be able to explore deeply the technology and learn more about its principles.
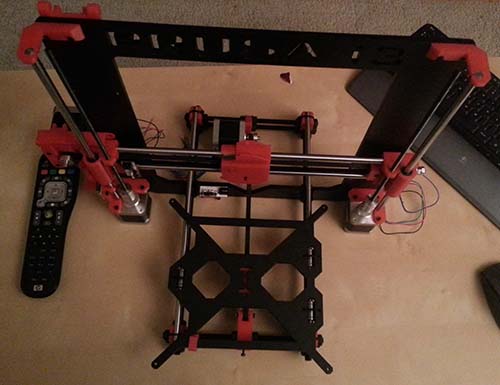
After researching about DIY 3D printers I decided to build a Prusa i3 Hephestos using a Greg's Wade extruder with an E3D v6 hotend and a heatbed..
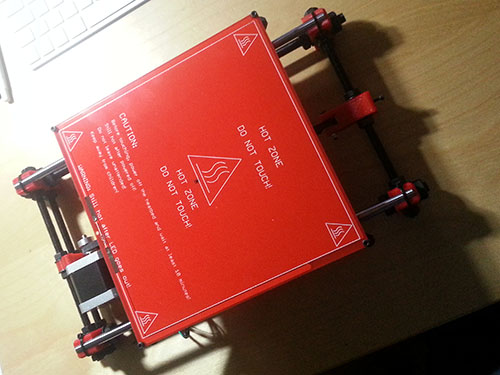
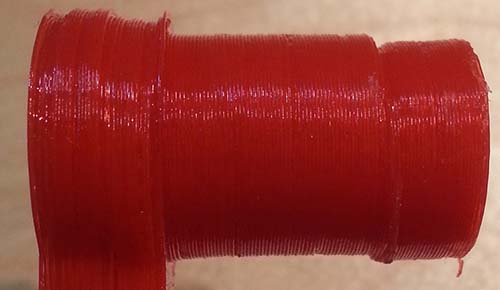
Once I bought the frame and the electronics, I started printing all the needed parts using red PLA and a MakerBot Replicator 2.
I followed the Hephestos tutorial for the assembling process.
Y axis
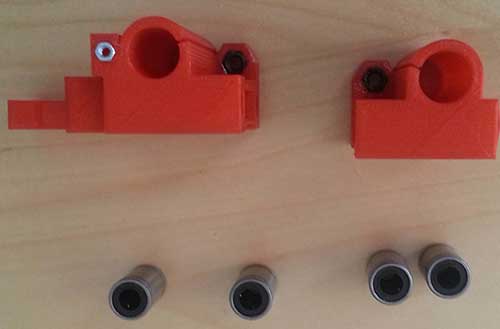
The first assembled axis was de Y axis.
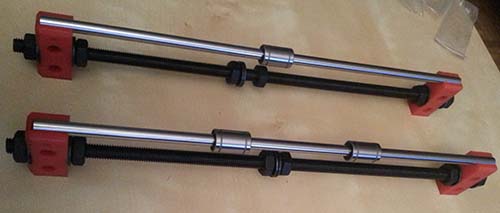
Fitting and aligning all the rods and coiled rods was the toughest part, the printed pieces were not wide enough to fit the rods smoothly, so I had to wide the holes.

I checked that everything was properly aligned. Finally, I assembled the bed, the Nema 17 stepper motor and the strap.
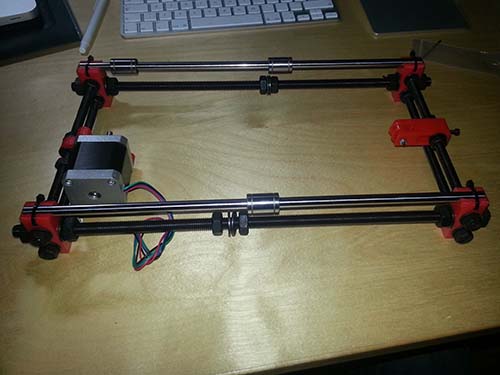
X axis
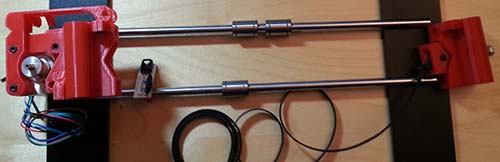
Assembling the x axis was pretty straight forward. I fit the bearings inside the pieces and assembled the x-carriage without many problems.
I had just one problem. While assembling the piece that tights the strap that moves the x-carriage, the screw was too big and its head didn't fit inside the piece. It was Sunday and I didn't want to wait until Monday, so I filed the head of the screw. At first I did it only on two parallel sides, but when I figured out that It had to be able to twist inside the printed part, I did it all around.
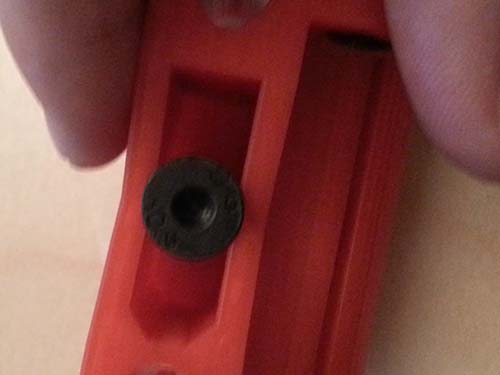
Unfortunately I didn't do it before my first print. I figured out this issue because I had some problems of displacement on this axis. I decided to fillet the screw.
Finally I everything assembled.
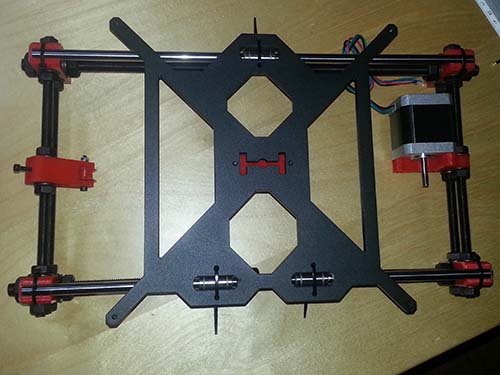
Z axis and XZ plane assembling
Assembling the Z axis was pretty straight forward.

Putting all together
Finally I joined the tree axis. Now it looks like a 3D printer! But still not working...
The extruder
At this point I didn't know that this was the most challenging part of the assembling. I didn't know much about extruders, but after researching a little bit I found Greg's extruder design. I decided to go on with it.

Once I assembled all the pieces I thought that it was perfect, that I had chosen the best pieces for my hotend. That was not true.
The first problems appeared when I printed the first calibration cube. I thought the hotend would fit perfectly with the wade, but when the filament were retracting the nozzle were tilting a little bit. This movement (with the poorly tighted x-carriage strap) were giving poor results on the first printed objects.
When I fix this problem, the quality has improved significantly, anyhow I plan to change the extruder pieces to reduce its size while increasing its robustness.
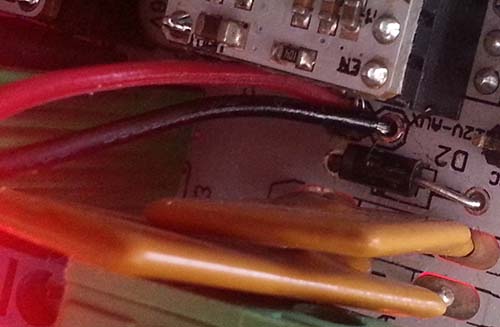
Electronics
The last step was connecting all the wires. Before doing that, I adjusted the potentiometers to regulate the dispensed current to the steppers.
To connect everything properly I followed the schematics at the end of the Hephestos tutorial page.
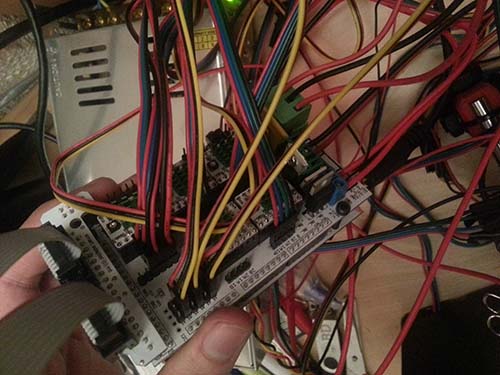
Anyhow I had to change something. During the first printings I faced a problem, the PLA filament were obstruding the hotend. This was due a wrong connection of the E3D v6 fan. This mistake lead me to another problem: the Greg's Wade were melting due to the high temperatures of the hotend. In order to fix this I connected a 30mm fan to a 12V pin that never turns off or reduces its speed.