Week 11Assignment: design and make a 3D mold, and produce a fiber composite part in it
Programs/Machines:Rhinoceros, Shopbot, RhinoCam, Global Vacuum Press
Lessons Learned: Be aware of the interior pressure your mold will go through when curing within the vacuum, the strength may collapse your mold.
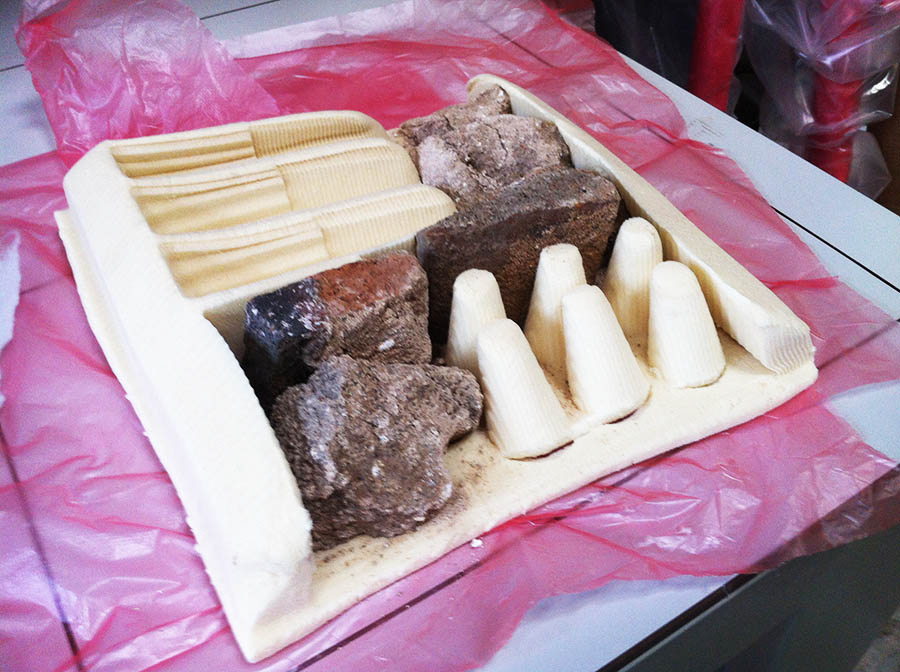
In my composites assignment, I wanted to create a lampshade for my house. Within my mold I sought to integrate digital fabrication practices seamlessly with traditional craft. I wanted to be able to include found objects in my composite so that the finished quality of the shade would have a variability in textures. Within my mold I created 45 degree edge conditions so that I could drape the resin soaked fabric over the sides in order to create a box shape through repetition of this process. I wanted to understand what was possible with the vacuum forming as well as how the fabric would harden in its ruffled and stuffed state.
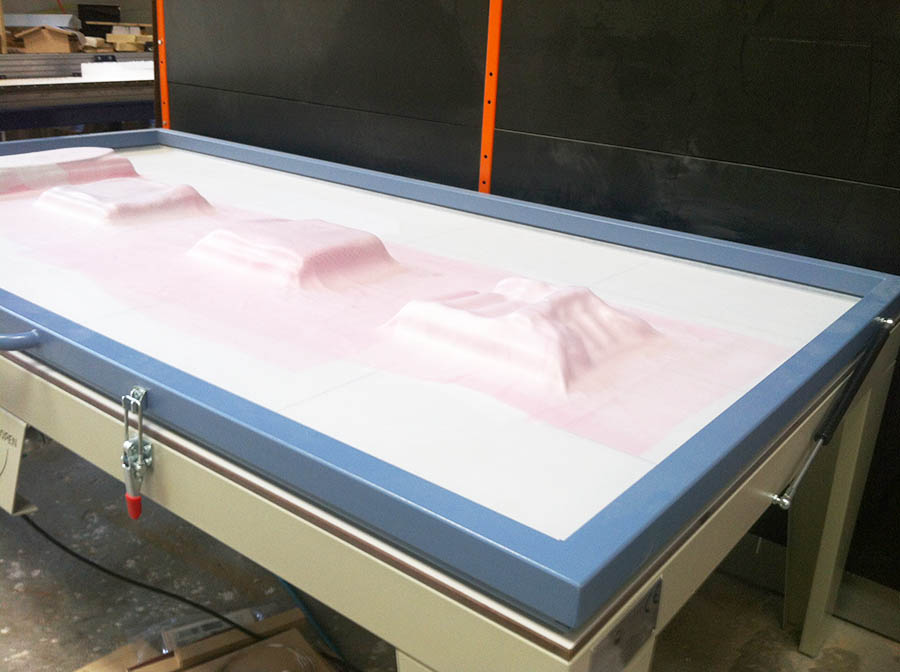
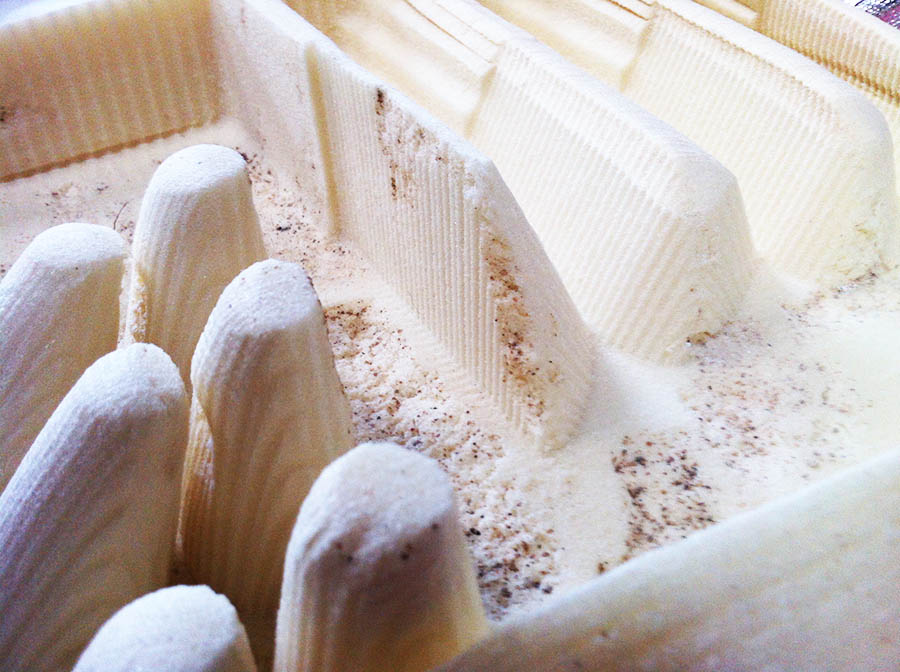
Here the designed mountains and valleys aim to achieve maximum difference, while the pink highlighted plateaus accept found objects within the casting.
Through repetition the lampshade form emerges.

Getting the Shopbot Started:
-Turn on the air compressor.
-Open the air valve on the machine side.
-Turn on the computer.
-Turn on the machine.
-Run ShopBot 3.
-Make sure units are set to millimeters (Other common settings tab).
-Set Z zero by running the command "C>#2". Place the metal touch plate under the tooling bit on your material, and connect the aligator sensor grip to the machine head. Next run Enter. The machine will touch the plate and adjust its Z zero. Replace all elements in their respective slots and holders.
-Set XY zero.
-Load the file with the pilot holes for securing the material. *if needed*
-Run the pilot holes file. Press "Start" *if needed*
-Load the Partworks or RhinoCam file with your job.
-Overlook the g-code to ensure no mistakes.
-Make sure the working area is clear from objects not involved in the job
-Run the file by pressing "Start"
Wait and be patient with your job while keeping an eye on it so that if something goes wrong you can press "Stop".
-Once you are done, remove any fasteners and vacuum the workarea.
Once your mold comes out the machining you are able to start the next step in the composite process; the actual composite! The resin we used was called Super Sap, a natural resin product. The mixing was a super difficult ratio of two parts resin to one part hardener. Be sure to impregnate your material well and scrape off any extra epoxy when crafting. For the layering process is as follows:
1. felt batting
2. plastic
3. high density foam mold
4. breather
5. epoxi resin soaked burlap (2 layers)
6. plastic fabric reflector from garden store
7. breather
8. plastic
9. felt batting
10. plastic (just in case)
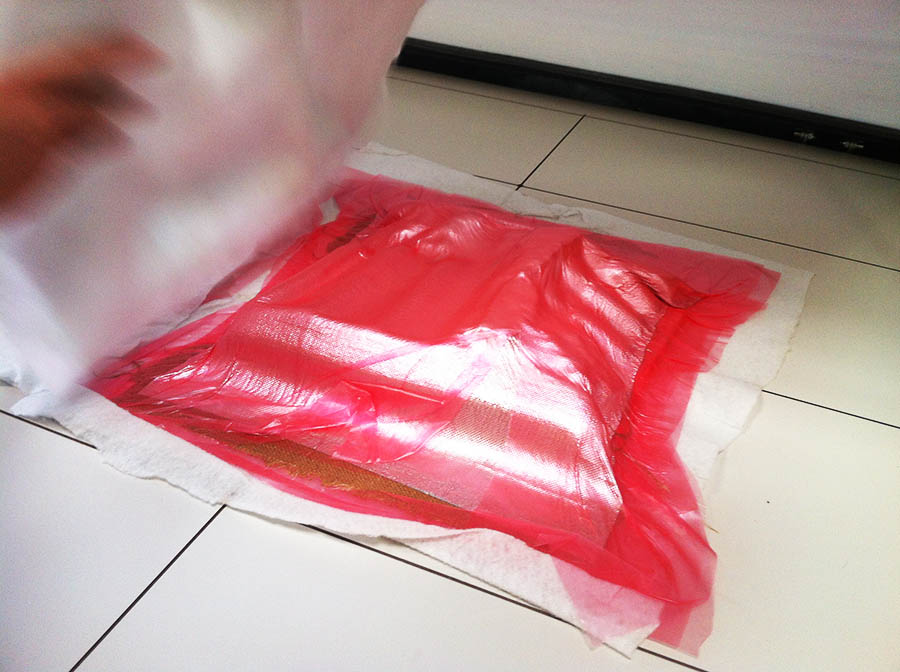
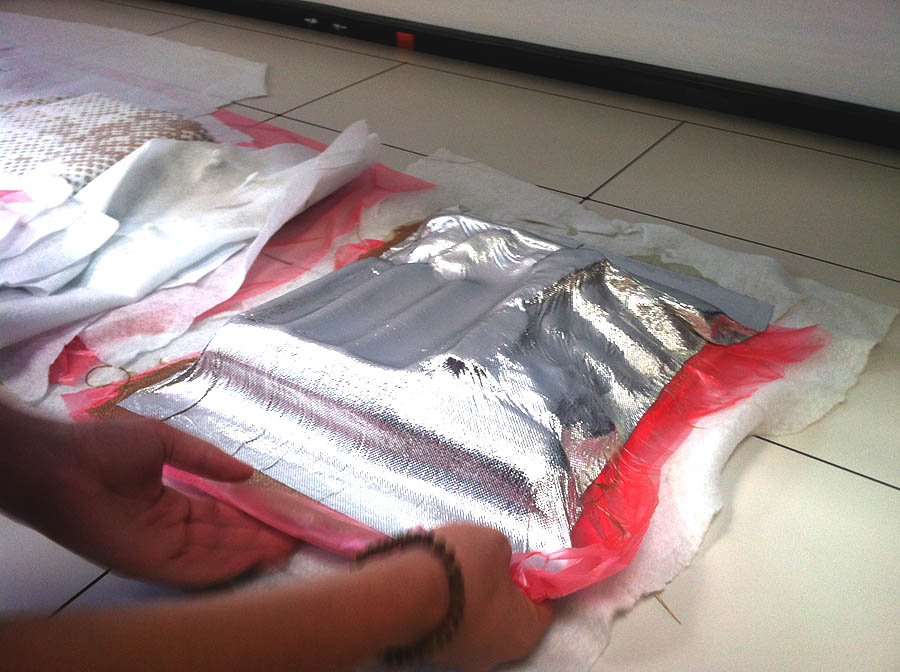
Getting the Vacuum table Started:
-Place your material sandwich between the suction holes.
-Close the cover.
-Close the clasps to the cover.
-Shift the lever from "Open" to "Closed"
-Make sure the air hose is connected to the compressor.
-Turn the toggle switch from "off" to "Cont."
-Wait until the cover forms a tight jacket around your mold.
-Turn the toggle switch from "Cont." to "Auto"
Removing your mold from the Vacuum table:
-Place your material sandwich between the suction holes.
-Turn the toggle switch to "Off"
-Shift the lever from "Closed" to "Open"
-Wait until the cover releases most of its suction
-Unlock the clasps to the cover
-Lift up cover and leave in its elevated state between uses
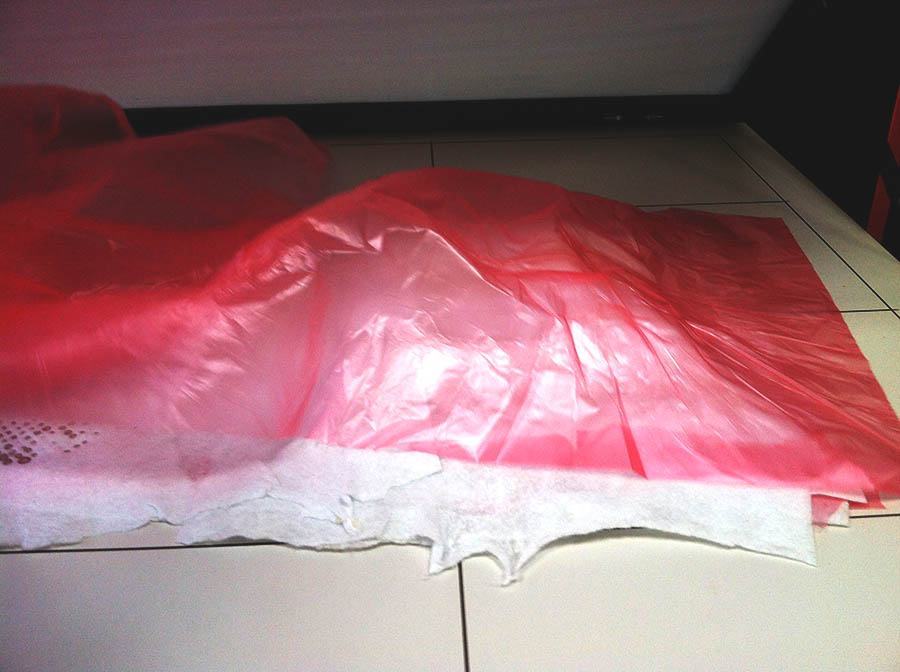
Unwrapping revealed form decimation due to vacuum forces.
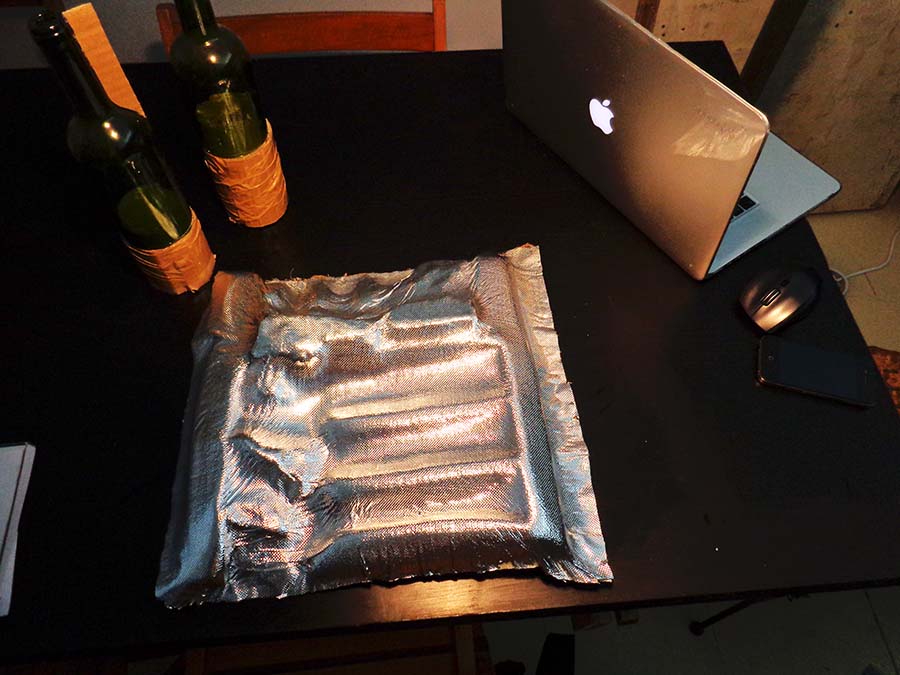
In my conclusion, I now understand what I need to construct in order for it to hold its shape within the vacuum table. I will be continuing development of this project, but will fabricate a heavy duty wooden form to resist the interior suction power. I was pleasantly surprised with the tactile quality of the burlap and plastic reflector combination.
Downloads