Week 6Assignment: redraw the echo hello-world board
Programs/Machines:Fab Modules, Photoshop, Eagle, Roland Modela MDX-20
Lessons Learned: If you come from a visual arts background, like myself, the lack of usability in Eagle will trip you up when using it, spend your time studying its different tendencies.
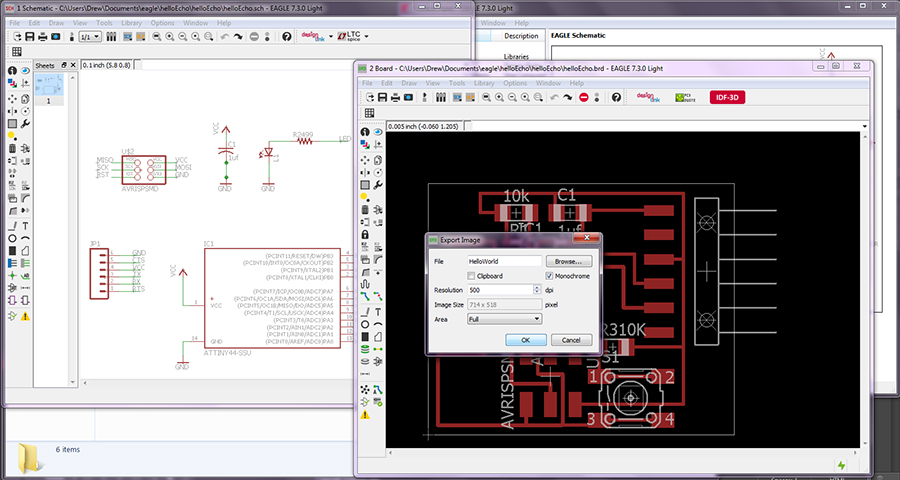
This week's module deals with Eagle; a free program focused towards electronics PCB design. The user interface is at first difficult to understand like all programs, but it is quite powerful so take time to understand all of its capabilities. One thing to know when starting is that it is imperative to not close the board layout and the schematic as editing one while the other is closed will break the linkage between each. While EAGLE can be fairly intelligent, at times, the "AUTOROUTE" function seems to be a bit glitchy and can output routing that isn't beneficial for your board's final layout. Planning out your traces can be tricky sometimes, but I felt that it helped me get better acquainted with the board itself, as well as the program.
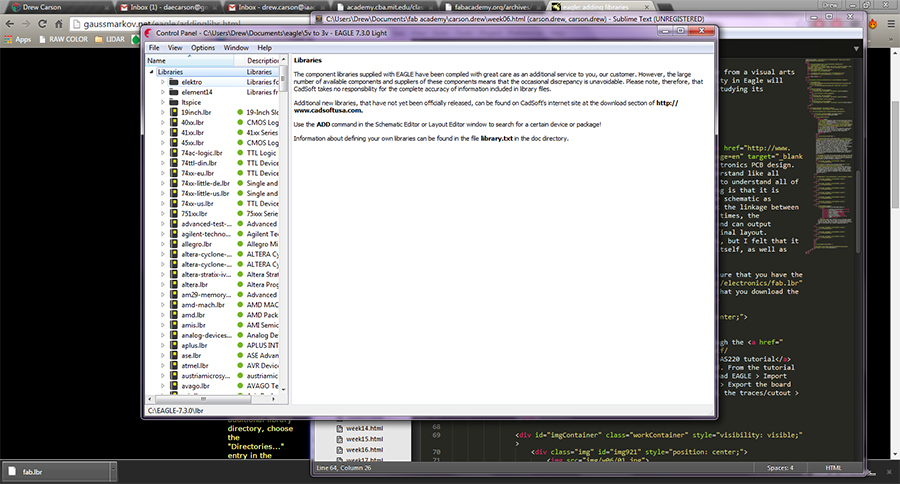
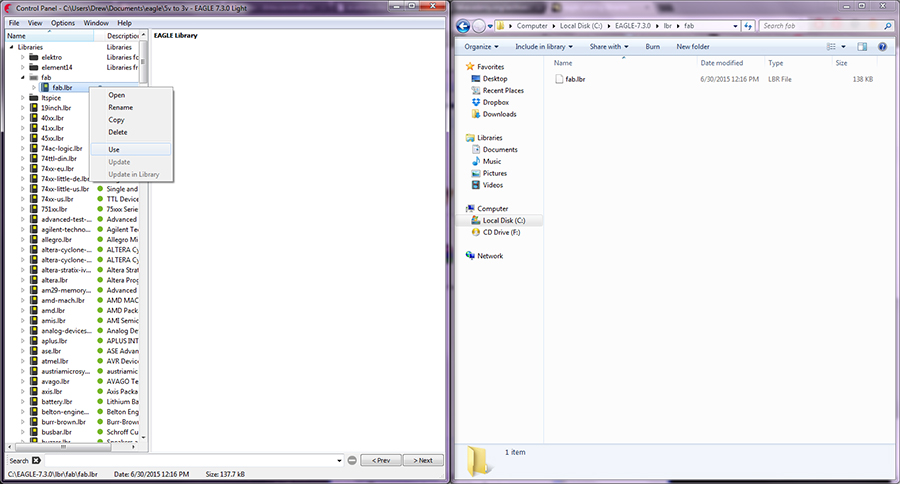
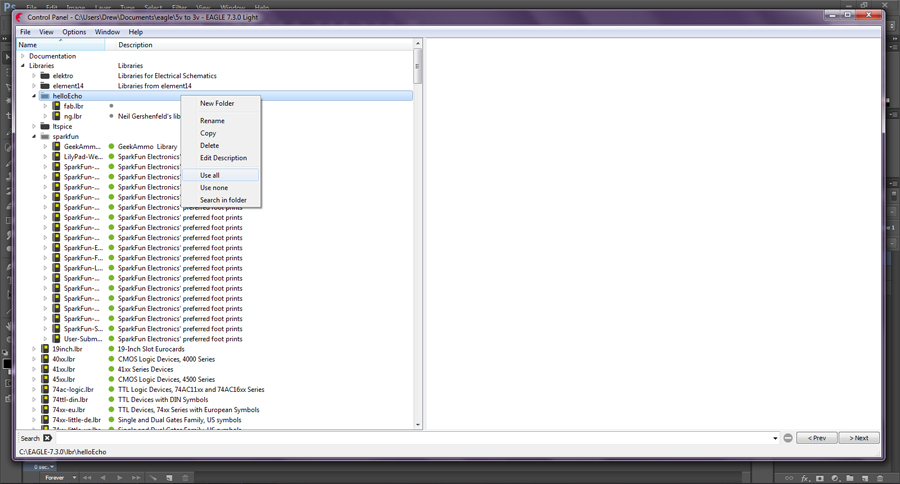
To start off you need to make sure that you have the FabLab Library. Make sure that you download the link directly, and add the library to EAGLE. You can easily find the "lbr" folder directly in your C: drive on PC, add folders for the new librarys, paste the files, and the new libraries should be automatically updated. If the new libraries did not show up then be sure to navigate from EAGLE's start up window to "Options > Directories" and copy the link from the window of your explorer into the text box to re-establish linkage to your libraries. I looked over the tutorial here to help me along in the process.
-FabLab Library
-SparkFun Library
-Direct download of HelloEcho Libraries
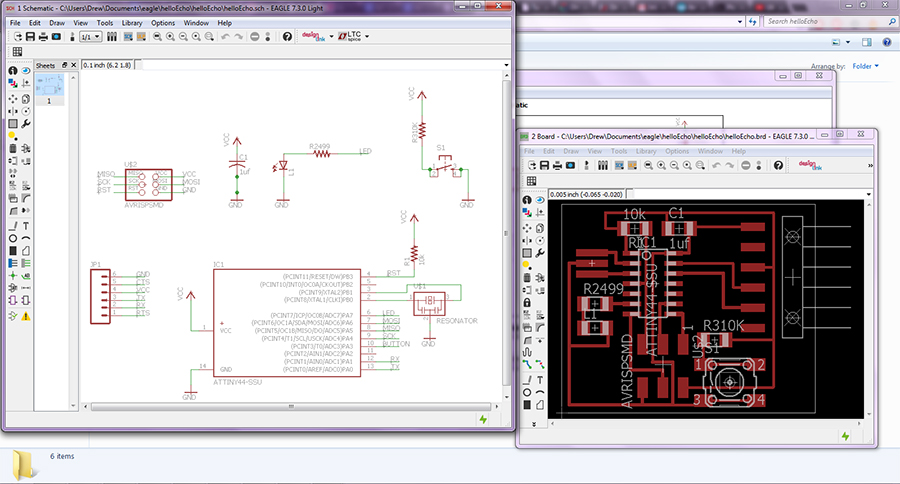
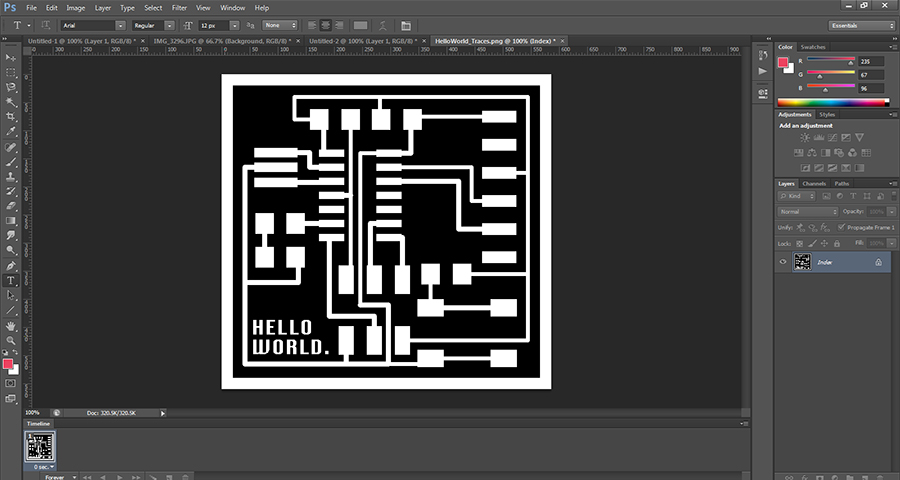
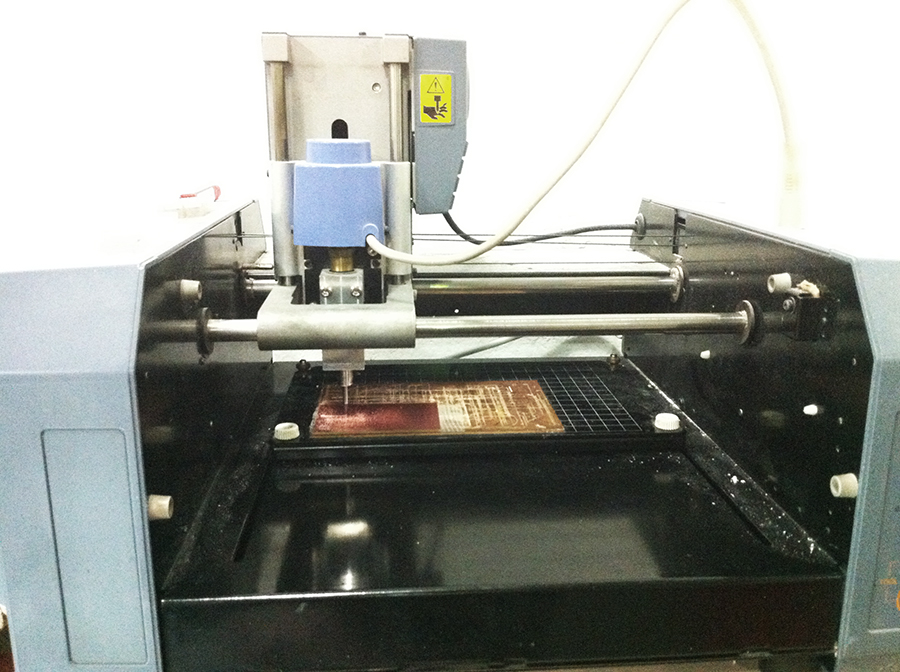
I started off by pursuing through the AS220 tutorial to better understand what needed to be achieved. From the tutorial I understood my workflow was as follows: Download EAGLE > Import the Schematic/Board > Edit the Board/Schematic > Export the board from EAGLE > Edit the board in Photoshop > Mill the traces/cutout > Stuffing board.
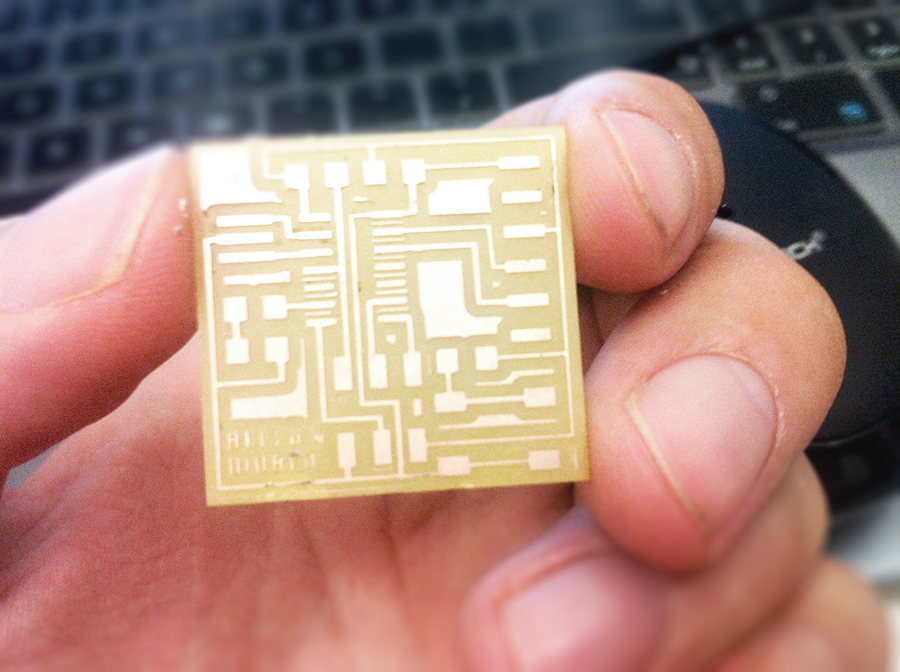
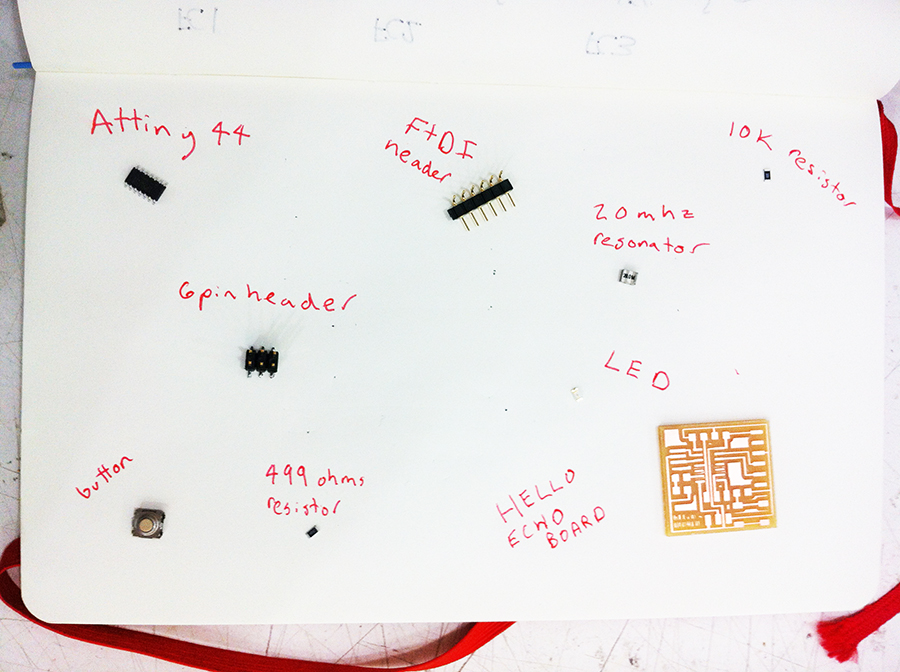
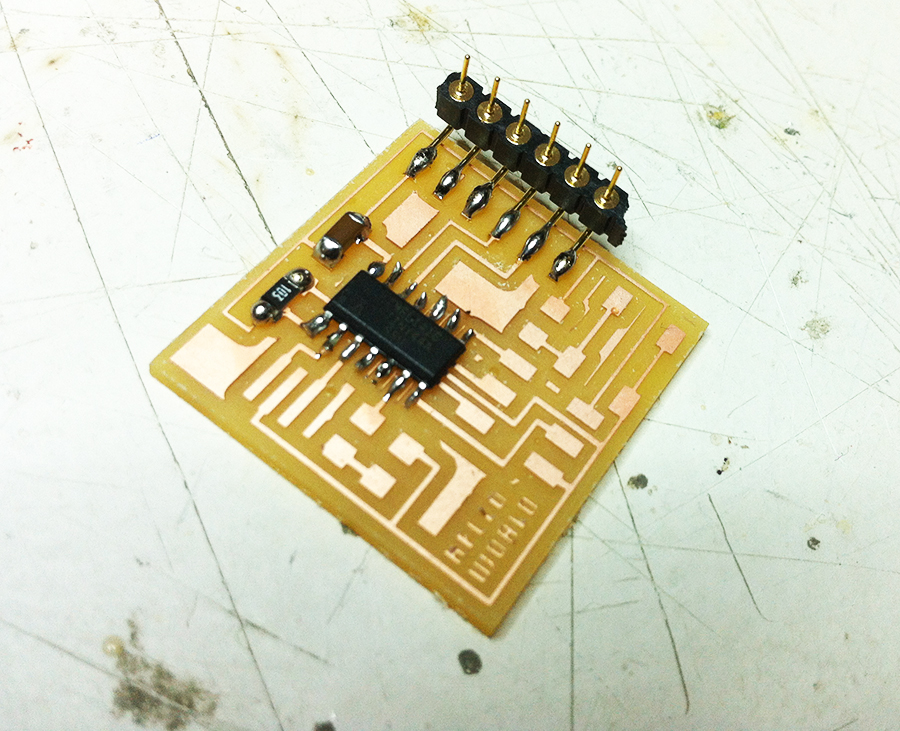
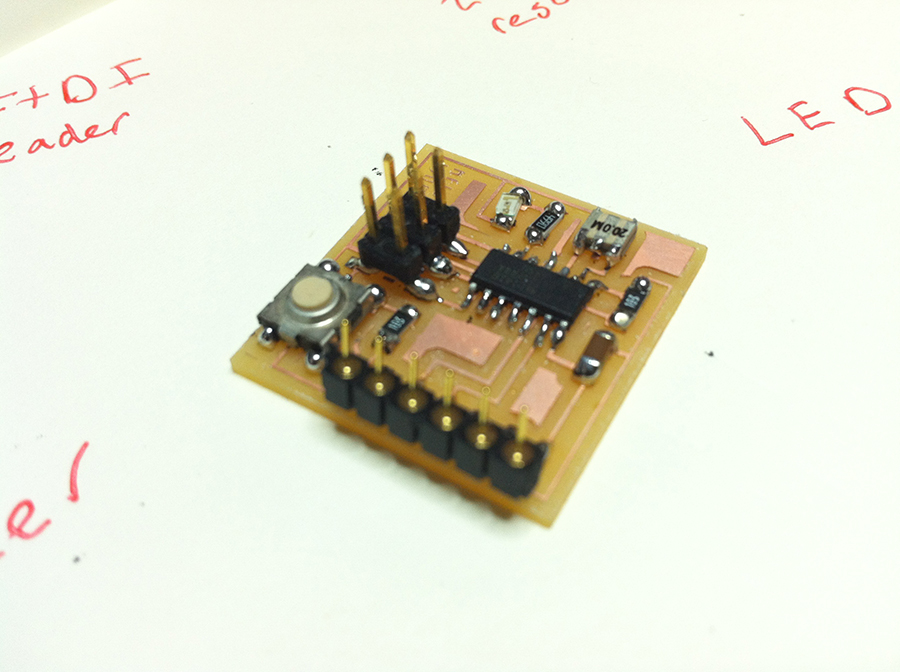
Stuffing the HELLO-ECHO board:
-ATTINY44A microcontroller
-FTDI header
-S6-pin programming header
-20MHz resonator
-2 10K resistors
-499 ohms resistor
-OMERON switch button
-LED
NOTE: When stuffing it can be extremely helpful to write out the items that you will be soldering and organize them in one space, many of the labels of the electronics are too small to read clearly even through a magnifying lens.
Downloads