week 9: molding and casting
Wine bottle holder
For this week's assignment, I wanted mold and cast a glow-in-the-dark wine bottle holder.
I started by modeling a simple cube with a hole:
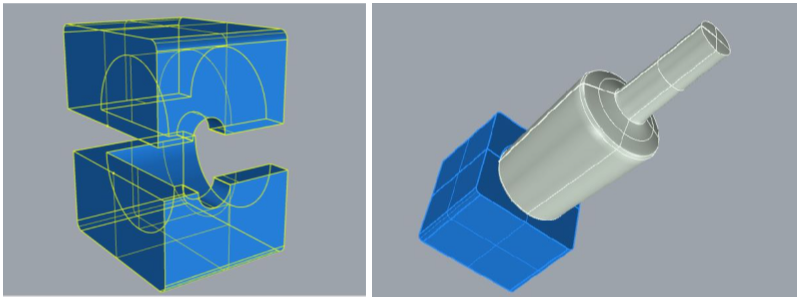
I soon realized the cubic shape was too simple for the potential of molding and casting, so I shaped my holder like one of the "petals" of the crochet I was going to add to the wine holder's front wall.
The petal-shaped model looked something like this:
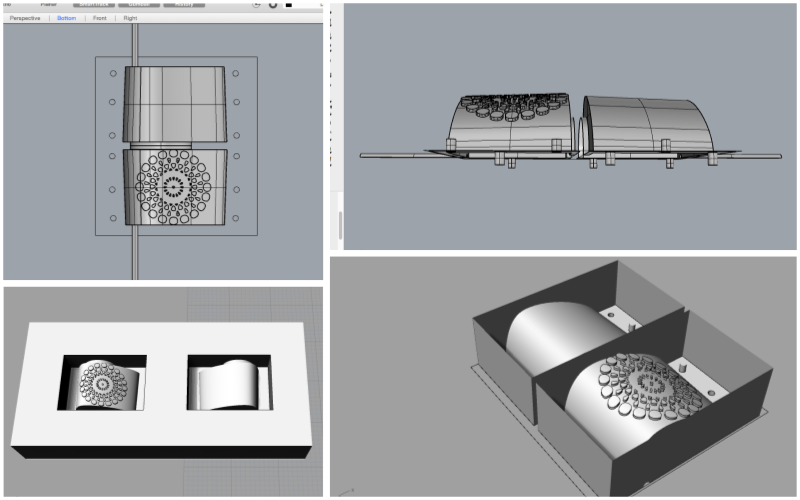
I then put my 3D object in mold shape:
MAKING THE WAX
To make the silicone mold, I decided to use a home-made mix of melted paraffin wax and HDPE plastic. I used one part HDPE to four parts paraffin. The melting temperature is around 150ºC (watch out, it ignites at 200ºC!). I mixed in some coloured crayons, as they make it easier to spot unmelted plastic in the wax mix. Also, its a good way to distinguish different batches of wax.
Here is a useful instructable on making cheap machinable wax:
Here are some images of the first process, without crayons:
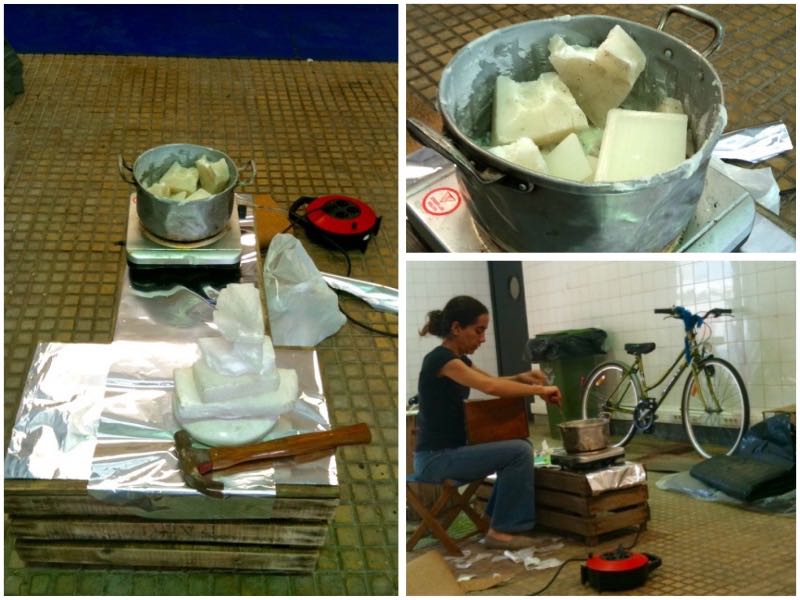
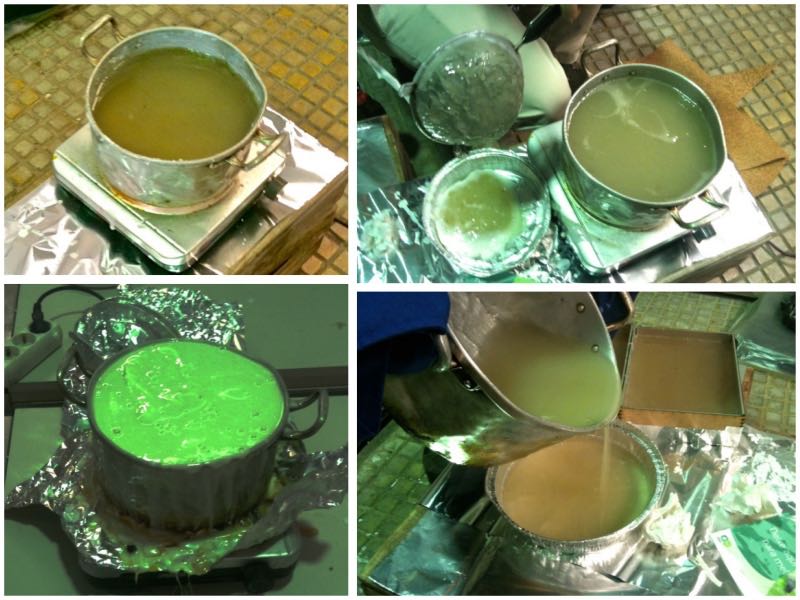
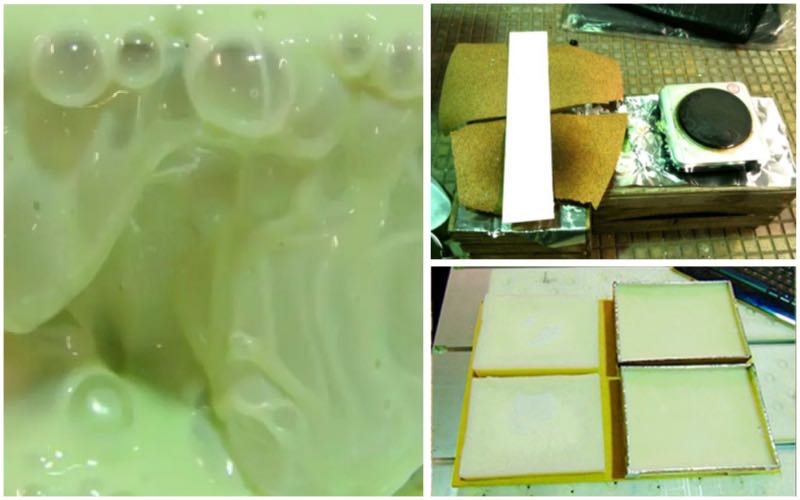
And here is the second version of the wax, this time with crayons and an awesome stirring machine, kindly put together by some members of Altlab, the neighboring hackerspace:
PREPARING TO MILL
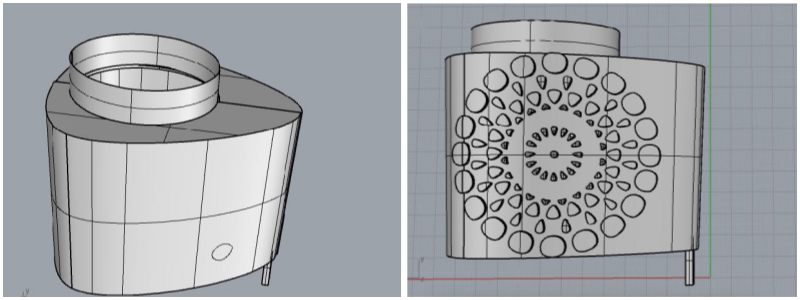
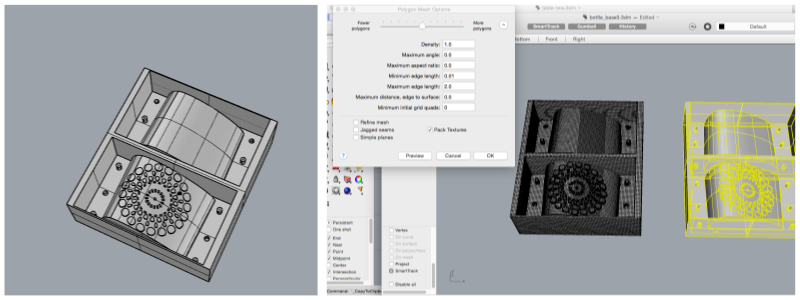
I was going to add a pattern to one of the faces of the bottle holder. But since the pattern was very small and intricate, I checked if the 3mm millbit would be able to mill it. I drew a 3mm circle and passed it through the pattern's toolpath. Helas, the pattern was too tight in some parts and the circle woulnd't pass. I had to clean up my image and further separate it's elements from one another. These are the images of the clean up process:
I turned the Rhino 3D model into a mesh, and exported it as .DXF, so I could mill it in 3D mode.
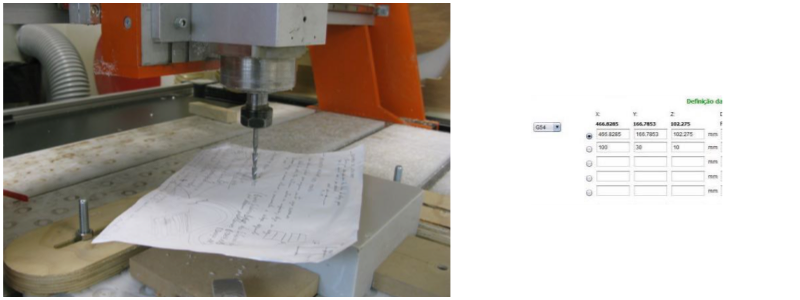
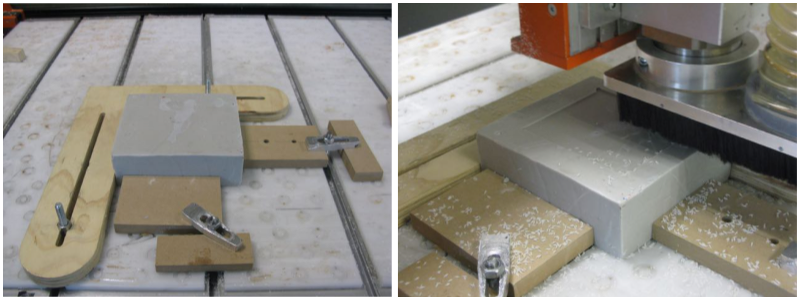
The wax block was ready for machining, but was quite uneven in thickness, so I started by surfacing it with the CNC to level it out. I attached the block to the mill's bed and defined the x, y and z home coordenates. To help defining the Z coordenate, I placed a piece of paper on the surface. Once it was "locked in" between the wax and the millbit, I had found my Z:
MILLING THE WAX
Surfacing the block took only a few minutes:
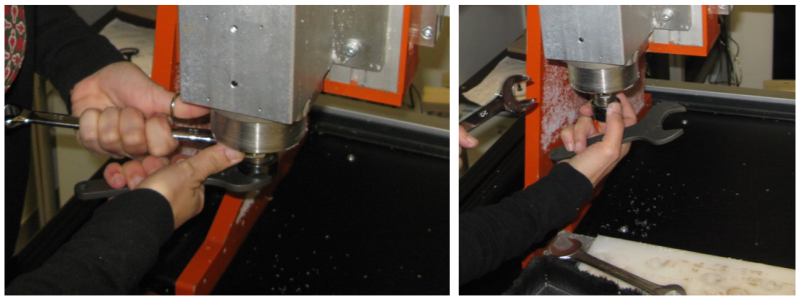
I changed the millbit to a 6mm for the roughing part:
And the rough milling went smoothly:
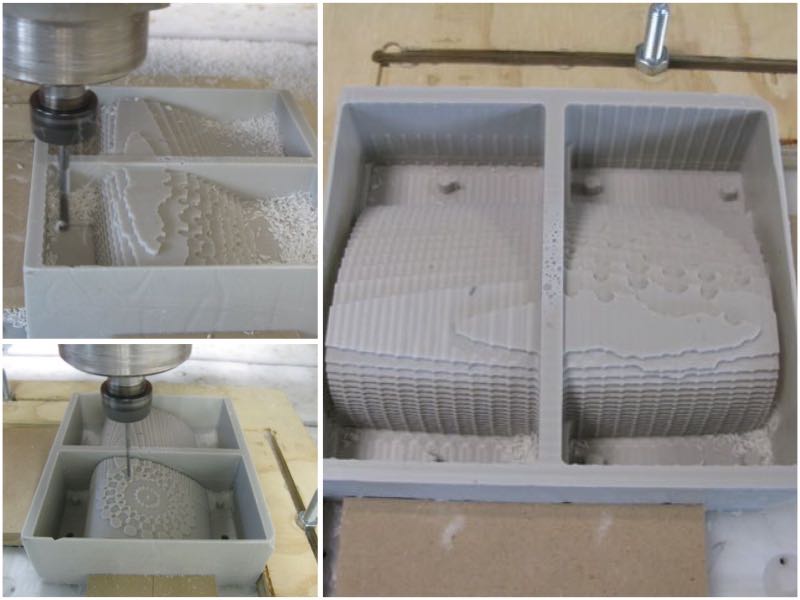
For the finishing, I changed again the millbit, this time to 3mm:
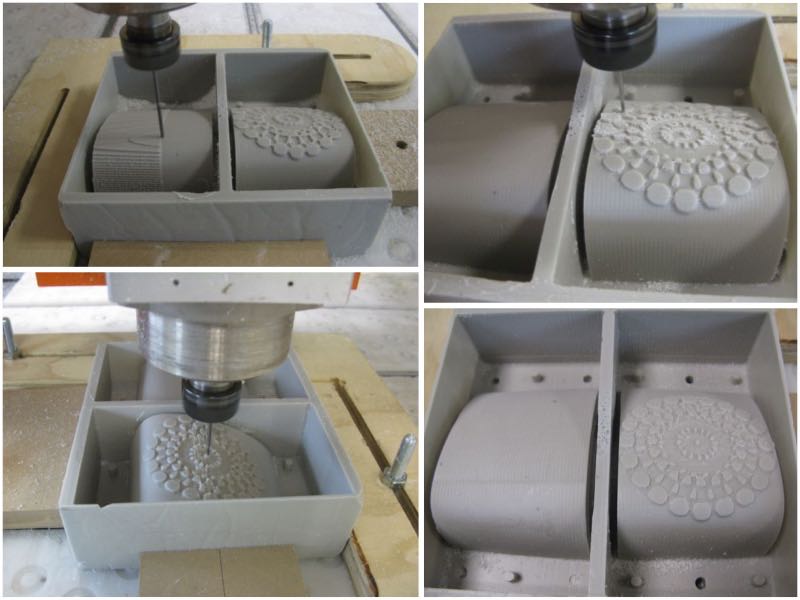
The result was not as perfect as expected (I should have countoured the patterned part), so I had to give it some finishing touches with a hot air gun.
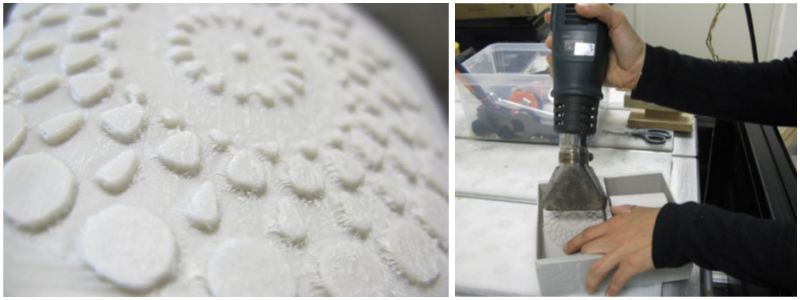
It now looked smooth and ready for the silicone.
MAKING THE SILICONE MOLD
To know the exact amount of silicone I would need, I used the "volume" command on Rhino.

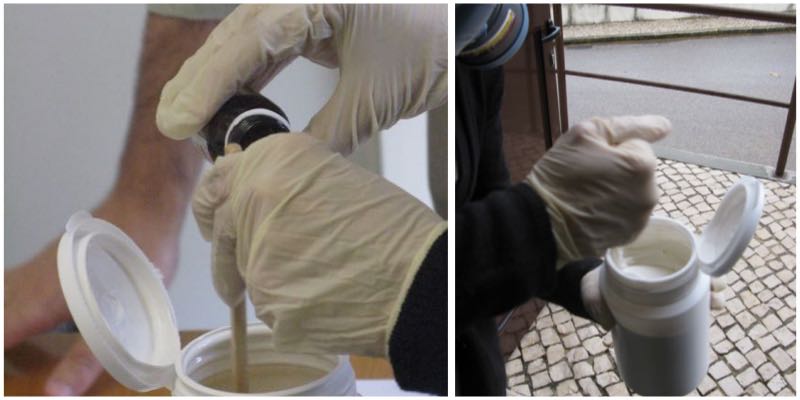
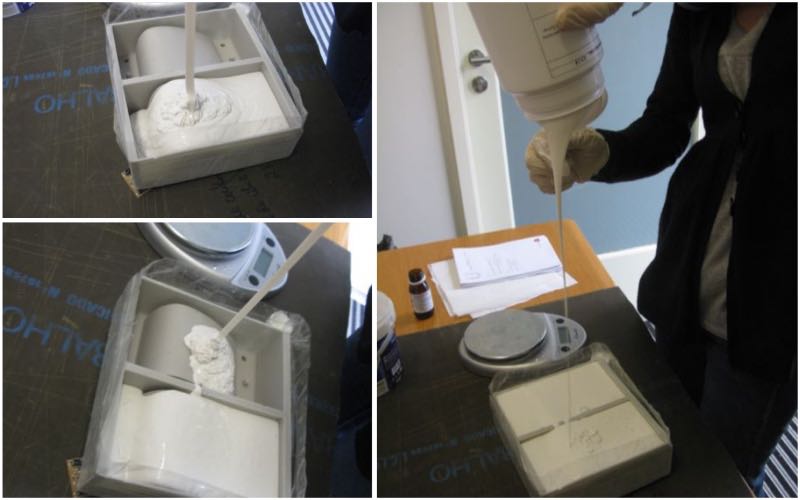
I mixed the 2-part silicone (98% / 2%) and carefully poured it into the wax mold from as far up as I could, to avoid air bubbles.
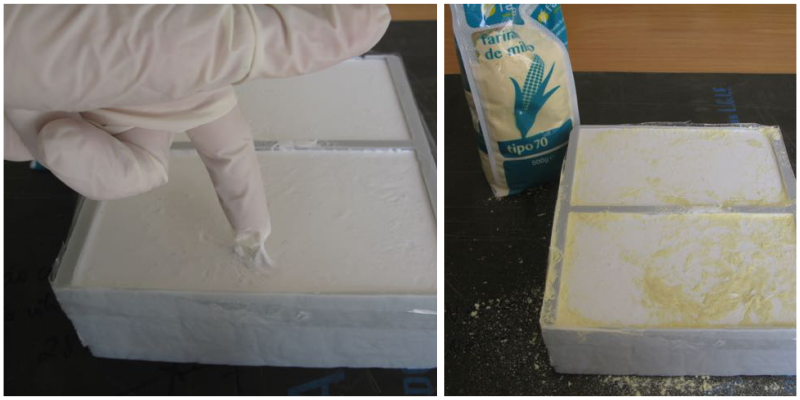
Twenty four hours later, the silicone looked cured...but then again, not really. Some parts were still quite guey -- Clearly, I hadn't properly mixed the silicone, so it wasn't curing evenly. Another half day went by and the uncured parts showed no sign of improvement. I decided to try to solidify those parts by adding corn starch, and it seemed to work:
DEMOLDING THE SILICONE
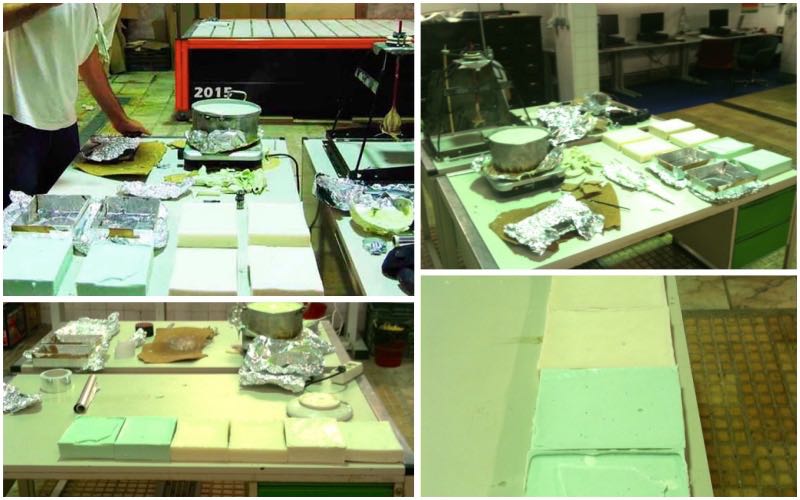
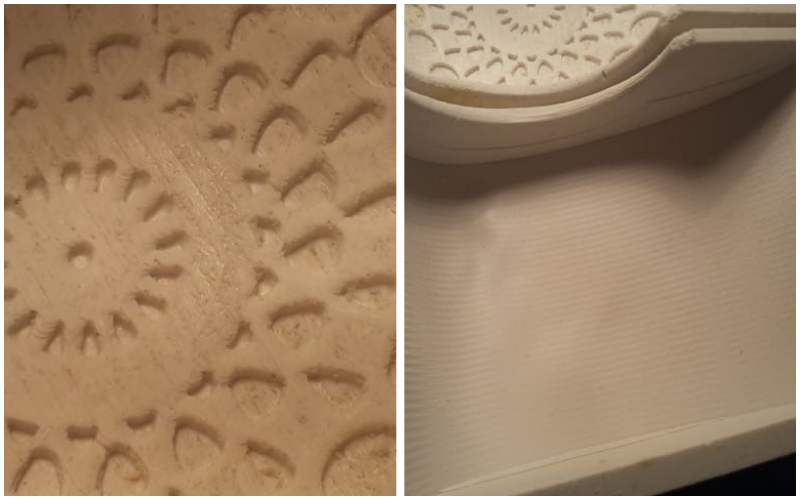
Despite the dodgy look of the corn-fixed external walls, the silicone's internal walls looked pretty good. I was impressed with the incredible definition -- one could clearly see the millbit's lines on it!
As there were still a few soft parts on the silicone walls, I added some more corn starch and placed the mold under warm light for a couple of hours. They now looked solid enough to hold the resin.
This is a useful website when making silicone rubber molds
FILLING THE MOLD WITH POLYESTER RESIN
I sprayed some beewswax on the mold's interior walls to work as release agent.
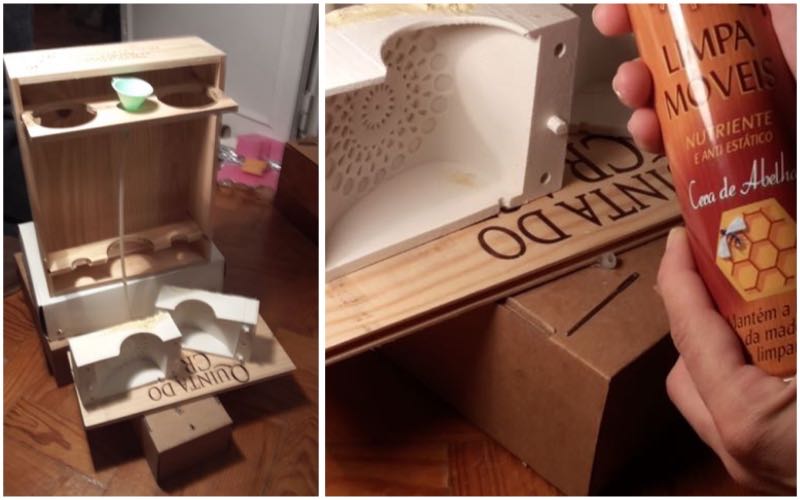
I then mixed the polyester resin with the catalyst and added the glow-in-the dark pigment. This time, I mixed it all extremelly well.
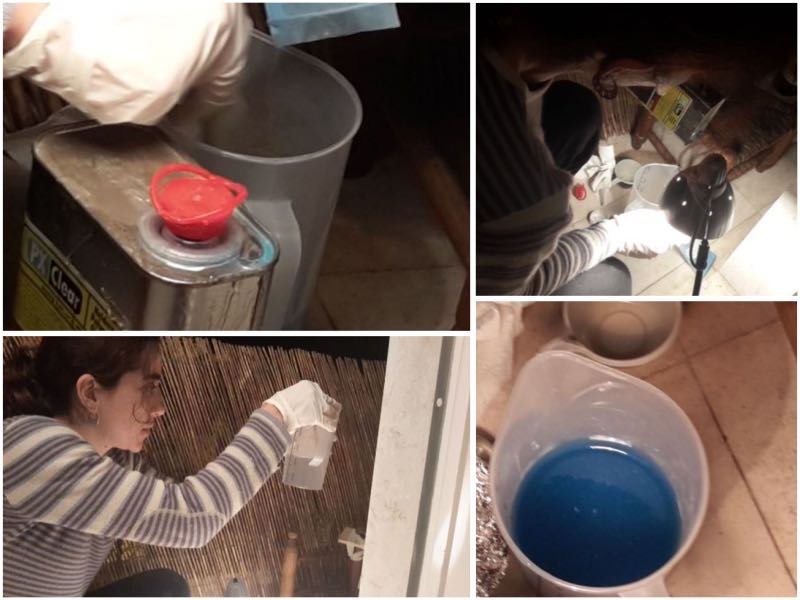
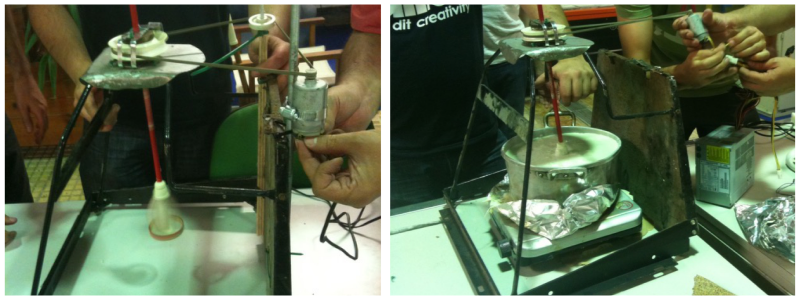
I used some wooden wine boxes and made a structure to pour down the resin into the silicone mold from above, to minimize air bubble formation.
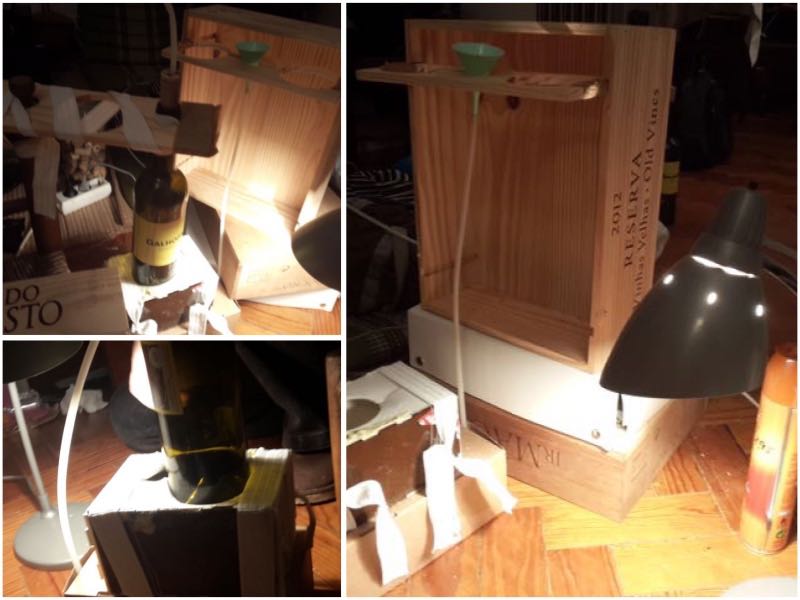
Sadly, the contraption failed miserably: the tube I was using was too thin for the viscosity of the resin, so it was not flowing down into the mold. I had tested it out before without problems, but I used resin without pigments for my test. Adding the powdered glow-in-the-dark pigment altered the viscosity of the mix, so it was not going down the tube anymore.
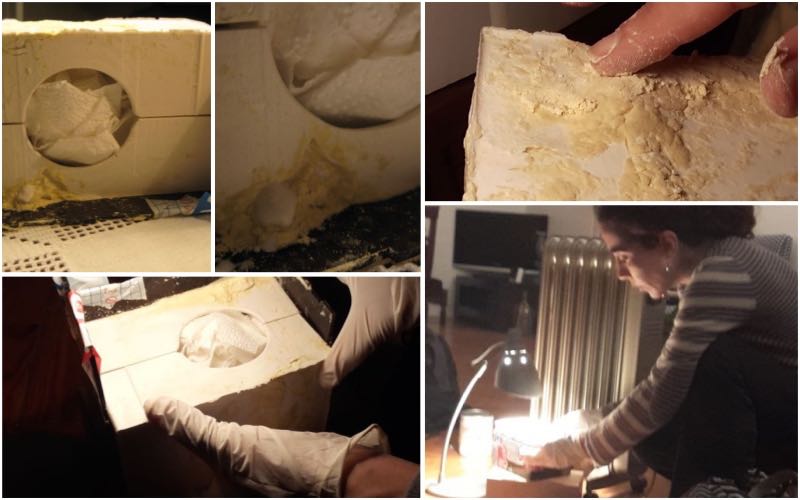
Having no wider tube available and only 10 minutes left before the resin started to set, I decided to open a breach where the two parts of the silicone meet and just pour the resin directly in. Air bubbles, at this juncture, seemed like a minor problem...
The next day, a good 20% of the resin had managed to escape from the silicone mold. The remaining part remained seemed cured, but the mold was not filled up until top anymore.
Before demolding, I decided to add a second layer of resin on top of the first one, so the piece would at least have the right size. I was out of luminescent pigment, so I poured clear resin only.
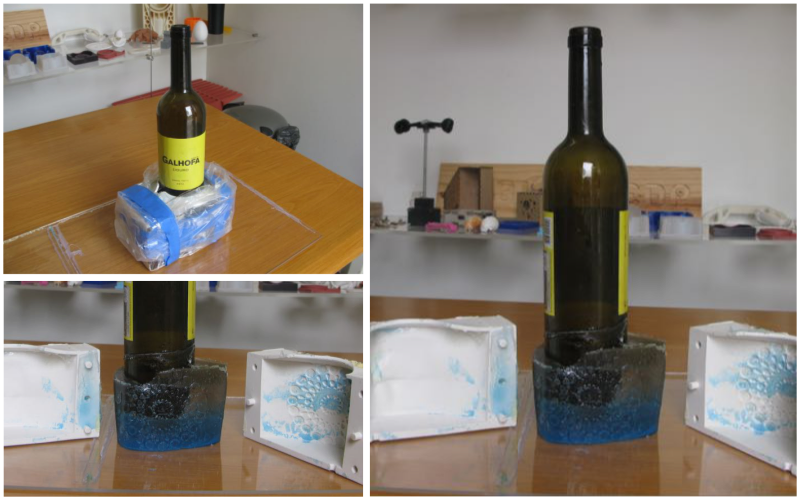
Considering the silicone mold and resin pouring disasters, the final object didn't come out so bad at the end. However, the bottle I had used to make the hole in the middle of the resin refused to come out. I had covered it in varnish and beeswax, hoping they would work as release agents, but clearly that was not enough to demold the stiff glass.
So, this was the final result:
Here is are the bottle holder's Rhino files:
LESSONS LEARNED:
When designing the object, keep in mind the machine's toolpath and size of the millbit you are using.
Silicone - Mix the two parts carefully in a third container and mix it until you drop. Then mix it some more. Seriously, it's never too much. Also, powdering the silicone surface with talcum powder or corn starch before pouring the resin, results in easier demolding.
Polyester resin - Polyester really stinks until it's completely cured. Needs a room with really good ventilation.
Increasing the amount of catalyst (which is usually at around 2%) can make a significant difference in the resin's curing time.
The resin's viscosity is important -- when adding pigments, keep in mind your mix will get a little harder.
Resin bubbles - Insert the resin from the bottom up. Keep your object upside down (so that the part more likely to have air bubble issues will be hidden).