week 7: embedded programming
Leds & Buttons
Our assignment was to program the circuit board we made last week, and turn on its LED when clicking the button.
I decided to do this by using the Arduino IDE -- "it's easy and user friendly", I was told, and that's what I was hoping to hear.
To get a first look at the Arduino IDE, I started by watching this video tutorial.
And then I watched this one to better understand what is behind the LED+button task.
I took some time to play around with an arduino breadboard, since I had never used it before. I wanted to understand the physical effects of my changes in the code and the breadboard makes this quite easy and immediate. I plugged a LED and a button on to the breadboard and used a button example code from the IDE's library.
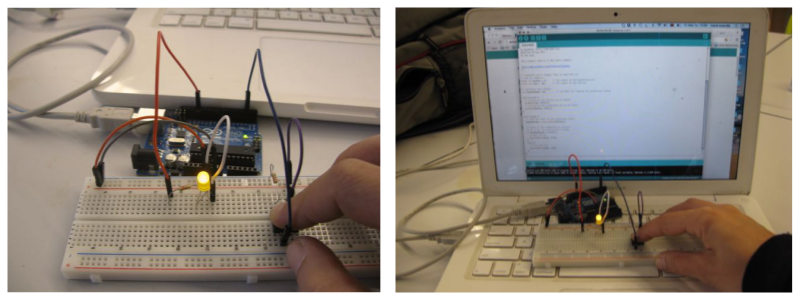
Once I got it to work on the breadboard, I was ready to take that code to my circuit board.
INSTALLING THE ATTINY SUPPORT
To do this, my first task was to put the arduino IDE in communication with my board's Attiny micro-processor.
I followed the providence tutorial to install Attiny support into the Arduino IDE (create hardware folder in Arduino docs, paste attiny folders to it). The links to the attiny on that page were no longer working, so I found the most updated zip files on this page . After adding these files to my hardware folder, I could now see the Attiny boards in the menu Tools>Boards.
UPLOADING THE SKETCH
I uploaded the sketch to the board without problems. I pressed the button...and the LED started to blink!

Here is the code file