Field Trip!
One of the first things we did this week was take a field trip as a group to Carboglass to do some research on composite manufacturing techniques.
Experimentation
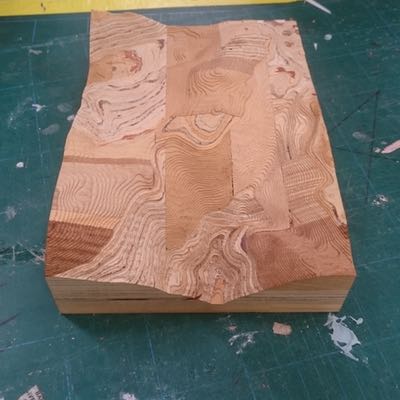
To get started, we decided to make a simple composite part using an existing form to get familiar with the process, in this case I worked with Anna Aflalo and Bridget McKendry on creating a composite version of a part that had been manufactured in the lab some time previously by Wendy Neale (shown to the right).
Making the Mould
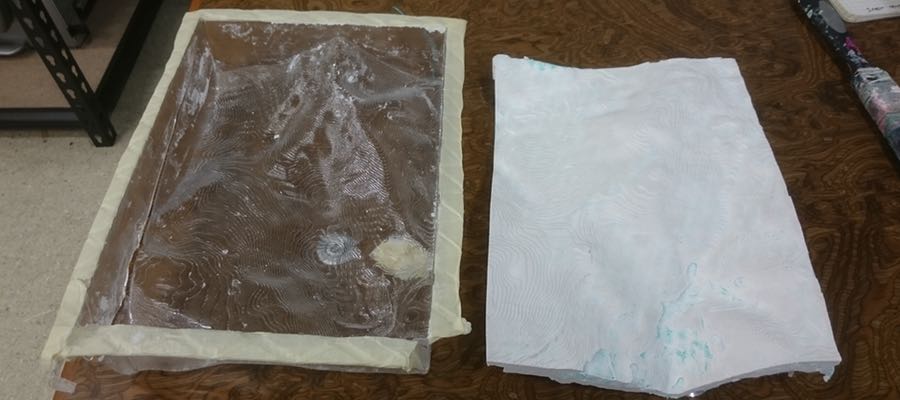
To avoid damaging the original part, we decided to create a mould by vacuum forming a sheet of polymer over the original part. This worked fairly well and we were able to create a mould and safely extract the original part.
As an experiment (and because it was a public holiday and the shops were shut) we decided to try some chux cloth as the fibre and Hydrostone as the binding agent, it actually worked surprisingly well and produces a relatively strong form
Design
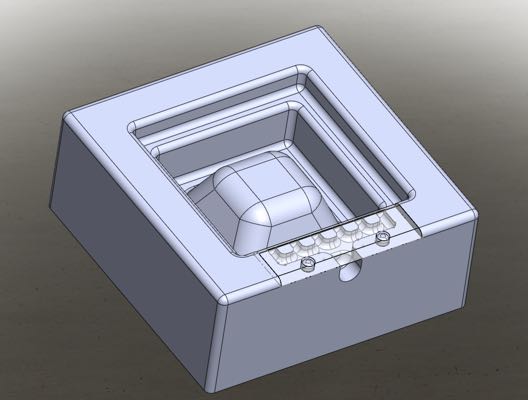
I decided to go out on a limb and try and do a vacuum infusion mould and attempt to mill the resin distribution channels into the mould itself.
For ease of prototyping, the mould is made from machinable wax and is relatively small with an overall dimension of 120mm x 120mm, this is purely a test piece for this technique so by making it smaller I can better control the process and hopefully get a better indication of how to design larger and more complex moulds.
Fabrication
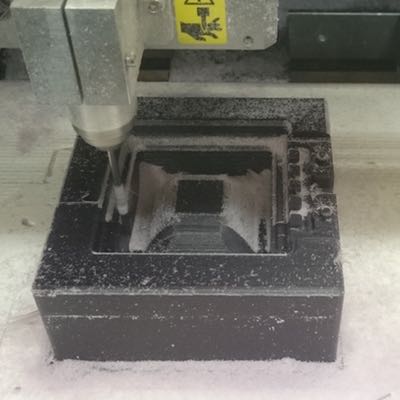
I decided to use the Roland Modela MDX-40A to manufacture my mould, even thought he Z axis requirement was right on the edge of what is possible with that machine.
The mould was machined with the ⌀3.175mm endmill and took approximately 9 hours to complete, this was with a roughing pass, a profiling finishing pass and 2 raster finishing passes on both the X and Y axis.
Assembly
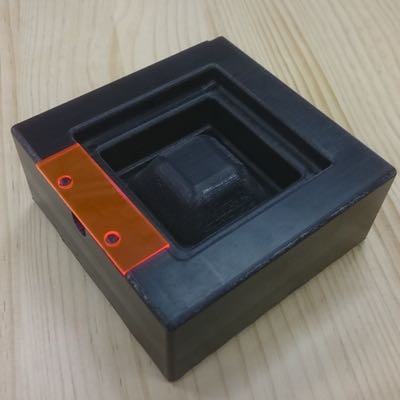
Once the mould was machined, I cut a panel to cover the resin inlet manifold with two holes for the postioning and retention pins that had been machined in place.
I had originally intended to use a random piece of scrap material to make this cover, however one of my instructors felt it would look much cooler in neon orange, a sentiment with which I find myself in agreement.
Making the Composite
Laying the Fibres
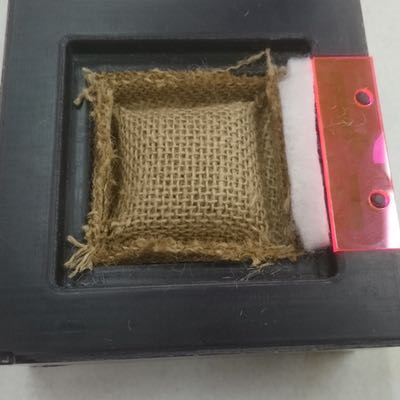
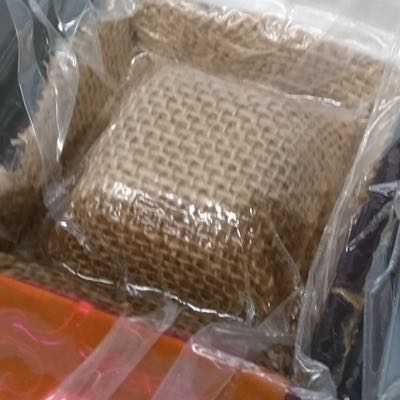
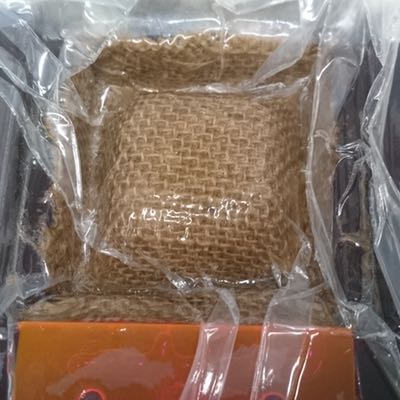
I have used a course hemp fibre cloth for my composite test, it has a fairly loose weave making it easier to get the cloth to conform to the shape of the mould.
I used 3 layers of fibre, with the top and bottom layers being parallel and the centre layer being laid at 45°.
Bagging the Mould
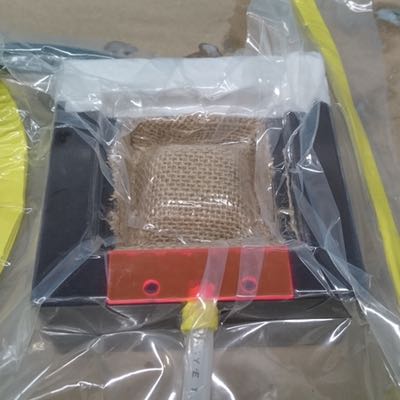
I used yellow Mastic to make a vacuum bag and to seal the points of entry for the vacuum hose (at the back) and the resin inlet hose (entering at the front). The inlet hose was kinked twice and taped in position, the vacuum hose was placed on the rear of the mould with a few layers of wadding to allow for airflow and serve as a barrier to slow the resin down before it reached the vacuum hose.
Infusing the Resin
Once the vacuum was pulled I allowed the assembly to settle for about 10 minutes, unfortunately my vacuum bag was not perfect but I managed to get it sealed with liberal application of Mastic Tape.
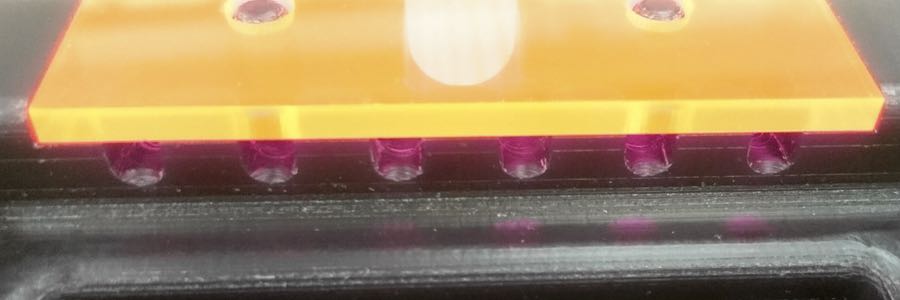
I chose the Entropy Super-Sap Epoxy resin as it was the only one we had available that wasn't horribly noxious, unfortunately this resin was a bit too viscous for infusion but it still worked relatively well. As you can see the resin was pulled by the vacuum into any cavities in the mould, it's about 2 minutes in at this point.
Thanks to the demo given at Carboglass, I stopped the flow of resin into the inlet several times during the infusion process to allow the resin to fully propagate over the mould before reaching the barrier material on the far side.
Curing Time
I was using the CLX variant of the Super-Sap hardener that had a tack time of 2 hours, I allowed the form to cure for 3 hours under vacuum before retrieving the mould and allowing it to cure fully overnight.
Demoulding

Despite the 2° draft angle on all surfaces in the mould, it was still unwilling to cooperate and I was forced to chisel open the mould, I would suggest with a mould this small and tight an angle of 4-6° would be more effective.
As you can see, the resin did not fully impregnate the fibre, particularly on the corners and the topmost surface. I believe this is due to the high viscosity of the resin and the fact that during curing a small hole formed on one of the edges causing an imperfect seal.
Results
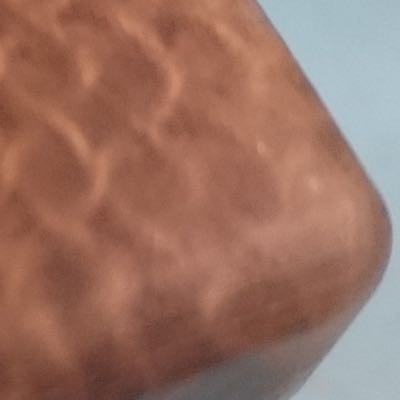
Overall I am fairly happy with the result given the experimental nature of the process and mould design, there were areas of the form close to the inlets that did infuse properly and which give me strong cause to work on improving the process, the finish in these areas was excellent and overall even with the imperfect resin infusion the object was extremely durable.
Ultimately, I really enjoyed trying out the infusion process and the big takeaway was simply how much cleaner and less stressful it was that conventional wet layup and vacuum bagging.
Design Files
Tarball of the Solidworks design files available here.