Introduction:
Object 1: Flower pot design in CAD(Designed in CAD)
Object 2: Process of Flower pot Machining on shopbot
Object 3: Actual maching on shopbot
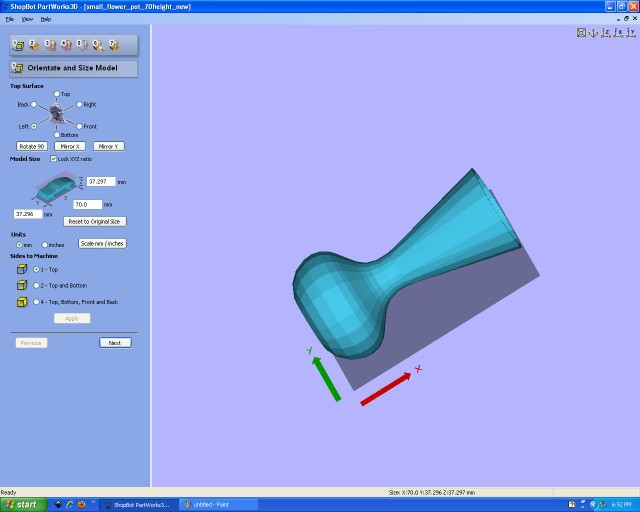
Step 1: Using Windows XP,I have already installed Partwork 3D, for step 1: see the Modeling flowerpot in the CATIA then export .stl file open that .stl file in the Partwork 3D.Click on start-->3D Partwork
Figure.1
Step 2: set the Orientation and size of the model.Here Orientation is Left so according to that i will set the wooden block on the shopbot bed. x=70,y=37.29,z=37.29,I want all diamention unit in mm with TOP view.
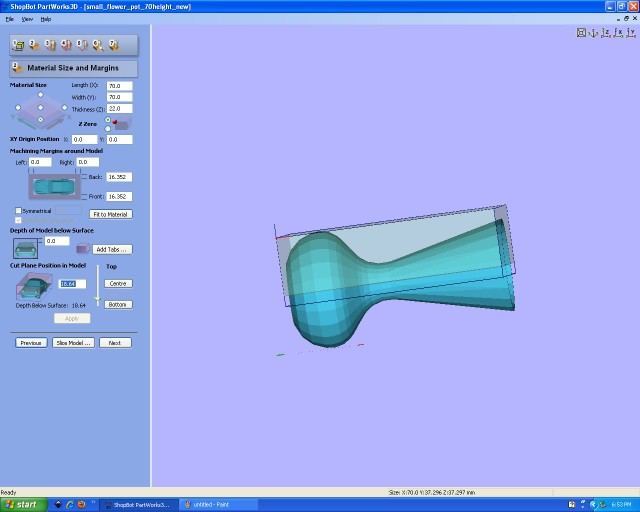
Figure.2
Step 3: Here we can set the material specification that i am going to clamp on the shopbot.I entered all diamention and margins with proper depth of cut because I am machining only half portion of the flower pot for mold and cast.
Figure.3
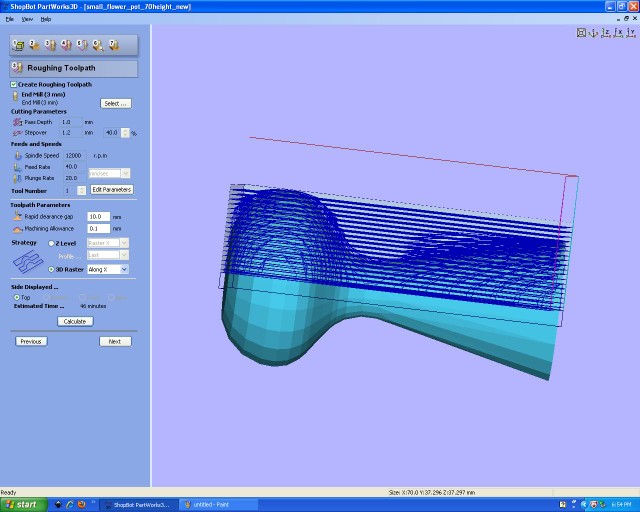
Step 4: Here step 4. Shows the actual object machining with roughing toolpath
Figure.4
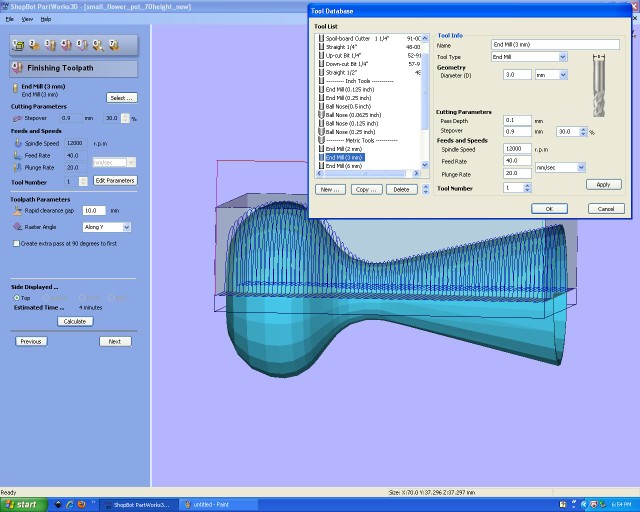
Step 5: Select the milling tool that we are using here for milling and set its parameter like passdepth, stepover,Speedrate,feedrate,Plungerate
Figure.5
Step 6: Then assign the finishing toolpath, and set finishing parameter as shown in following image.
Figure.7
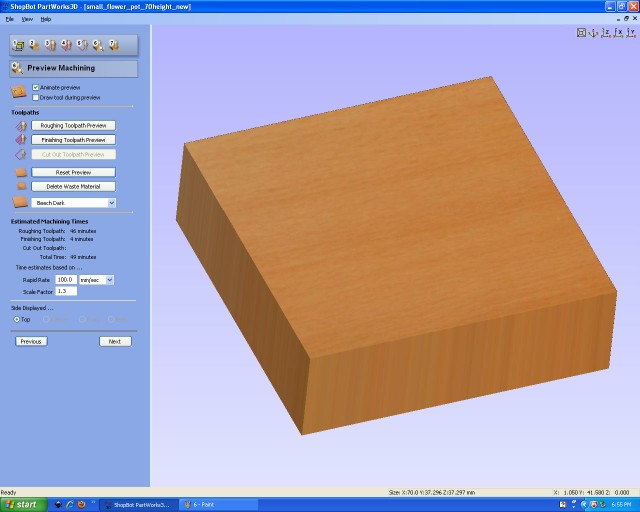
Step 7:At this stage we can preview the machining processes.click on Reset preview.
Figure.8
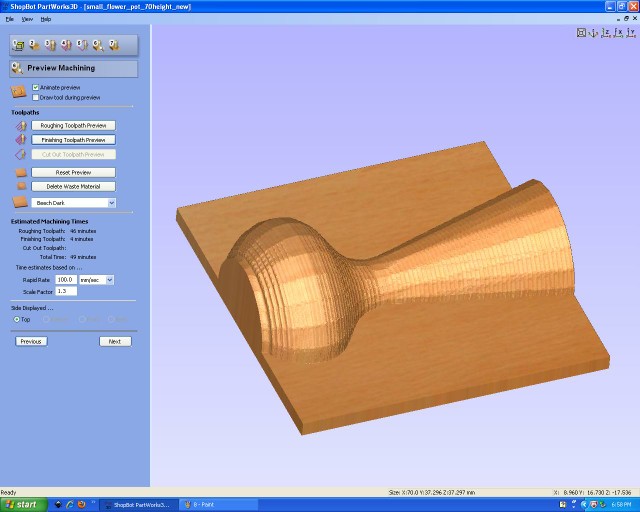
Step 8:Following image shows the Roughing process of flowerpot.
Figure.9
Step 9:then finishing process on shopbot to give finishing to rough object.
Figure.10
Step 5: Then we can save this roughing and finishing processes in shopbot acceptable file format.
Figure.11
Figure.12
Figure.13
Figure.14
Step 7:
Figure.15
Figure.16
Figure.17
Figure.18
Figure.19
Cutting file
.stl Flower pot file
Partwork 3D mold
Shopbot file

