WEEK 18 | Project Development
This way, when I switched to PartWorks it was much easier to generate all the toolpaths: I could remember which toolpath type, which endmill and which depth to set up.
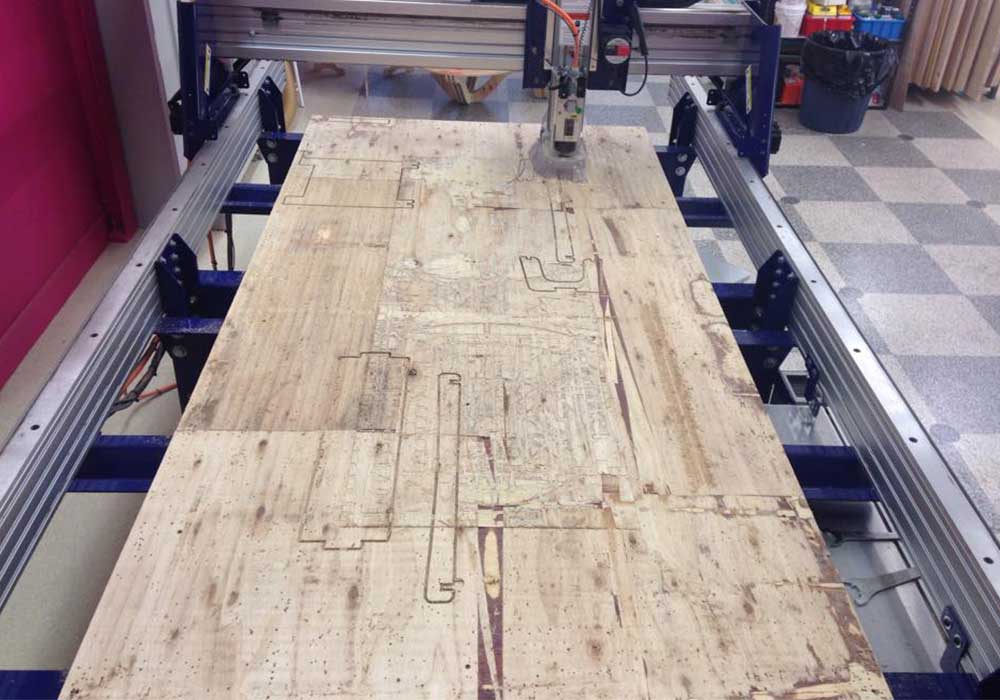
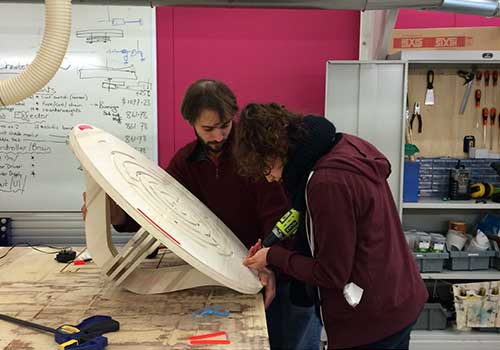
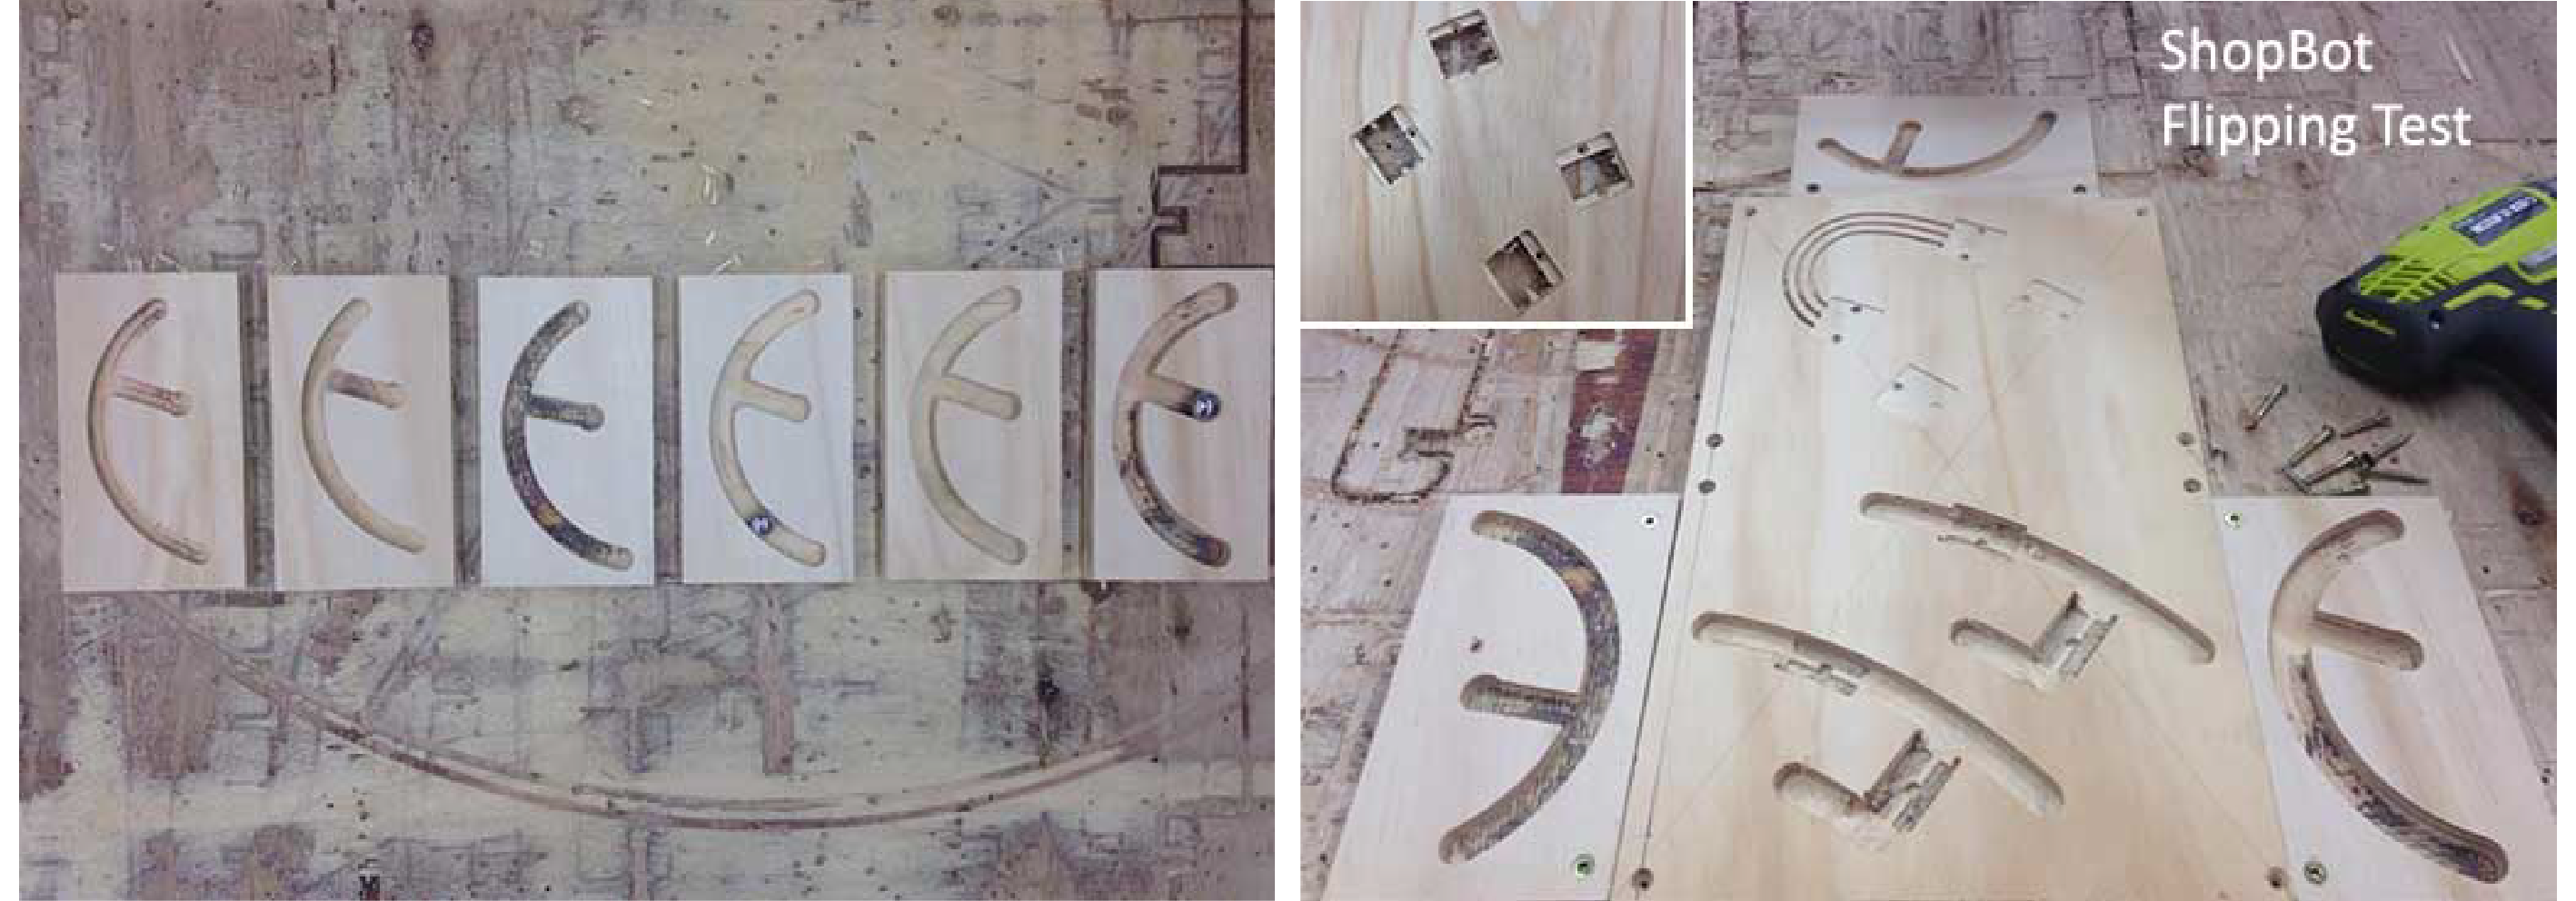
The biggest challenge was to set up the machine for the flip. And thanks to Wendy it was a success!
The workflow:
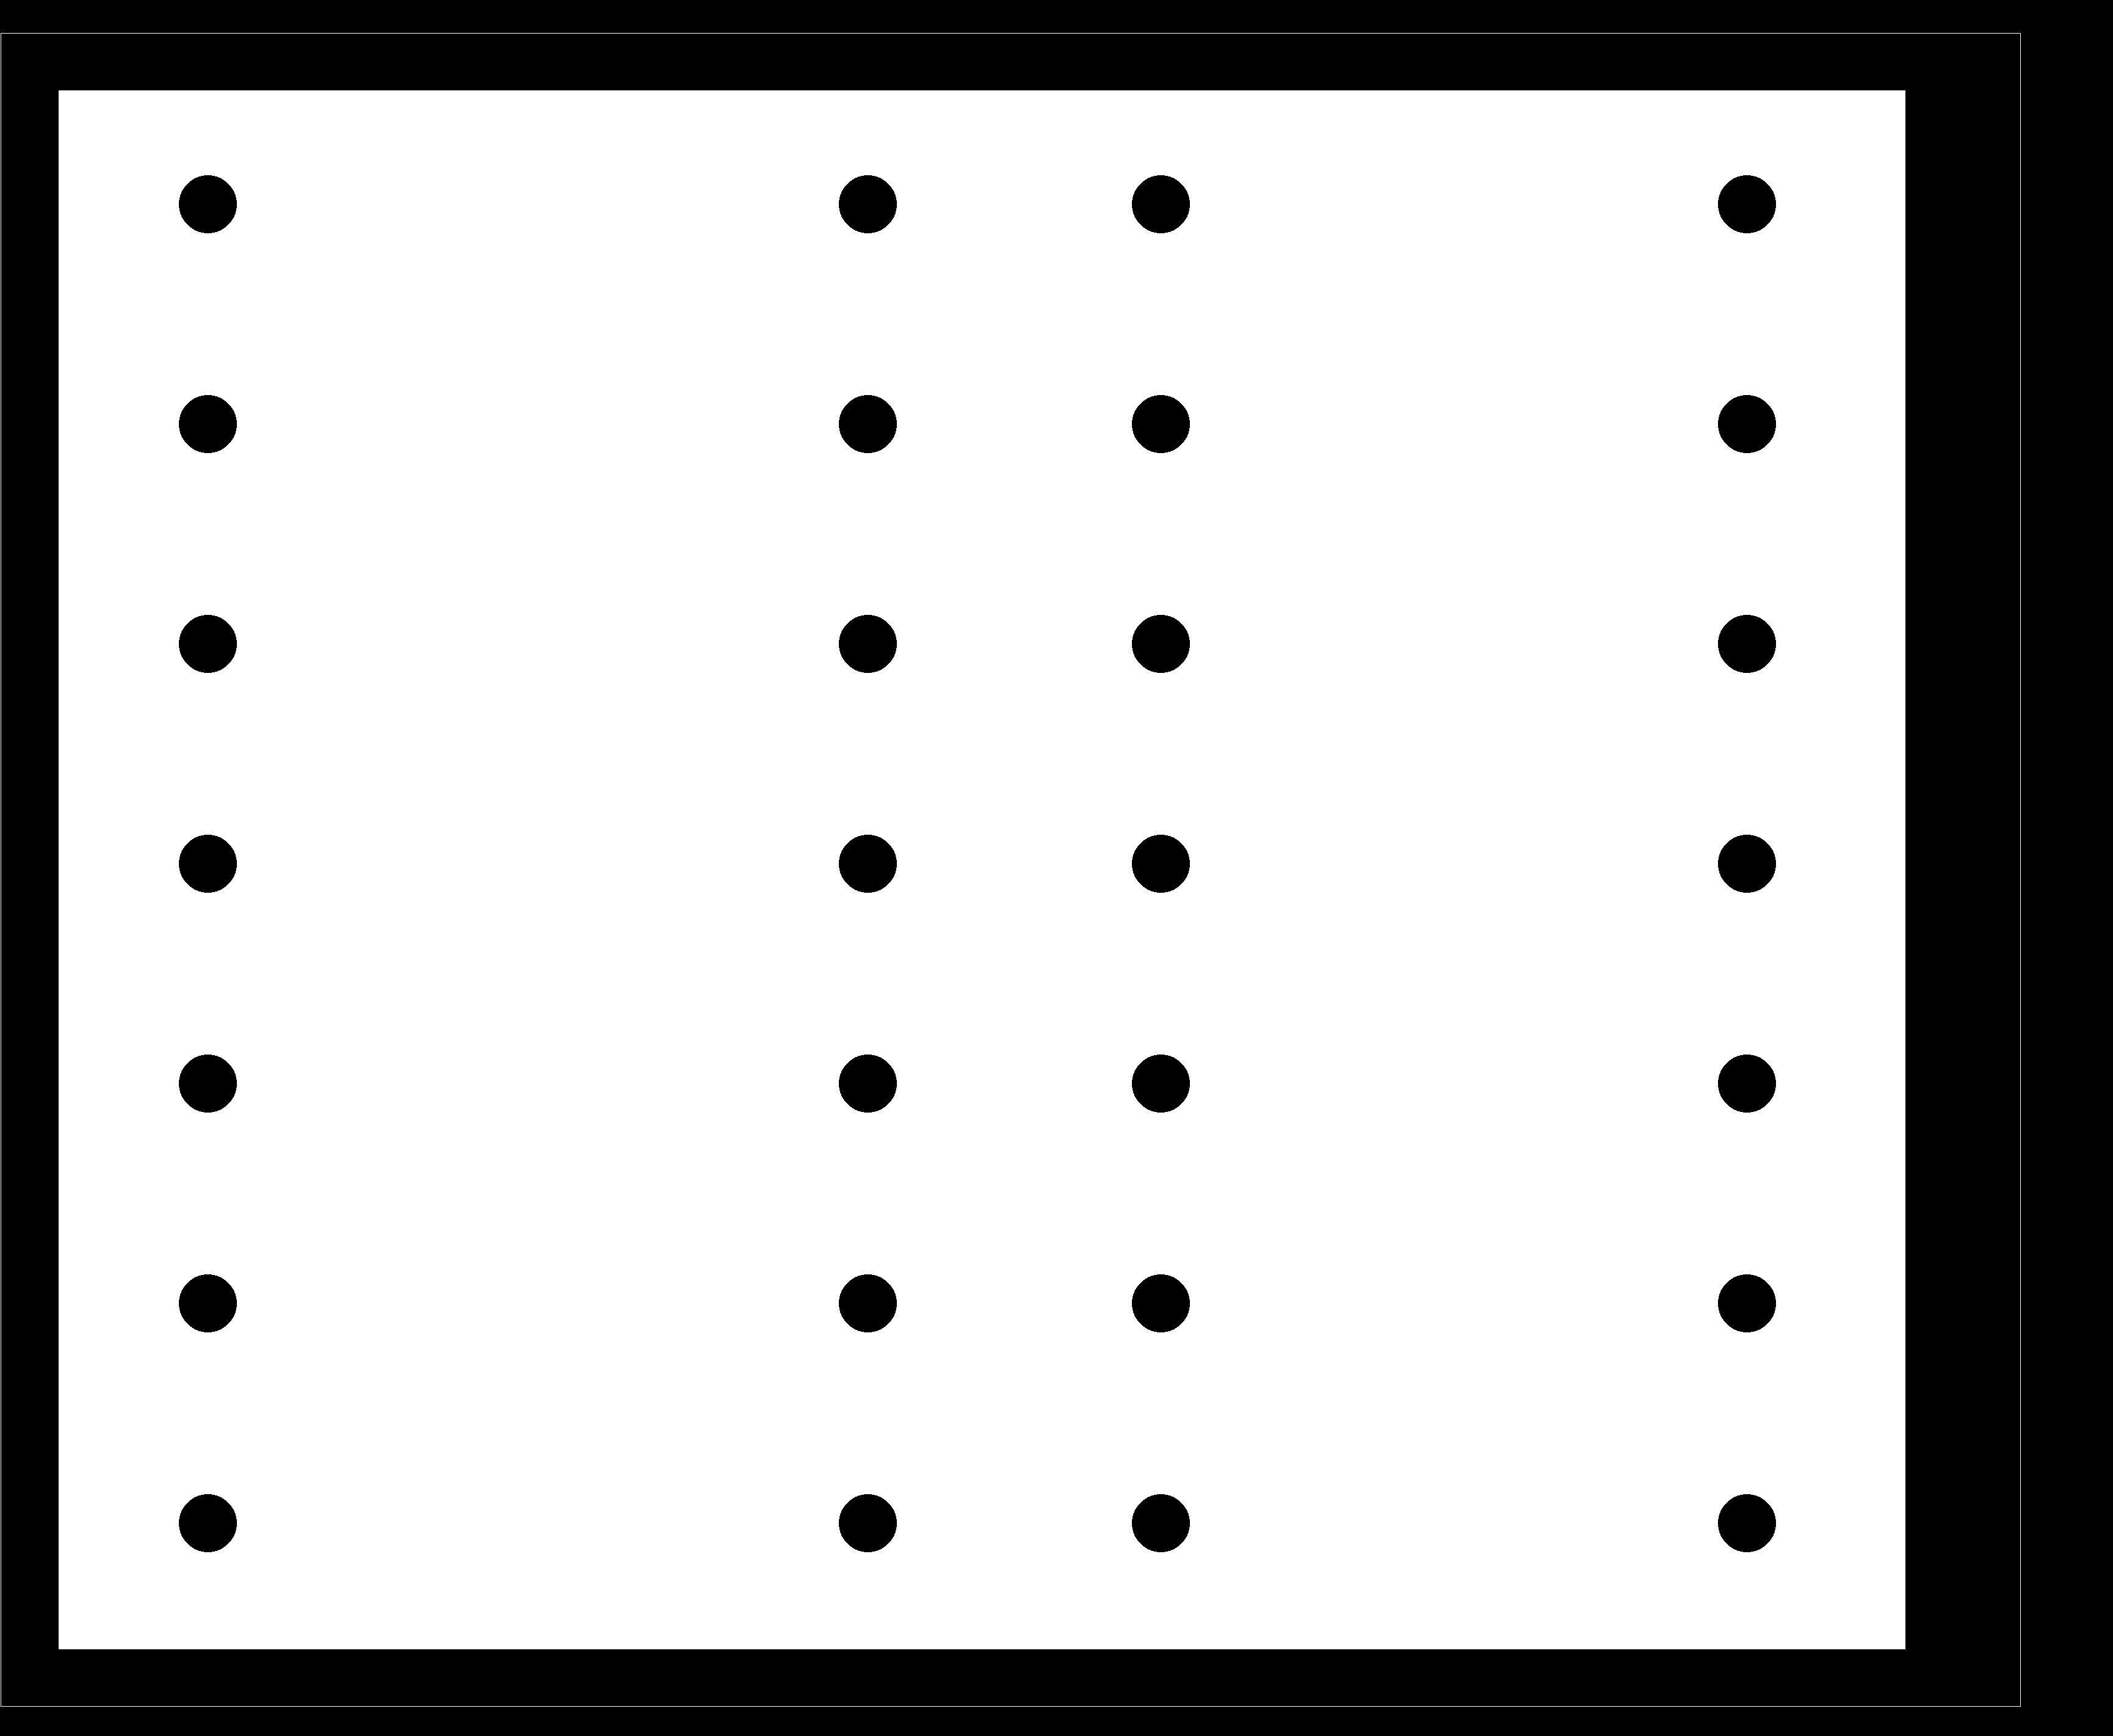
- On your PartWorks file: set up your starting point at the center. It was easy because the sheet of wood was the same size as the ShopBot bed.
- Add lines of screws on the vertical and horizontal middle axes.
- Set up the X-Y origin by using the ShopBot command: thus the origin will be at the corner.
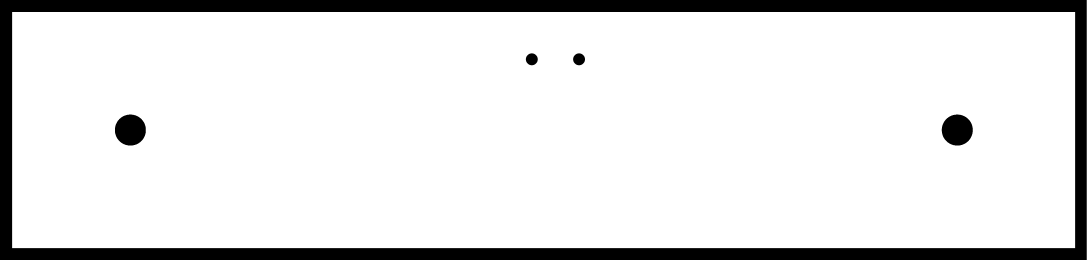
- Move the bit to the center of your material: X = 610mm, Y=1220mm. And reset the X-Y origin.
- Check if the bit is right at the center by moving it to the sides. It was one mm off so we slightly changed the Y origin: 0.5mil offset.
- Once one side of your sheet is milled place a wedge before flipping the wood.

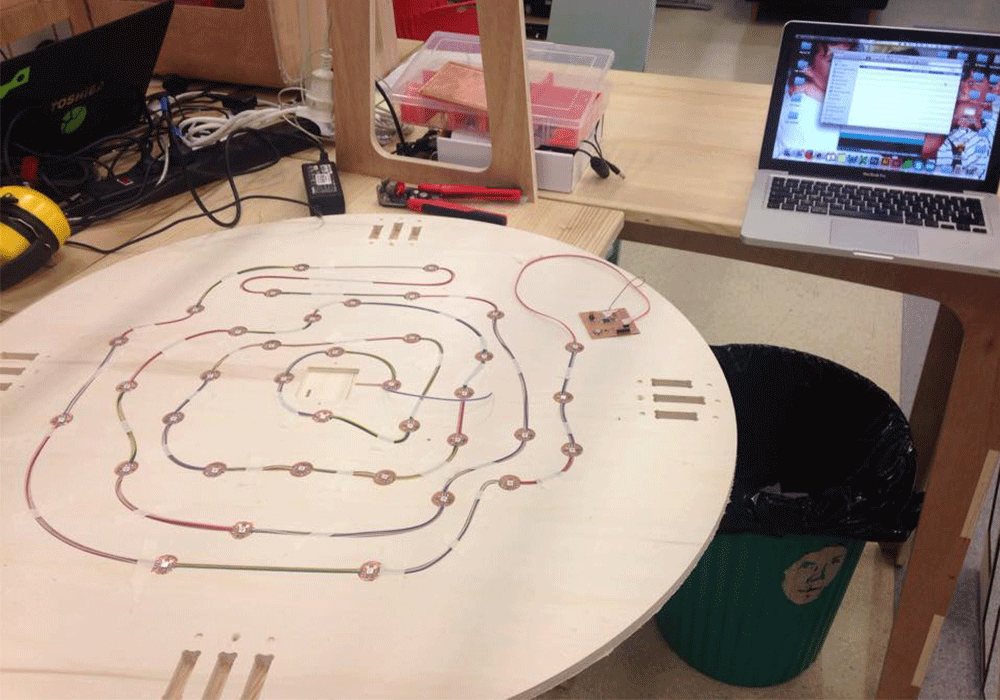
I'll use a 5V, 3A as an extra power supply for the LEDs strip. It will also provide power to Babeduino.
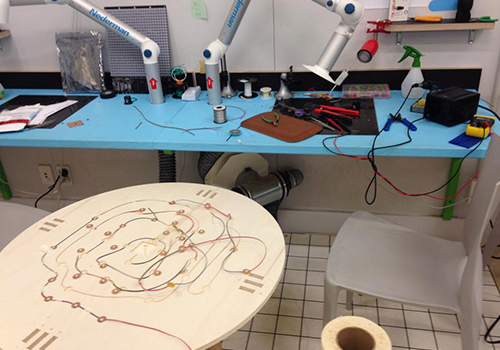
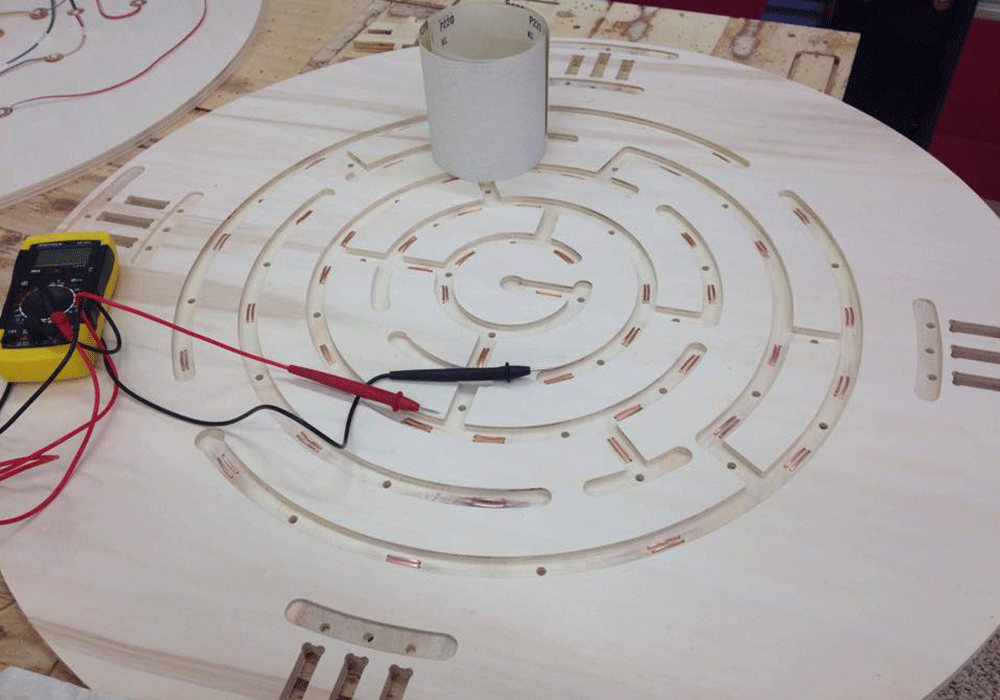
The copper was coated so I had to sand every single switch in order to make it conductive!
So many wires!!
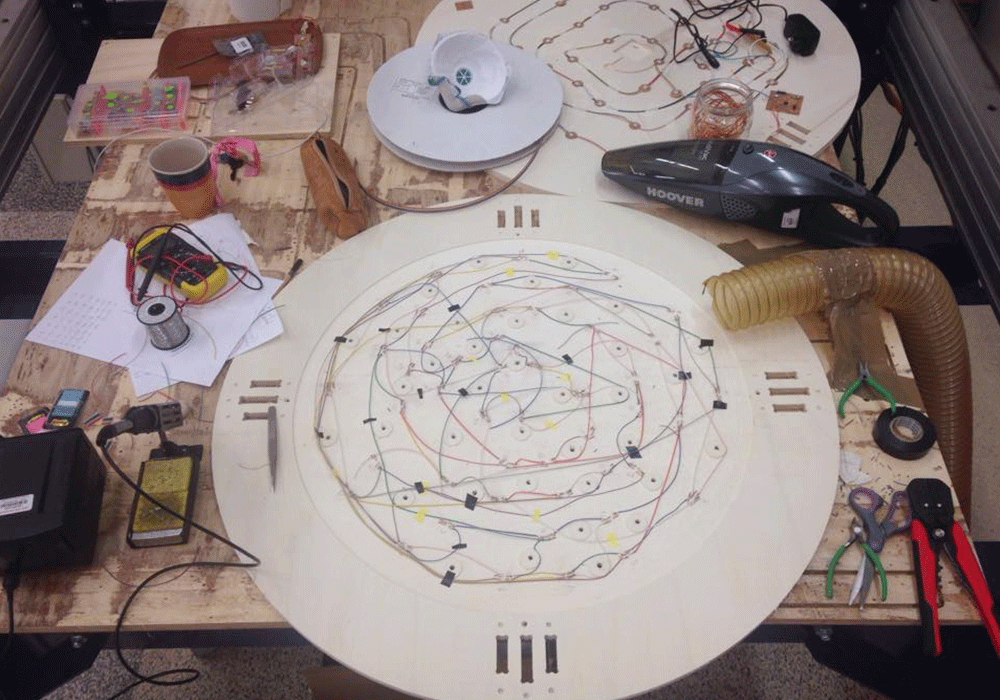
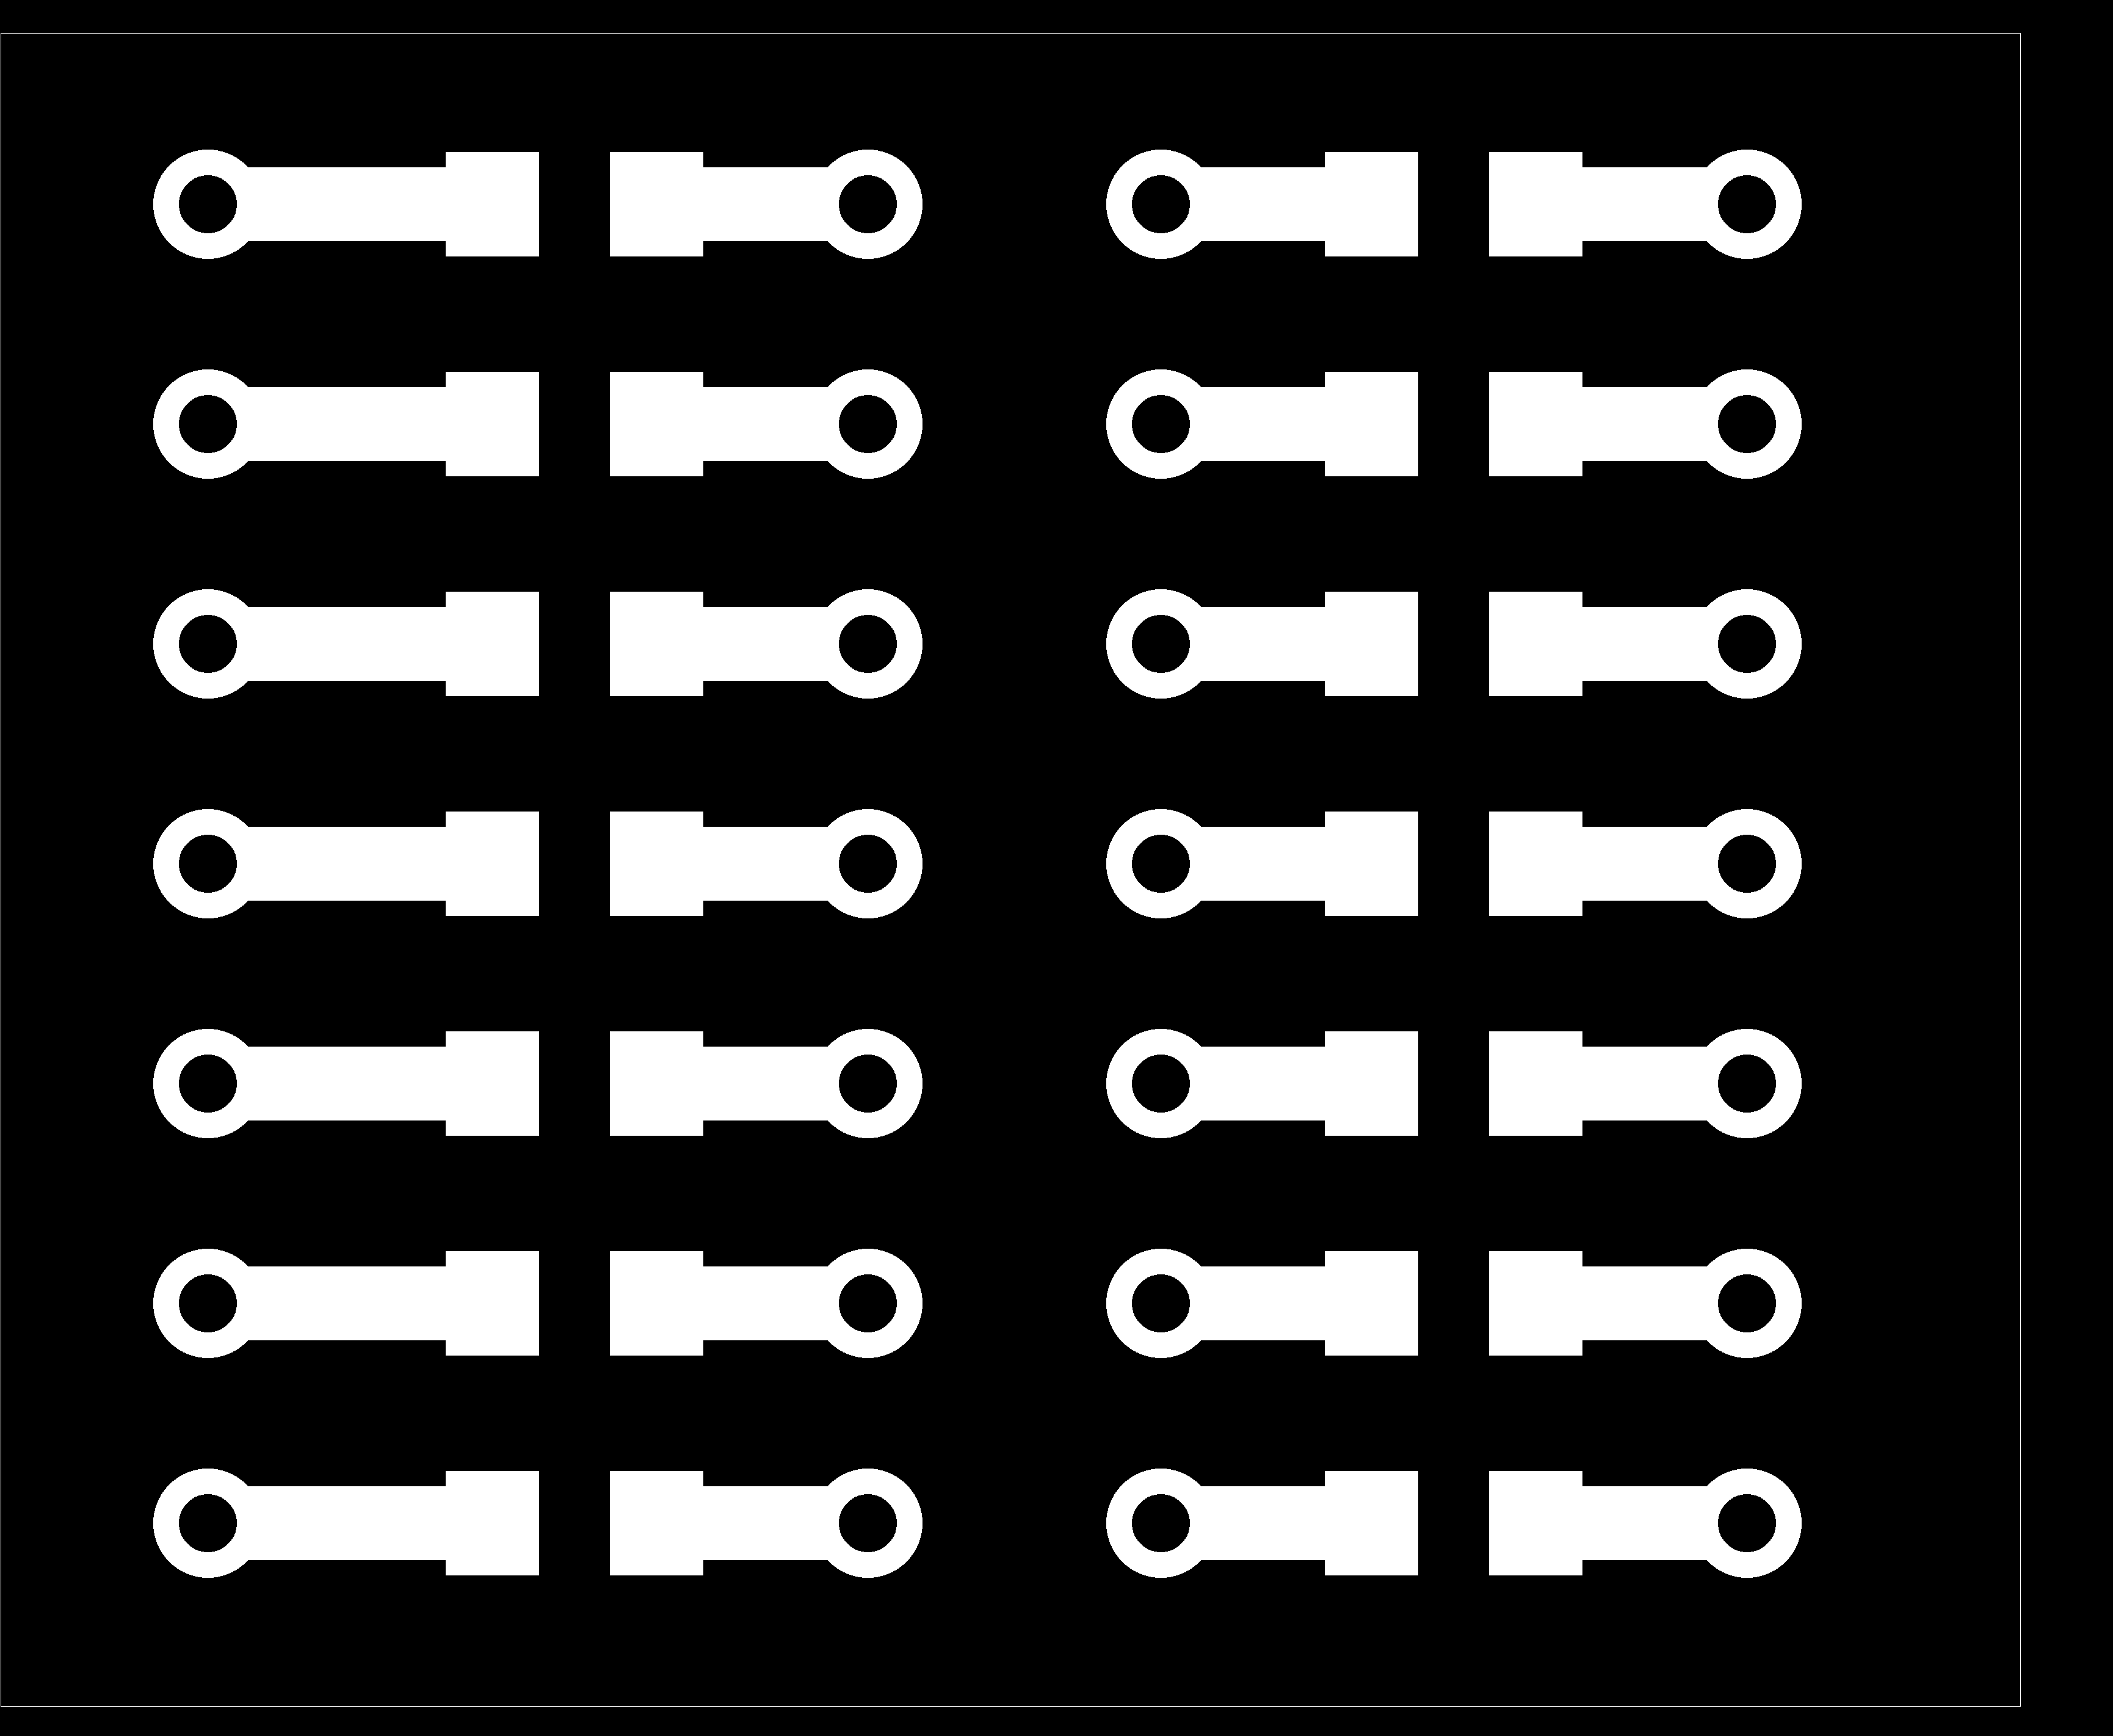
When I first plugged in my LEDs, just a few of them were working. I made some shortcuts and it burnt some LEDS. I also used Illustrator in order to mill 24 boards at the same time on the Roland MDX-20. But the traces were too thin on some boards.
--> Two entire troubleshooting days
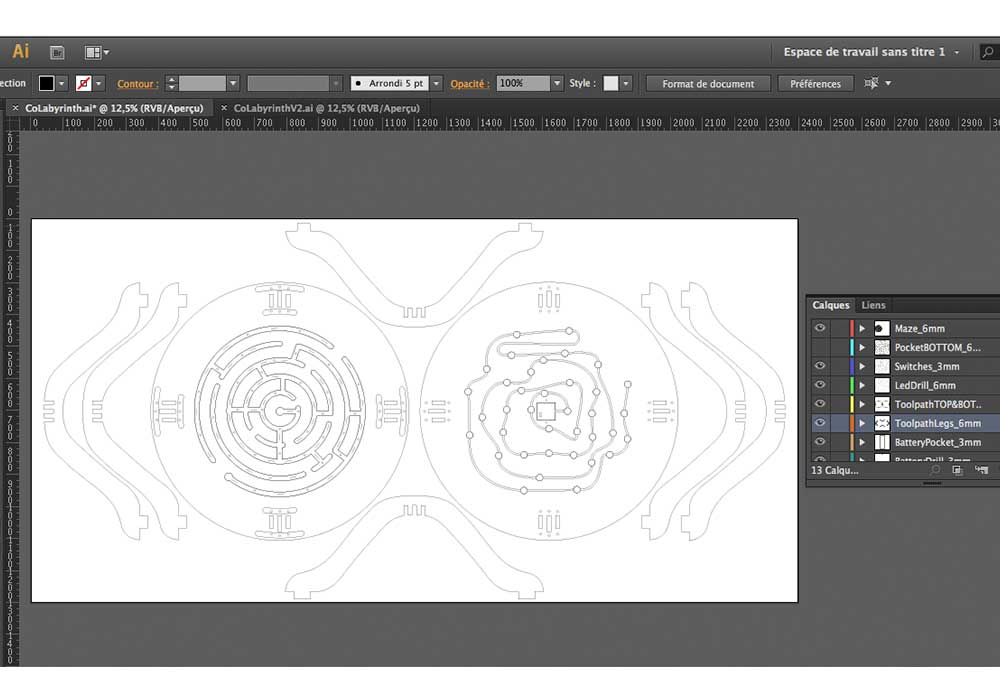
- Illustrator file: different layers have been used
- .dwg file
- Partworks file
Electronic files
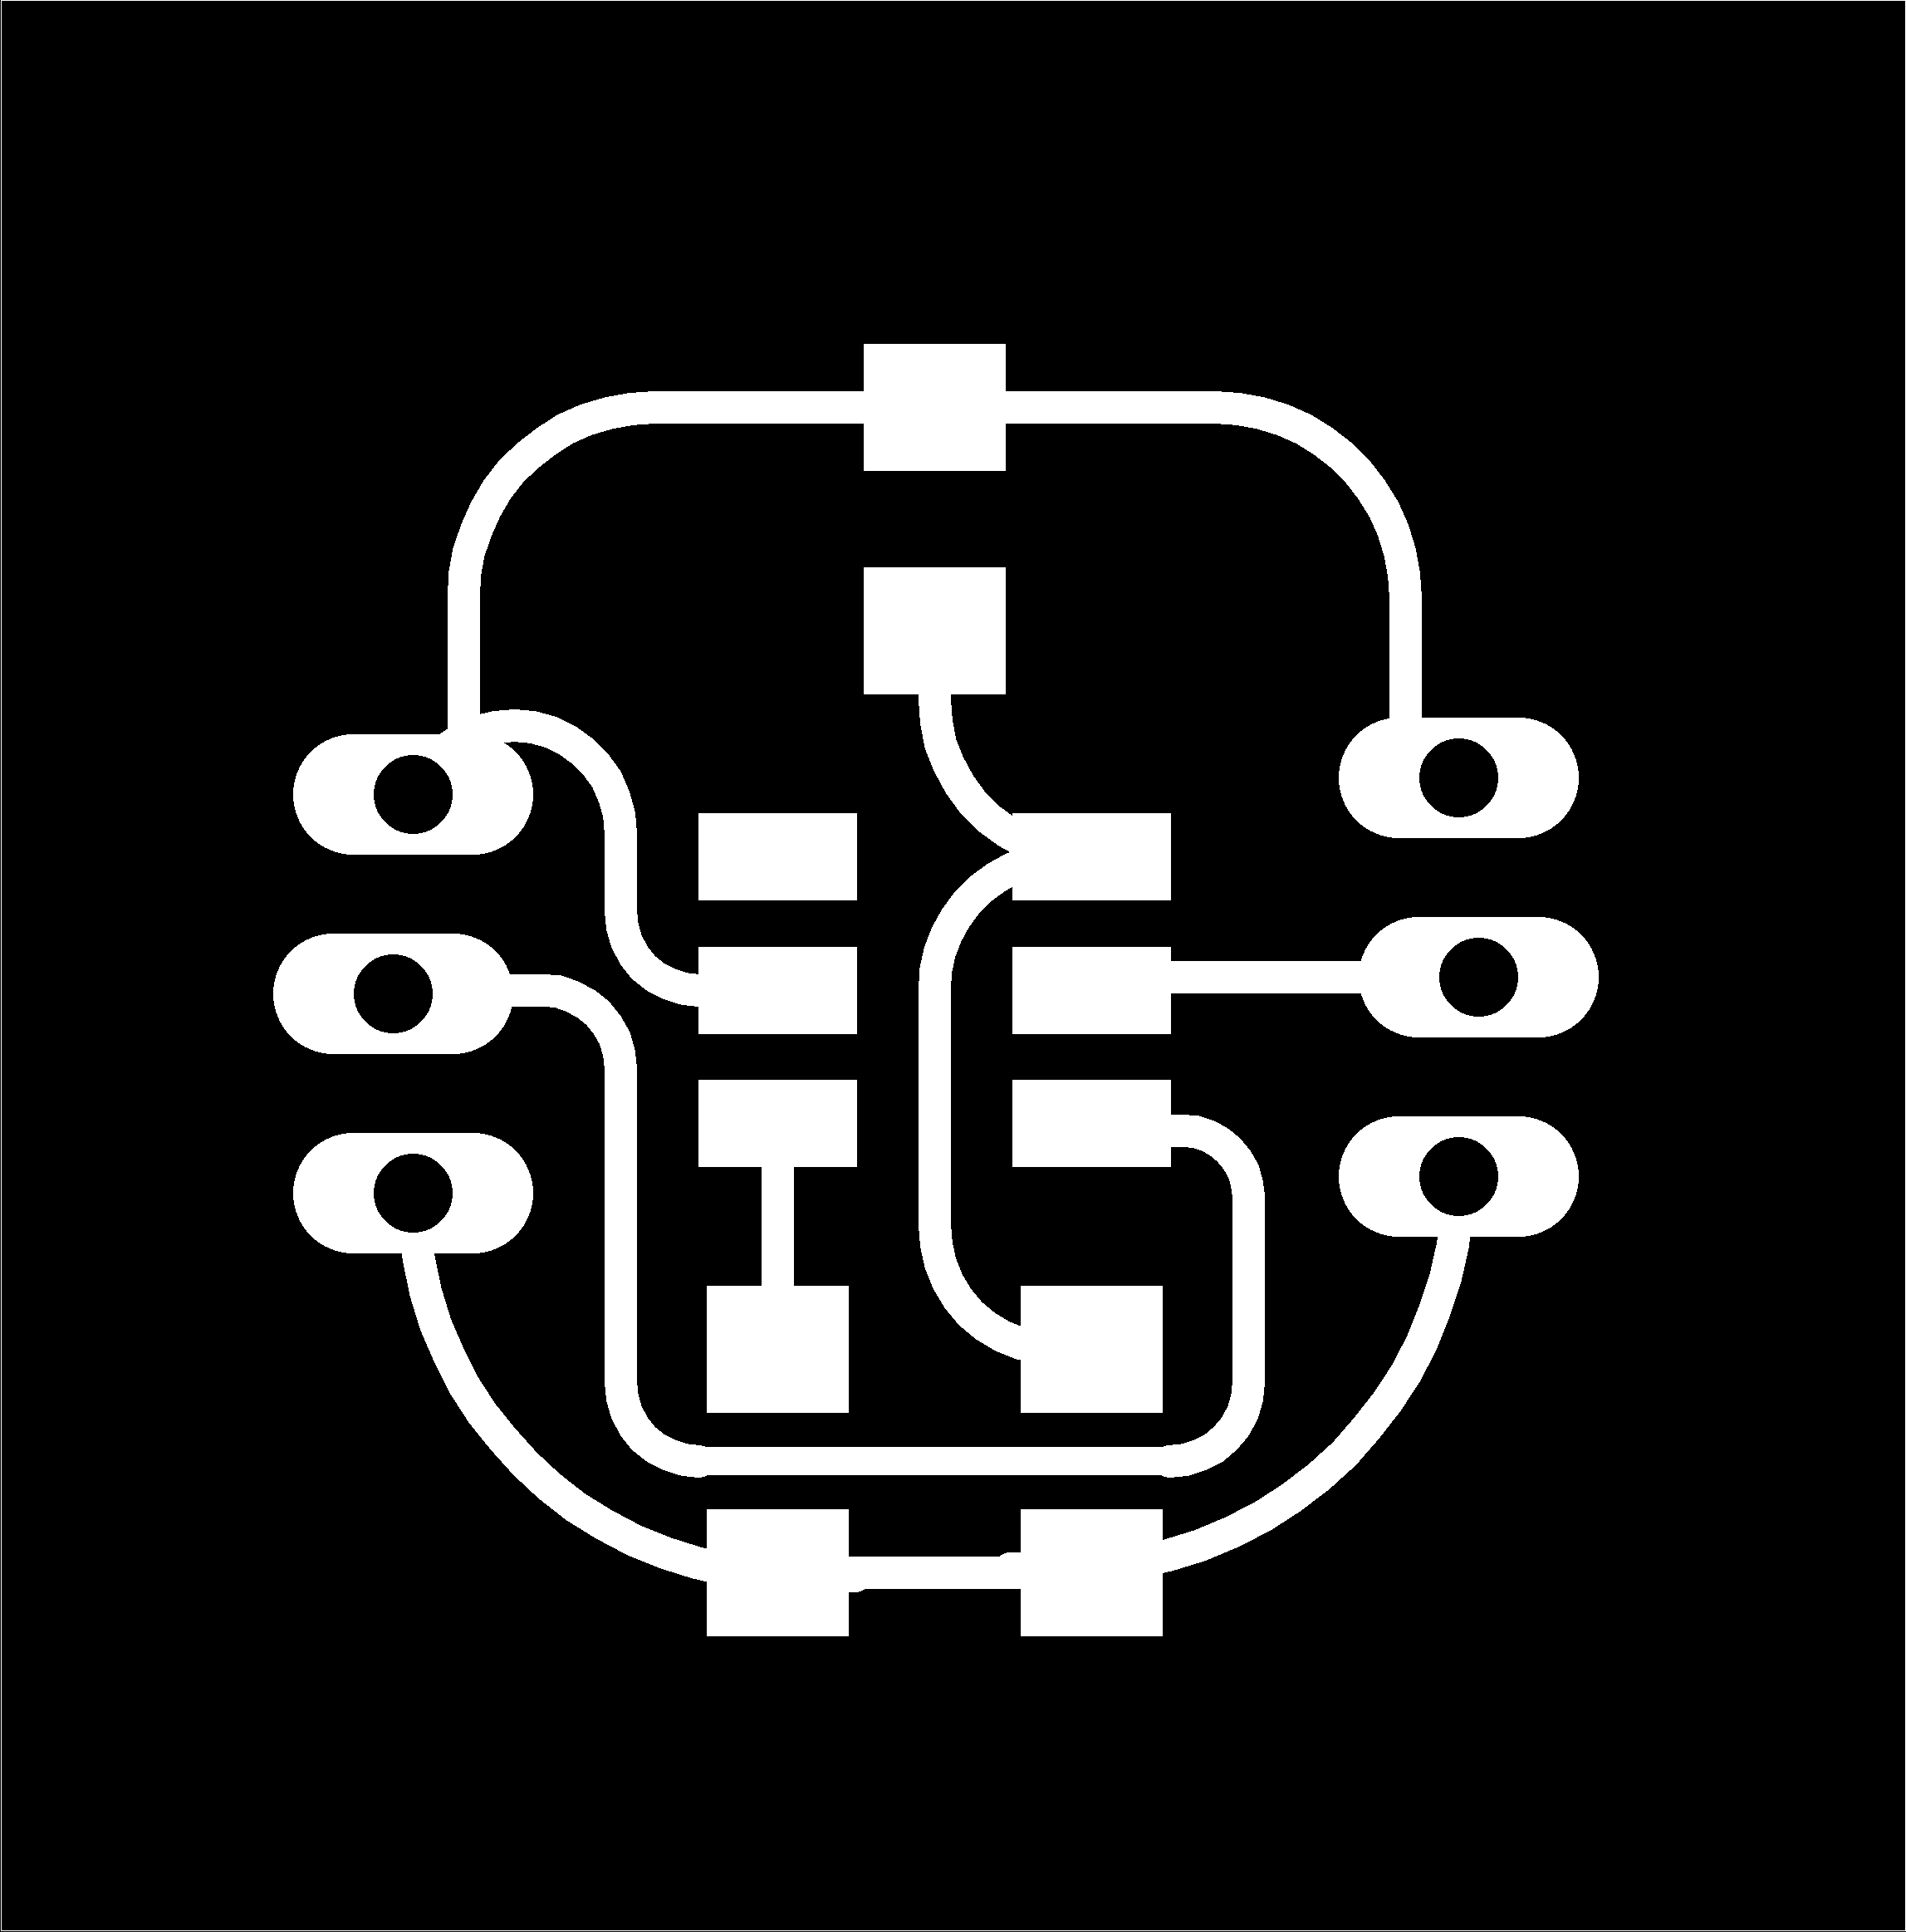
- LED board: schematic, board, .png traces, .png board, Illustrator file
AI files using layers | With Illustrator my traces were way thiner, careful
- Matrix breakout board: .png traces, .png board
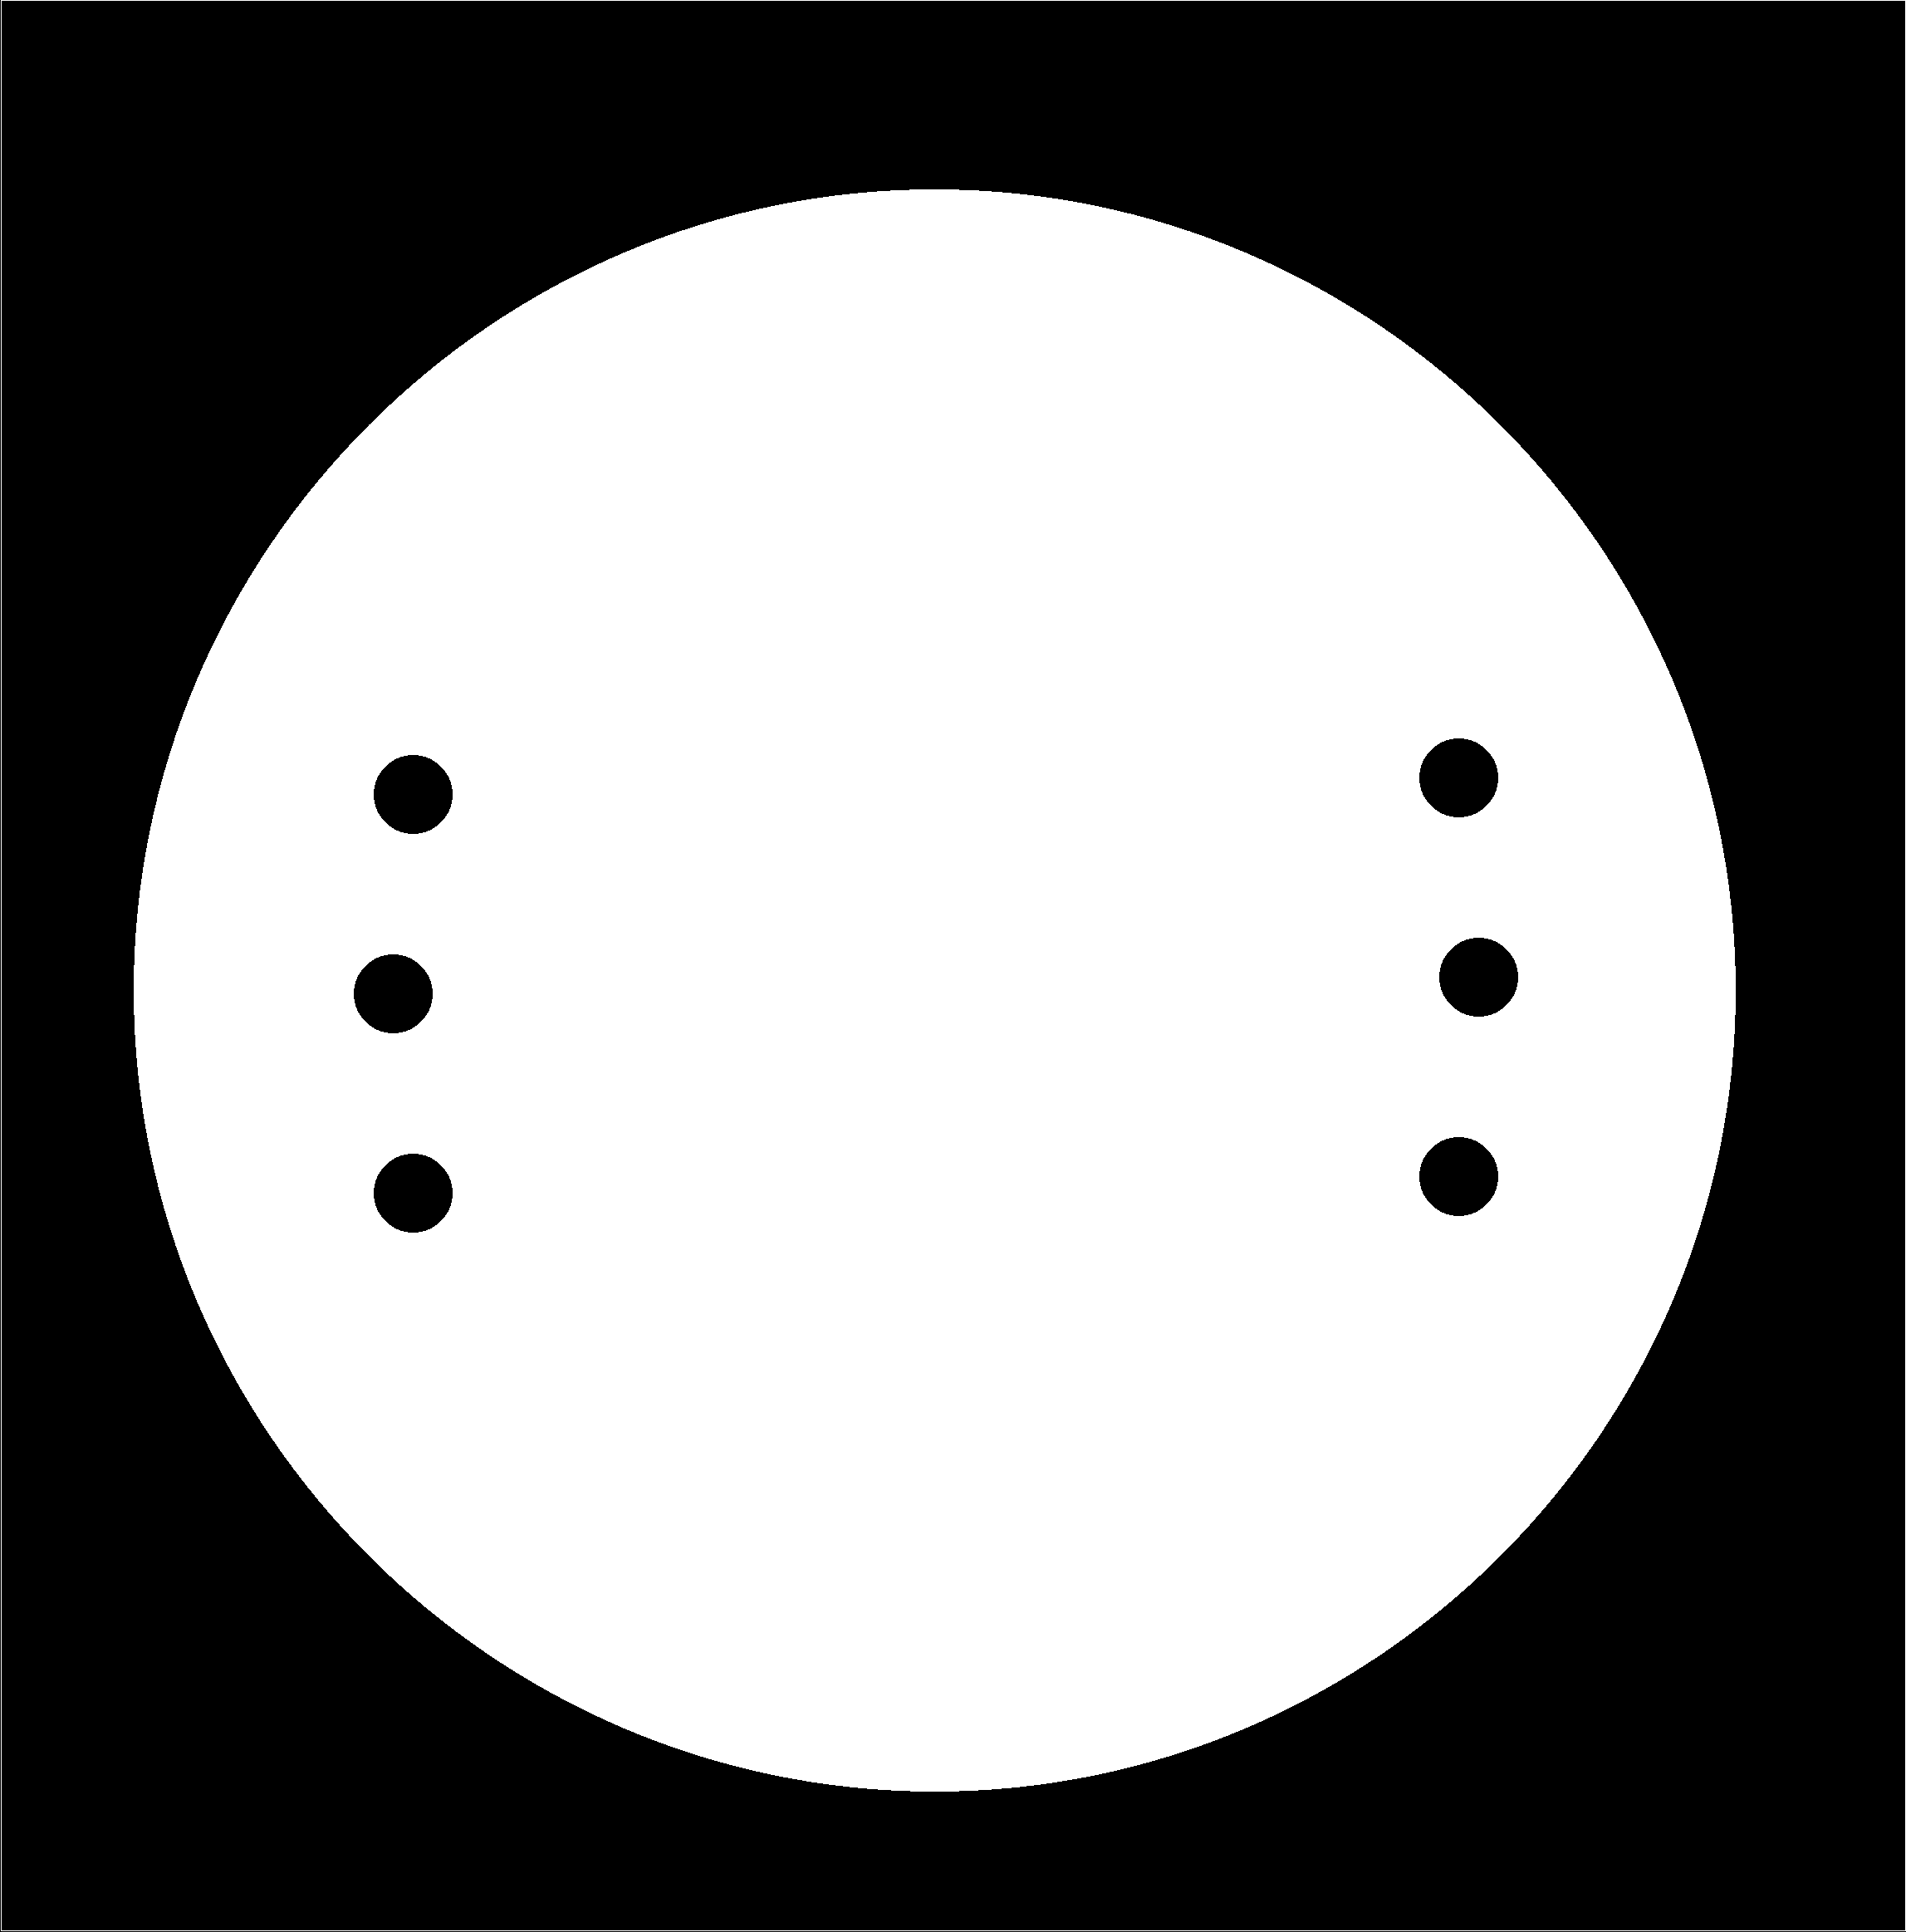
- Power breakout board: .png traces, .png board
Programming files
- WS2812 LEDs strip program test
- One LED and one program test
- Final program (need to be fixed)
Tests
- Shopbot flipping test: Illustrator file
- ShopBot final test: Illustrator file
- Finish the program: the LED program and the switches program work well independently. I'm still working on the final program.
- Stain the table top.
What has worked?
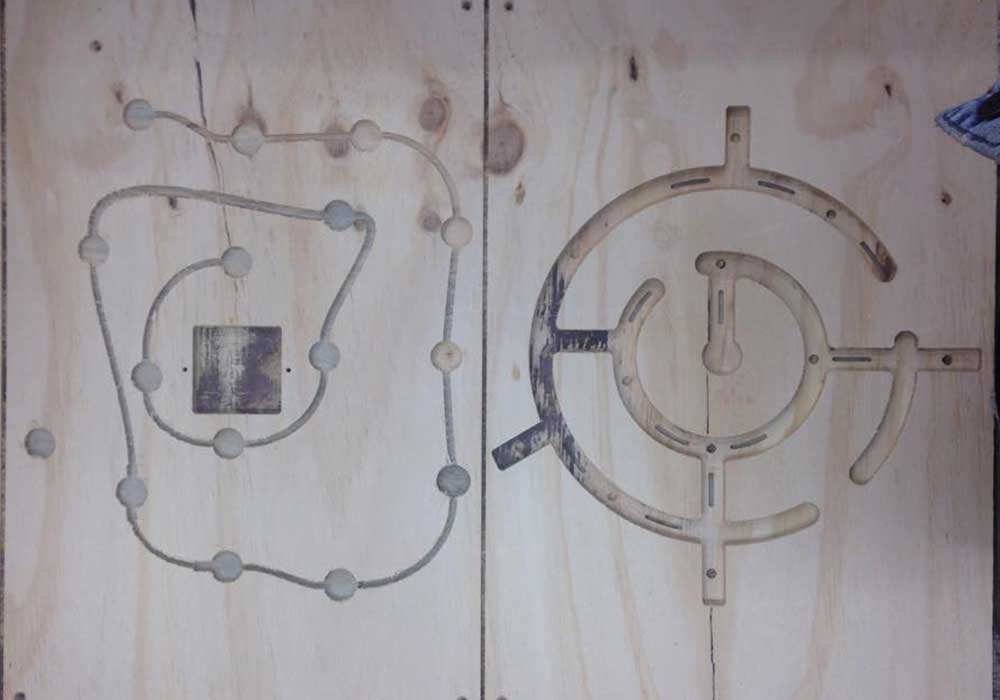
- The "sandwich design": wood and electronics,
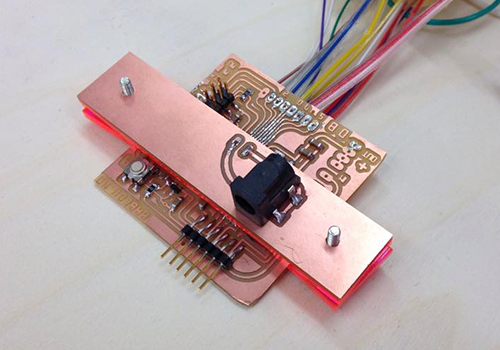
- Babeduino
What hasn't worked?
- The timing! This project was very long to make. I had issues with the LEDs, the switches were a pain to set up and I had to be very careful with the matrix wiring. I knew it would be a lot of manual work but not that much!
- The switches don't detect the marble unless I press slightly on them. For the next version I'll have to carve the copper into the wood and find heavier bearings.
What will happen when?
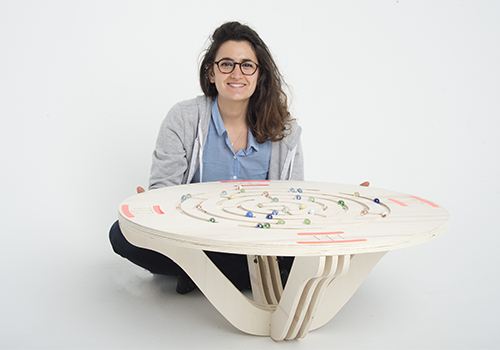
The last tasks will be done before June, 30th. And the table will be given to the kids of Houghton Valley School, Wellington.
What have I learned?
- Patience --> wiring & soldering,
- I'm definetly becoming a troubleshooting wizard --> 3 days fixing the electronics
- Flexibility --> because of my non-working program, I had to fix the Babeduino outside of the sandwich
- Autonomy: I often had to find the solutions by myself and I made a lot of mistakes. Now that I think about it, it was awesome because I might have learnt ten times more then I would have in a group project, especially in electronics.
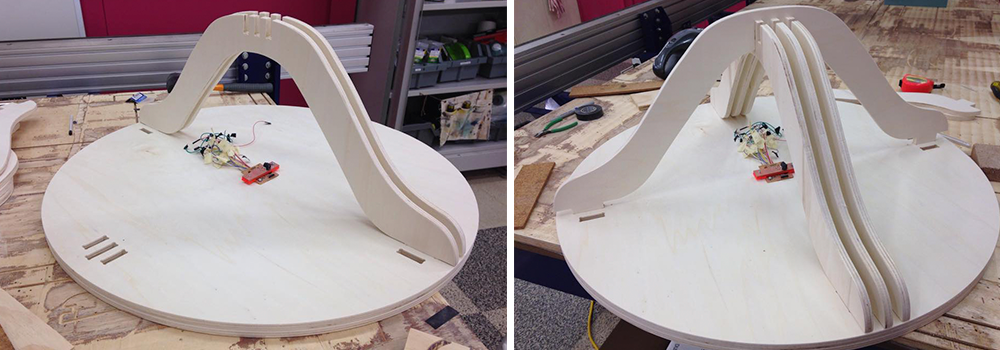
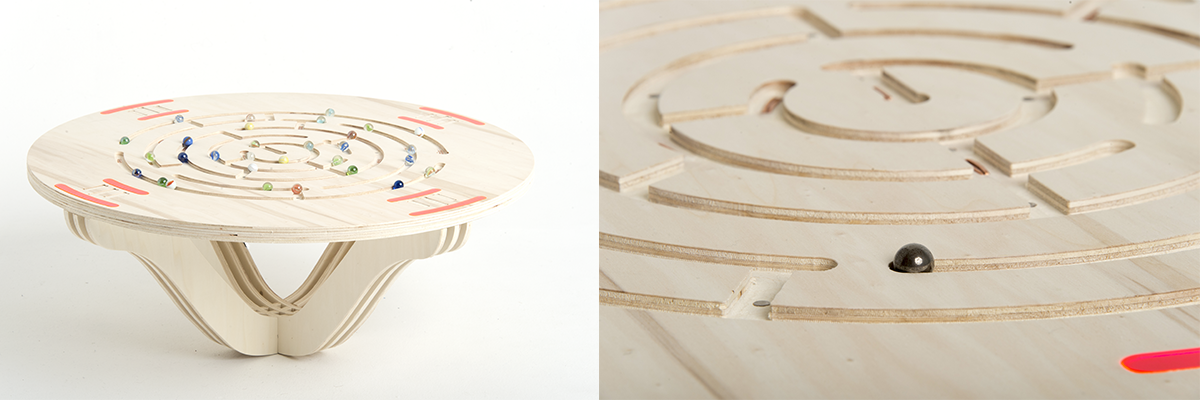
Depth & width of the maze + flipping test
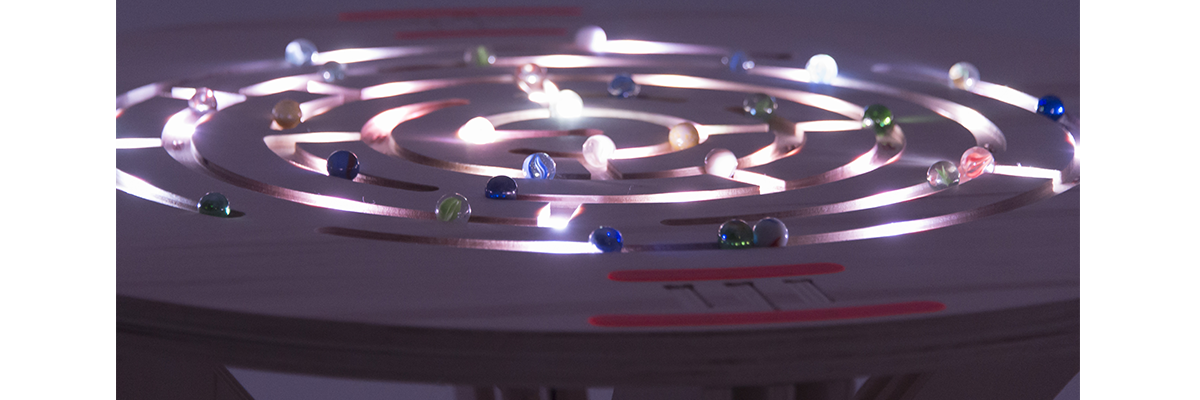
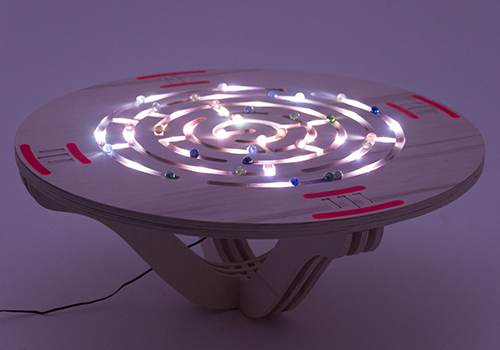
LEDs holes in the maze with acrylic plugs,
Maze inside angles: different curvatures tested.
LED WS2812 board + programming using NeoPixel (Arduino) and FastLED (Attiny44) libraries. This is a very useful tutorial.
Switch tests during the Input Device Week: electronic and programming.

CoLabyrinth by Anna Aflalo is licensed under a Creative Commons Attribution-NonCommercial-ShareAlike 4.0 International License.