3D Printing
The Design
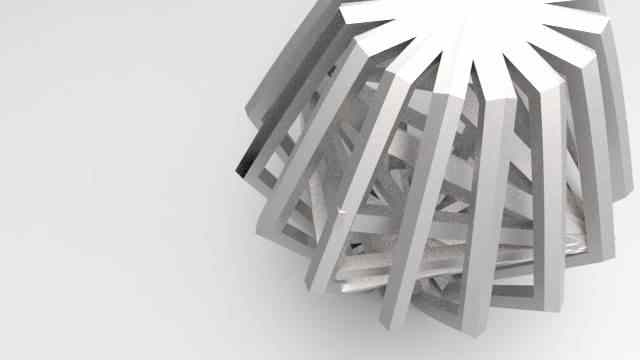
I used rhino as 3d modeling tool to design this 3d. its a repetitive unit in sequence to be printed at the powder printing machine while modeling DON'T FORGET to Boolean all your objects to union them all together, so as the machine can read them all as one, not as separated 3d shapes. in case of mesh or surface design, it has to be well closed without any open edges so as the machine can consider it a surface, otherwise it wont get printed
Dowload The Design Files
Rhino5
The Printing
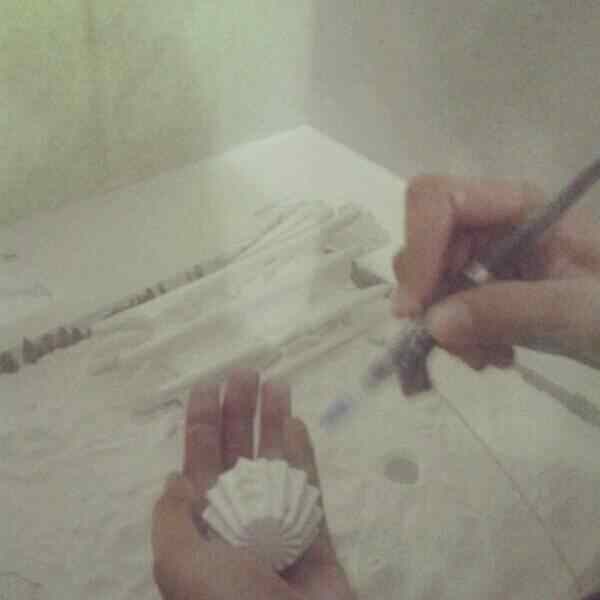
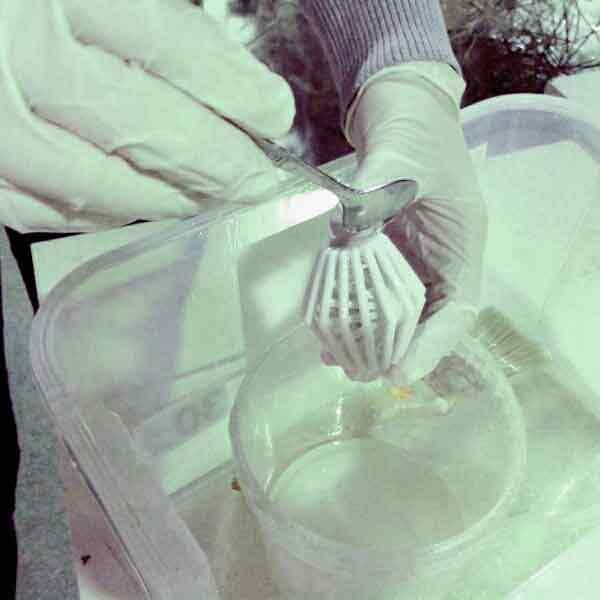
The printer took more than 6 hours and when the object was out it was almost a block of powder, i had to blow the extra powder carefully from the object with the air gun at the cleaning machine The design here was challenging as it was small in scale and fragile in the membrane, so i had to move slowly with the air gun through the holes in the model to remove the powder completely from it then came the final stage where i added glue up on the final object to protect the powder from decaying and give it more strength
.PNG)
Scaning
Laser Beam
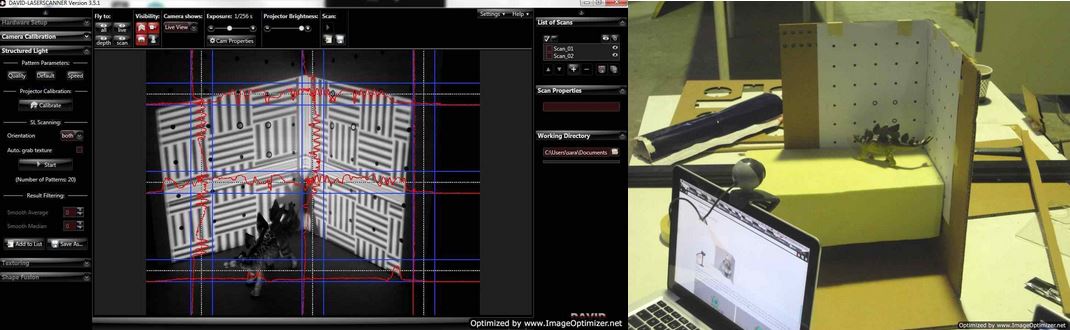
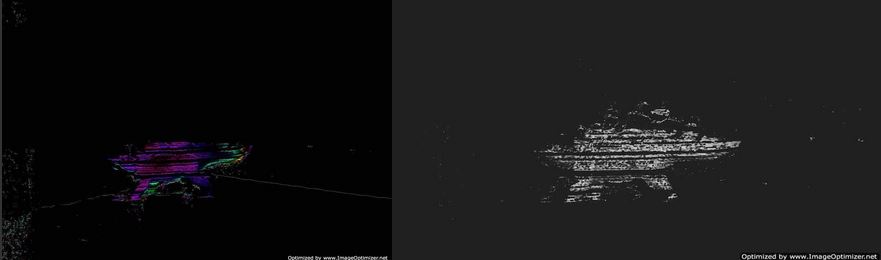
Scanning has different options and techniques. depending on the quality or resolution of your 3d model you should consider the used soft-wares and tools. our experiment proved the projector is way much better than the pointed laser when it comes to organic shapes for example We were trying to use the DAVID 3D LASER-SCANNING setting it up with hand held laser- pointer & a web cam to capture the image. The experiment took much time and gave us really poor result. the process was too slow as the software here detects the reflected laser beams from the object, which are revived to the computer through the web cam, translates it into sections used to build the 3d mass. BUT since the beam was thin and the object was too complex results were just UNHAPPY
Projector
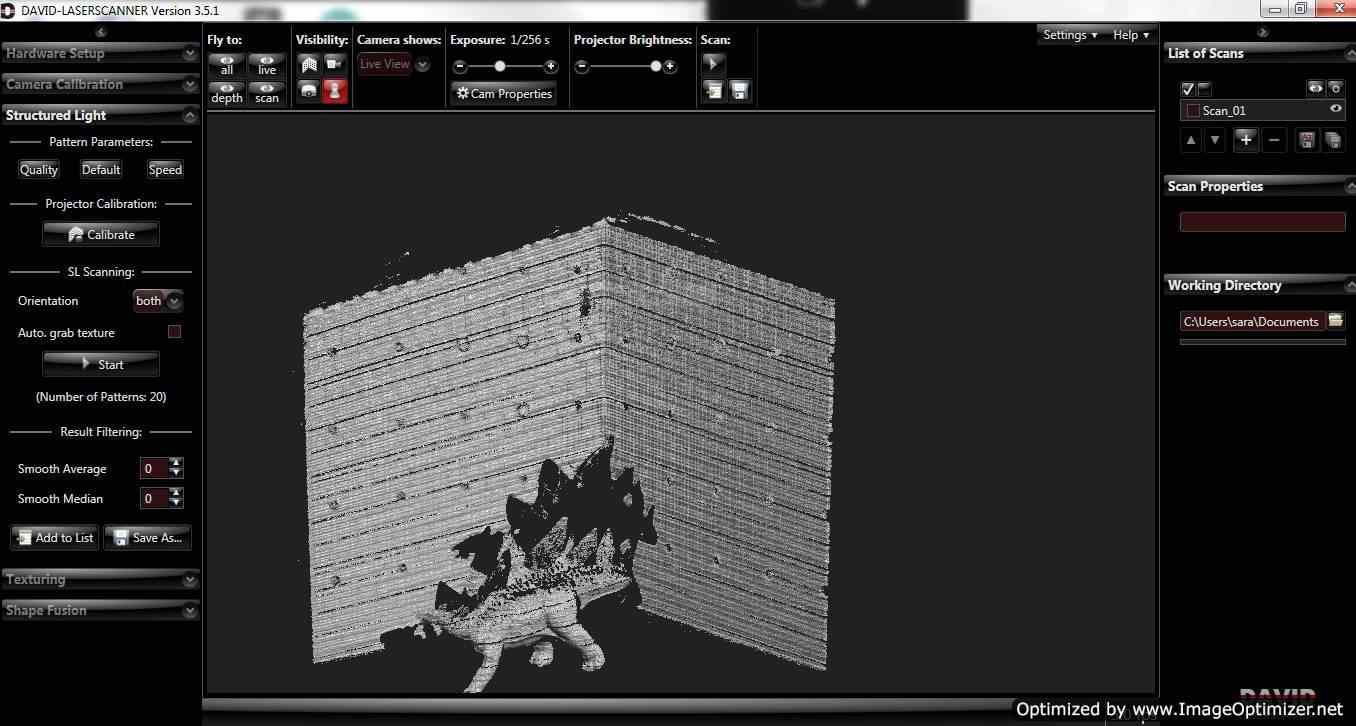
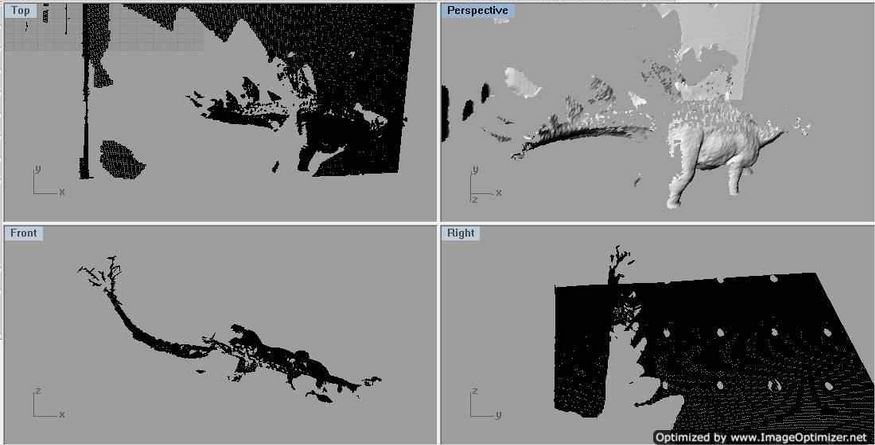
we used the second option we had -STRUCTURED LIGHT SETUP- also with DAVID 3D LASER-SCANNING & a webcam but with using the projector light this time instead of the laser beam. Results were better. it took much time thought to calibrate the grid upon the object itself and set the camera aligned with the projector. Also we had to use a simpler object than the dinosaur, it had a dull texture and organic curves, so we went with a simpler one for better resolution to get the right image but also the results weren't good enough to make a 3d model, we needed more time developing the resolution
Dowload The Result Files
Rhino5