
Composites
This week assignment is to create a mold using a CNC machine and create a composite part out of it.
I started out making a storm trooper helmet, but when it came time to mill the object it was going to require a full day or more of milling time so I switched gears and decided to make a boomerang. My objective was to make a base that was aerodynamic that I could make several copies from.
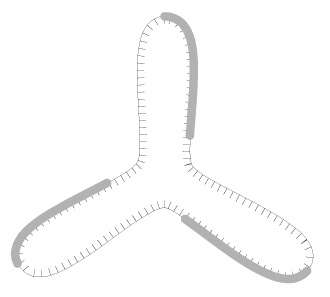
I'm no expert in boomerang or aerodynamic design, but I understand few key aspects are necessary for a good (returning) boomerang:
- wings should have an airfoil shape
- this airfoil shape allows to create unbalanced forces making it travel along an ellictical path rather than a straight line
- wings must be balanced to produce the spinning motion required for returning back to where it was thrown.
Model
As for this assignment I wanted to create a "real" boomerang, something able to fly, be strong enough to withstand the stress caused by landing, yet light enough to be carried around, I started researching materials and designs to pick mine.
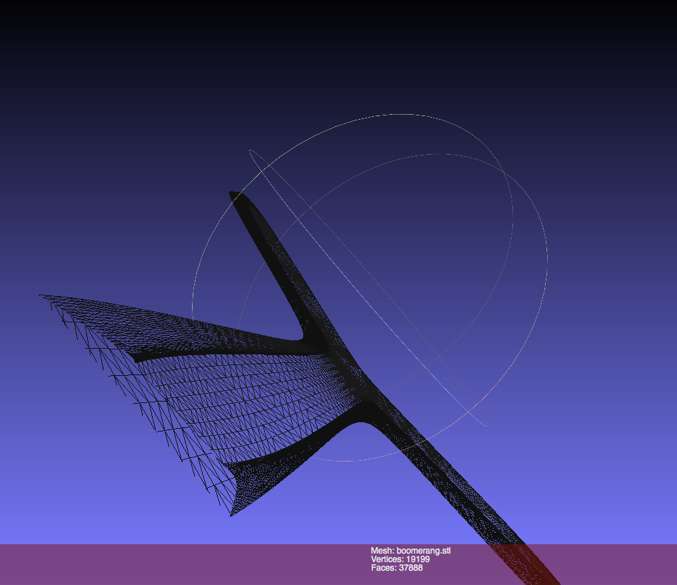
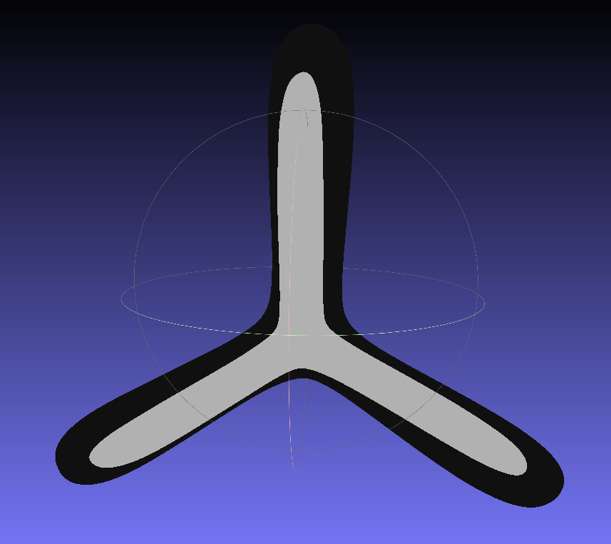
I started with a design for a boomerang with the top and bottom profile that will create the aerodynamic dimension that allows the boomerang to fly. I found a plan for a boomerang here and made some adjustments to make it my own.
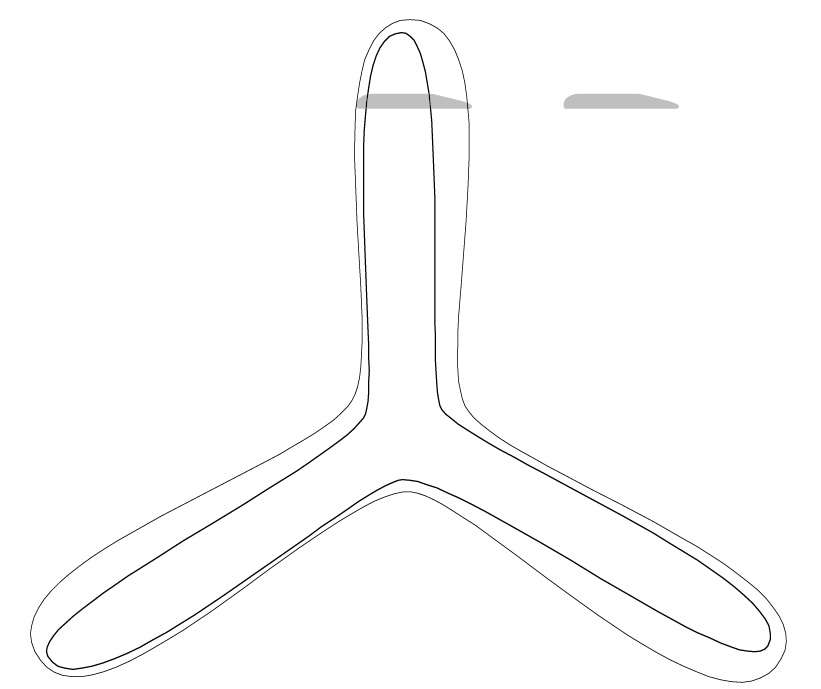
Then I moved into 3D where I created a loft extrusion between the two levels to create the blade of the boomerang. There was a problem in that the blade was flat instead of curved. I added a third level, an offset copy of the top level, and that allowed me to change the curve of the blade and make it aerodynamic.
Milling
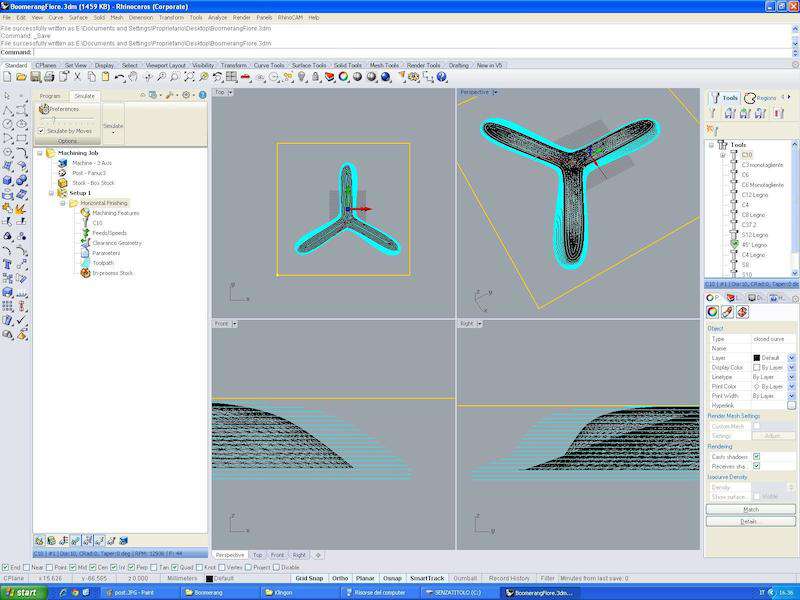
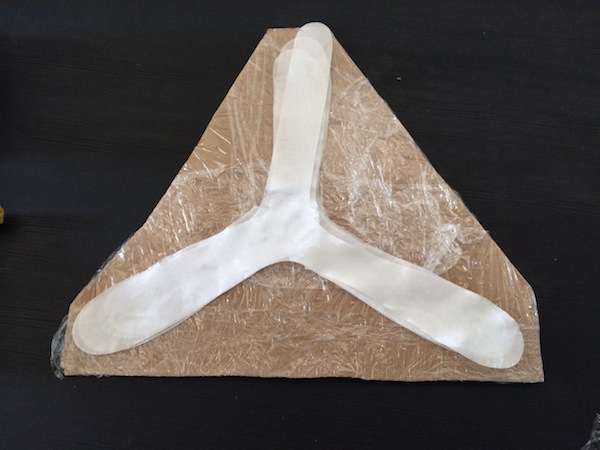
Next step was to take the STL to Mio Cugino in Milan, where I had access to the CNC machine to mill it. I made a small 3D print of it to ensure that the model worked.
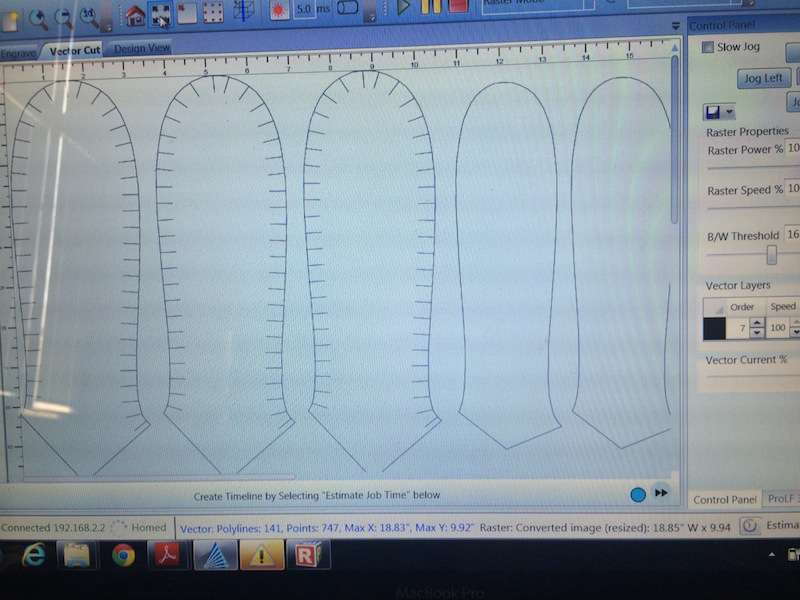
Same as for the Make something big I used RhinoCAM to create milling paths from the Rhino model, using a 10mm flat bit. In this case I just created one milling path since the object was not very large nor thick and I was afraid to break it with multiple passes.

With the milled boomerang ready to go I was ready to move on to compositing.
Compositing
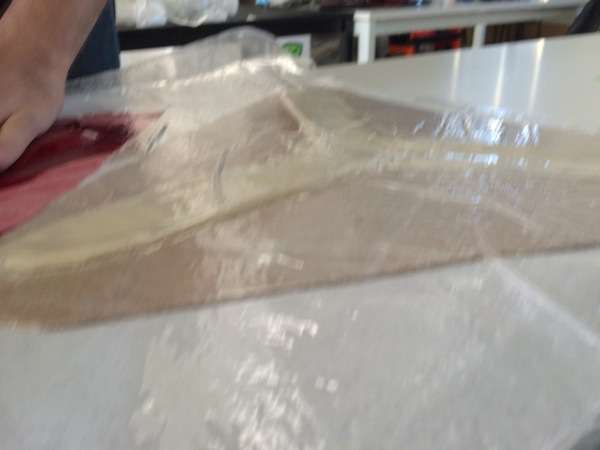
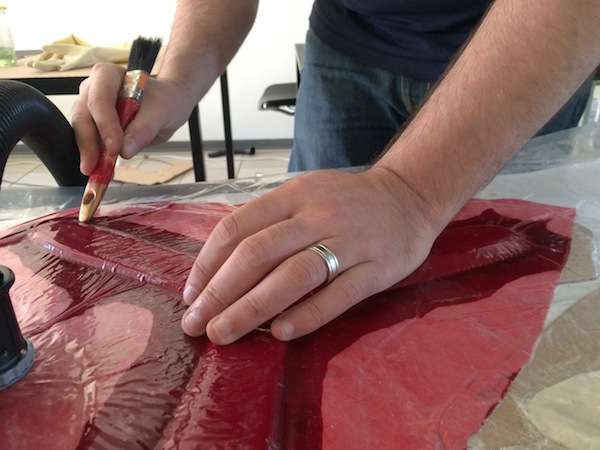
I waxed the the boomerang to fill any holes and help unstick the boomerang from the fiberglass.
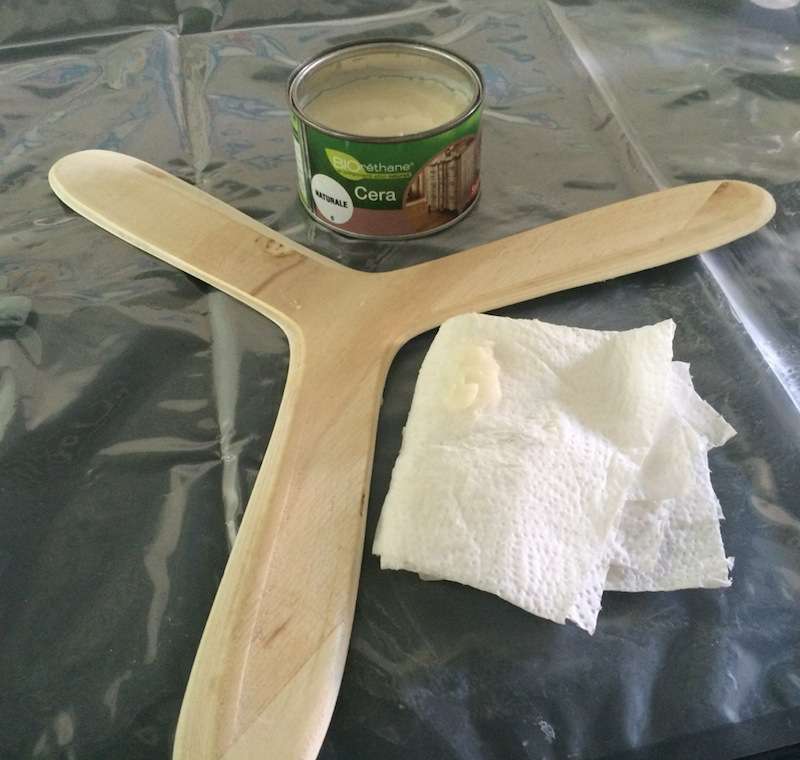
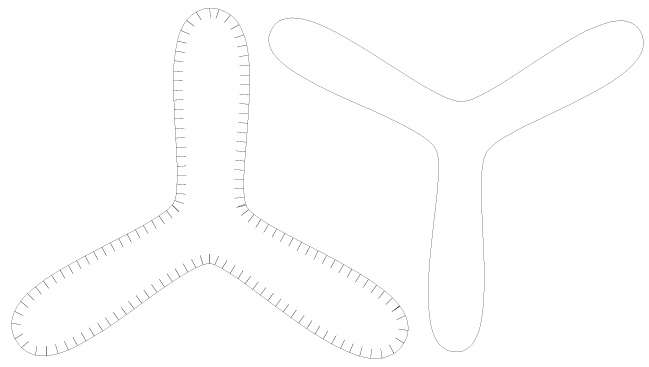
Instead of just using strips of fabric, I wanted to make sure to guarantee the aerodynamic reliability of the final product, so elected to make a laser cut pattern for the cover. The problem with the first version was that two of the arms of the boomerang fell on bias (outside of the 90 degree angles of the fabric) and this causes distortion in the fabric.
So I recut 3 copies of a single arm for each arm, so this time the distortion was avoided.
The resin used is the E-227 epoxy from Prochima that was easily available in a local scale models shop across the road for around 15 Euros.
This resin is recommended for surfboards, model planes and sport accessories, so I guess it was perfect for my project. The interesting characteristic of this product is that the resin fully cures in just 5 hours at 80 degrees with much better elastic properties than the 72 hours slow cure at ambient temperature.

I applied the epoxy slowly up the middle and then worked the epoxy out tower the blade. Each blade had 3 levels of textile applied in a clockwise pattern to add strength to the center of the boomerang.
The small edges were folded over in specific areas to provide a base for the bottom and provide good lift, then used the lab coffee machine to speed up curing.

I applied the same process for the base, and once detached the top from the mold I merged the two parts and went on with vacuum bagging to join the two parts together.
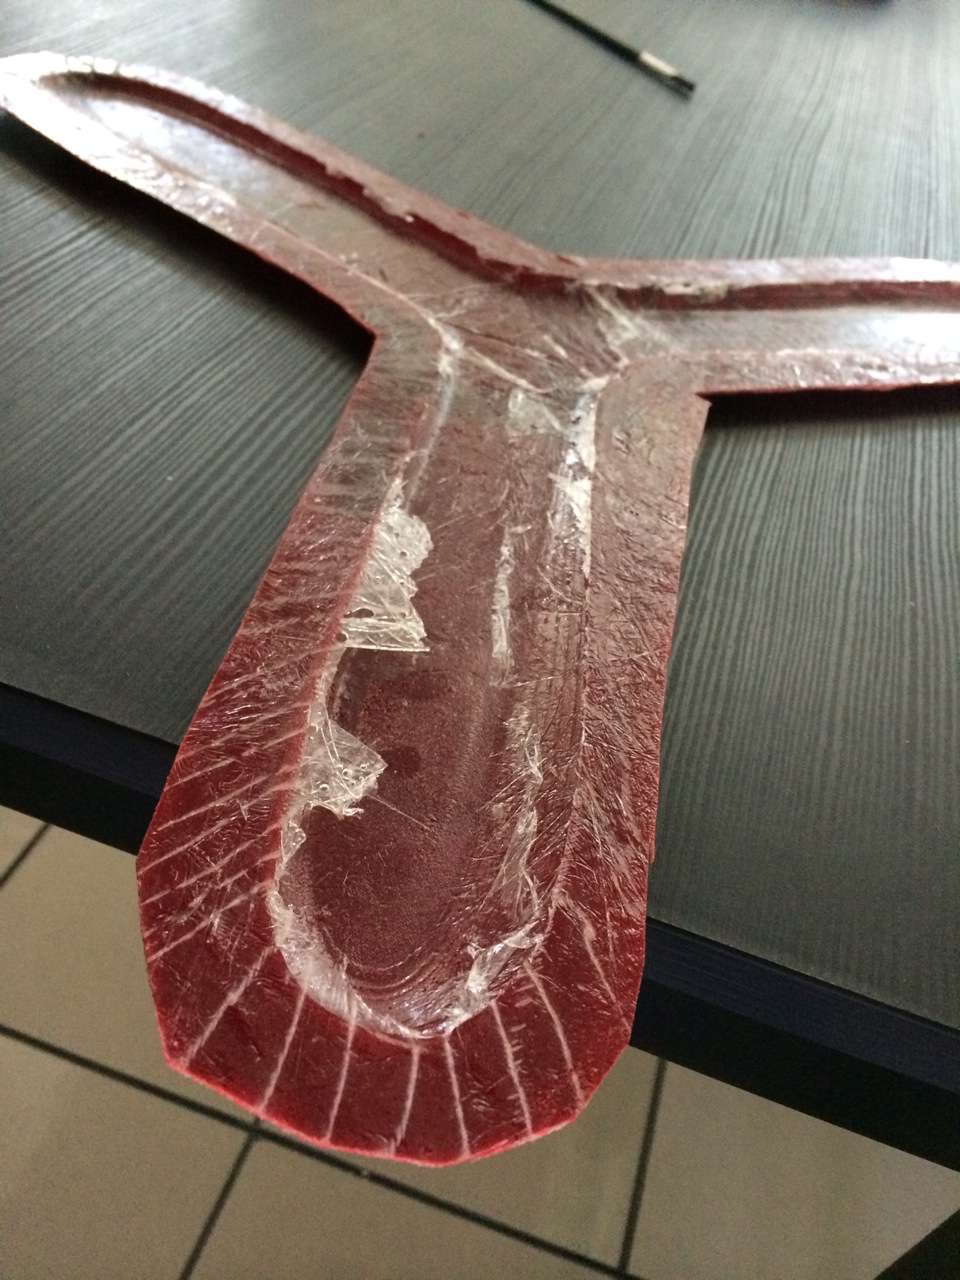
Here came the first problem. I was trying to make the boomerang as light as possible and used a very thin internal support material. When I put the boomerang in the vacuum bag the pressure collapsed the boomerang crushing the inside.
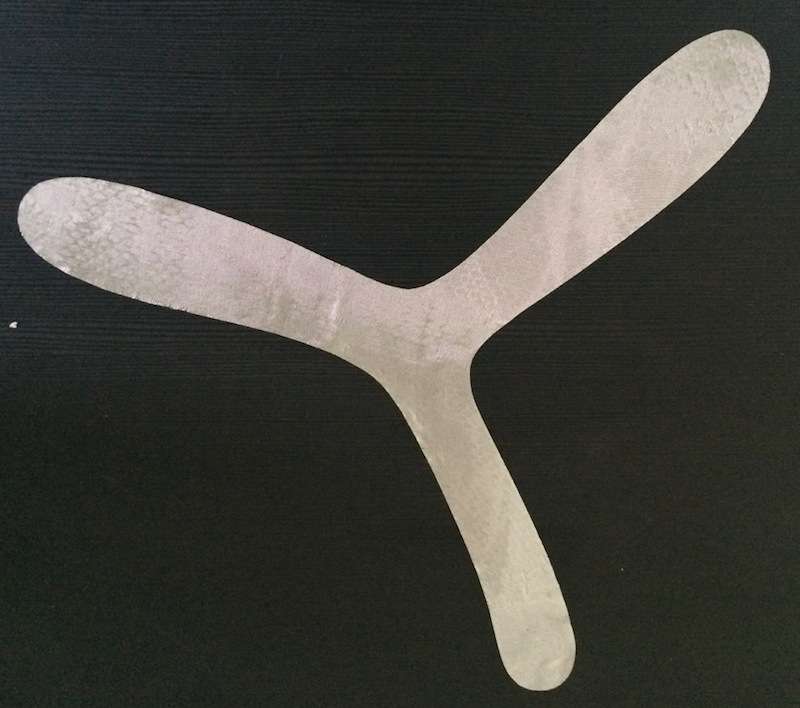
The first try resulted in quite a big fail, a flat distorted almost transparent boomerang! But lesson learnt, I tried again this time using some cotton fabric to strengthen up the fiberglass and hopefully achieve a more solid structure.
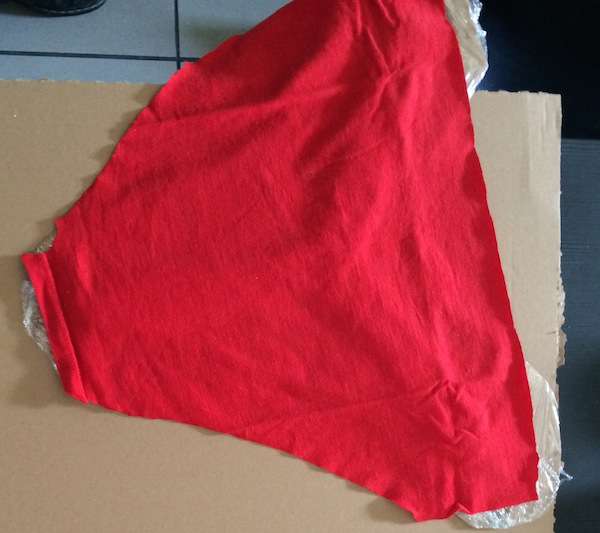
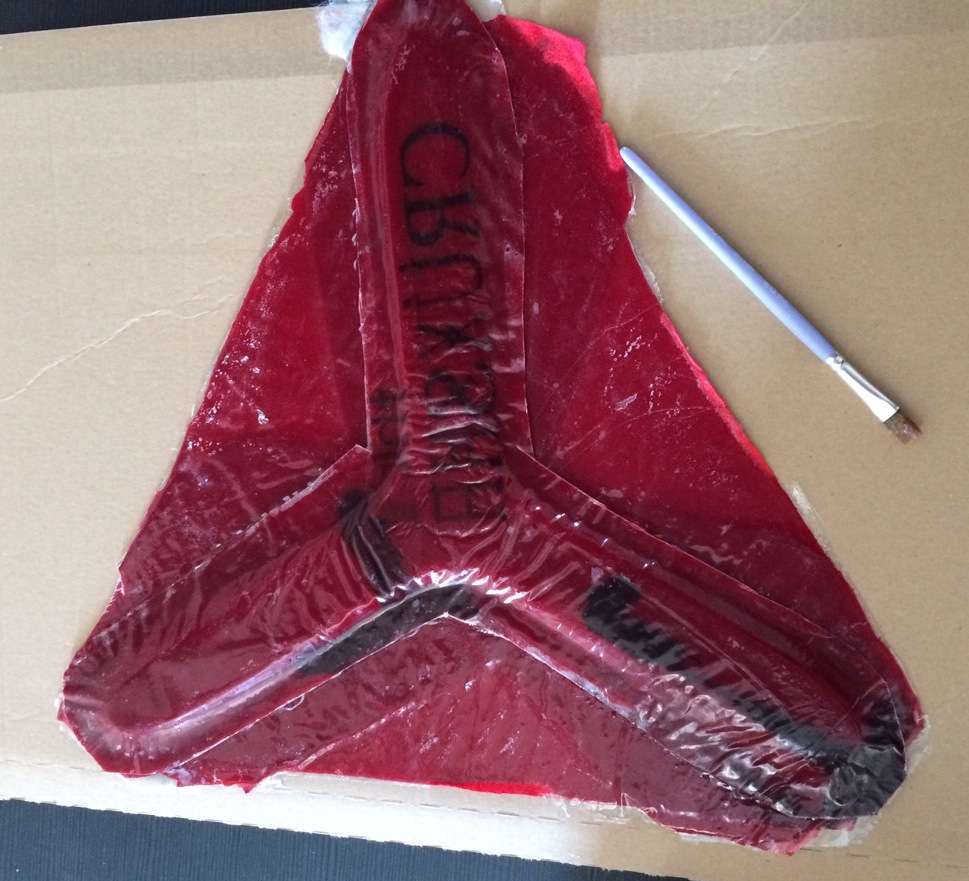
Compositing - 2nd try
An old t-shirt was this time used for the mold. In order to make sure the process worked fine I used several layers, first cotton covered in resin, then covered with fiber-glass, again resin, cotton, fiber-glass. Vacuuming all as the first time and making sure the composite would follow the curves of the mold. Instead of waxing the mold, this time I used the transparent film usually found in kitchens.
Once the object cured, the transparent film made demolding much easier, also having several layers of fabric made it quite thick.

 I decided this time to mold the top and bottom of the boomerang separately and use epoxy glue to join them, as I was afraid crashing the top another time.
Finally I had to trim the sides using a Dremel. This would have not been necessary if I did cut the fabric as in the first try, but again I suspected it would be difficult to glue the parts together relying only on the thin profile of the boomerang. But next time I would leave just a small border as the trimming process was really messy and time consuming.
I decided this time to mold the top and bottom of the boomerang separately and use epoxy glue to join them, as I was afraid crashing the top another time.
Finally I had to trim the sides using a Dremel. This would have not been necessary if I did cut the fabric as in the first try, but again I suspected it would be difficult to glue the parts together relying only on the thin profile of the boomerang. But next time I would leave just a small border as the trimming process was really messy and time consuming.
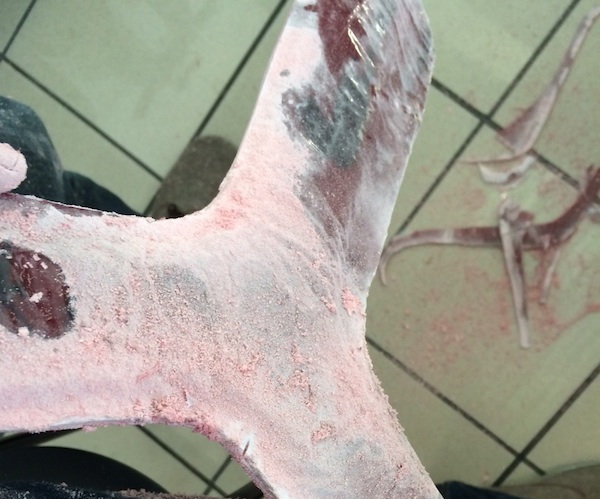
After lots of polishing with the help of the Dremel, finally the boomerang was ready for a test flight!
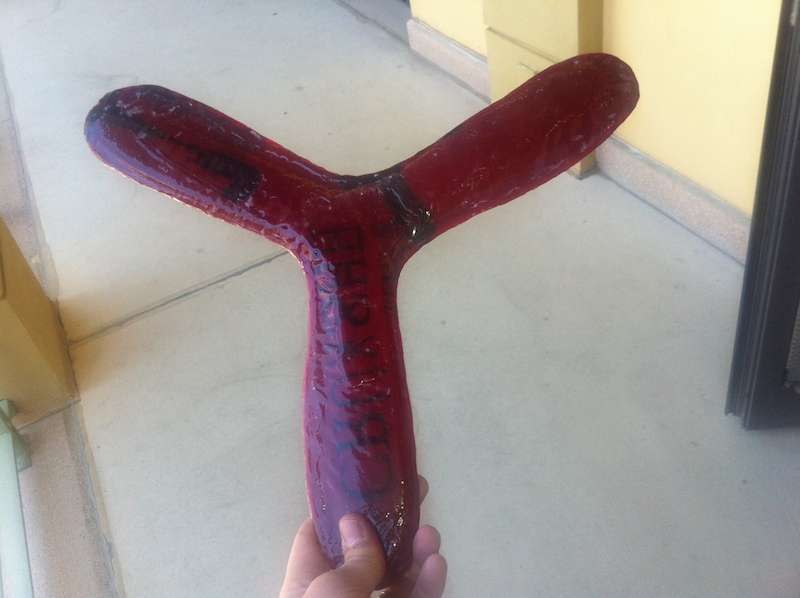
As the video shows the surface is really hard, and "sounds well":
Given my boomerang trowing abilities the result is almost convincing:
Conclusion
As for many of the classes I discovered a new powerful production approach, and I expect to continue to build up my skills in compositing things in the future. I wasn't very successful at first, and the second try was better but could use lots of improvement both in planning and technique. That said, composite opens a wealth of possibilities, also for smaller objects, especially when combined with mold milling and textiles.
