Vacuum form machine
Simple and effective
- Notes on mercurial
Notes on webdesign
Notes on digital drawing
Notes on 2D cutting
Notes on electronics production
Notes on 3D scanning and printing
Notes on electronics design
Notes on molding and casting
Notes on embedded programming
Notes on computer controlled cutting
Notes on input devices
Notes on composites
Notes on interface programming
Notes on output devices
Notes on networking and communications
Notes on machine design
Notes on the final project
Final Presentation Notes on Invention, Intellectual property and Business model
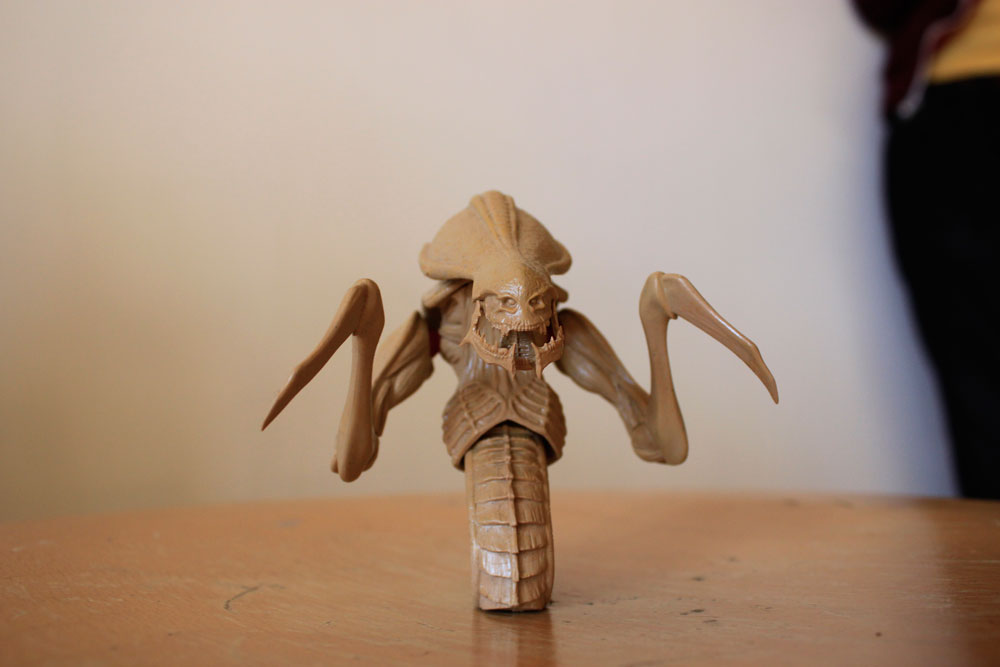
Notes on 3D scanning and printing
I started out with 3D scanning. We decided to use two objects. One simple and without any textures. (See it here on Rick's page) and one very detailed and very textured. "Scanning" was taking 40 - 60 pictures from all different angles. We did so in a well lit room, placed the object on a stool and we walked around the object taking the photo's.
After importing all the photo's I fired up the software. Using 123D Catch was completely new to me. On top of that I had to work it on a windows machine as the software is not available for MacOSX. (Though the web-app is but it's limited). What the software actually does is upload all the photo's to a central server which will attempt to calculate your model from all the pictures. I say attempt as this is all about the quality of your photo's. Apparently the quality of mine was bad... very bad! After an hour of staring at progress bars the model was calculated and came back... FULL of holes!
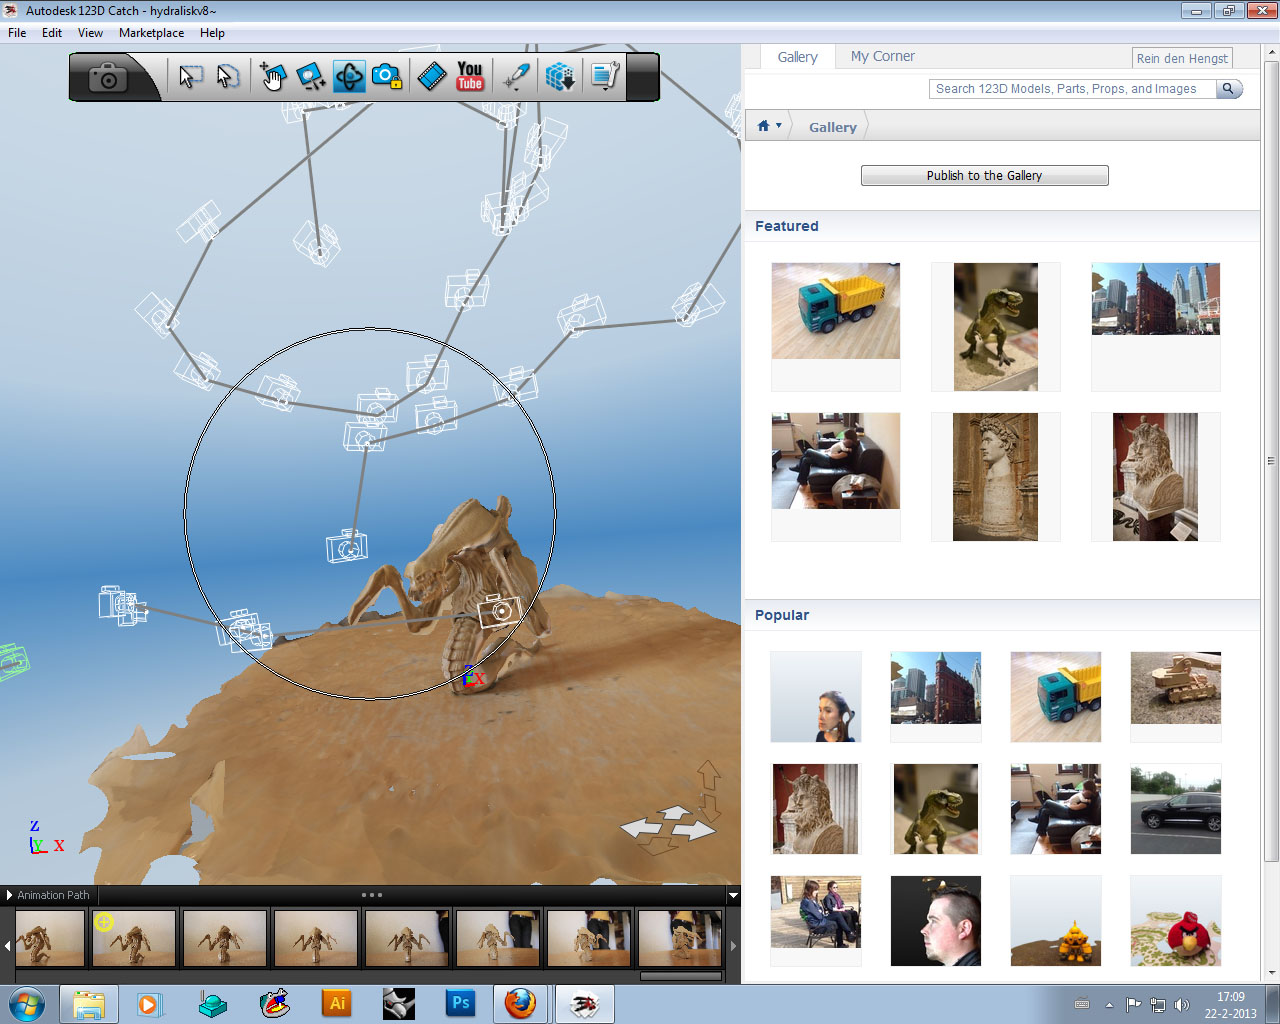
Now the software does offer somewhat of a solution for this. You get to go back to the pictures and manually define all kinds of refference points. I'm sure this could work but after defining about a million new refference points and uploading it again to the server (more looking at progress bars...) nothing changed to my model. Most of the pictures just were to dark or out of focus for the software to use. Did I explain I'm worlds worst photographer?! I couldn't take a beautiful picture if it was to safe a kittens life.
After some talk about using a EUR15.000,- laser-scanner I decided that I would just give up on 3D scanning.
On to 3D printing. Now I was very much looking forward to this. I have used Shapeways a couple of times and I was always amazed at the fact that this was printed instead of molded/casted. Now what I printed was supposed to go with miniature customs. When I got my first order in from shapeways I was a little dissappointed about the texture of the materials. It was hard to sand and on this small scale the texture would be very visible. Even when painted it would just stand out too much. So the "cheap" white-strong-flexible parts would not suffice. Later I would try the expensive frosted-ultra-detail and this material is a lot better. But almost twice as expensive as the before mentioned. But still it is not perfect.
In the fablab Amsterdam we get to use the Dutch made Ultimaker. A beautiful piece of equipment. But also very rough prints.
As with any 3D print you have to start out with a 3D model. Like I had written in the digital drawing chapter I am not used to drawing with 3D software. Again I went back to Sketchup 8. I had a couple of wheels that I wanted to make for a project I am working on. Just to see how it would fit and how rough it would emerge from the process.
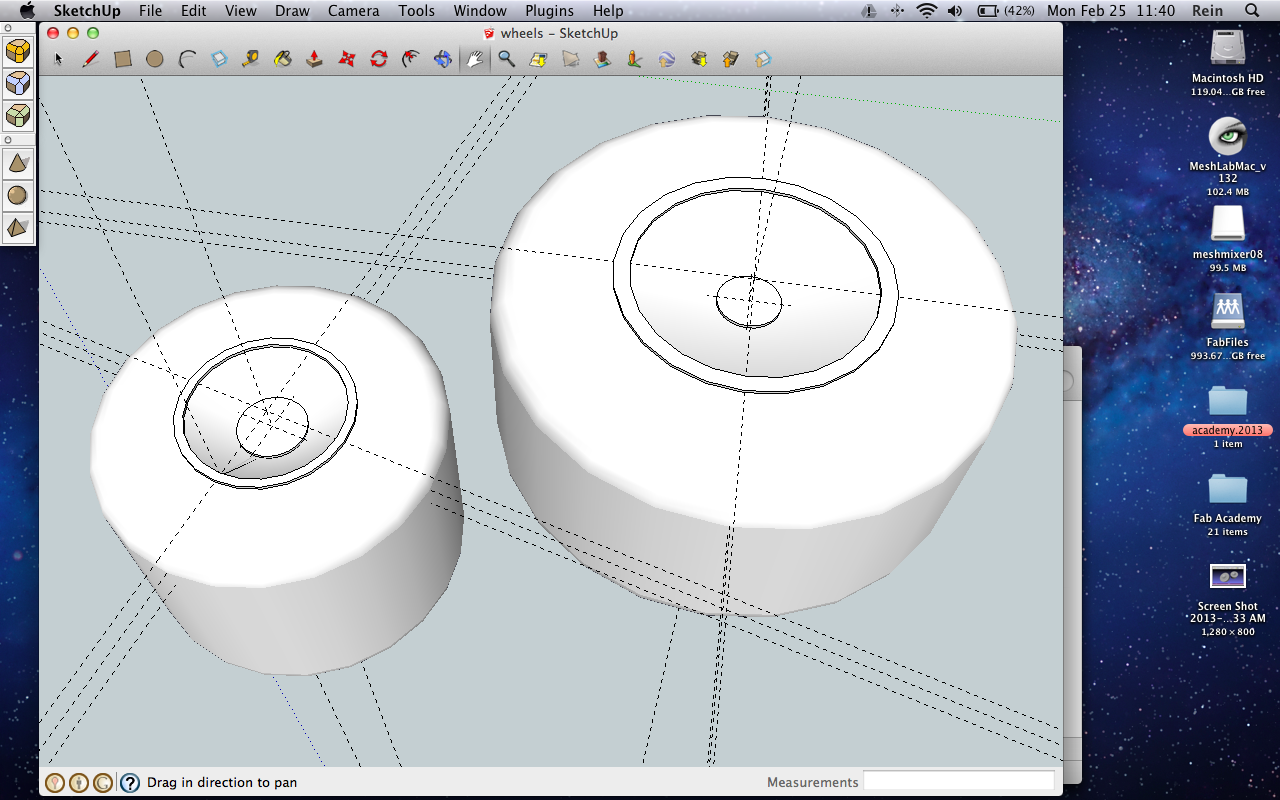
I had to download the Roundcorners plugin to achieve the rounded corners. Smooth and rounded surfaces isn't Sketchup's strong point though. After this I exported the model as .dae for checking in Meshlab.
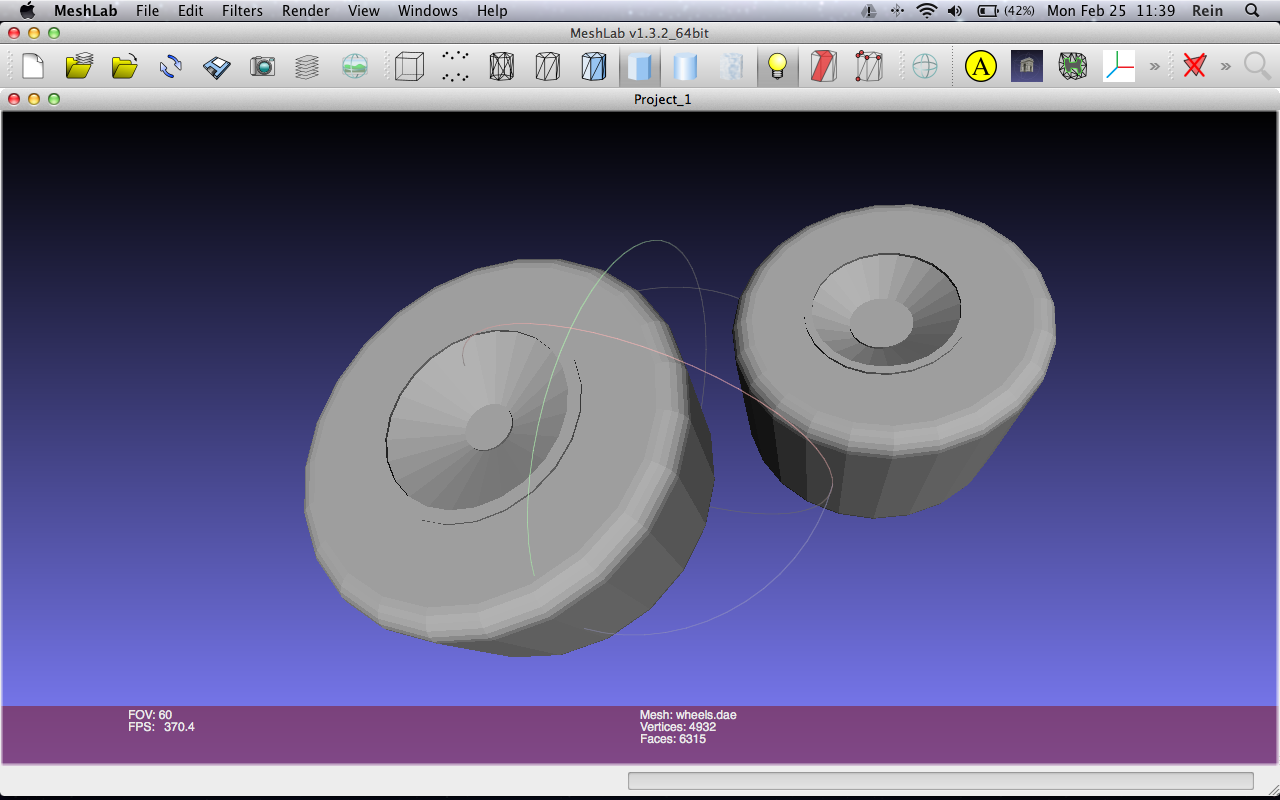
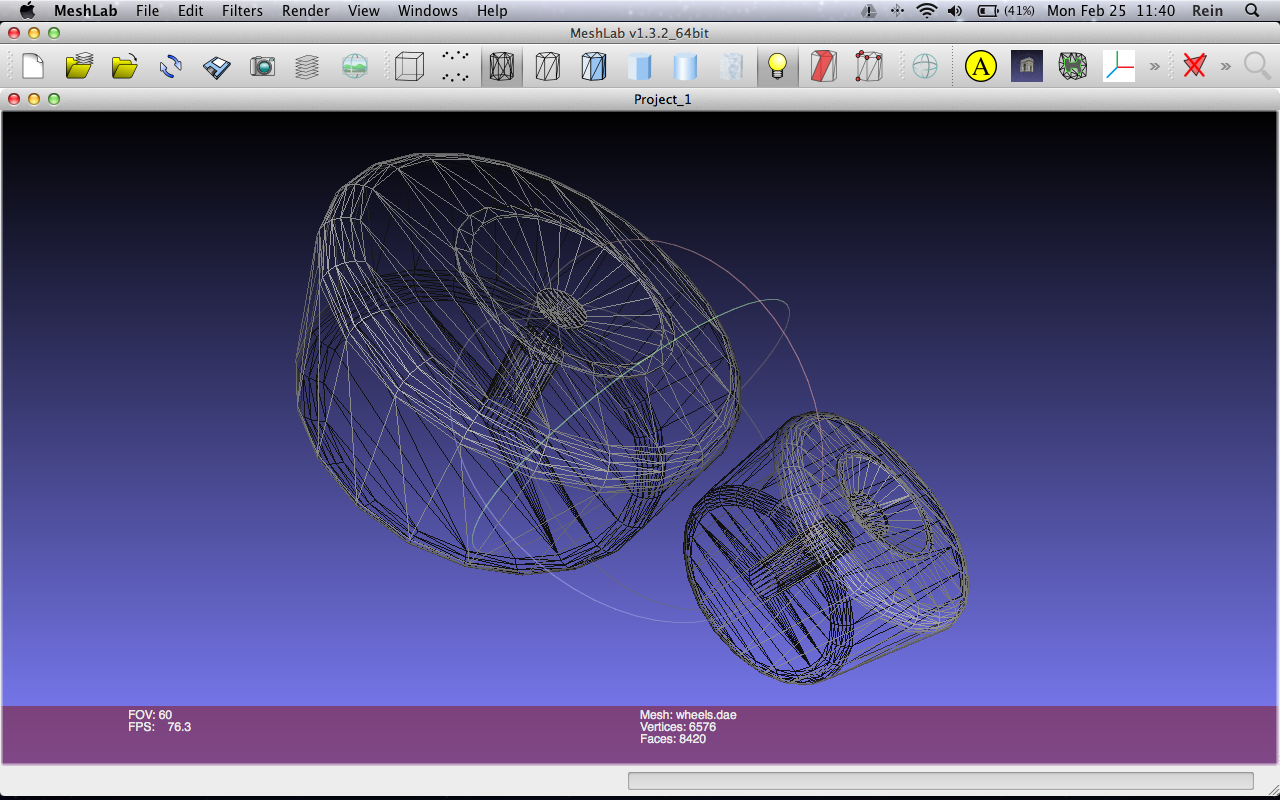
In meshlab I exported the model as .stl. Now apparantly there is a scaling error in the software (and it has been documented online before) so when I opened my .stl file in Cura it appeared to be 1mm in size. After a steep 15 minutes of googling I found a plugin for Sketchup that enables the user to export a .stl directly from sketchup. Importing this .stl file in Cura the model looked fine.
When I wanted to print I got an error about manifolds. Now I haven't gotten a clue about what this was but I soon found out that this can be managed by software. I used Netfabb to automatically fix the errors. Exported a new file and voila! I could print.
Now our class decided it would be a good idea to just bunch up together all our projects and have the printer do it all at once. After fixing some problems we hit print. At first we noticed all the strands between the objects but we figured we could do away with these after printing.
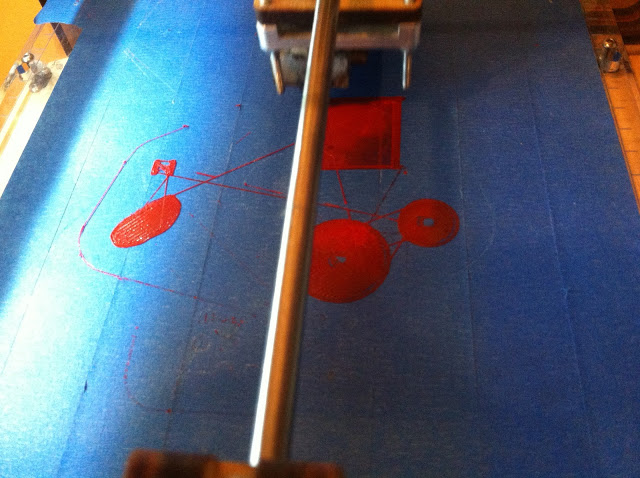
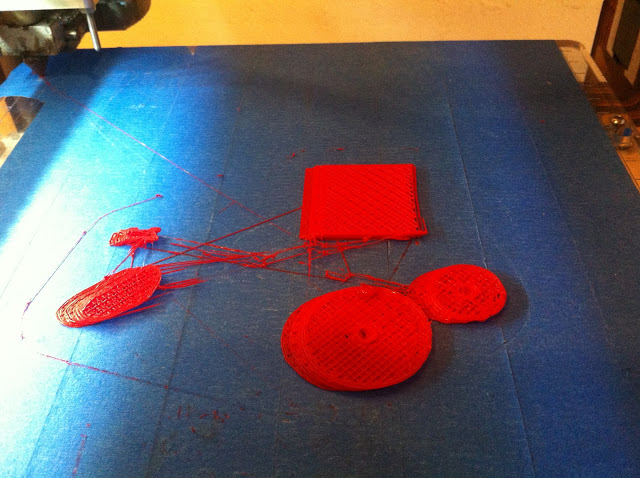
But after a couple of minutes I noticed that the entire project was being printed on a vertical! Immediatly we stopped the machine and went to look for our guru. What appeared to be the problem was that the machine needed a little lubrication on all the axles. After this was done the machine ran like a dream. We had also thrown out our joined print effort and went at it individually.
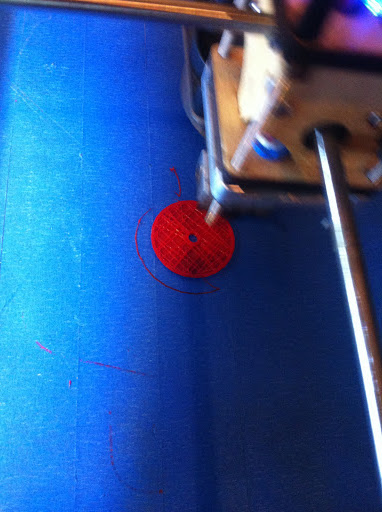
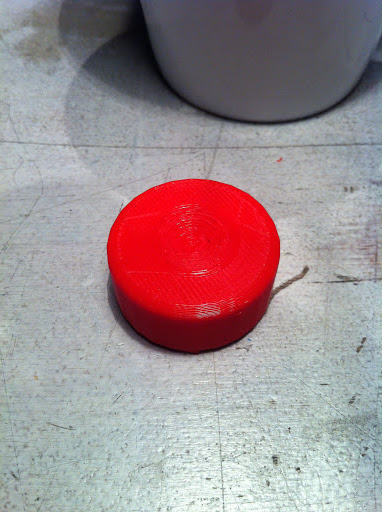
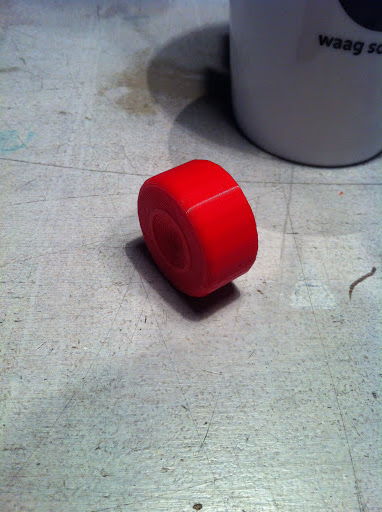
As you can see the software opted for a 20% fill. Which was enough to get a rigid wheel out of it.
top