For this week assignment I followed the Ana Kaziunas tutorial to program the ATtiny44A microcontroller on my eyeBlink board, wich is a version of the Hello Button + LED board, that I made during Electronics design week.
To program the microcontroller I used the FabISP, the in-system programmer, that we made in week 04 Electronics Production week.
Once Arduino is ready to use, we have to download the ATtiny board files and install them, so that Arduino IDE can talk to the ATtiny44A. You have to find your arduino sketch folder:

Create a new sub-folder called hardware in the sketch folder and copy the attiny folder extracted from the zip file there.

After this step, if you restart Arduino IDE, you should see ATtiny entries in the Tools > Board menu
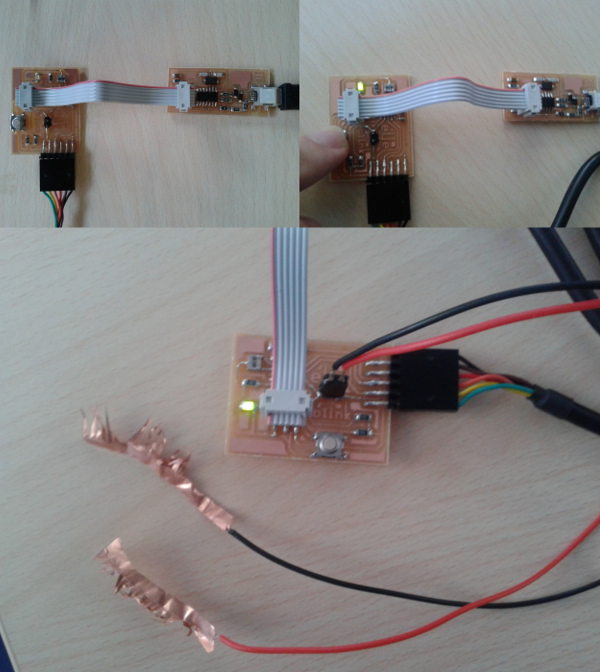
Now it is time to power and connect the boards. We need to provide power to the ATtiny and connect it to the programmer fabISP as shown in the picture:

The boards are connected through the header. Be careful with orientation of the cable, the red wire should go to the same pin of the microcontroller in both boards. My eyeBlink board is connected to the computer through the FTDI cable, so I needed to install the proper drivers for my OS, windows 7 in this case. After installing the FTDI drivers, you might see your board listed in the device manager window, in my case in the COM3 port.
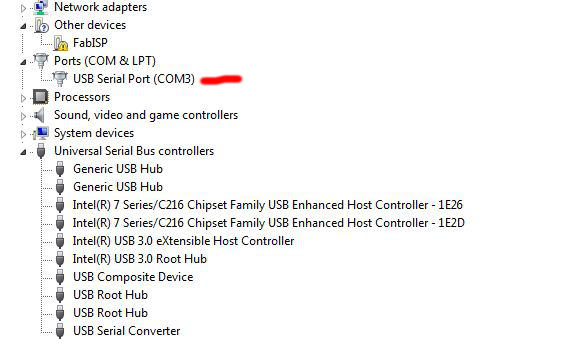
As you see in the above picture, the fabISP is recognized by the system, but to use it, you must install the USBtinyISP drivers for your operating system. This USBtinyISP board is the one in wich the fabISP is based. Once we made this installations, we are ready to jump into the next step.
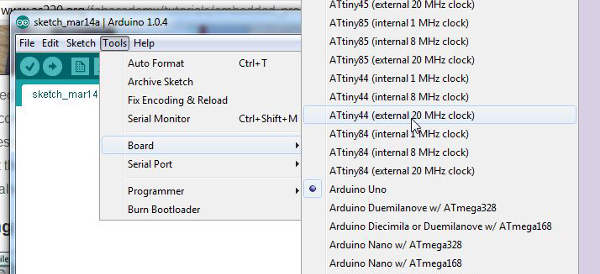
We need to configure the ATtiny to run at 20 MHz, since we have an external 20 MHZ resonator on the eyeBlink board. To do this, in Arduino select "ATtiny44 (external 20 MHz clock)" from the Boards menu:
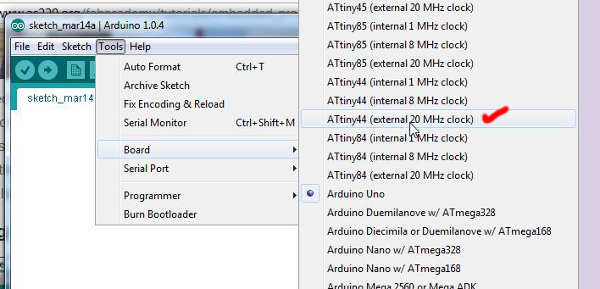
Now we select the programmer. As I said before, the USBtinyISP is the one our board is based on:
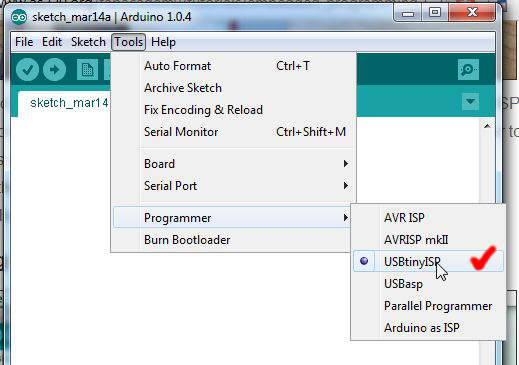
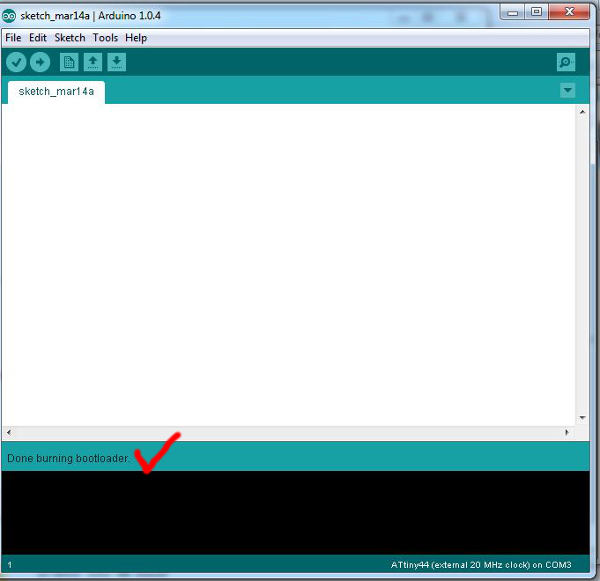
Before we start programing in Arduino IDE, we have to do one final step, this is to configure the fuse bits of the microcontroller so it runs at 8 MHz. To do this go run the "Burn Bootloader" command from the Tools menu. If you get the next message in the Arduino IDE, everything went fine!
Now, we can use the Arduino IDE to upload a program to the ATtiny. I modified the Button sketch from the examples menu, so that I can turn on the LED either with the button or with my eyes. I use pin 2 and 3 as inputs, with the button and the eyeBlink, and pin 7 as output for the LED:

And this is the final code for this porpuse:
/*
eyeBlink

 Turns on and off a light emitting diode(LED) connected to digital
 pin 7, when pressing a pushbutton attached to pin 3 or with an eyeBlink attached to pin 2

by Japi Contonente

 This example code is in the public domain.

 */

// constants won't change. They're used here to
// set pin numbers:
const int buttonPin = 3;     // the number of the pushbutton pin
const int eyeBlinkPin =  2;      // the number of the LED pin
const int ledPin =  7;      // the number of the eyelash pin


// variables will change:
int buttonState = 0;         // variable for reading the pushbutton status
int eyeBlinkState = 0;         // variable for reading the eyelash status

void setup() {
  // initialize the LED pin as an output:
  pinMode(ledPin, OUTPUT);
  // initialize the eyelash pin as an input:
  pinMode(eyeBlinkPin, INPUT);
  // initialize the pushbutton pin as an input:
  pinMode(buttonPin, INPUT);
}

void loop(){
  // read the state of the eyelash value:
  eyeBlinkState = digitalRead(eyeBlinkPin);
   // read the state of the pushbutton value:
  buttonState = digitalRead(buttonPin);

  // check if the pushbutton is pressed or eyelash closed
  // if it is, the buttonState is HIGH:
  if (buttonState == HIGH && eyeBlinkState == HIGH) {
    // turn LED on:
    digitalWrite(ledPin, LOW);
  }
  else {
    // turn LED off:
    digitalWrite(ledPin, HIGH);
  }
}
Some pics of the eyeBlink working!
