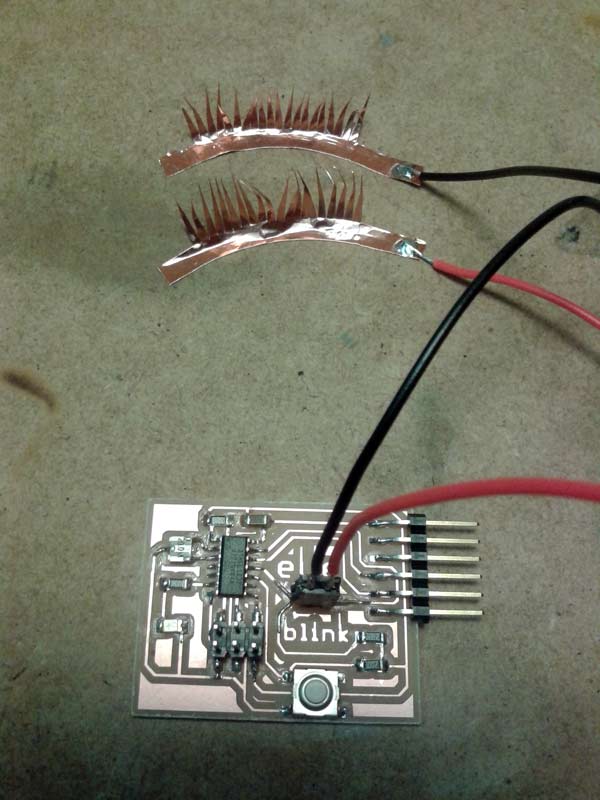
For this week assignment I followed the Anna Kaziunas tutorial for design electronics.
After installing Eagle I downloaded the sample echo board and I opened it. Then I installed the components libraries. And after this I added the components to the schematic:
For this week assignment I followed the Anna Kaziunas tutorial for design electronics.
After this the schematic looked like this:

I wanted to add another control to the LED, so that I could turn it on and off closing and opening the eye. For this I added another button to the pin 10, but replacing it with a resistor of cero value.
The idea is to close the circuit when the eyes are closed, with the contact of the copper eyelash.
After completing the schematic, I routed the traces on the board, I did it manually since the autorouting didn´t seem to work. I place here some screenshots of the process:
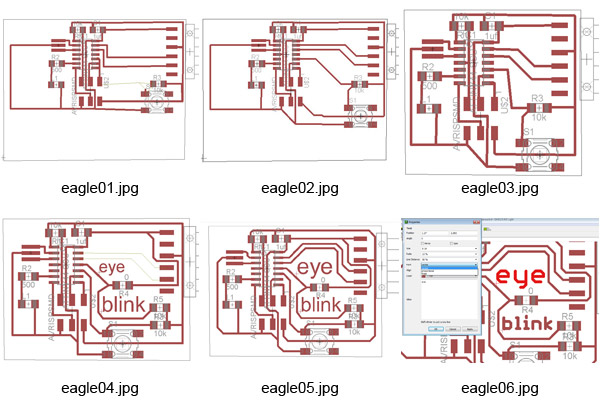
I created a space around the cero resistor for the eye blink letters.
This is the final layout that I used for the milling in the modela:

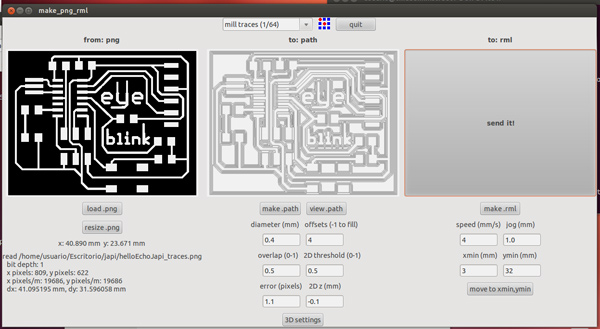
Once in fab modules this is the screenshot with the milling parameters:
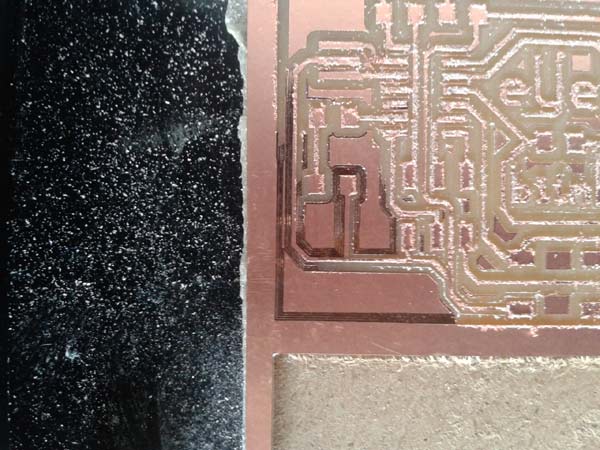
I had to mill twice the board because the bottom left side didn´t perforate the whole plate, maybe because the modela base wasn´t perfectly leveled.
Once the milling was done, these were the parameters for the cutting:
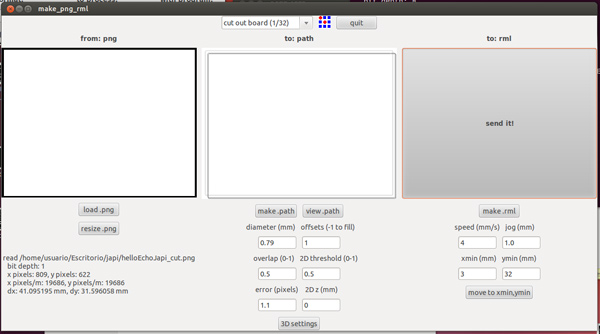
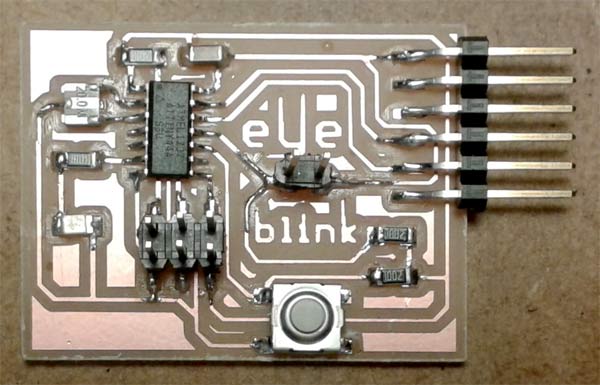
Once the board was milled and cutted, was time to solder the components, shown in the next layout:

The eye blink board finished:
Now was time to create the eyelash button. To do this I cutted the copper plate with the Roland cutter as shown in the next picture:
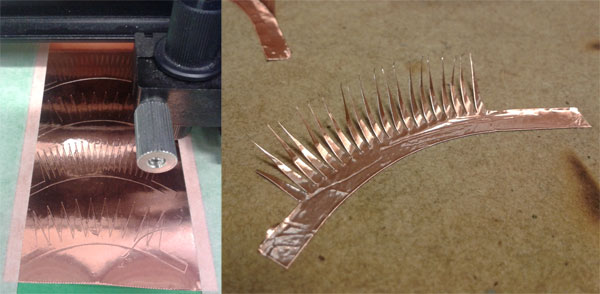
And this is the final set up, waiting for the programing!!
