Design a 3D model, machine it and cast parts from it.
This week I chose to make a mold of myself using the 3D mesh created on the PrimeSense. See Week 5 - Scanning
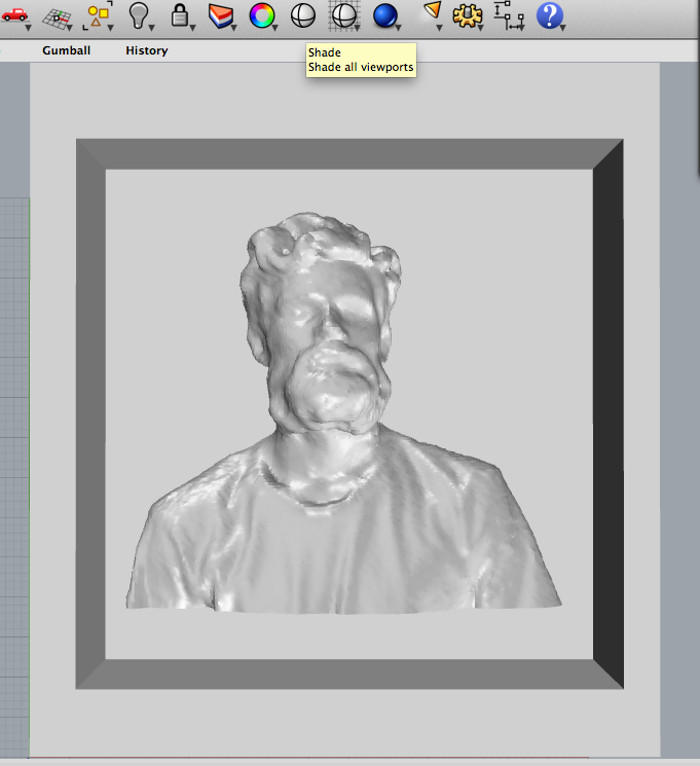
The raw mesh needed to be modified in rhino in a number of ways.
The result:

Export as binary .stl
Notes:
File prep here is for the Shopbot so I had 2 options available; Partworks or Fabmodules. Partworks gives you a lot of room for tweaking and customisation but is a more lengthy process, I chose Fabmodules for this job.
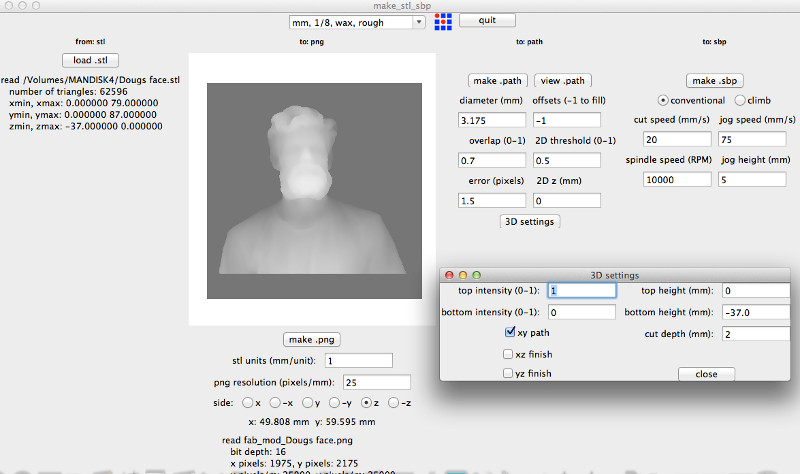
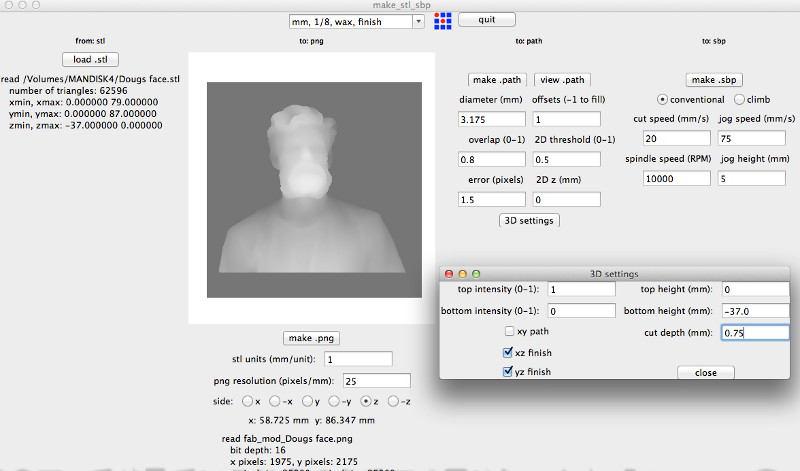
The wax block can be attached to the table of the shopbot using double-sided tape.
Zero the coordinates to the wax block, open file and run.
Runtime for the rough-cut was 1:02:15


And for the Finish-Cut 00:38:14
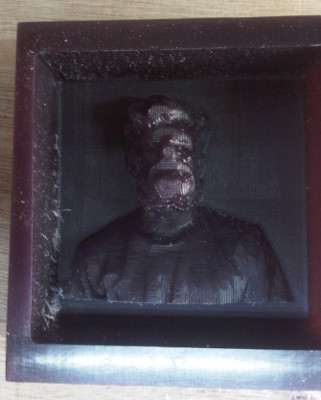
The machined wax positive should be thoroghly cleaned free from any loose wax or dirt before pouring the mold material
Here, we are using the Smooth-On Smooth-Sil 940 to make a flexible negative mold which can then be used to replicate the original model using, plaster, resin, chocolate..
The 2-part kit, has a working time of 30mins and drying time of 24hrs.
After thoughorly mixing, the mold was filled then tapped gently on a flat surface for 5mins to remove all the air bubbles.

After Setting
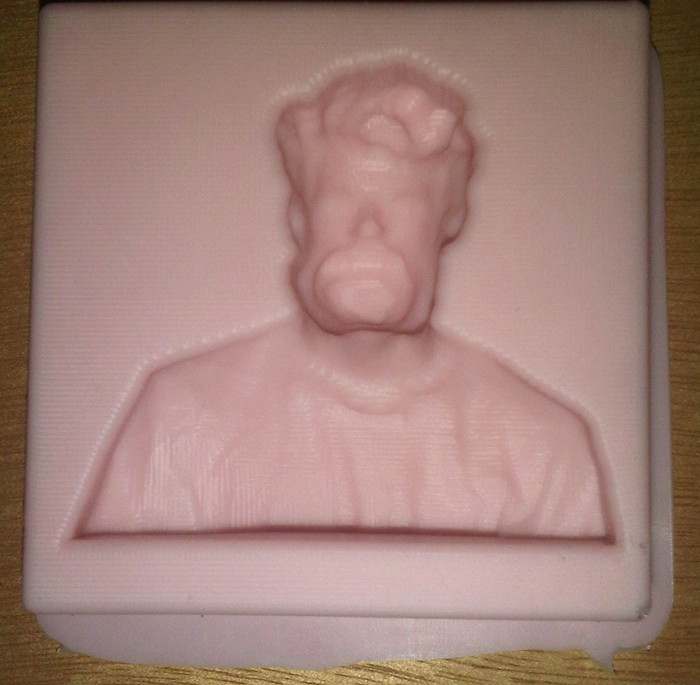
To fully cure the silicone mold, it was baked for 2hrs at 80C then 1hr at 100C.
Following this a trial plaster model was made.
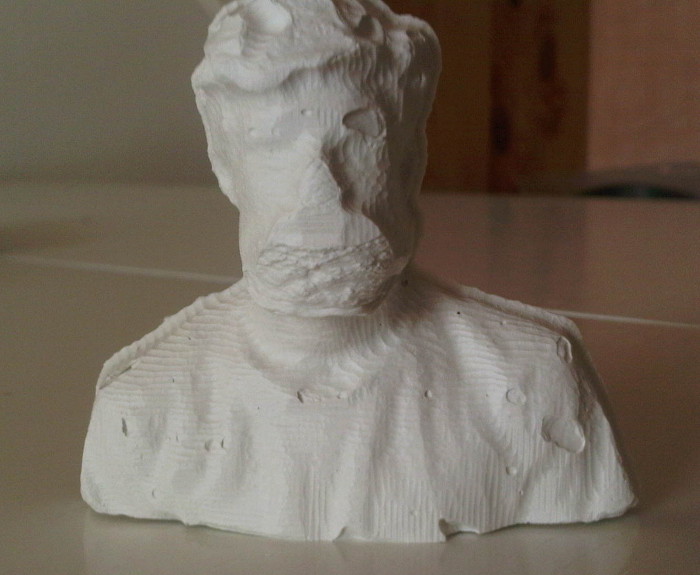
There are clearly some issues with the quality of the model: The mold was not fully filled into the beard area and there are a lot of air bubbles on the surface.
Using a more fluid mix ratio to allow the mold to fill more evenly, followed by the tapping method to remove the bubbles - may be a resolution.